if i wanted to etch an outline into a 2mm thick piece of plexiglass (i dont want to cut it out completely, just etch it), which passes would I need in Meshcam? I believe i wouldn’t need a roughing pass, and XY finish is not necessary either i think, but do i need pencil finish AND waterline or just one of them? Just curious if somebody has experience with it. I cant experiment much because i only have 2 pieces that i can work with
You can often get acrylic inexpensively at your local glass place (like windows and auto glass) if they’ve got cast-off scraps. Where I live there’s a place I can buy it by the lb for the left-overs.
You’d want to do waterline and finish, and just set your pocket depth to the etch depth you want, rather than the full 2mm. Something like 1mm or .5 mm would work just fine.
I’d suggest looking around here in the forum for other people’s comments about cutting plexi, because you do need to make some adjustments to your settings relative to cutting wood or metal since plastic will melt and goo up the tool if you don’t have the chips coming off fast enough
Generally you’ll want a more aggressive chip-load, like .004" on a 1/8" cutter, with passes going at 1/4 depth x diameter of the cutter. Good luck and post the results when you can
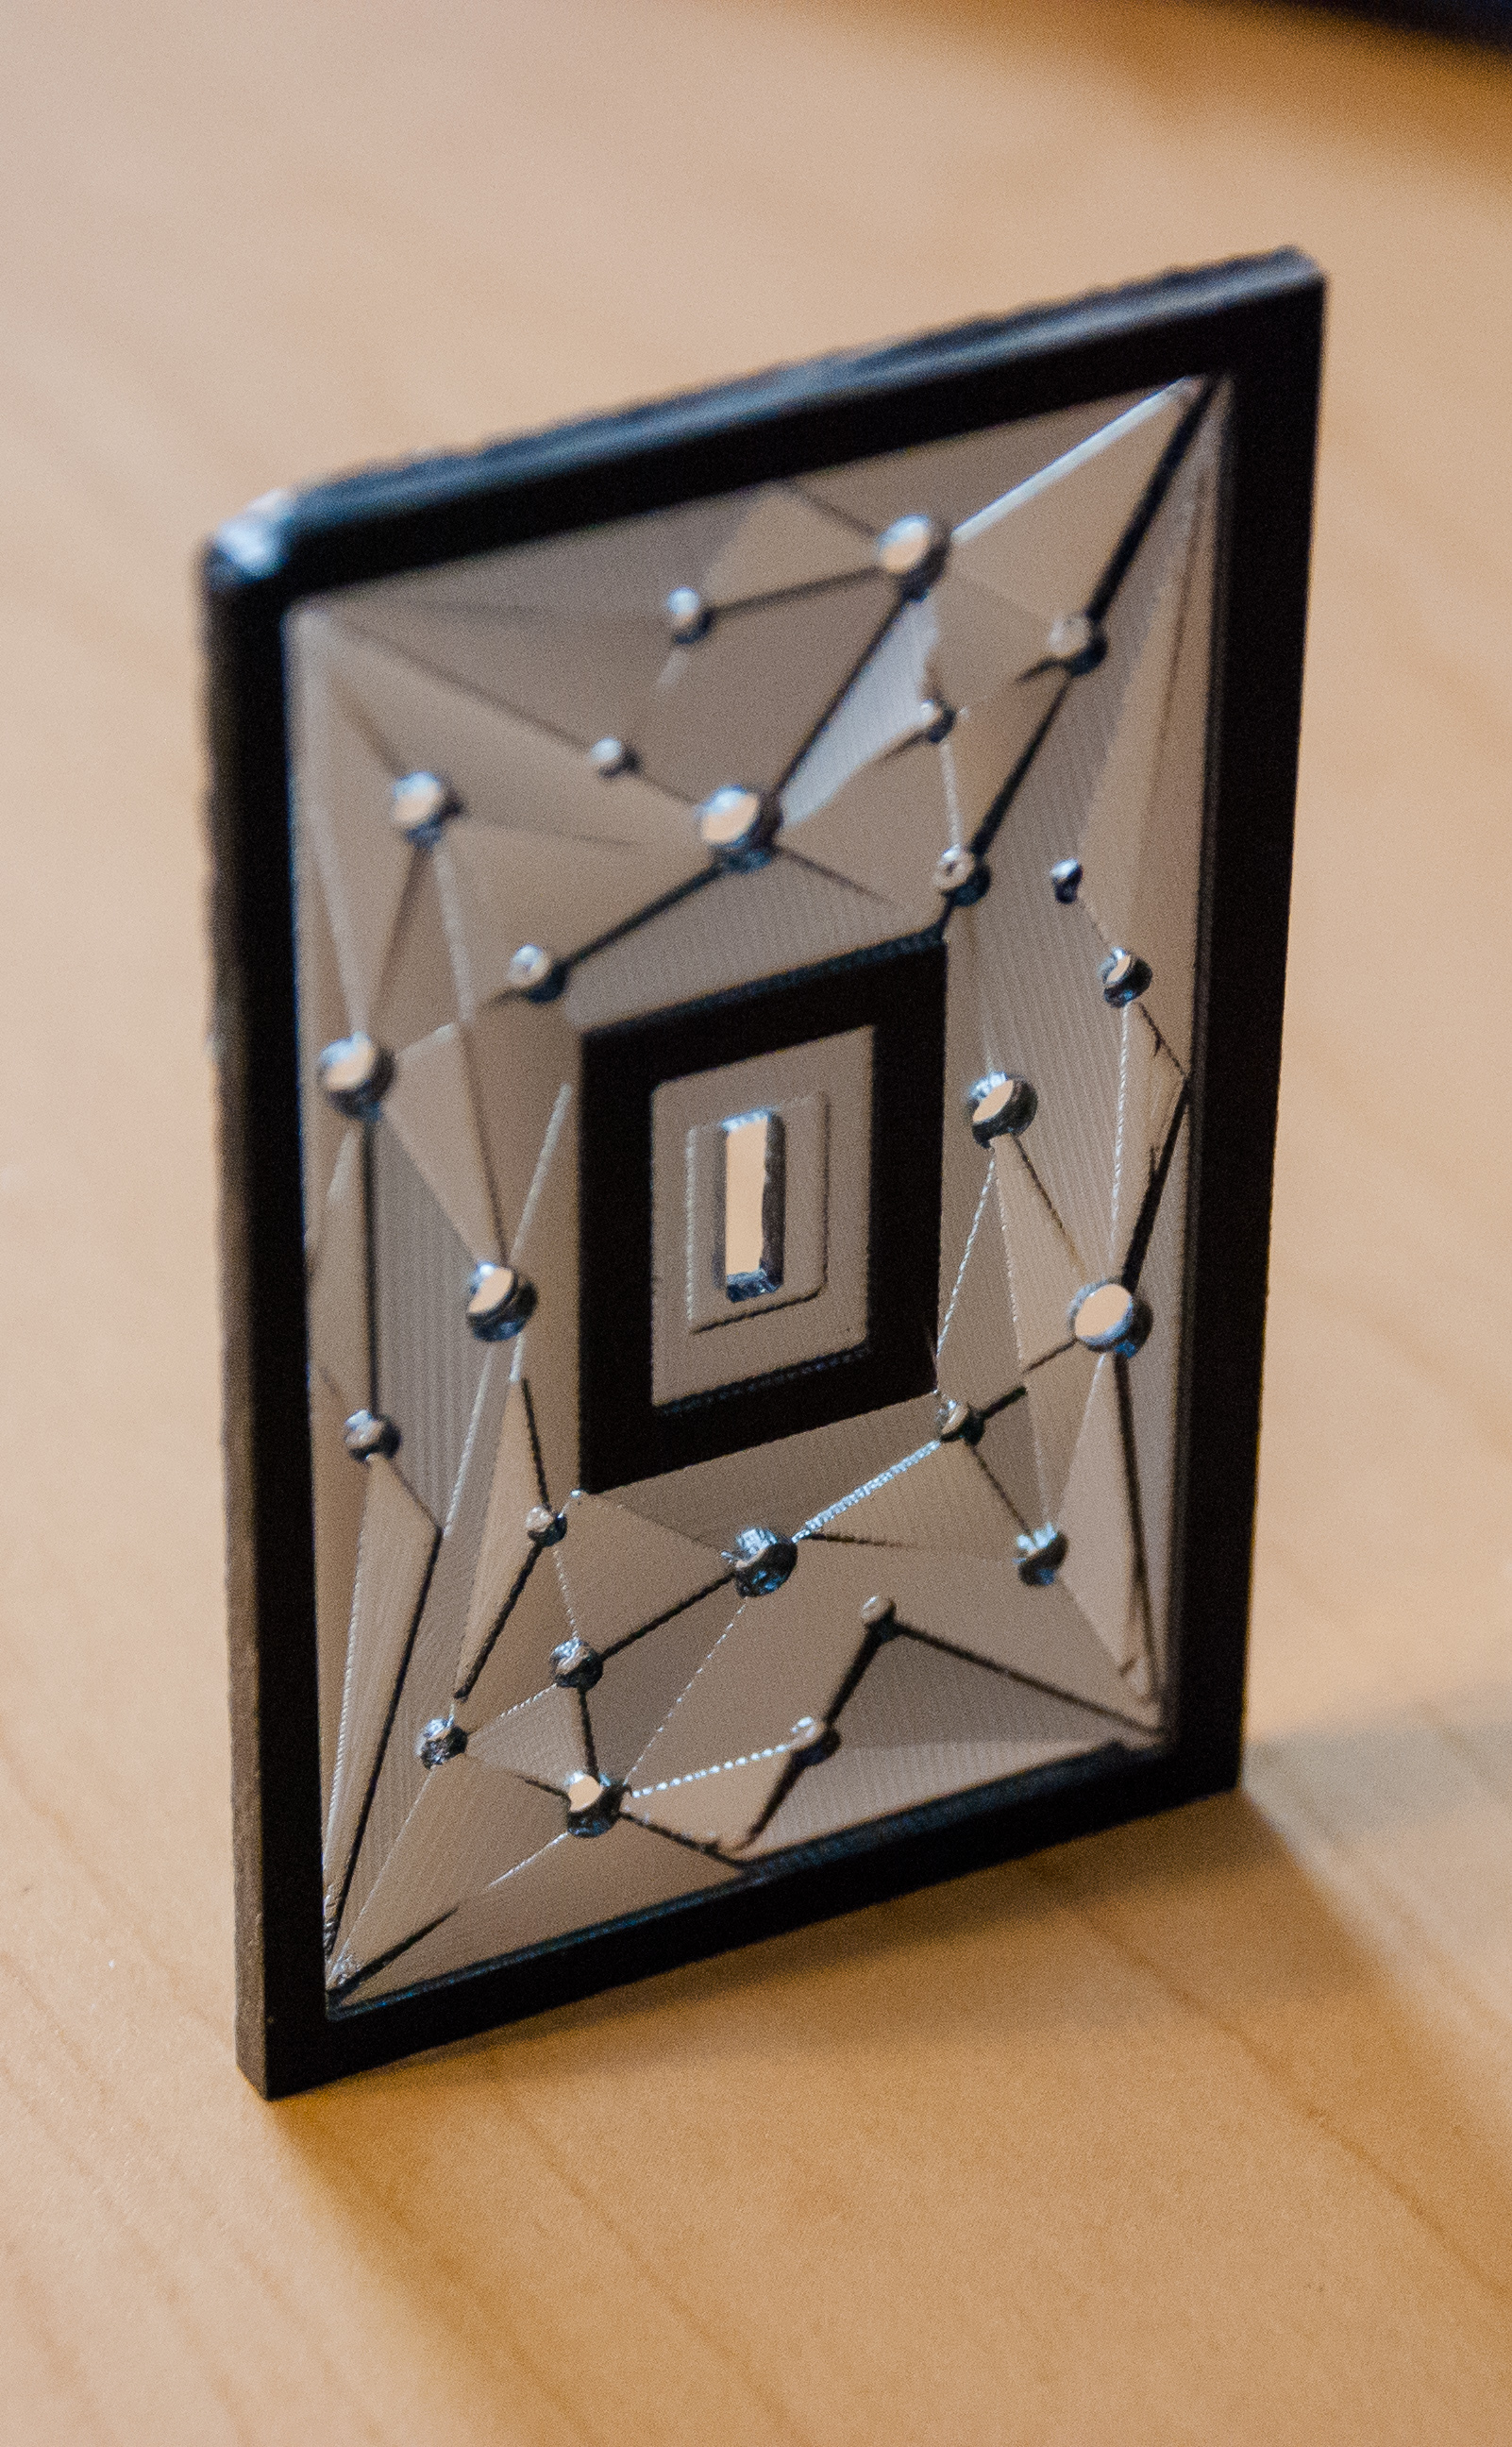
Thanks! I will do try that later today, and post the results (if they come out good ;))
My area is too small and too remote, nobody gives away those for free or even cheap here. I just had some leftover material that I used before to make windows for my 3D printer. But they charge an arm and a leg for plexiglass here.
Engravings
Roughing Pass: Disable
Finish Pass: Enable (X then Y, no waterline)
Pencil cleanup: Disable
Acrylic etching
Roughing pass: disable
…
Basically a quick cheat sheet for common parameters, while trial and error is fine to figure it out, it would be good for beginners to have that info (might also hep to save time and money because it will reduce the fails).
as well as some discussion on how to arrive at them.
Really though, if you’re using MeshCAM (and don’t have an aversion to commercial software) you should go ahead and get G-Wizard — a single year will let one buy into the perpetual 1HP level which is plenty for the Nomad and most spindles which would get mounted on a Shapeoko: http://www.cnccookbook.com/CCGWizLite.html — it has an integration w/ MeshCAM which is really nice (or so I’ve read, I have an aversion to commercial software).
What does GWiz do? It seems like it ‘only’ calculates feed speeds etc (which is good) but I am interested in a cheat sheet that is an easy lookup for what type of pass should be used within Meshcam for different types of results (like what passes do i want to use to cut out a circle for example, compared to what options are needed for a relief carving etc).
Also, as someone pointed out in another thread listing speeds and feeds, I should list cutting depths!
These rates are for 1:1 depth-by-diameter ratio step-downs into the material when roughing, but I generally do adaptive clearing/adaptive pocketing at ~40% diameter step-over for climb cuts, or ~80% of conventional cutting (gives a smoother sidewall, but puts more forces on the tool).
Also, I’ve seen other folks recommend conventional cut in acrylic rather than climb cut, because climb cutting is more likely to chip the plastic, but I haven’t done enough to really experience it myself yet. If I’m conentional cutting though I do try to have my step-overs at ~75%-80 of the cutter typically, to keep milling forces more parallel with travel to give a smoother finish.