Mine arrived home about 30 minutes before I did today as well. It is pretty.
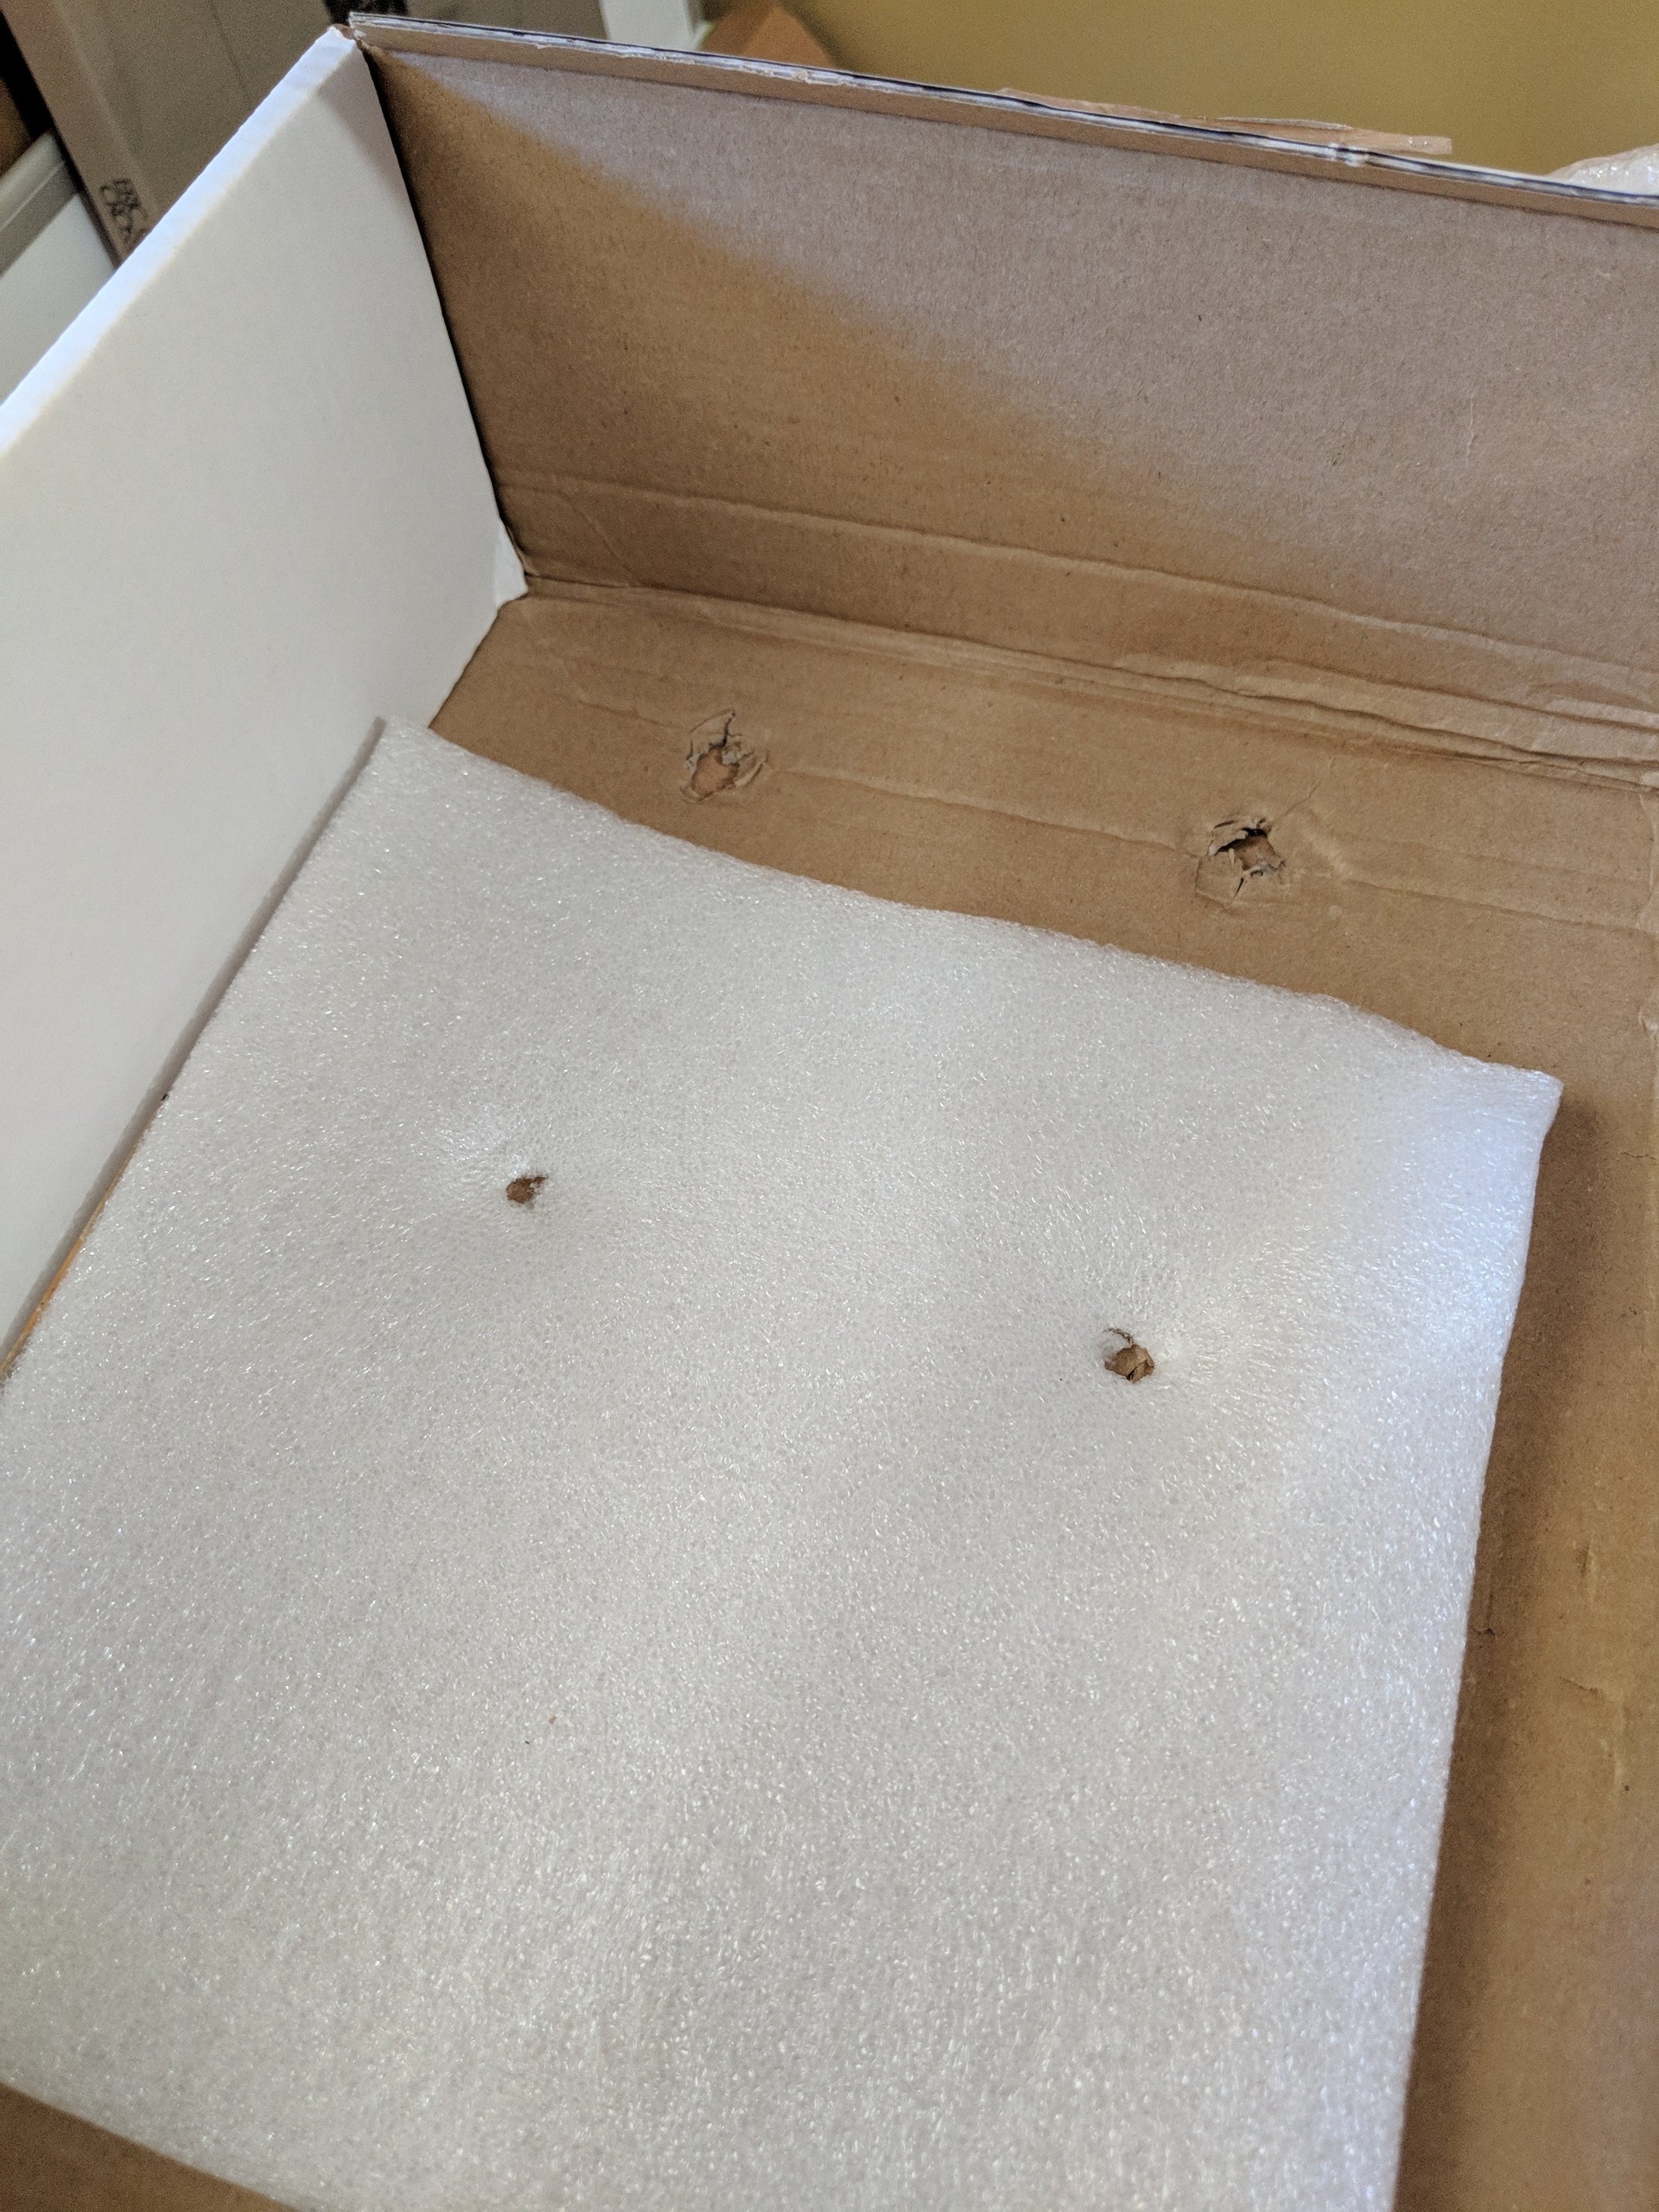
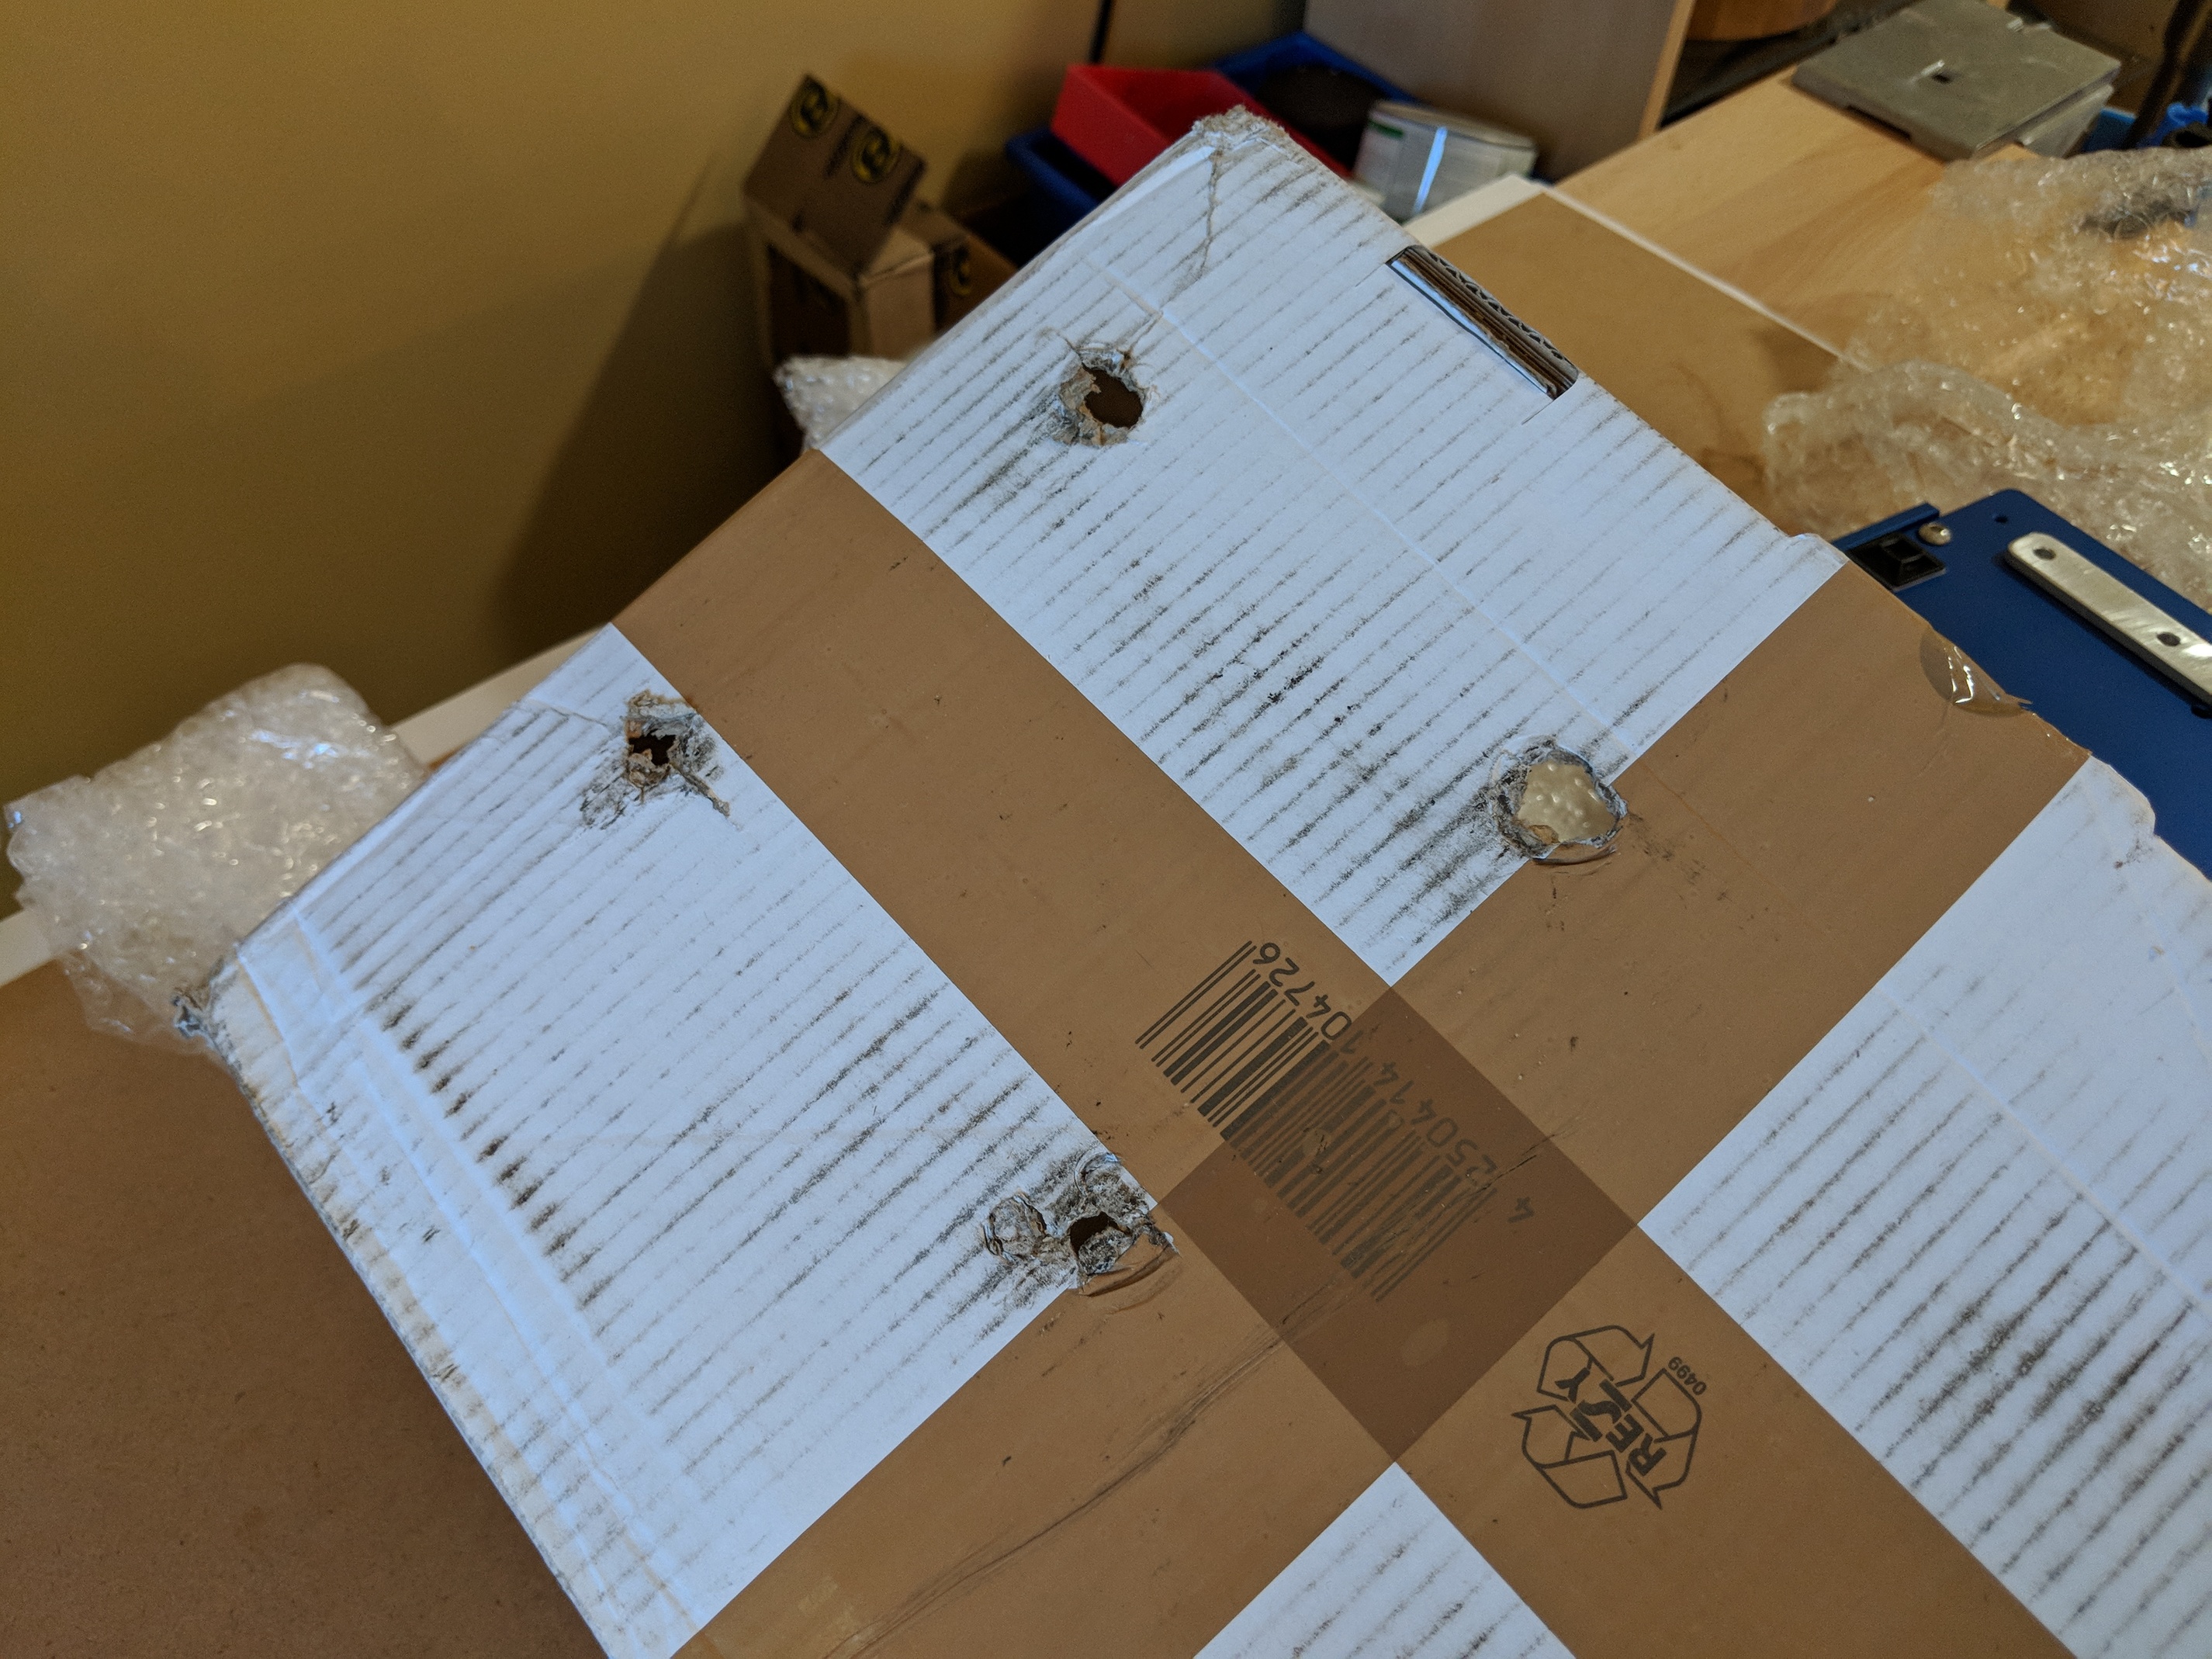
The box was pretty beat to s#!t though. Had a couple of holes ripped in it from the socket head cap screws, but since it was the screw heads, it was no big deal as far as actual damage to the assembly. I can hardly see the scratches on the heads.
You can write macros in UGS that can handle 3 axis probing. There’s a built-in probe tool if you one axis at a time.
I’d recommend CNCjs as a sender. You can use macros there as well, and the UI, in my opinion, is better than any other.
Ditto. Totally flabbergasted by the fast arrival in NJ but they appear to have shipped inside a vibratory tumbler. Luke’s packaging was really good and no damage but there are 4 holes in the box where the cap screws rode against it. @Luke Luke - just an FYI for your future shipments.
Great Job on getting this completed and in our hands in record time!
Now I have a weekend quandary of whether to tear down the SO & also do the CM4/grbl update & get the probe wired in or instead make a welding art for the new MIG. Too many toys/not enough free time…
Hu guys, first of I’m dead chuffed to say there are 14 of these now in the wild. One more out for delivery today and it seems they all made it unscathed other than a couple of limit switches.
With the next batch I think I’m going to ship without the v wheel hardware - I had concerns about this and did order extra thick boxes - however they didn’t turn up in time last week (lost in the mail) so I had to find the best I could locally Saturday to ship on Monday.
If anyone’s bolts are damaged or missing just let me know and I will make it right. I’ve already shipped 2 replacement limit switches.
This evening I will update the instructions with:
A basic UGCS usage video
Details on where the green caps go
What to do about the V wheels
Let me know if you need anything else - any suggested changes to the instructions are welcome.

 Luke’s packaging was really good and no damage but there are 4 holes in the box where the cap screws rode against it.