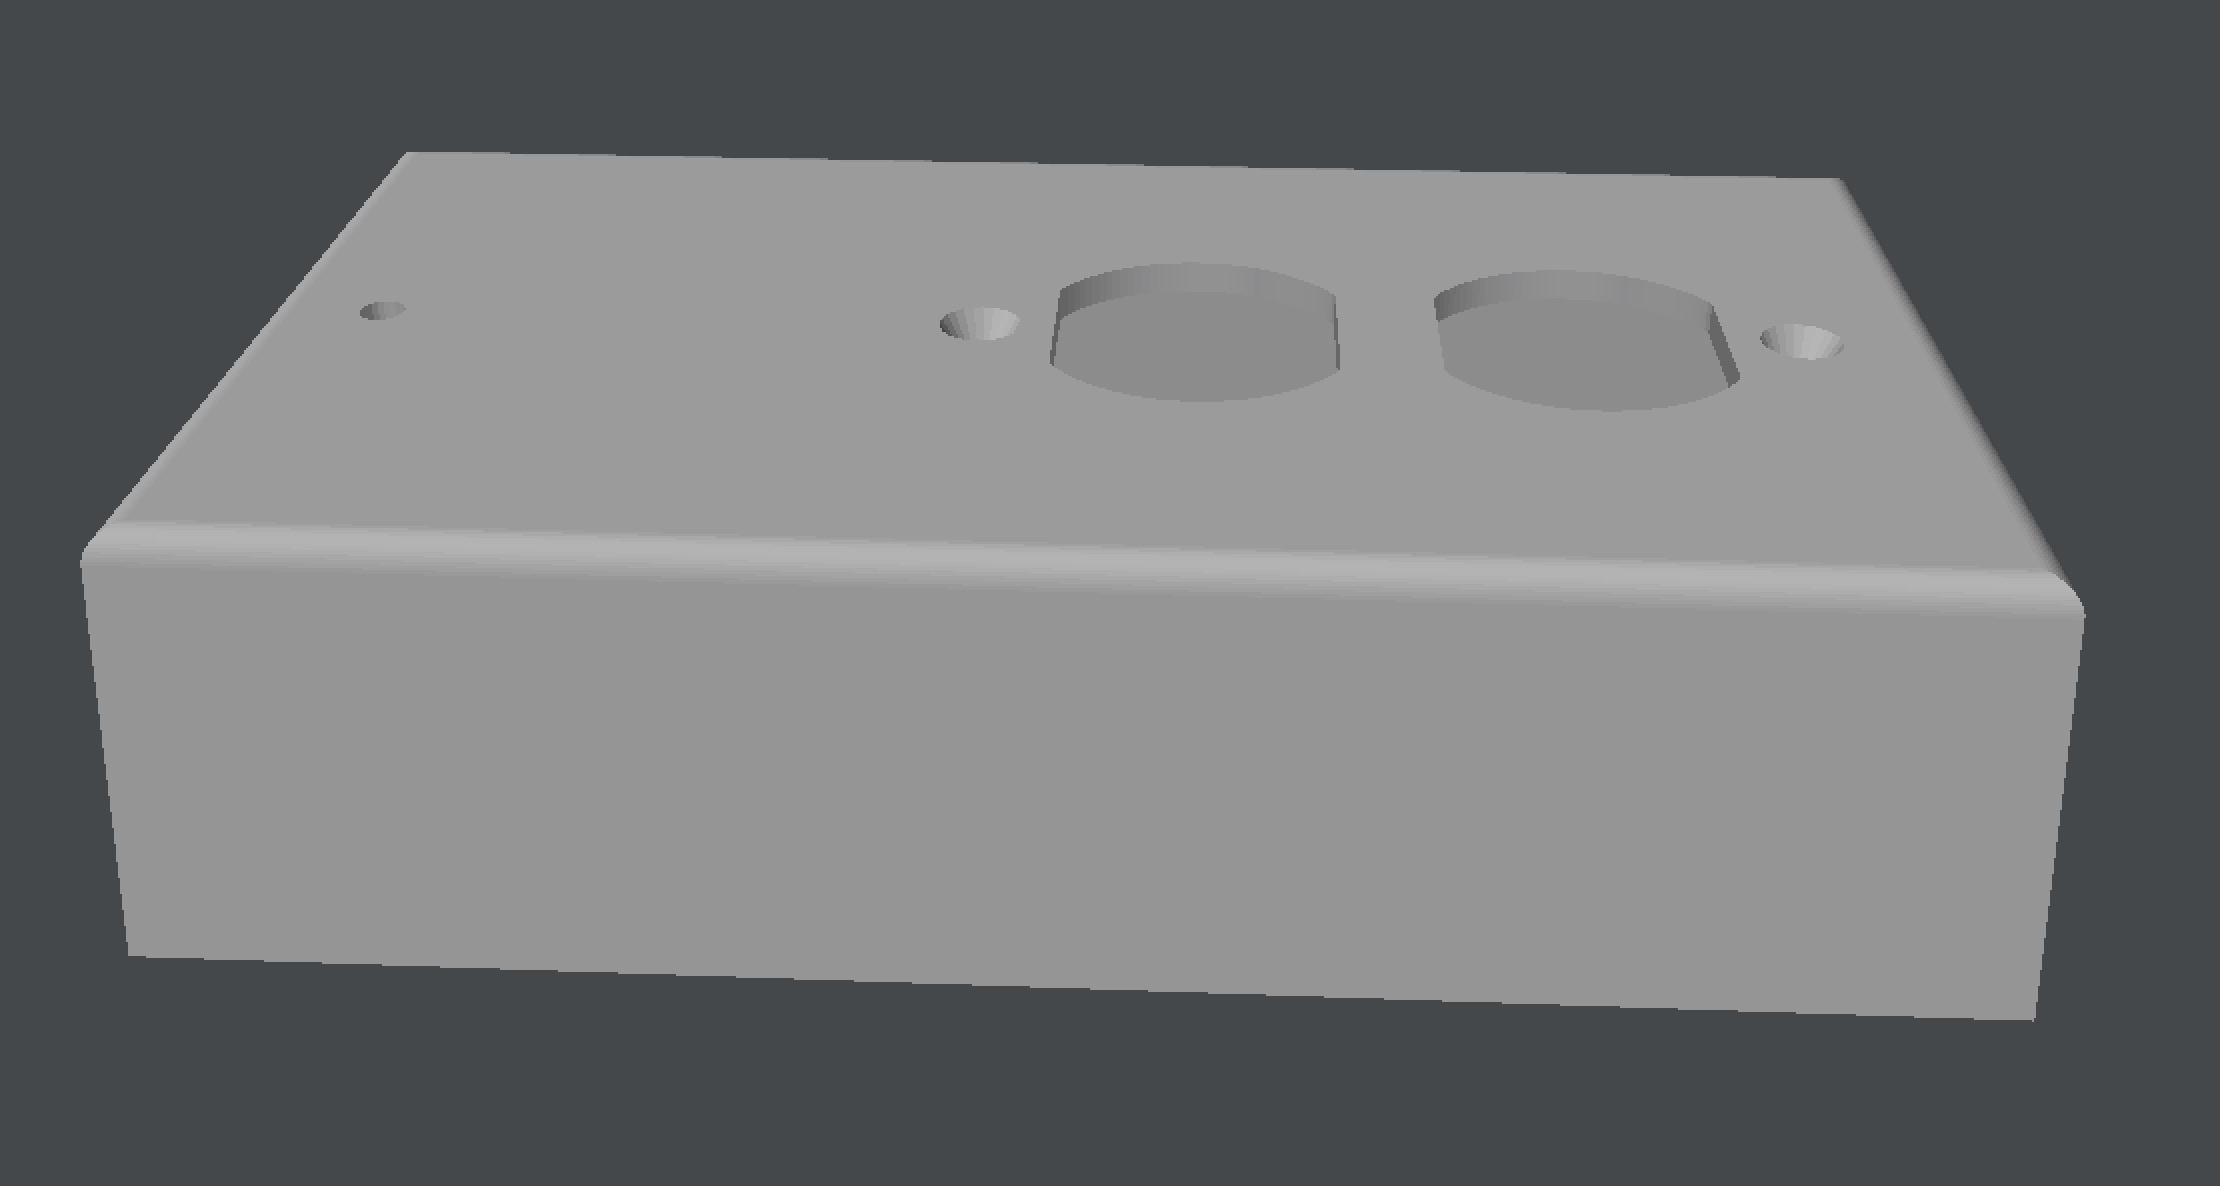
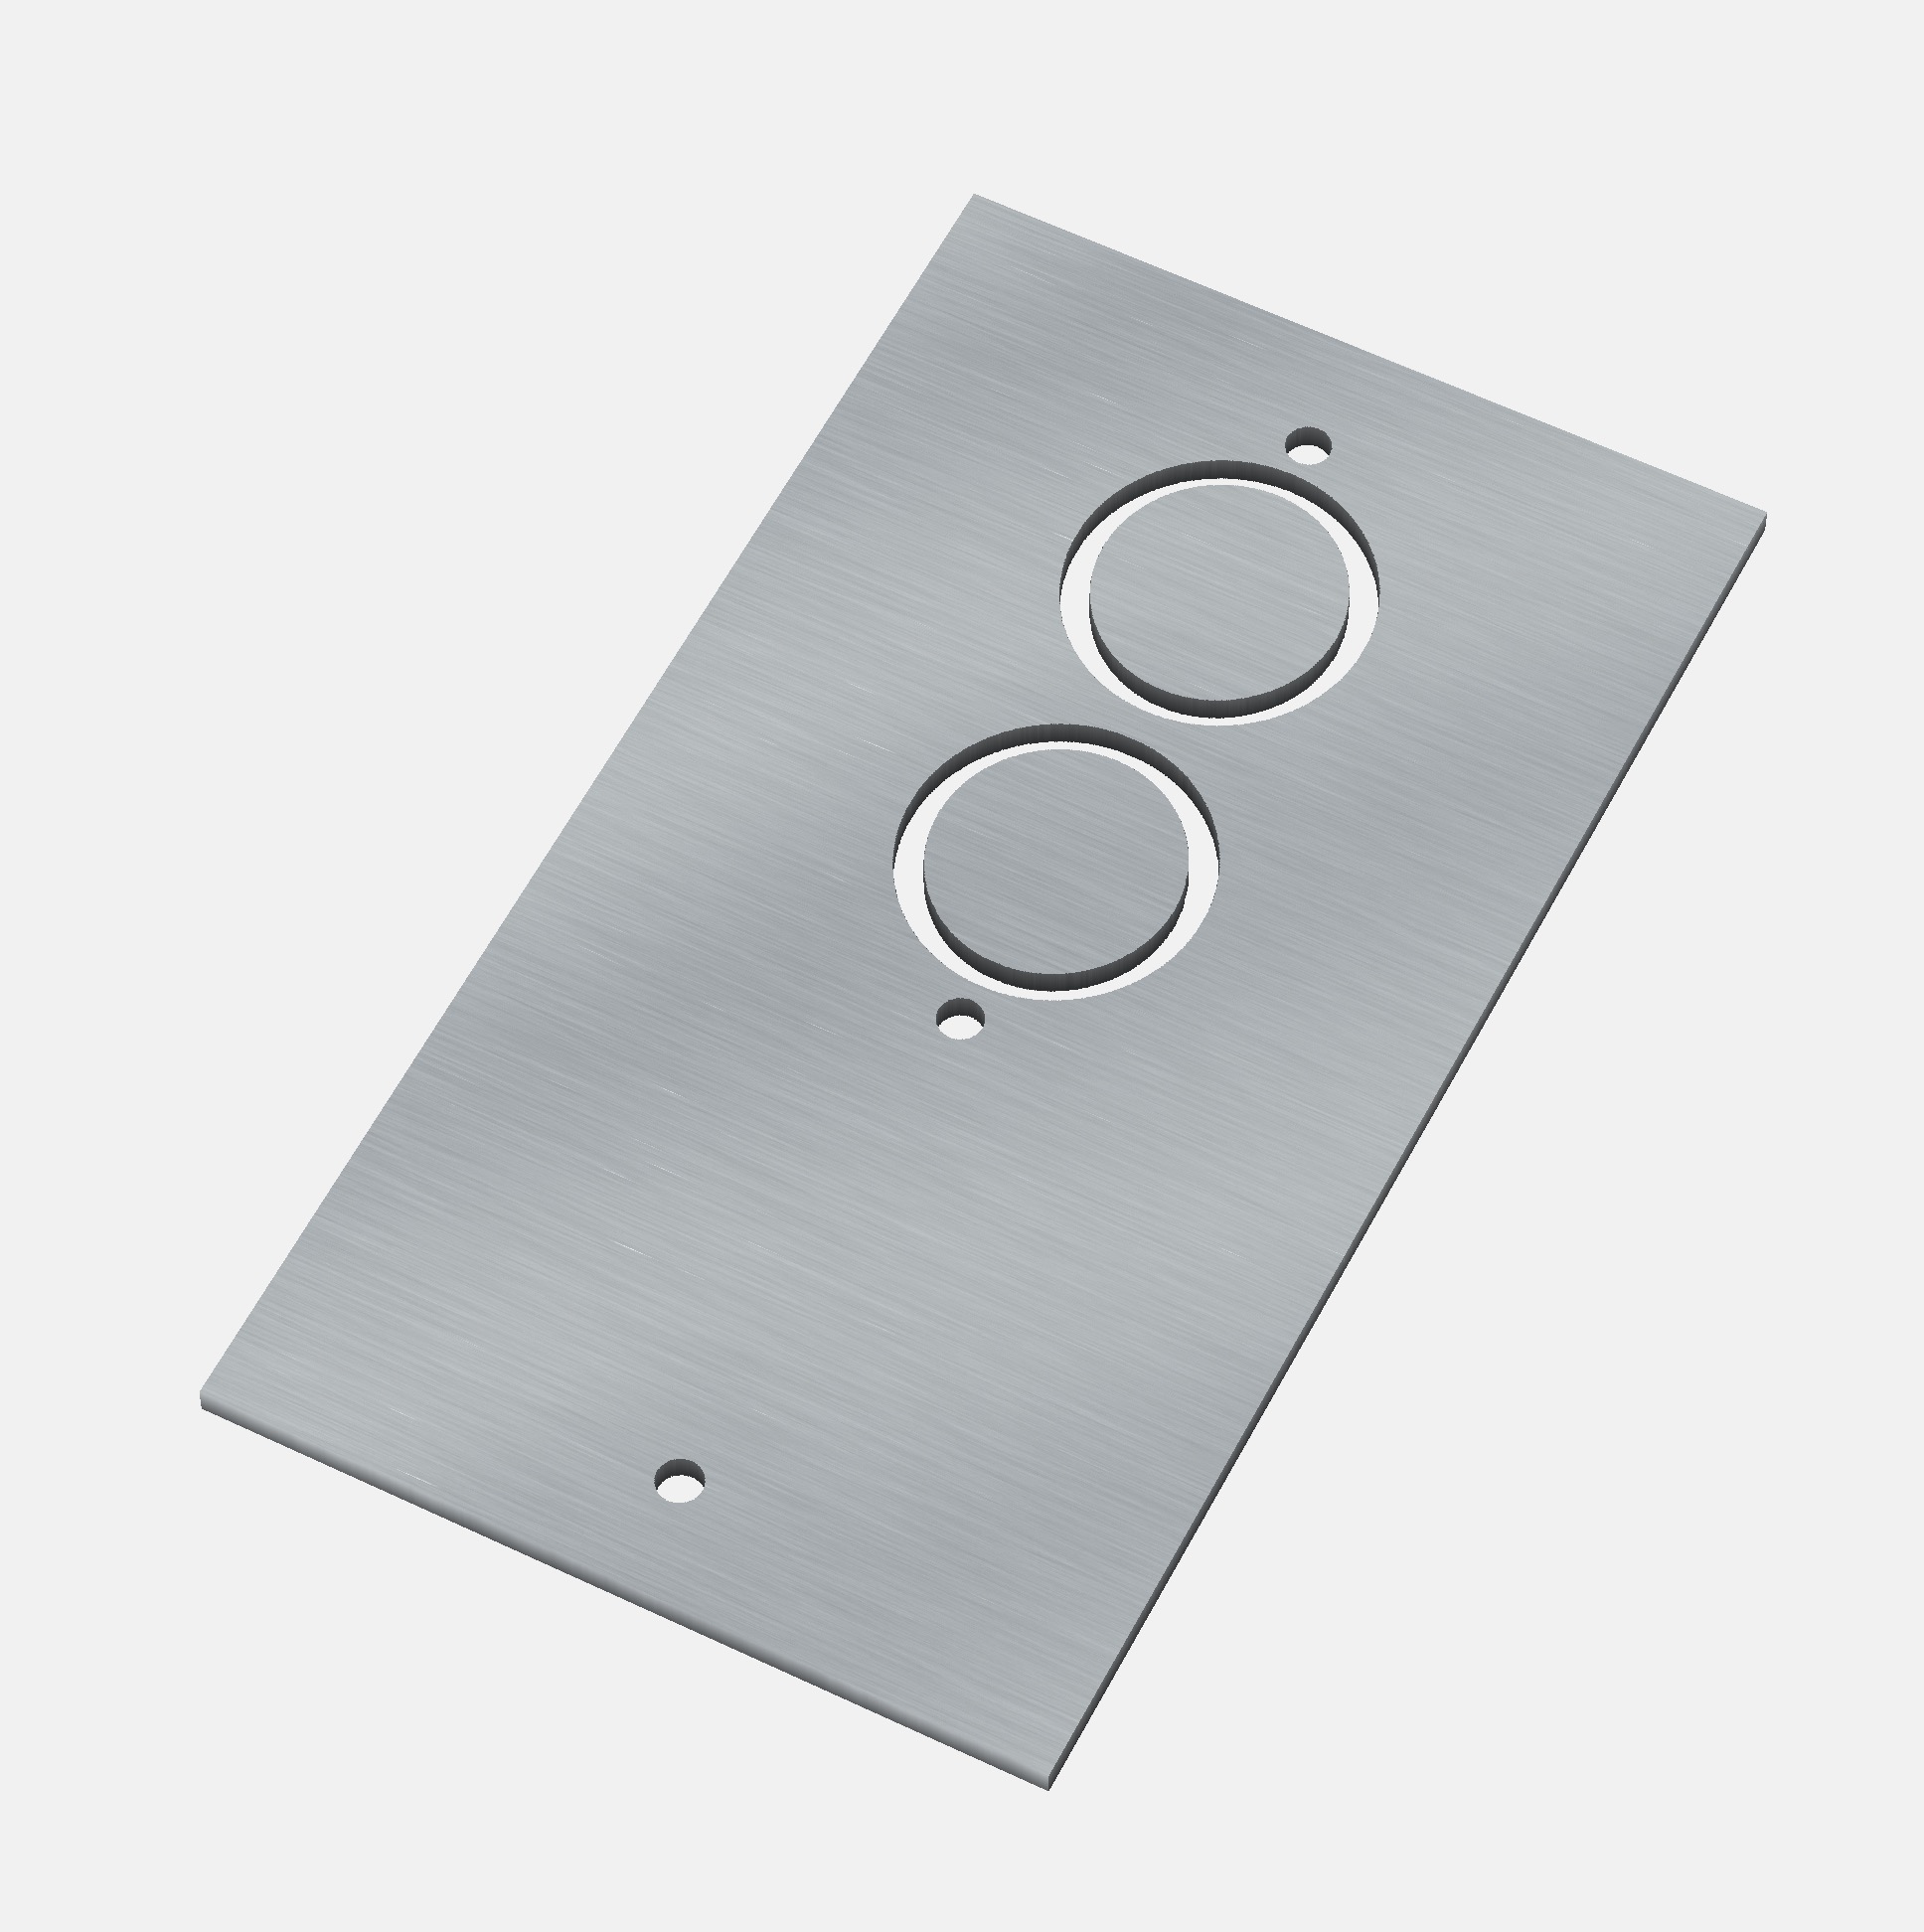
I have ABS project boxes I want to cut holes in, I don’t want to cut anything else other than the holes shown. I am not sure if I make a 3D model (like shown) or model the holes, or just the holes in a flat plane. The plastic is 3.3mm thick ABS (if that matters) and there are 2 tapered holes but if it makes it easier (at least for now) I am OK with post processing these in my drill press (only takes a few seconds).
Just so new I am not sure the methodology I should use to start. I could also bring it in as an SVG or other 2D model if that makes it easier.
I suspect there was supposed to be an attachment or picture with your post but it doesn’t look like it is there. Not seeing the picture this sounds very similar to another Nomad user not so long ago - @FrankBuss was doing something similar - if he can chime in it might be useful. Thread here:
Given the CAD/CAM tools you will by default have on hand (Carbide Create) and not knowing your experience I would suggest using the default tools and do a 2D model to start. Once you get going and want to do something more elaborate then 3D modeling/CAM with other tools like Fusion360 will be more useful.
In my final setup, I placed it upside down on the waste board, in a cut-out, as you can see in my posting. With your tapered holes, you need to place it upright, but this might be not possible, because it might be too unstable. Maybe create a wood block of the same size as the interior of your case. This can be done with the cutter as well, or just a saw and lots of sanding paper for a perfect fit. Then screw this block on the waste board and use my clamp design to secure the case.
The exact positioning of the wood block can be difficult. If the case is not too high, you could screw it first on the wasteboard, then cut it to size with the cutter. Or cut it a bit, then saw the rest. Always use the bottom left quick position in Carbide Motion for the (0,0) position. Then use absolute positions in your design files. This makes it very easy to place the holes at the exact required positions, relative to the fixture block.
Instead of a custom clamp and screwing a fixture to the wasteboard, nowadays I would build a fixture with the vise, this would make it easier to position it perfectly and no extra clamp needed. See at 0:38:
For the holes and cut-outs you can import SVG files in Carbide Create. I think the tapered holes could be created by using different start depths and max depths for the toolpaths with multiple circles.
What I was having an issue wrapping my head around was whether I needed to model the entire part or the holes. I normally 3D print and of course you design the item sans holes but here I see I just needed to design the holes themselves.
Thanks for all the suggestions, I have decided to place the face of the box down and I am 3D printing a jig to hold them straight and in place (to me designing jigs is fun and I have done it hundreds of times). I have my first test design to cut into a blank piece of ABS (have a bunch laying around from my vacuum forming days). For right now I am doing round holes for the big parts instead of contours for the outlets. See the attached screen grab from Carbide Create.
One thing I did not understand though is where it got the info for the bit? I did not put it into Carbide Create (could not find anyplace to select the bit) and I did not see anyplace in Carbide Motion either. Obviously it knew which bit to use as it prompted me for a tool change. So, did it decide which bit I needed because I choose ABS plastic or is there something else I am missing. Again this job was perfect but I want to learn more about the process so I can decide how to create more things.