I will post some pics and links to Thingiverse later. I designed a brush adapter to fit a vac adapter for the Dewalt 611. The adapter snaps onto the vac adapter and rides RIGIDLY with Z. I went with a short bristle brush and after a bunch of troubleshooting some weird z artifacts, discovered that as the dragging brush changed direction of 90° or more, it would push the z carriage up as the bristles changed their drag direction.
1 Like
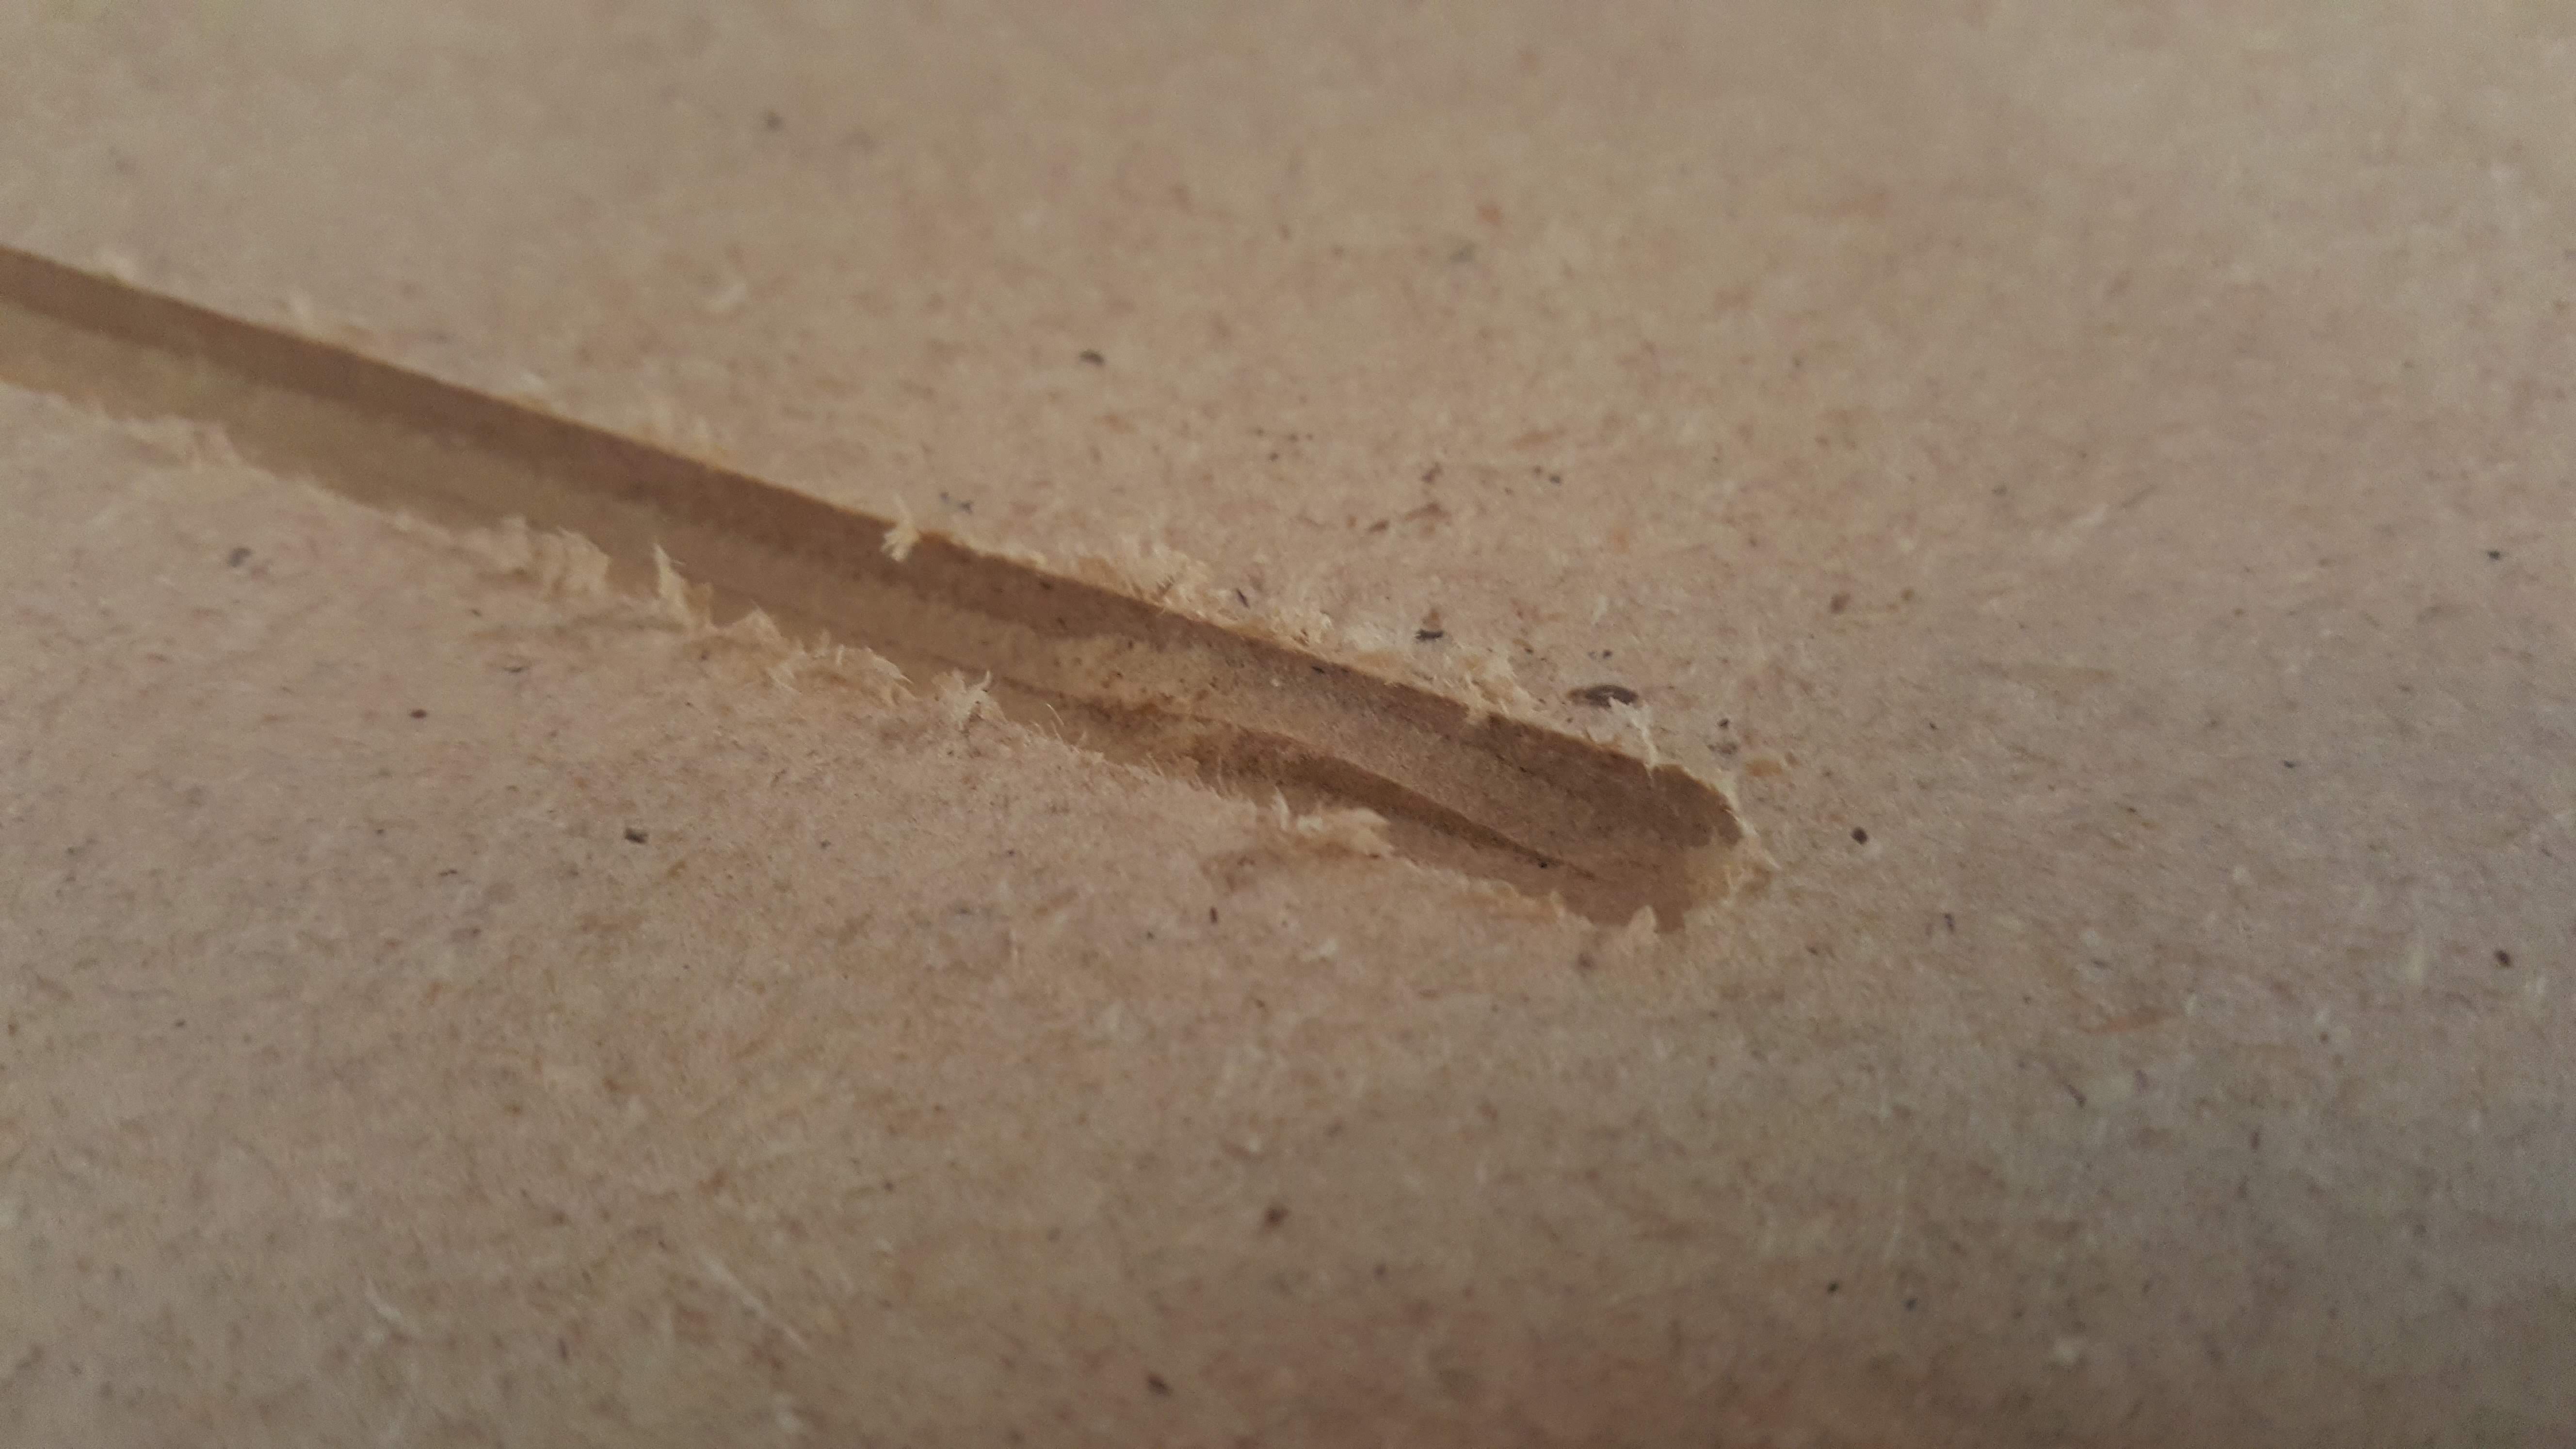
This picture shows the bump in the pocket that is caused by what I am describing. And the Thingiverse link is here
A quick video shows what is going on with the brush and the Z axis carriage.
I have to have the brush. The vac attachment I’m using does a good, but not great job without one, so an update to the design is in the works.
I’m sharing this because it took a lot of time to figure out why this bump was happening and I hope to save others from the frustration.
Hey Tom, this is one of the reasons I was so absolute on making my shoe a fixed-Z.
The Suckit (commercial offering) is a fixed-Z, but there are DIY fixed-Z schemes available. In fact, I think there is a “show me your dust shoe” thread here and you’ll find fixed-Z designs therein.
I’m pondering stuff. I really like the vac attachment I’m using. It works well even without a brush, and I LOVE the little lever he designed to hold down the spindle lock button. But adding a brush has presented challenges, especially if I want to maintain key features like the lever and the side venting of the spindle exhaust.
Really appreciate you posting this. I recently bought the dust shoe from Reality 3dp (which looks exactly like the one from thingiverse) and recently have been having weird Z (and once in a while X/Y) axis issues myself. Never thought about the brushes possibly causing the trouble. Time to do some investigating. Man, hope I didn’t waste $80 bucks for nothing. I’ve been about ready to throw my Shapeoko out the window. Maybe this will help get things right. Was so close to selling and going back to my local maker space…glimmer of hope lol.
One of the things I’d suggest for you guys that are already invested in these models, is to investigate your own alternatives for brushes.
For example, a piece of some thin vinyl shower curtain with some slits cut in it, and a doubled-up hem on one edge, may work better than the brushes.
Additionally, thinning the existing brushes by removing a lot of the bristles may be an alternative as well. Most brush material I’ve seen has been way overdone, you just don’t need a 1/16" or 1/8" thick wall of brush.
1 Like
John, I am sorry that the design has given you troubles. Keep in mind, that vac adapter works very well without a brush too. Certainly WAY better than no vac at all! And the Oko is a great tool so don’t pitch it. Lots of great help right here. Shared ideas spark new ones. That idea of Phil’s about thinning the brush is interesting.
I’m bad about defining constraints on my designs. In this instance, I had used this same brush on a vac attachment I designed for the DeWalt 660 on my MPCNC. It never gave me any trouble, so I assumed it would work perfectly in a similar design for the 611 on my Oko. The difference? MPCNC’s Z axis is screw driven and held down as rigidly as the machine’s frame can hold. The Oko is belt driven and it seems that the Z-axis is not terribly difficult to push up. Now I know and I’m considering different brushes and /or a floating design.
Where do you live? And when are you thinking you’ll throw it?
Just curious…
No sweat, I am going to try some alternate solutions this weekend when I have some time. It may not even be my issue as I did several projects with the vac attachment when I got it and didn’t have any issues until recently. I’m sure most of my problem is the user of the machine as I see tons of people here and on youtube just sailing through all their projects while I sit around wasting wood. The vac attachment is not really a big issue as I can stand there holding my vac hose like I did in the beginning if that takes away some issues.
I made enough off my projects to pay off the machine in a little over a month, so I can’t bi*ch too much, but it just seems like every project I do I have to run 2 or 3 times before the machine does what it is supposed to, and it’s something that happens randomly and isn’t always repeatable which is maddening. I learned working on a 4x8 shopbot at the local makerspace and never had any issues and got spoiled, but I know it’s apples and oranges. I got so fed up with ruining wood that I closed up my side-business (or if I get a job from a past client I go back and use the makerspace) and am just going to play around with the machine on personal projects until I either get it running smoothly or I move on to another product. That took the stress off considerably.
Topeka, KS. Interested in a used model?
Not sure if I’m selling but it isn’t going to take long to make up my mind.
Going to disassemble and reassemble over the next week as time permits and see if I can get it working the way it should. If not, I will be letting her go and moving on to something else.
@rvs0002 I’m sure someone would be interested if you were to sell it, but I was just kidding about your saying you were going to throw it out the window. Anyway, post any issues you have here in the forum. You’ll get it running and problems solved.
2 Likes
Oh for sure. Not giving up on it yet! I don’t post much but I use these forums constantly for all the info and tips people have shared. What a great site.
1 Like
I have redesigned the brush adapter to give additional clearance. I raised the brush 5mm, plus got rid of the lower lip allowing it to float an additional 5mm. I have cut with it a lot and the artifact that was occurring is gone.
That looks awesome. Wish I had a 3d printer!
This topic was automatically closed 30 days after the last reply. New replies are no longer allowed.