My 1st real project now that I have all the kinks worked out with my XXL.
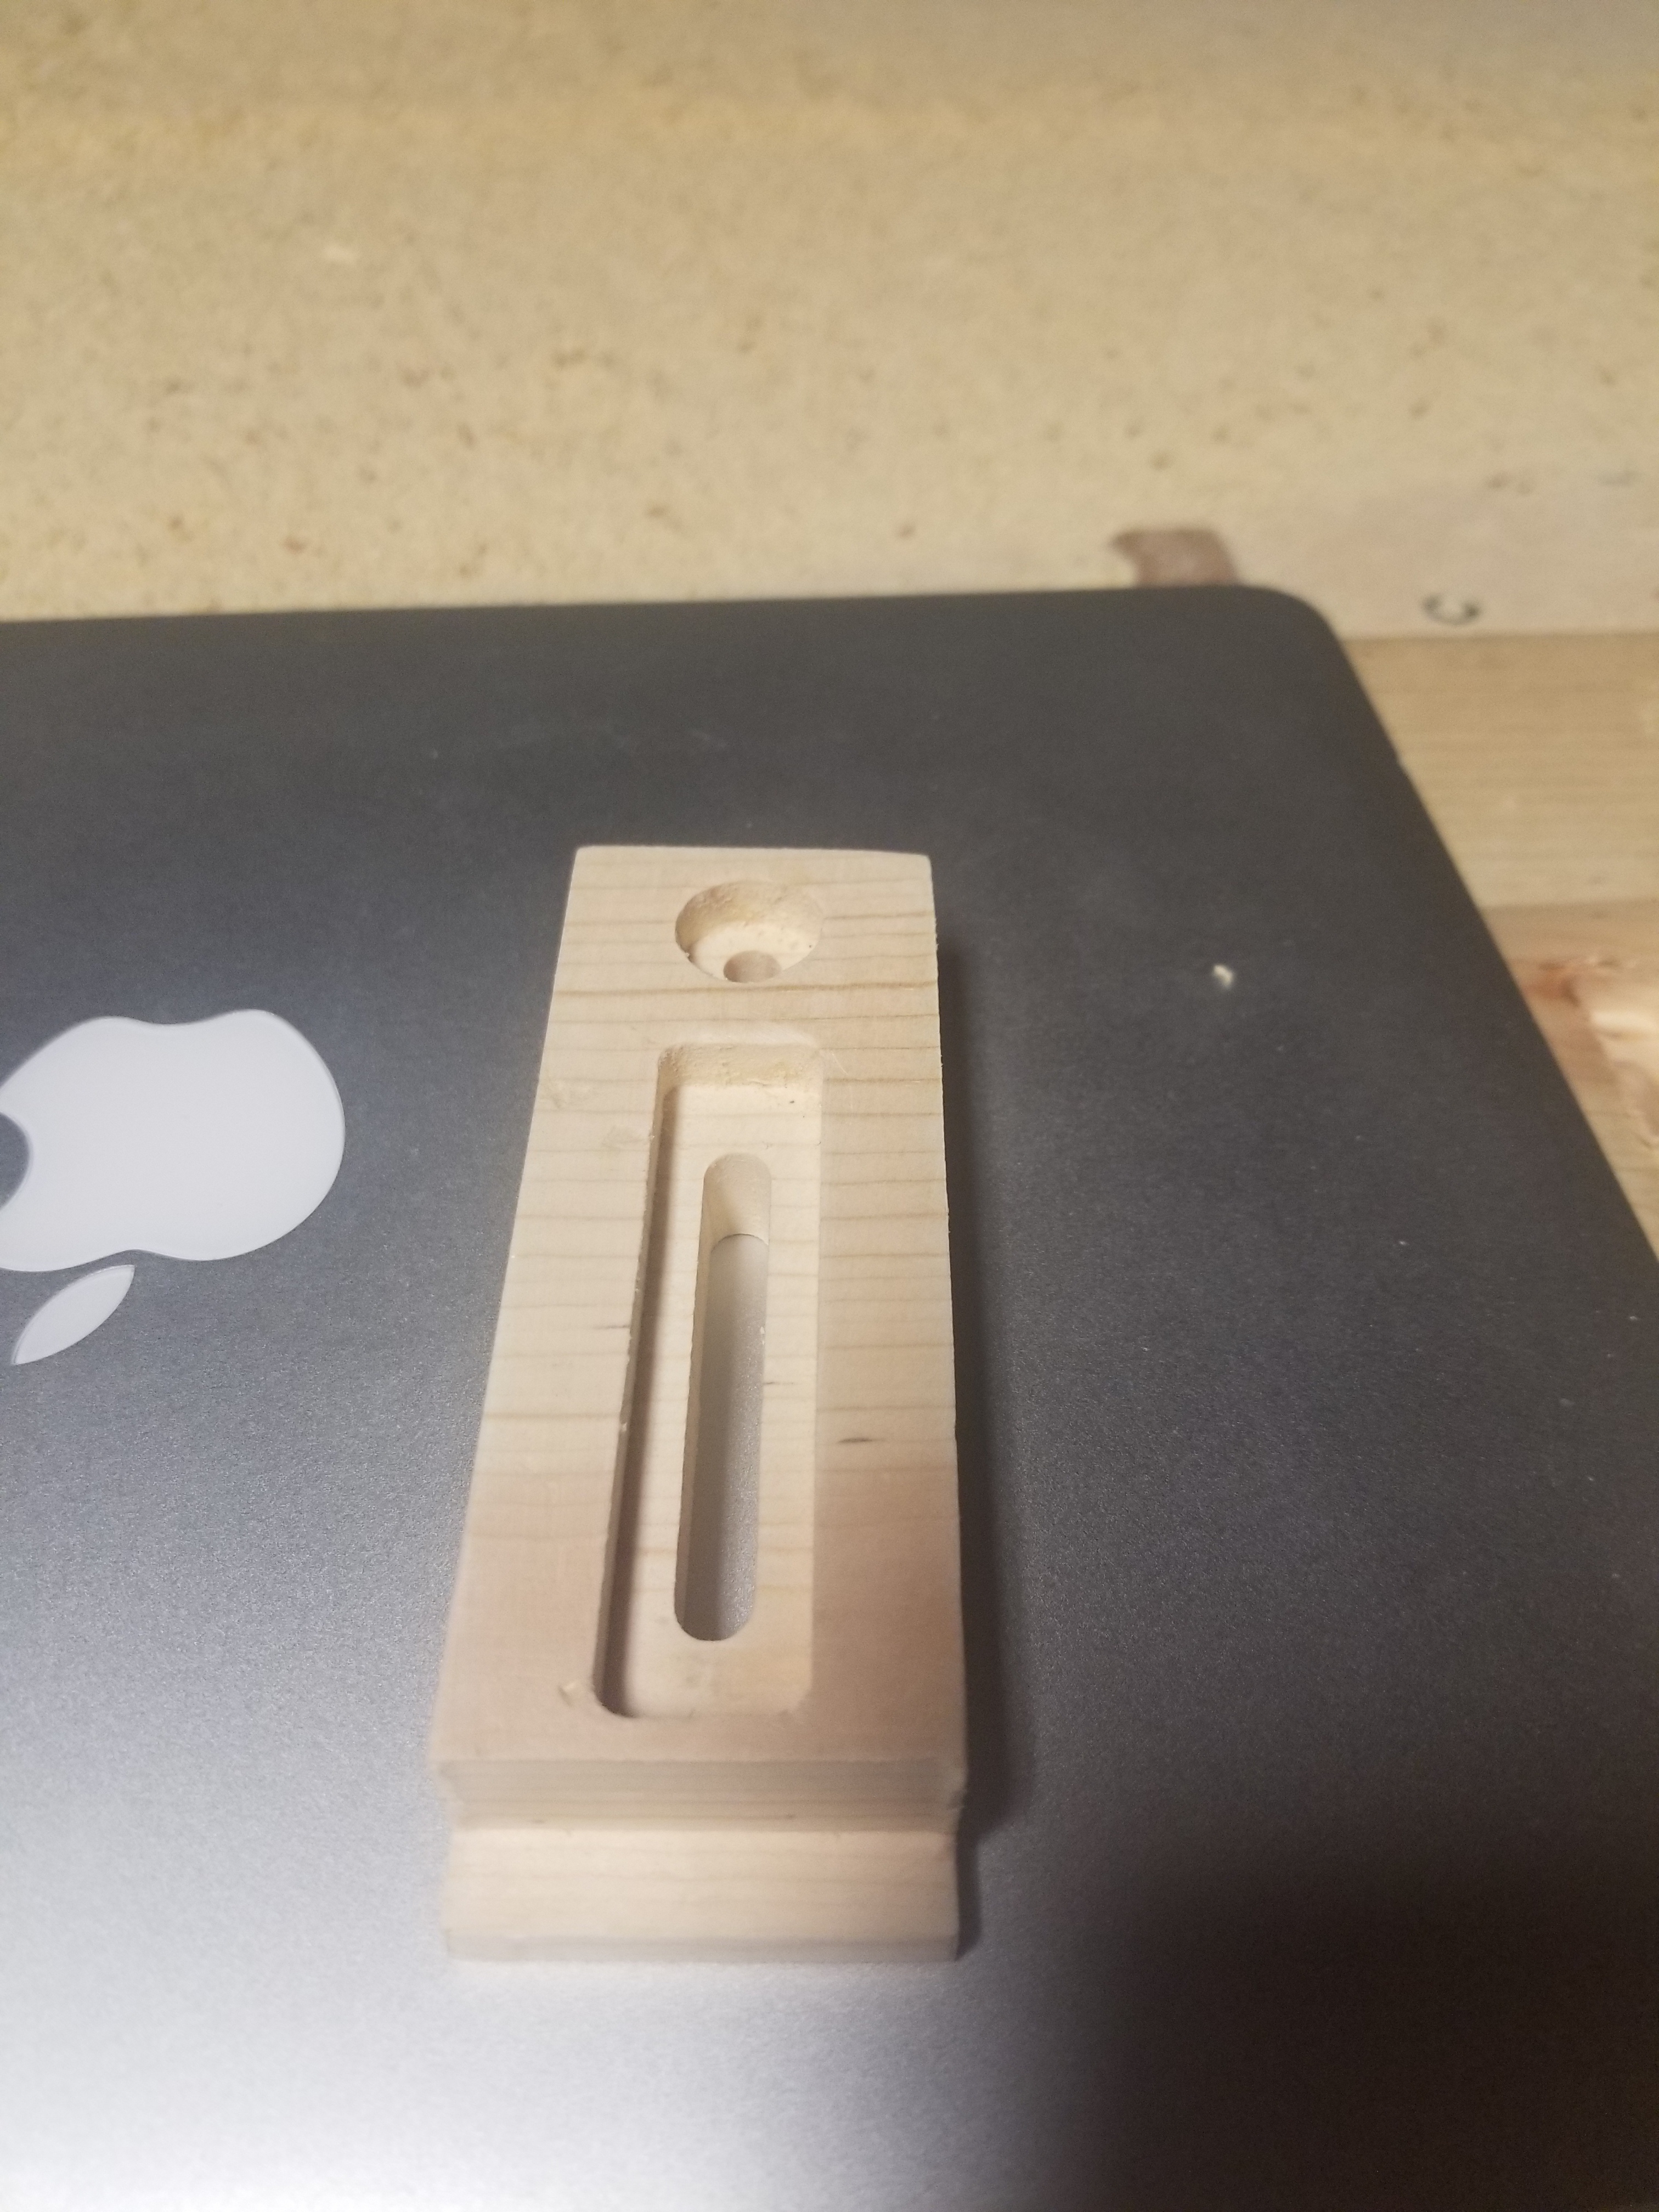
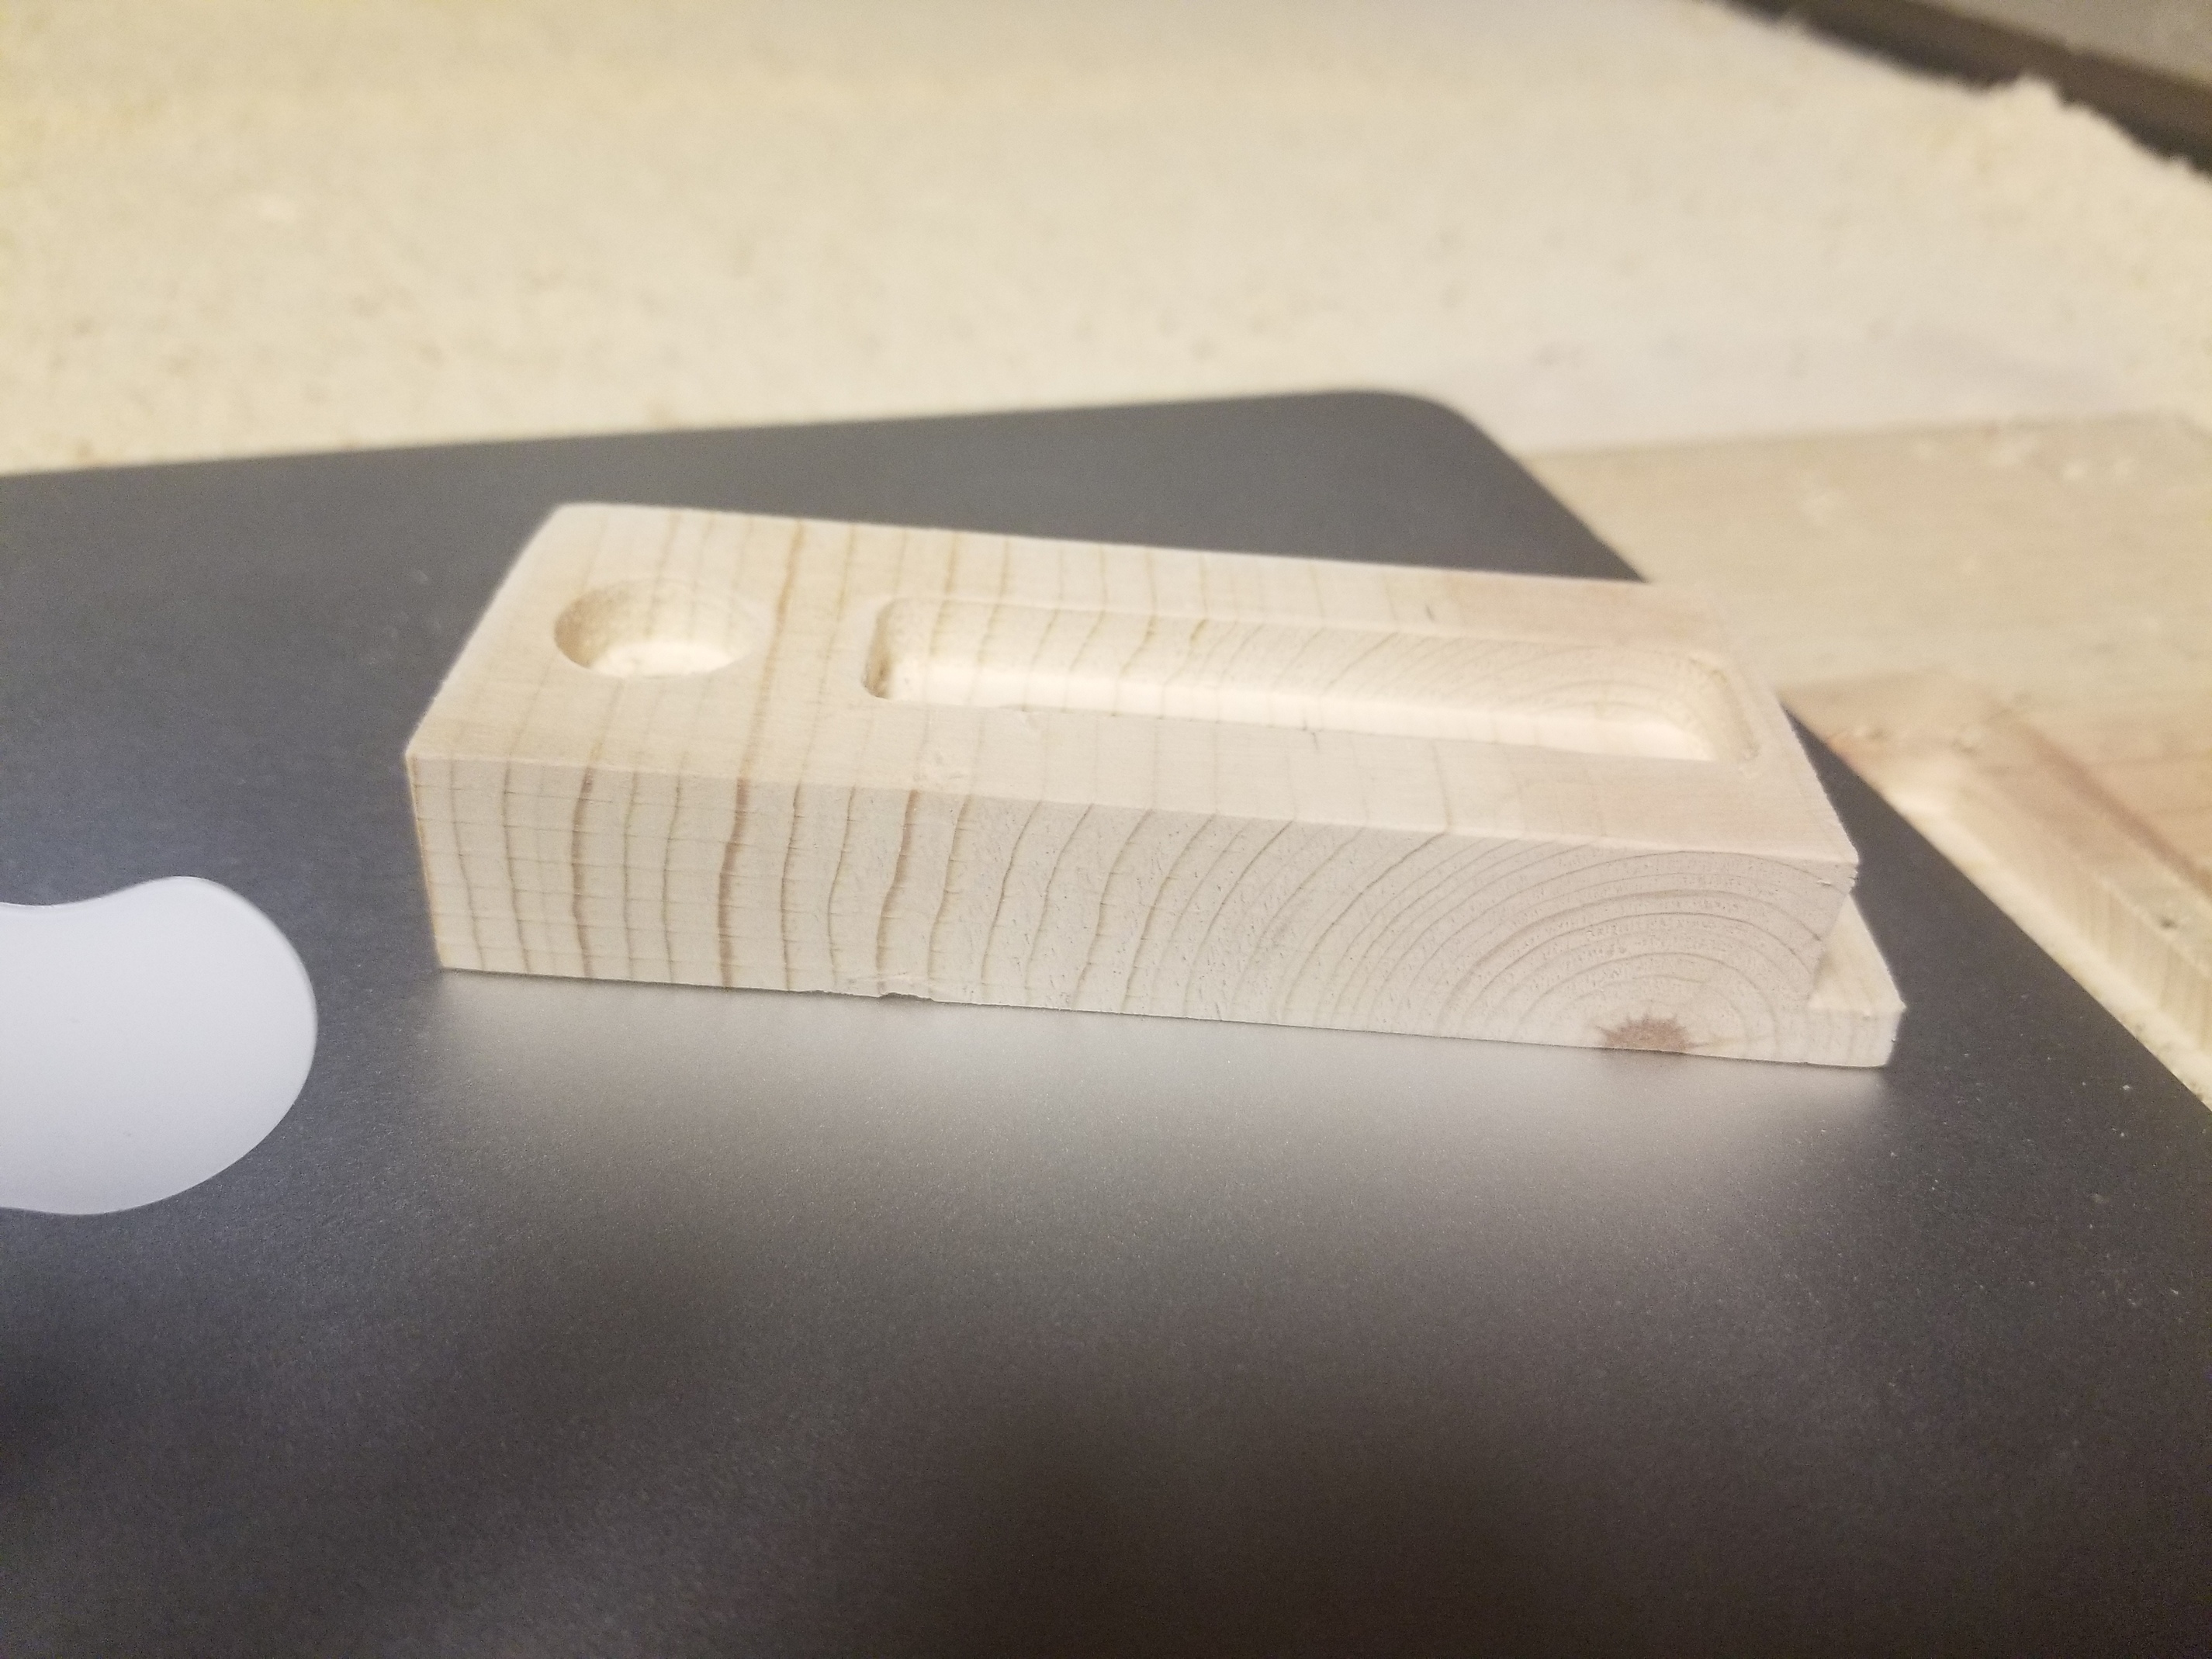
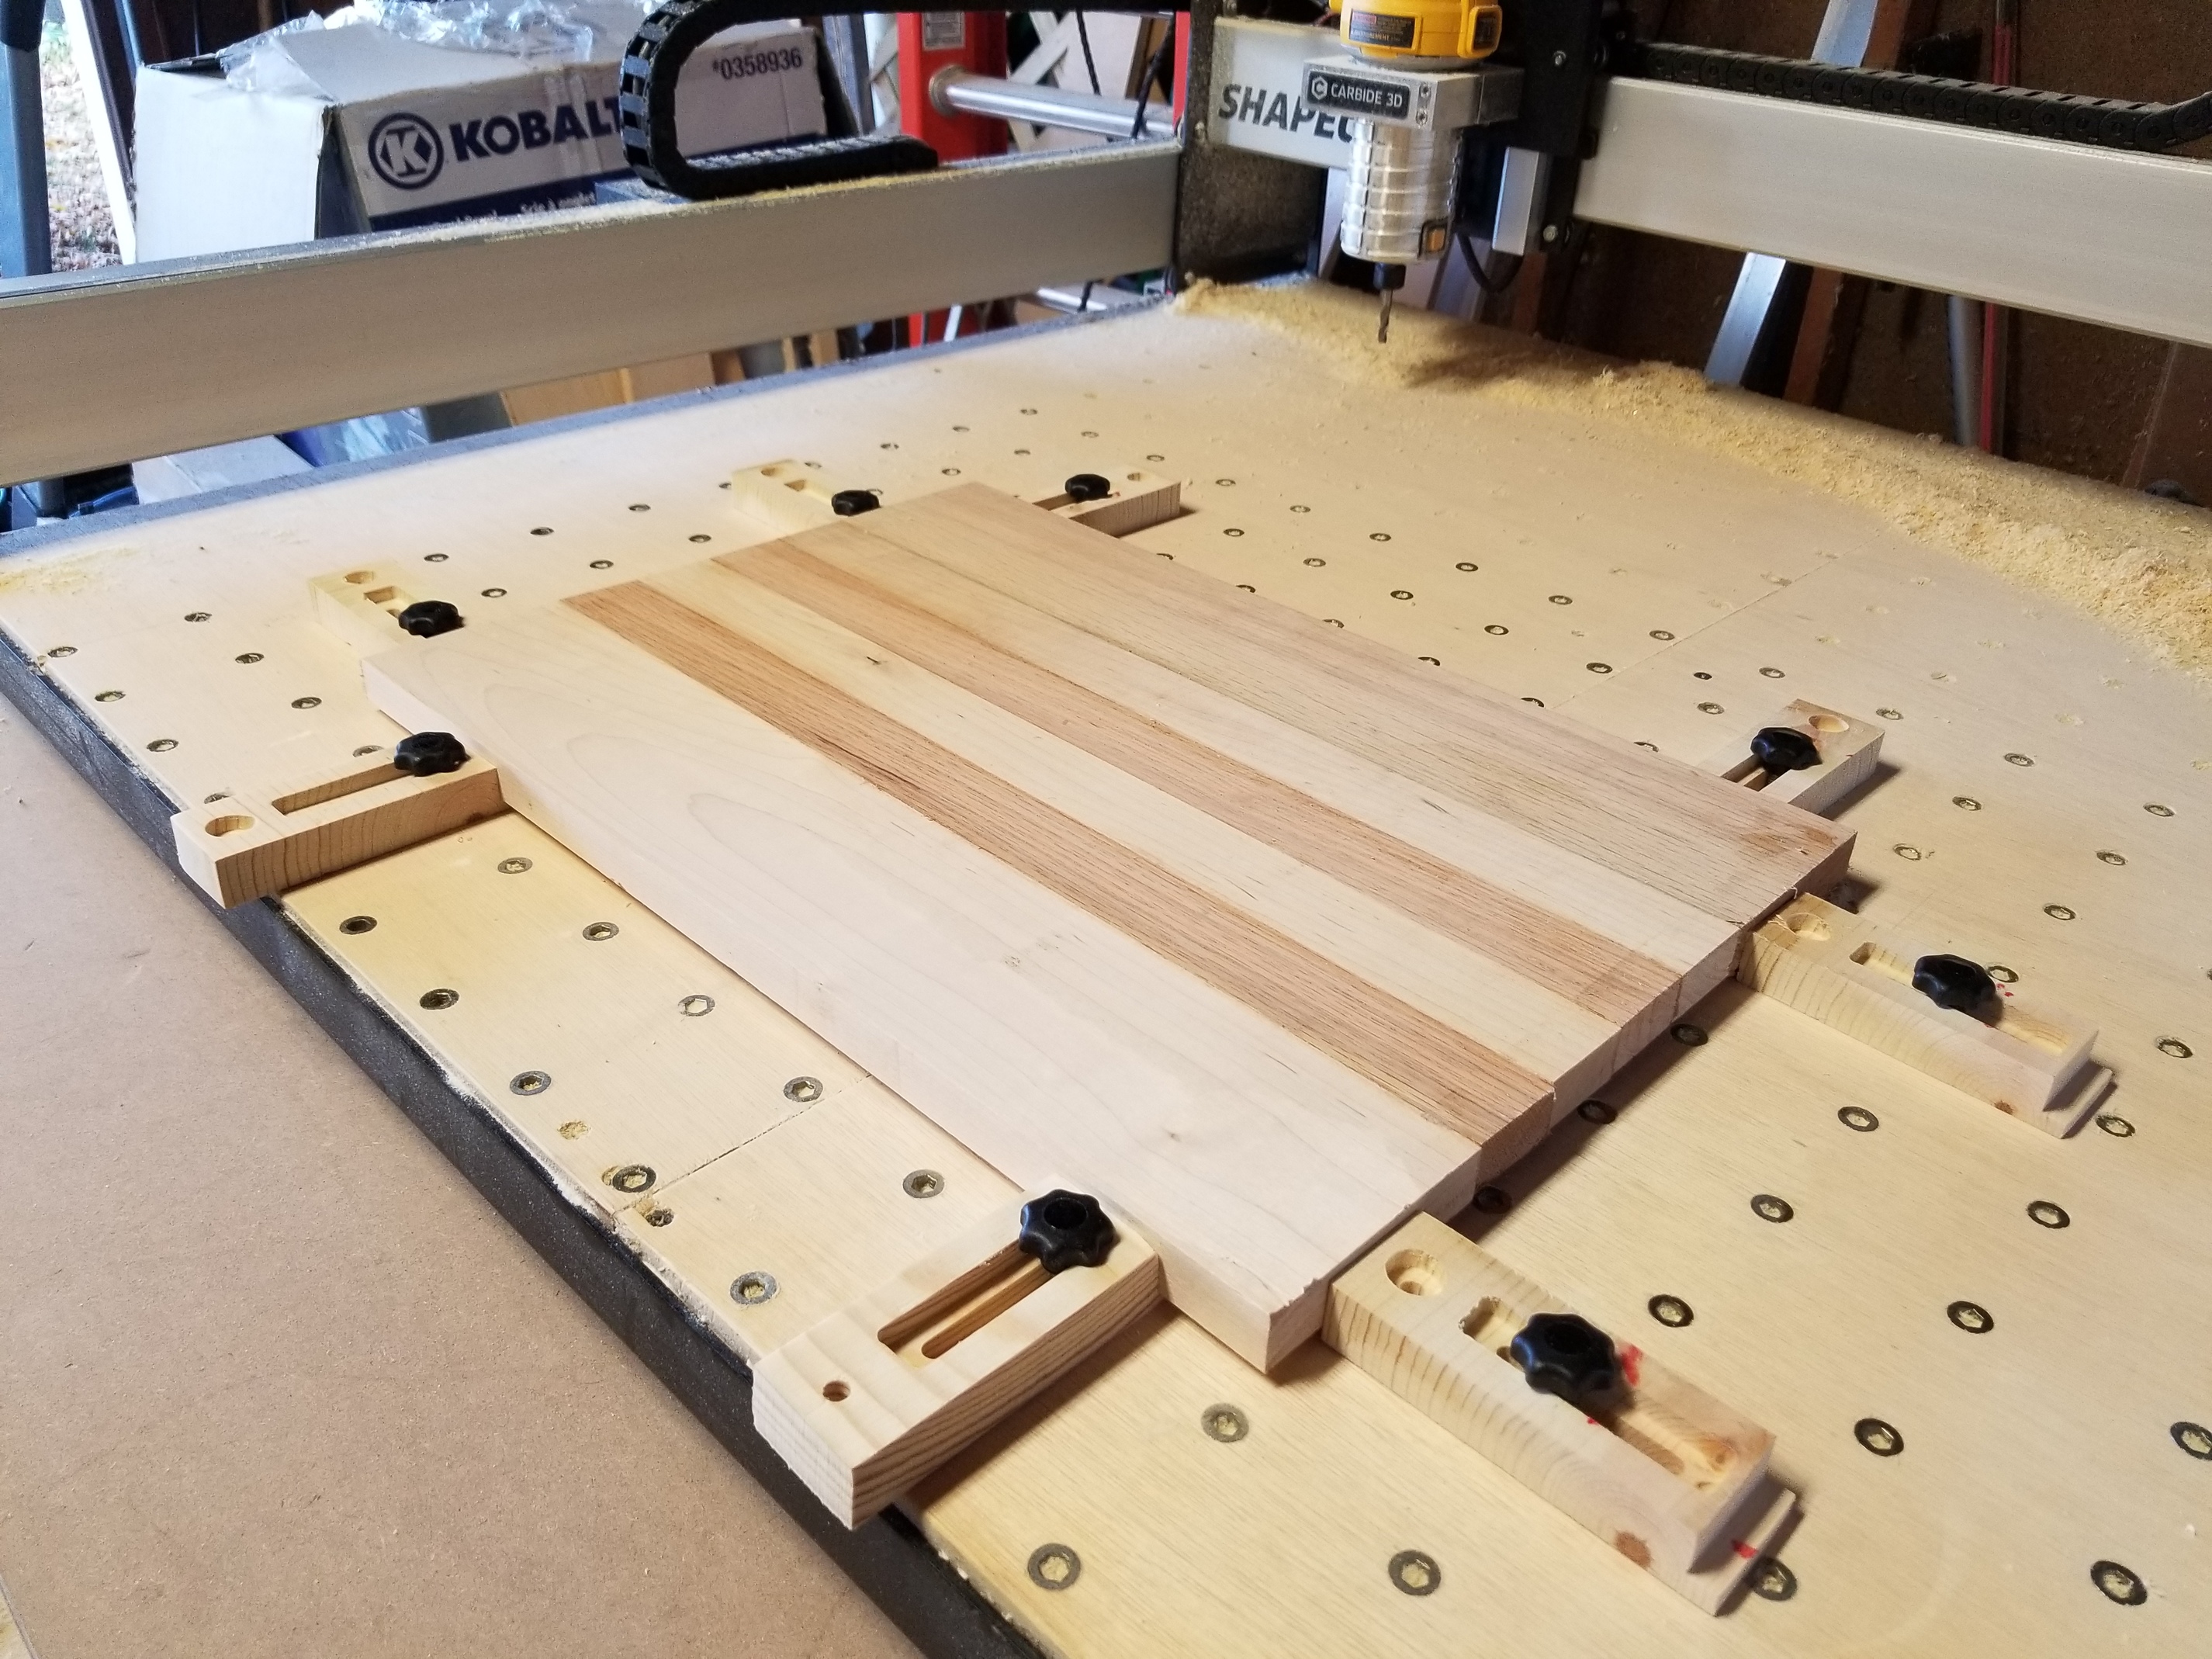
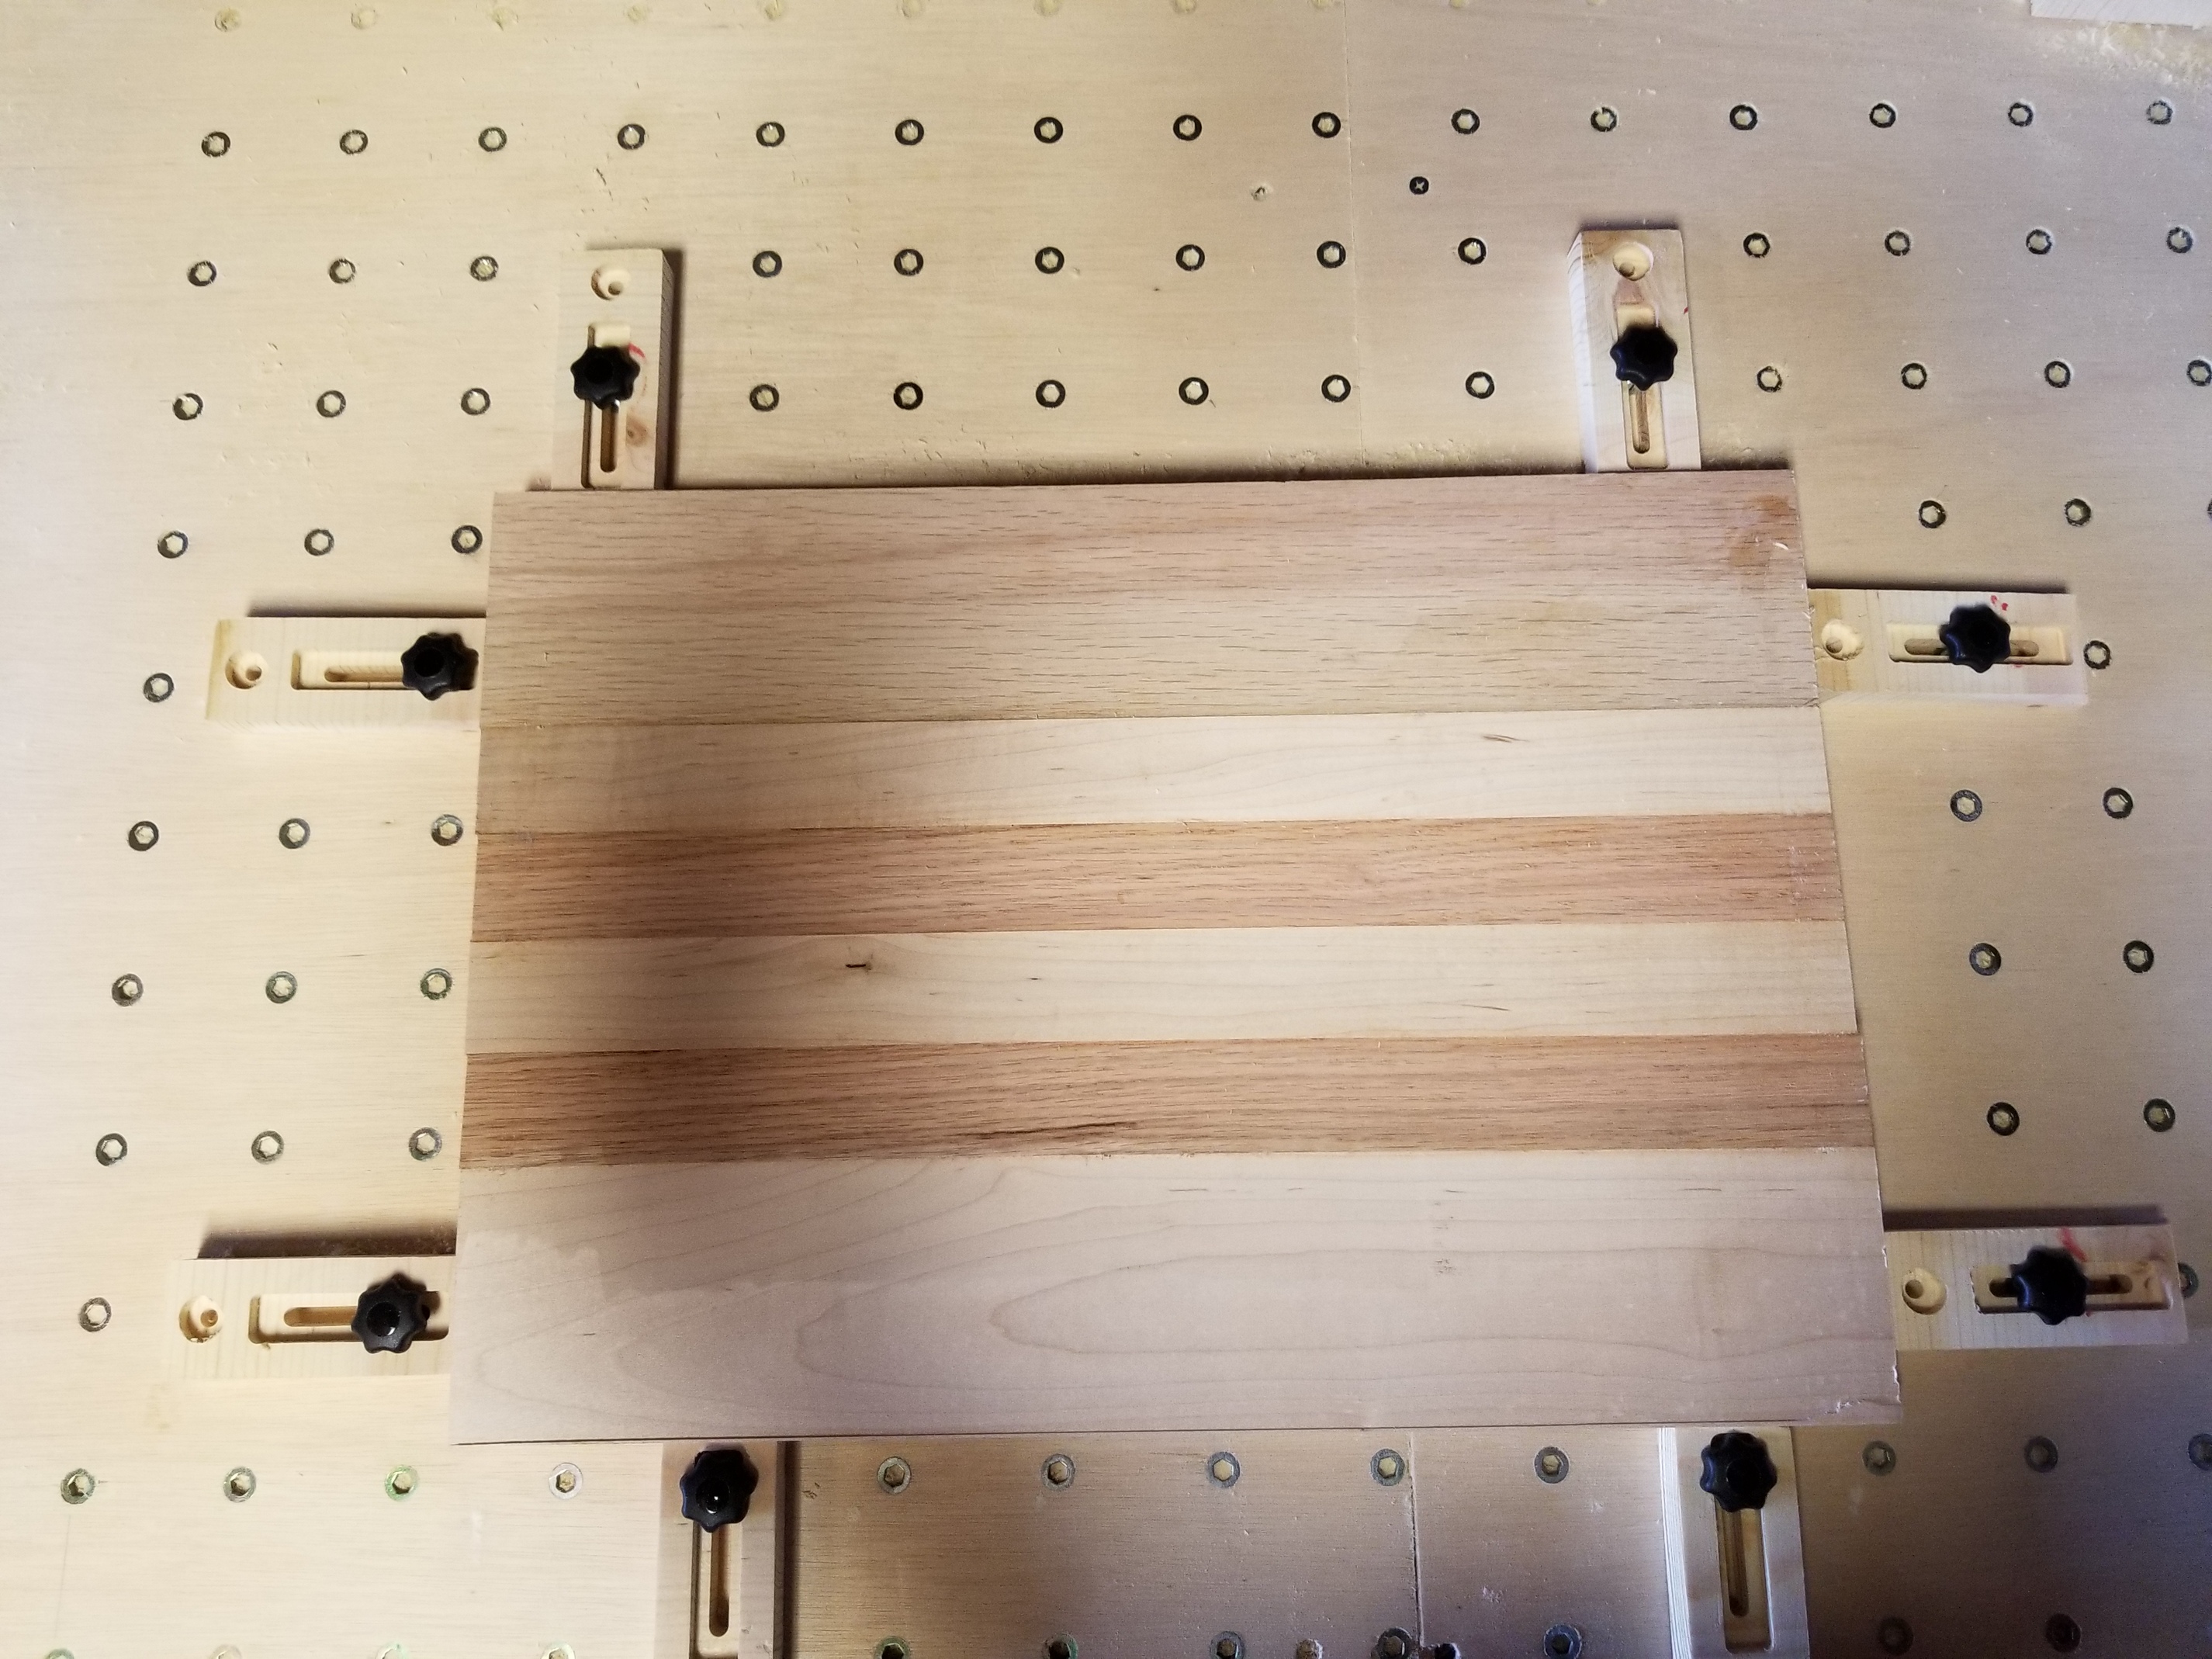
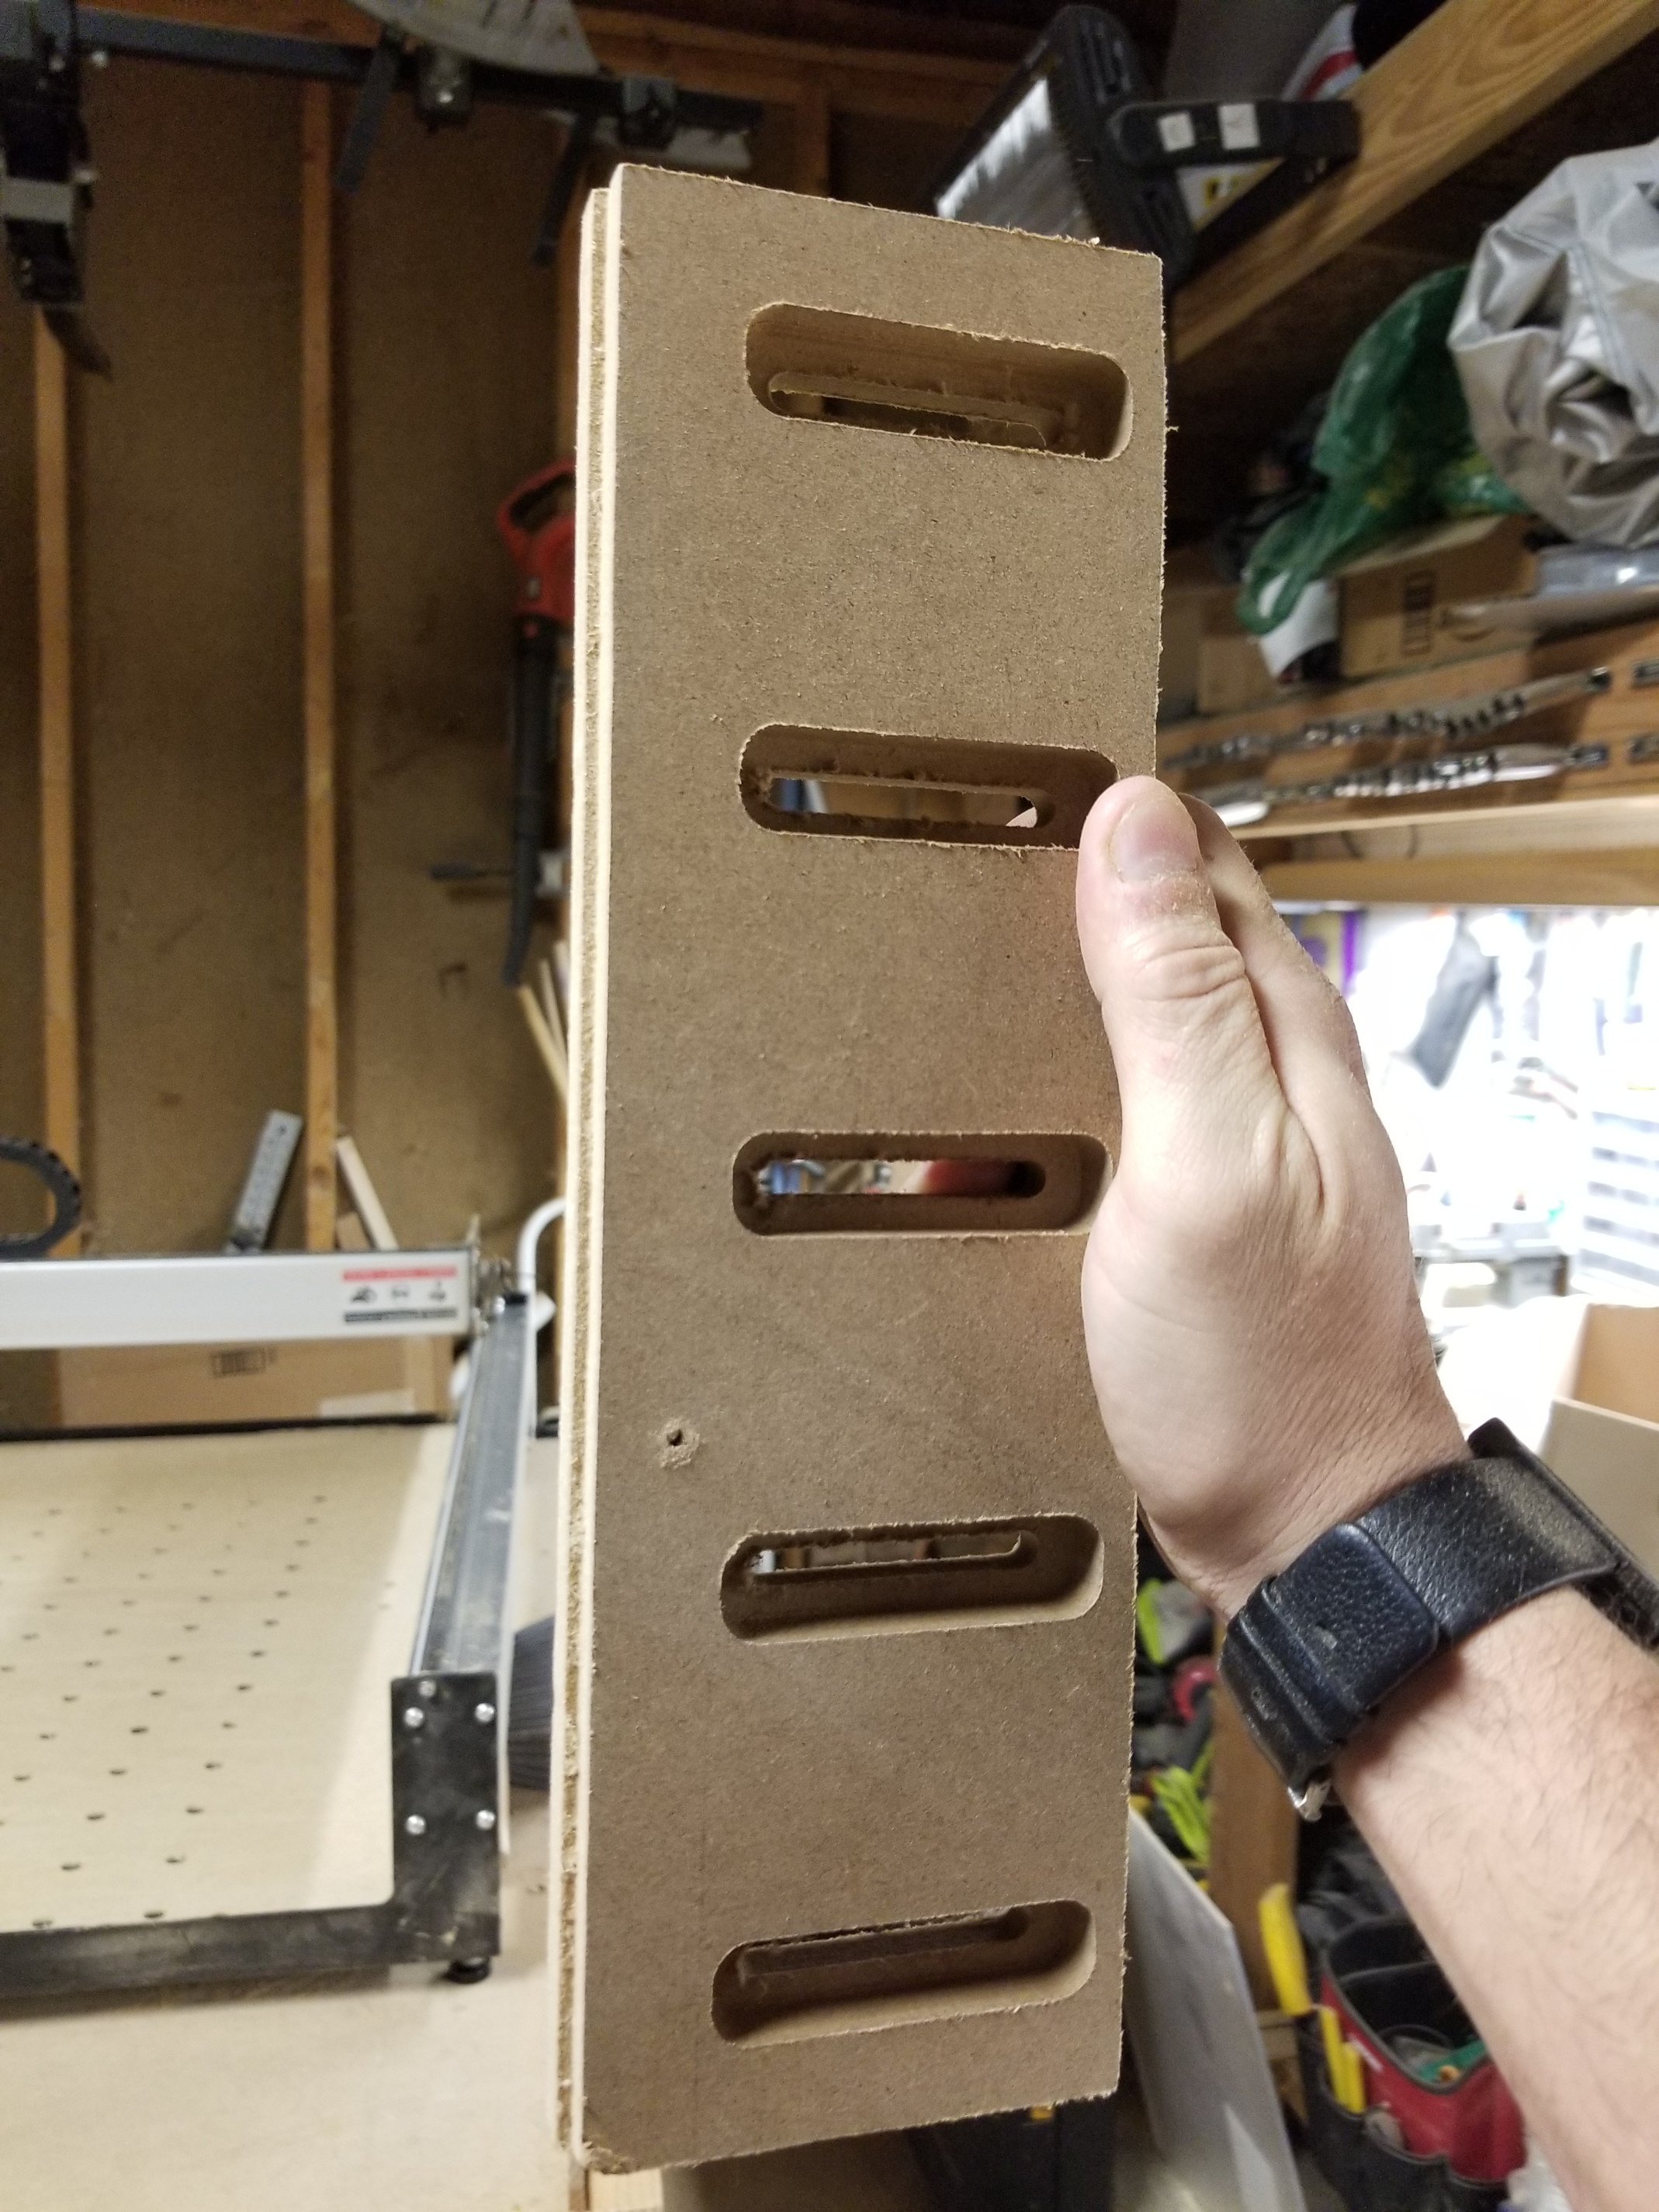
I wanted to design a clamp that can hold the piece in place while also elevating it off the work surface, so you can cut/drill all the way through. I didn’t want to keep using a junk piece underneath. With the addition of the 2nd hole, I found it easier to square the clamp, and keep it from moving when bumped. The recesses are made to fit the head of the screws that I bought off amazon.
Vcarve Pro is what I use. Yeah, it’s expensive at $700, but I found it SUPER easy to learn. Besides, it has a crazy amount of features and plugins. I’m including my vcarve file, as well as the gcode - for those who use something else. I used a 1x6 to make these. Working piece dimensions are 20"x5"x.75". There’s 4 tabs to hold the piece in place after the outside is cut.
The one upside to using a backing board under it is it eliminates ‘blow out’, where the wood underneath chips away without anything to support it. I’d be curious how your system works out in that regard to definitely post a followup.
I know some day I’ll be going down the path of pricier software but, for now I’d like to try and make back the investment in the machine. Glad to hear it’s money well spent when I eventually do.
for what it’s worth you may want to make some sacrificial pieces that have the same height as the tab you are resting on, to support the center. depending on the size of your work piece can cup downward during cutting. i was using some similar that i laser cut. https://www.thingiverse.com/thing:1692984
I made enough of these (16) to put them around the wood to prevent flexing. The backing board idea means I am wasting materials, which is what I am trying to prevent. I’ve yet to have a blowout issue on the bottom, but will keep this in mind.
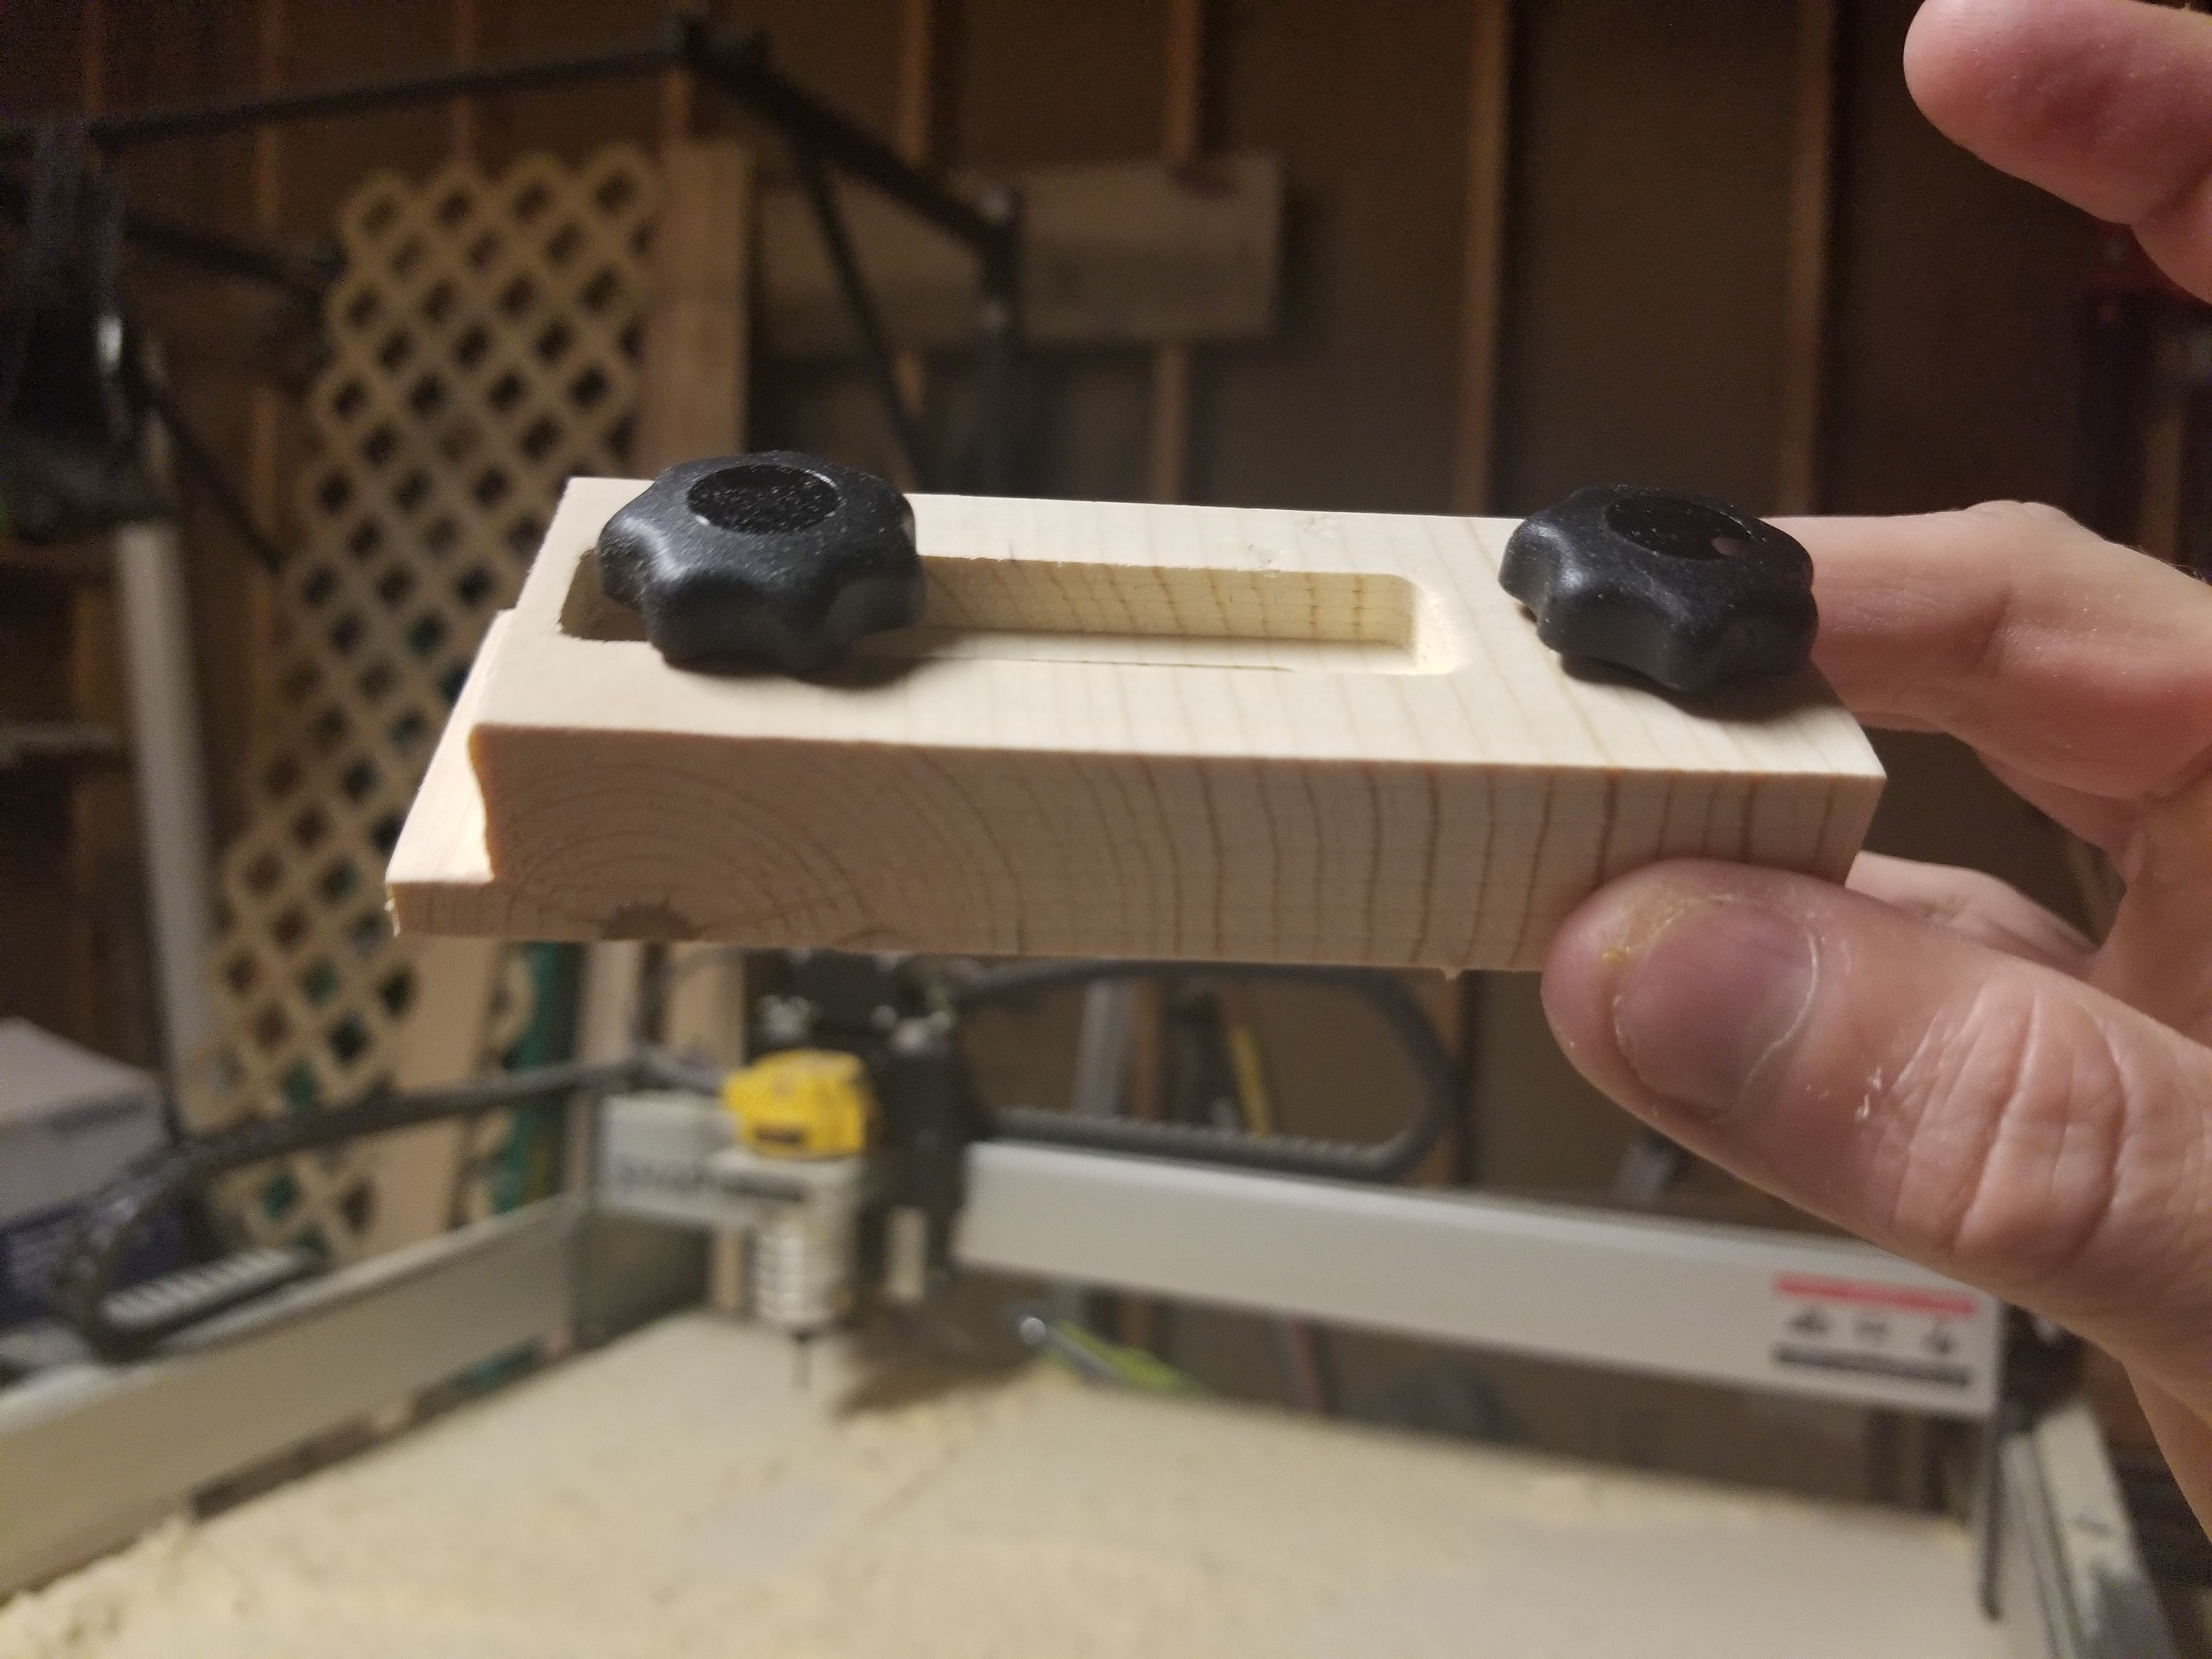
A couple of questions, though. How do these hold the work piece down? It looks like it just sandwiches the work piece between the clamps.
If that is the case, how do you use both screws on all of the clamps? Or, do you just anchor a couple of them with 2 screws, and then use one screw in the slide groove on the opposing clamps?
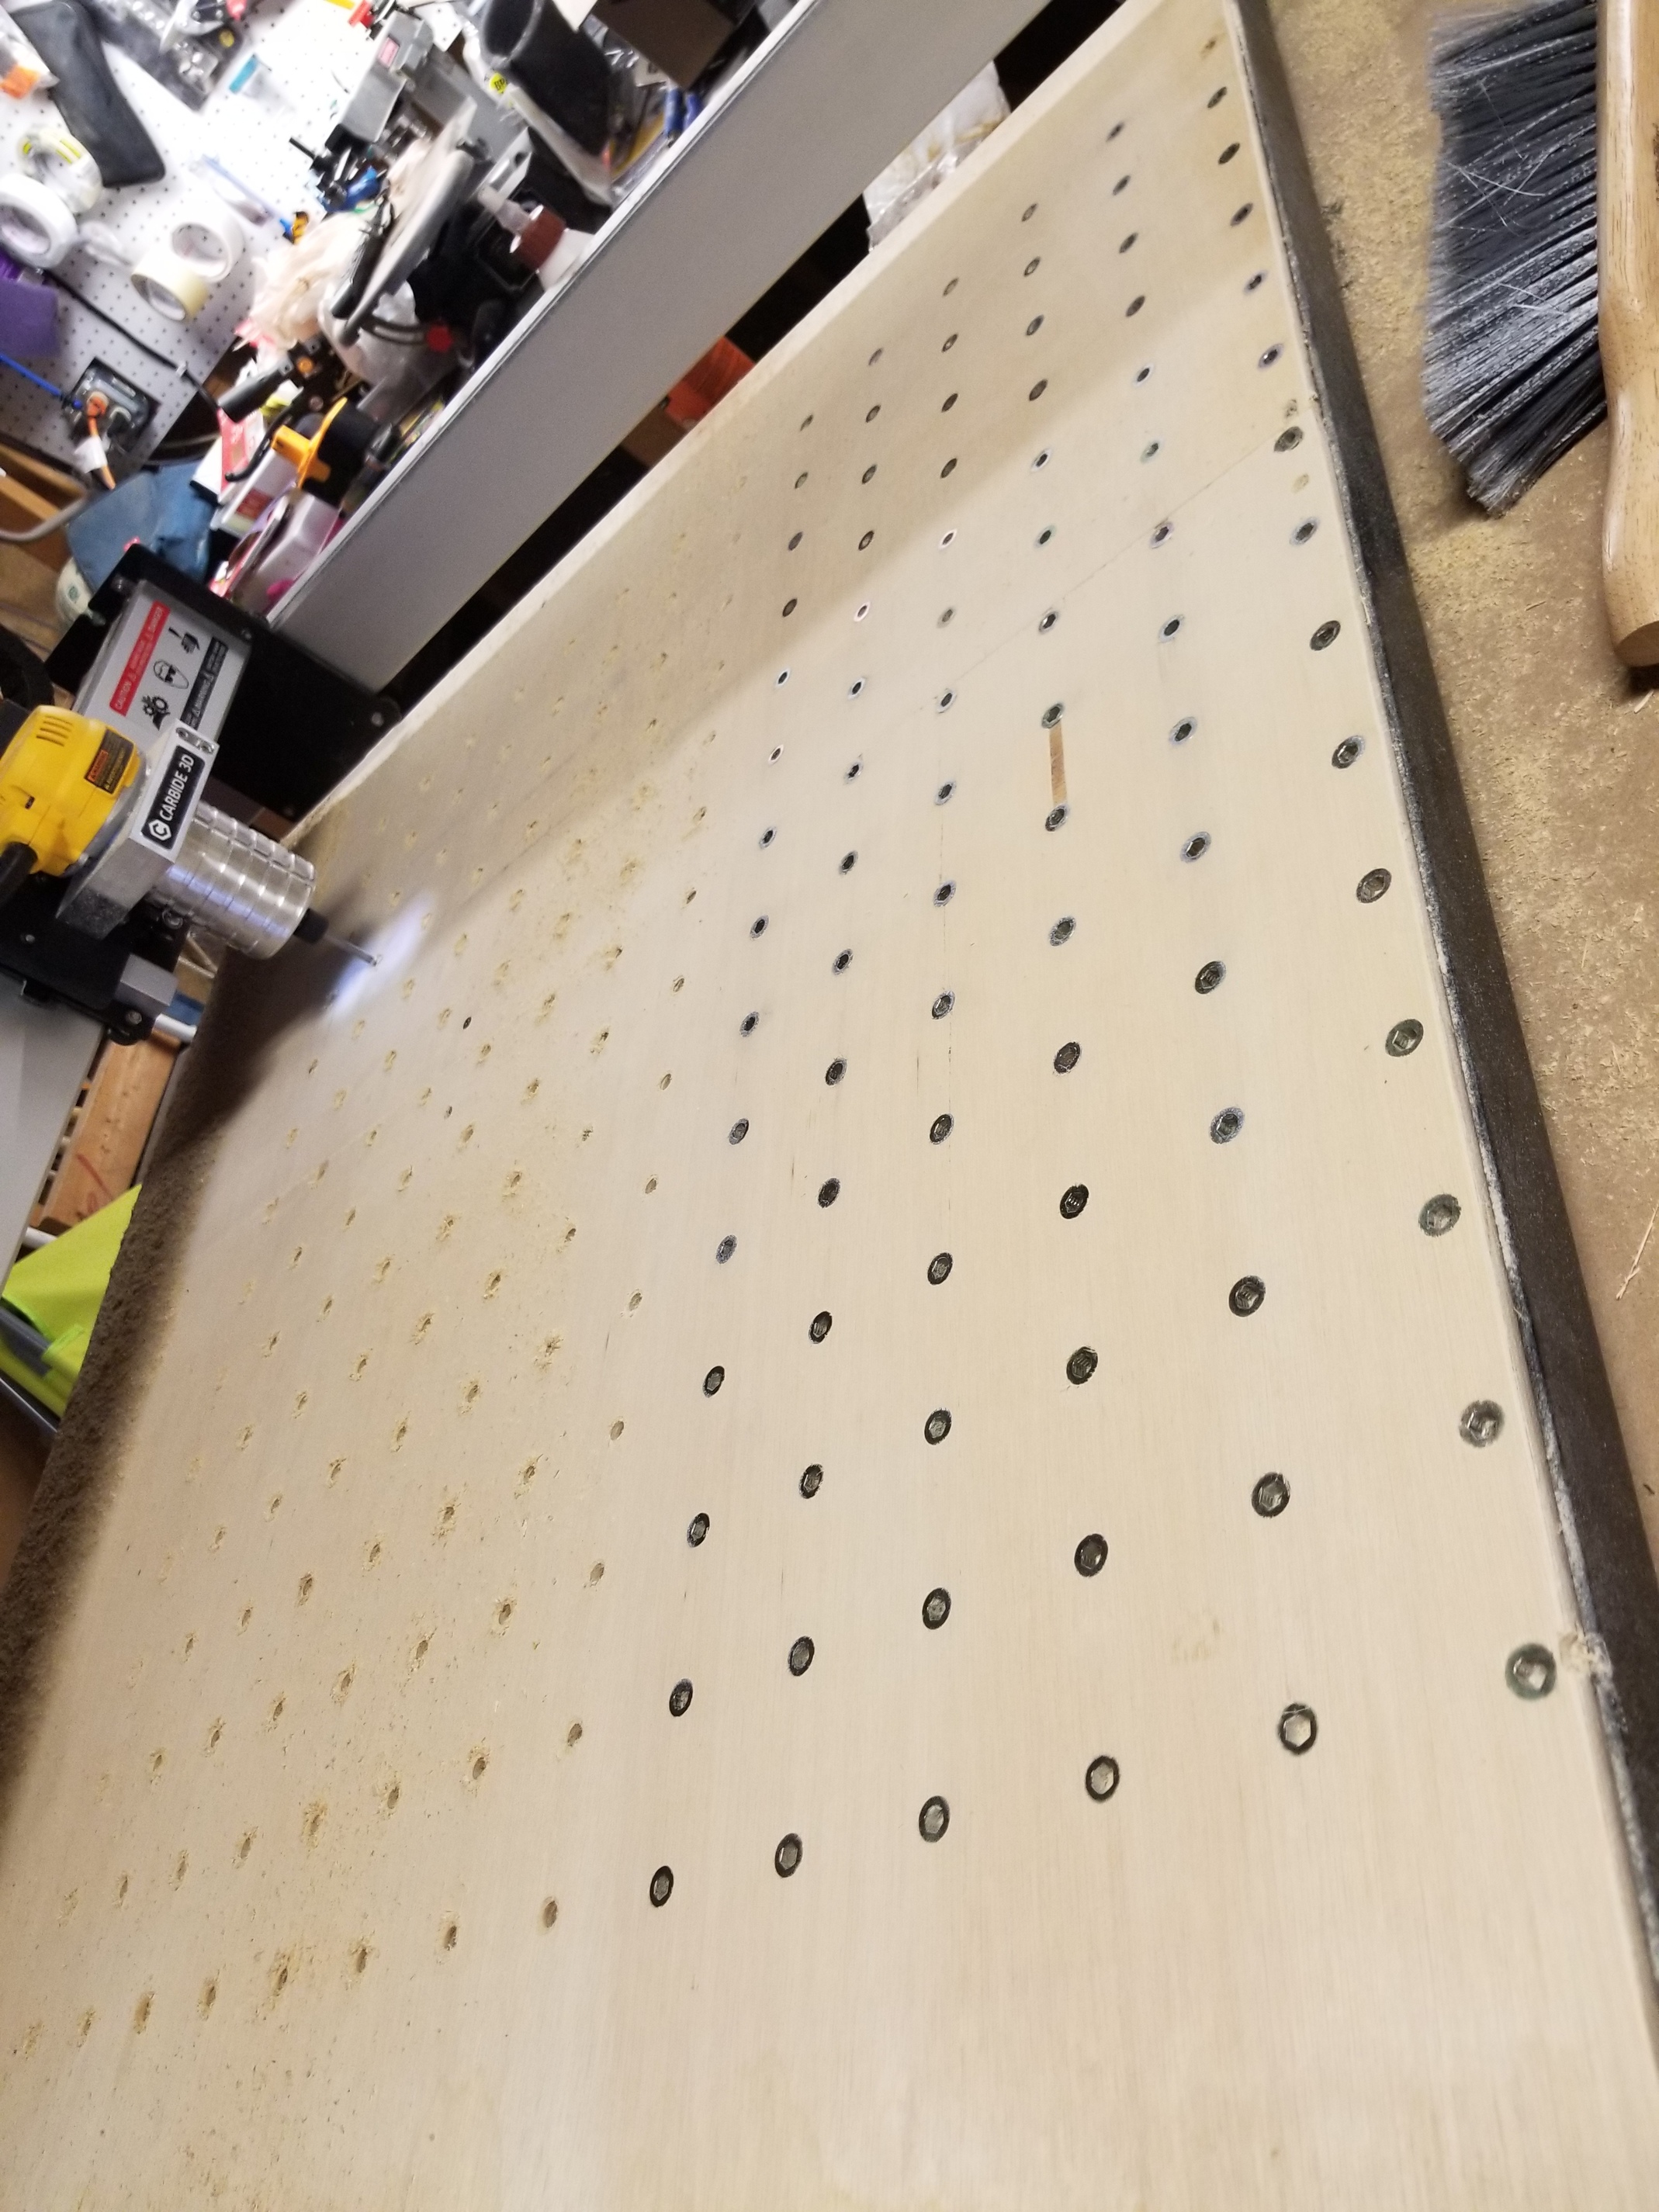
I designed a threaded base board in vCarve. After putting my own on top I realized that I lost .75" of travel using the extra base. I plan to redo the work with the base that comes with it.
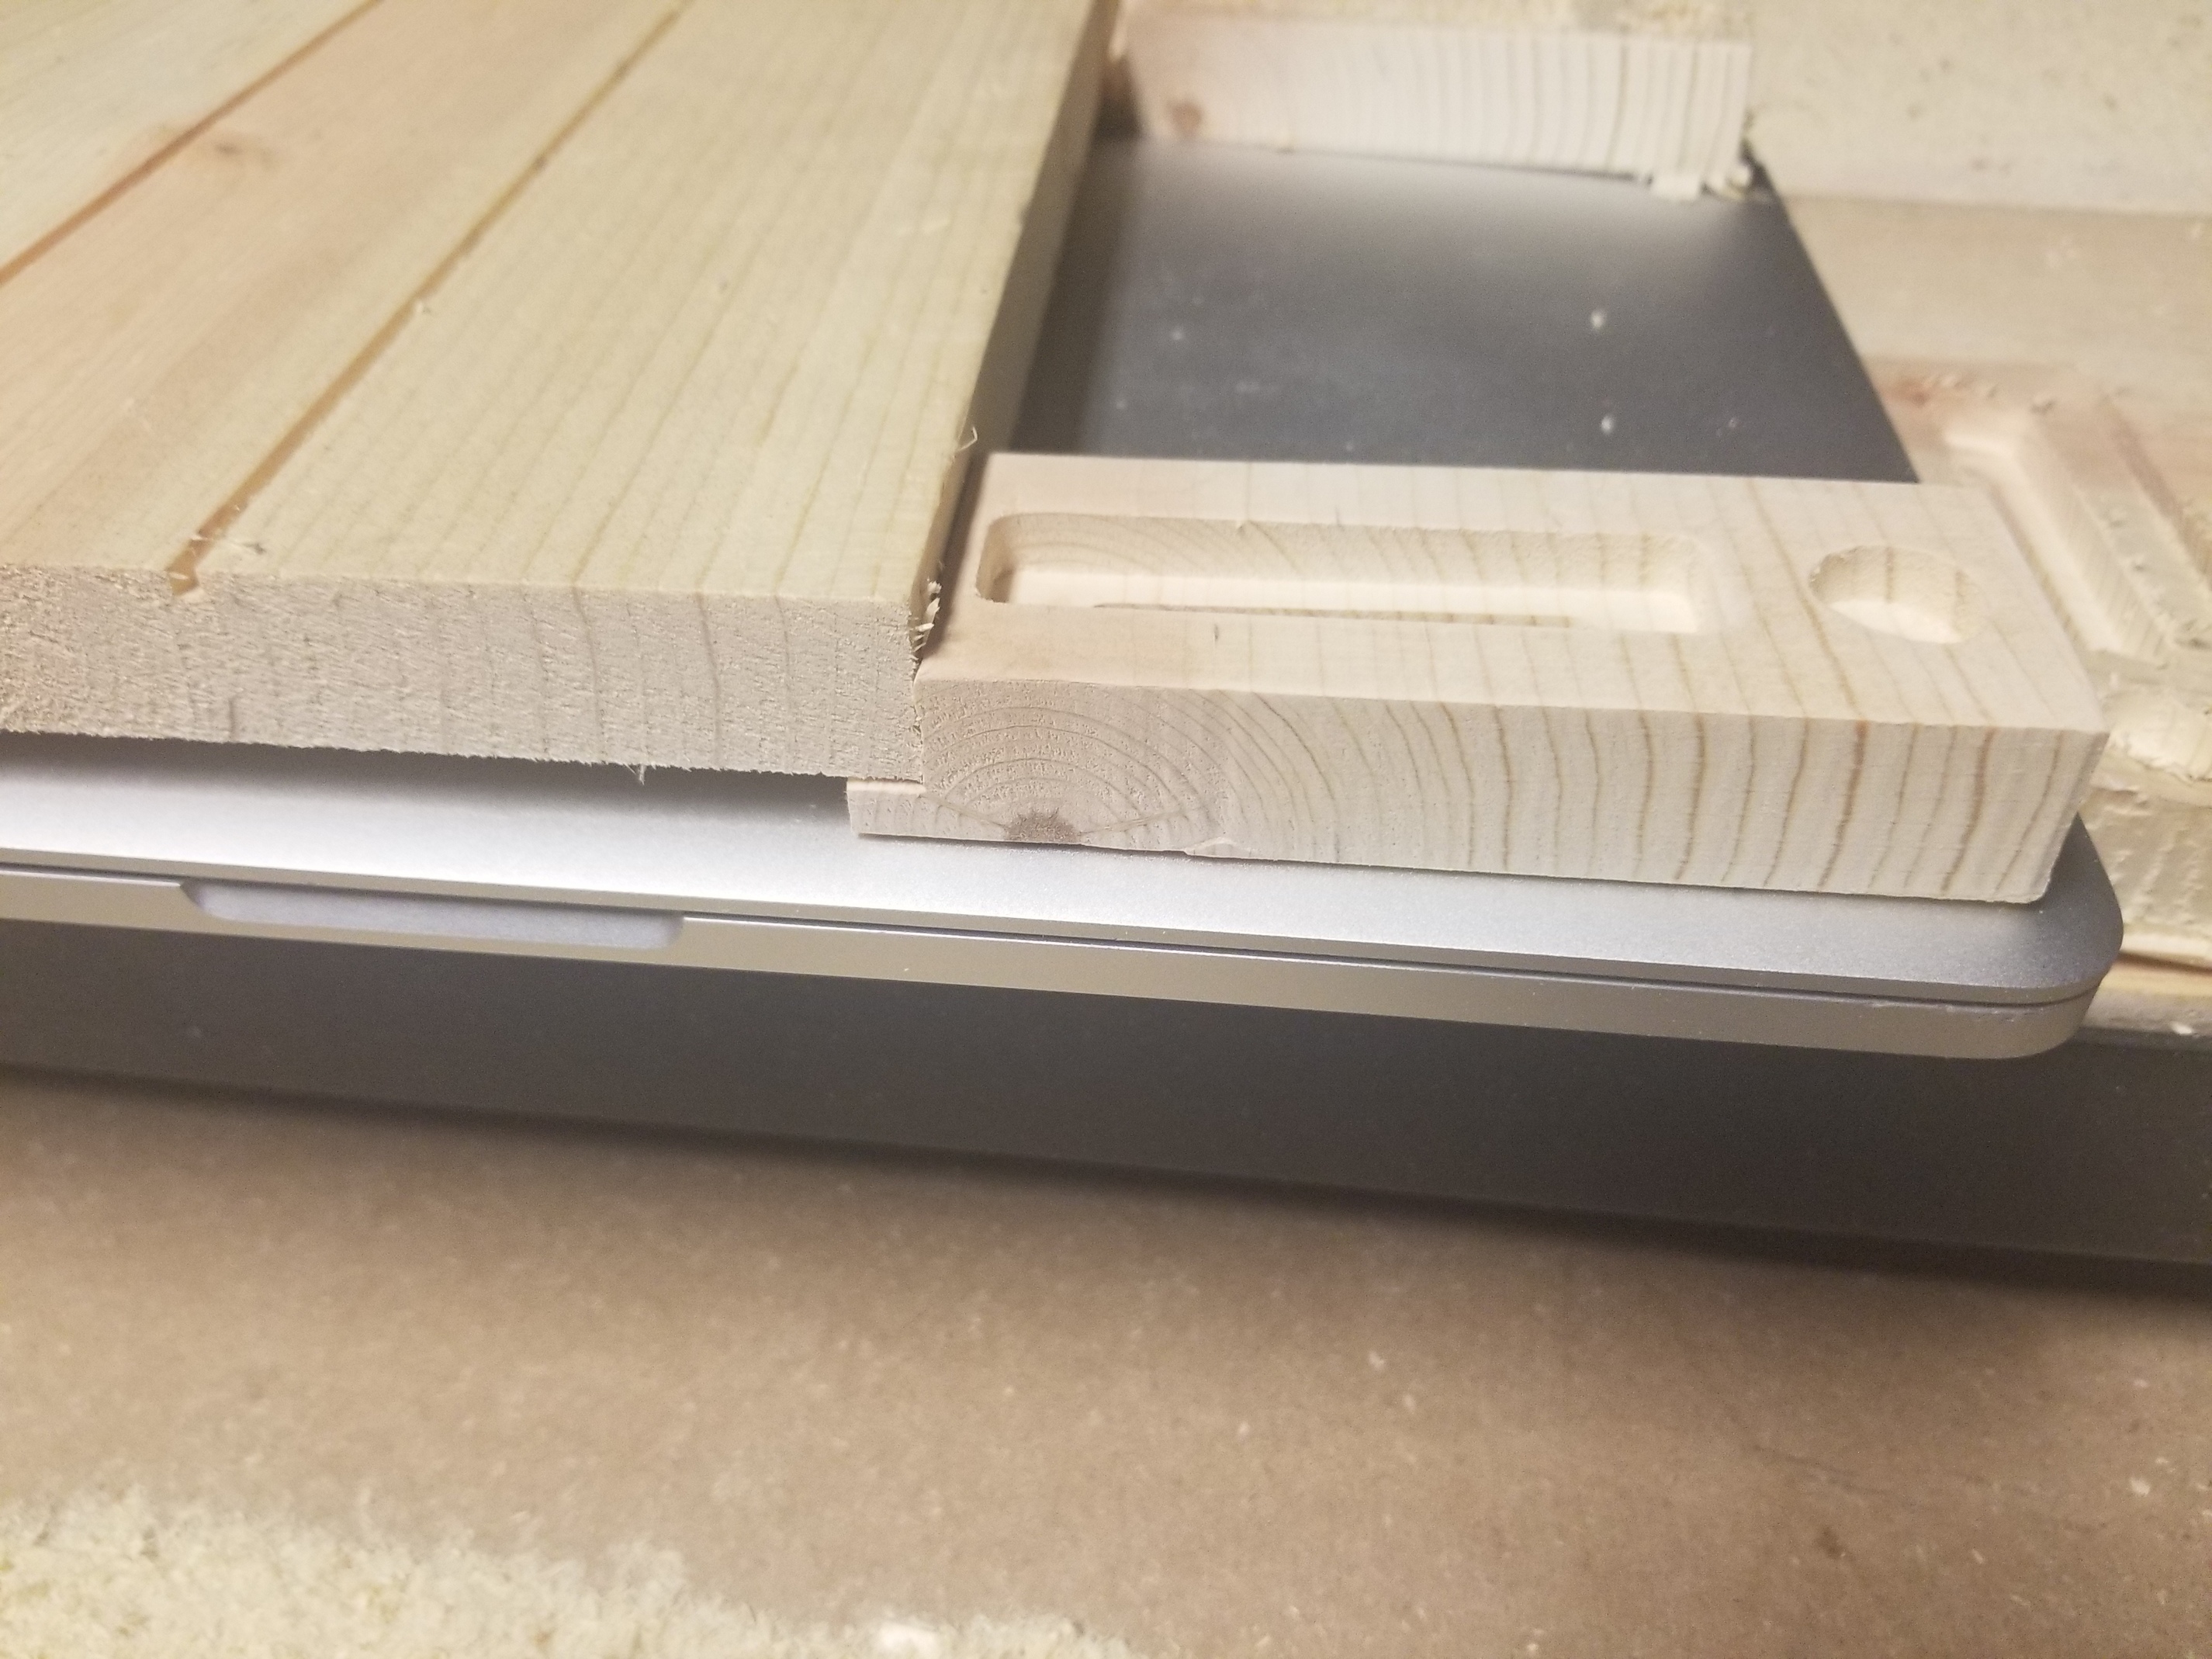
The one side I use 2 screws on each to square the work piece, the other side as you predicted, I use 1 screw in the slide to wedge the working piece. I have yet see a requirement to hold a piece down. I do have some ideas that quickly come to mind for that.
Here’s what the baseboard looks like right now. I’ll post pictures and files when I redo it.
I just wanted to give you another idea that could be useful for your end goal. Lately, I have been setting the Zo at the bottom of the working piece; in other words at the top of the table bed. In that way, the cutter can cut all the way through the piece without touching the table bed. I do not use sacrificial pieces or any other device to protect the table top.
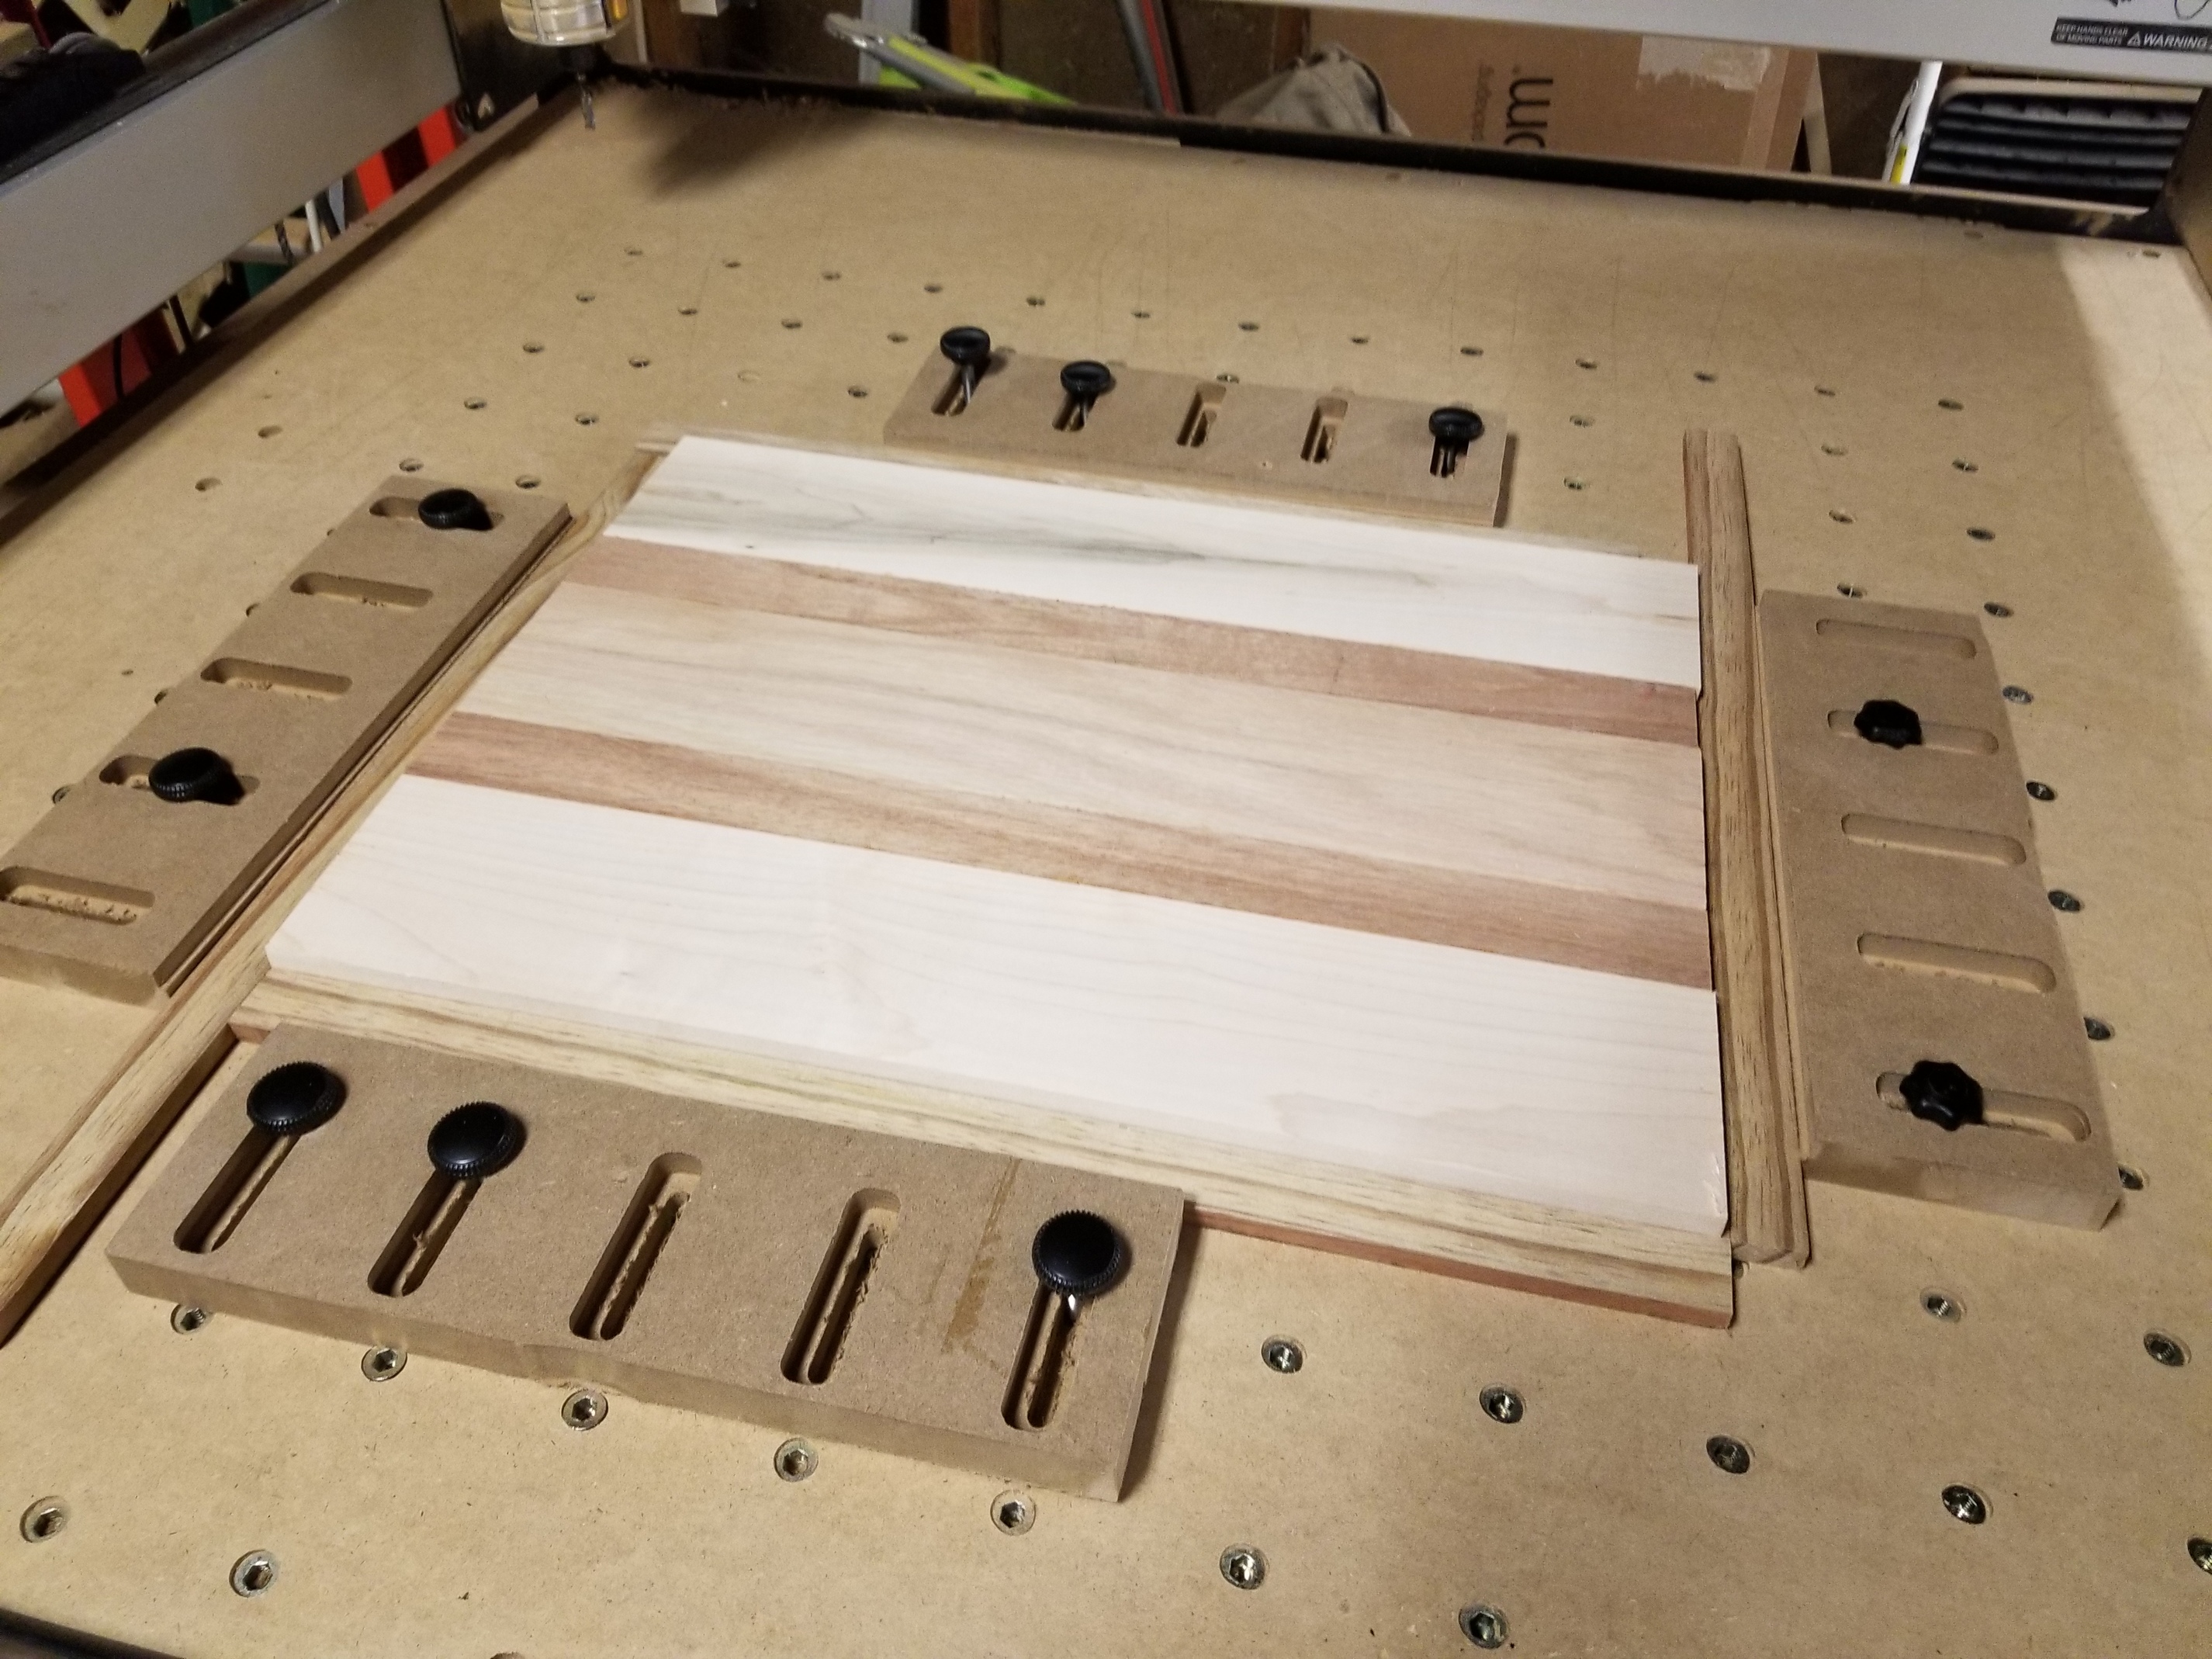
Interesting… hadn’t thought of that. Here’s the clamps in action… yup that’s blood on them. I’m making a cutting board right now. Getting ready to run a surface bit across the top.
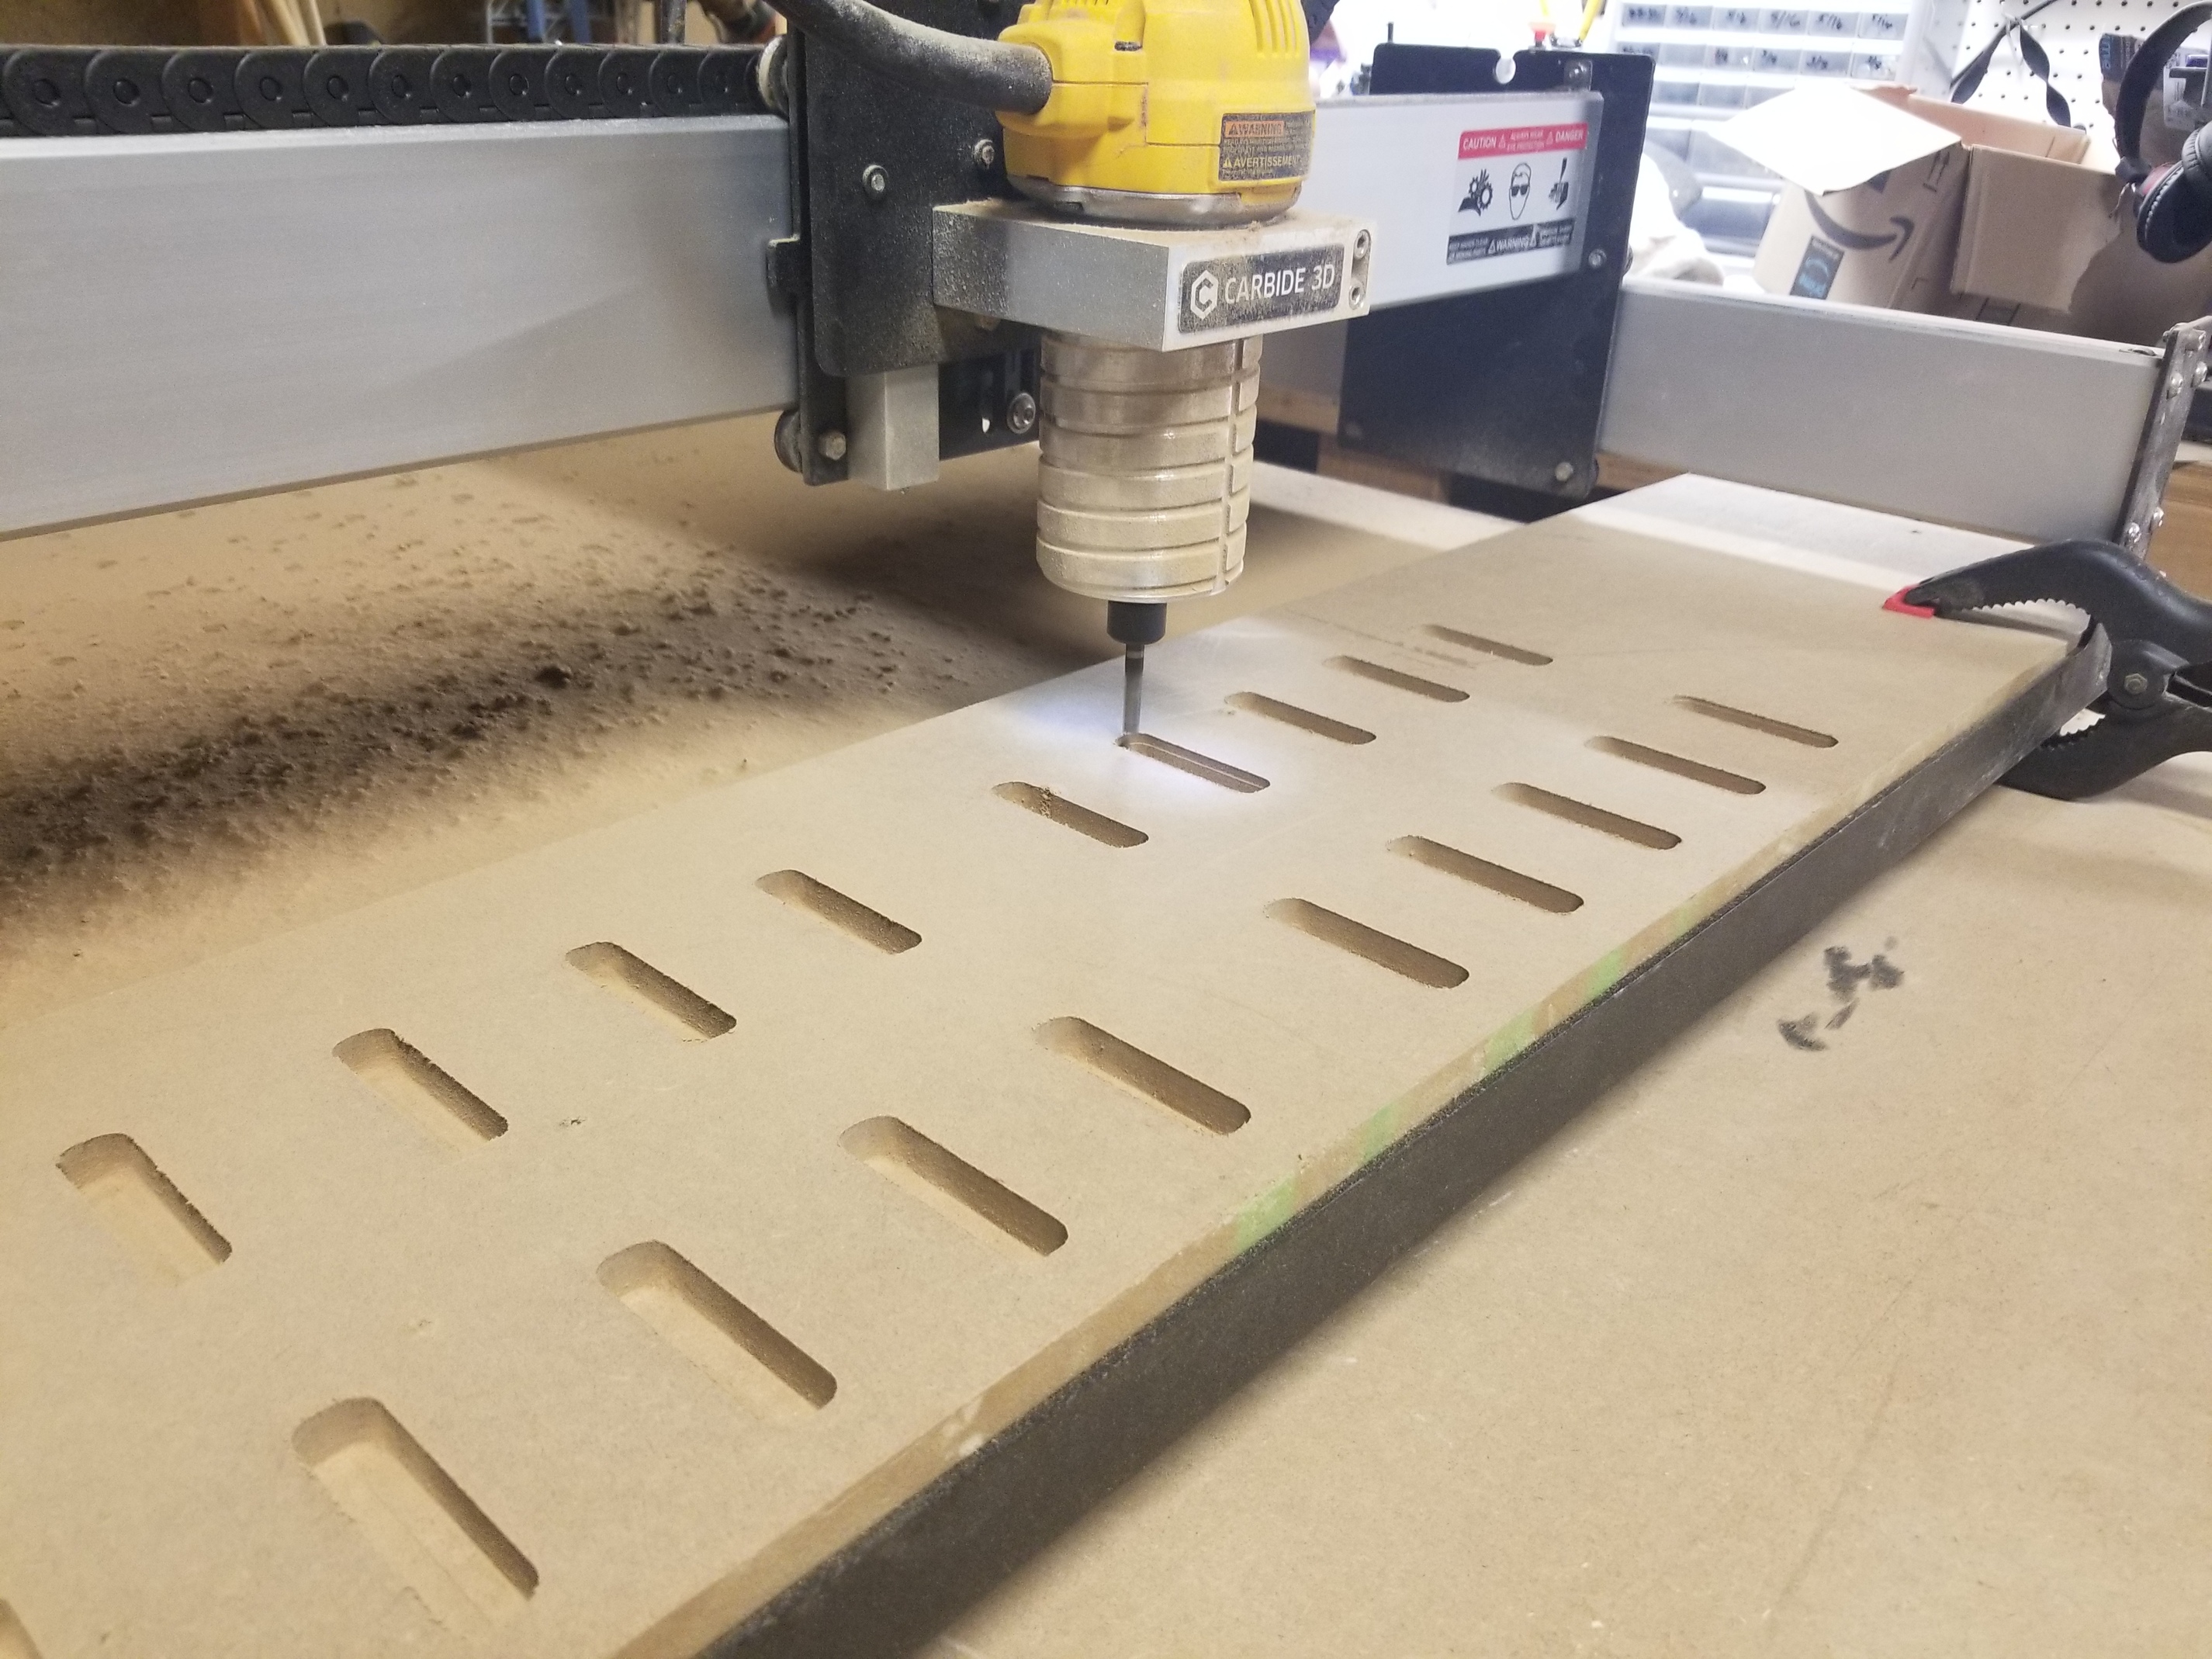
I made some new clamps… more of a straight edge kind of clamp. These are made out of left over MDF that I had laying around. I made these so I can really tighten them down as the previous ones I made moved and destroyed a project I was nearly done with.