WillAdams
July 24, 2018, 4:34pm
1
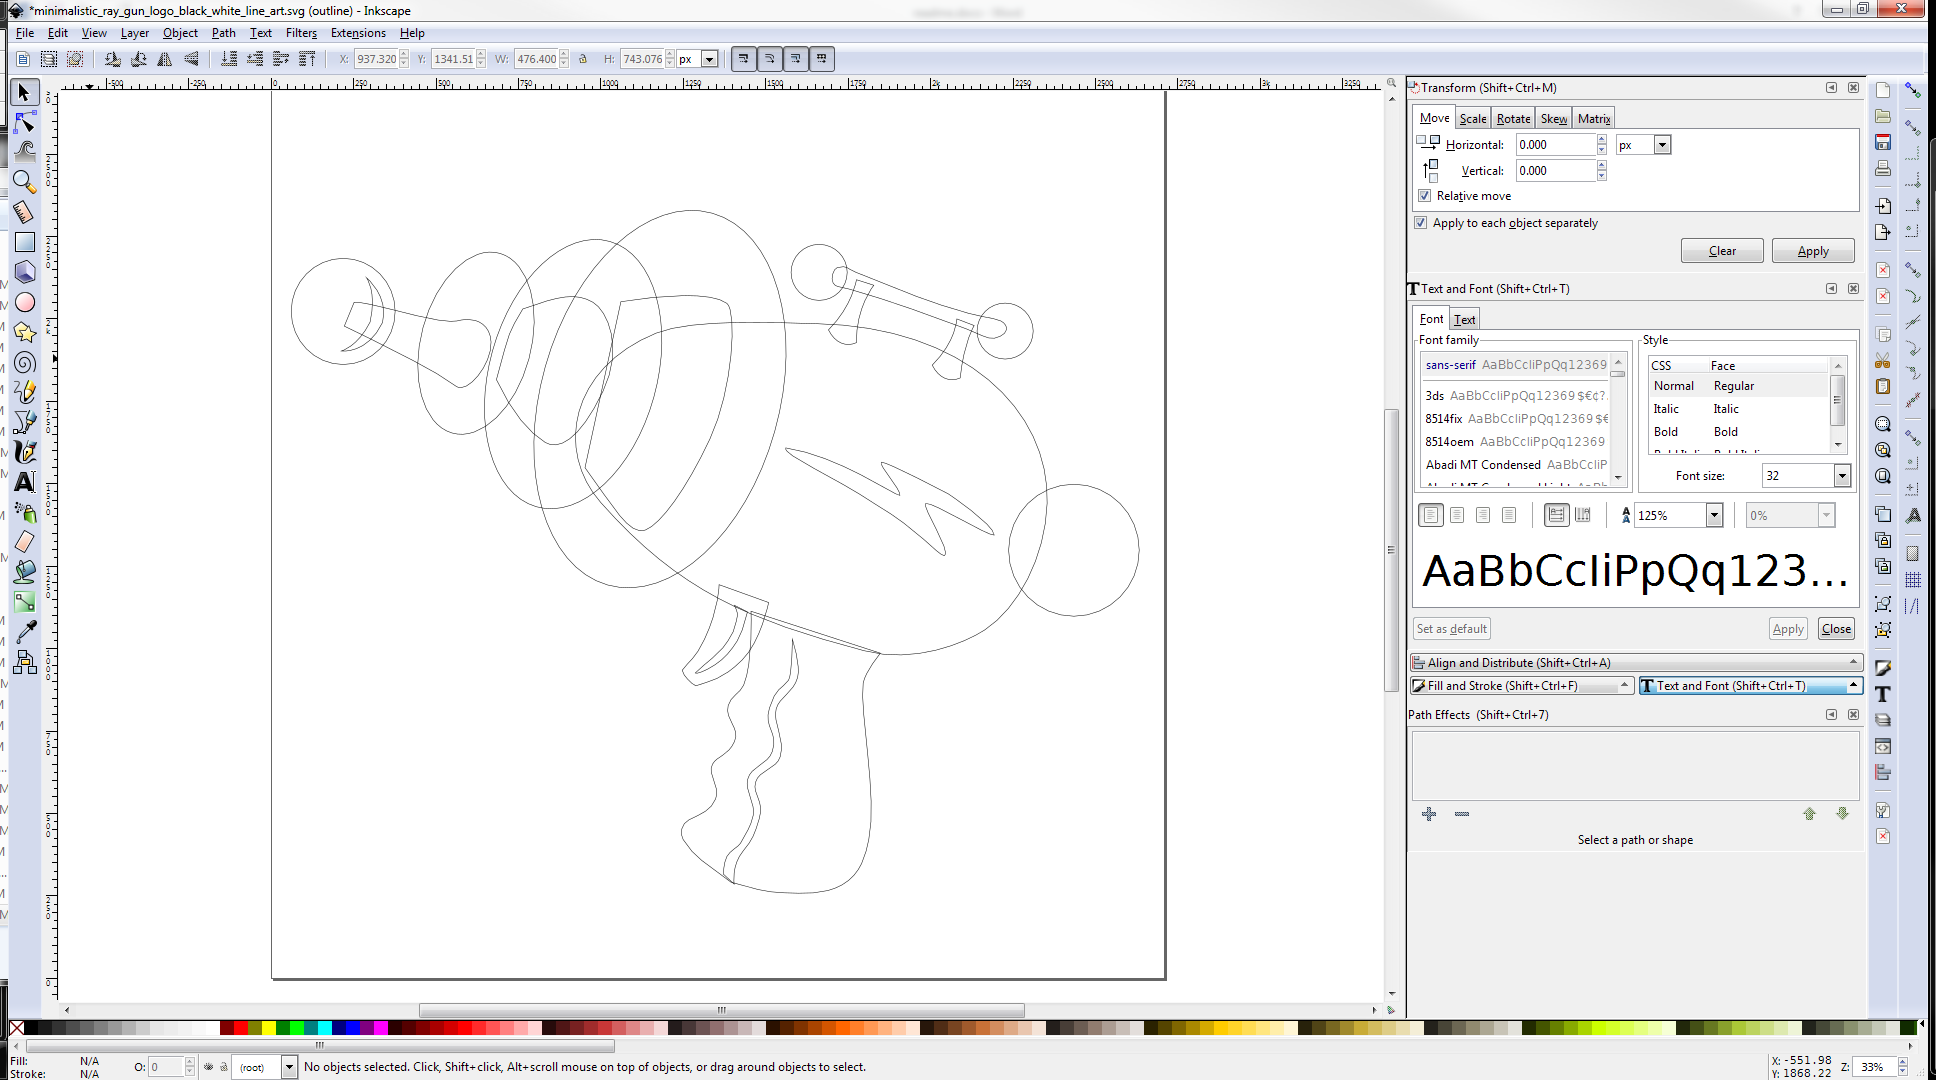
Often clip art is drawn as a series of stacked stroked and filled outline, e.g.,
http://clipartist.net/svg/minimalistic-ray-gun-logo-black-white-line-art-svg/
which looks line, but is a confusing mess when one views it in outline mode:
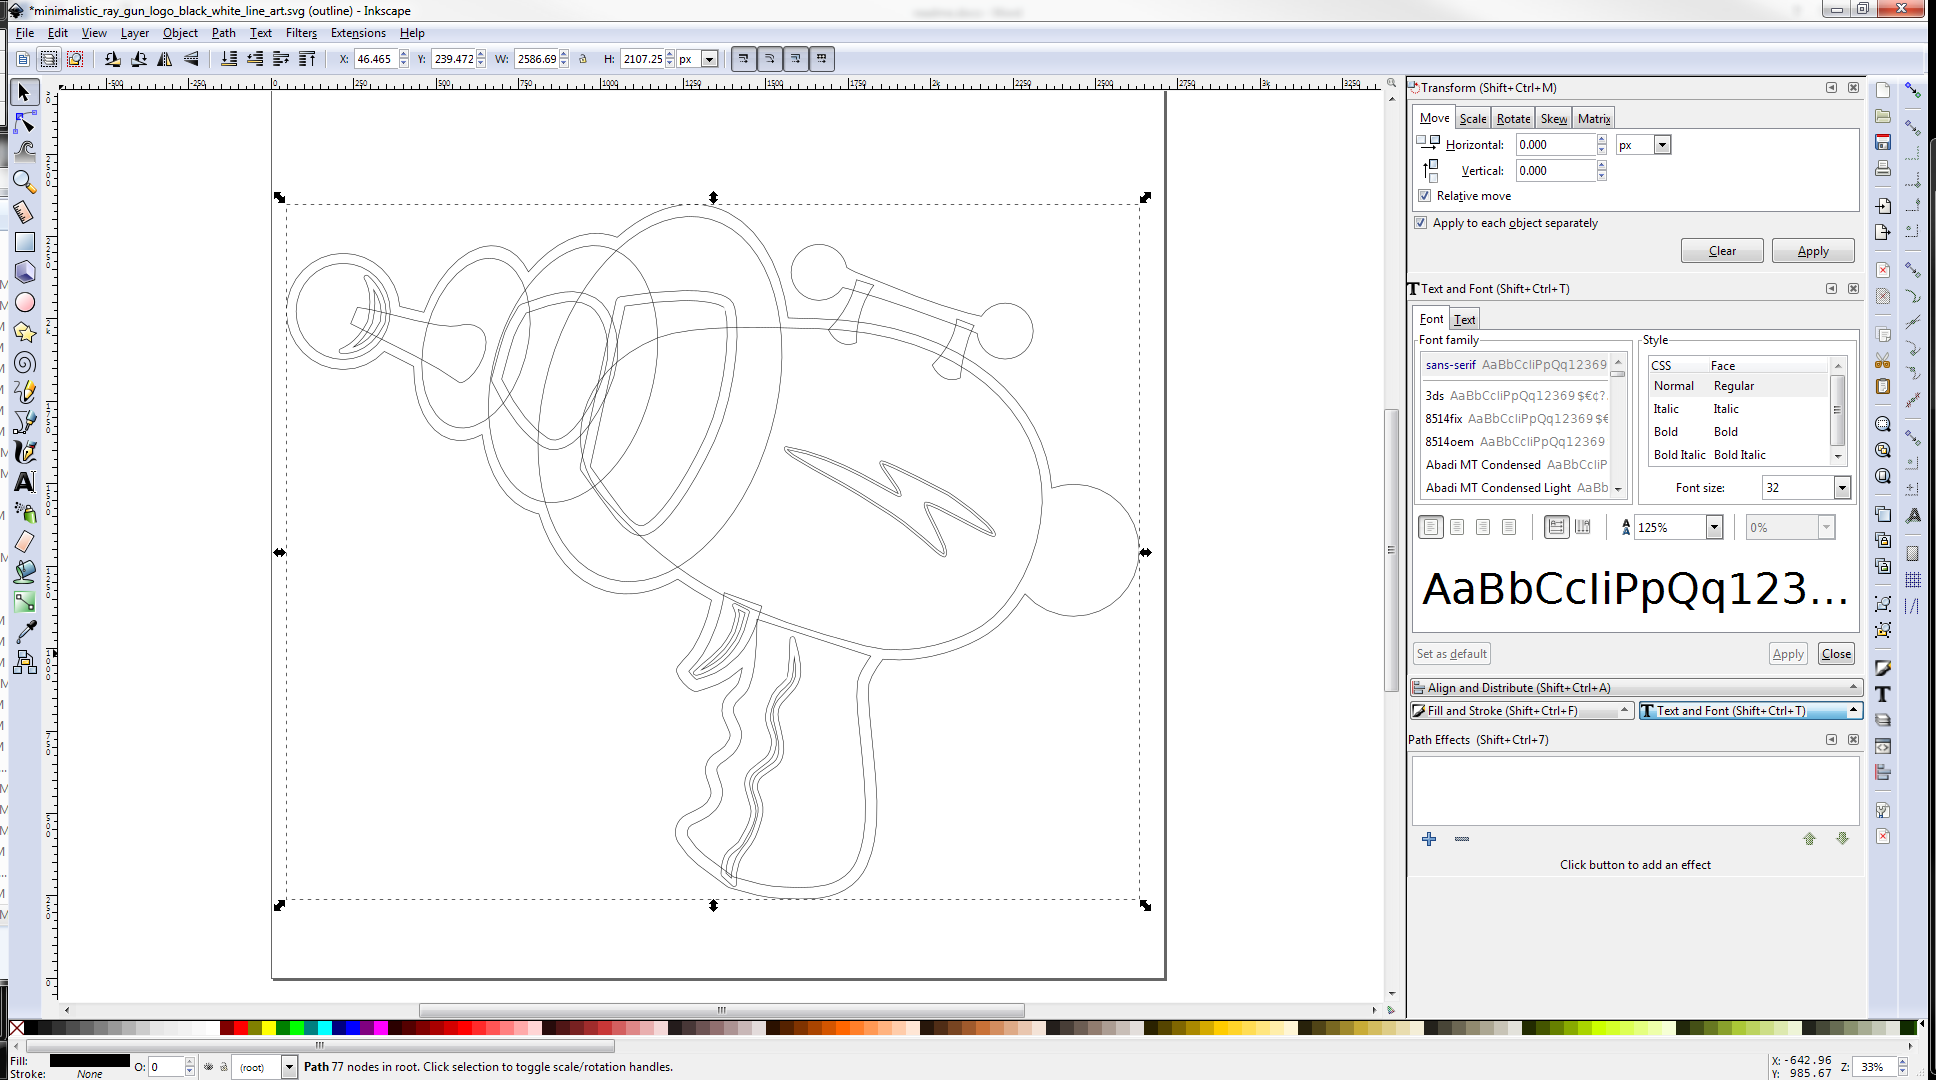
The solution is to expand the strokes, and punch out the white fills. In Inkscape this is done by:
Path | Object to Path
Then break everything apart (it is important to work in View | Display Mode | Outline) using Path | Break Apart
Then select all of the outer black outlines (you may need to ungroup things to ensure that one is only selecting paths) and union them:
Path | Union
Then select each of the paths which define the white regions and either punch them out of the other path or union them as needed to create the desired appearance.
Depending on the complexity it may be helpful to duplicate the original paths to a layer and use them to punch things out at need.
1 Like
WillAdams
July 24, 2018, 5:12pm
2
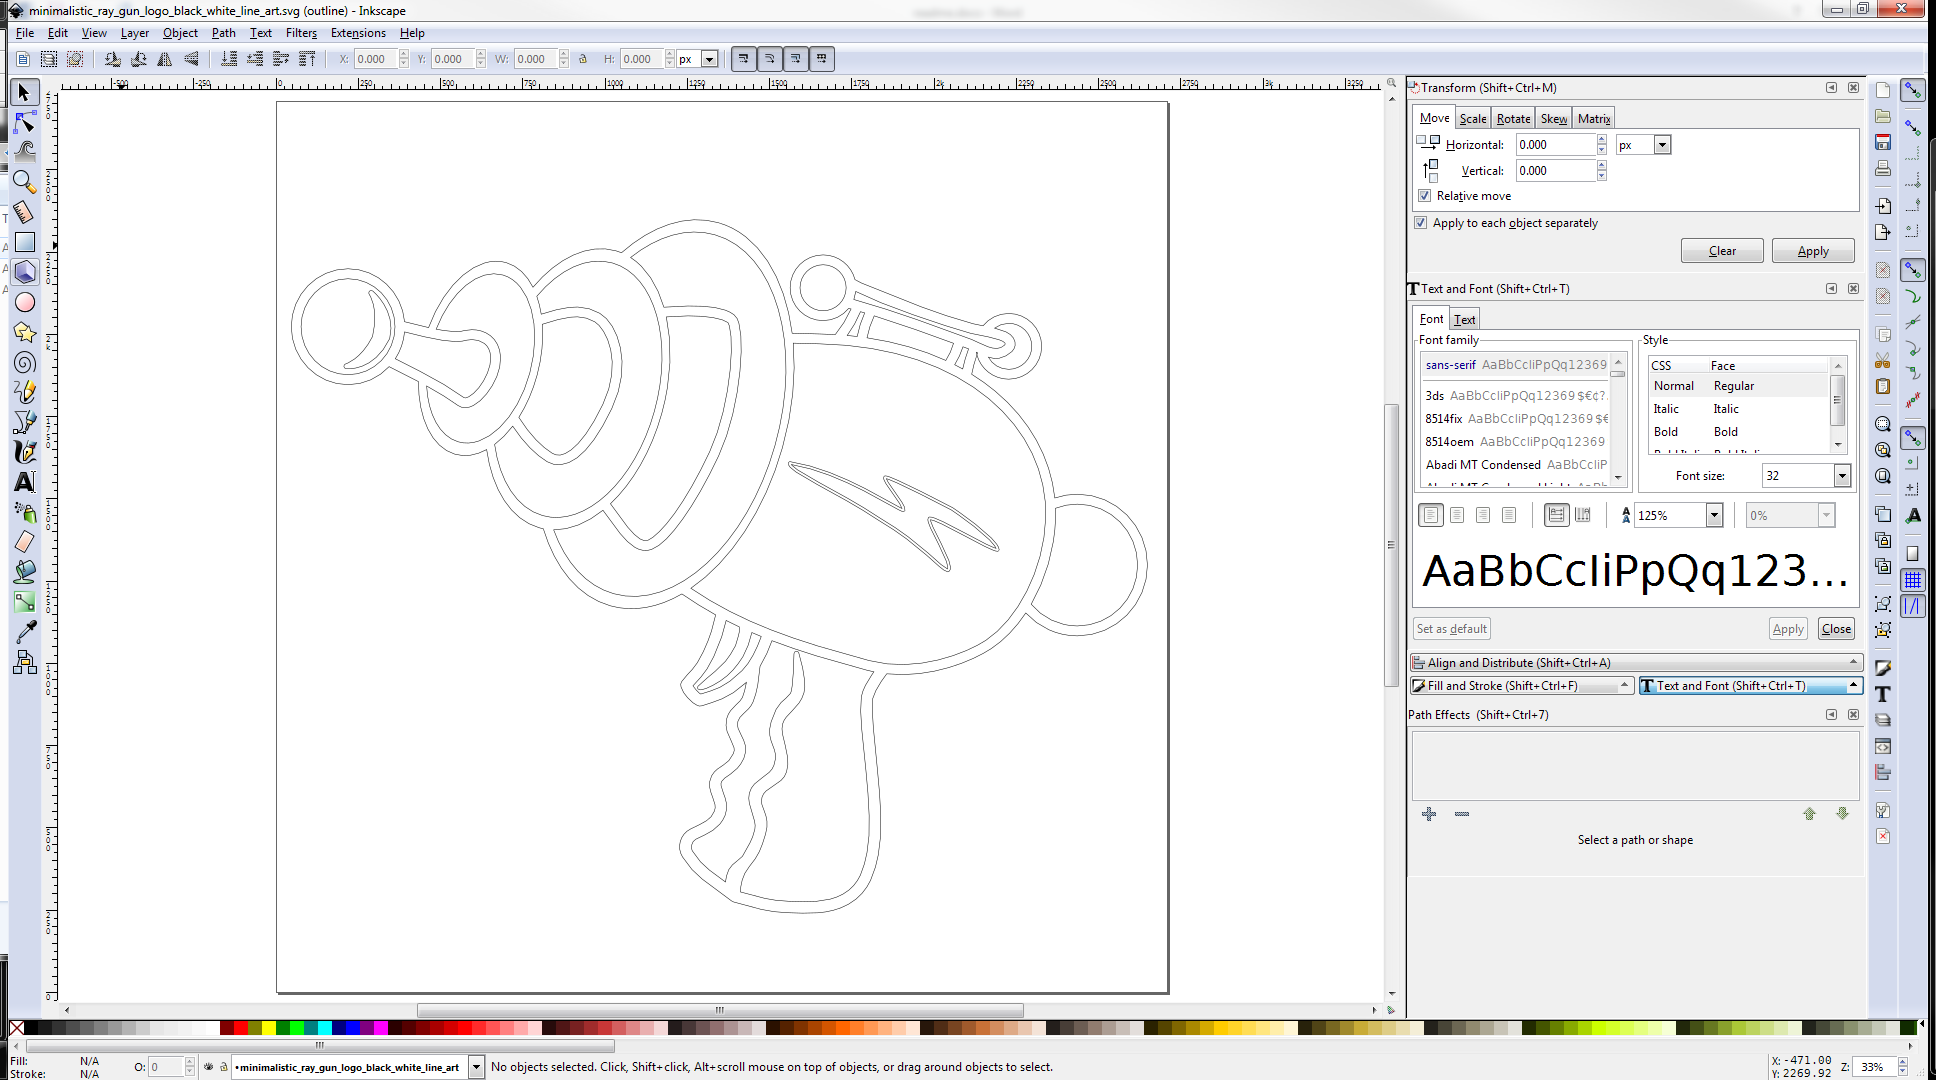
After a bit of judicious duplicating and punching and unioning one arrives at:
Attached:
which when assigned a V carve previews as:
5 Likes
WillAdams
October 17, 2023, 6:46pm
3
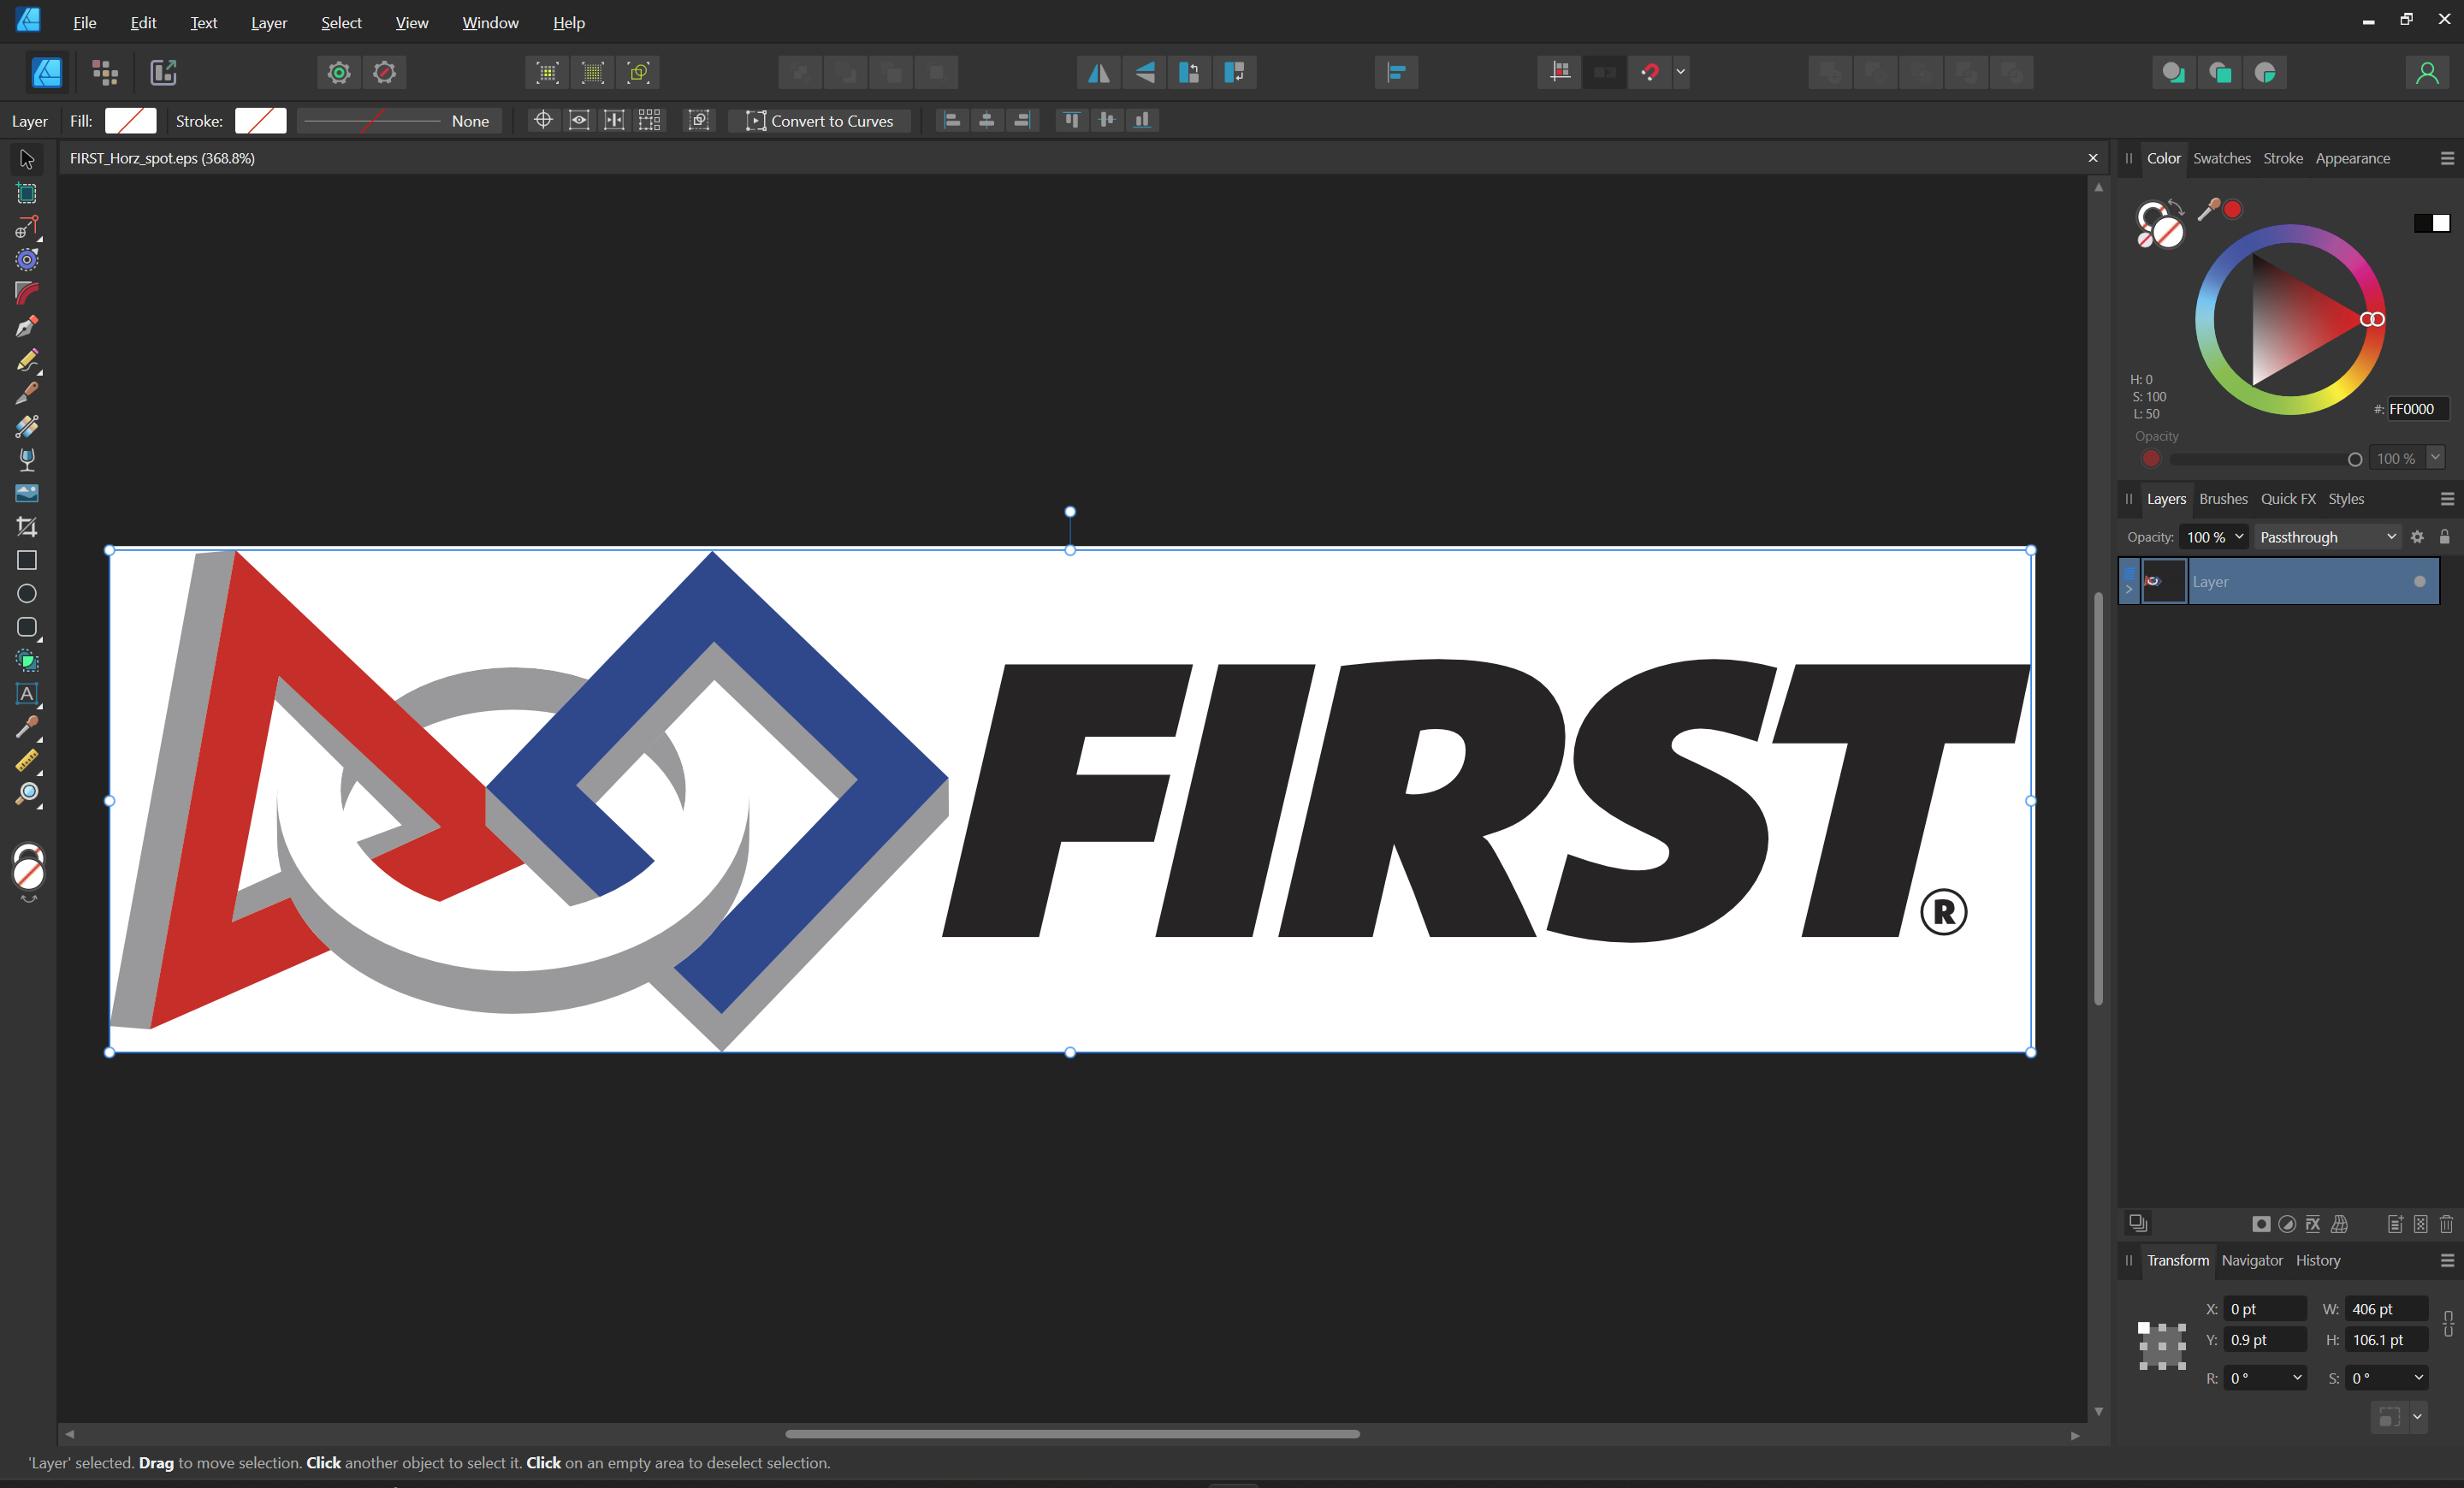
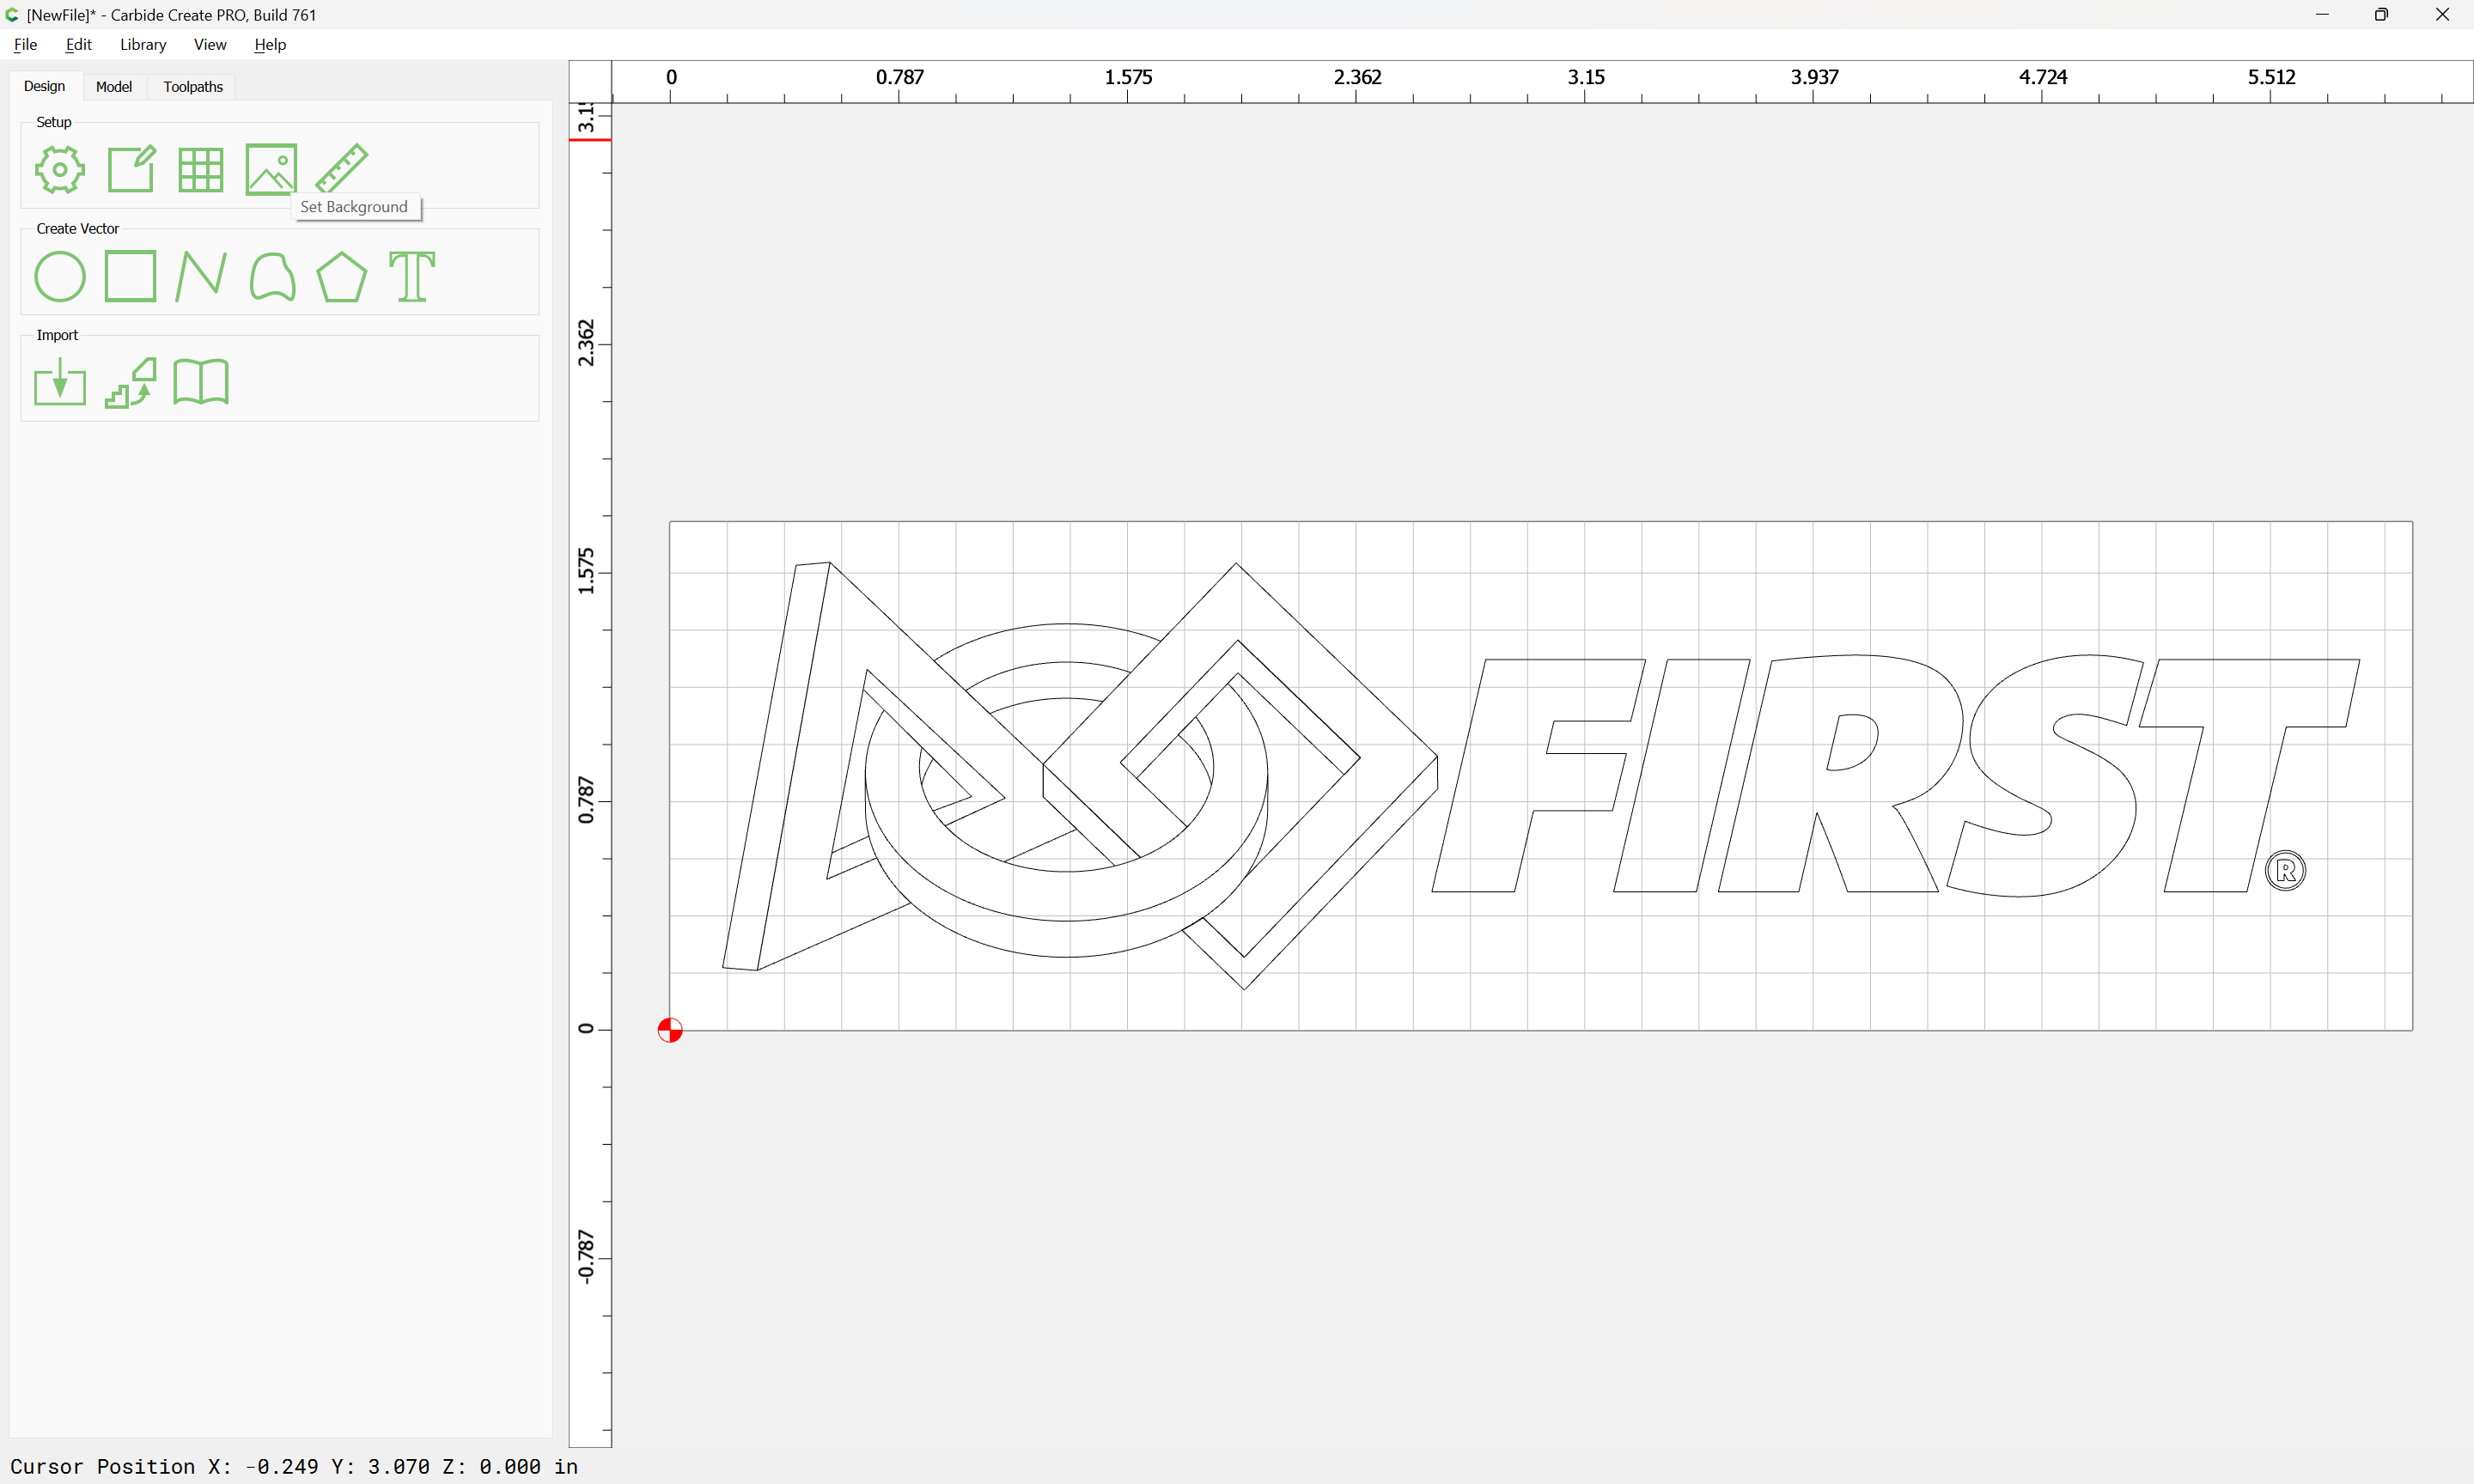
The same concepts apply to logos. If one needs an image such as:
If one can find the distribution site:
Then one can open the files in it in a suitable program:
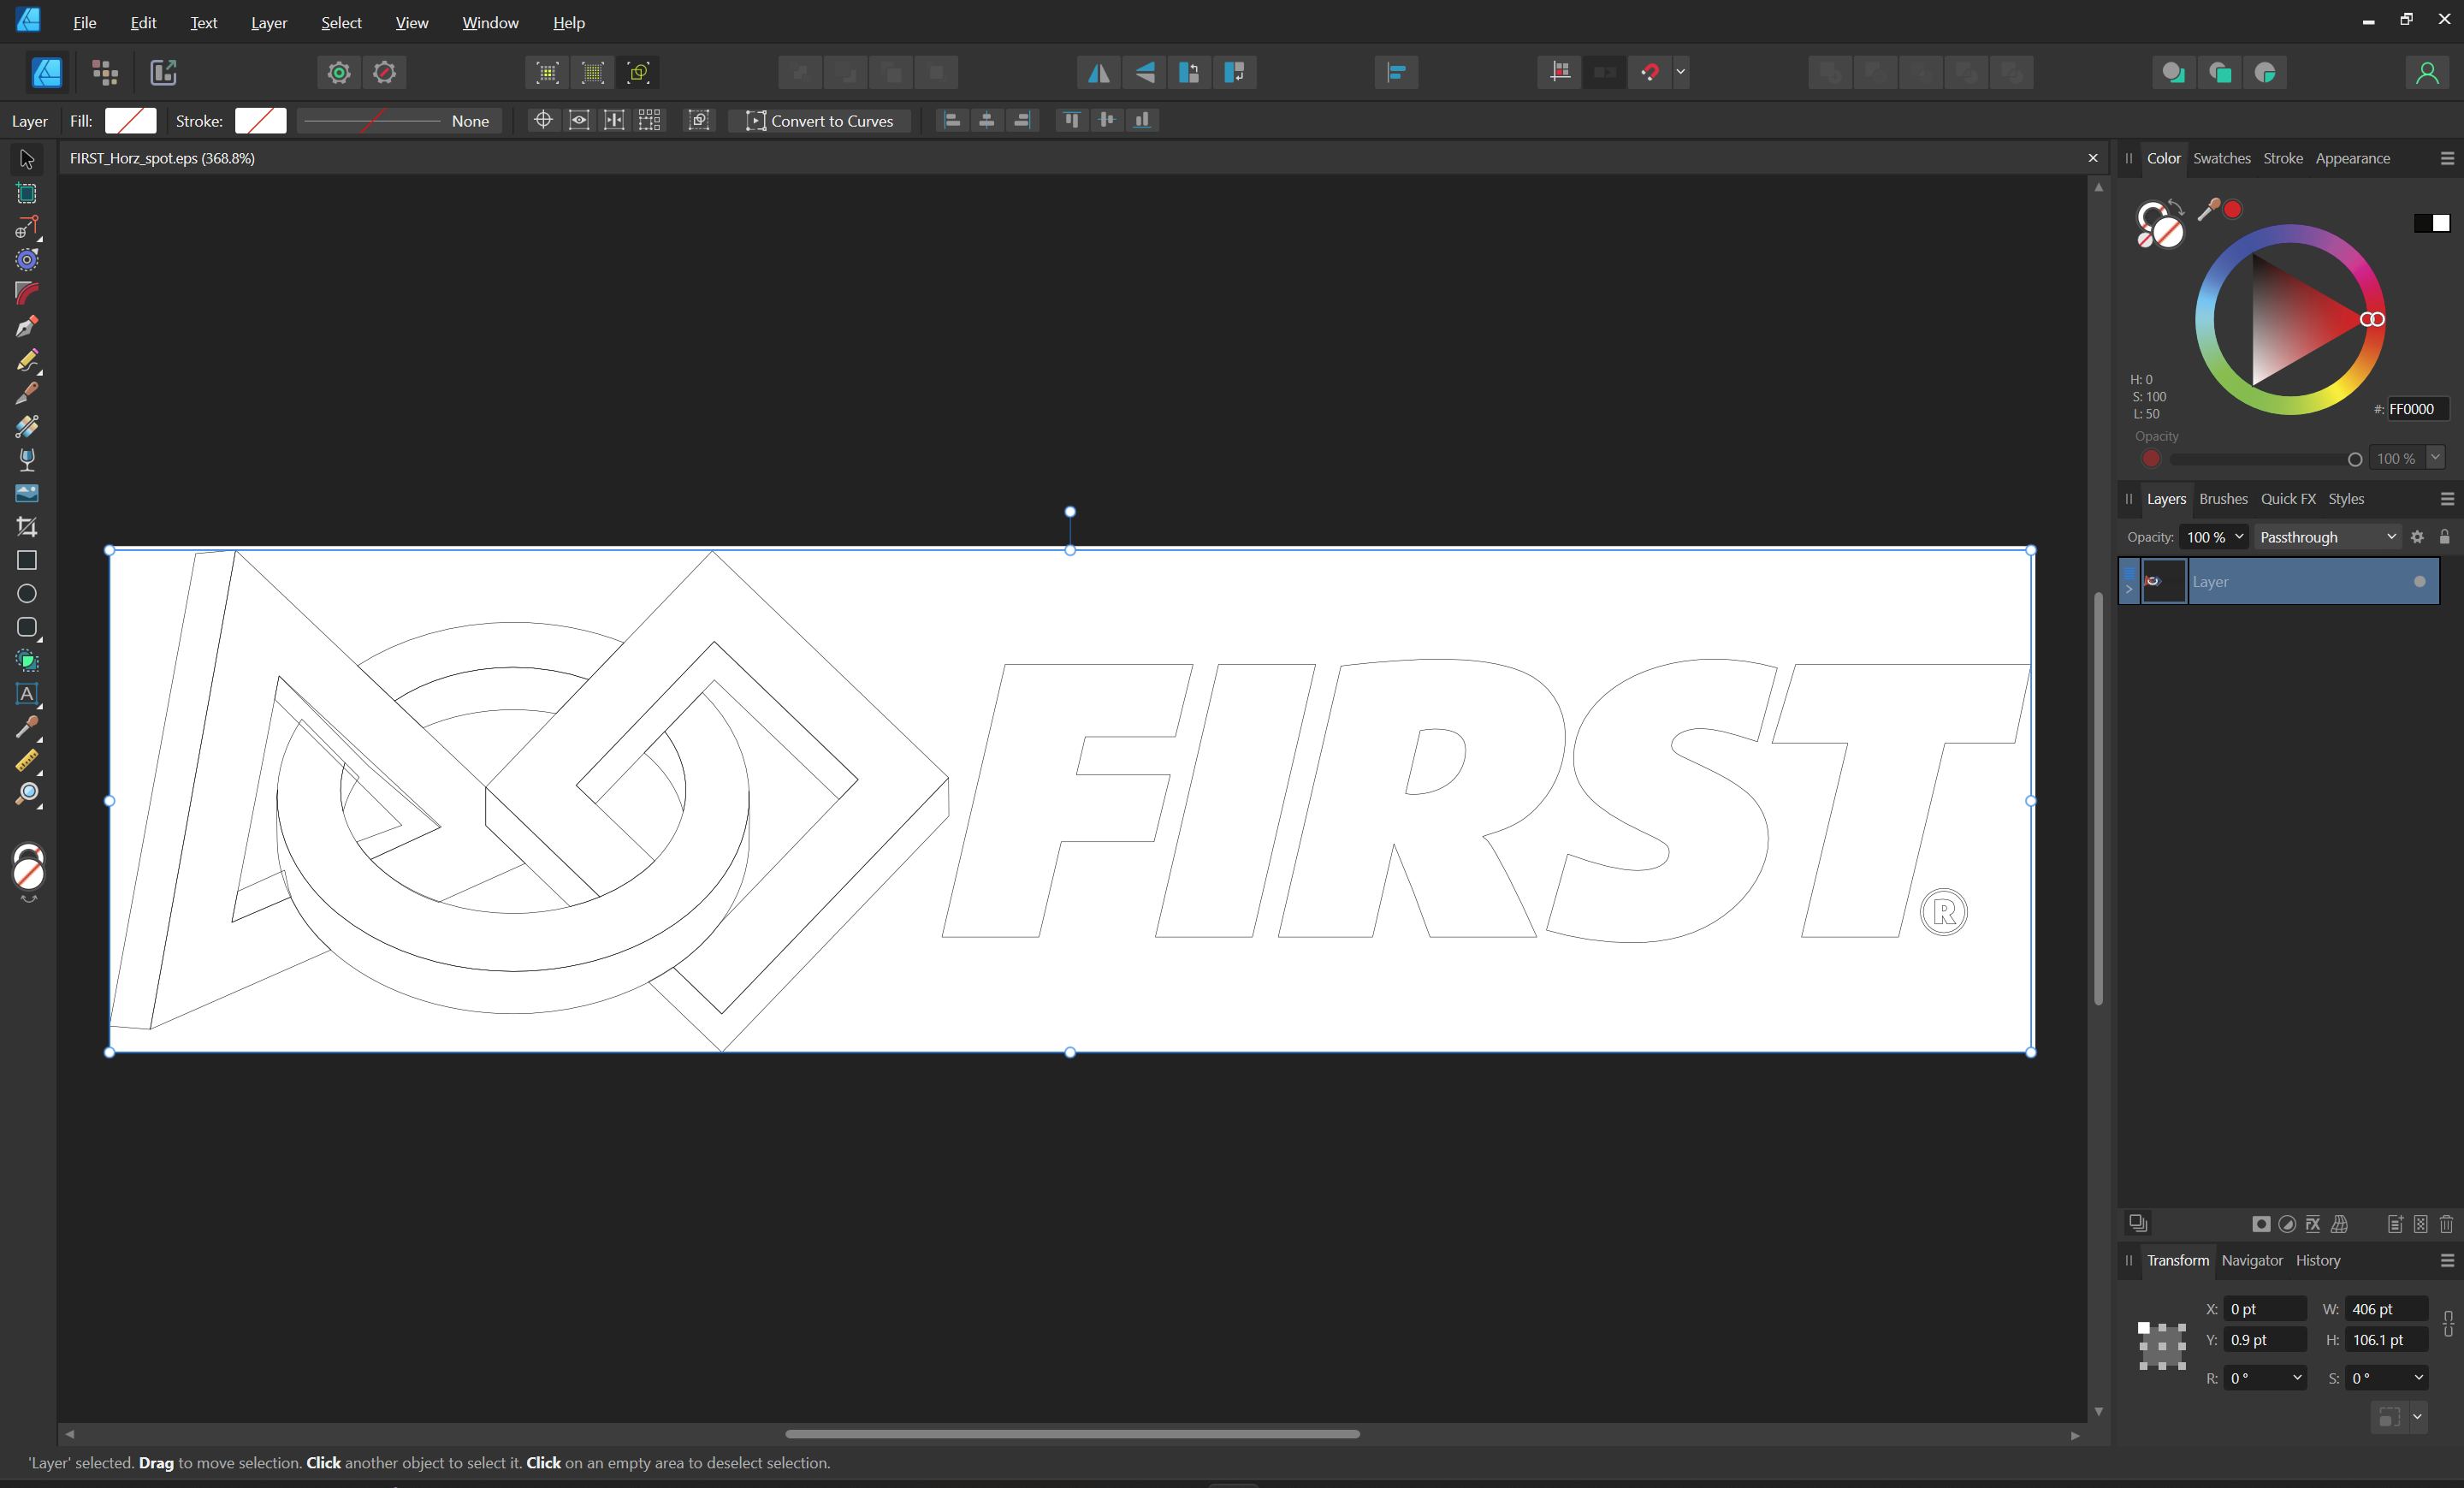
and then check things out in outline view:
and see where things need to be fixed — we’ll do this in Carbide Create — first, export an SVG:
WillAdams
October 17, 2023, 6:52pm
4
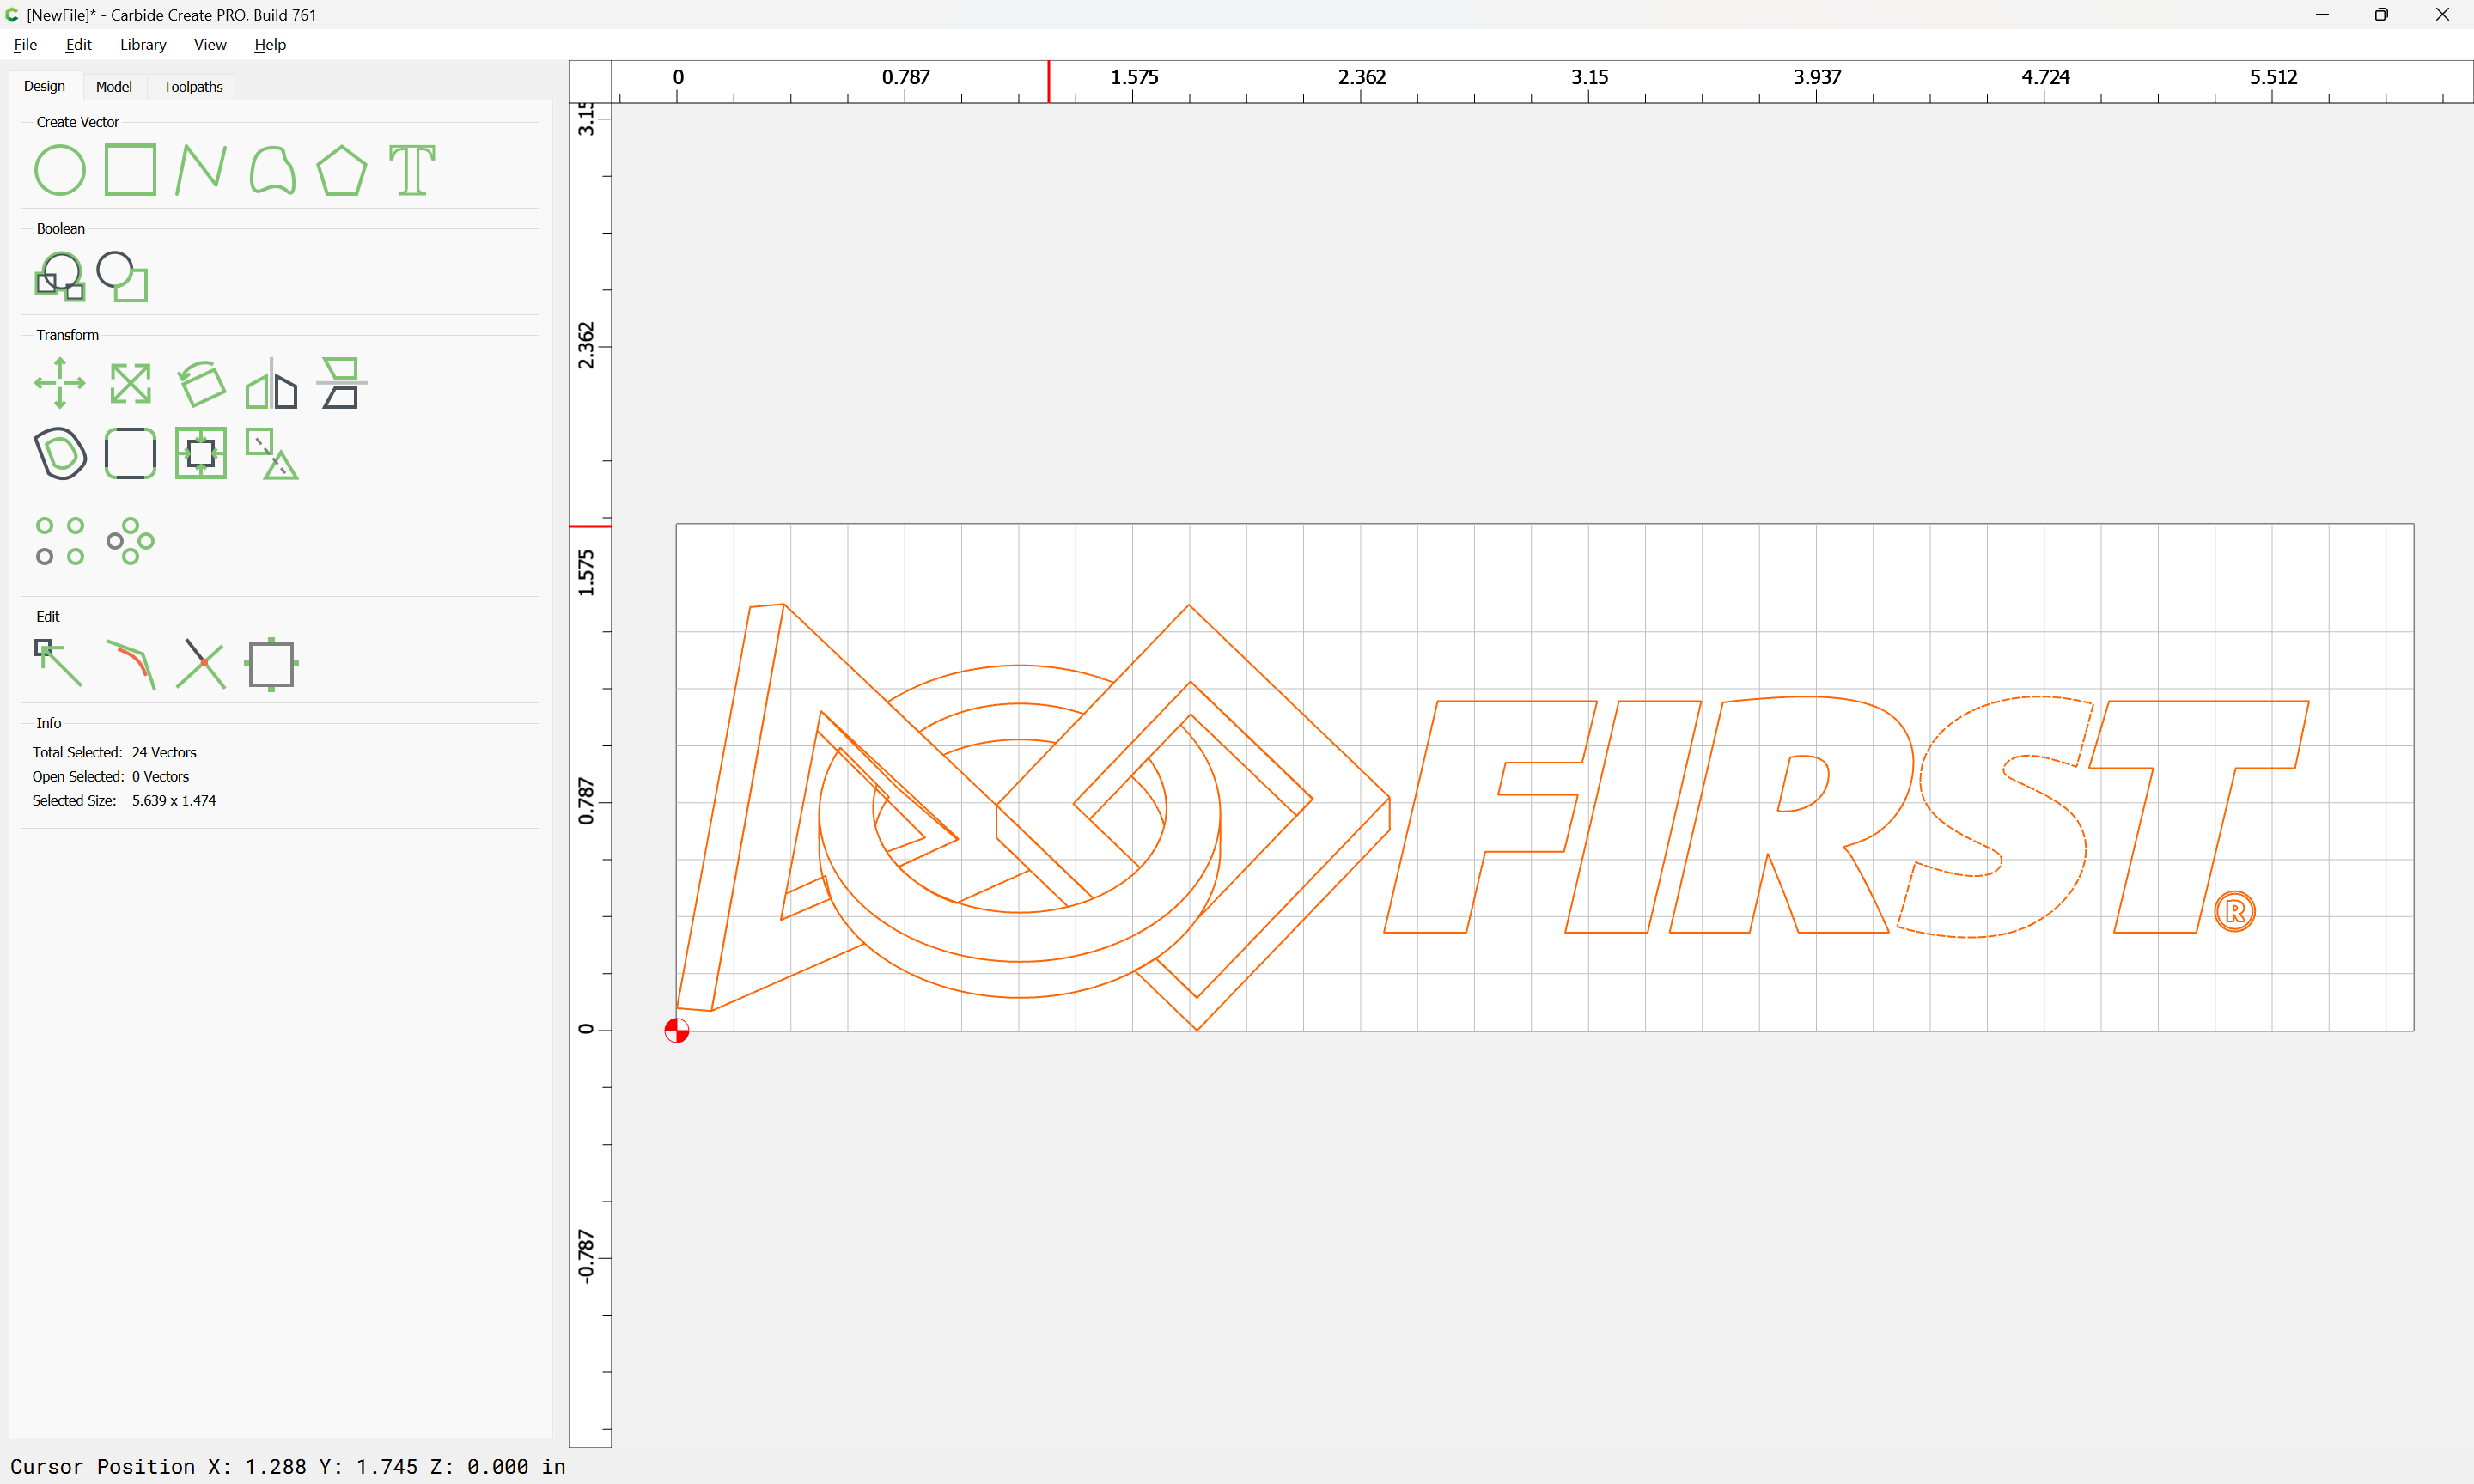
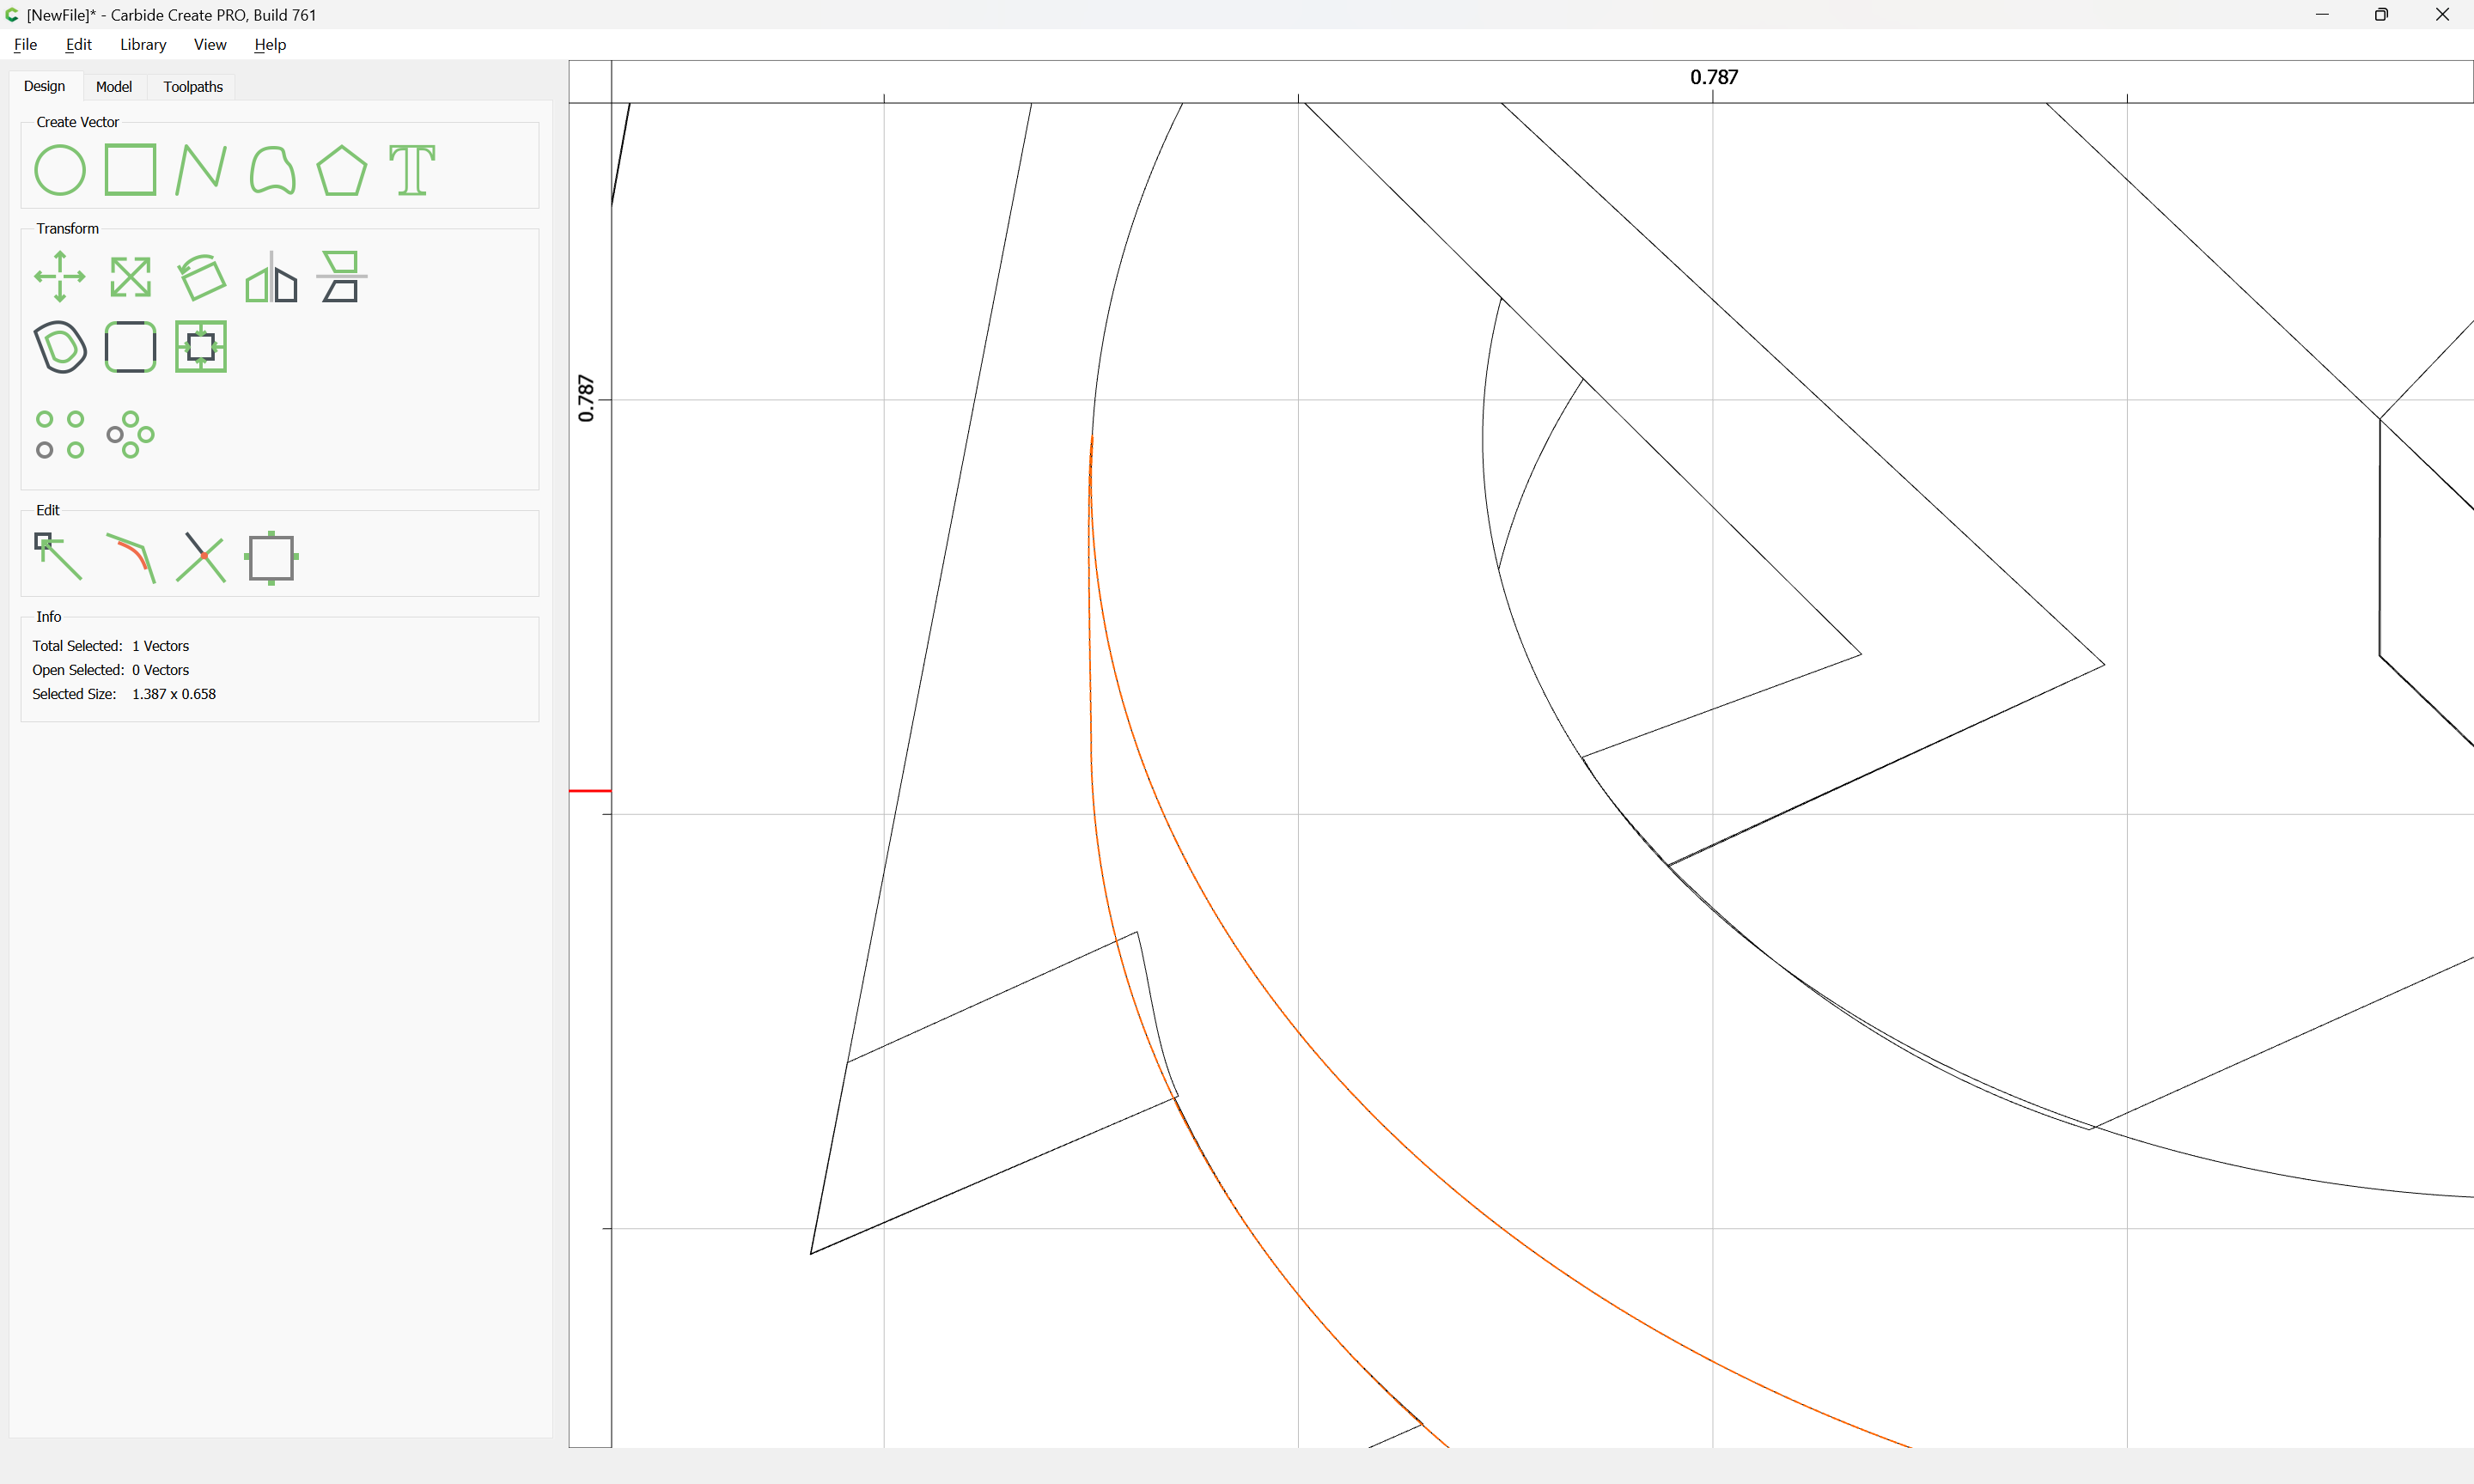
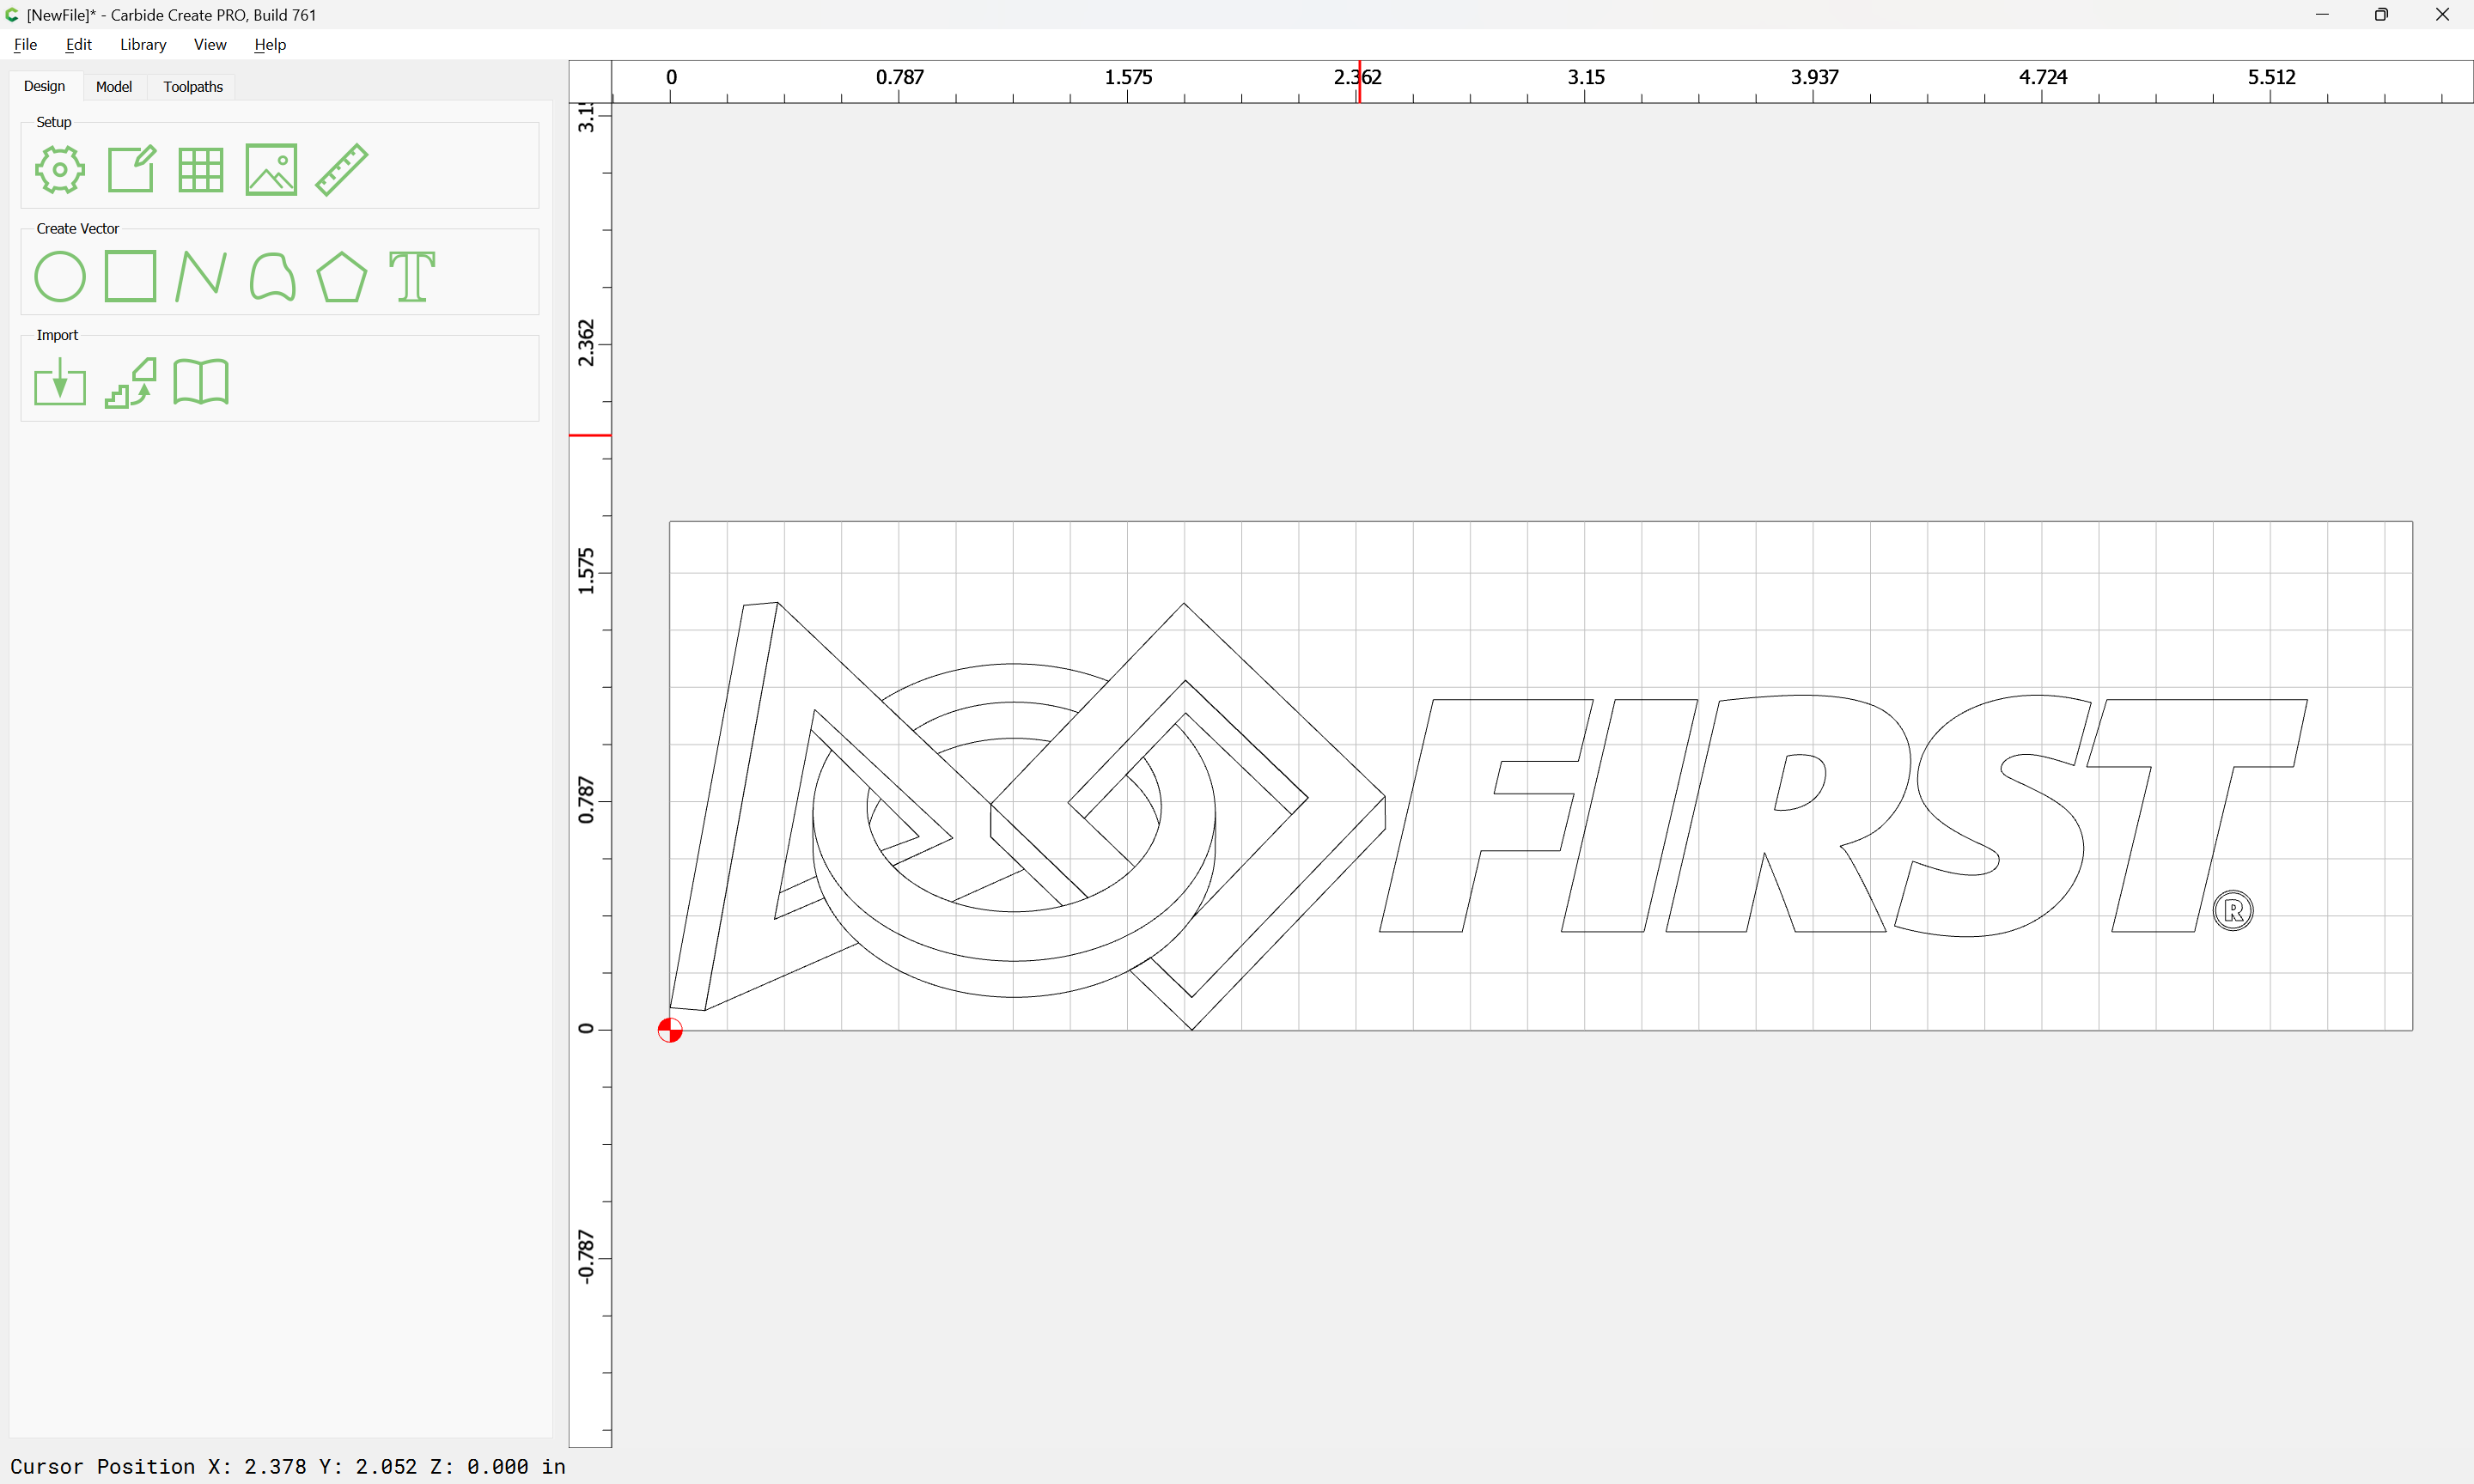
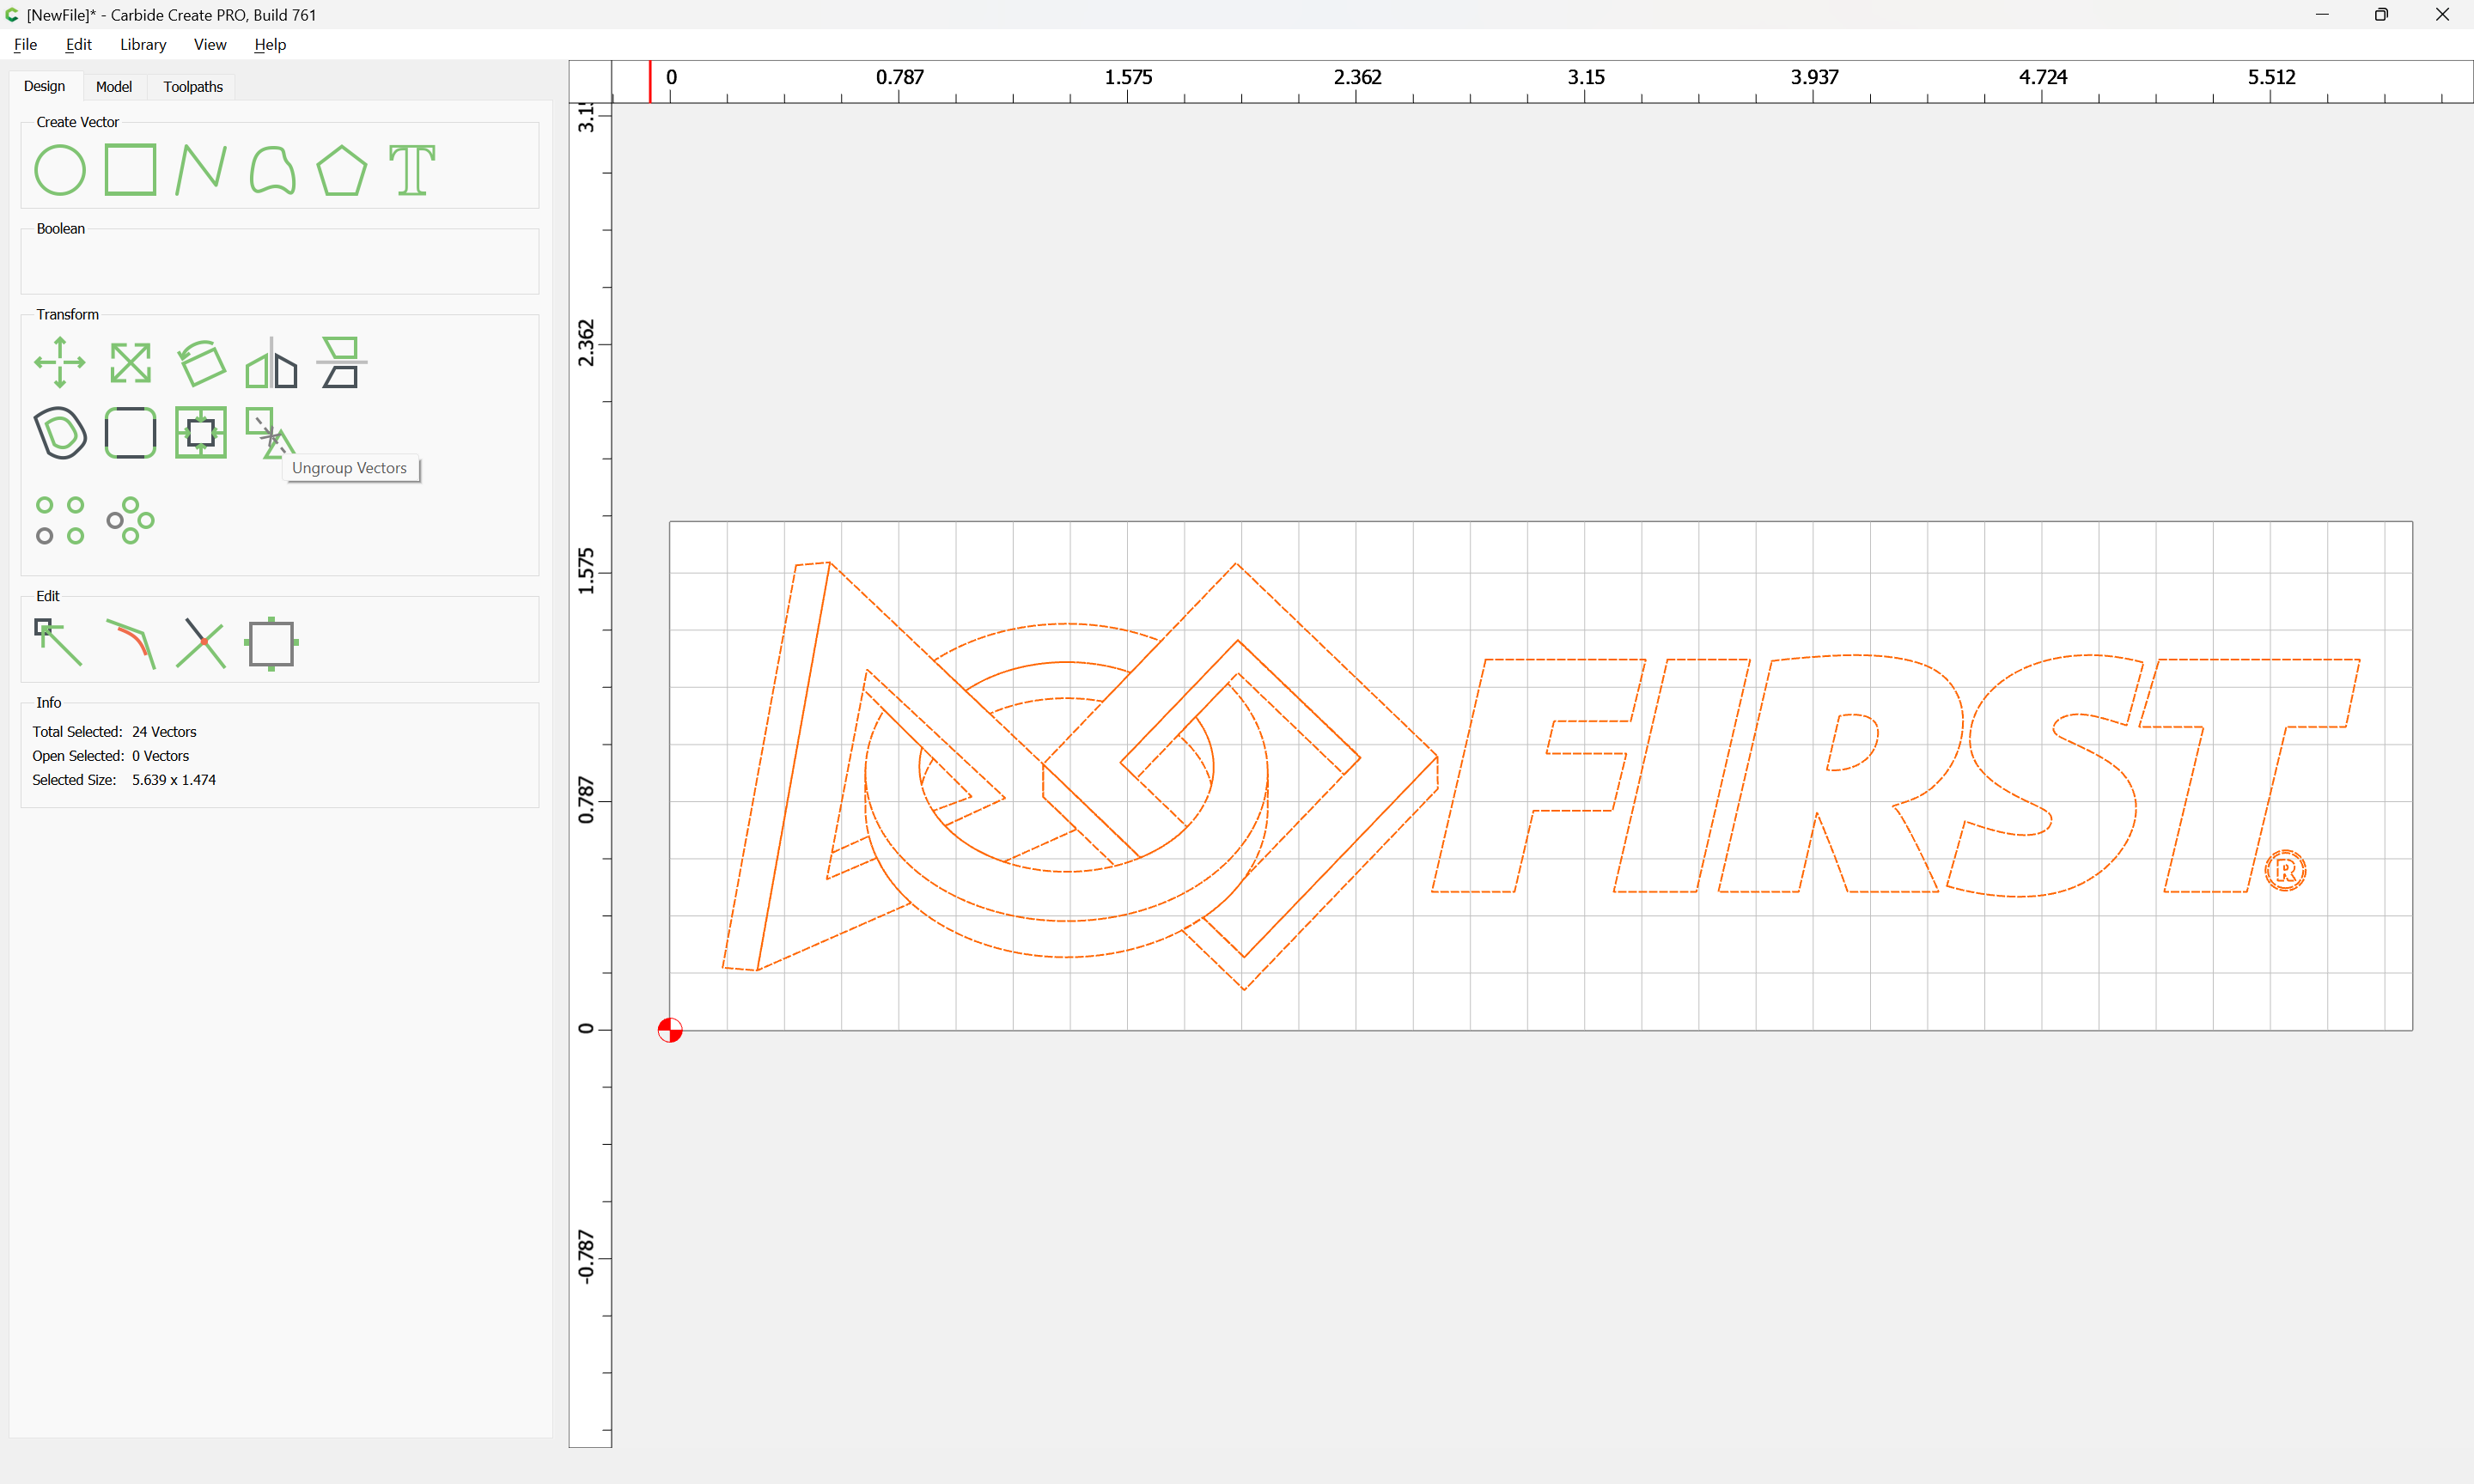
The file opens in Carbide Create:
but as one can see there are some unexpected overlaps — fortunately, these are all along straight lines, so are easily dealt with.
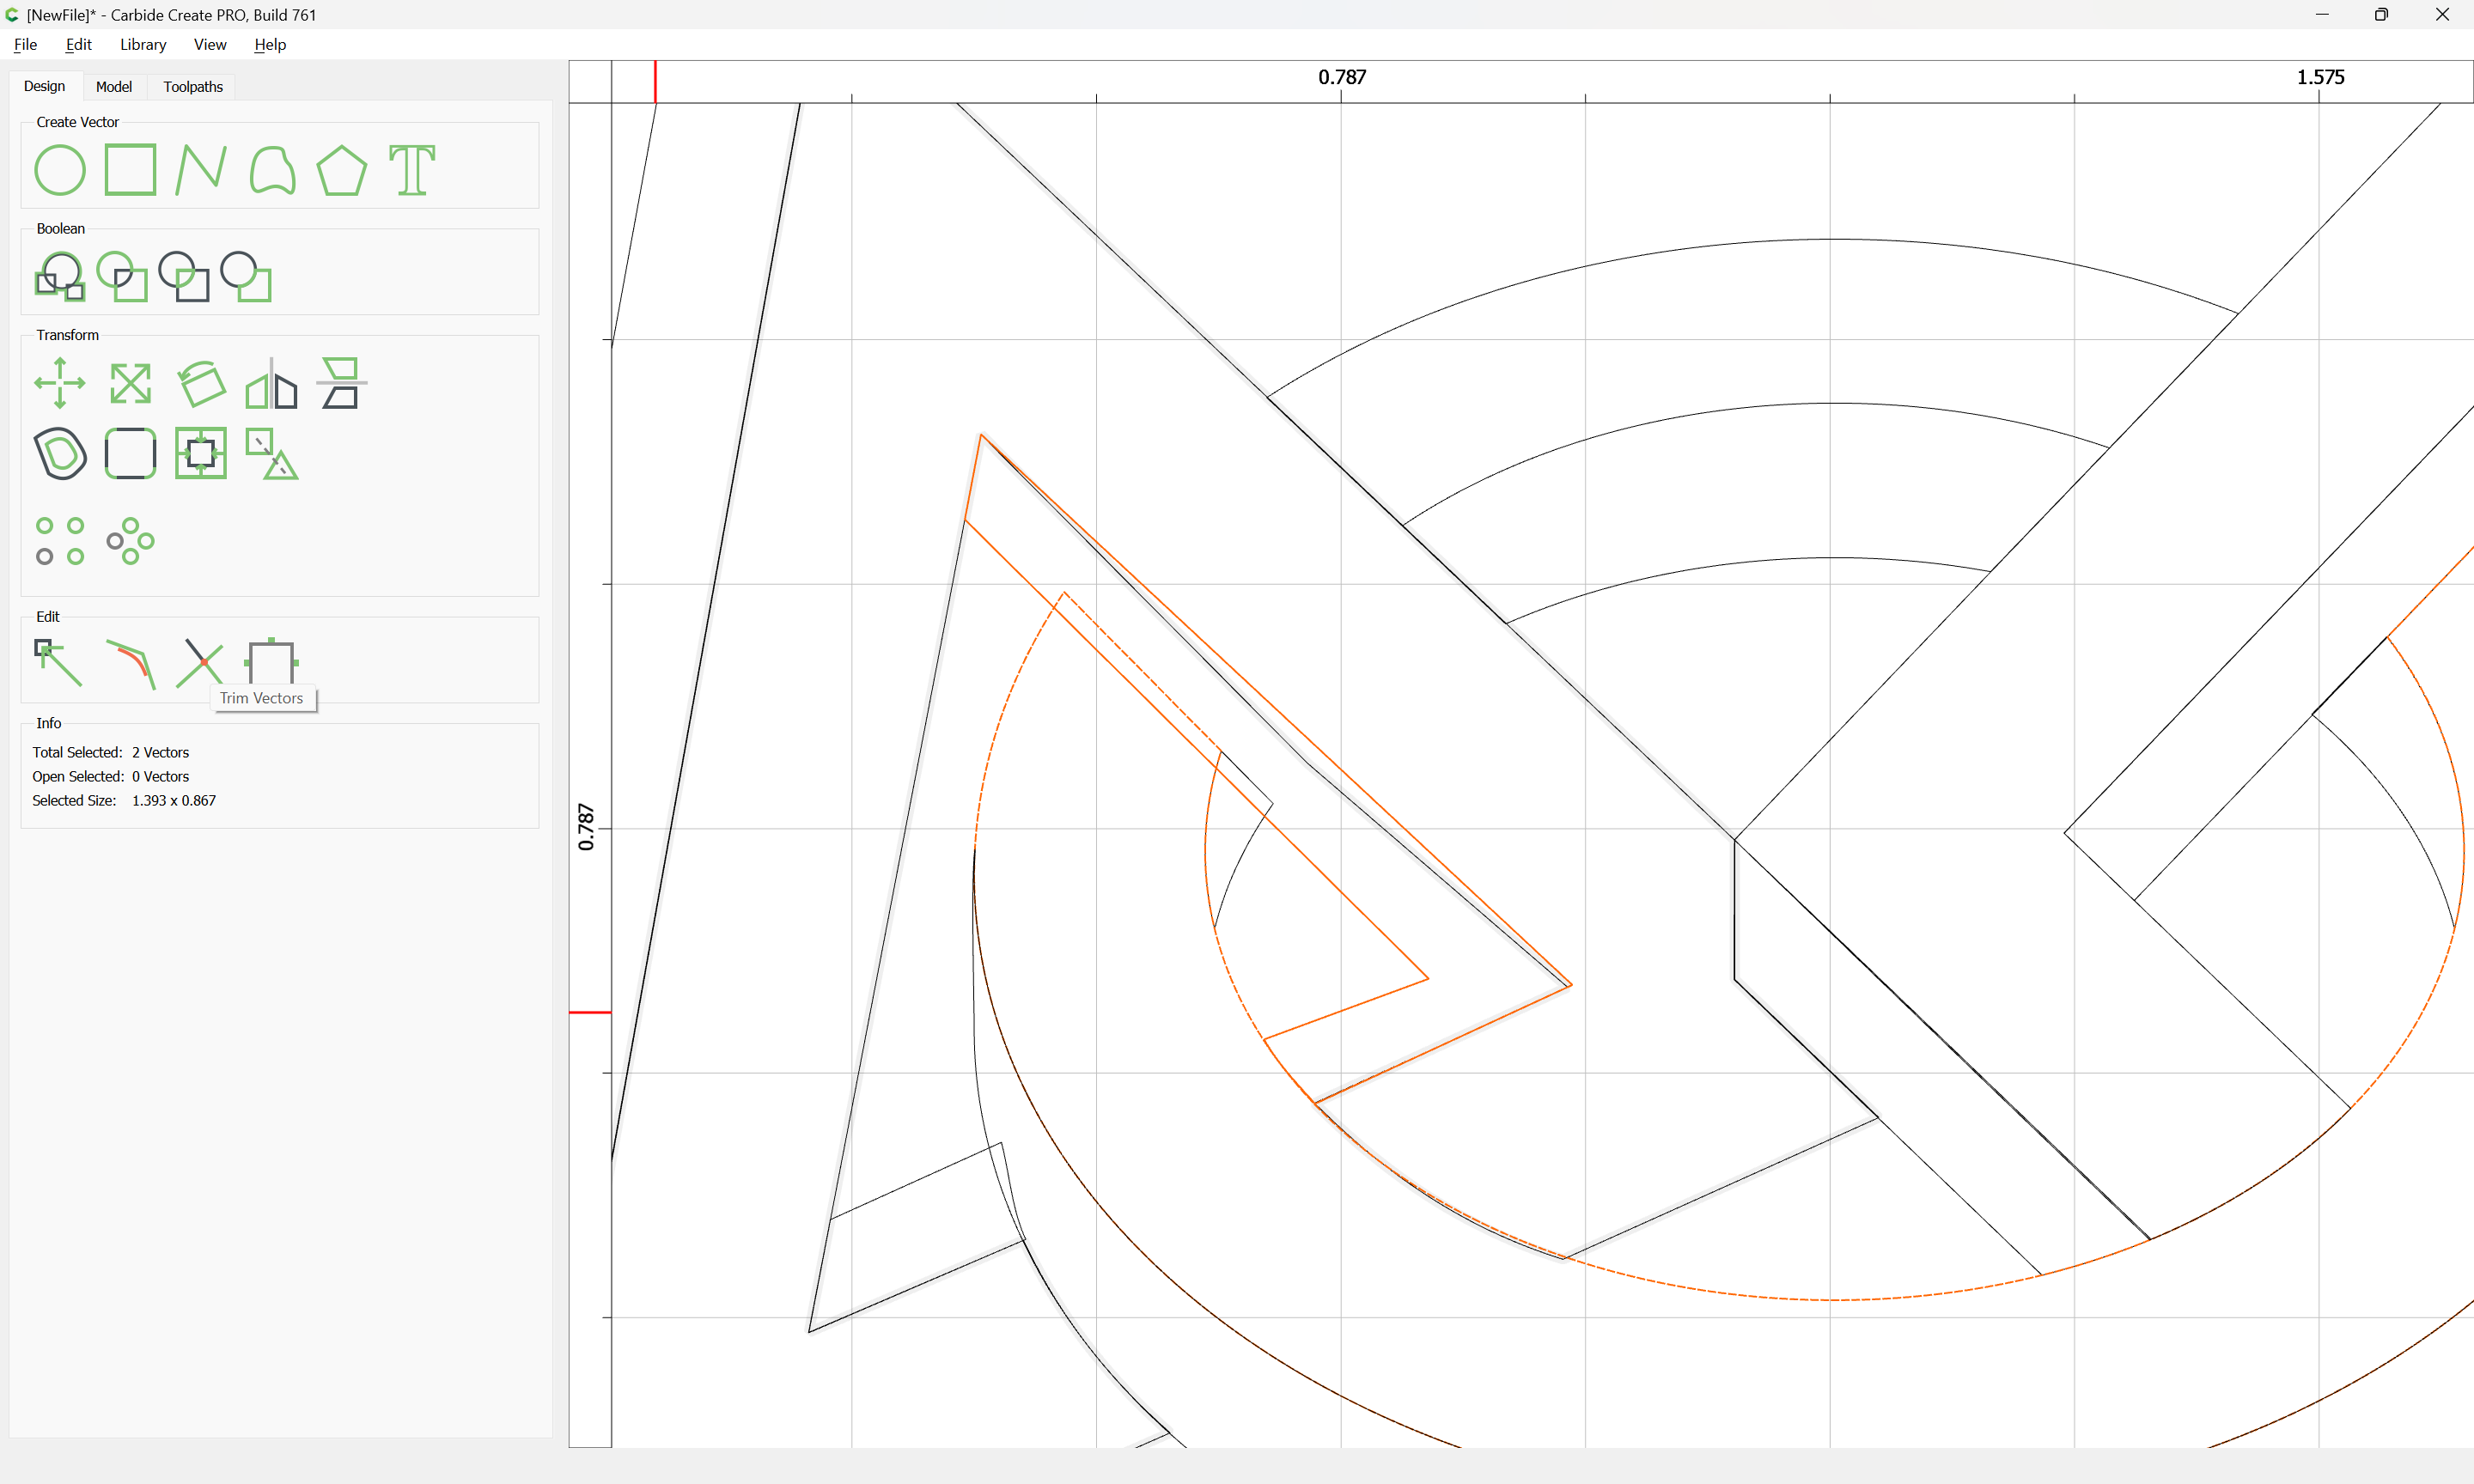
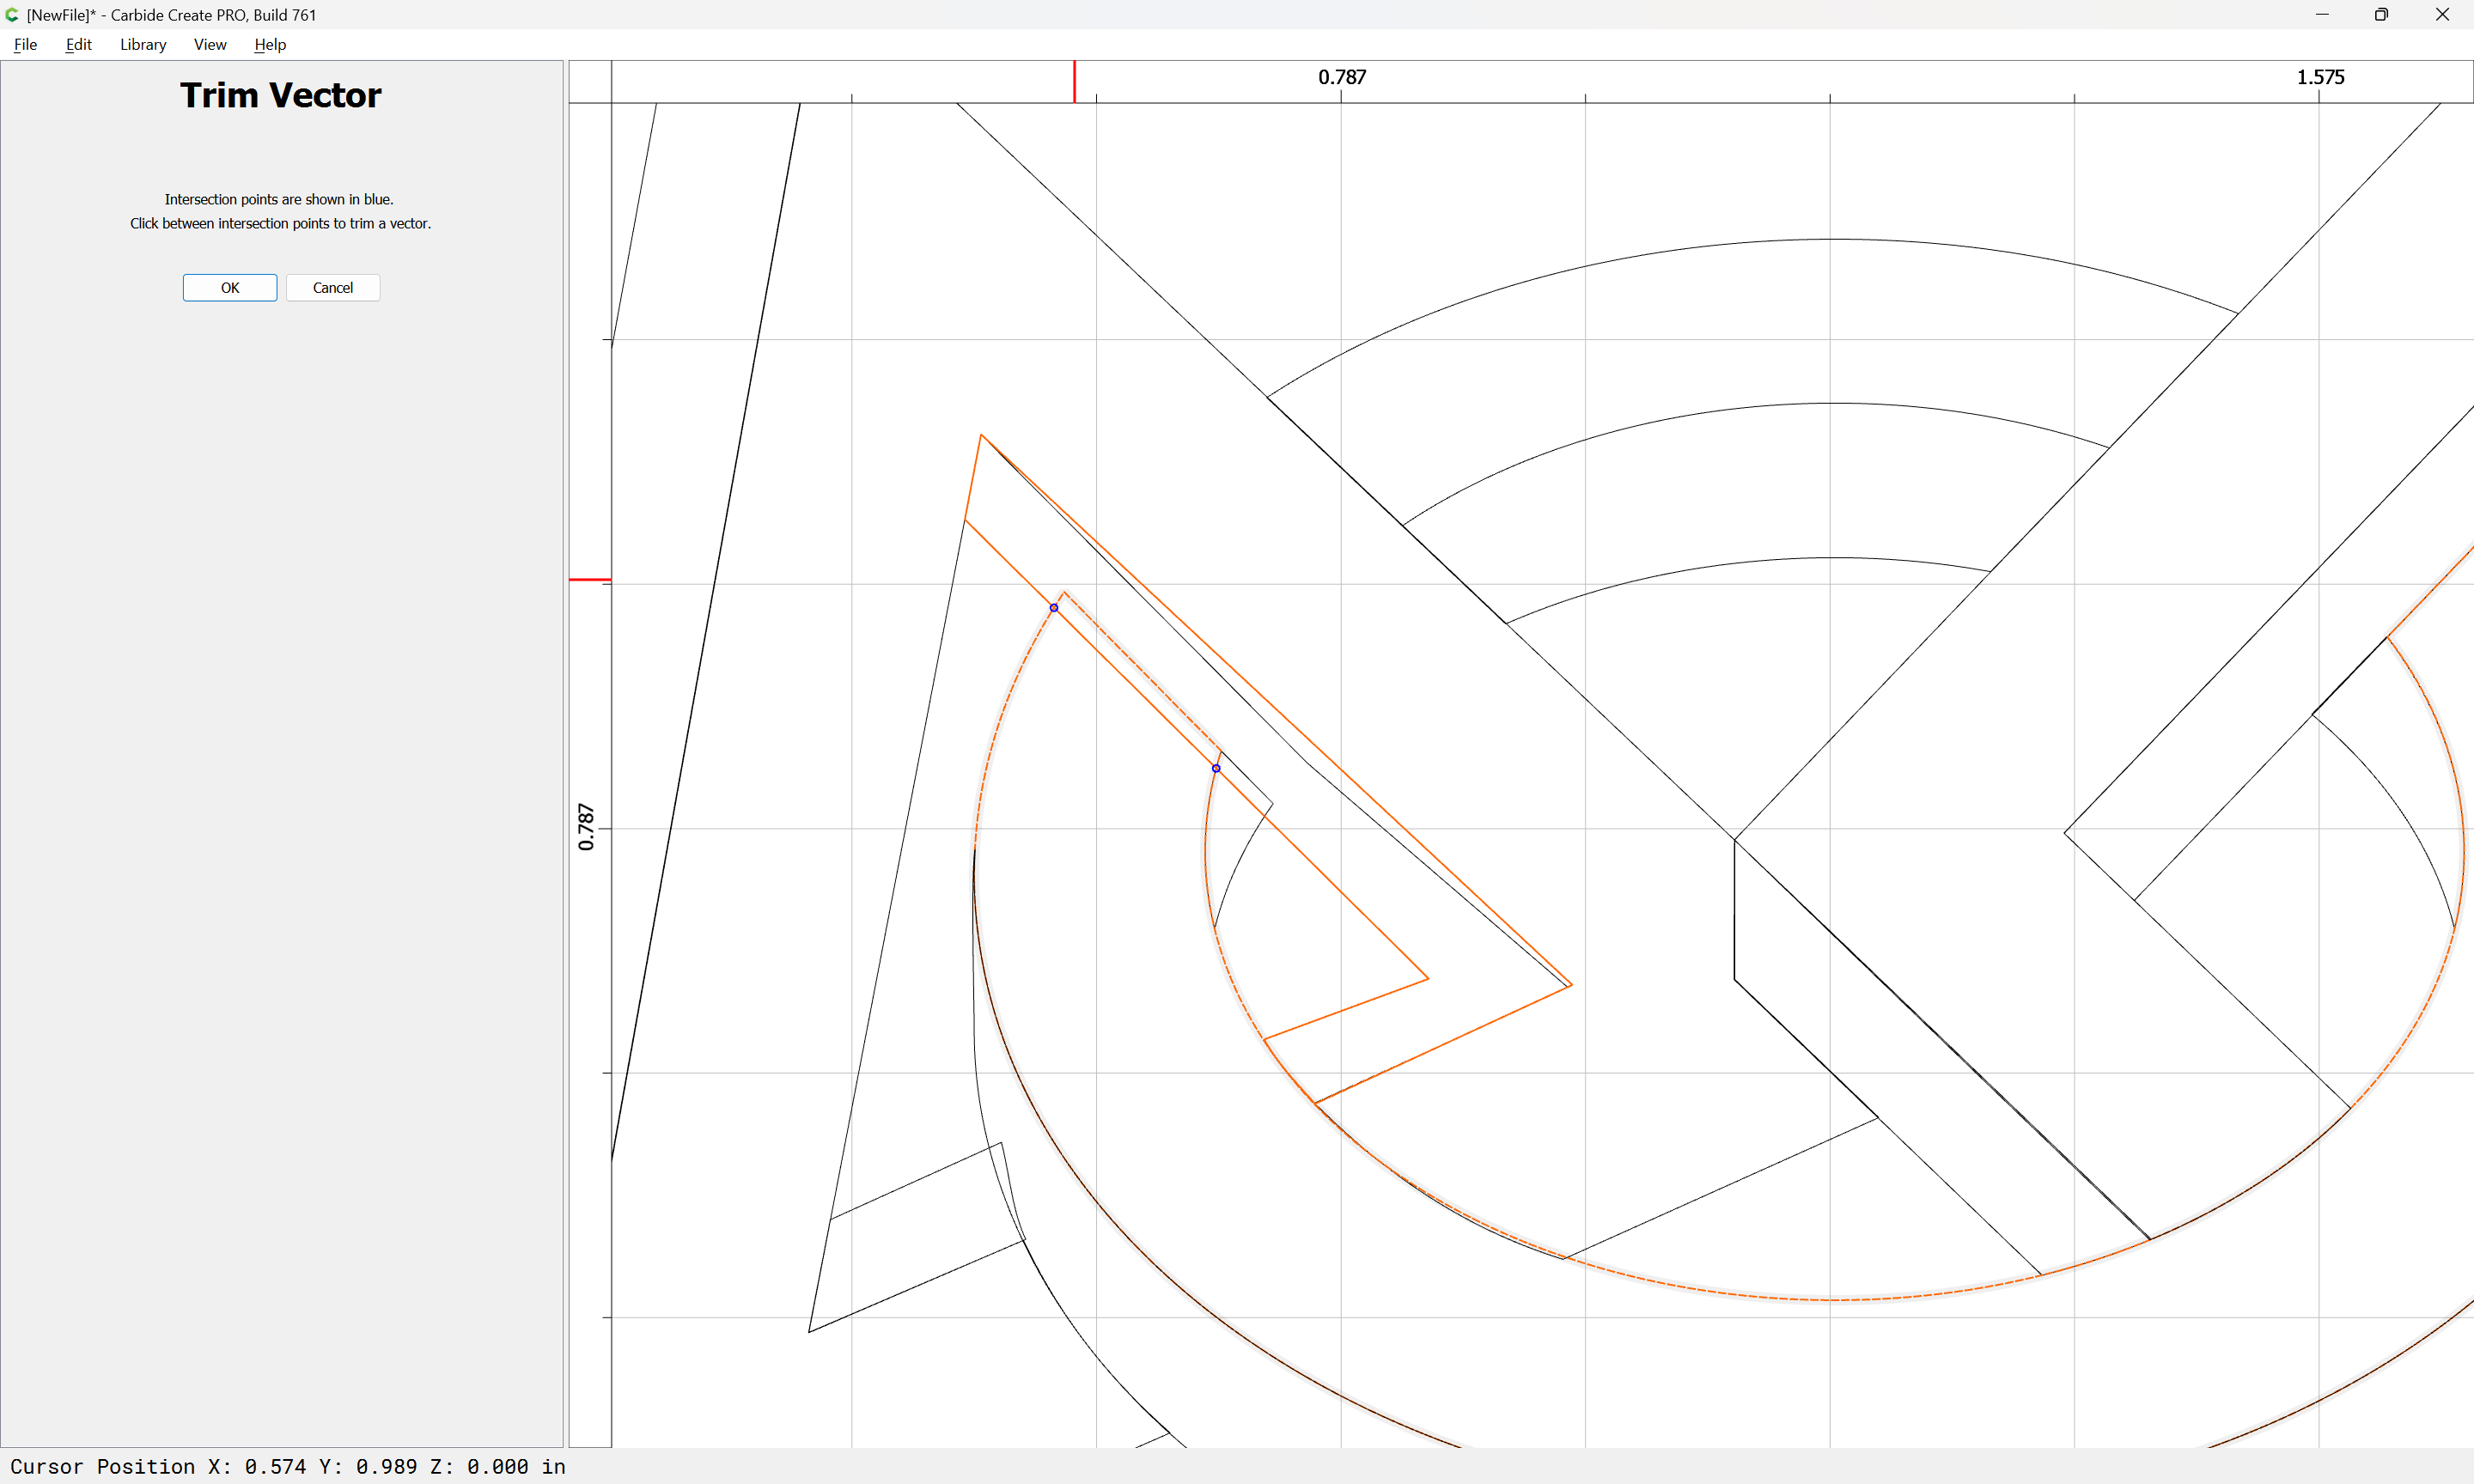
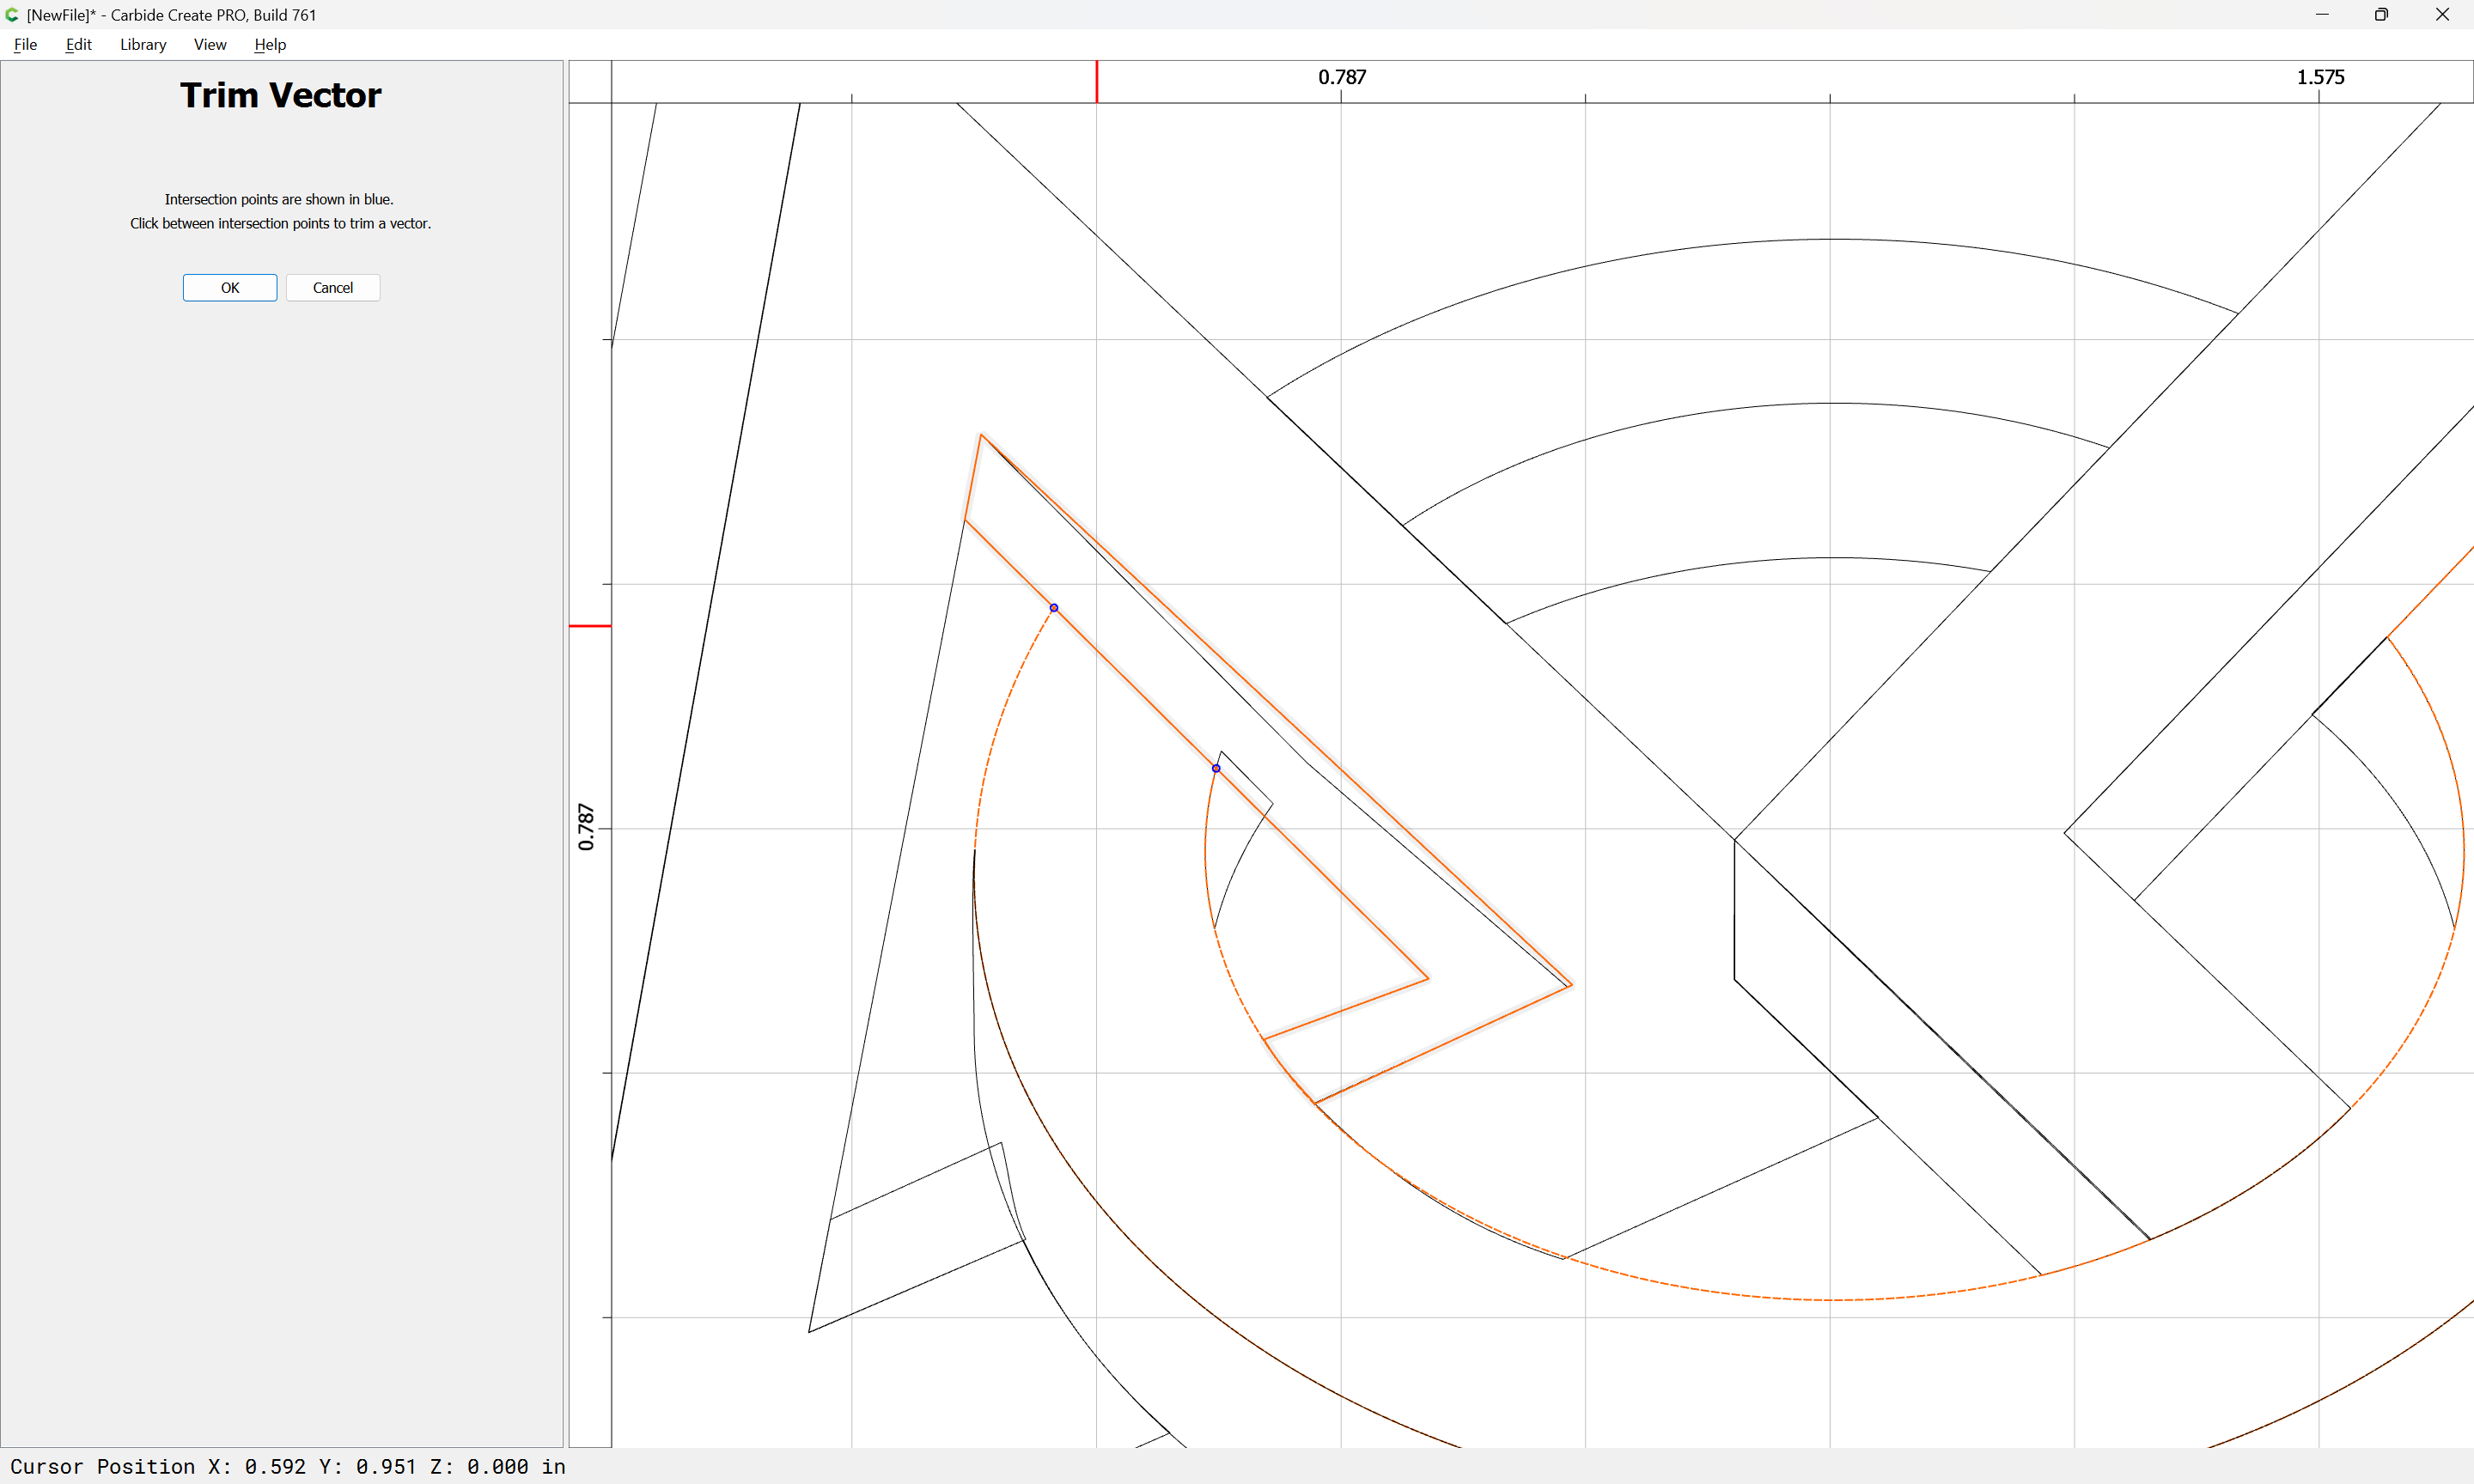
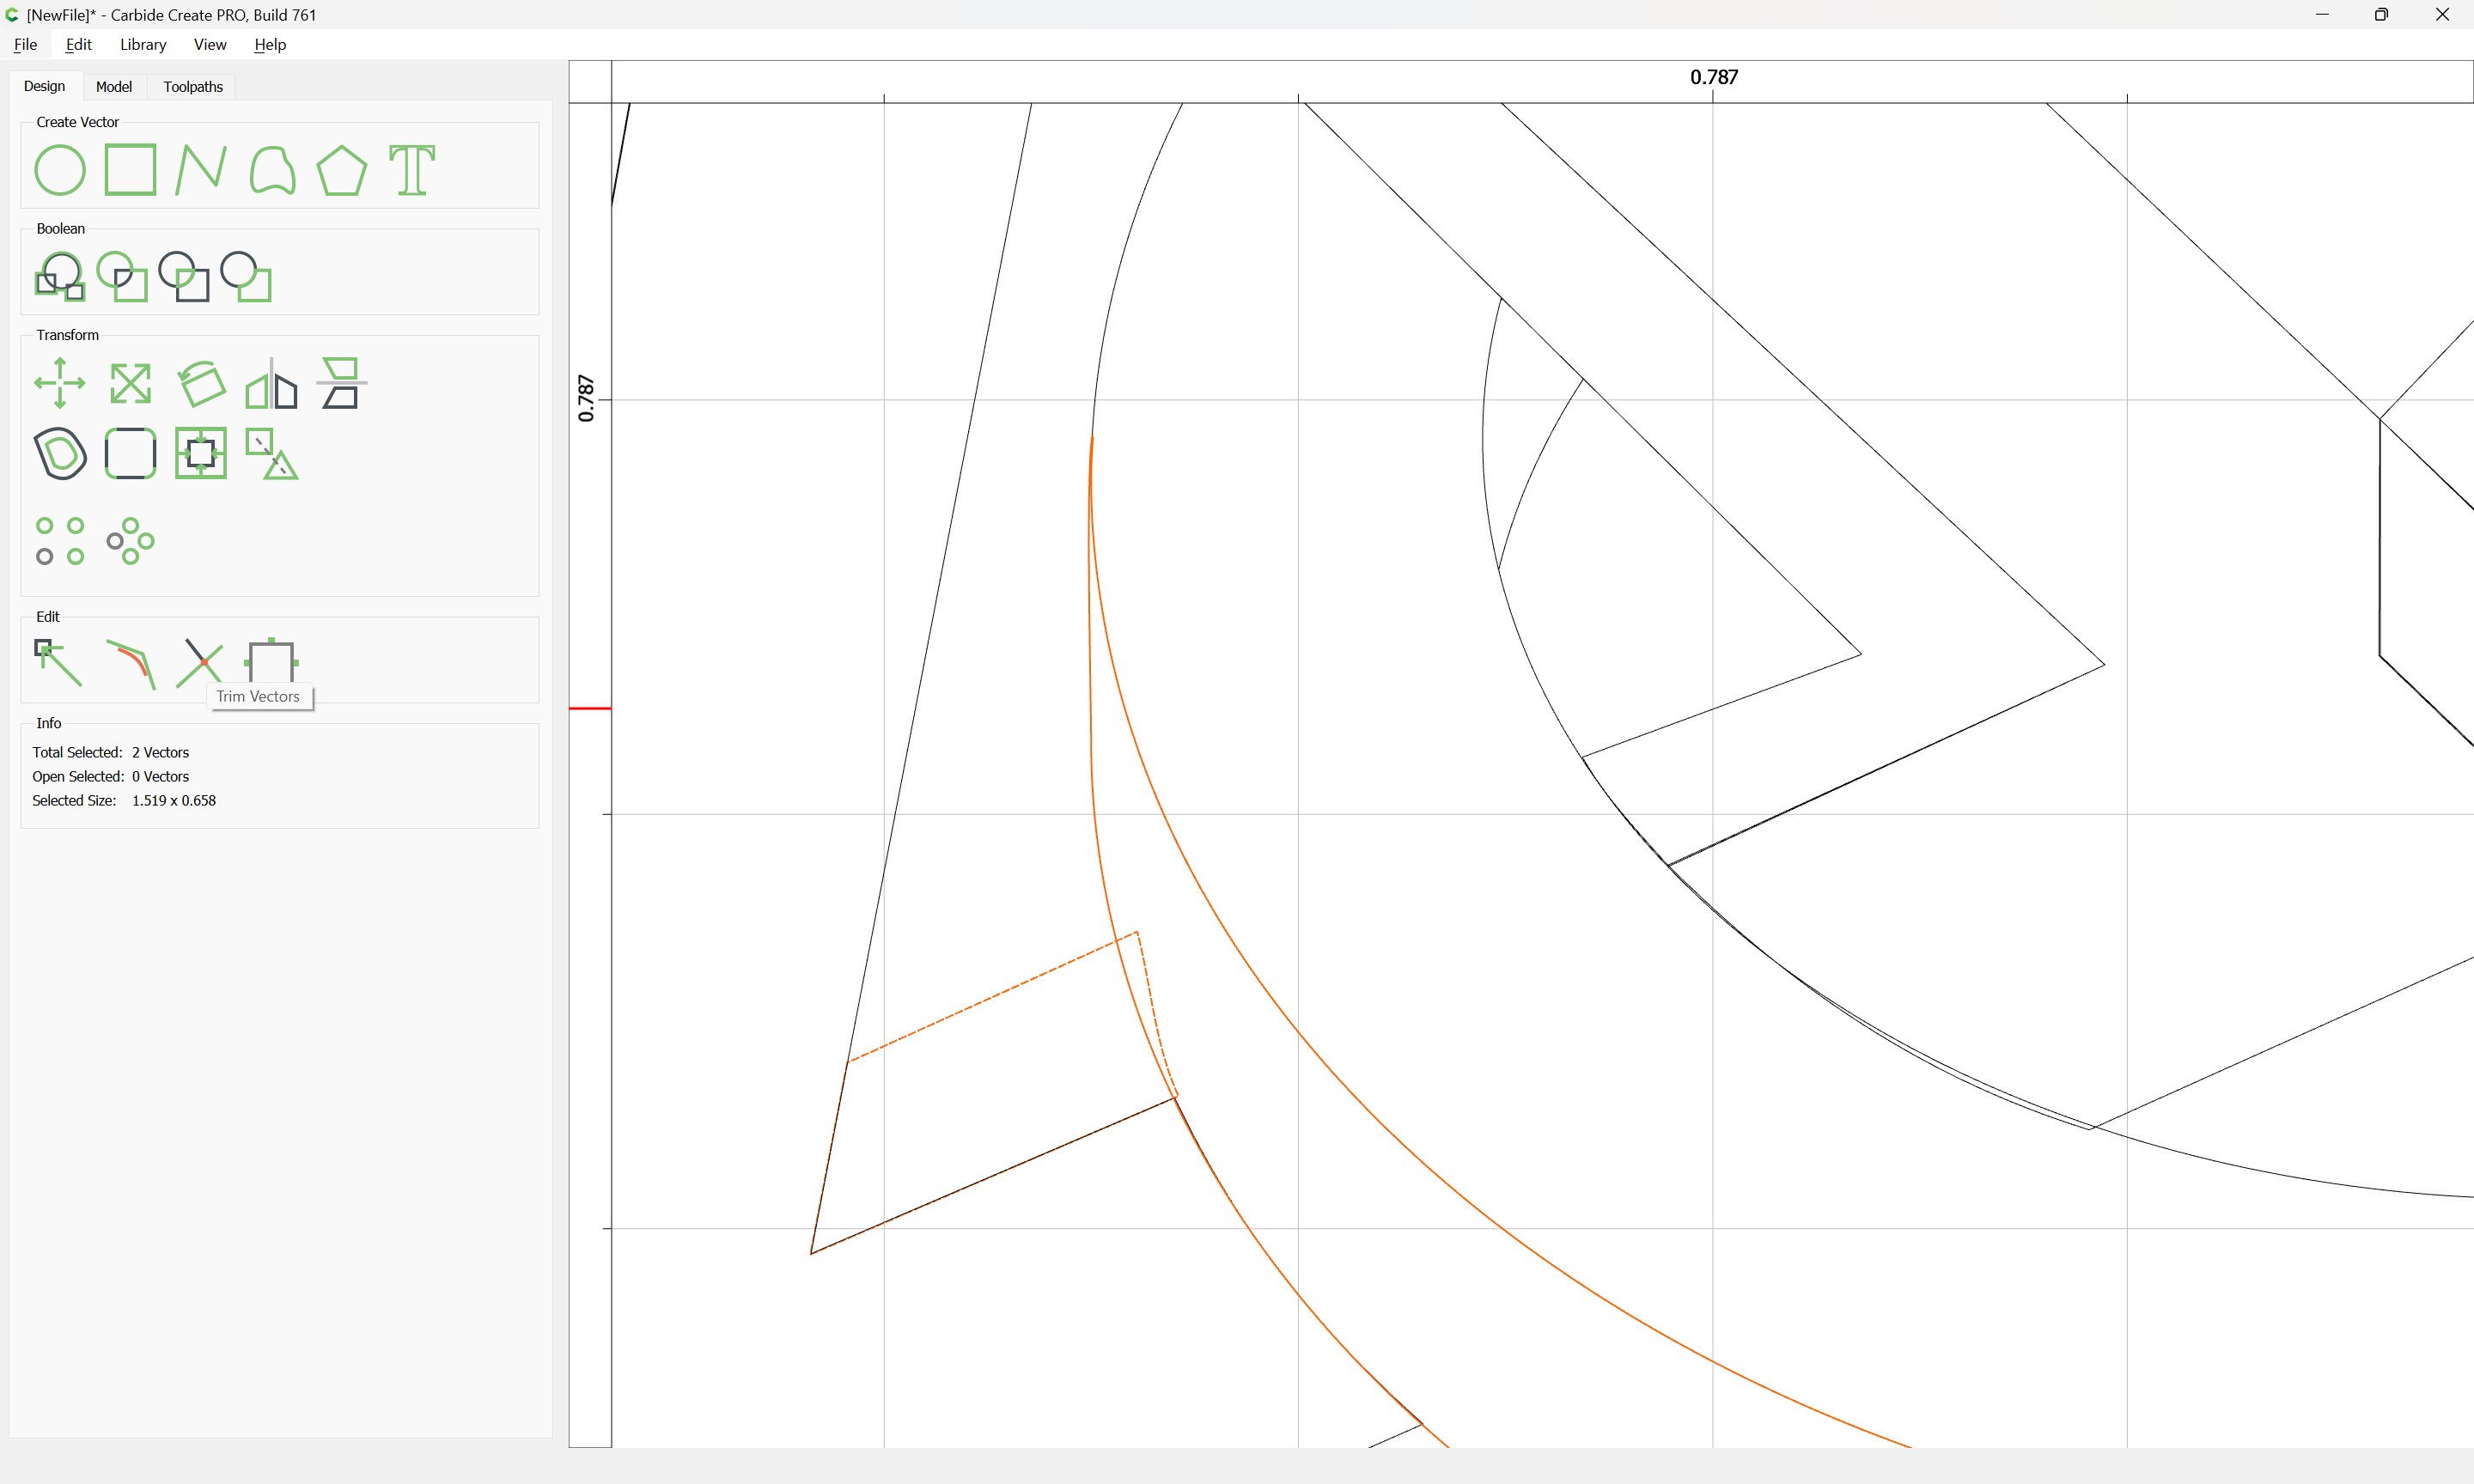
Select any pair of objects which have good/bad outlines:
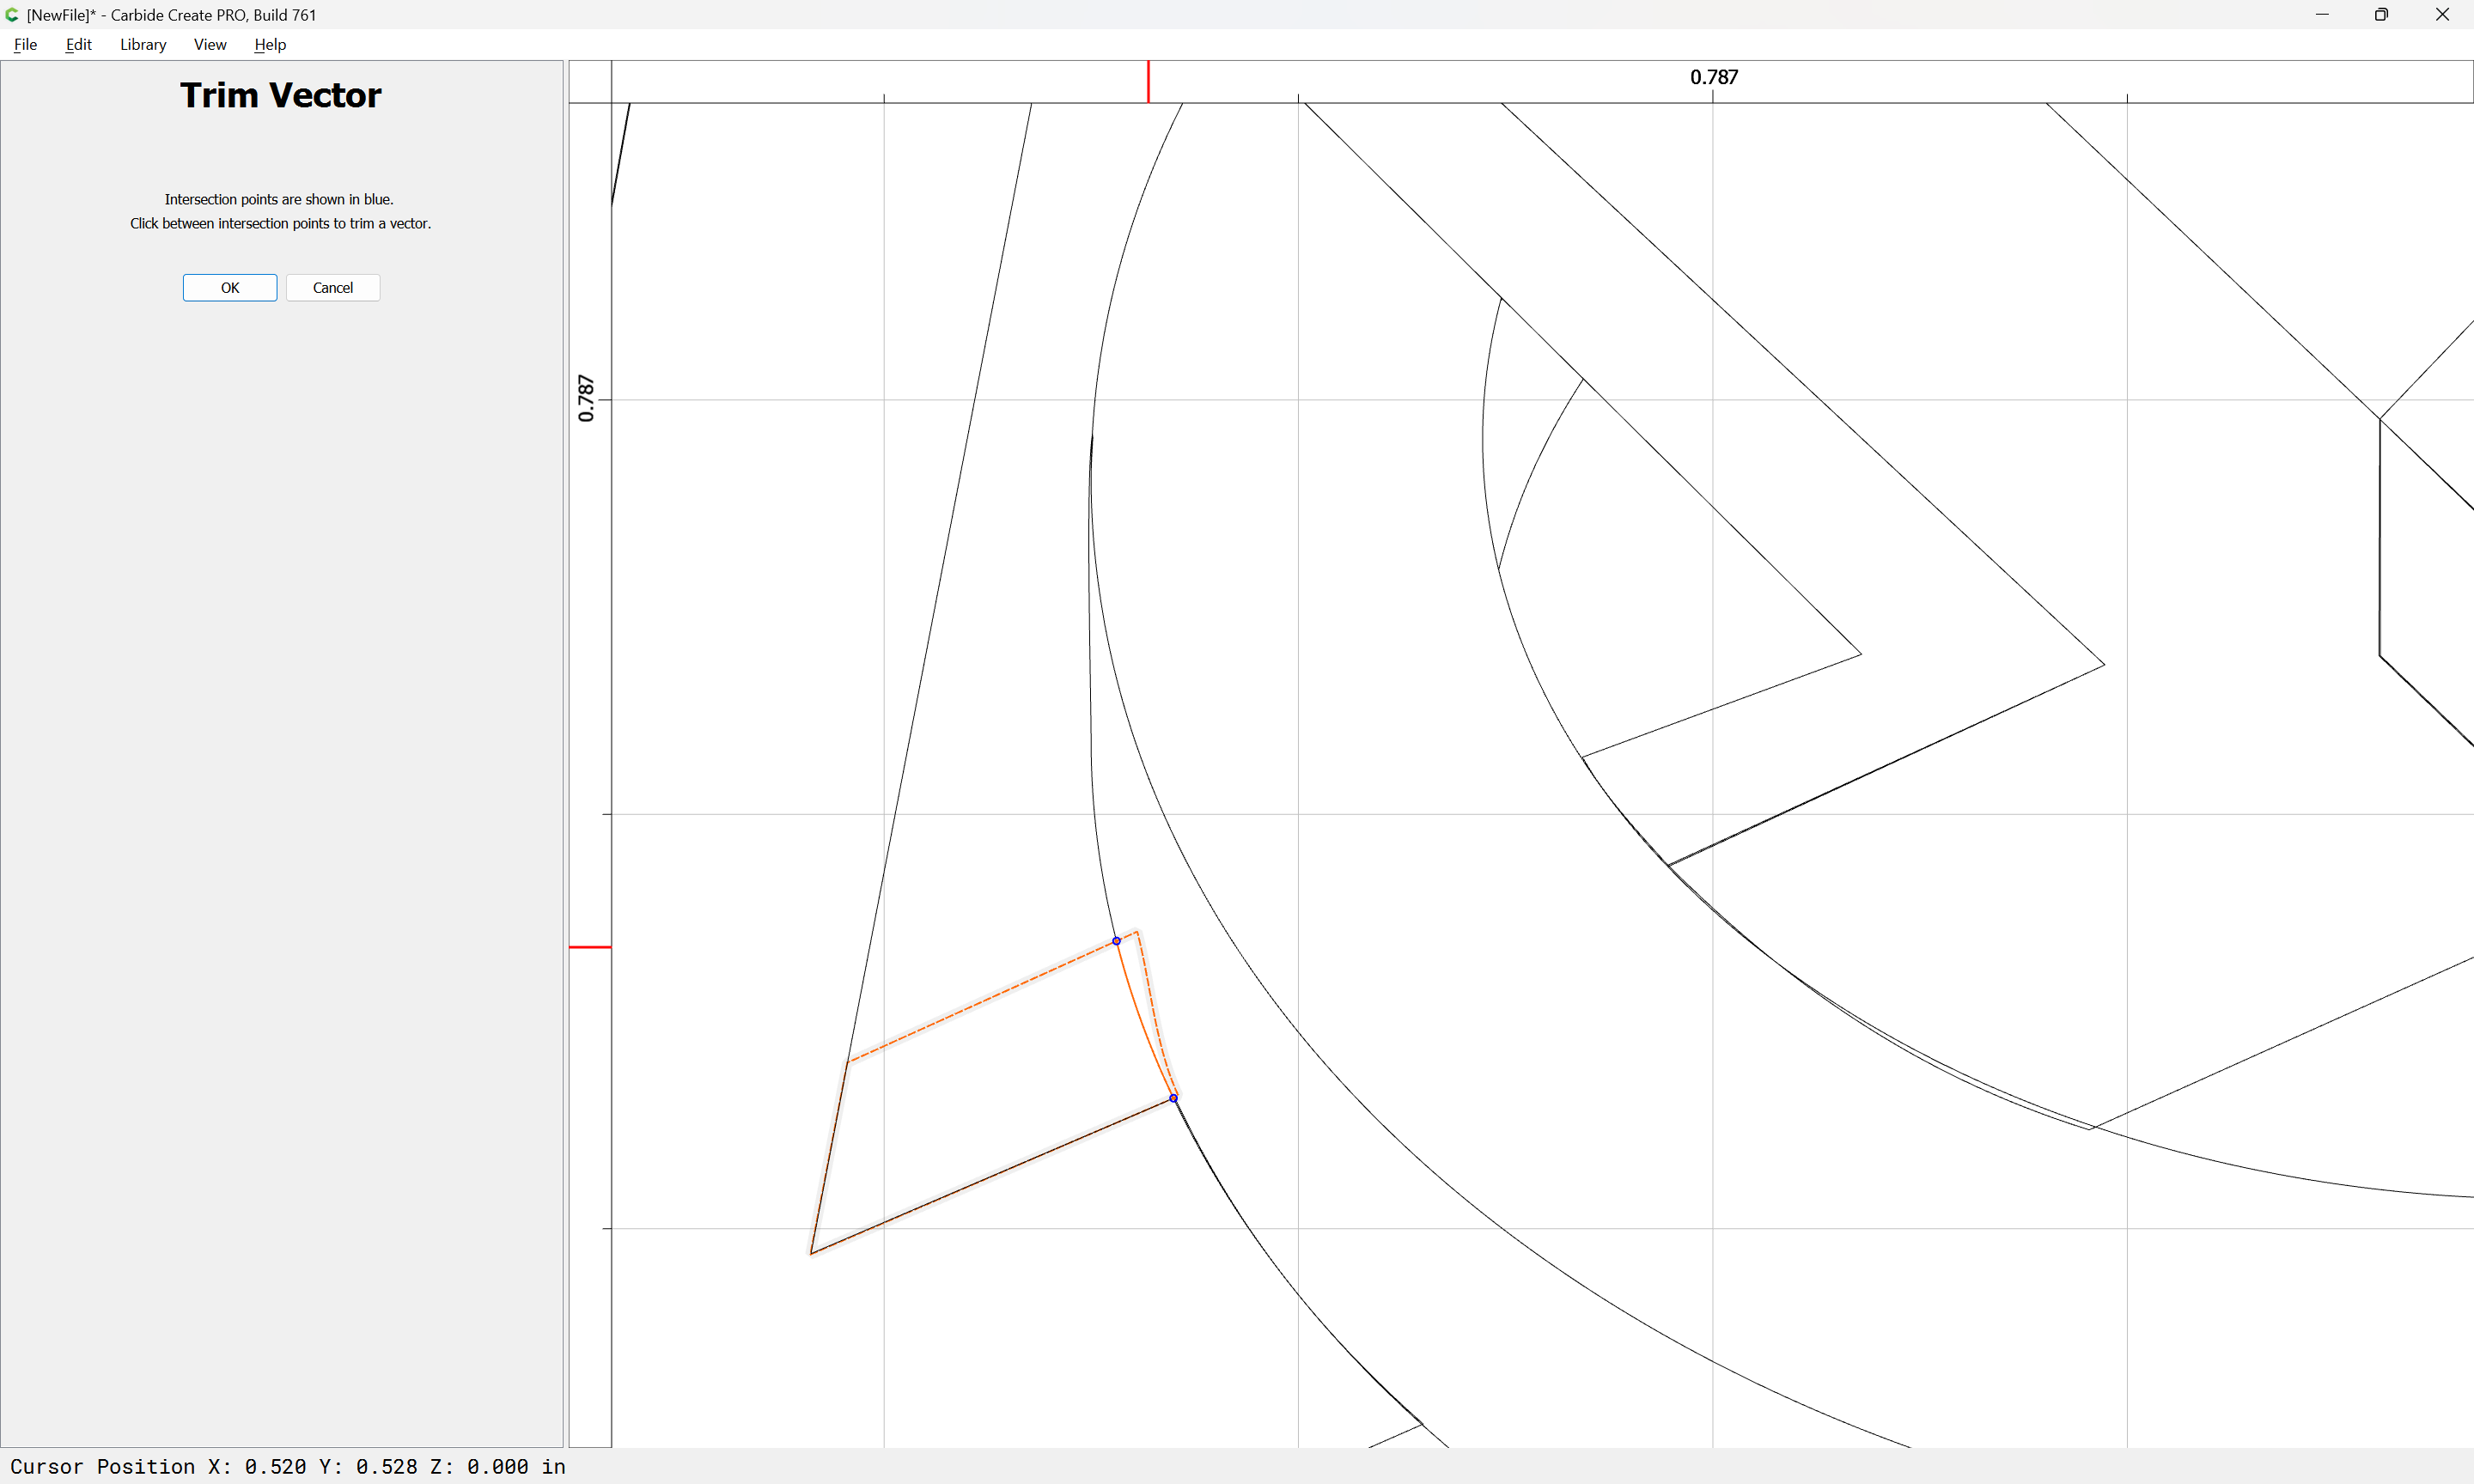
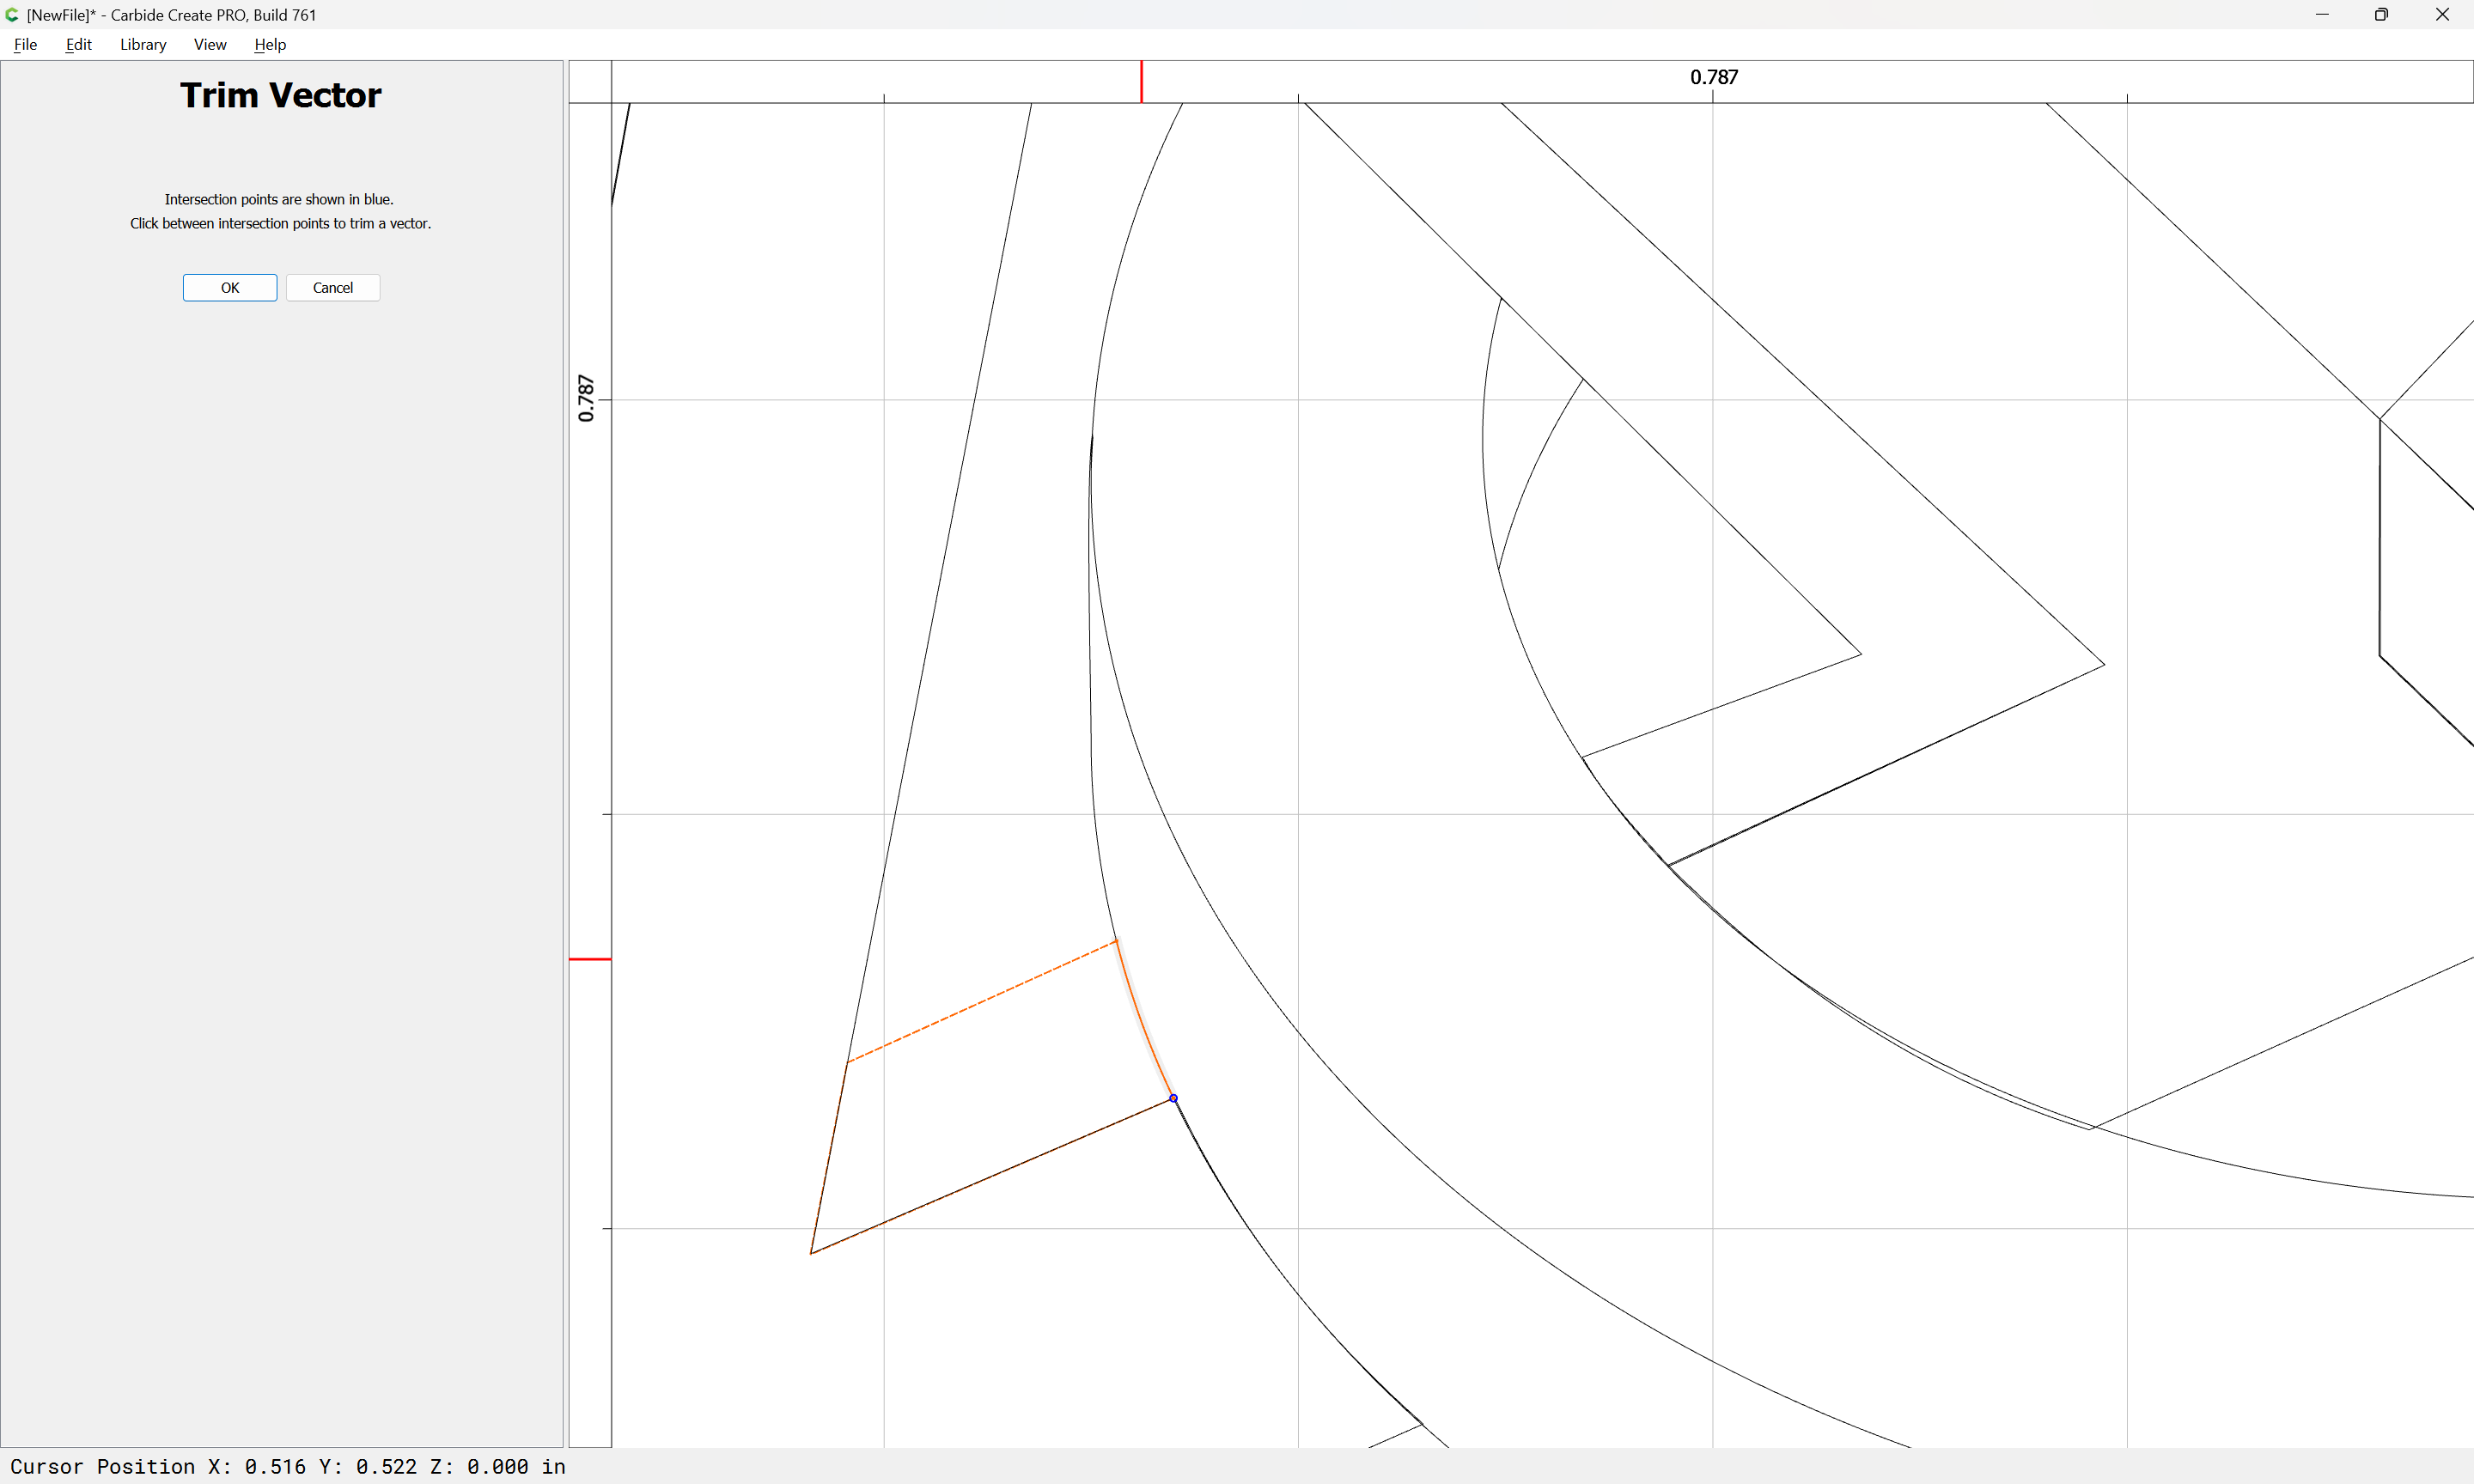
then use the Trim Vectors tool to eliminate what is not wanted:
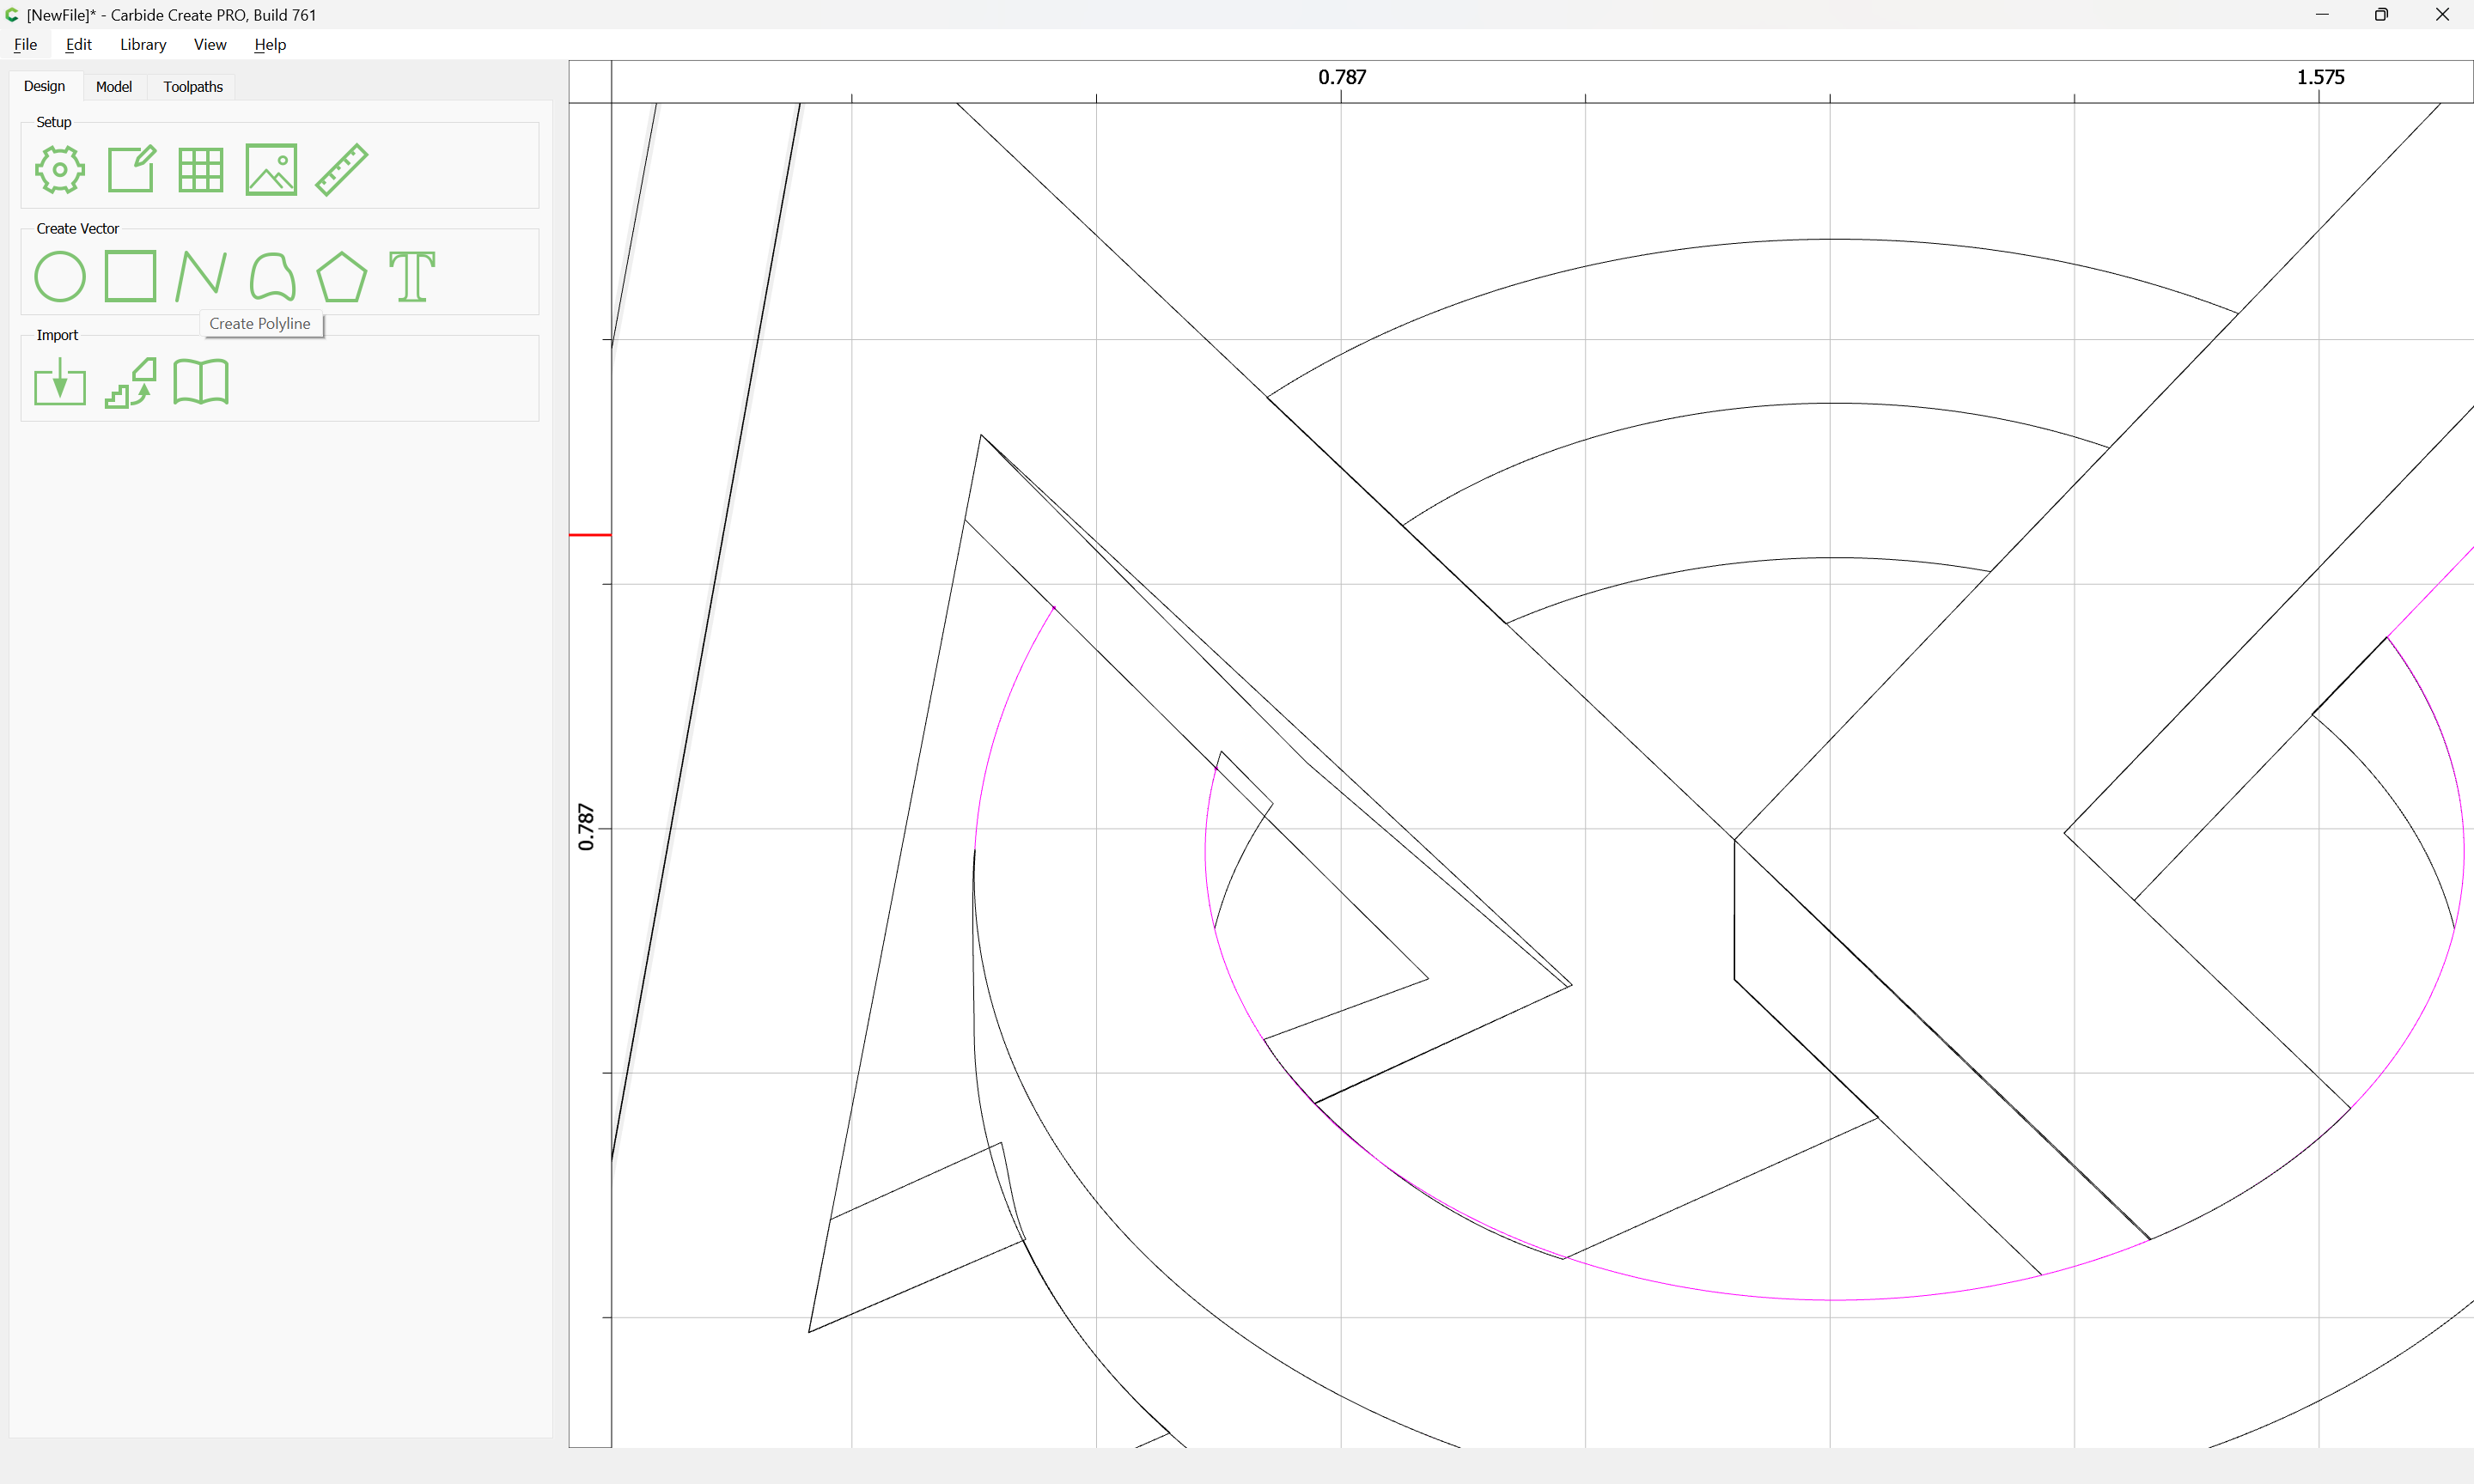
OK and click away to deselect:
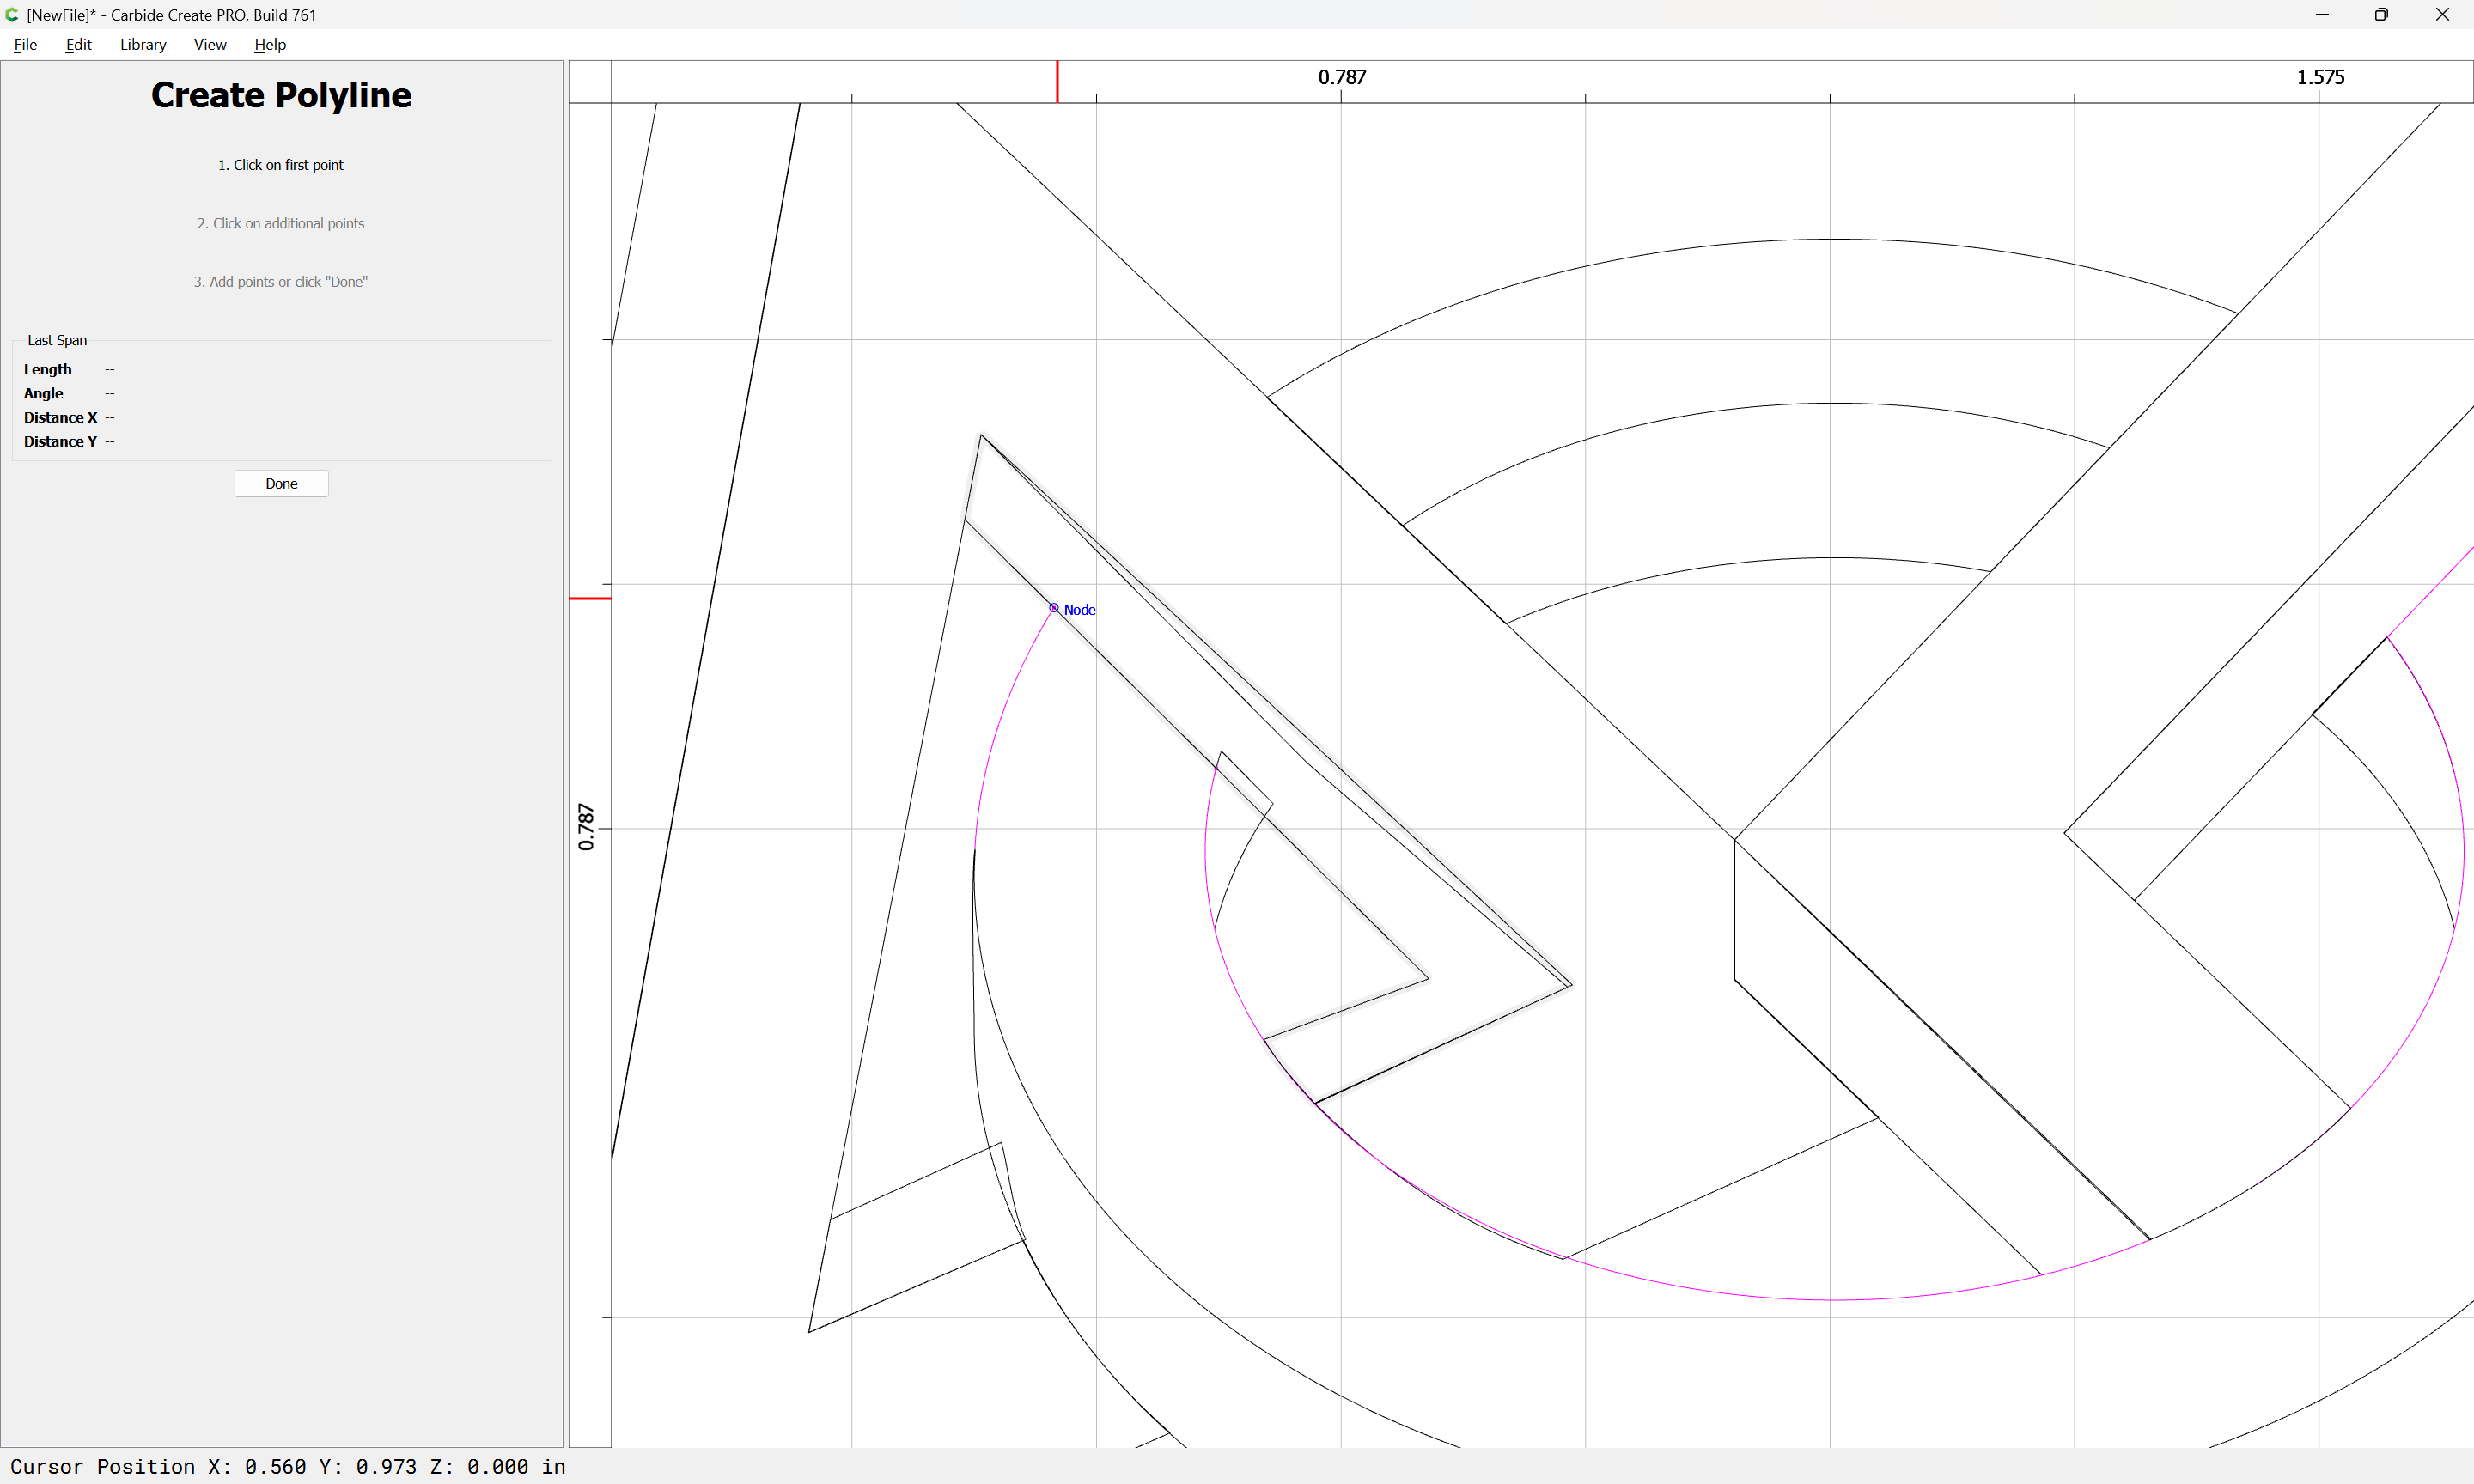
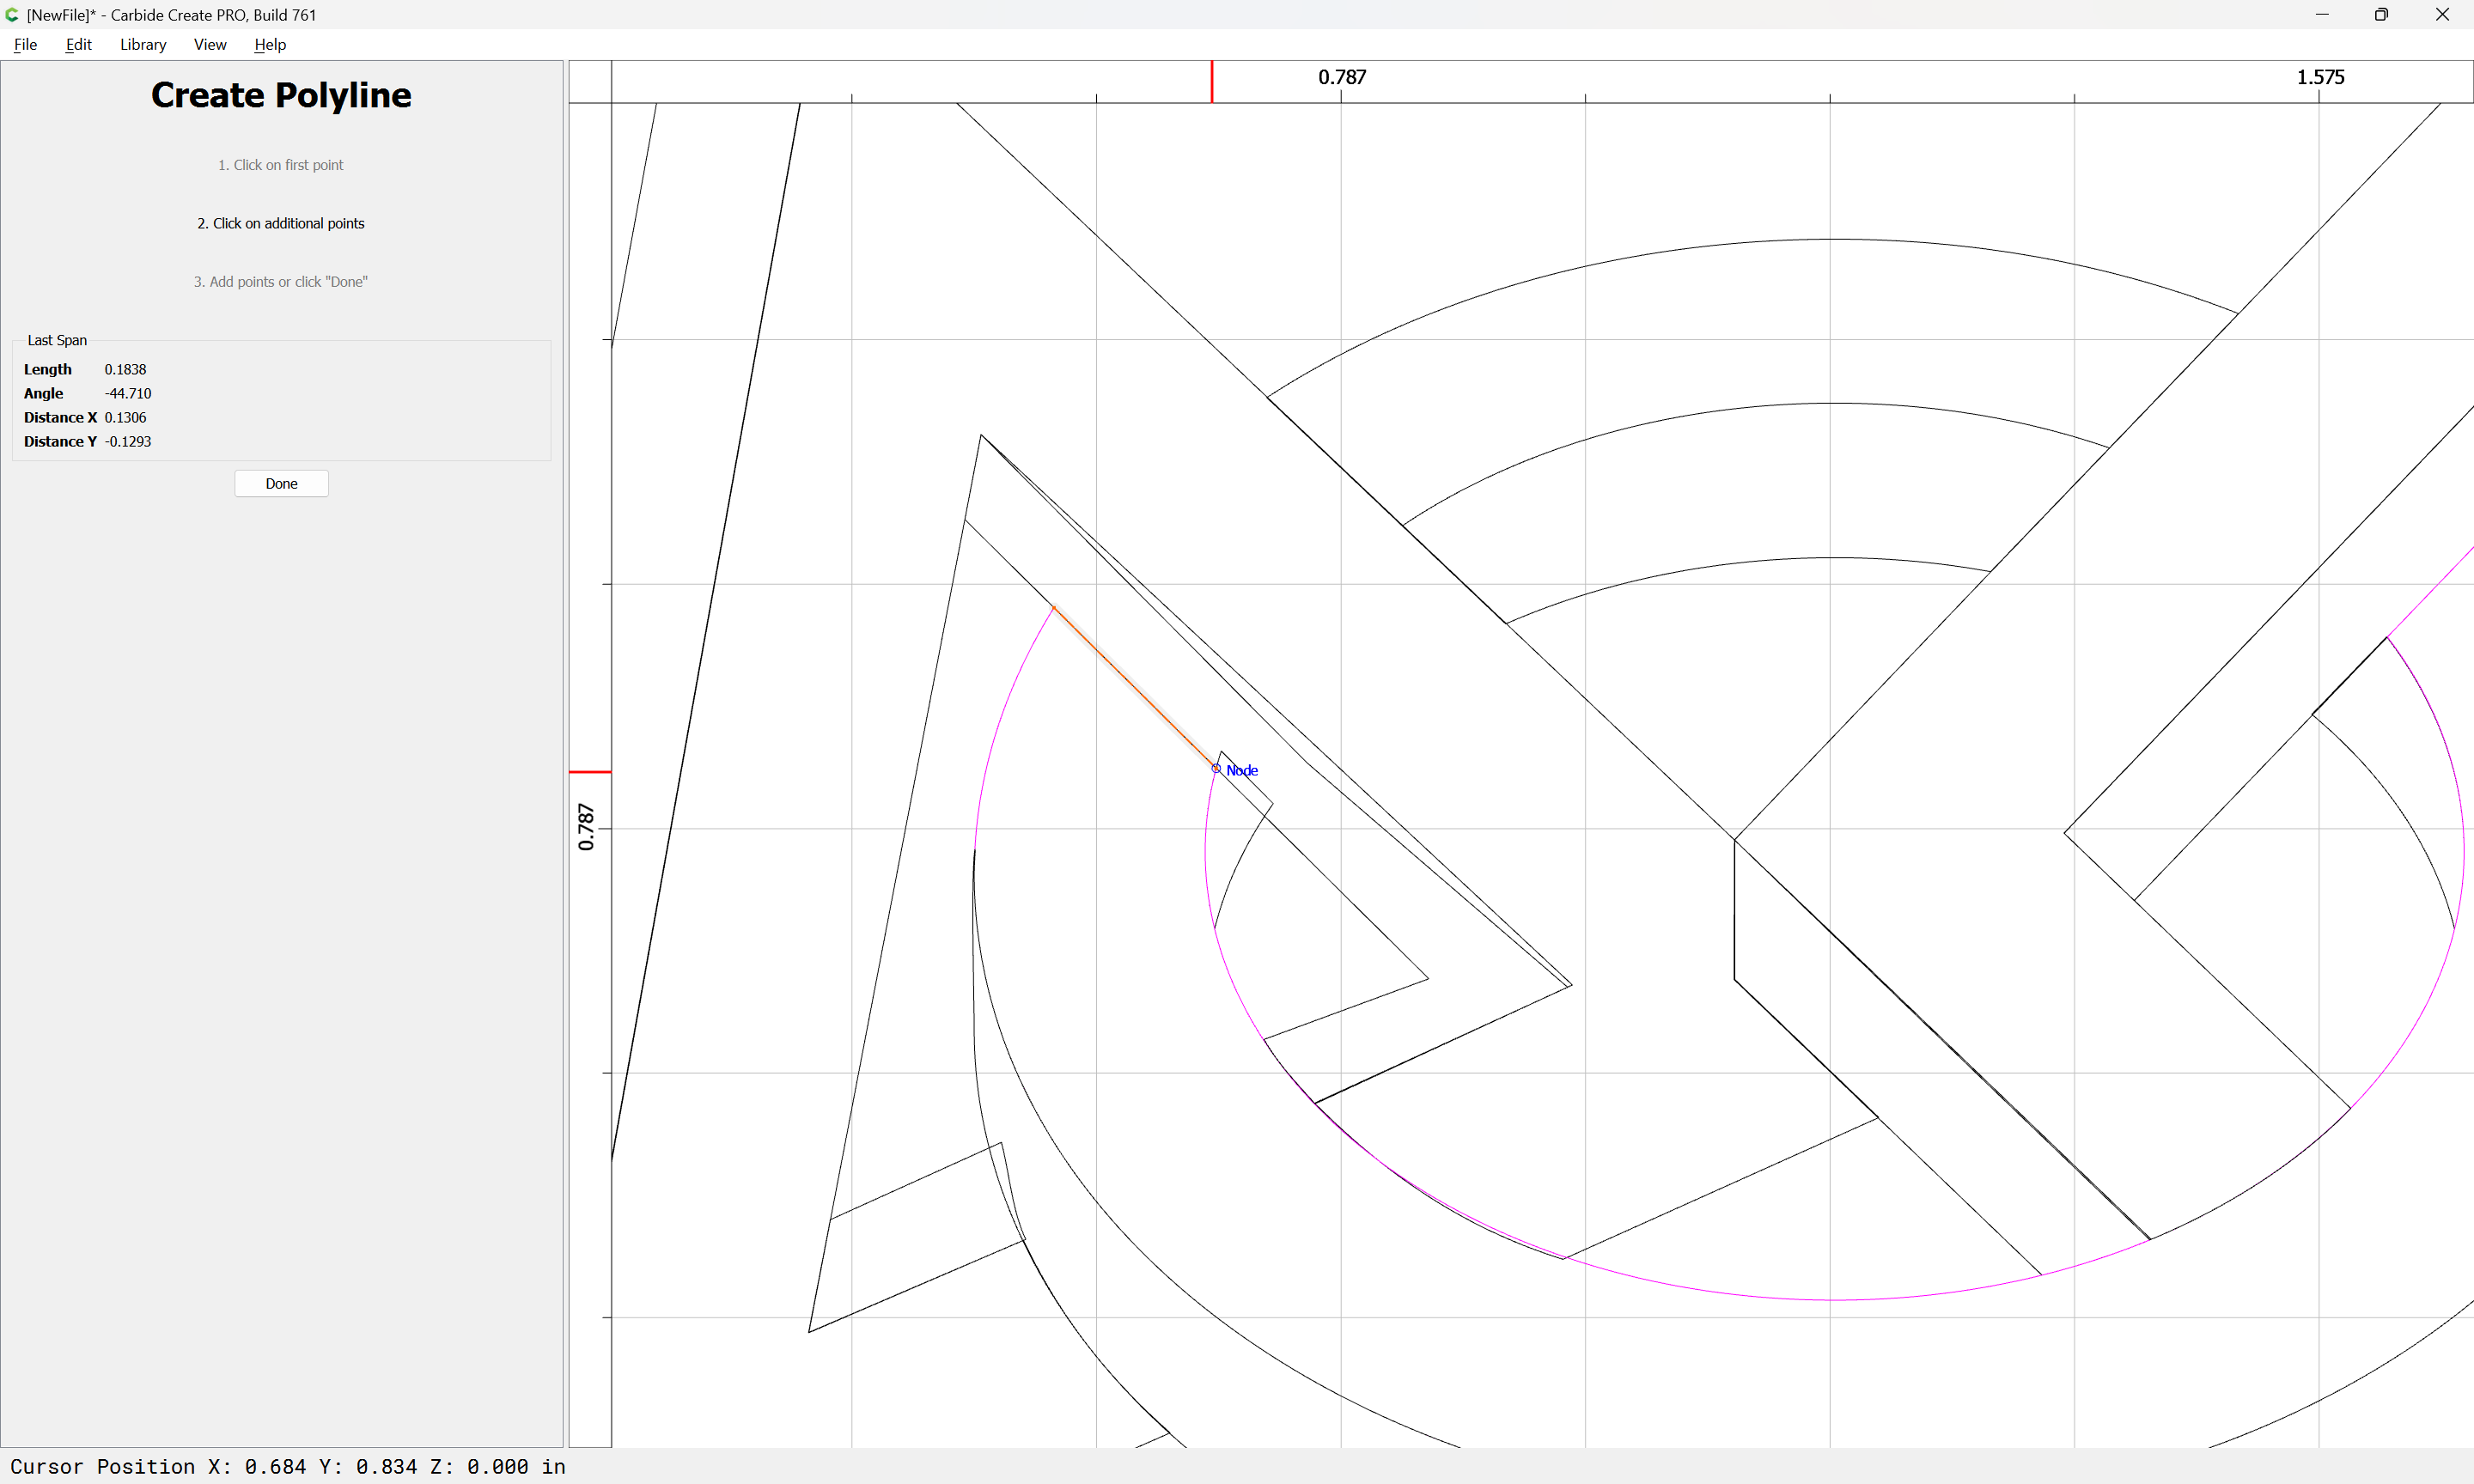
The geometry which is being repaired is now open (indicated by being magenta), so we draw in a line to close it:
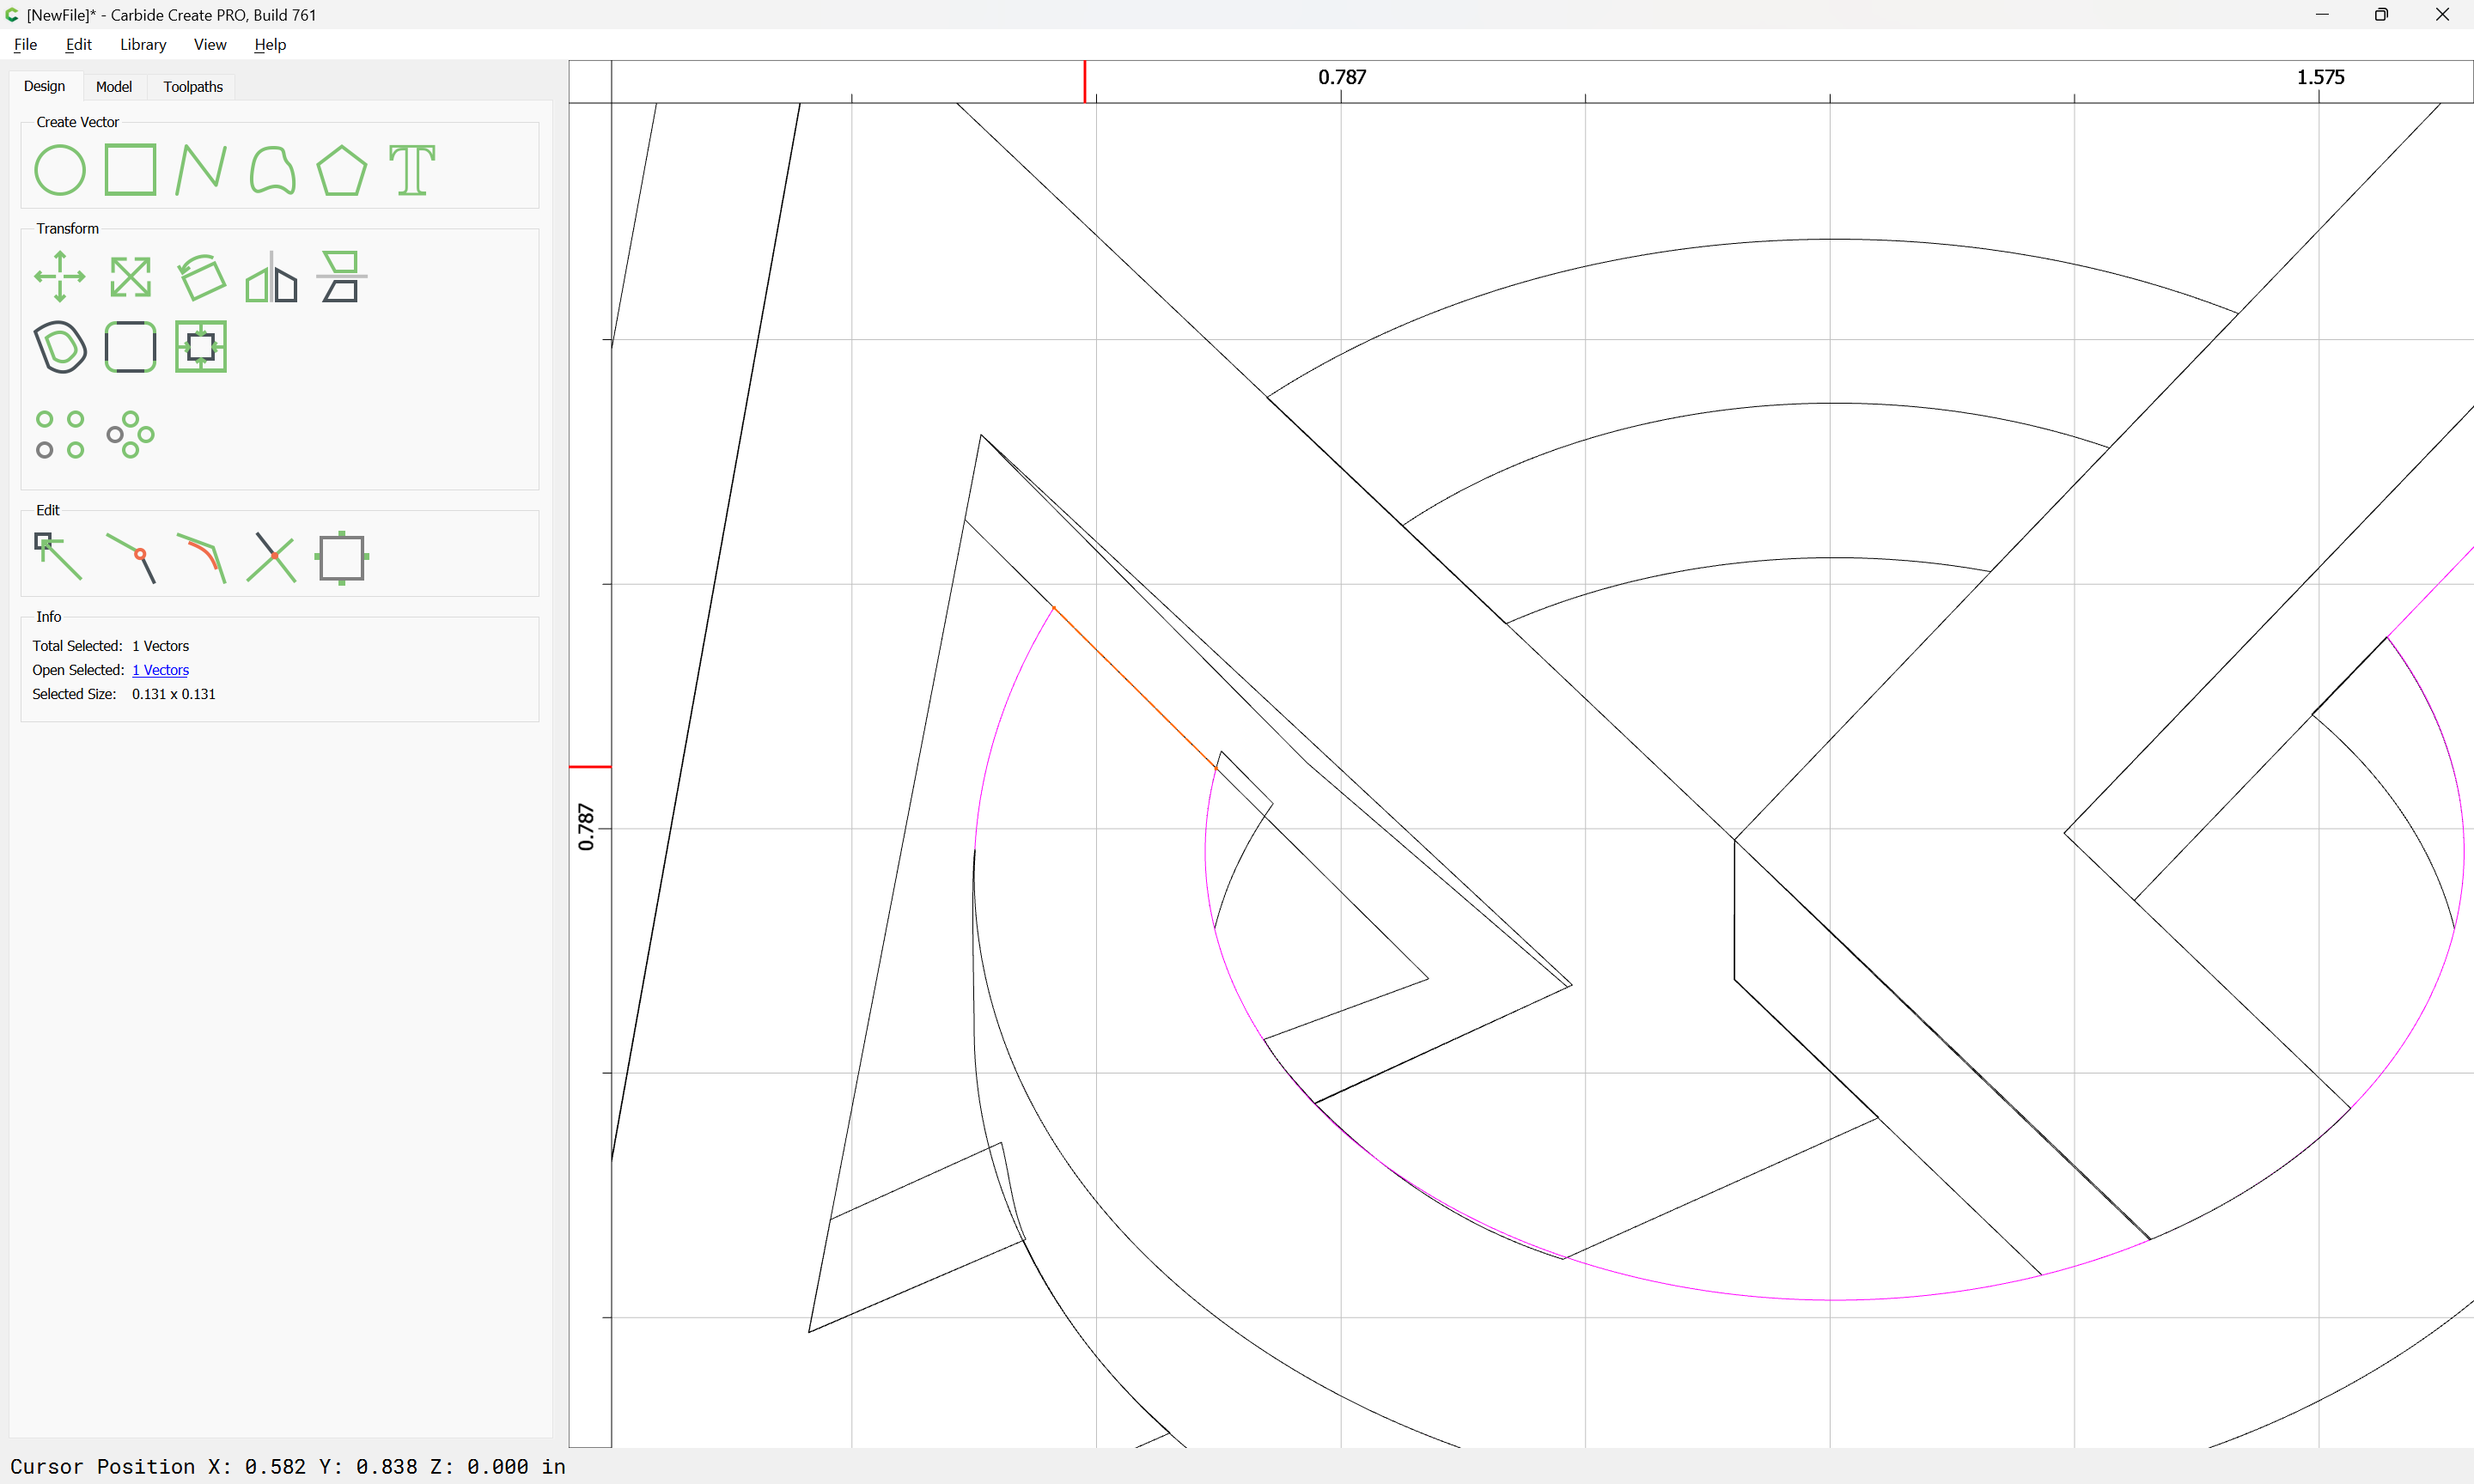
shift-click on the open (magenta) geometry to add it to the selection:
and use the Close Vectors command to close things:
Repeat this for the other elements which don’t line up.
WillAdams
October 17, 2023, 7:09pm
5
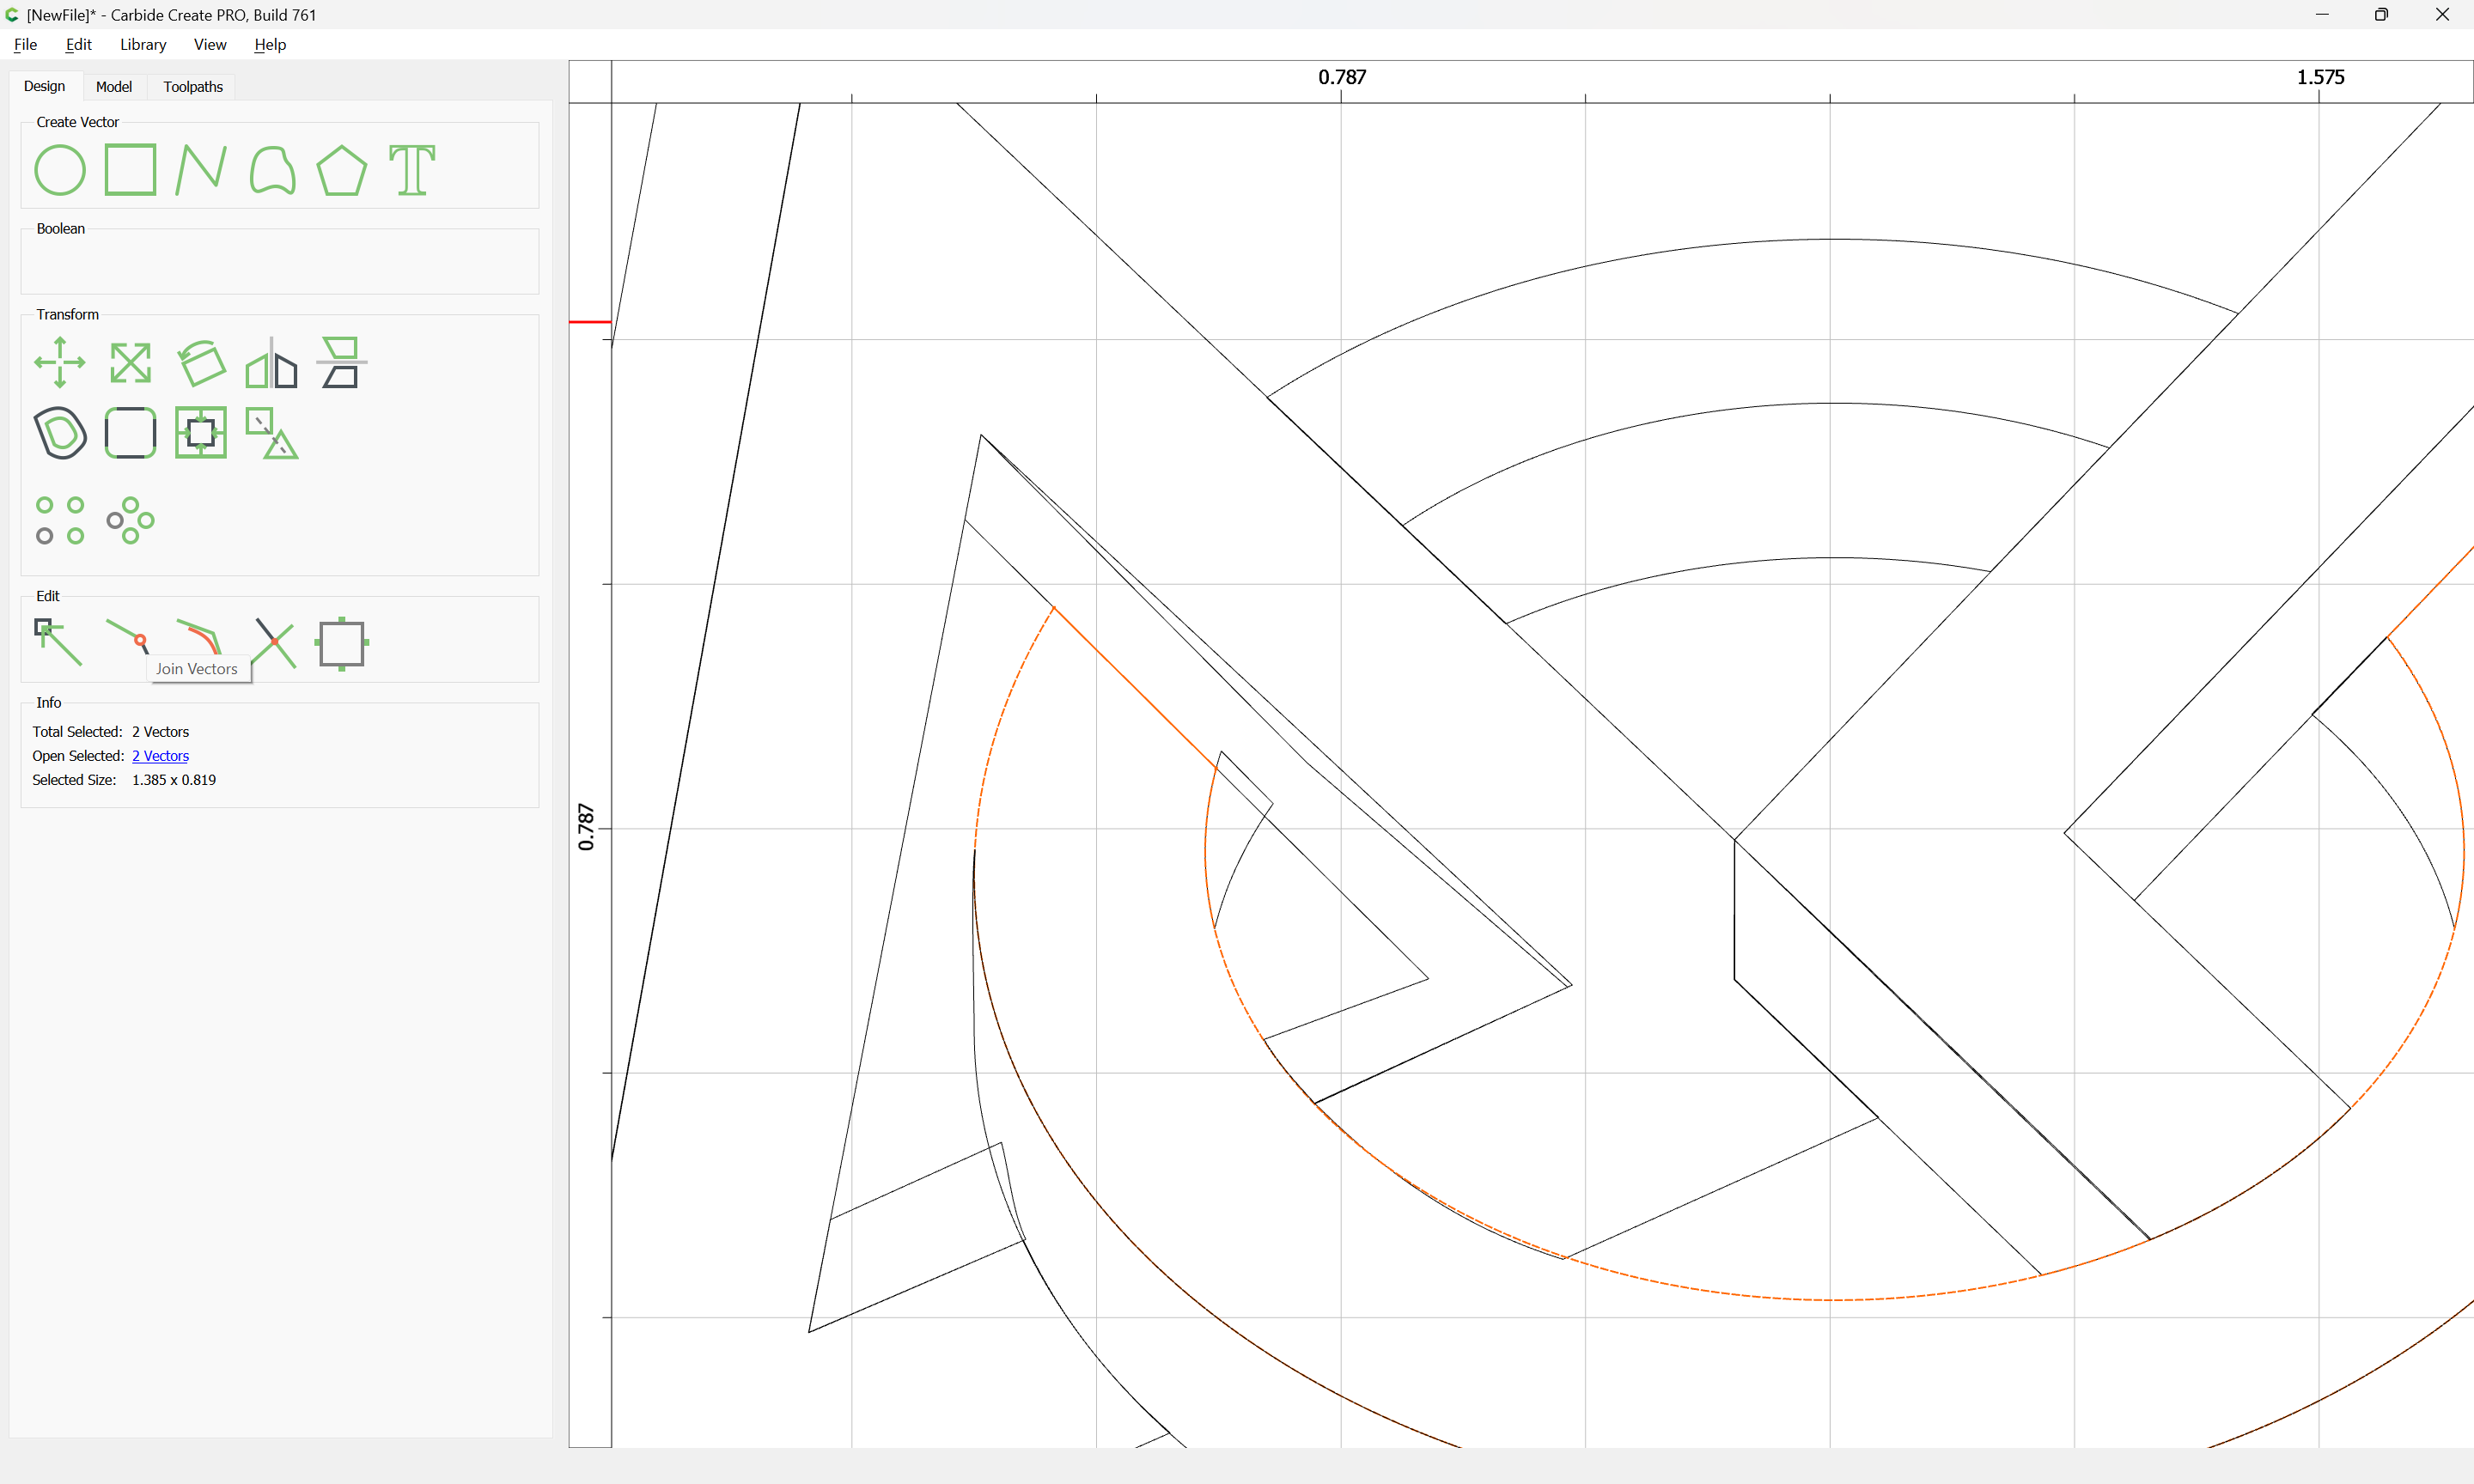
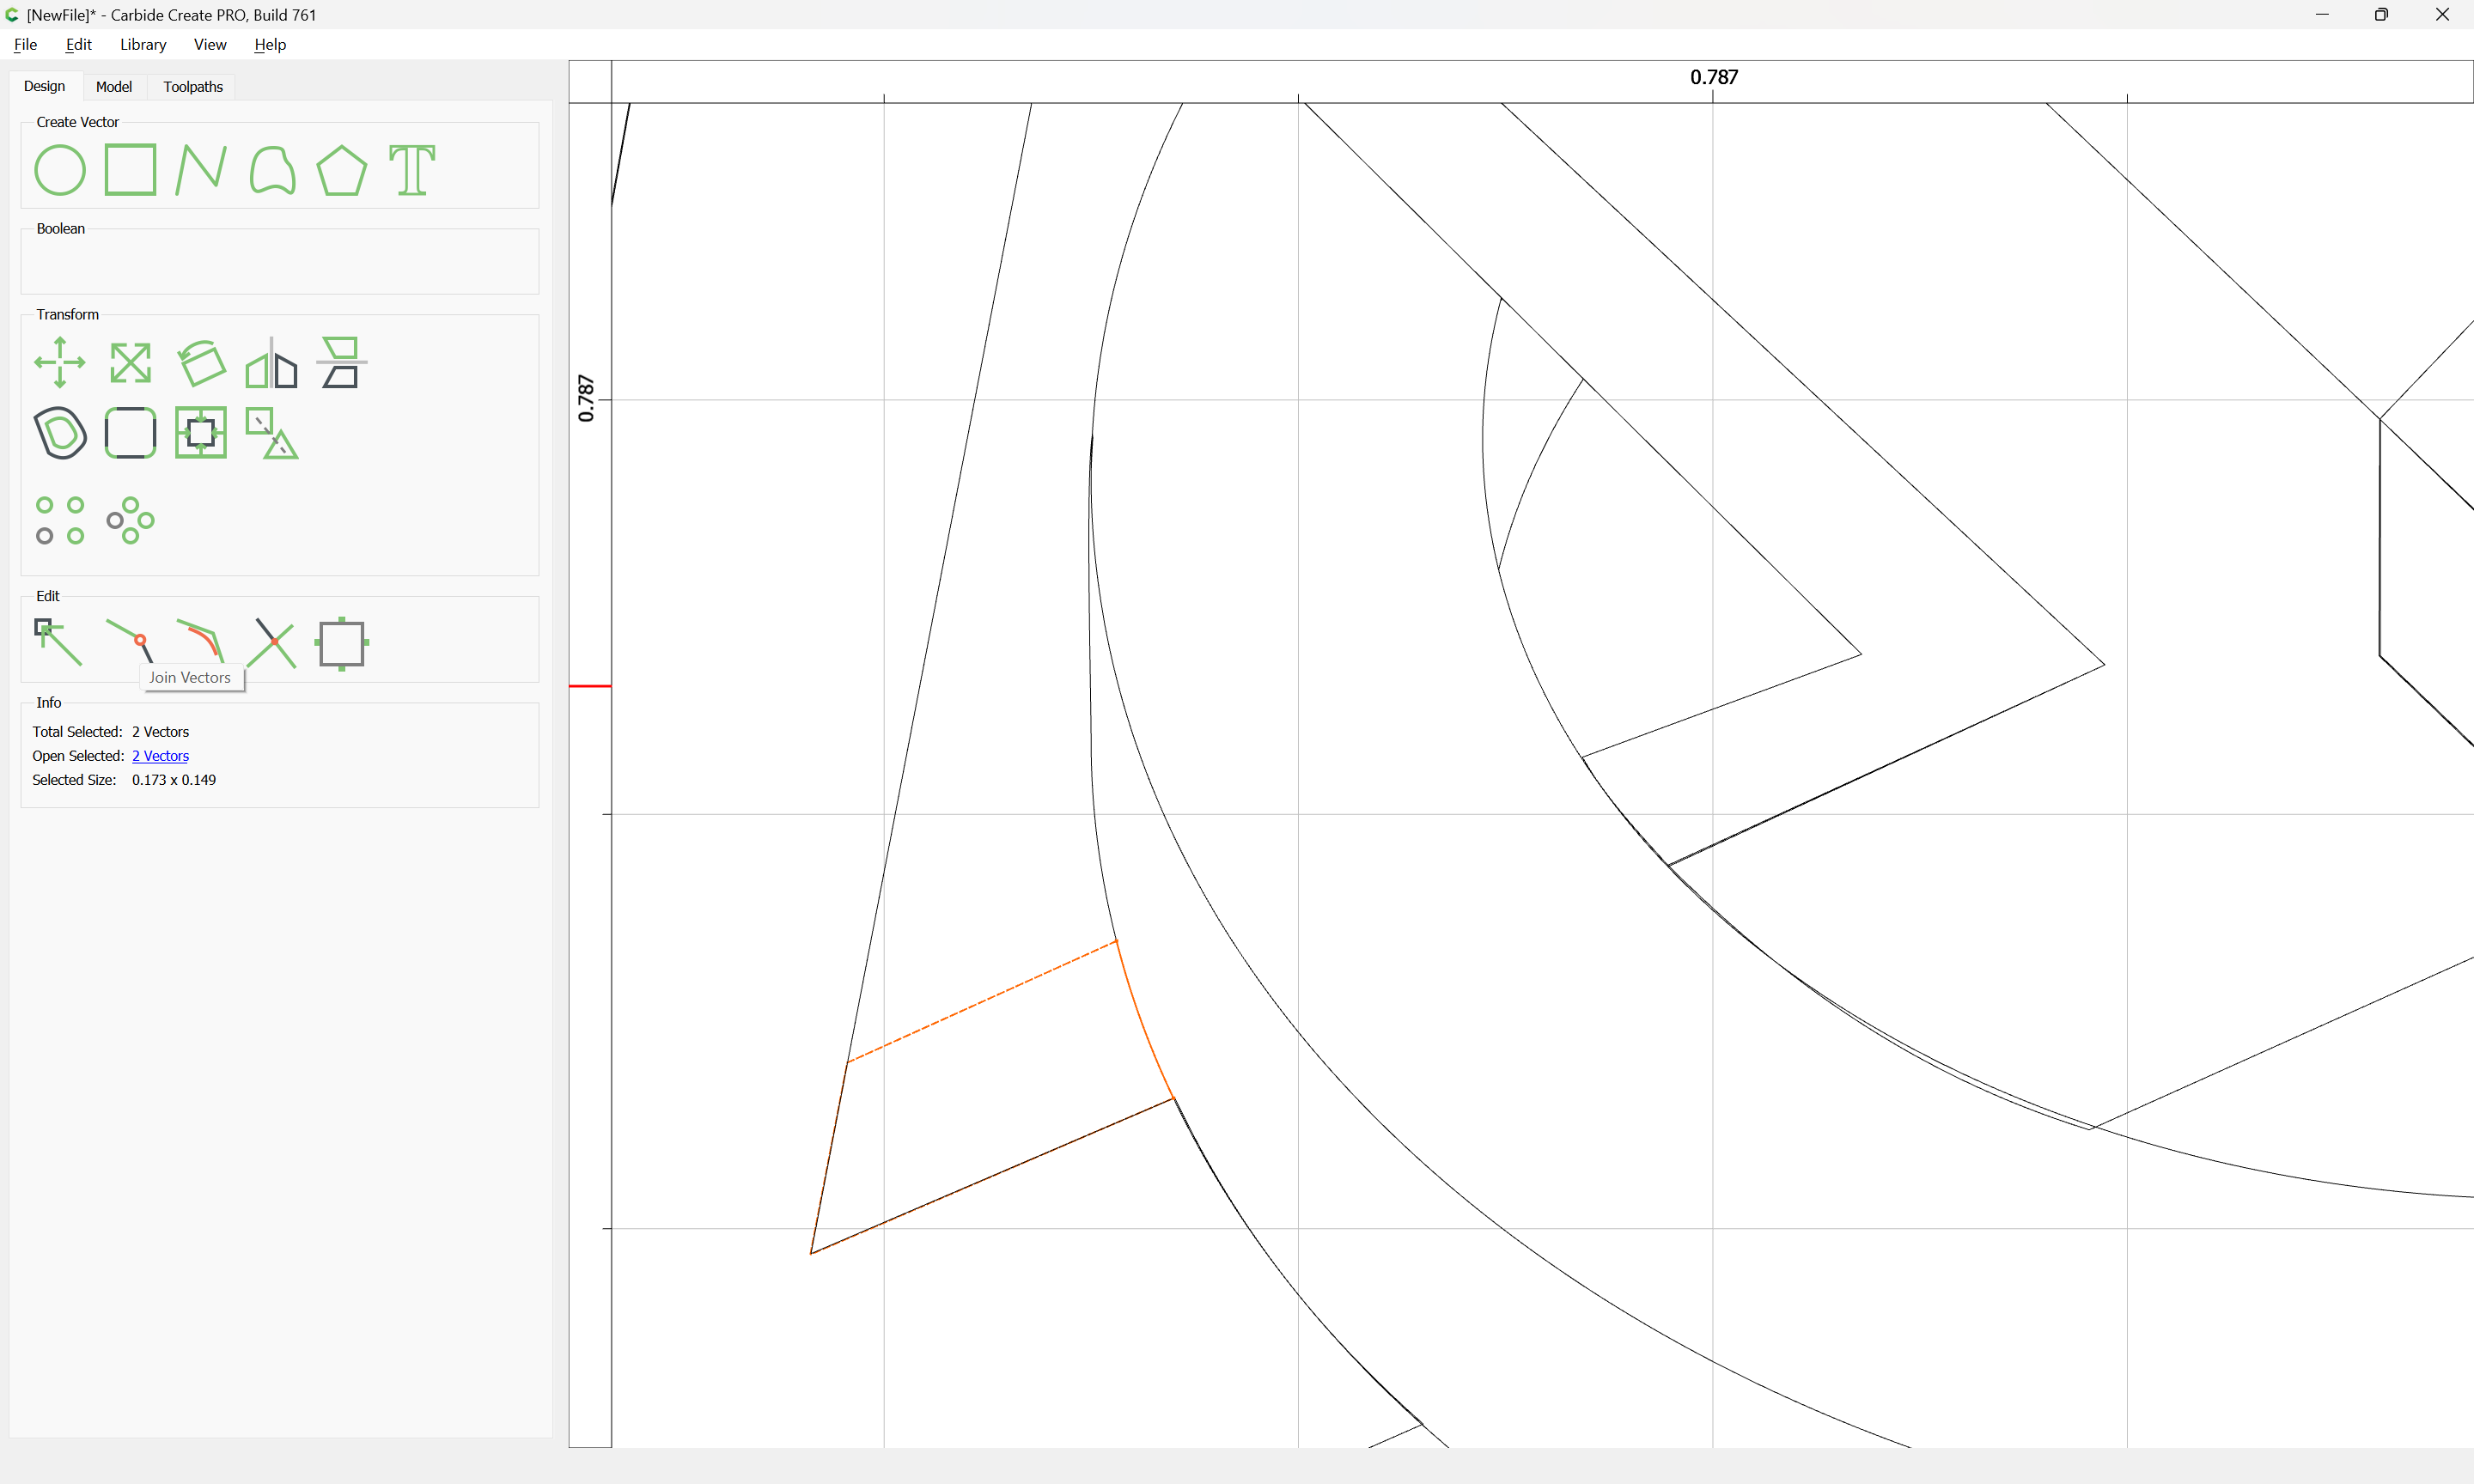
If you have an area where curves are involved, select the one which needs to be subtracted from the other and copy-paste it in place:
and use the duplicate when working, creating all the needed geometry:
OK
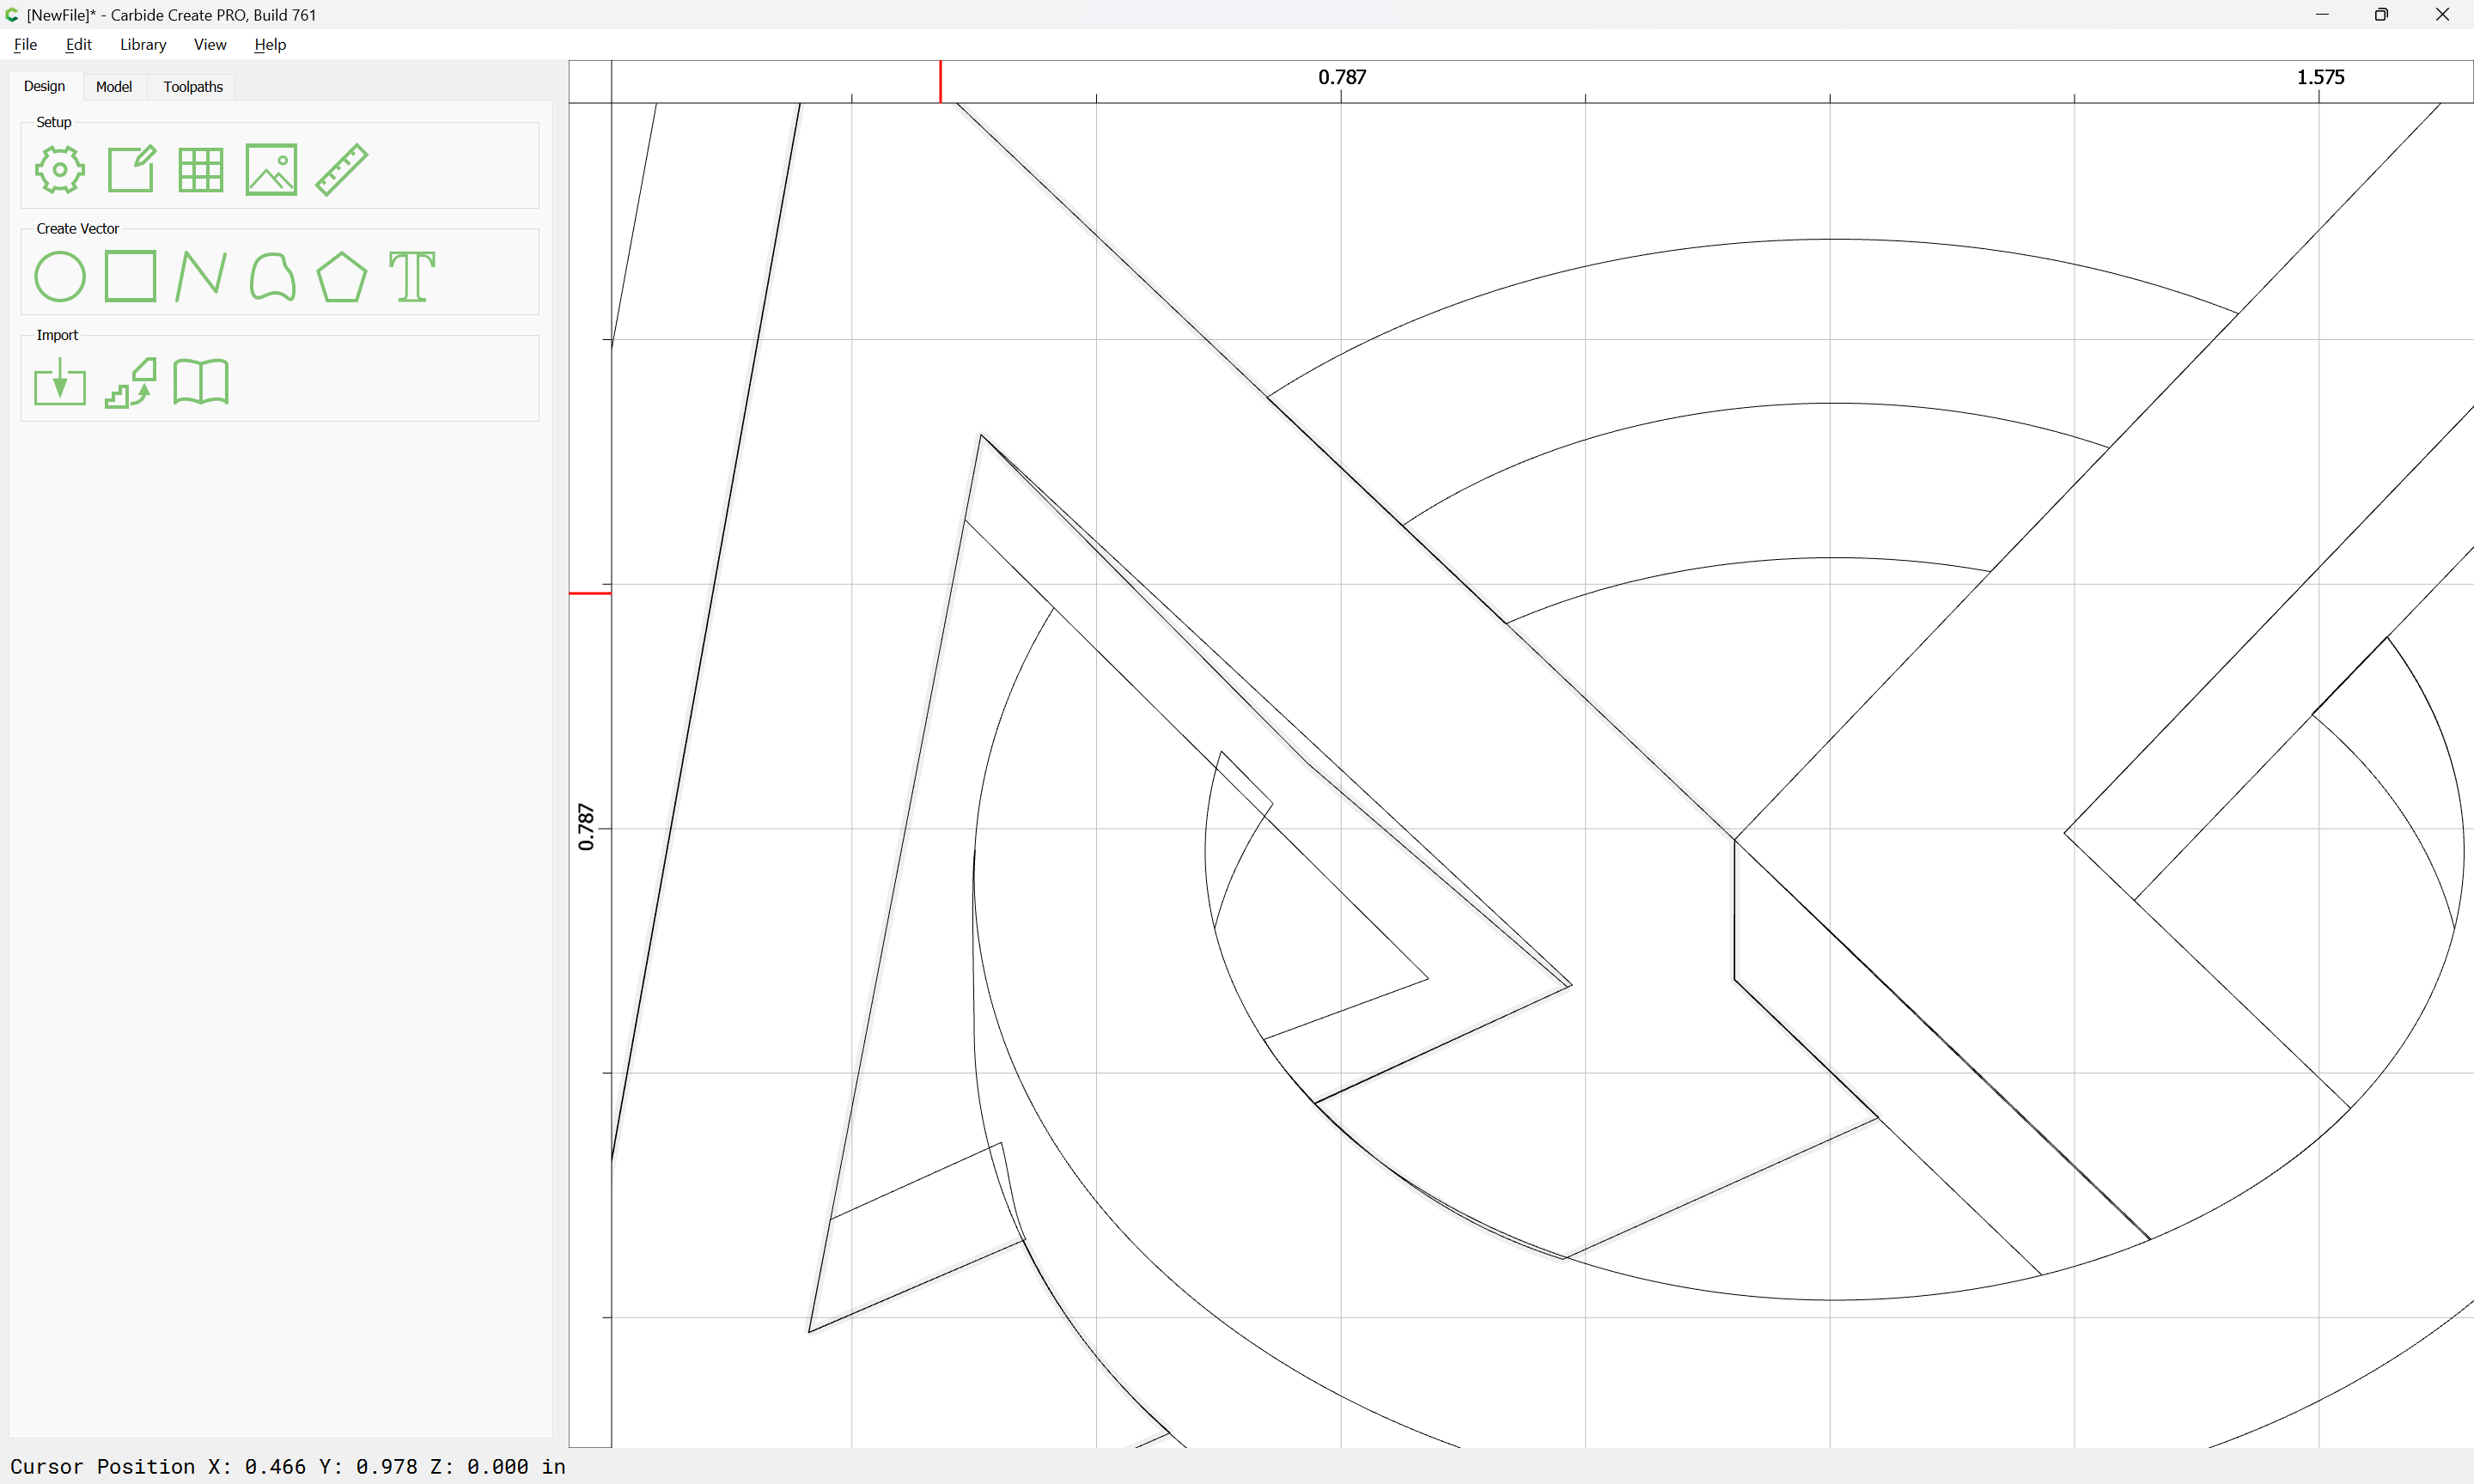
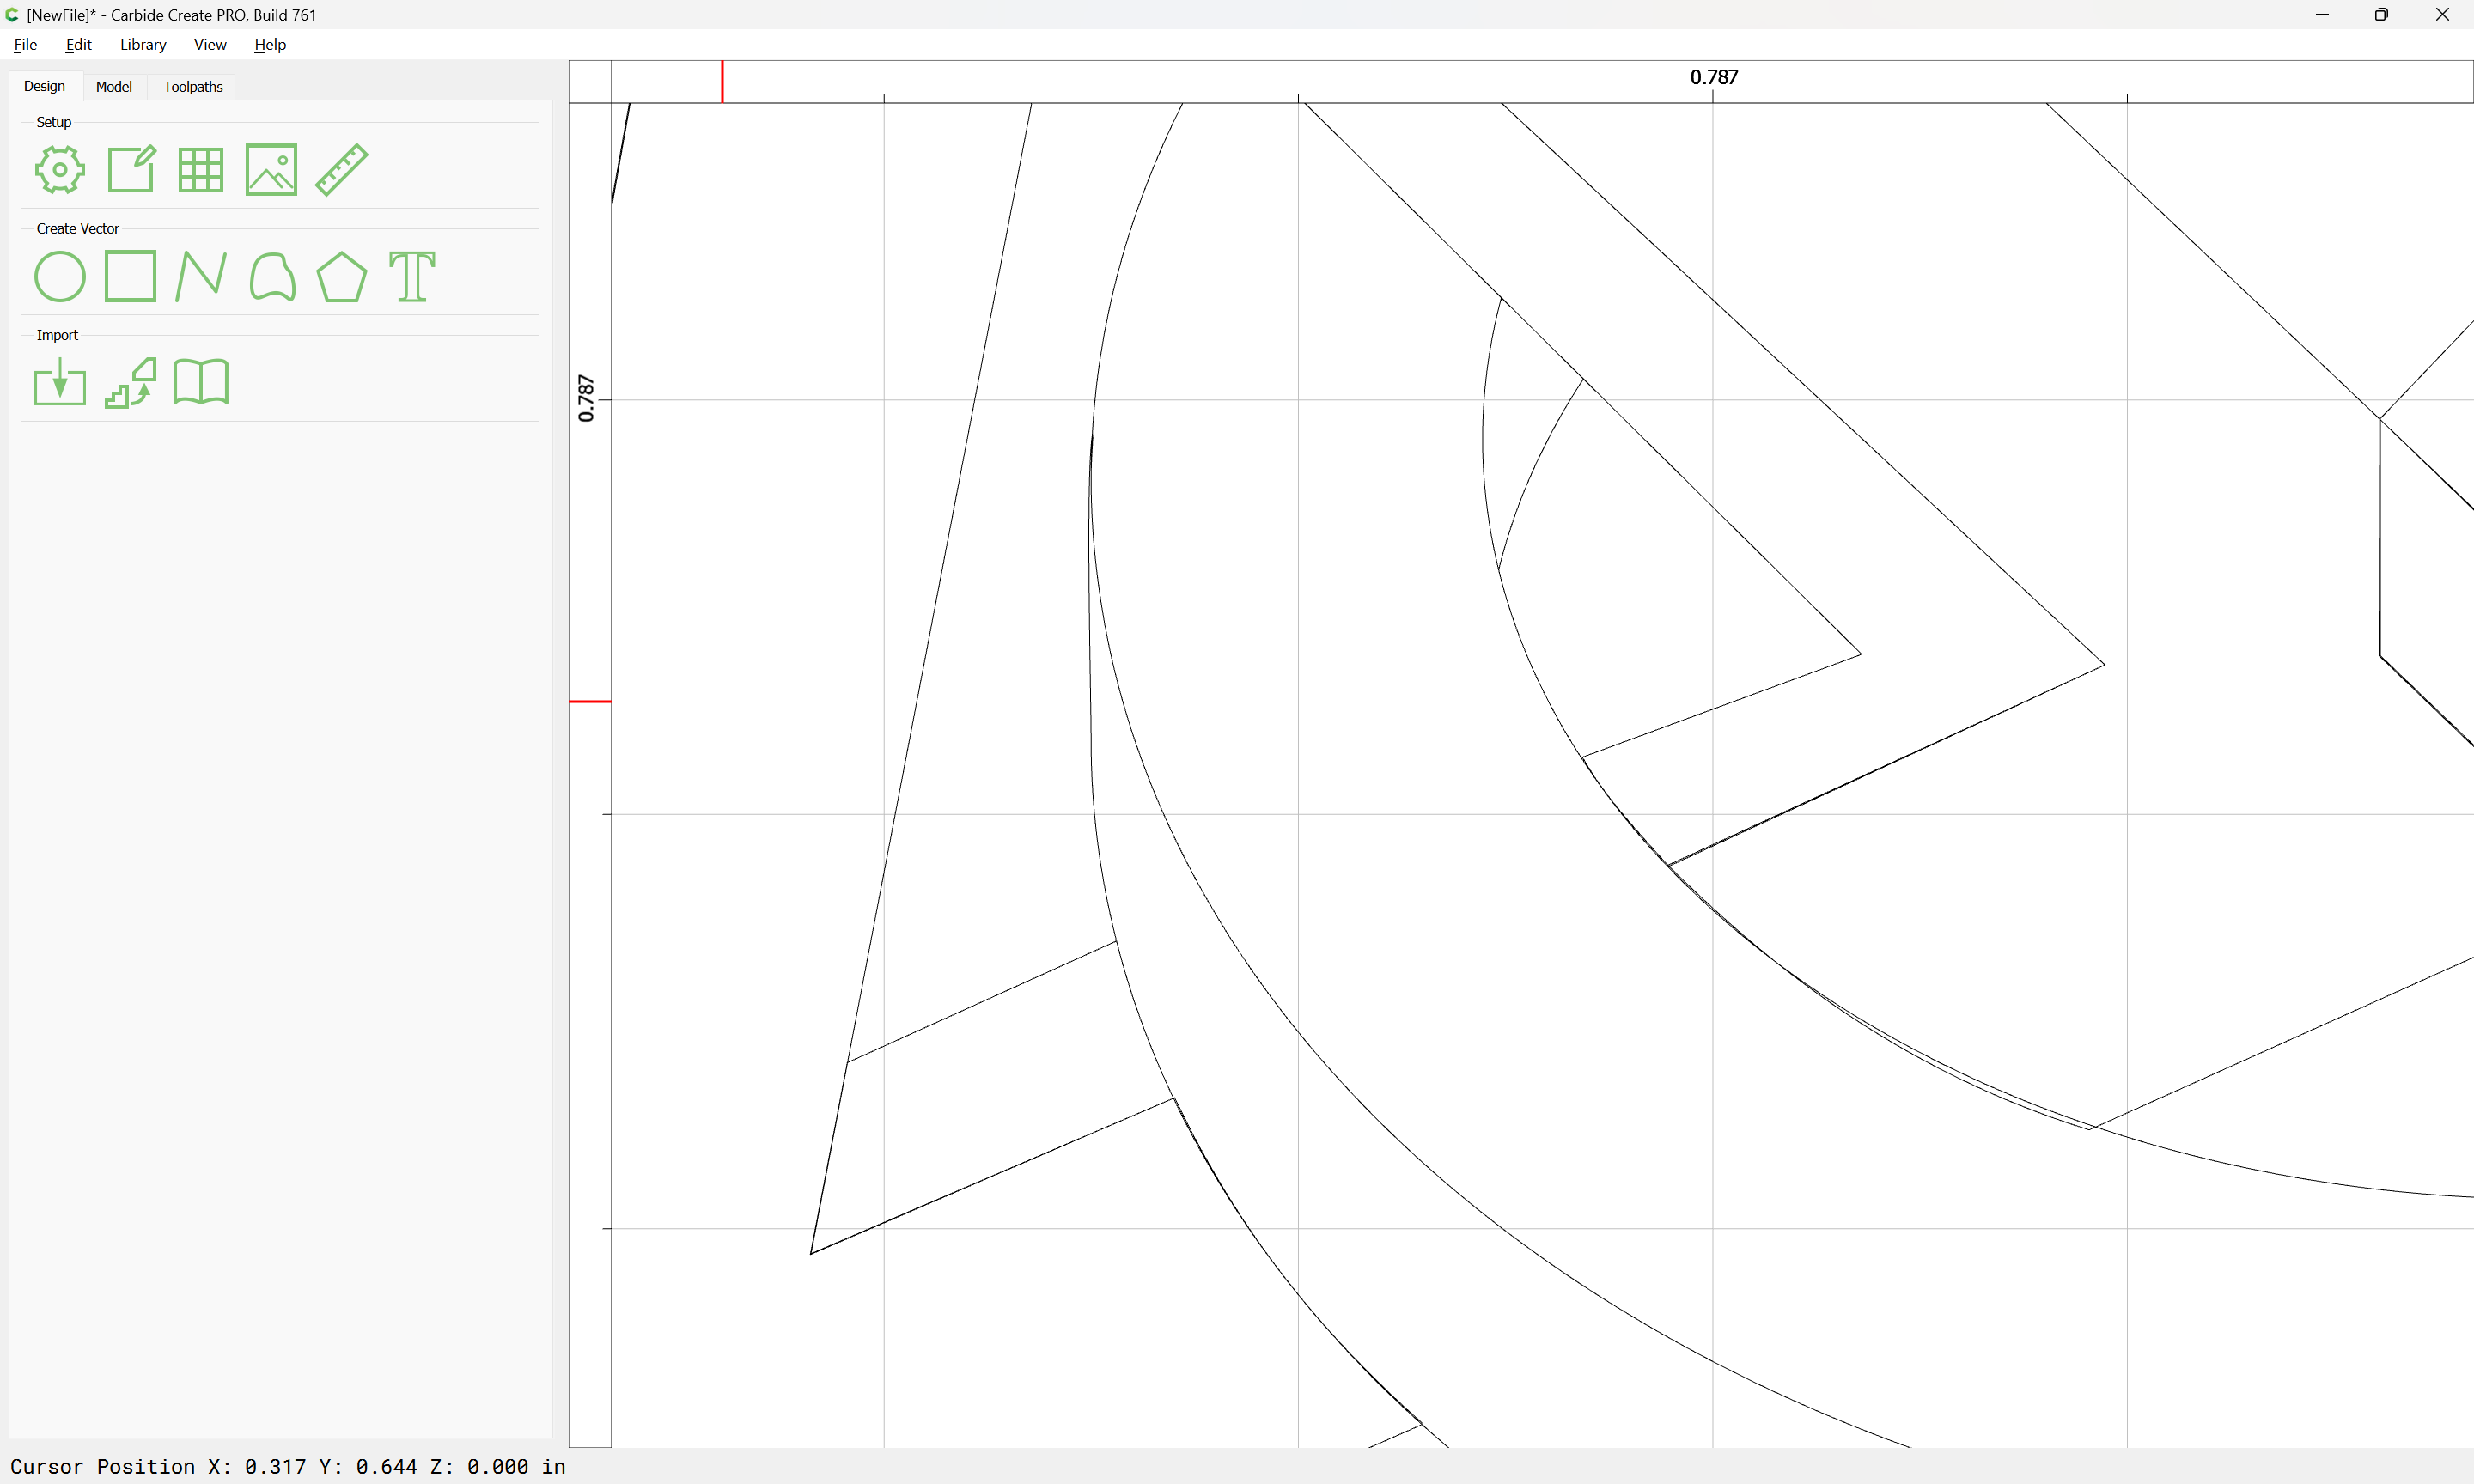
Join Vectors as before:
until one arrives at:
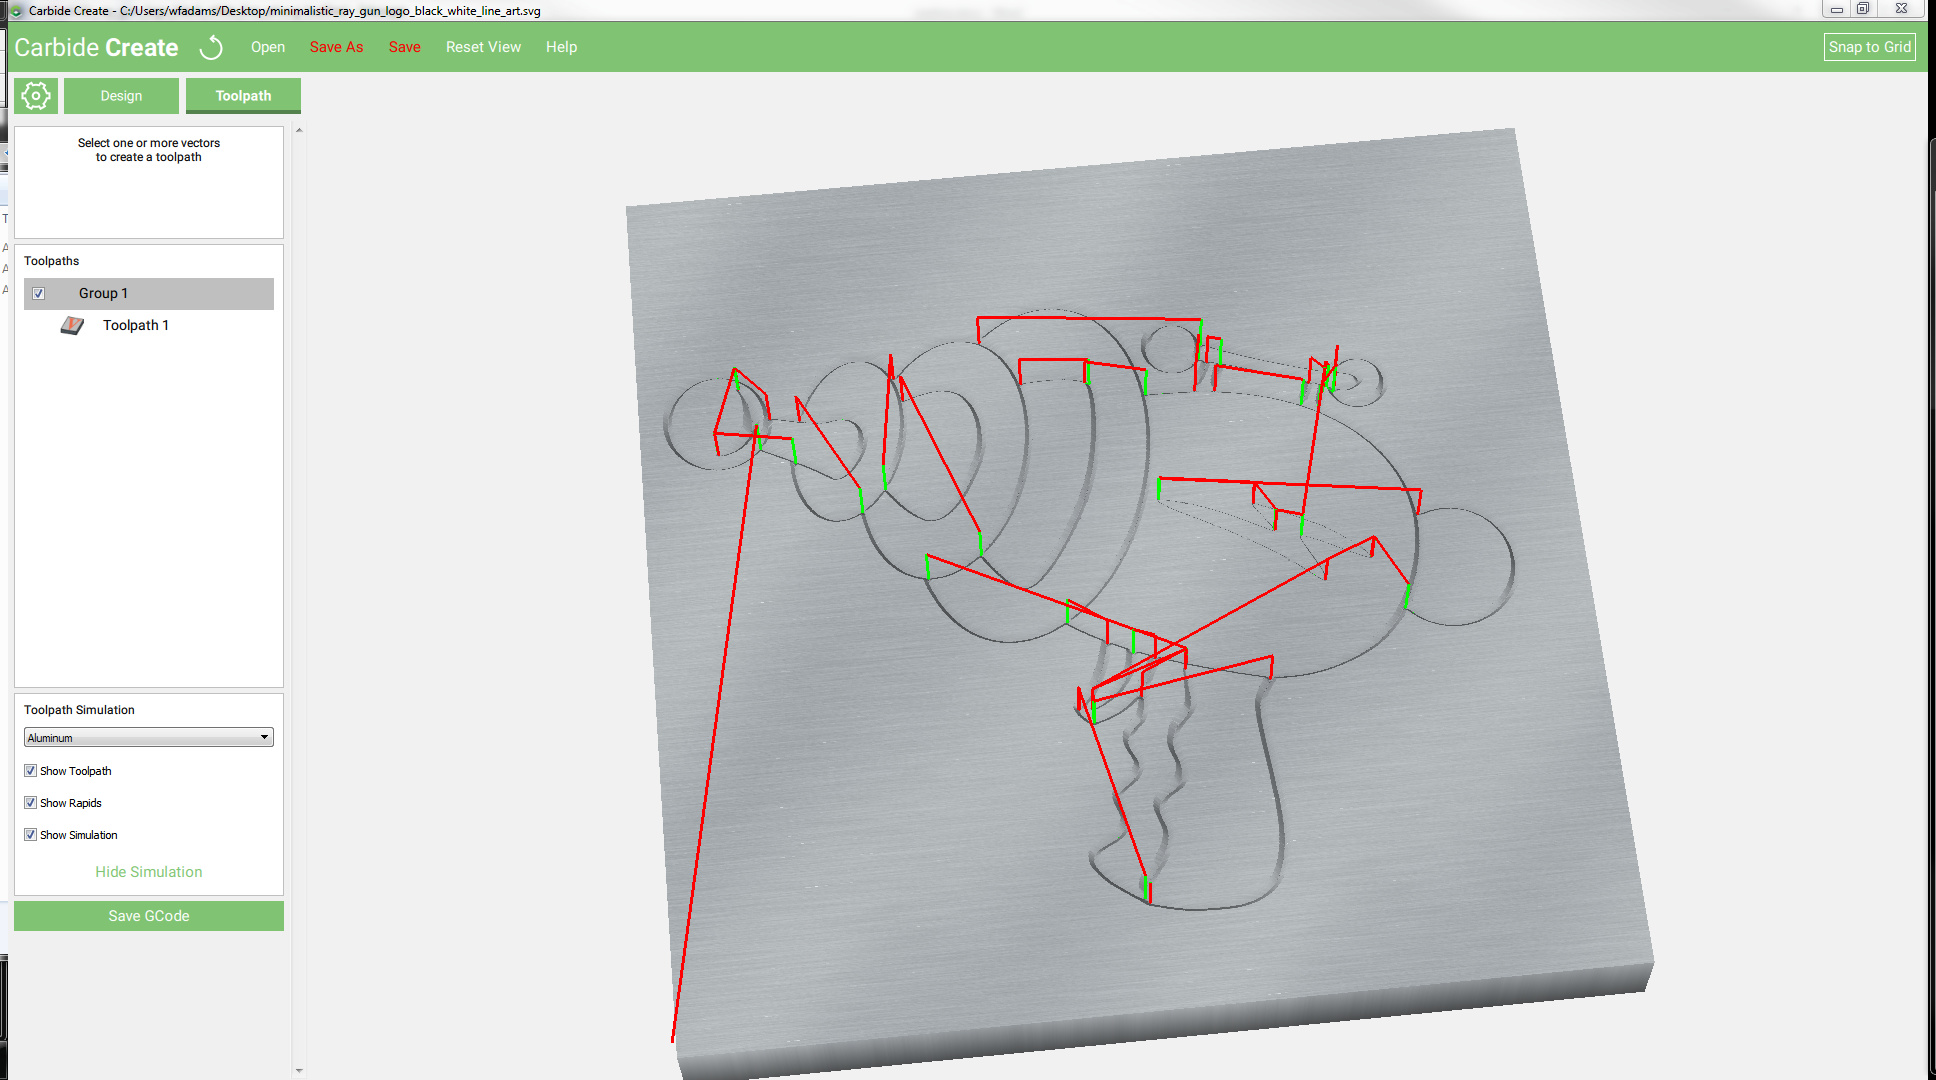
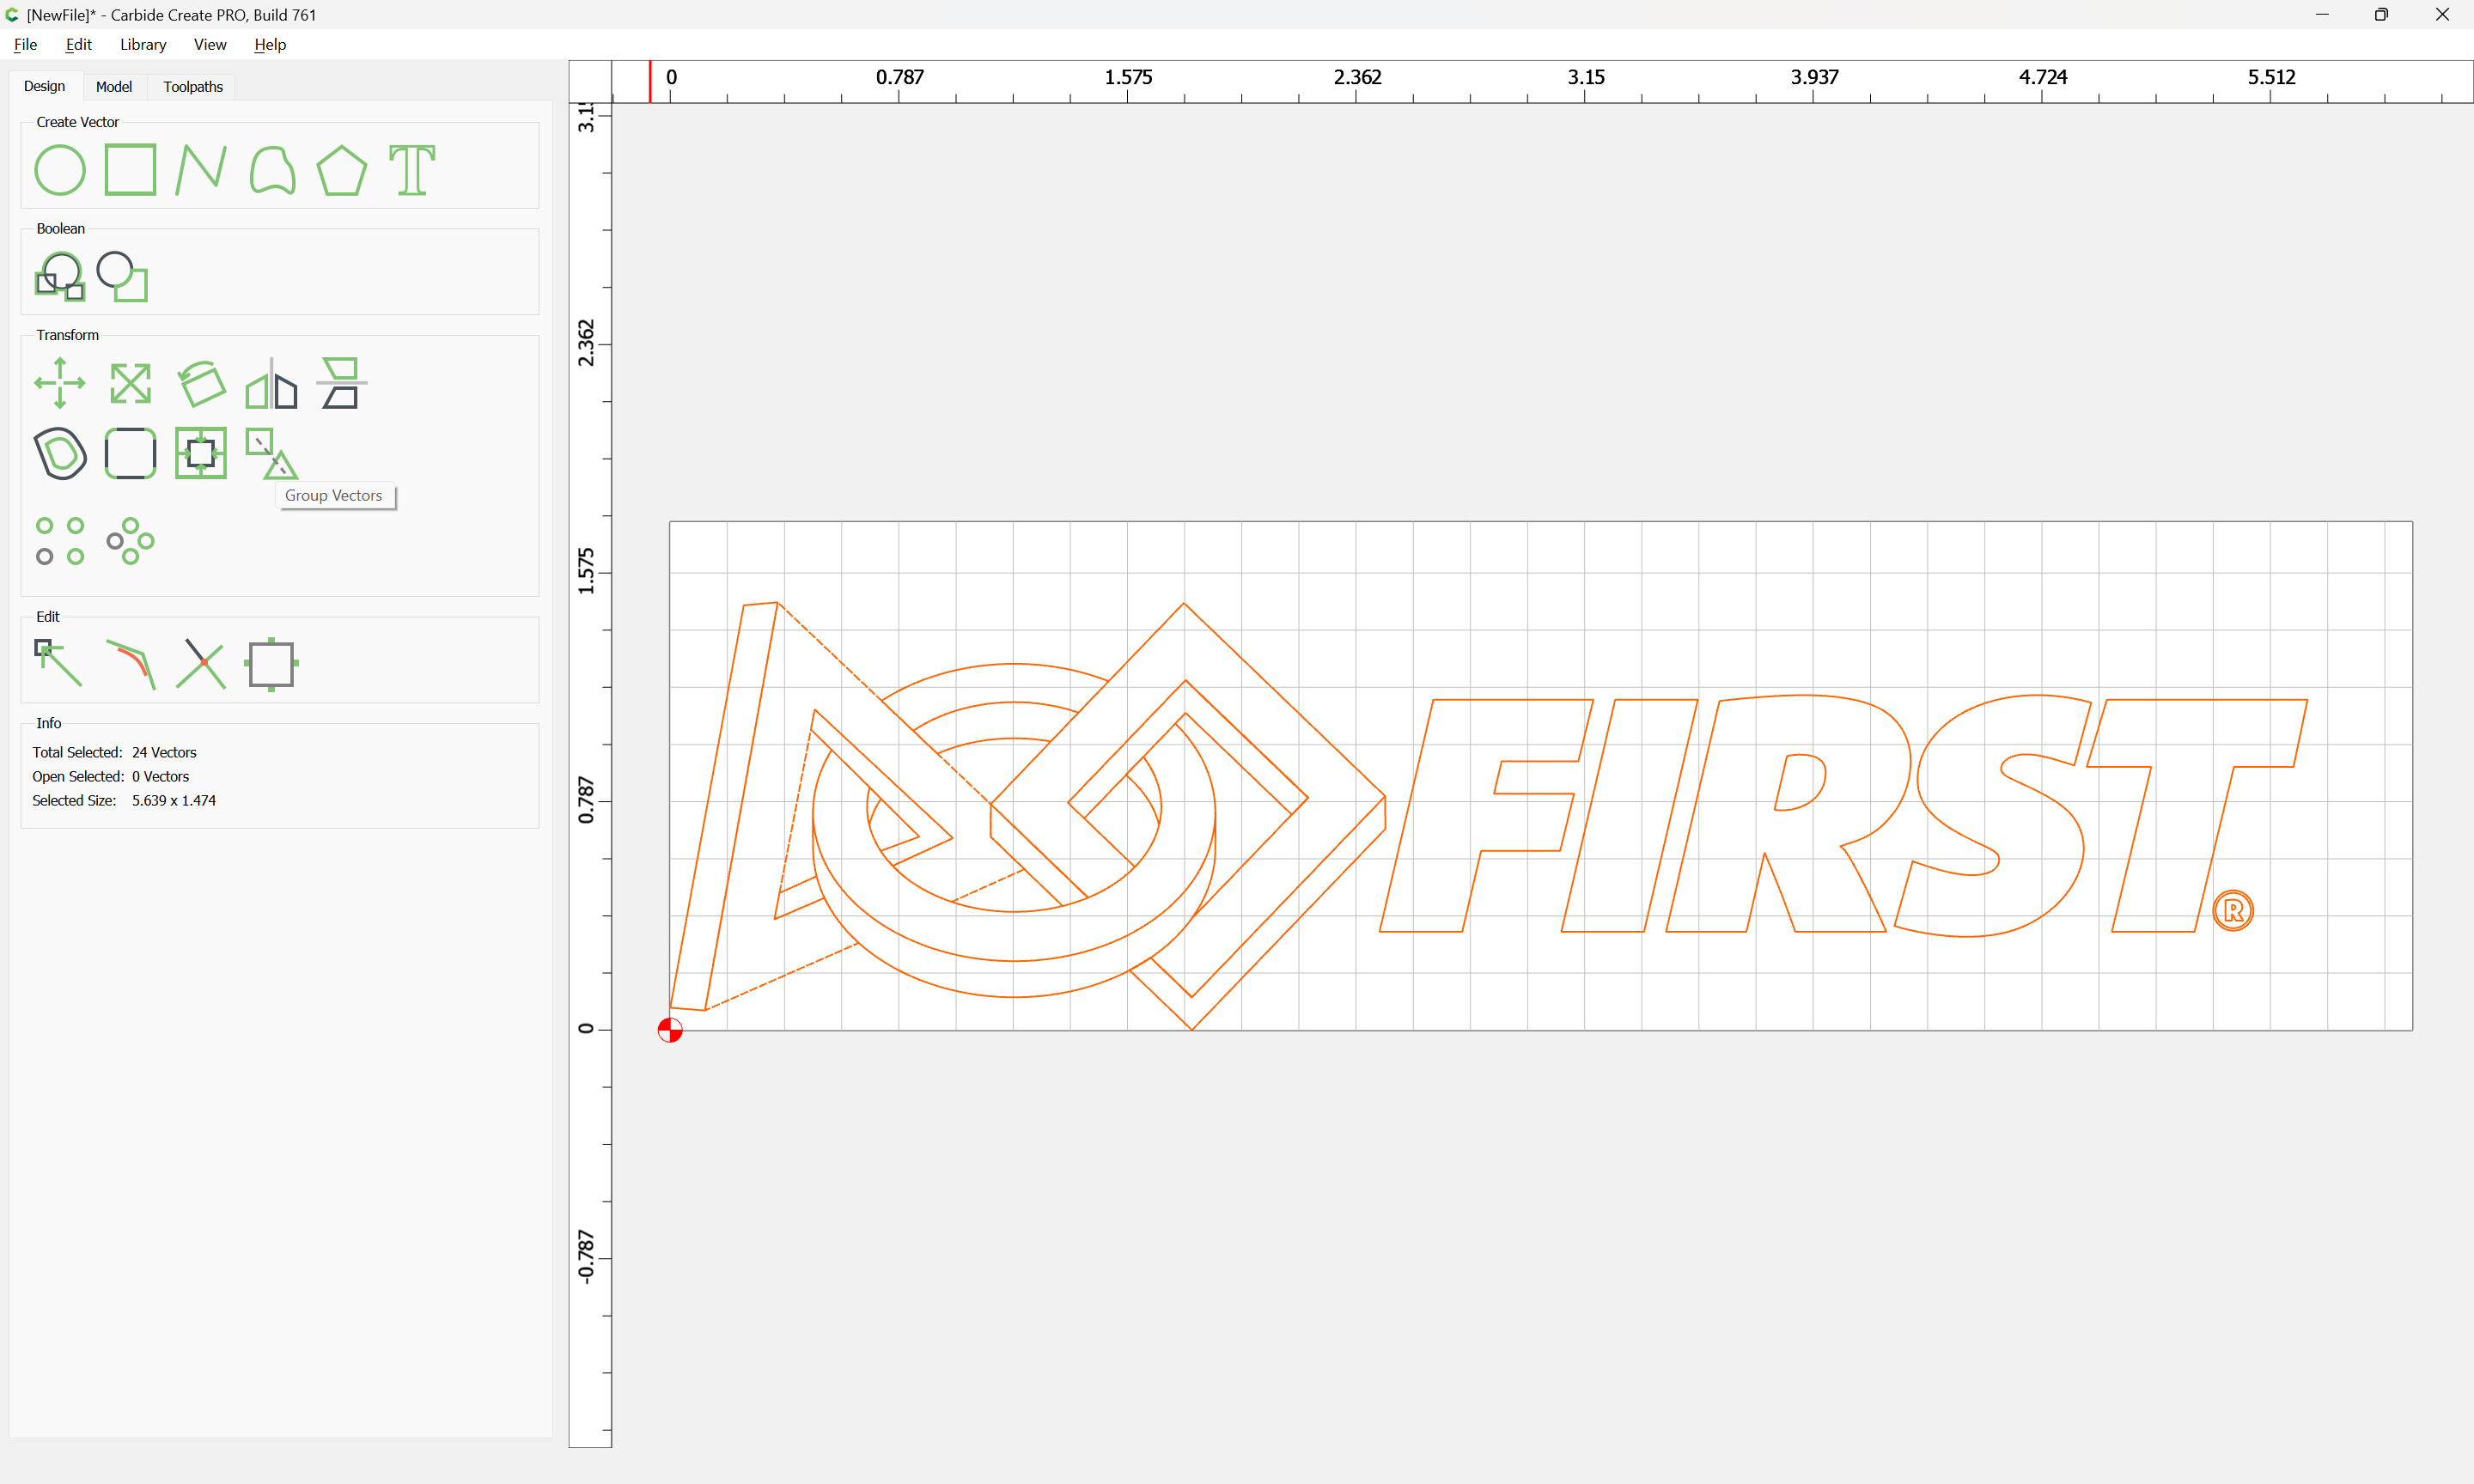
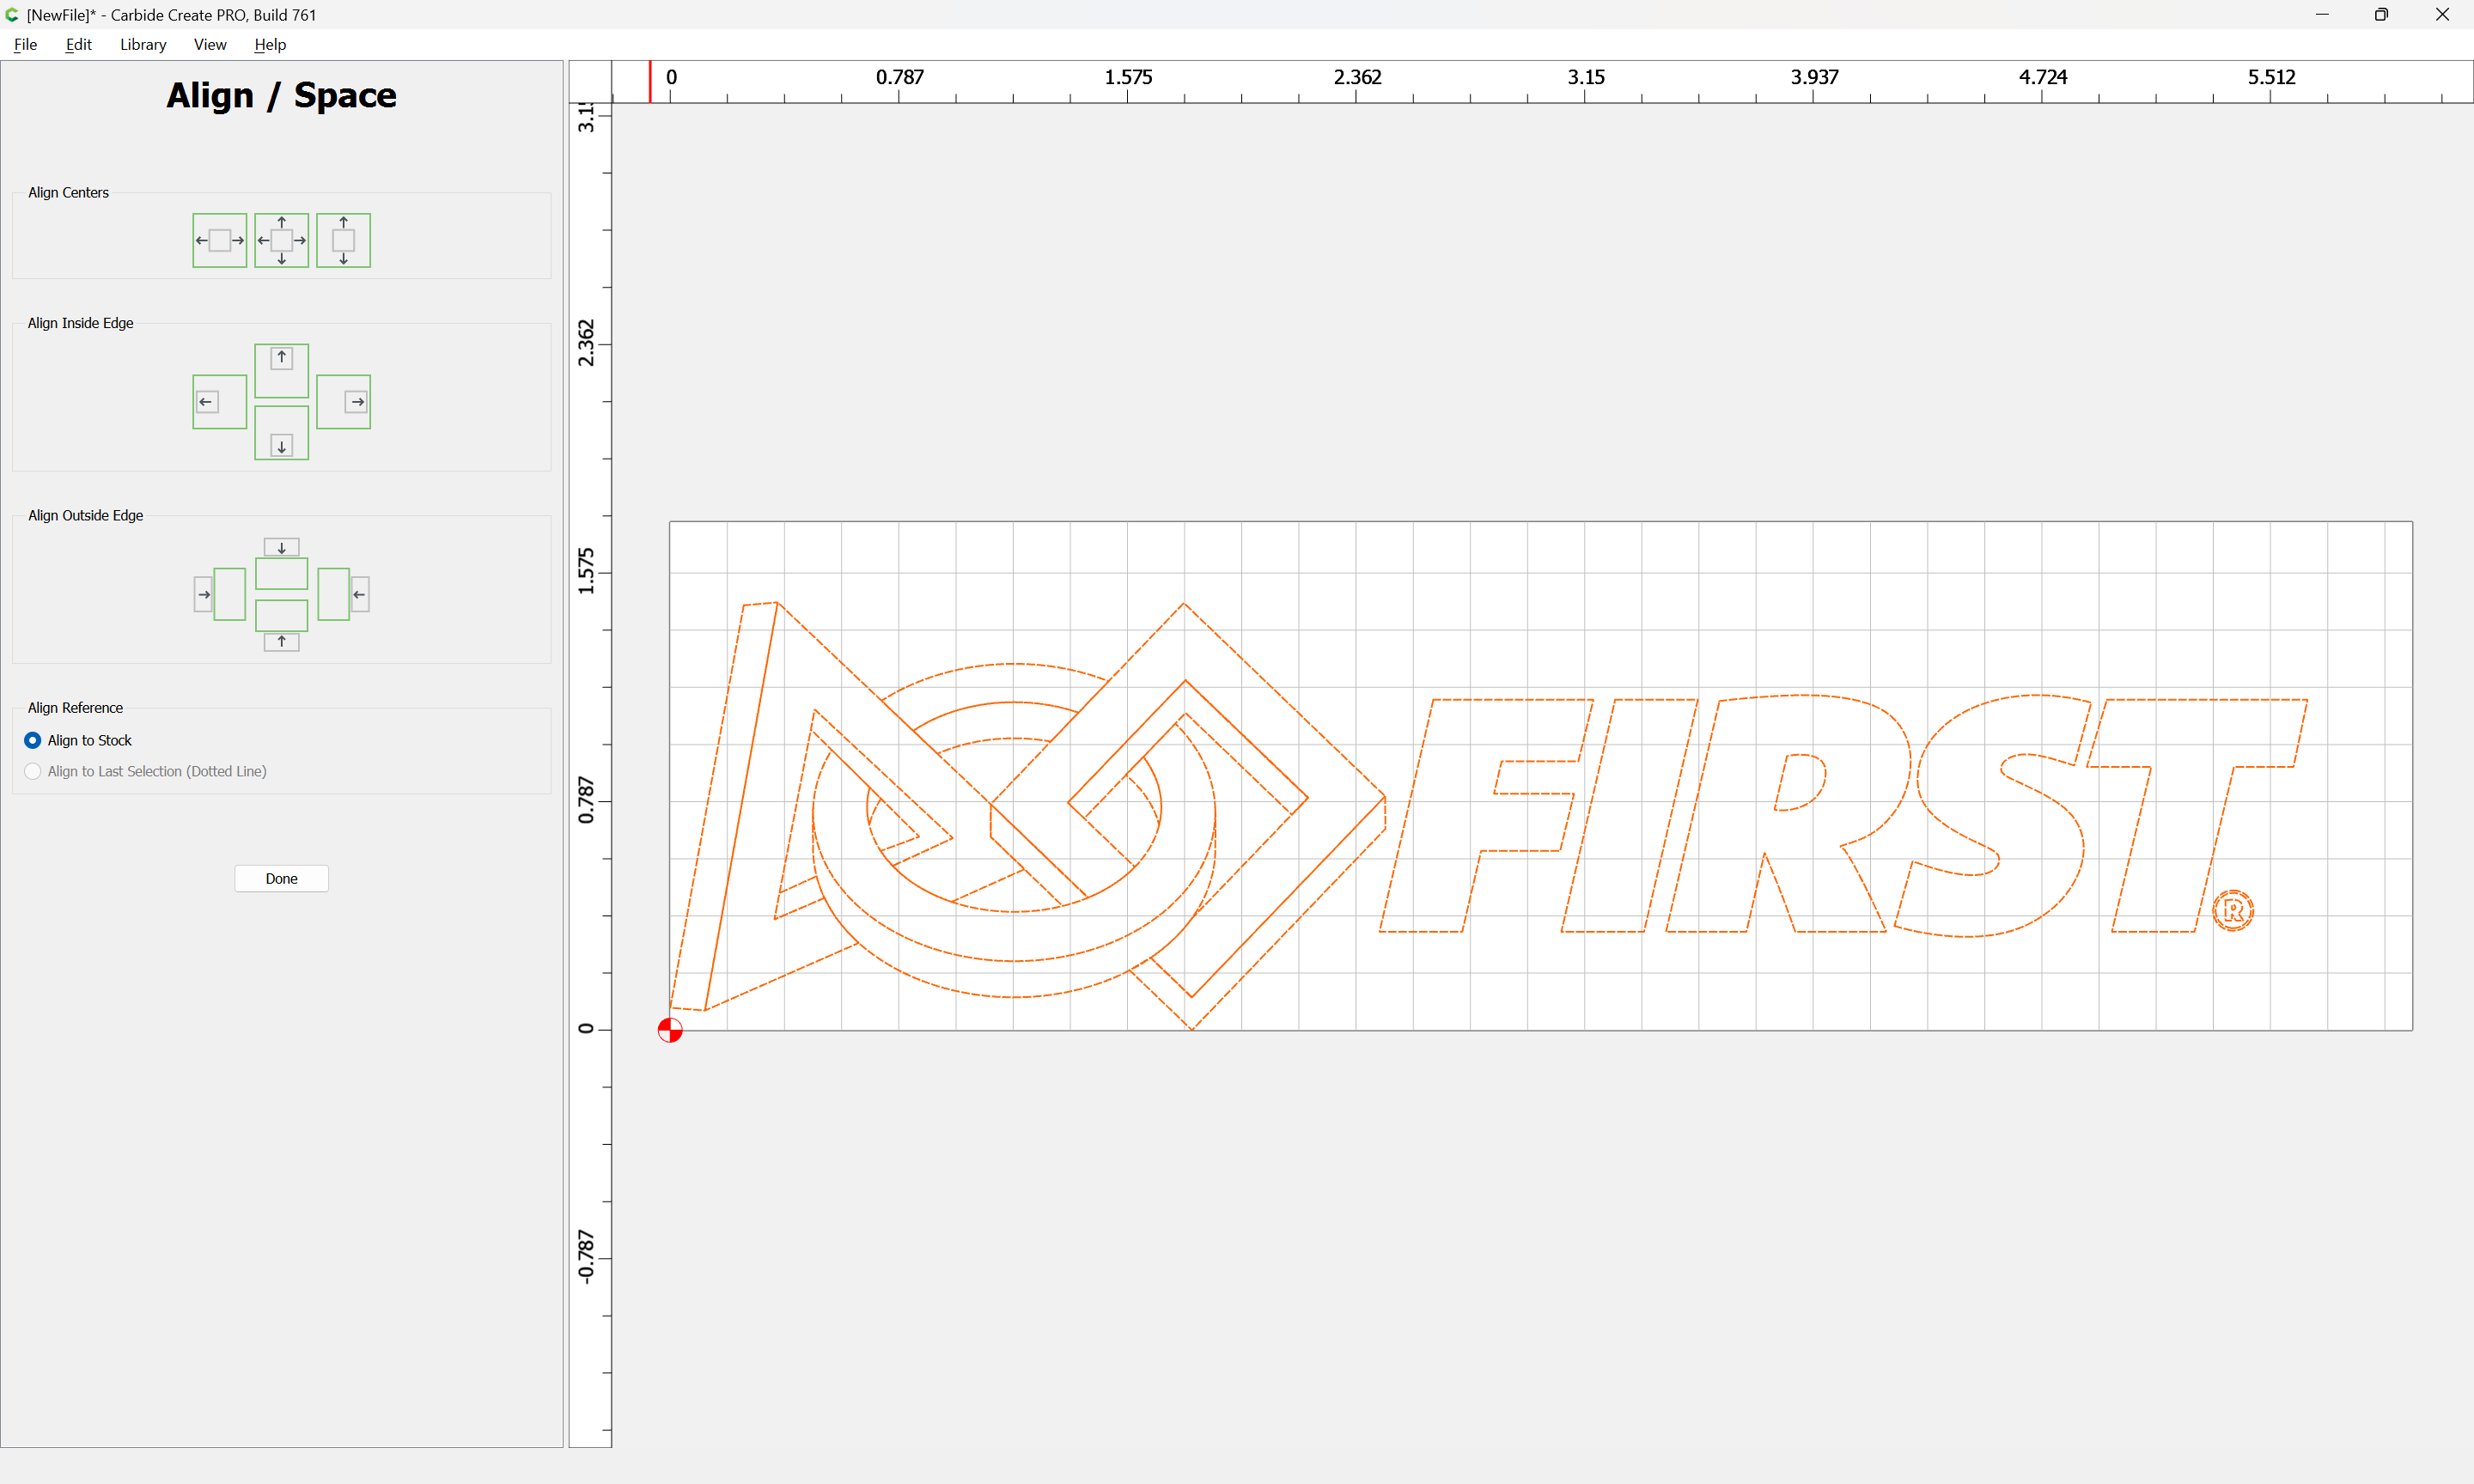
Note that because this imagery has adjacent/overlapping geometry it is not possible to just select everything and assign a toolpath — that will not have the desired result — instead, select regions and assign discrete toolpaths based on the colour of the design — the easiest way to do this is to first group and center everything on the stock:
then Ungroup
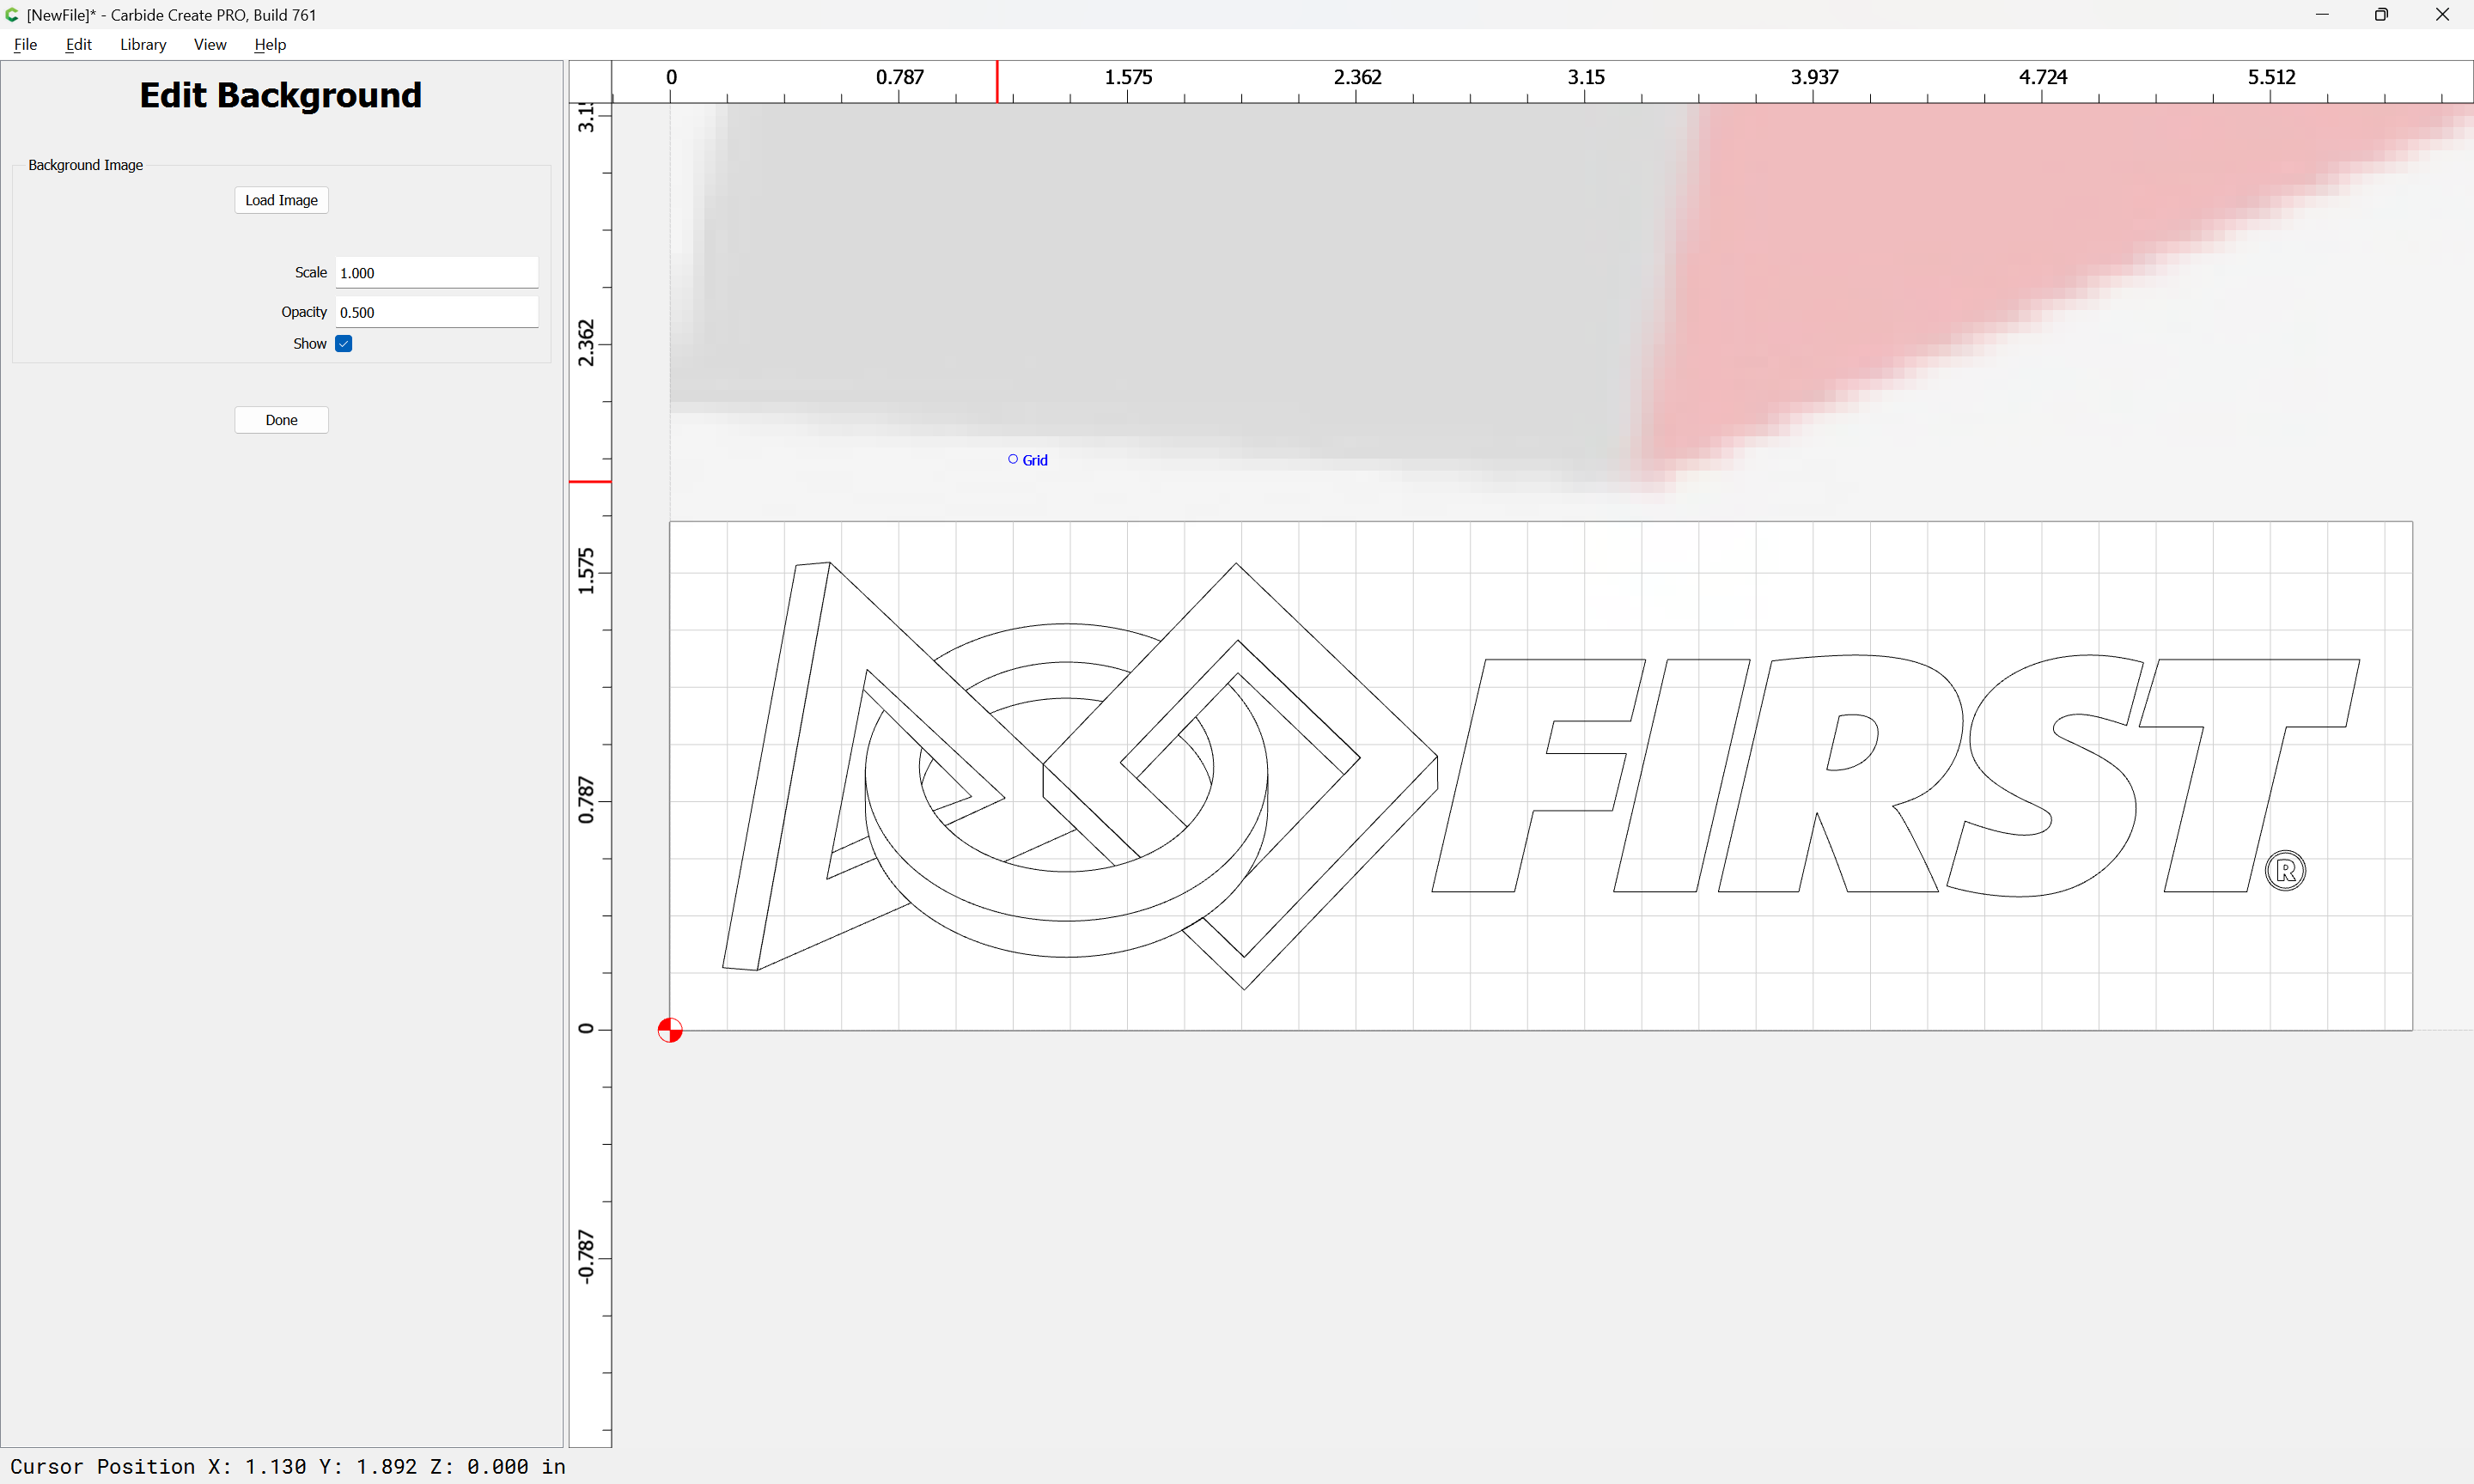
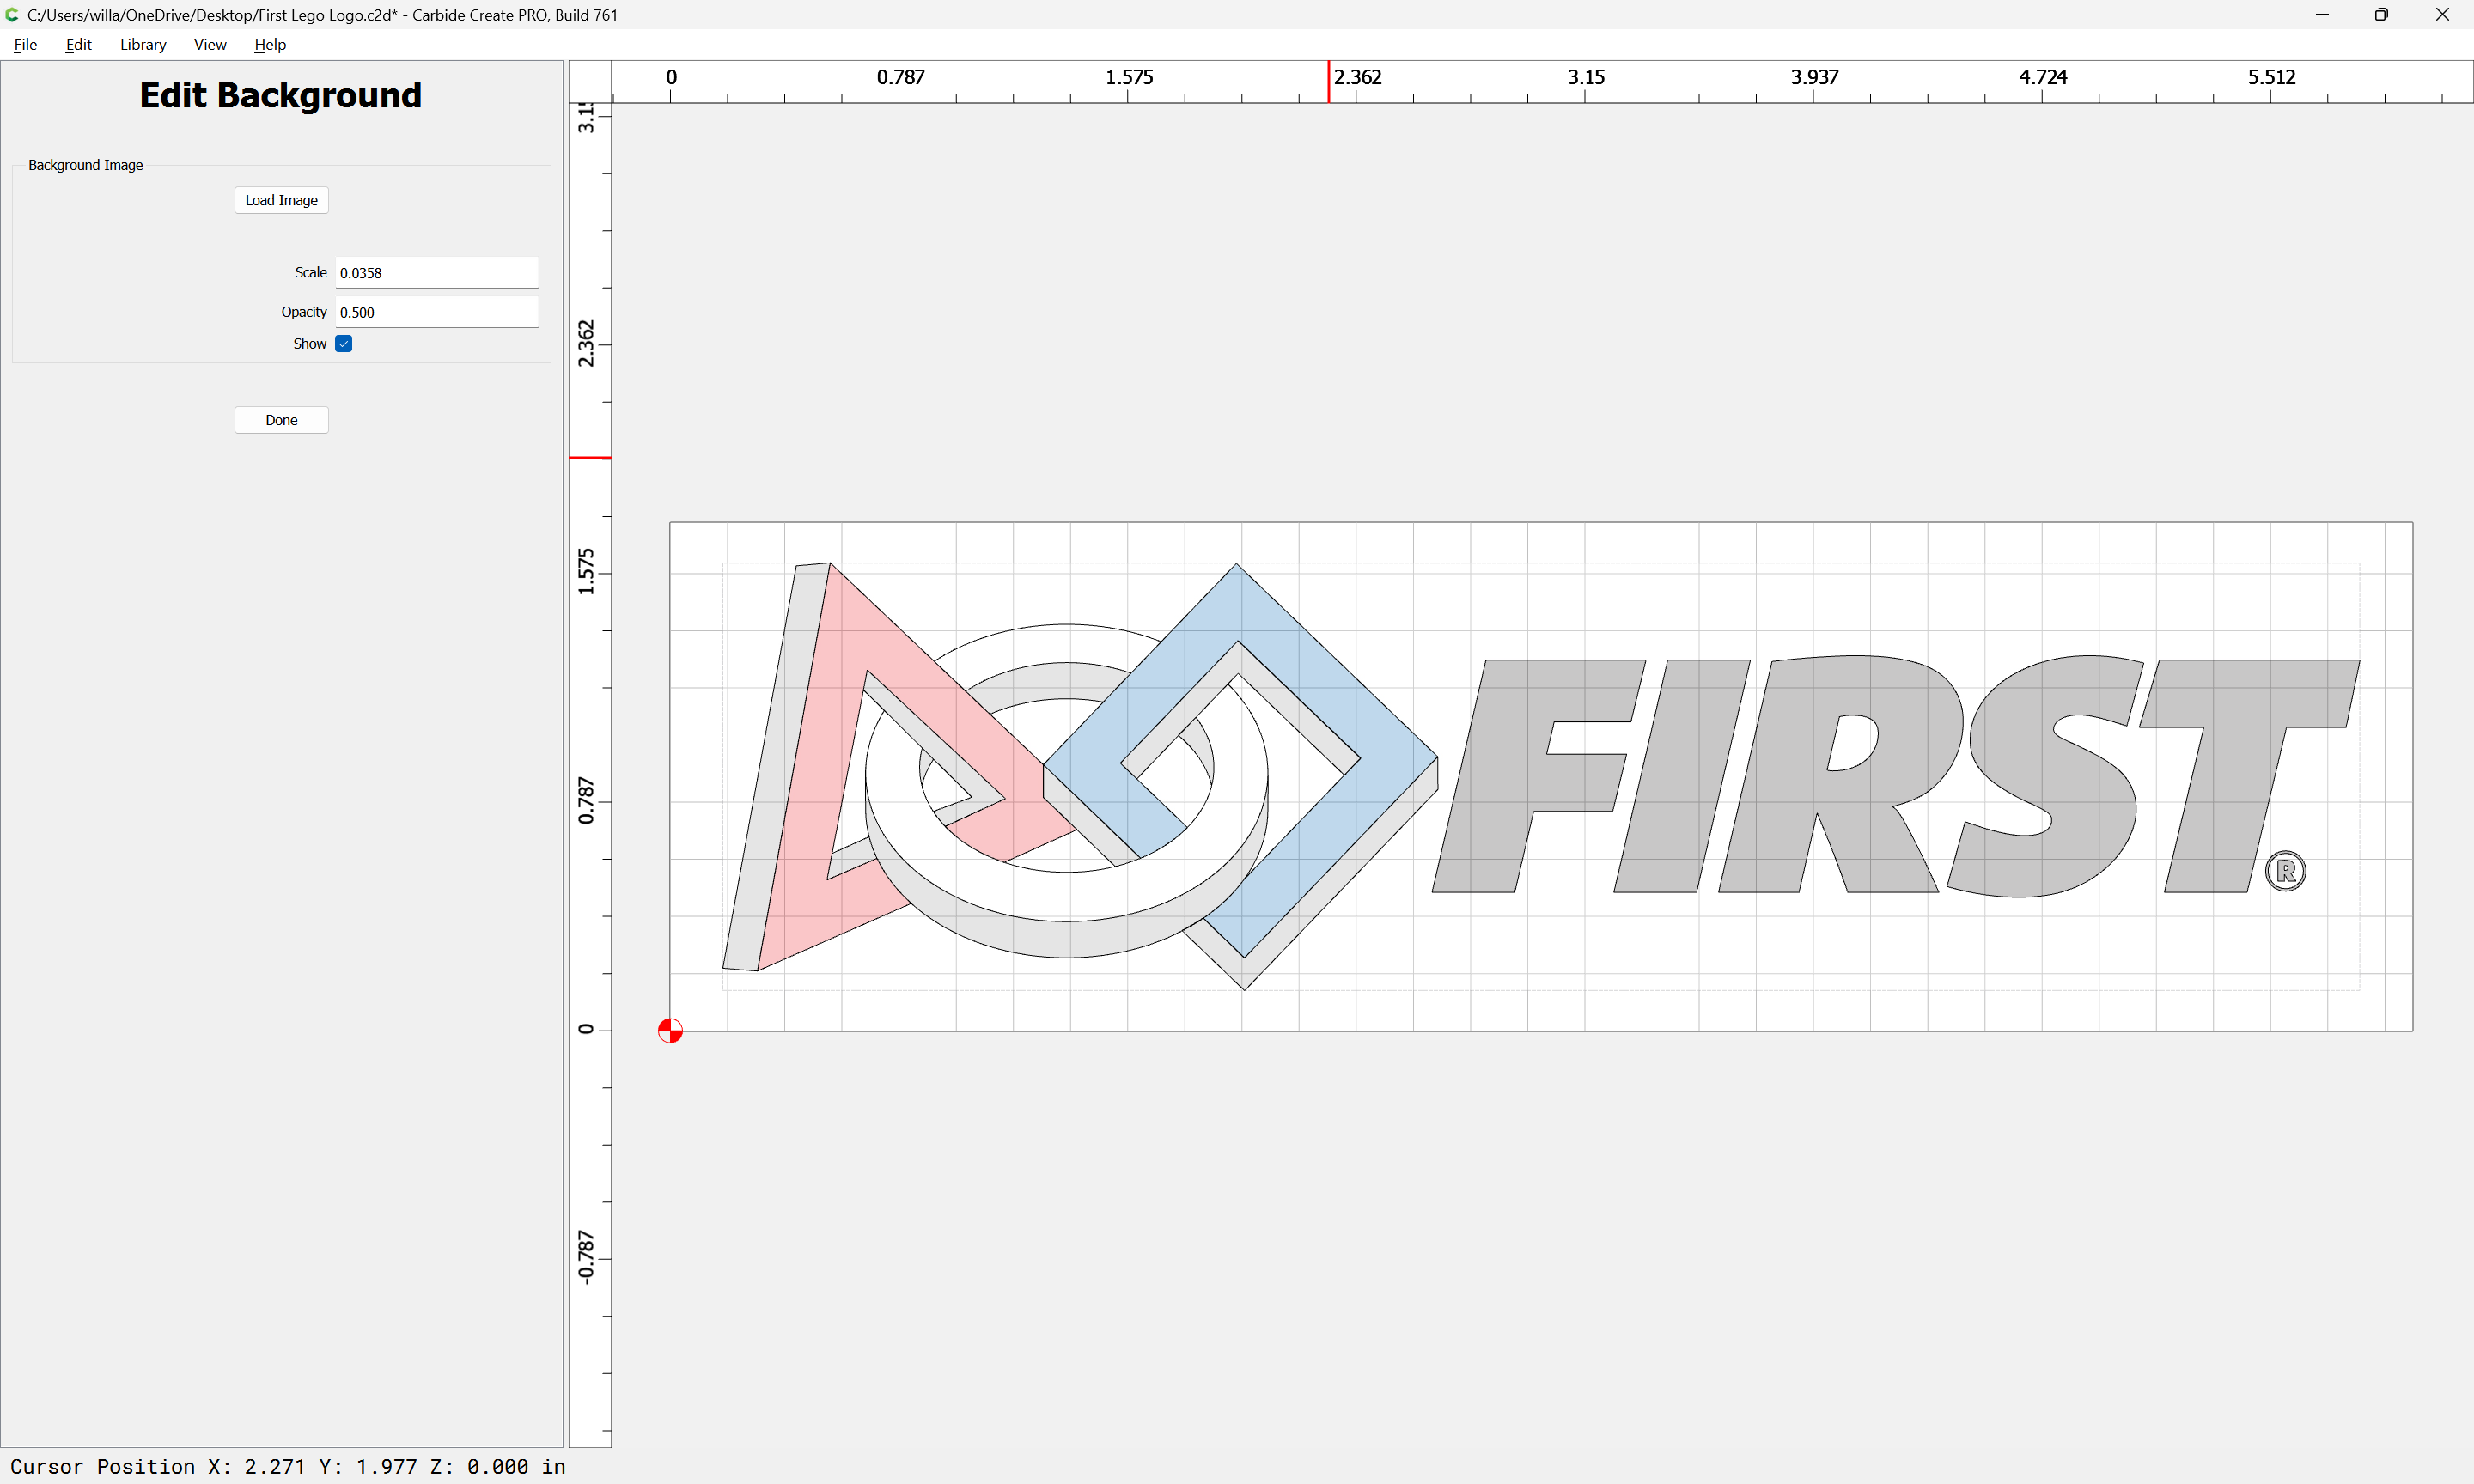
and use Set Background to import a pixel image:
adjusting until things line up:
Then assign toolpaths as desired based on the colours.
First Lego Logo.c2d (668 KB)
1 Like