Run the first tool paths with the Sharpie
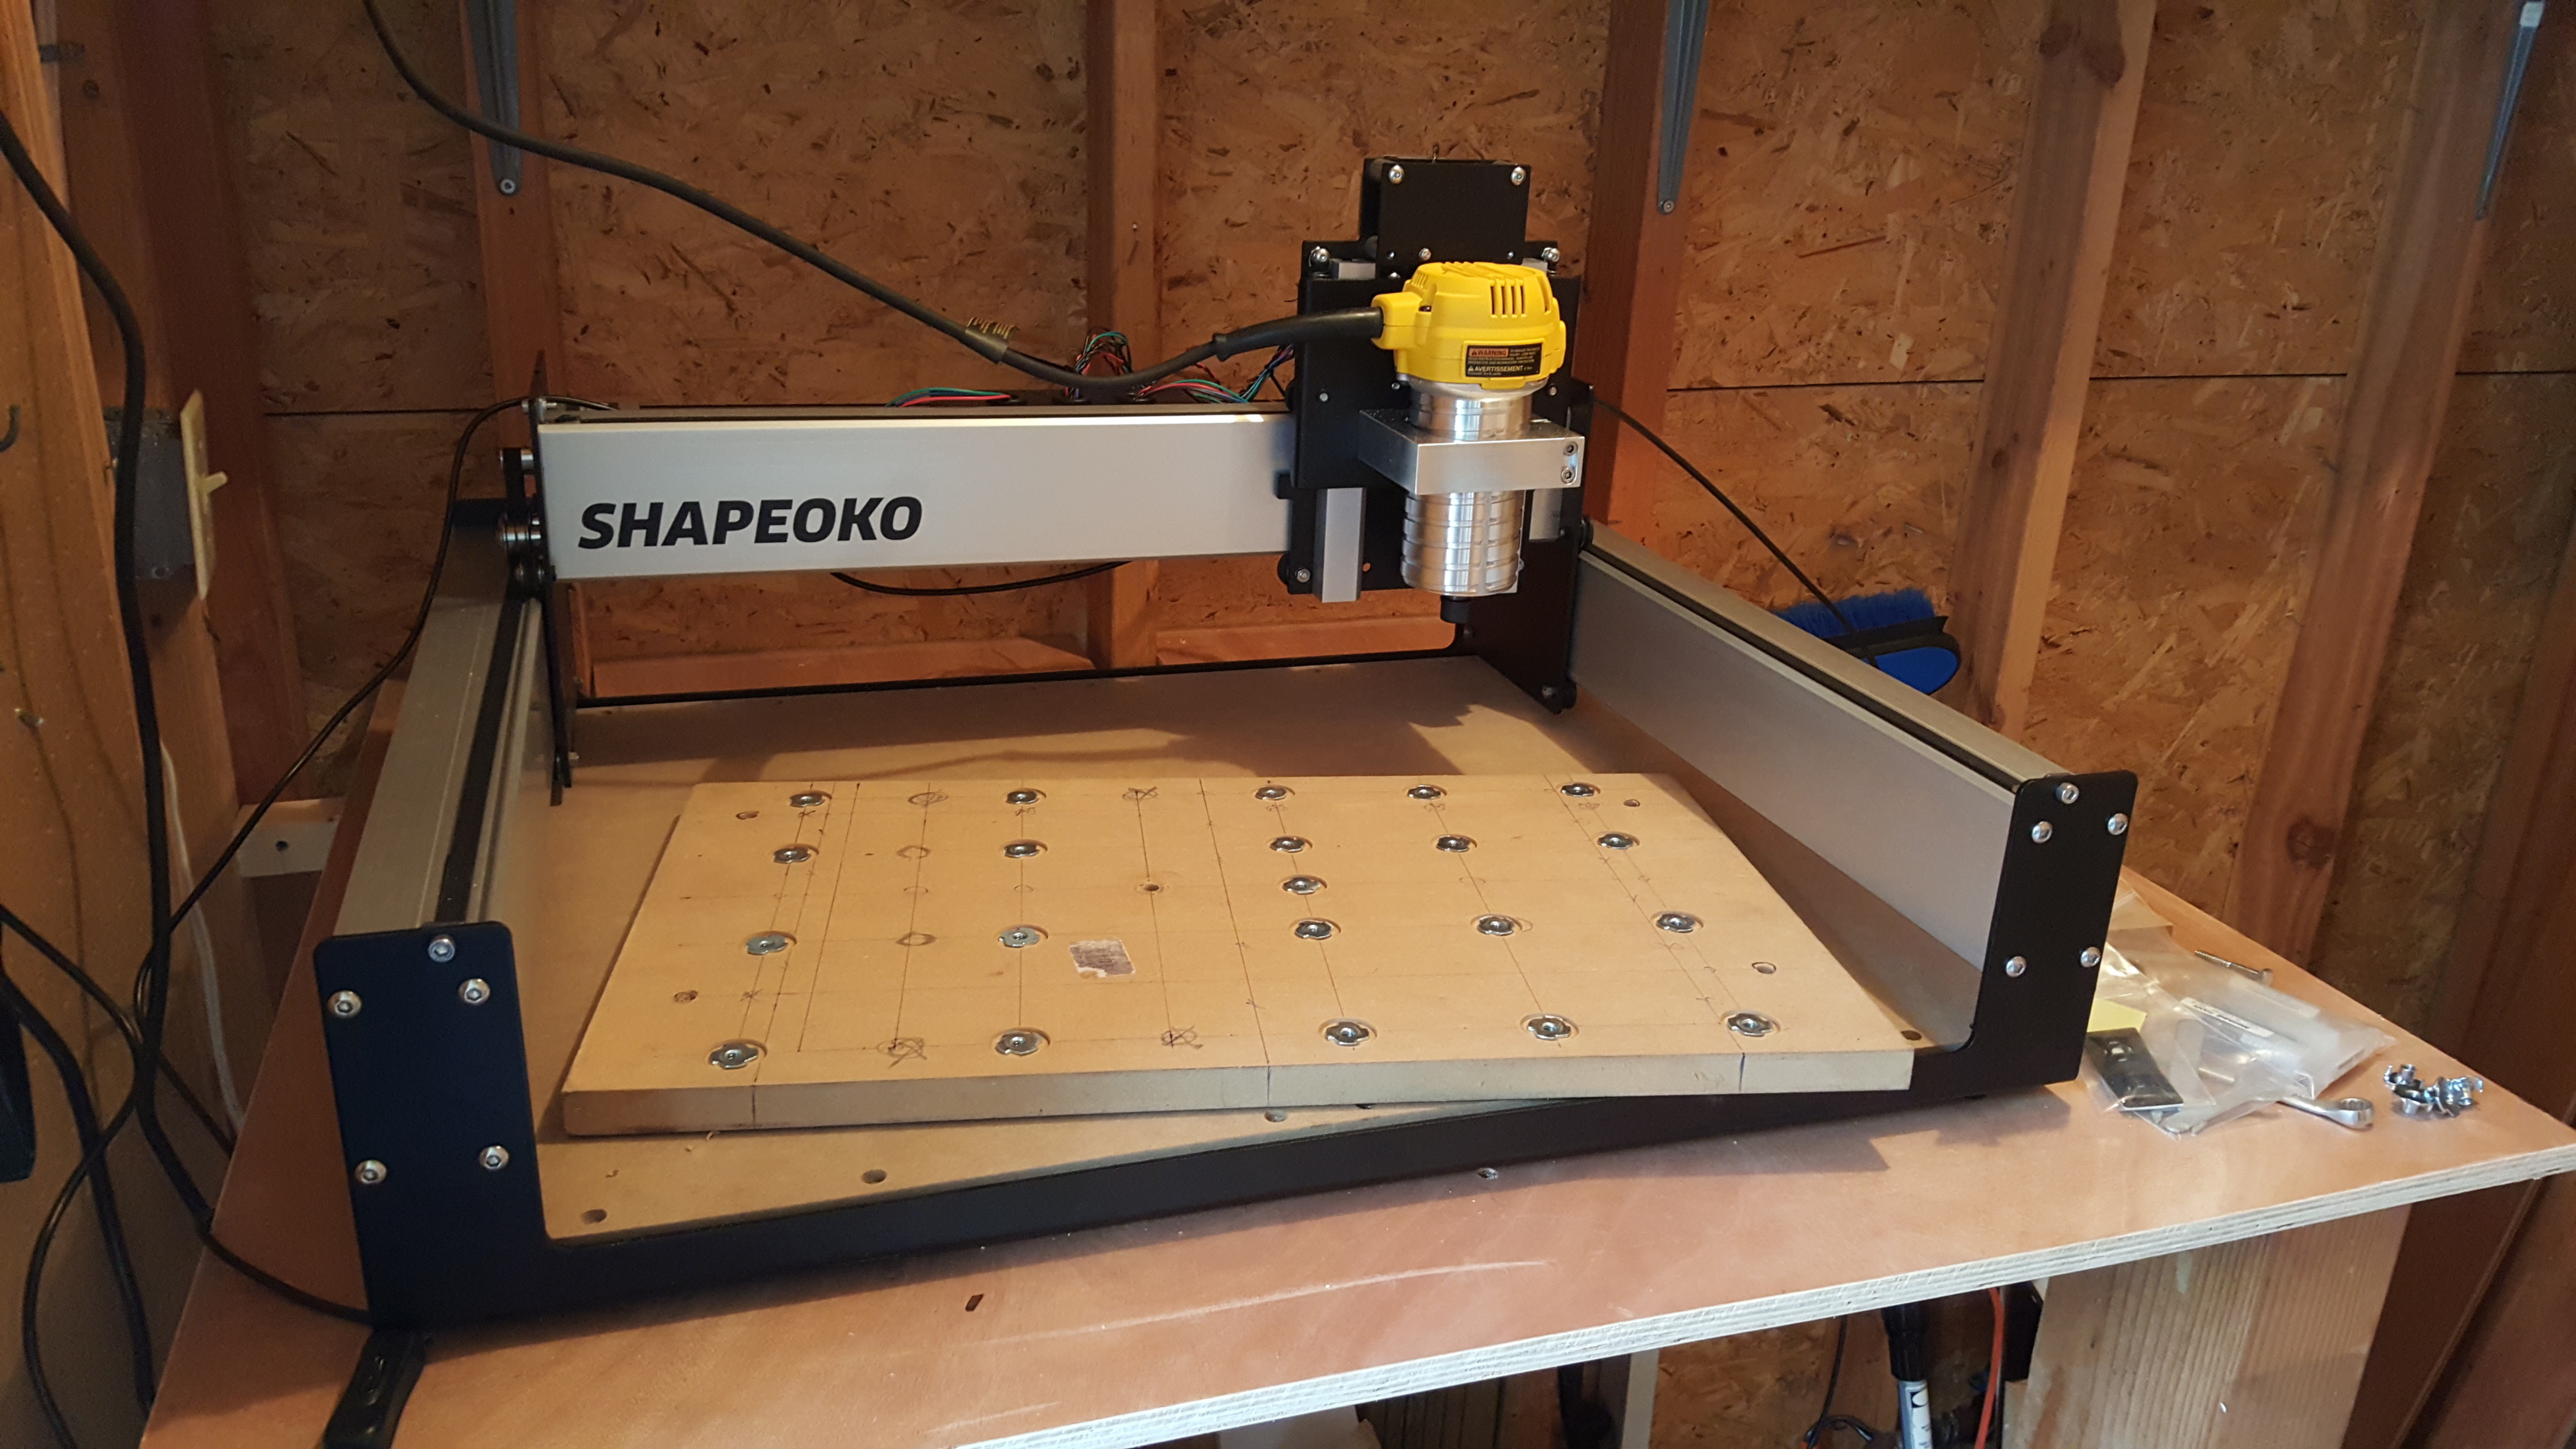
Prepare another waste board on top with T-nut

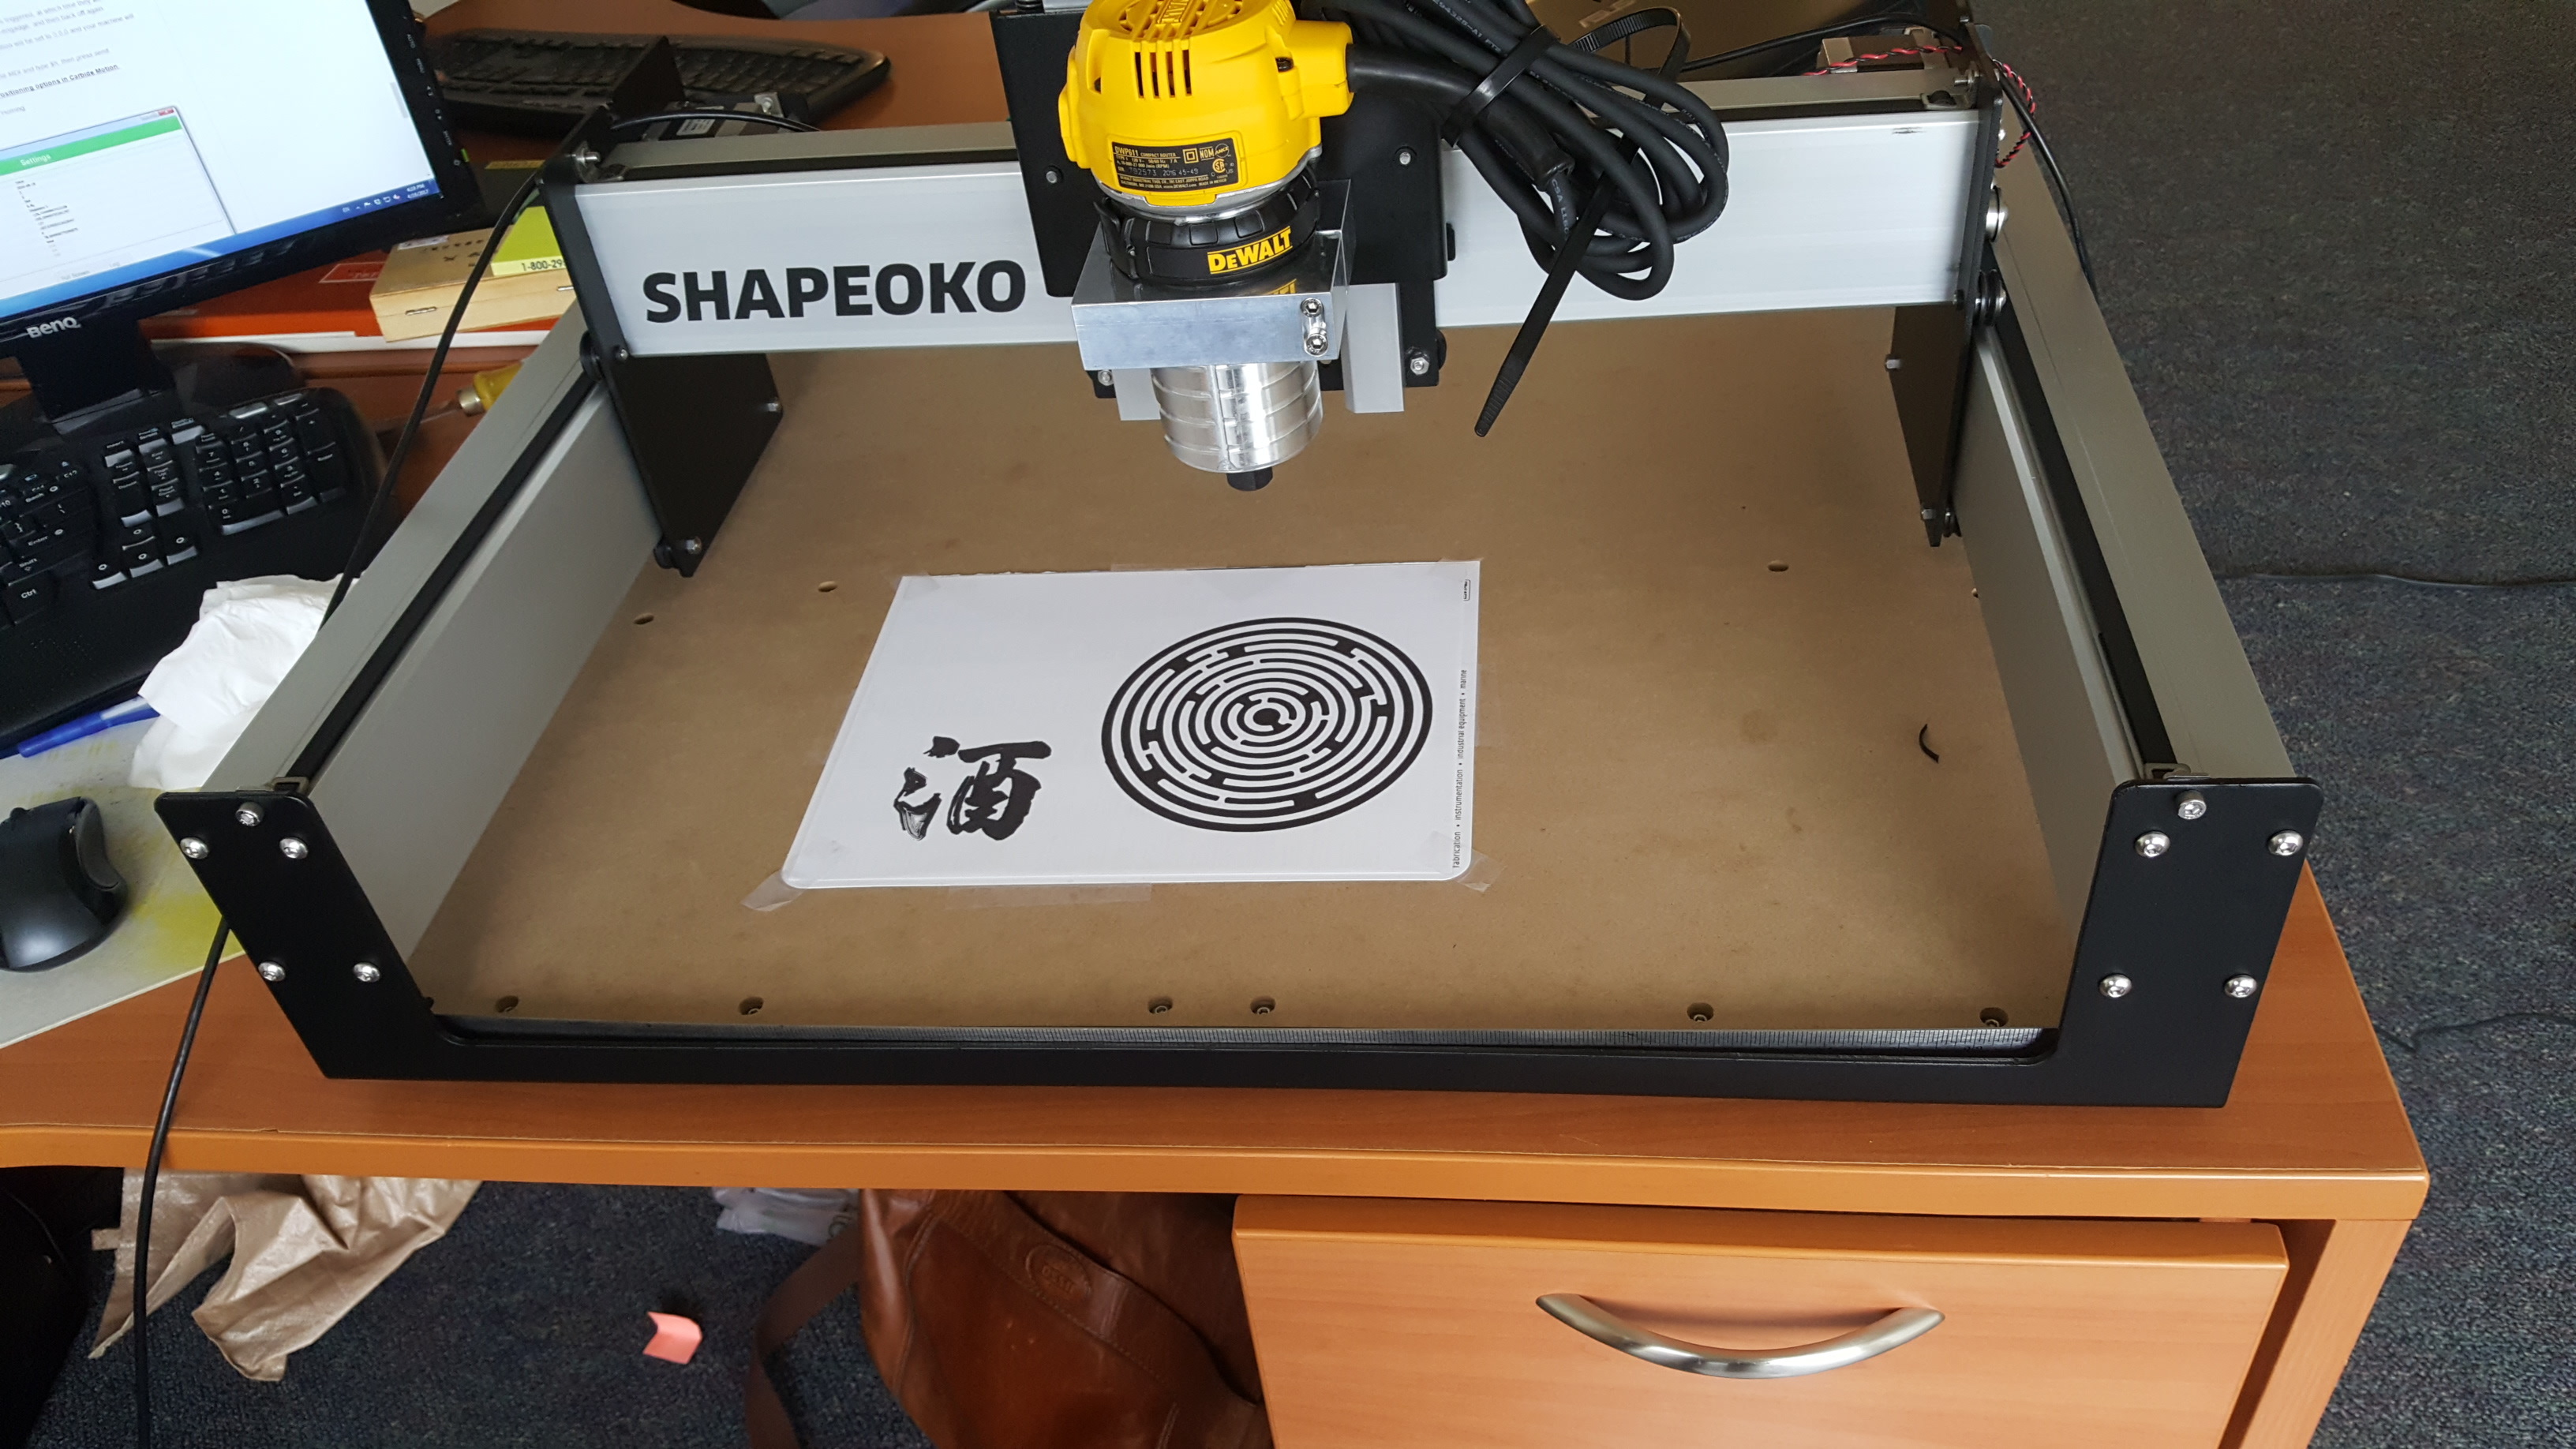
Try 2D cutting from a online picture, with 1/8" endmill and 1/4" for profile.
Use 90 degree v-bit for the letters and filled with color wood filler.

Try 3D machining with 1/8" flat endmill and 1/8" ball nose endmill.
So far, using Artcam, for generating tool path and G-code. It looks OK for start,
but the finishing of the cutting are not good in detail.
Further plan will be;
-
find or design a pattern that I can use for testing different material, tools and settings ( including feed, stepover, plunge, and speed rate, as I am very new to CNC, and have rare experience on all these issures)
-
find a proper clamp design for holding different size of material.
-
practice for sanding, painting to make the result as ready for sale condition.
Hope learning from the community and improve my skill, any comments are welcome.