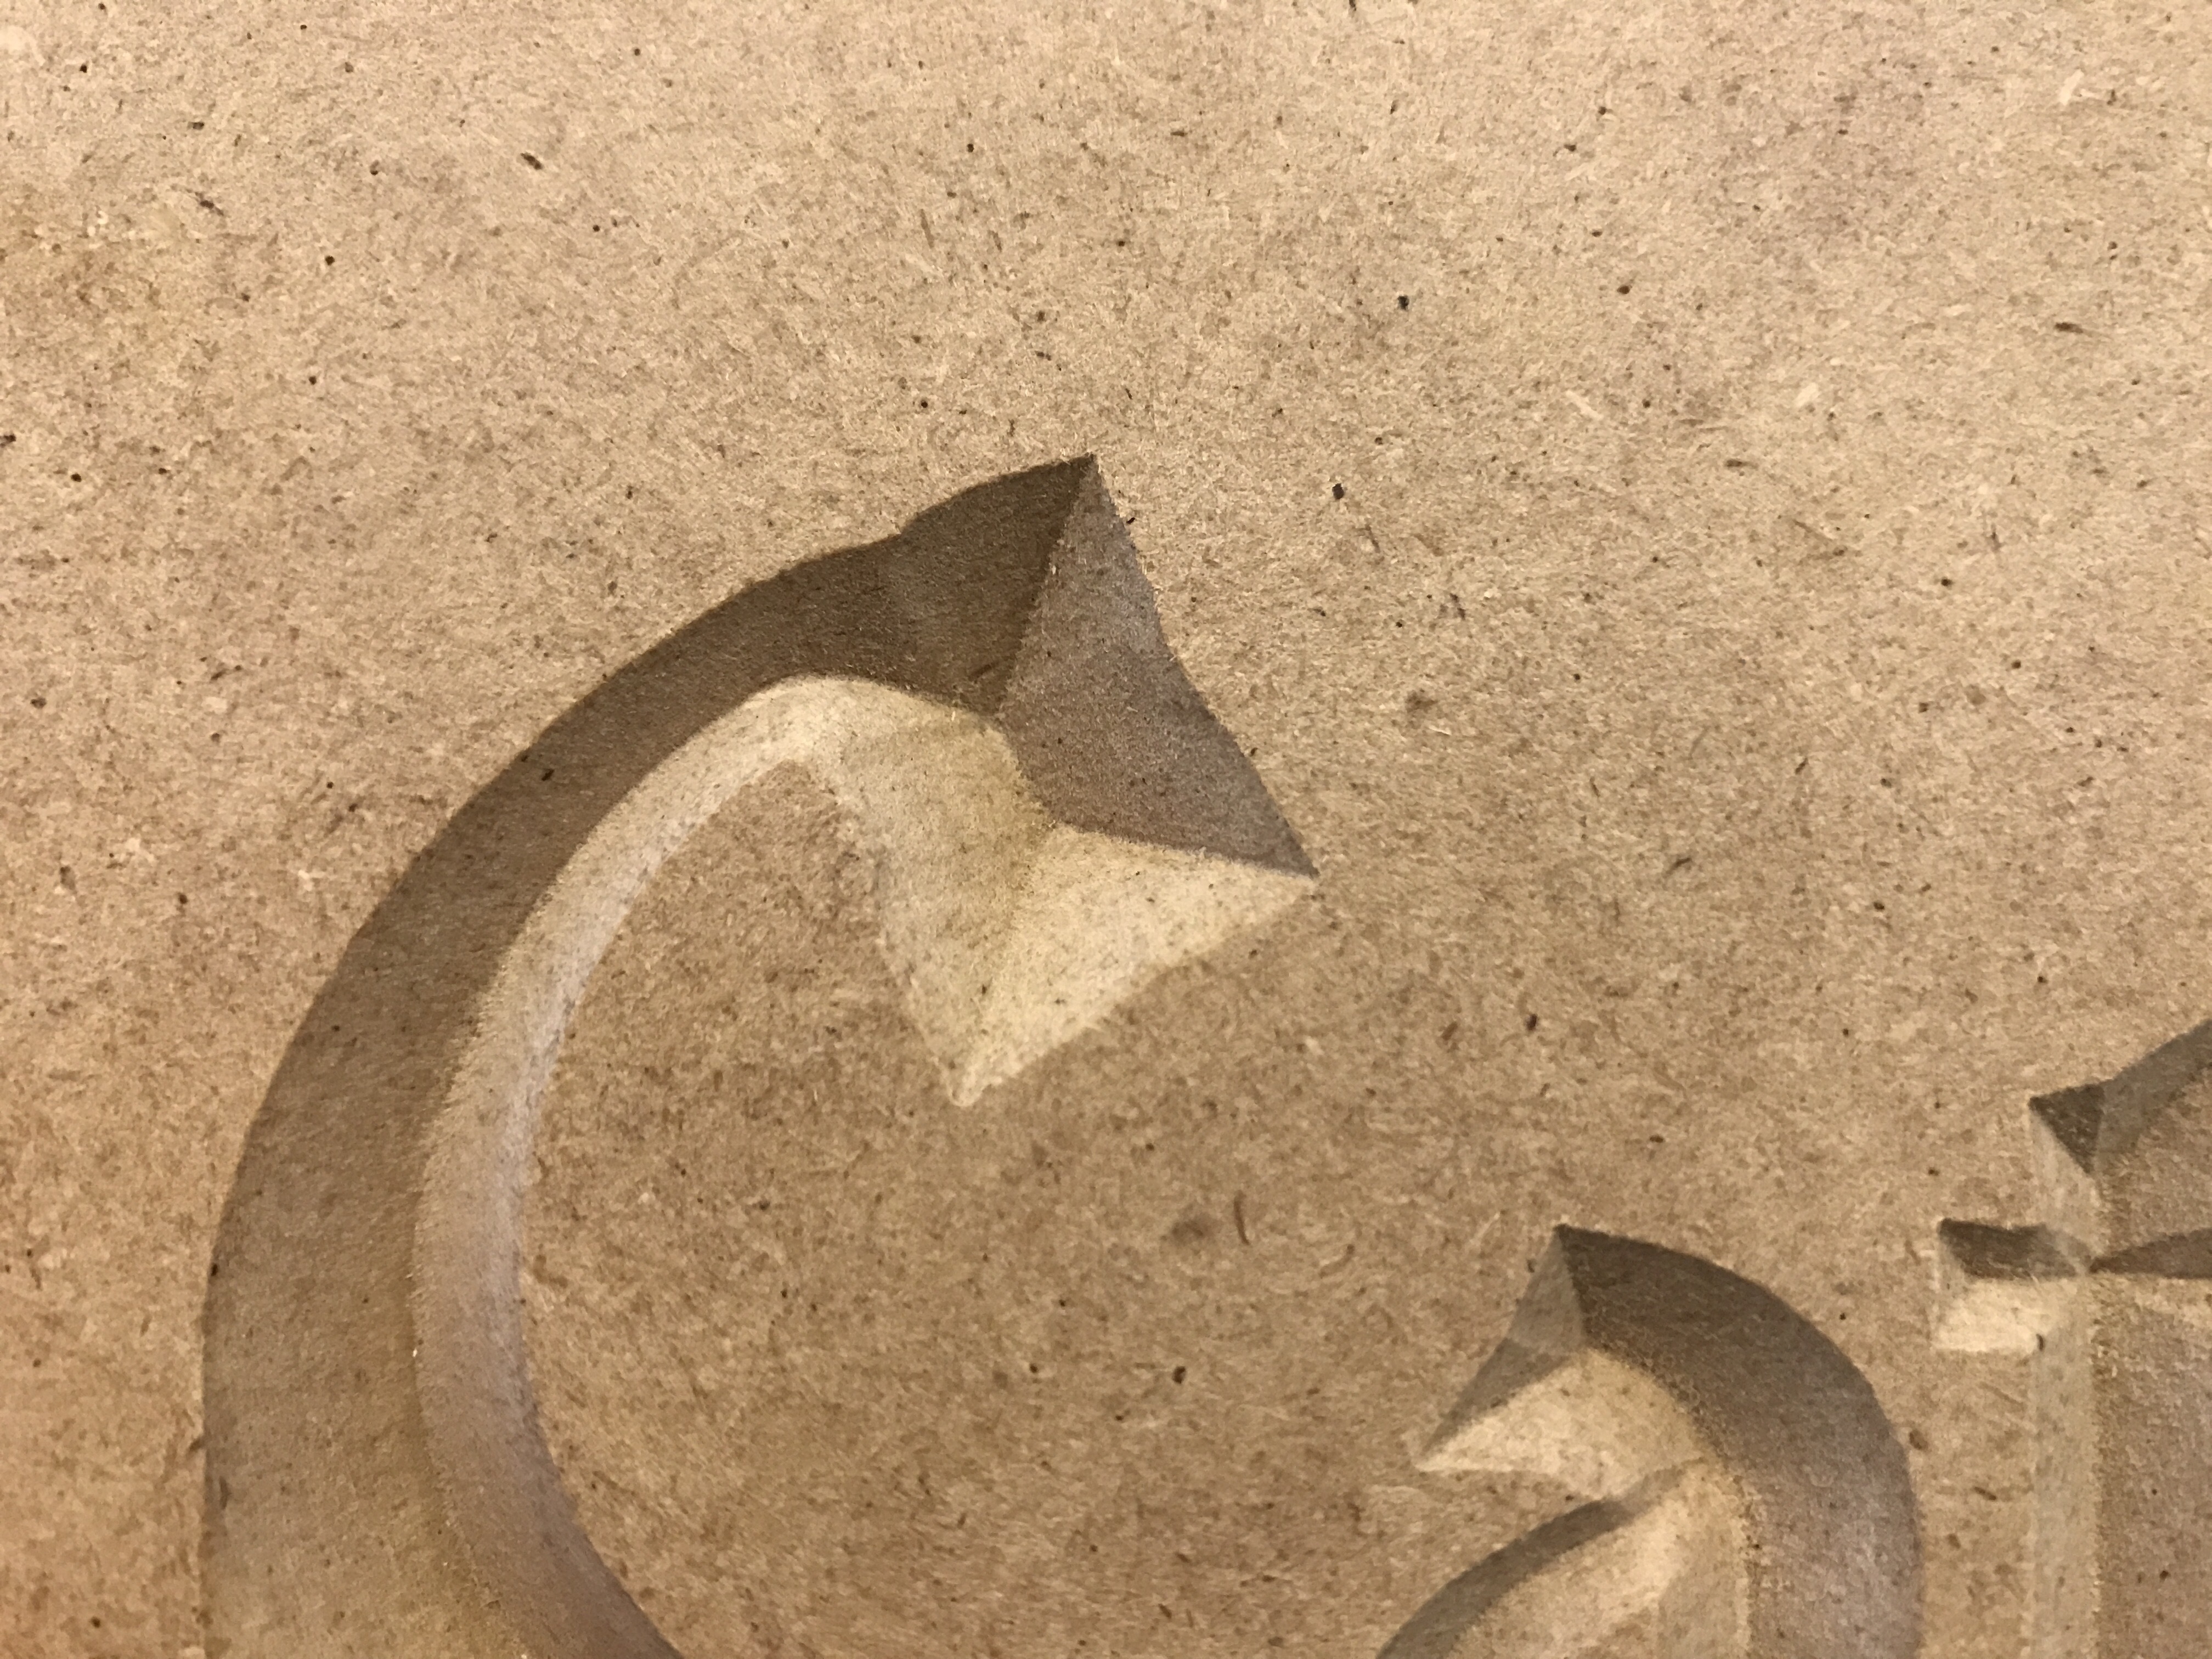
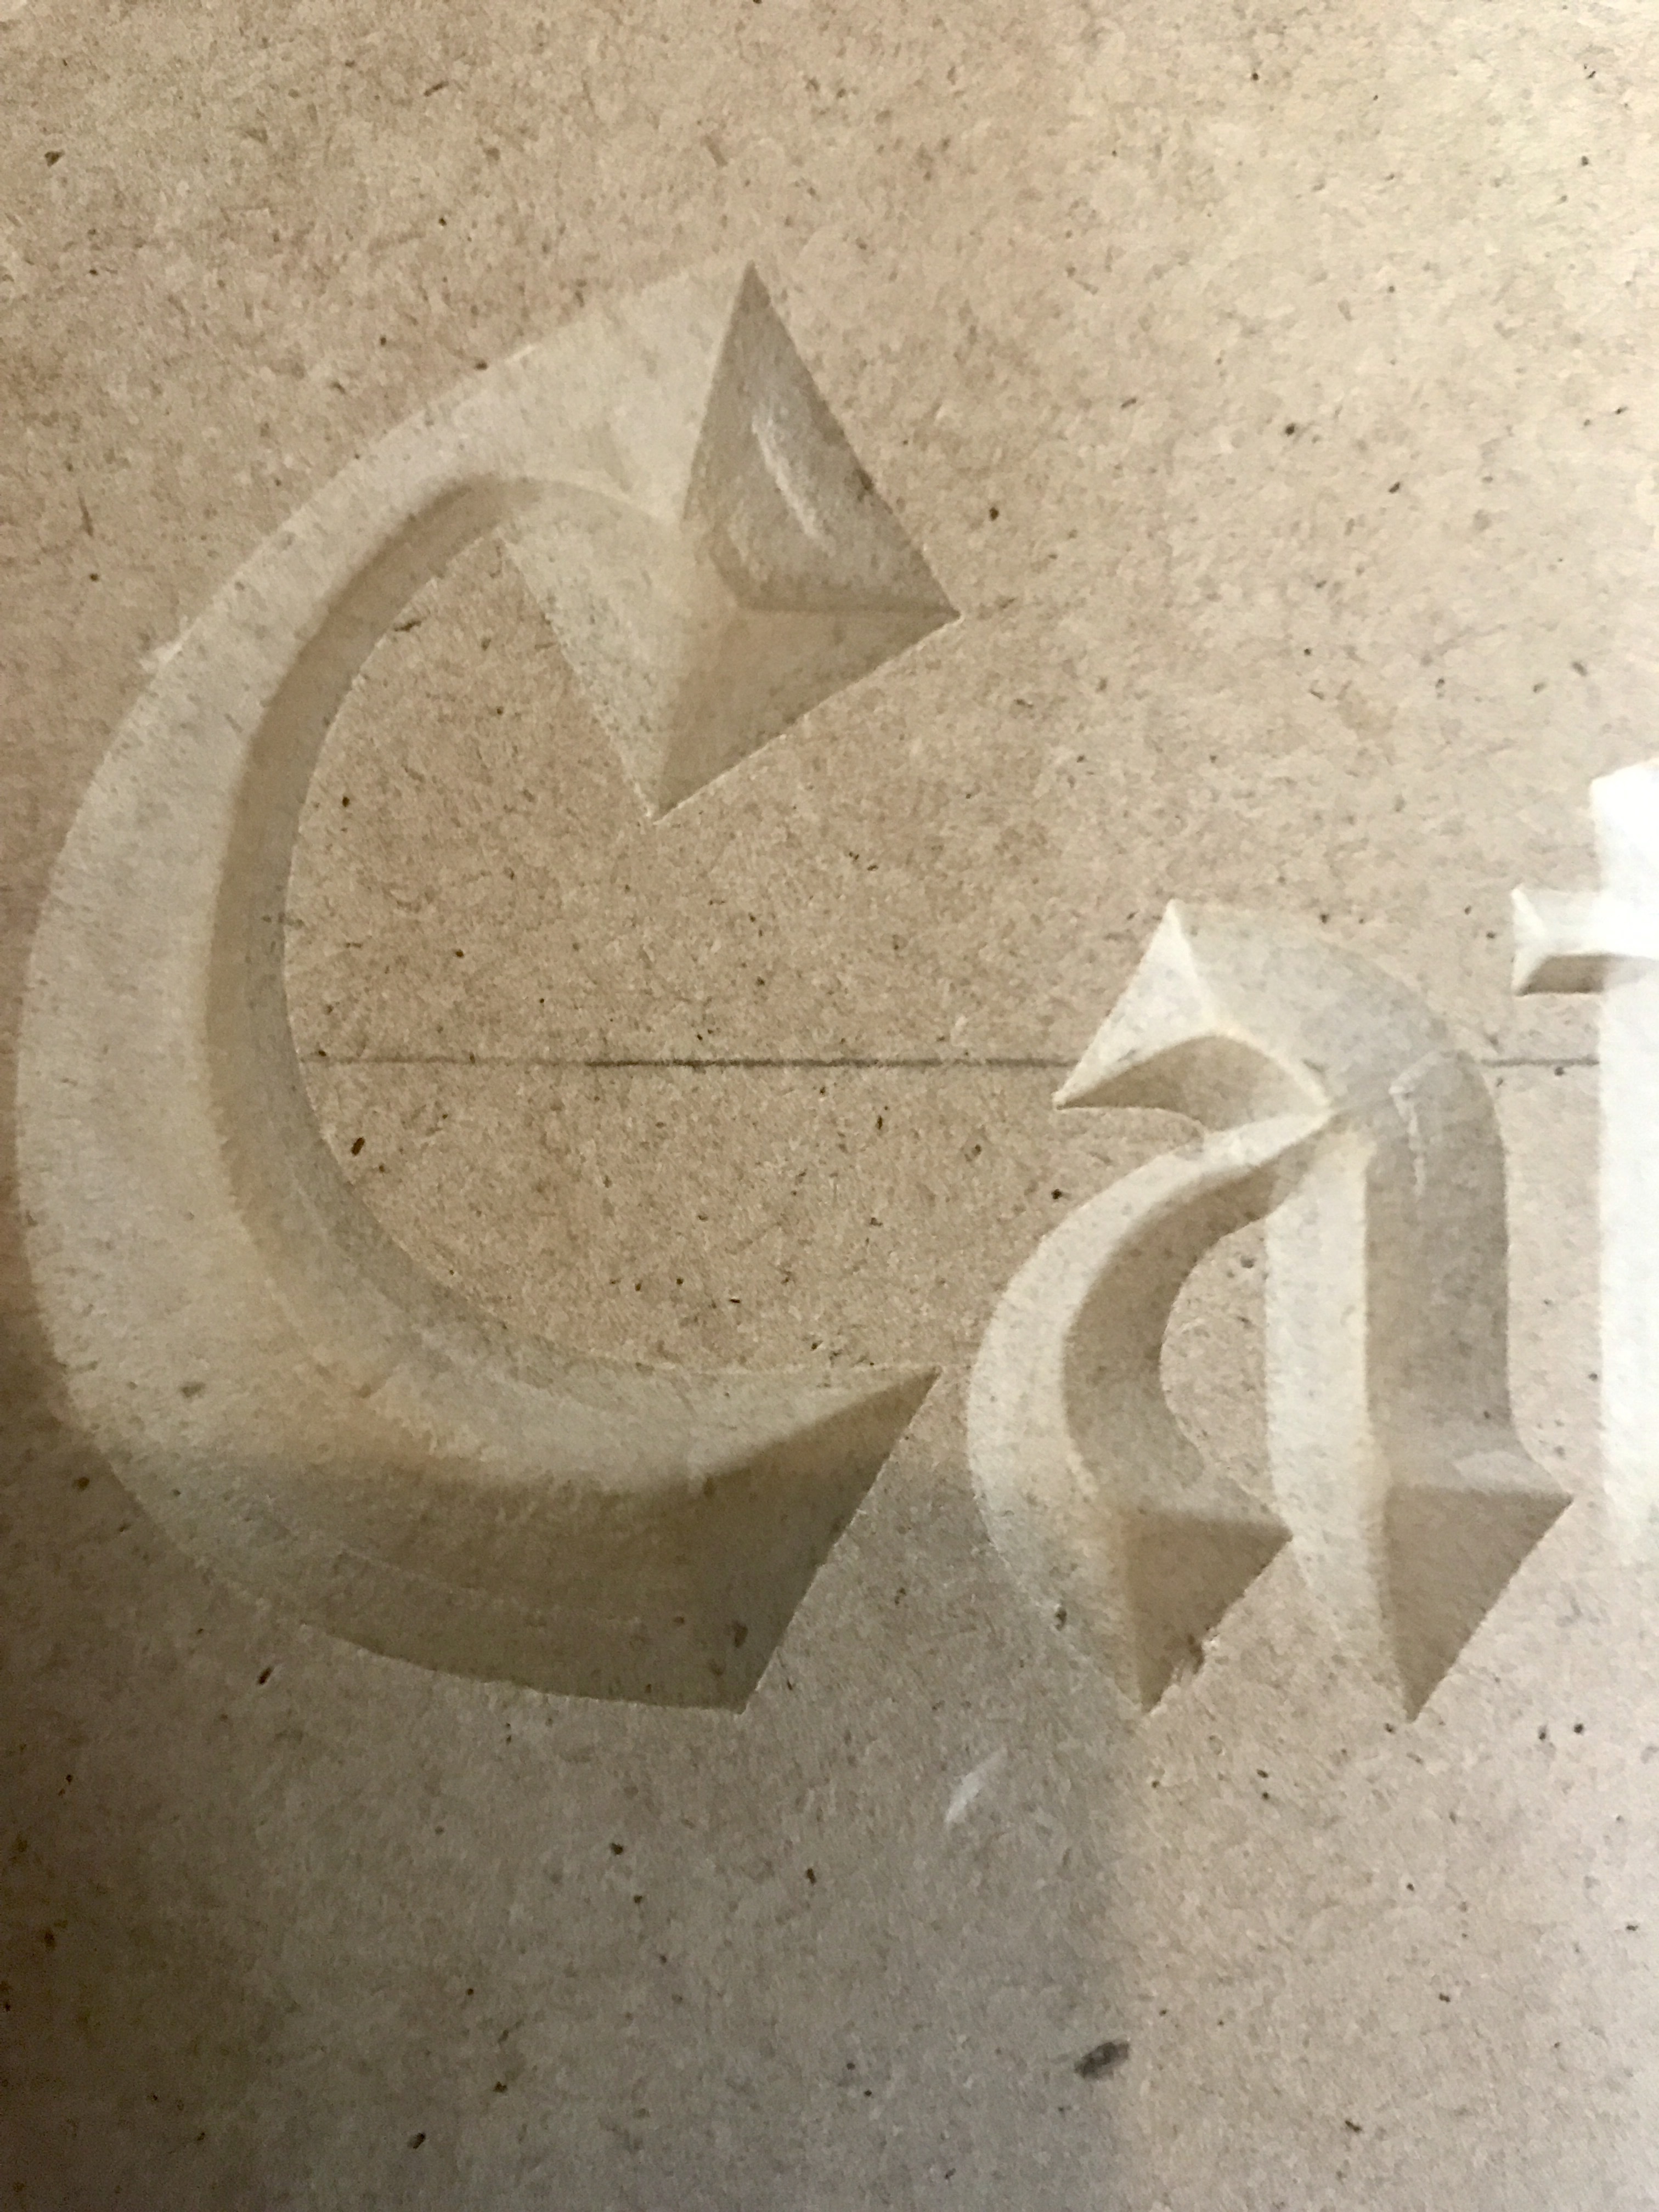
I’ve been delving into V carving a logo and after a few attempts, I keep having an issue with some of the lines in my vectors not coming out straight. I think the pictures can better explain it than I can.
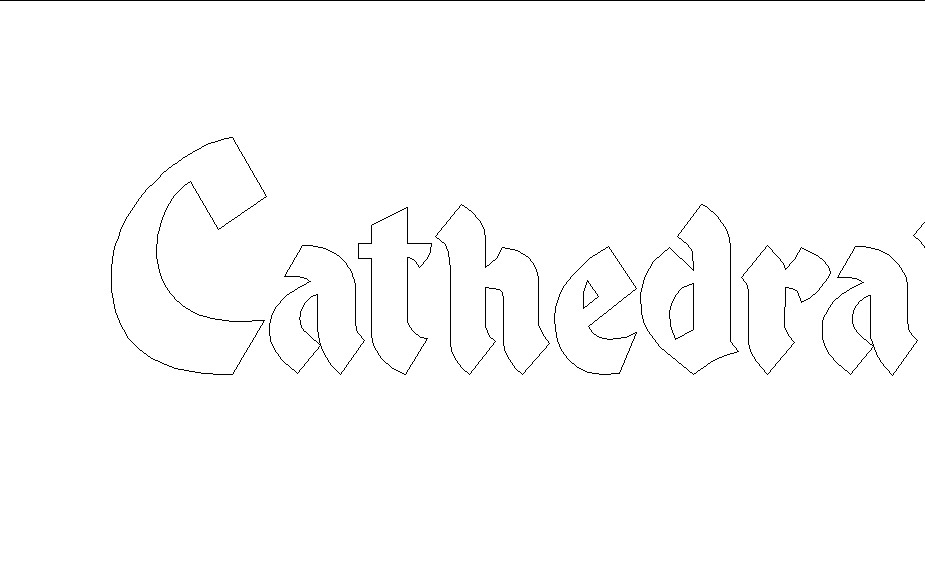
little areas, like the top of the C in the first picture, should be clean and straight but have those little divots (best word I can come up with) in them. It appears on several areas where there should be a short, straight line, such as the top of the T and the H, but not in all of them. There’s also a little section along the curvature of the C that gets left in for some reason. I’m using Vcarve Pro to create my vectors and their CAM for toolpaths. The vectors are manually traced over a bitmap, rather than using the software to trace or using stock fonts. Neither the vector or Vcarve’s toolpath preview show signs of the little divots.
I’m using C3D’s 0.5 V bit at 16000 rpm, 30 in/min. I ran a complete secondary pass to clean up but there was no difference. Has anyone encountered this before?
Noticeably better when I slow it way down to 20"/min but still not perfect. I did notice that I left my plunge rate at 30"/min. Could that be part of the problem?
That’s a pretty fast plunge. If the second pass does the same thing, it’s not a runout type problem. I’ll throw in the usual advice here… set screws all present and tight?
This might be exactly what @mikep said it is not (runout) but just to clarify for my sake: is the carve way down on the z-axis of your machine, such that the z-axis wheels are getting to the end of the rails? I’ve had similar issues just in the very deepest parts of my carves when I was too far out on the z-axis.
Otherwise, I agree with @mikep; check the set screws, first.
Other things to check — make sure that Z-axis zero is good (and if applicable takes into account the endmill having a rounded tip — not the case here w/ the Carbide 3D one). Also, calibrate the Z-axis for belt stretch by cutting a stepped pyramid.
For letterforms, it’s best if they follow a few rules:
Bezier curve on path nodes should only appear at the extrema (north / south and east / west) and at points of inflection
follow the “rule of 30” where appropriate for off-curve nodes (they should be about 30% of the distance from the nearest on-curve point to the further on-curve point)
Probably you could ID the font and buy it if you’re inclined.
All set screws are set and tight. I had to replace the pulley after it arrived so I paid close attention to tightening the ones affected at the time.
The V does go somewhat deep but I pulled off the springs and the V wheels are not near to the end of their rail, but thank you for the suggestions!
Will, I’m definitely going to have to dig into that suggestion and see if my font fits the bill. Sadly, I’ve searched high and low for the actual font, too include contacting the manufacturer of the game I’m reproducing herebut they were of no help. So tracing it as all I have.
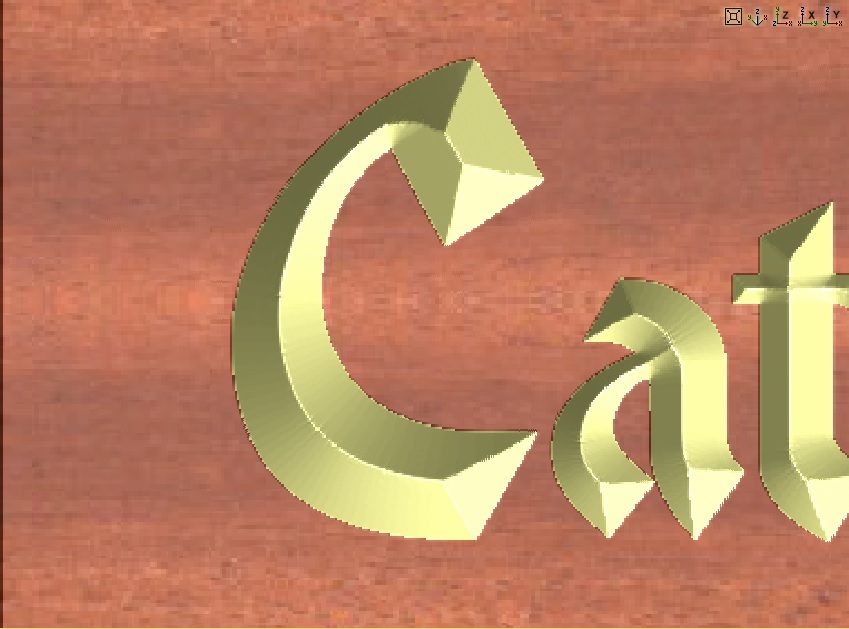
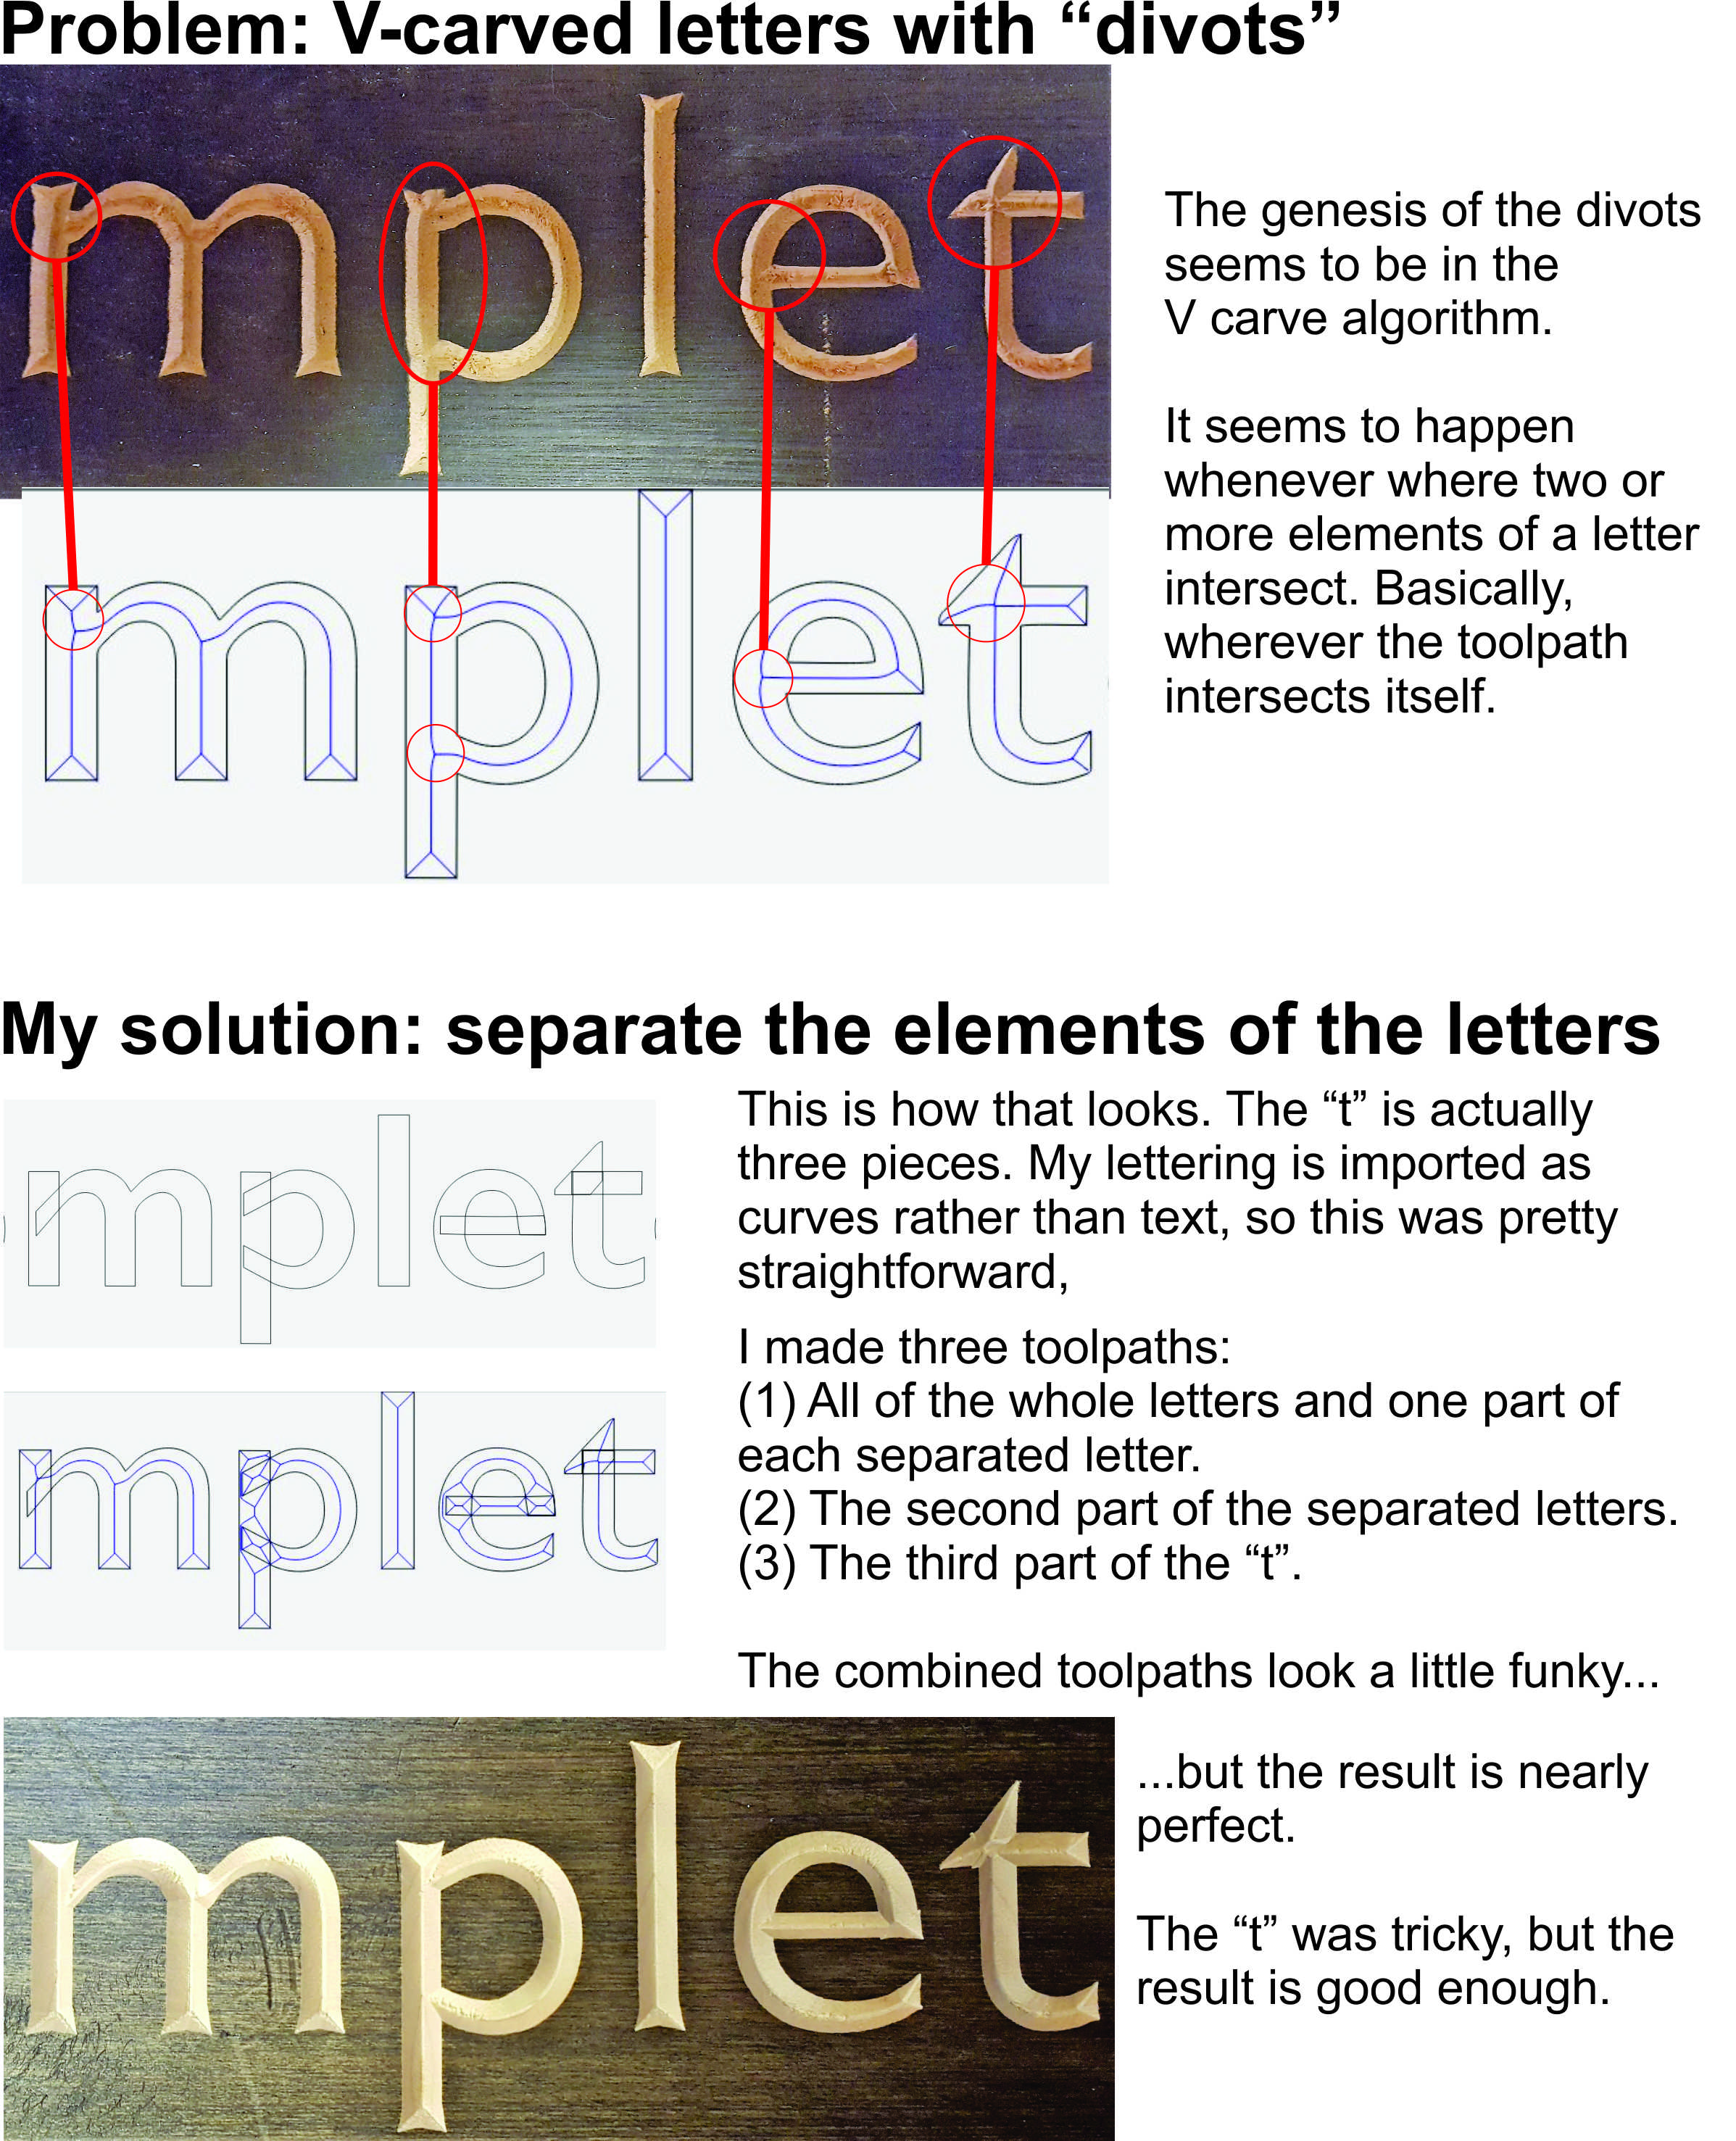
I’ve had the same problem to some extent with every project using V Carve. I can tell from looking at the V Carve toolpath whether I’m going to get the “divots” you describe. See this image:
Another consideration here may be that the V bit angle isn’t being entered accurately.
It would be nice if it were possible for a V carve to have the same continuously variable angle which hand carving affords, but that’s not really feasible for the typical CNC, and I’m not aware of a CAM program which affords that.
I played around with the bit angles, etc. for several hours over the course of a weekend, and I never found a combination of parameters that made any difference at all. I played around with different fonts, though, and there are def some fonts that work way better than others. With this project, though, this was a company logo, so I couldn’t change anything.
If the toolpath is wavy, the result will be wavy regardless of the angle of the bit. The rest of it might be pretty messed up if you were to use a 30 degree bit in place of a 90 degree one, but the edges will still reflect the path you input. When I first started using the V Carve feature, tested this extensively so I could get an understanding of how the variables affect the outcome.
Relatedly: does anyone have any experience with Precise Bits making bits that are imprecise?
Most likely, the problem here is that the depth of the V carving is being limited by stock thickness, flute length/endmill diameter and the V endmill can’t cut deeply enough to cut widely enough to make the desired shape.
Try insetting the path by at least a little less than the widest that the endmill can cut, then cut the original path and the inset path as a V carving.
As a test for this, draw a square — the smallest square which will preview accurately is how wide that V endmill can cut.
True…but in this case if the angle isn’t correct (which means the depth also will not be correct), you end up amplifying the visibility of the error and it becomes visible at the intersections of different paths that would have otherwise “air cut” in those areas.
I’ll remember this for future jobs where that seems to be an issue. I’ve actually completed this project and I found marked improvement by increasing the size of my V bit since the font was quite wide at parts. It really seemed to do the trick, but I’ve had the issue crop up in other V carving projects too.
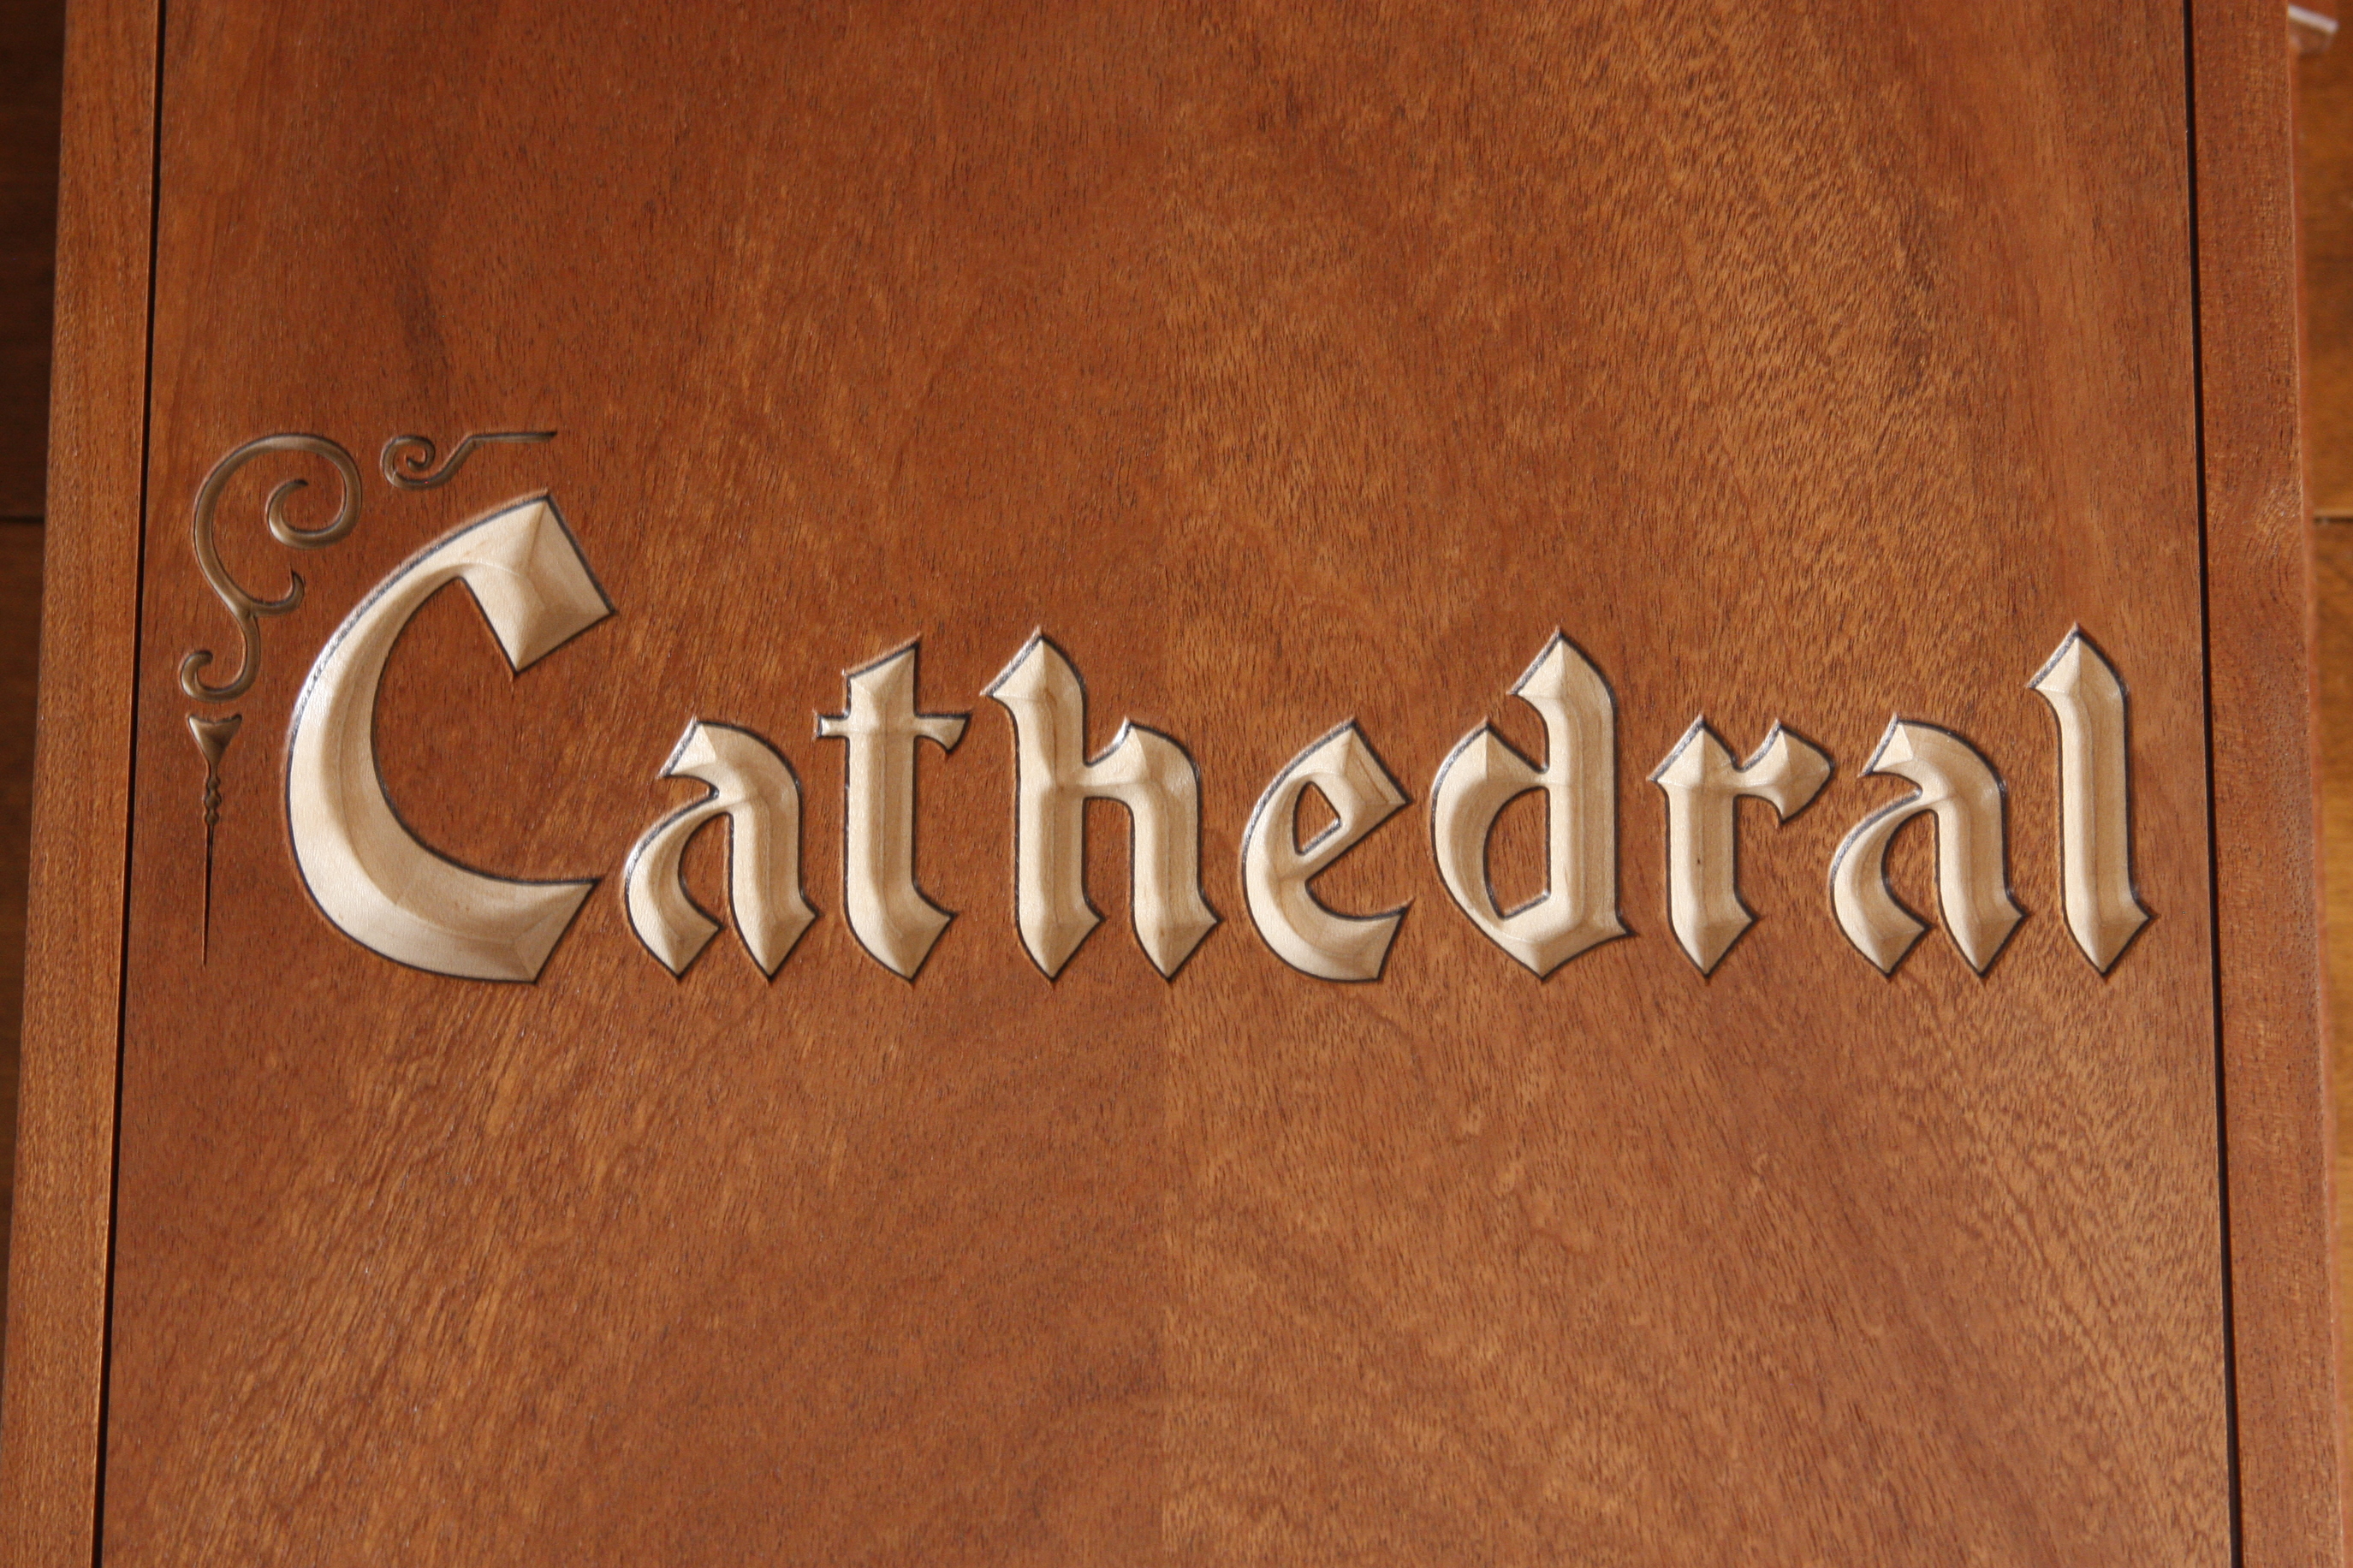
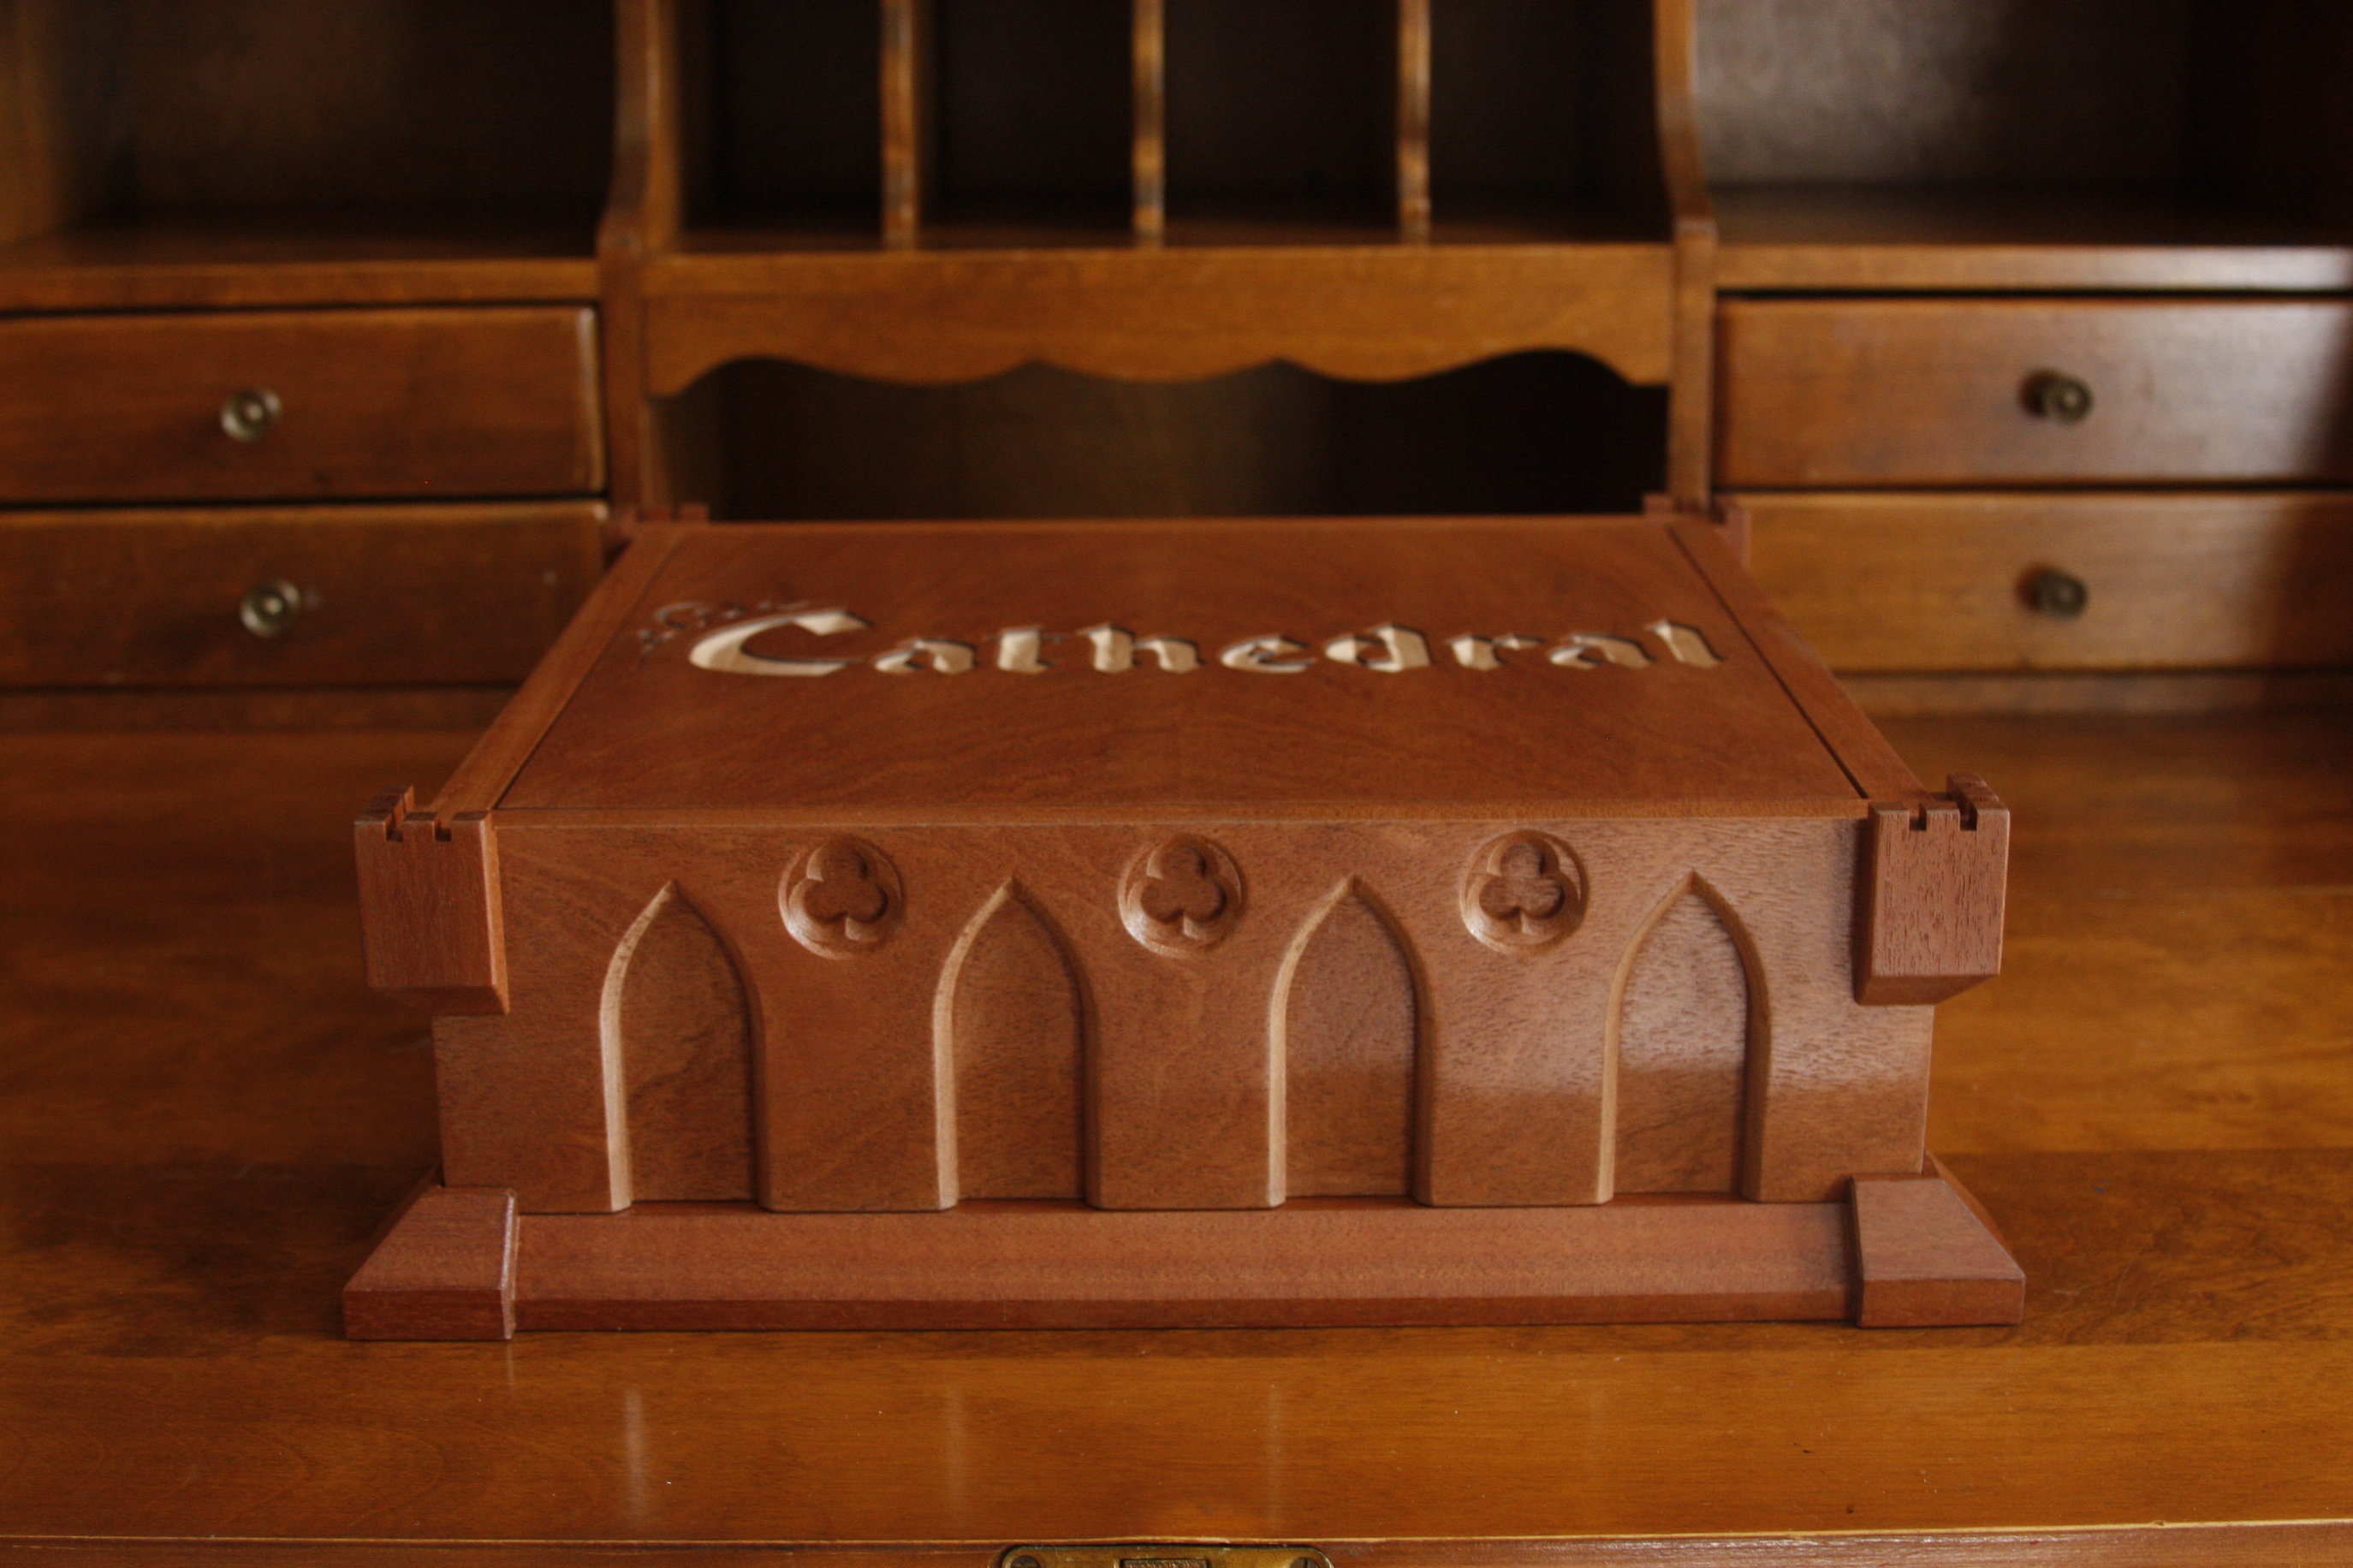
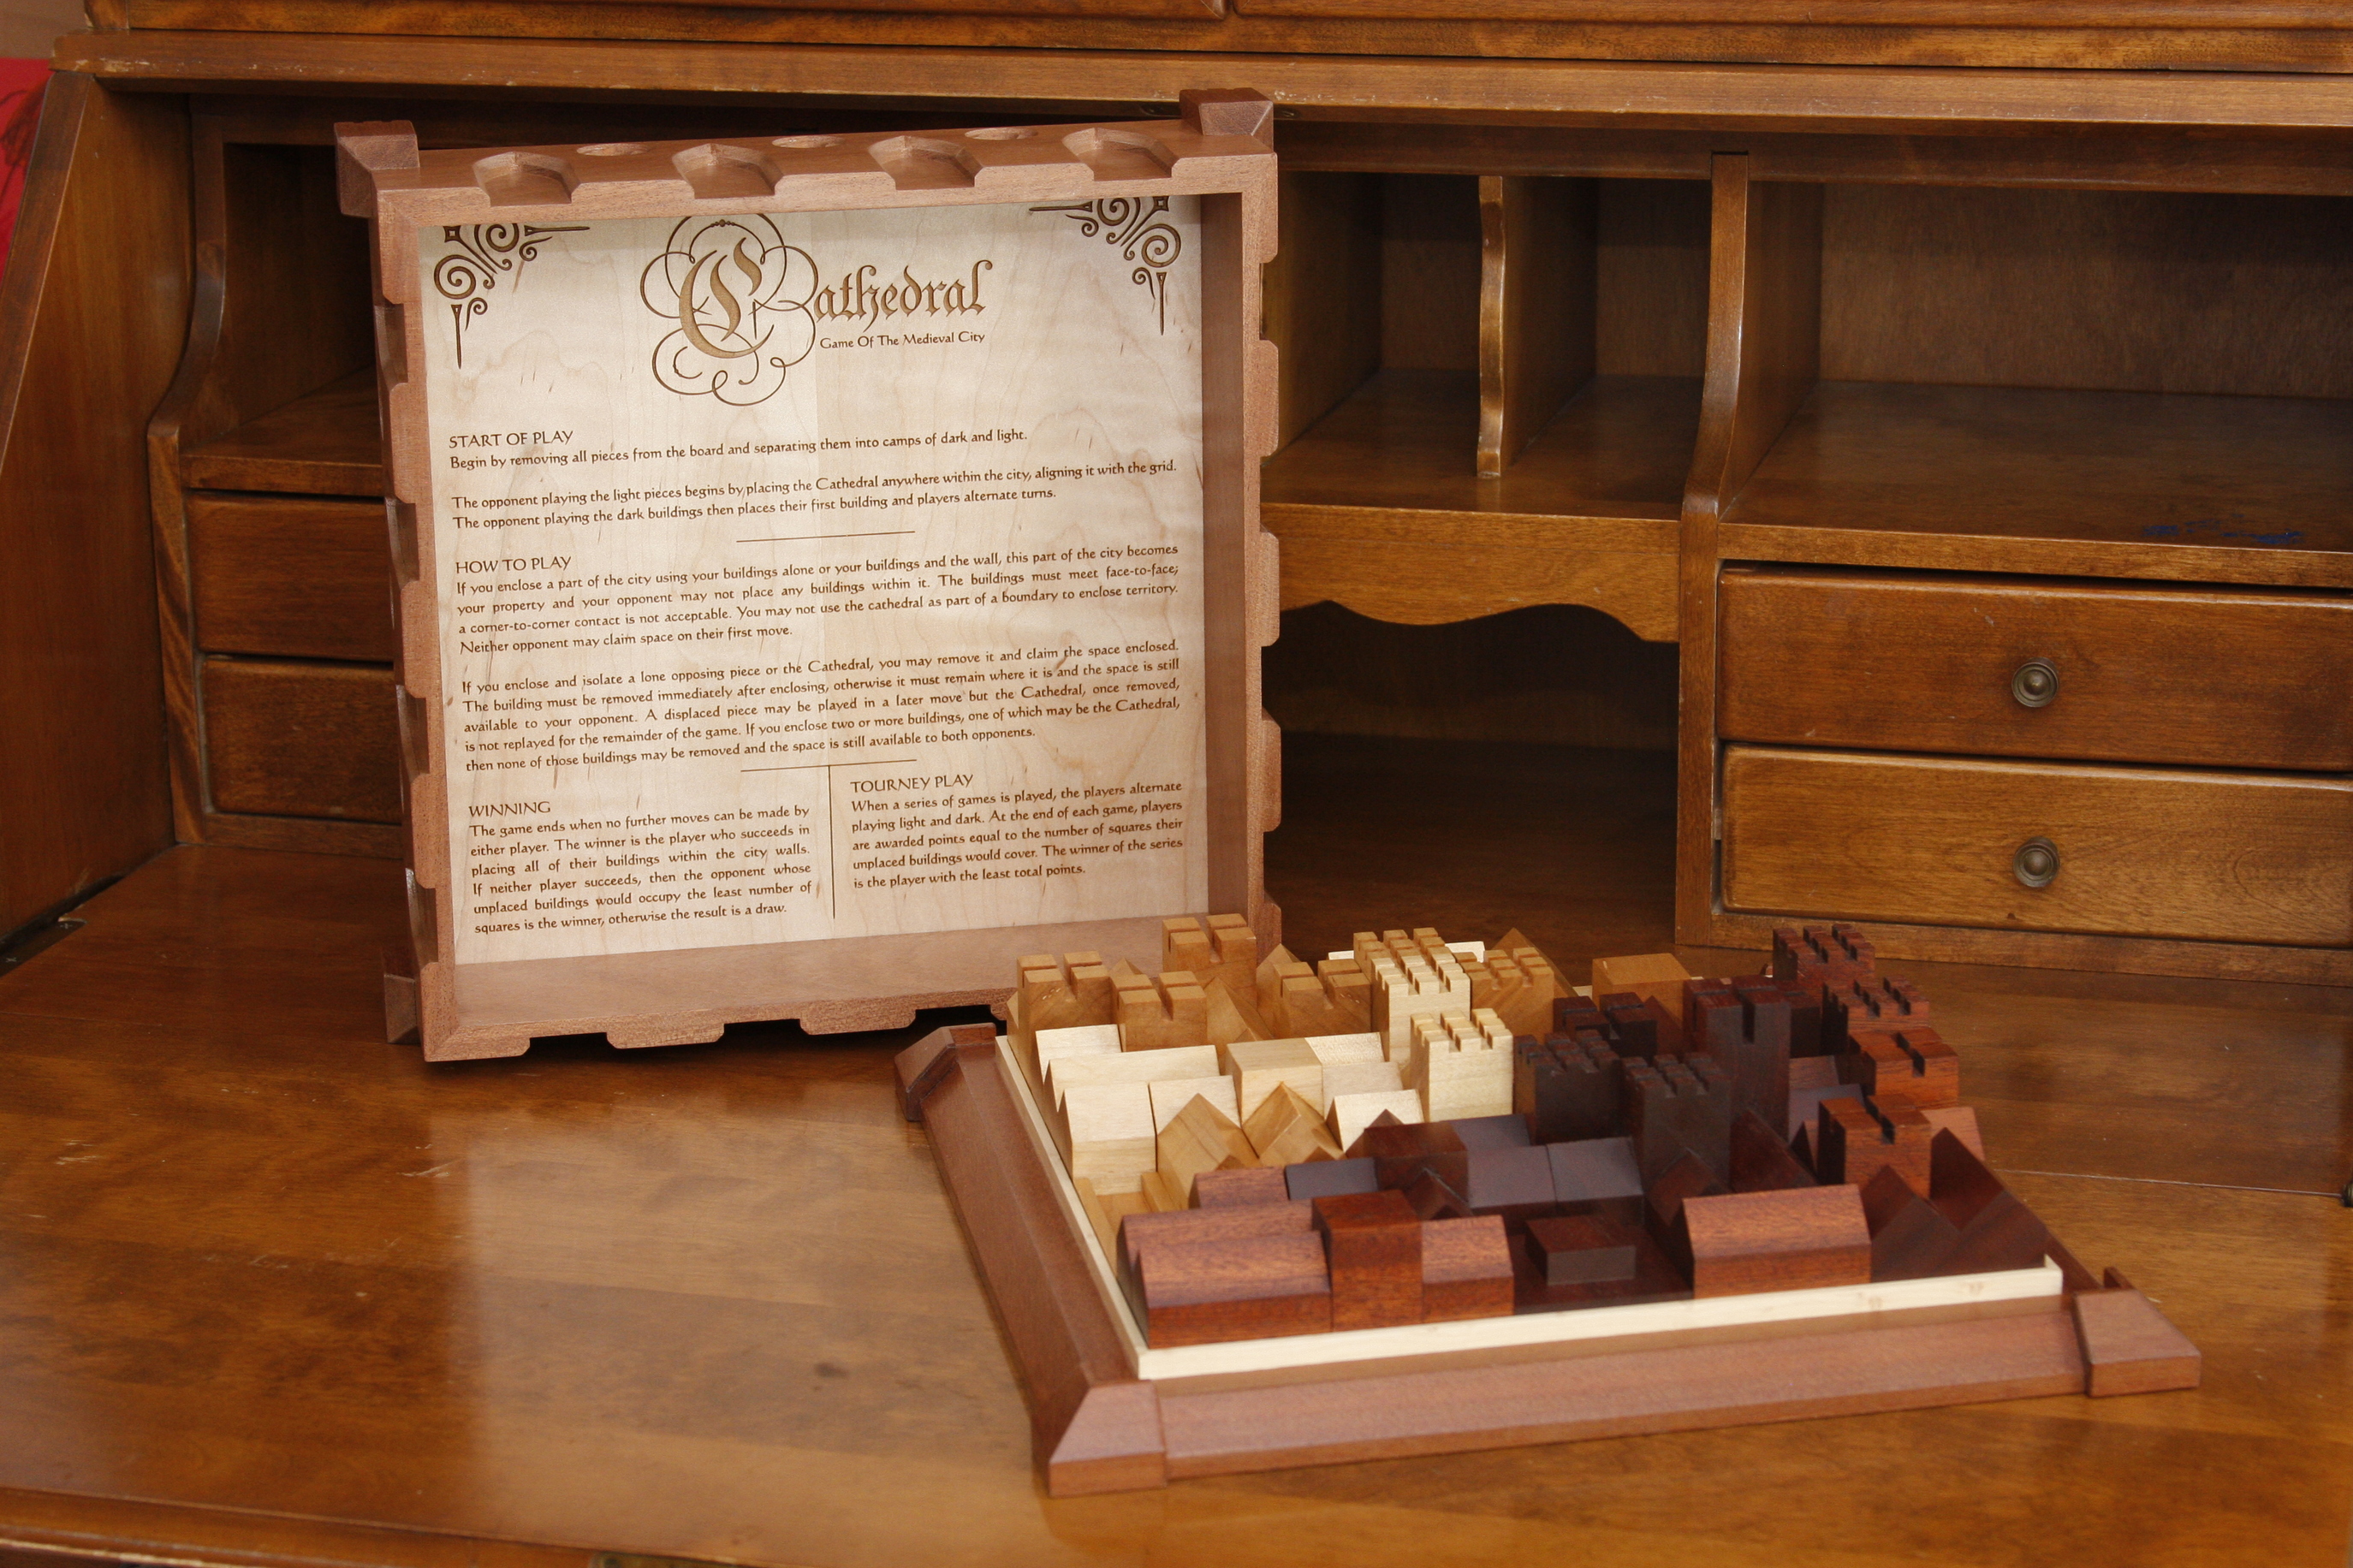
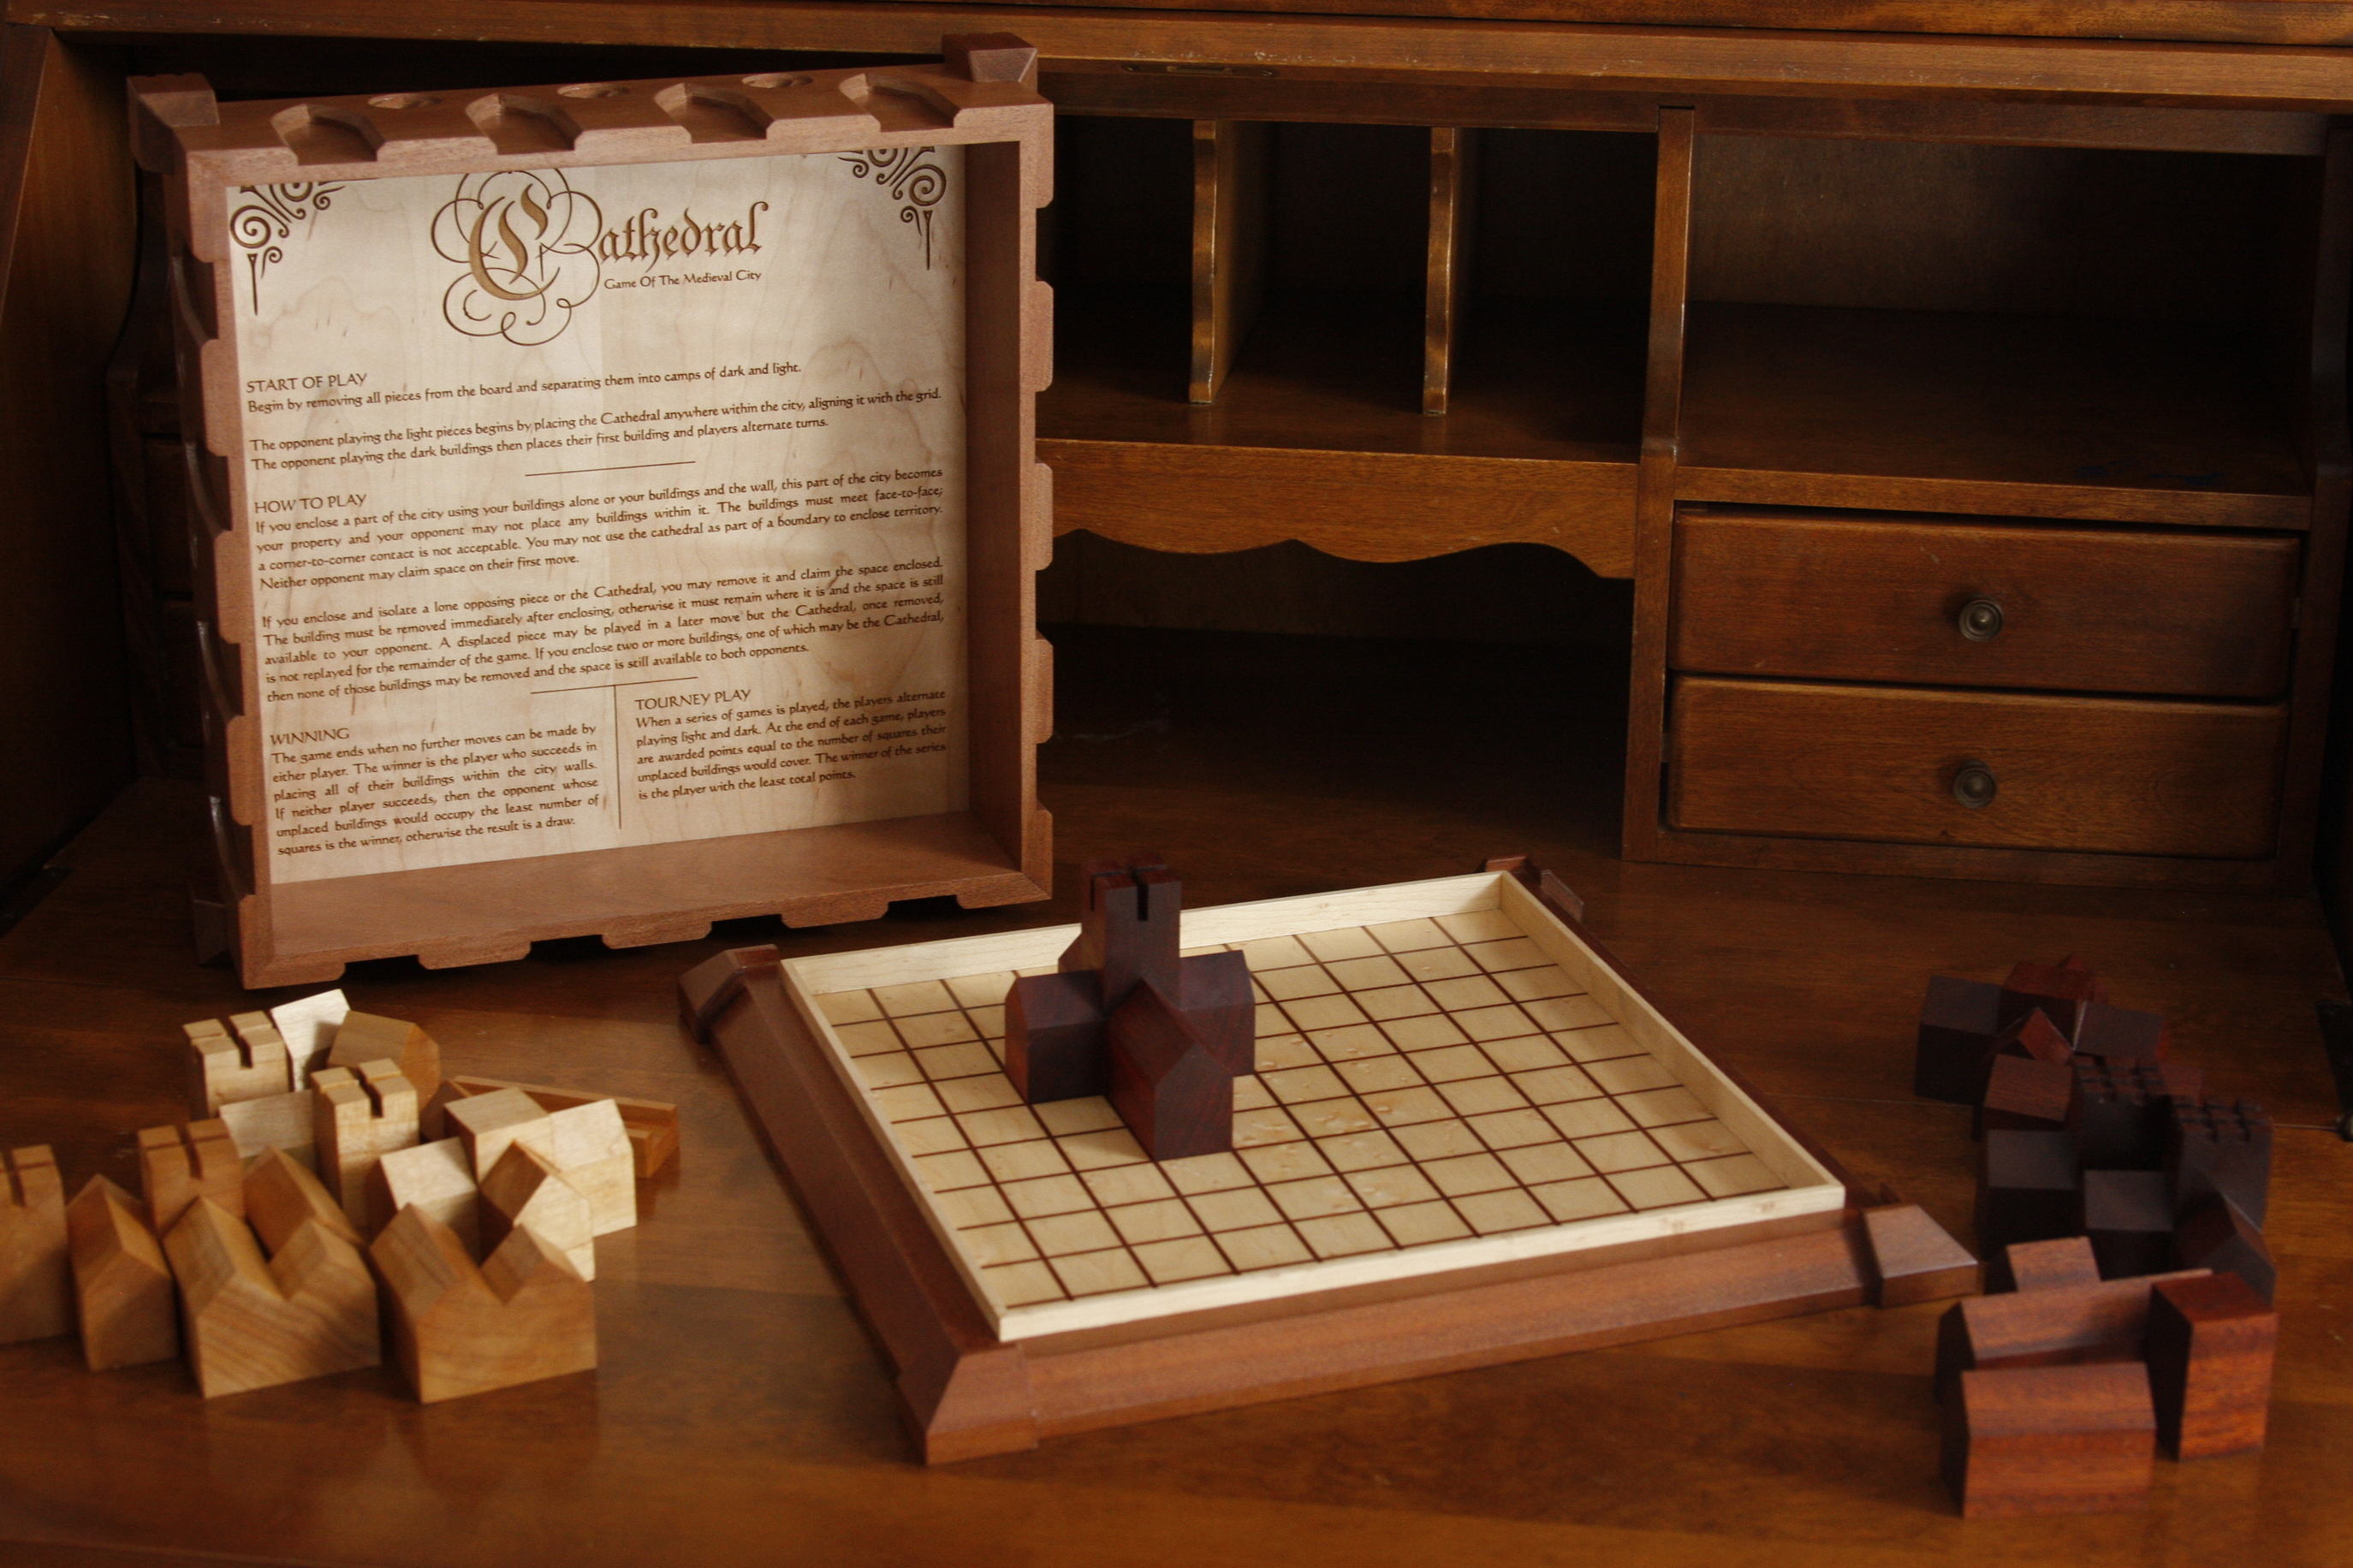
I didn’t realize people had been replying to this comment lately, sorry. Shows how infrequently I check the forum these days, eh? I actually completed this project after I found that increasing the size of my V-bit, from 1/2" to 1" diameter, made a huge difference. I imagine it’s because the vectors themselves are quite wide at parts. However, I’ve still had the issue crop up in other V carving projects, so I’m paying attention to all your suggestions. Here are a few pics of the final product. All carving on the lid was done with my XXL, with the exception of the rules on the underside. They were laser engraved.