I’m trying to engrave a font via Carbide create using my 30degree v-bit (which I entered as .15 angle as per the video- that is correct right?), when I show the simulation it looks strange and i think some parts are actually going all the way through the piece so I’m not sure I understand the settings for a v-carve. I just want a nice depth- nothing crazy- maybe .5mm to 1mm- Im planning on running some samples of course but since I’ve already broken an expensive bit and had some other learning curve issues I’m a tad gun shy.
Can some one give me direction on how to change the depth of the vee carve or direct me to a tutorial that has the information?
Thanks for your reply Rich! I rewatched the video and corrected the angle- I did have it as .15 instead of 15 and also the diameter of the tool I’d enter the point instead of the diameter of the shank which is what the video tells me to do- oops! (sorry I’ve just read and watched so much lately its blurring together and I cant remember where I read or watched to go back to double check)
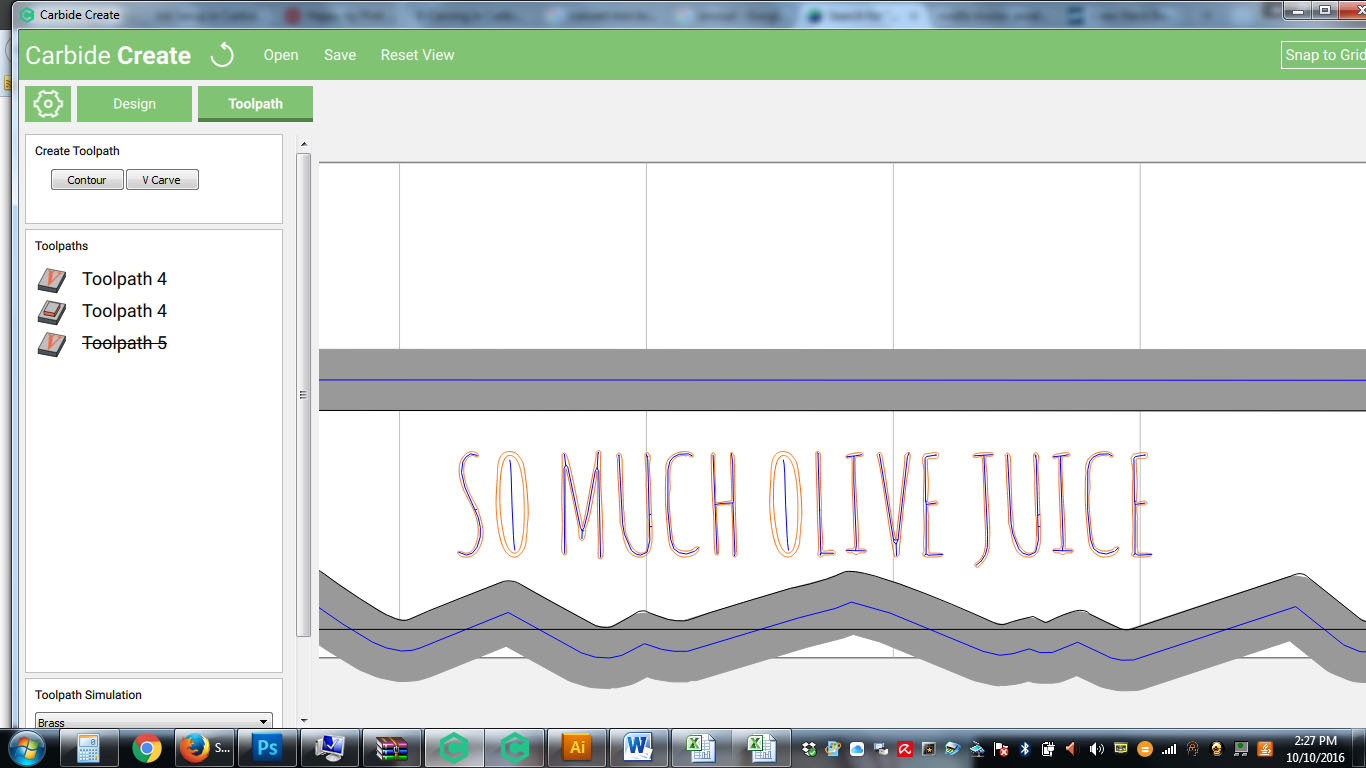
It looks like the toolpath doesn’t like my font and doesn’t want to see the letter ‘O’ as round- it is showing as a line- any idea how to correct that?
So in v- carve there is no way to determine depth- that is determined by the bit size? So if I want a certain depth I have to have a bunch of different size and angle bits and just try them out until I get what I want? Obviously for smaller fonts like I’m working with now the options are limited.
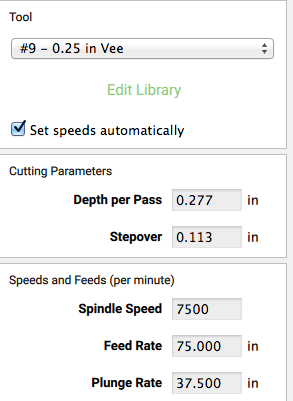
Here is what I’m working with:
I have material set as brass but it will be silver
I suspect that it’s only seeing the “O” as solid filled, not as having a counter — this may be a problem w/ the path windings (they should follow the left-hand fill rule and alternate: counter-clockwise for the outermost path, clockwise for the inner (and alternate as need be)).
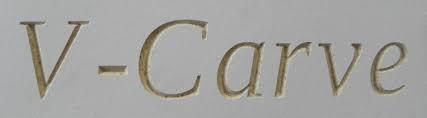
You should NOT be picking V-Carving. It’s for deep carving (see Photo 1)
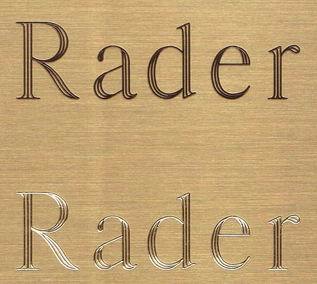
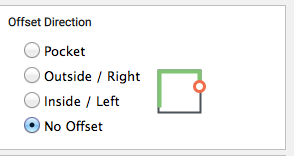
Pick your geometry and use contour for your part, pick the Vee Cutter that you created, use No-Offset and here is where you can choose your depth (maybe start with 0.005") This should also solve the letter O problem (Photo 2 and 3)
switching over to contour fixed the ‘O’ issue but now it seems to just see this as a cloud and not text so clearly I’ve entered something incorrectly. I deleted the original text and toolpath in case changing the settings to the existing text was causing a problem but that didn’t help.
hmm…
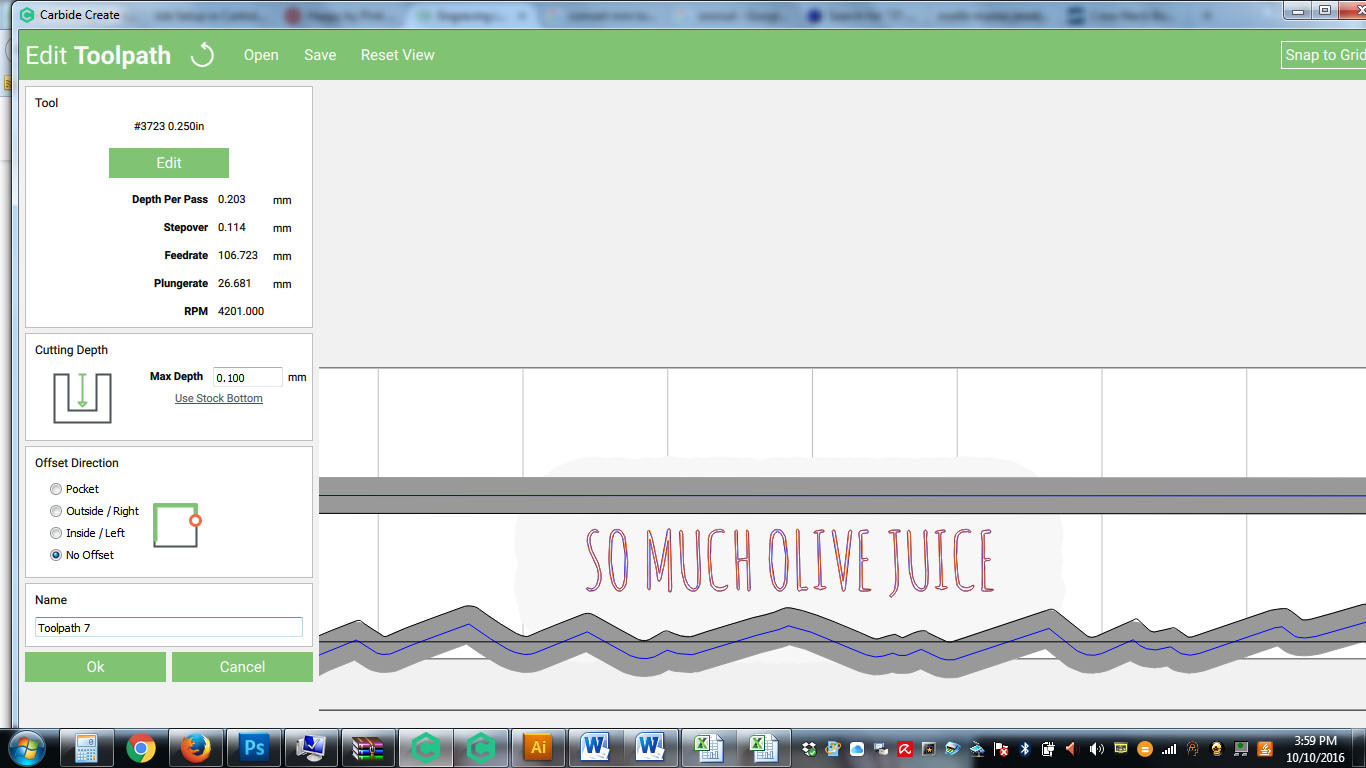
I played around with the depth and tried differnt fonts and it is still a cloud just darker or lighter depending on the depth- no letters its like it thinks i have an enormous bit instead of my pointy vee bit
if you look closely at the picture I posted it shows a very light grey area around the text- its kind of cloud shaped- it goes above the darker grey tool path that is a straight line right over the top.
I ran it and I have no idea what happened but it ran my bit into the side of my material about an 1/8" lower than the surface of my material- no where close to what I thought I programmed it to do.
I had the text toolpath running first but the job started at the side- no the middle where my text is. So I’m totally lost now.
ok I think I have it working now-I uninstalled the program and ran a test and it looks good. fingers crossed.
one other question- when i start the job it starts at the highest point the spindle will go and suuuuuuuuper slowly moves down to the start position and then starts cutting- it takes probably 90 seconds, is there a way to start lower so I don’t have to wait so long to make sure my job is starting correctly?