So I have been having trouble getting clean engravings with the Shapeoko 3. Maybe someone here can help. I spent a lot of time making sure the machine is as square as can be. The spindle is square to the table on the x and y axis. I planed the waste a few times noticing I was getting some lines between passes and was able to adjust those out. Runout with the 1/8 collet on the Dewalt 611 was .002 which seemed fine. I stuck the aluminum down with machine wax and ran a depth gauge across it from the spindle and it didn’t fluctuate. I tired cutting on various sides of the work area. It’s the same type of error no matter where I do it.
Here is what I’m using as some settings:
1/8" Engraving bit .1mm tip at 60deg.
Feed rate: 25ipm
Cut depth: .005in
I’m wondering if I should get a steeper angle bit so I can go a bit deeper.
Engraving is difficulty to do — if it’s a conductive surface, one thing to consider is using a probe and auto-levelling the surface programmatically: https://www.shapeoko.com/wiki/index.php/CAM#Leveling — bCNC has specific support for this.
Another possibility is that you are losing steps along the Z-axis — this is tricky to get right at first, or pulley set screws.
Also check the V-wheels (I always forget to mention that).
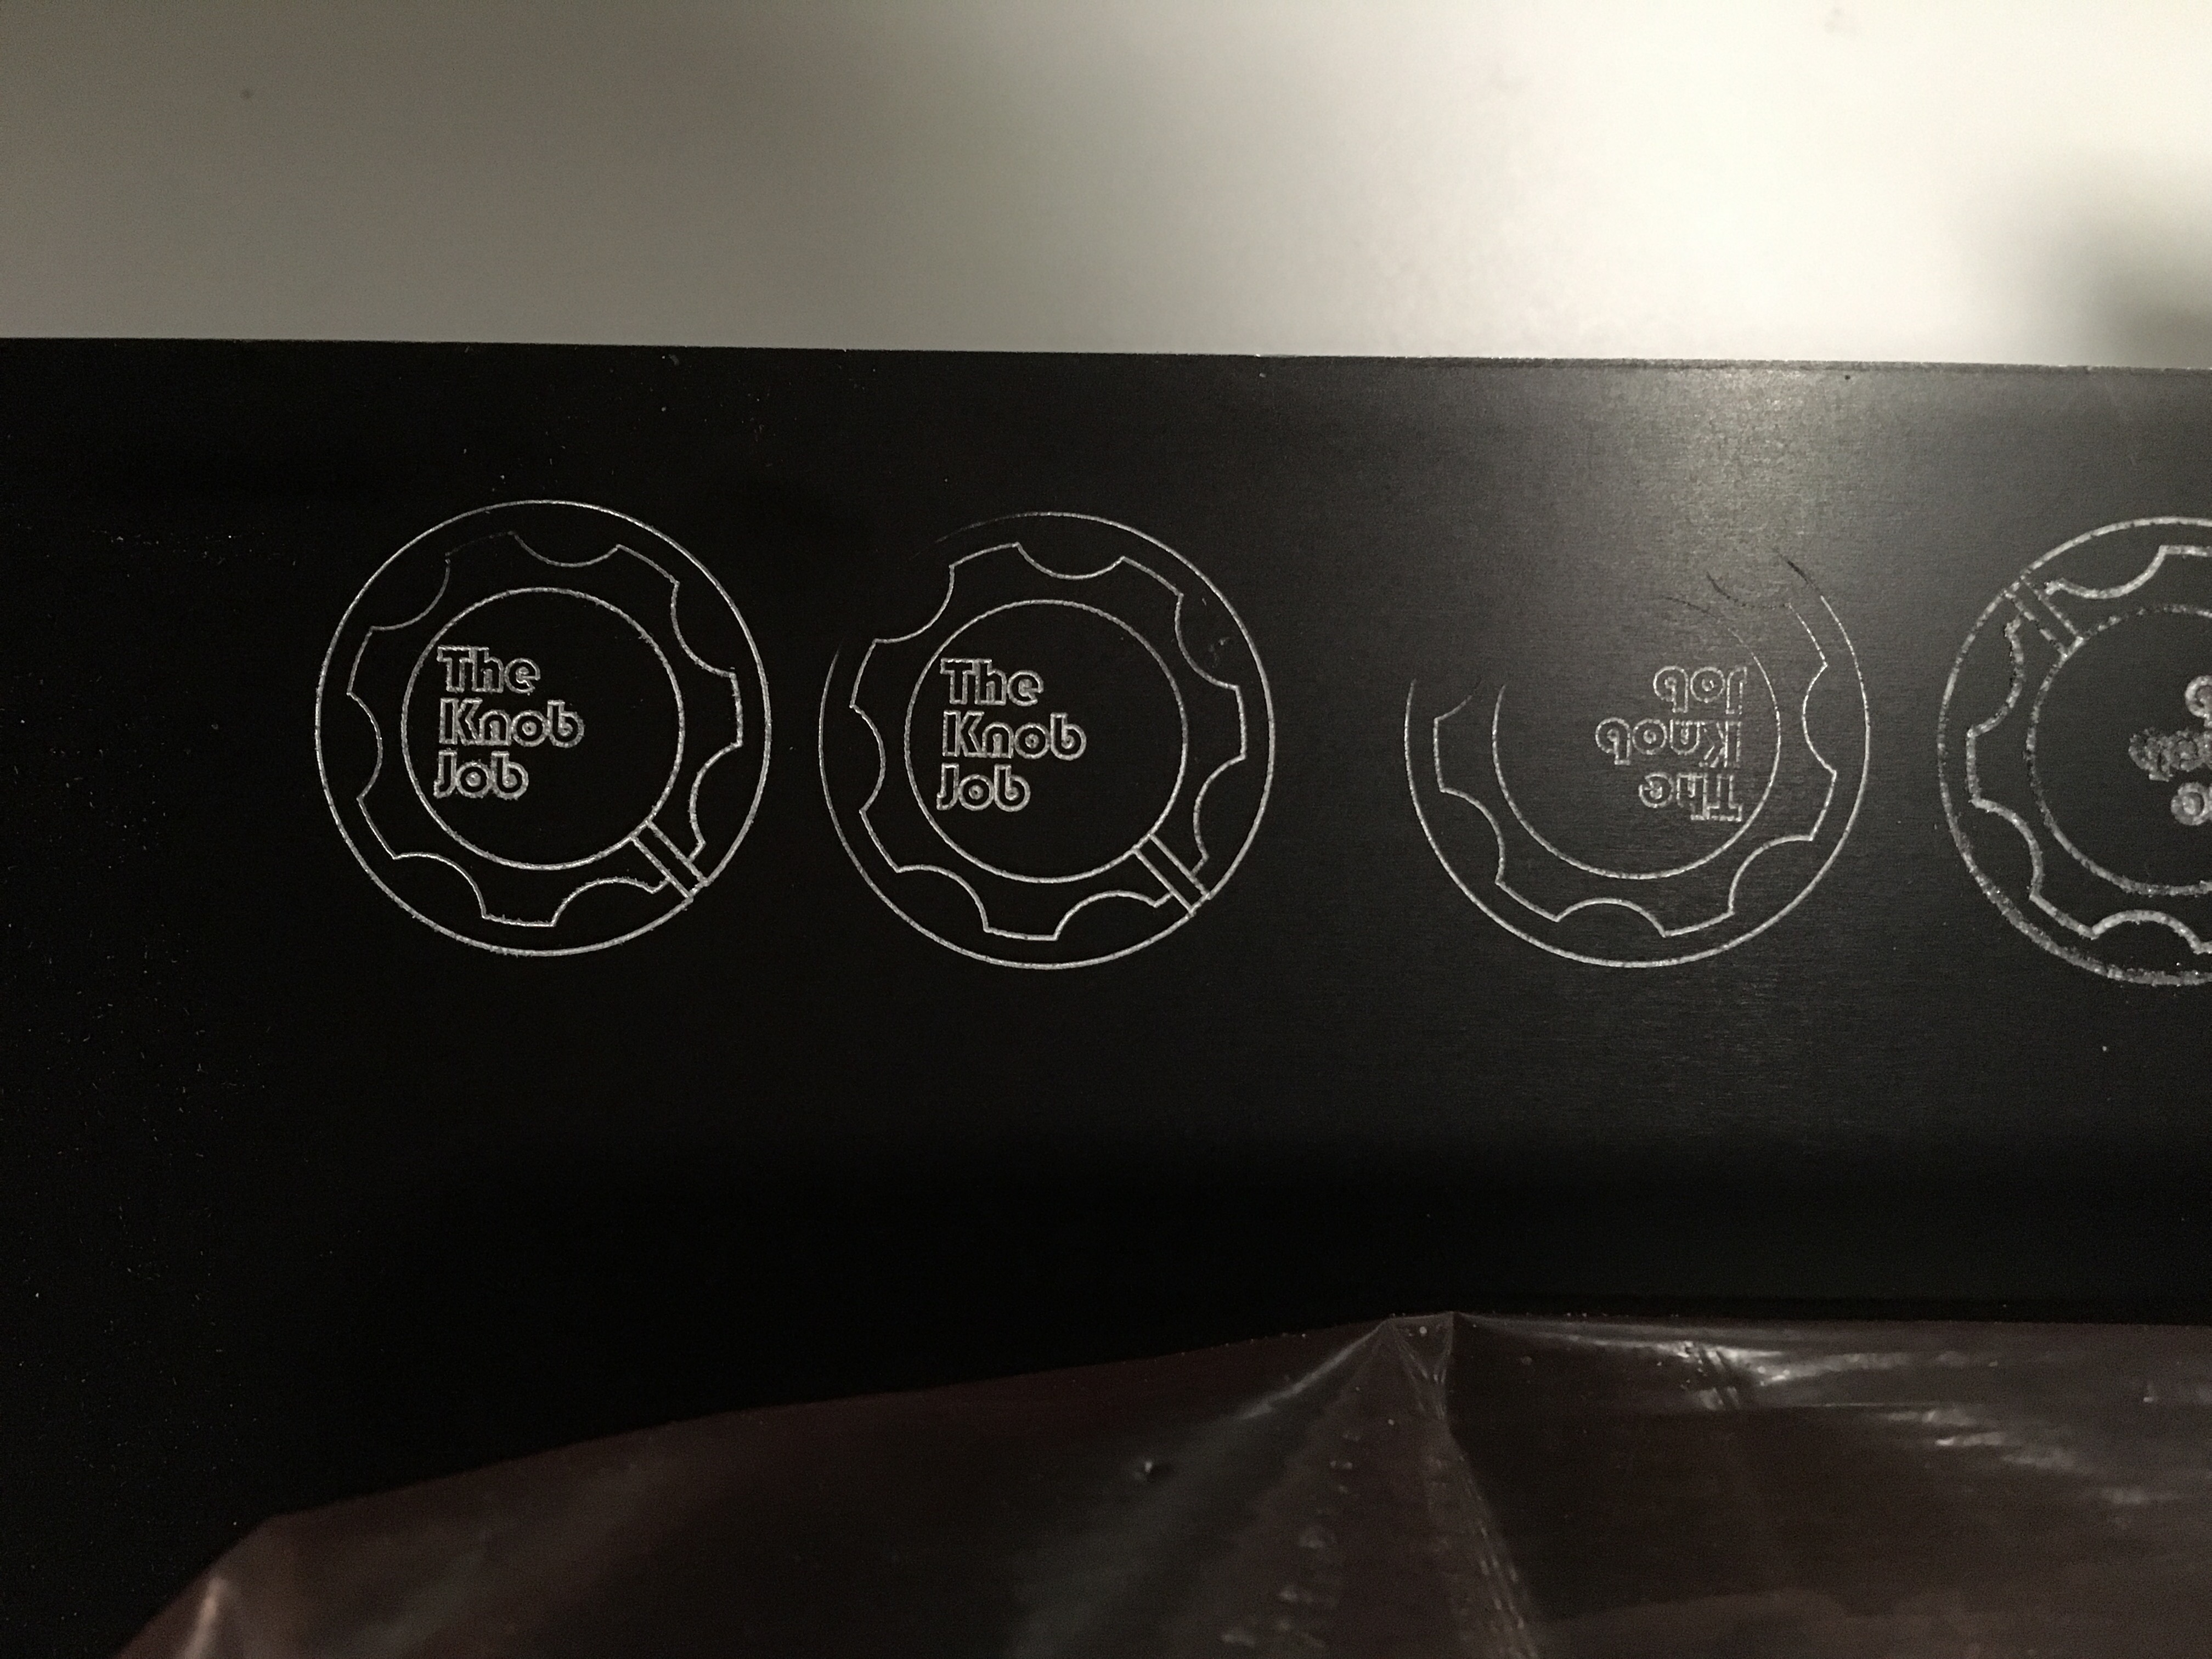
Were all four of these done at once, or were they done one at a time? How are you holding material down? It doesn’t take much variation in clamping pressure to cause things like this.
Agree with @mikep that you’re not level or getting clamping deformation. You said you ran a depth gauge across your work “post-melt” and it was level, so perhaps your bit/collet is shifting or you’re skipping your Z-belt as @WillAdams suggests.
A steeper v-bit will allow you to carve a bit deeper as well which can help to mitigate what looks to be deflection/deformation in your work surface.
I will try the auto-leveling thing. Sounds like it could work.
2 were cut at the bottom of the wasteboard and 2 were cut at the top of the board. I am using machine wax to attach it. The white stuff.
I checked the v-wheels and they seem good. There is no play in any of the axis right now. The machine is relatively new.
Not sure if the z is skipping as it seems to have the same zero as I cut more. I’m going to try a few more things like cutting the material down smaller to make sure each small piece is really flat.
One thing that I found that caused belt slippage and missed steps no matter what I tried was the dust boot I was using would foul on the material during plunges. I’ve since switched to a fixed height dust shoe and the problem has gone away.
Thanks for all the great tips. Nice to have a community that is up for helping. I tried a fixture plate but something is just not working right. I was starting to get into the self leveling but couldn’t get bCNC or ChilliPepr to work right. I’m going to step back from the engraving idea for a bit and get back to cutting some wood.
I’ll second the diamond tip engraving cutter as a good choice for engraving metals. Lots of variables like material thickness, wasteboard flatness, tramming, etc. that are all made up for with the spring loaded tip.