Since you are just engraving the lines, use the CAM TRACE function rather than engrave.
You can always add numbers as a second operation using engrave.
Since you are just engraving the lines, use the CAM TRACE function rather than engrave.
You can always add numbers as a second operation using engrave.
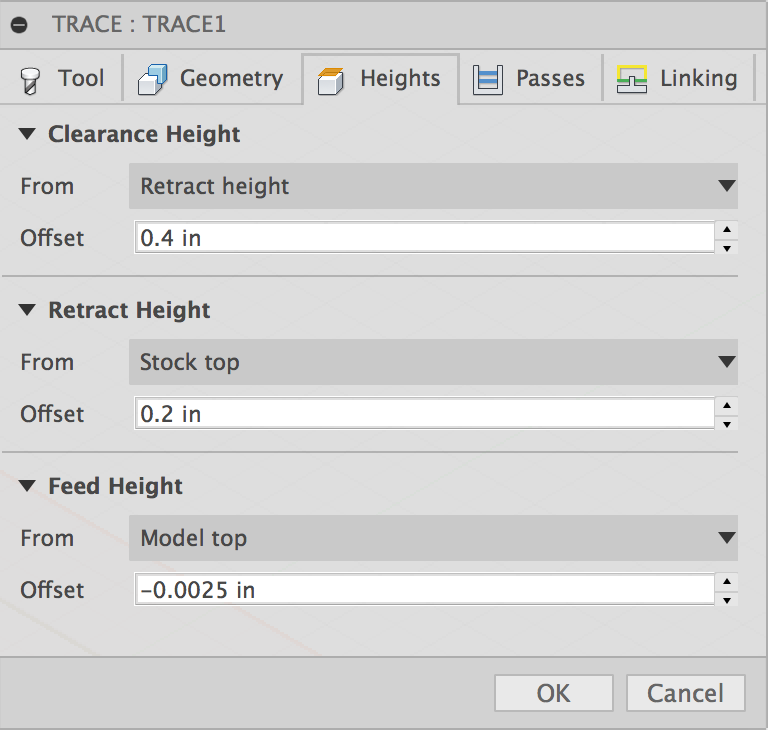
Thanks @RichCournoyer I had just discovered that 15min ago. Just did a test pass on a piece of wood and it works like a charm. Another thing learned today. I’ve never done any aluminum work. Any opinions on engraving with the v-bit?. These are the settings I landed on:
Yup, wider the angle, the more robust. I just ordered six 90 deg bits.
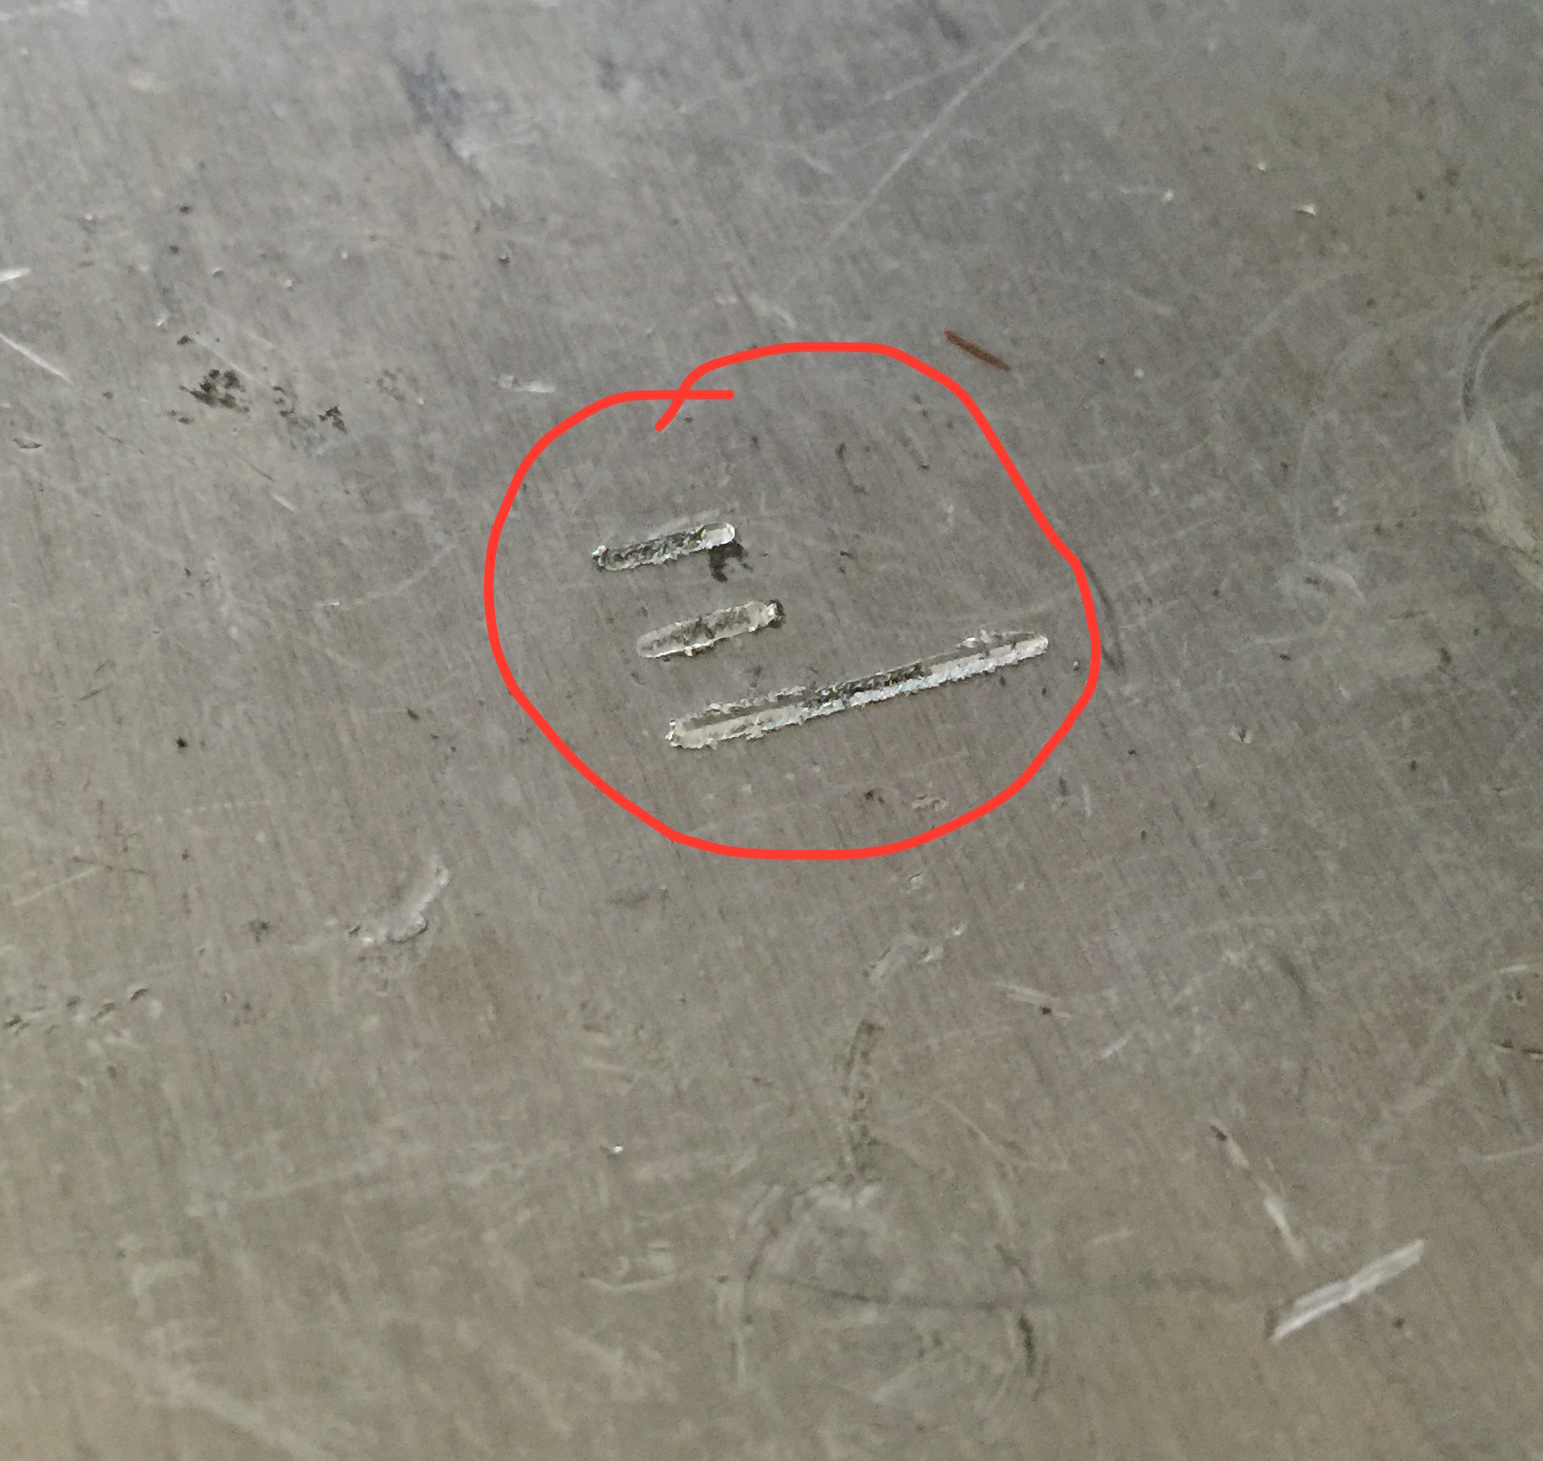
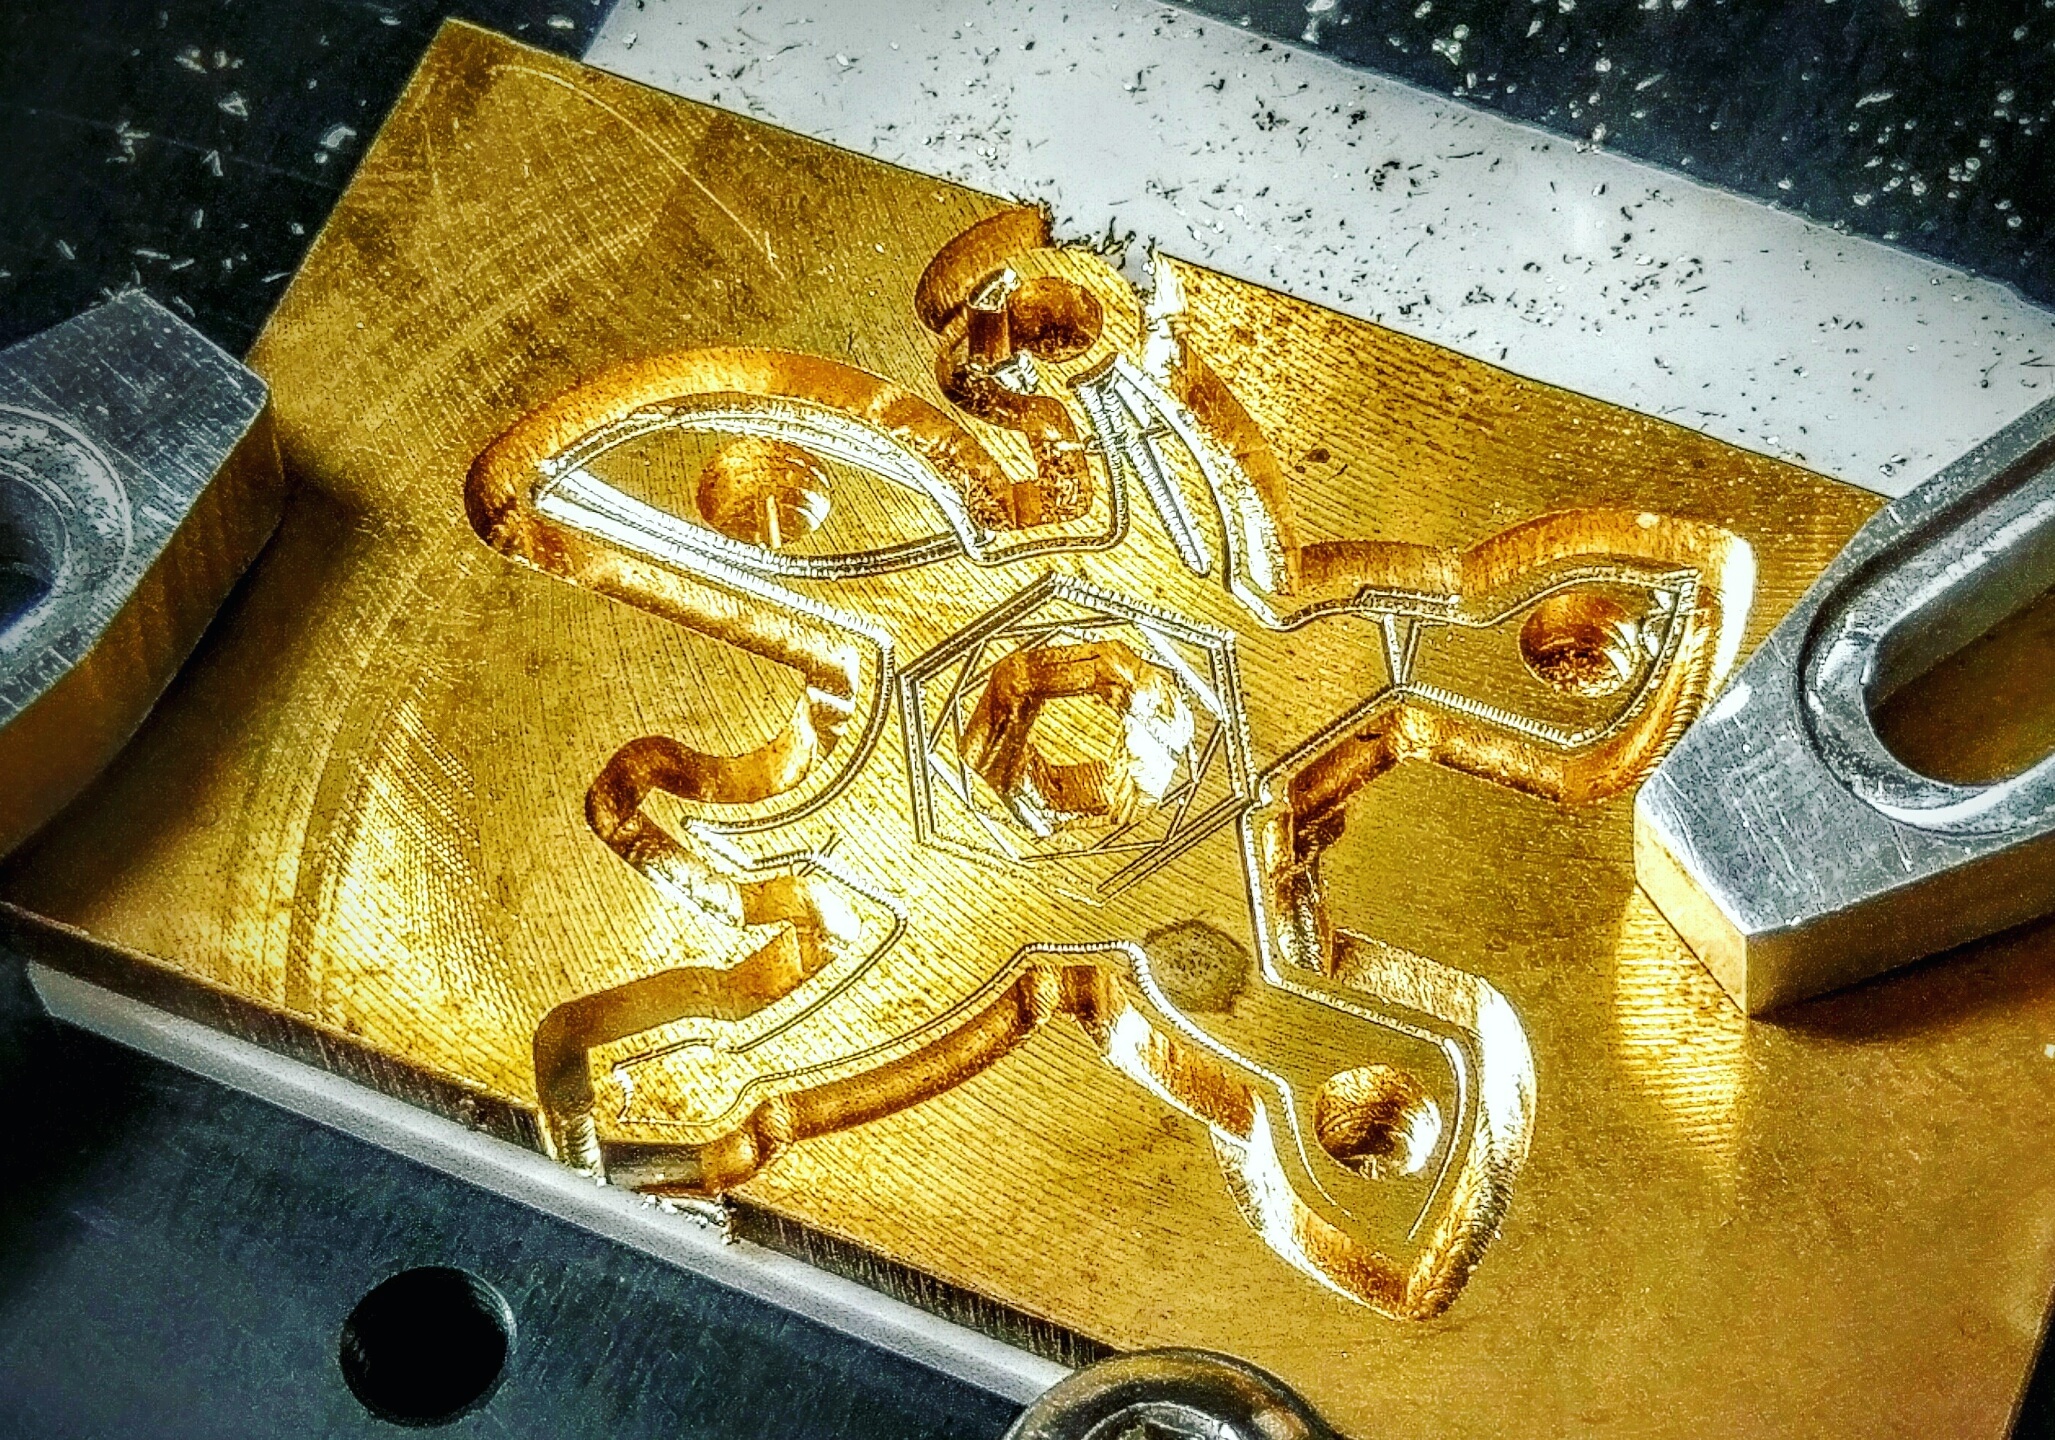
Just did a test pass on a scrap piece of aluminum and I got this:
Not very clean. The larger line was done with a -0.0025 offset on the depth. The two smaller ones with no offset. They look the same depth. I’m trying to make the line thiner and cleaner by barely scratching the surface. Changing the depth doesn’t seem to have any effect. Am I approaching this the right way?.
Thanks for all your help.
@WillAdams Thanks also. I don’t have InkSpace and could not try it.
It looks like your cutter is running out. Are you using a collet adapter? Here is an example of a 1/8 x 30 deg engraving on aluminum: 0.010 depth of cut, 20 inches a min feed rate. (Too deep and too fast so the cutter didn’t last)
PS Nice vise. Did you make it? (Ref See my Youtube video, making a vise)
I don’t know what “running out” means. Sorry. I’m using the 60 deg v-bit that Carbide3D sells and i’m using a 1/4" ER11 collet. Guess I’m not setting things right because, from my understanding, my depth of cut was 0.0025 and my feed rate 5"/min.
Feel free to try google…
It’s tough learning anything when there’s a lot of new terminology.
We have most new terms in the glossary: http://www.shapeoko.com/wiki/index.php/Glossary — please let us know if there’s anything you find confusing or which isn’t listed there which would be helpful.
Sometimes doing a general search for a term will work (as Rich noted for run-out), but not always — even when it does, it’s best to be patient and explain w/o even the appearance of condescension — we were all new to this once, and it’s better if we share knowledge w/o assumptions. One great thing about this project is that it attract a lot of new people who are unfamiliar w/ machining and its concepts, or in some cases, for whom English is not their mother tongue.
@patofoto
To me, the 3 aluminum test cuts look like the cutter you used was not sharp, or the Feed and RPM needs to be adjusted.
Can you post a picture of the tool you used?
Do you have a 1/32" ball end cutter you can test with ?
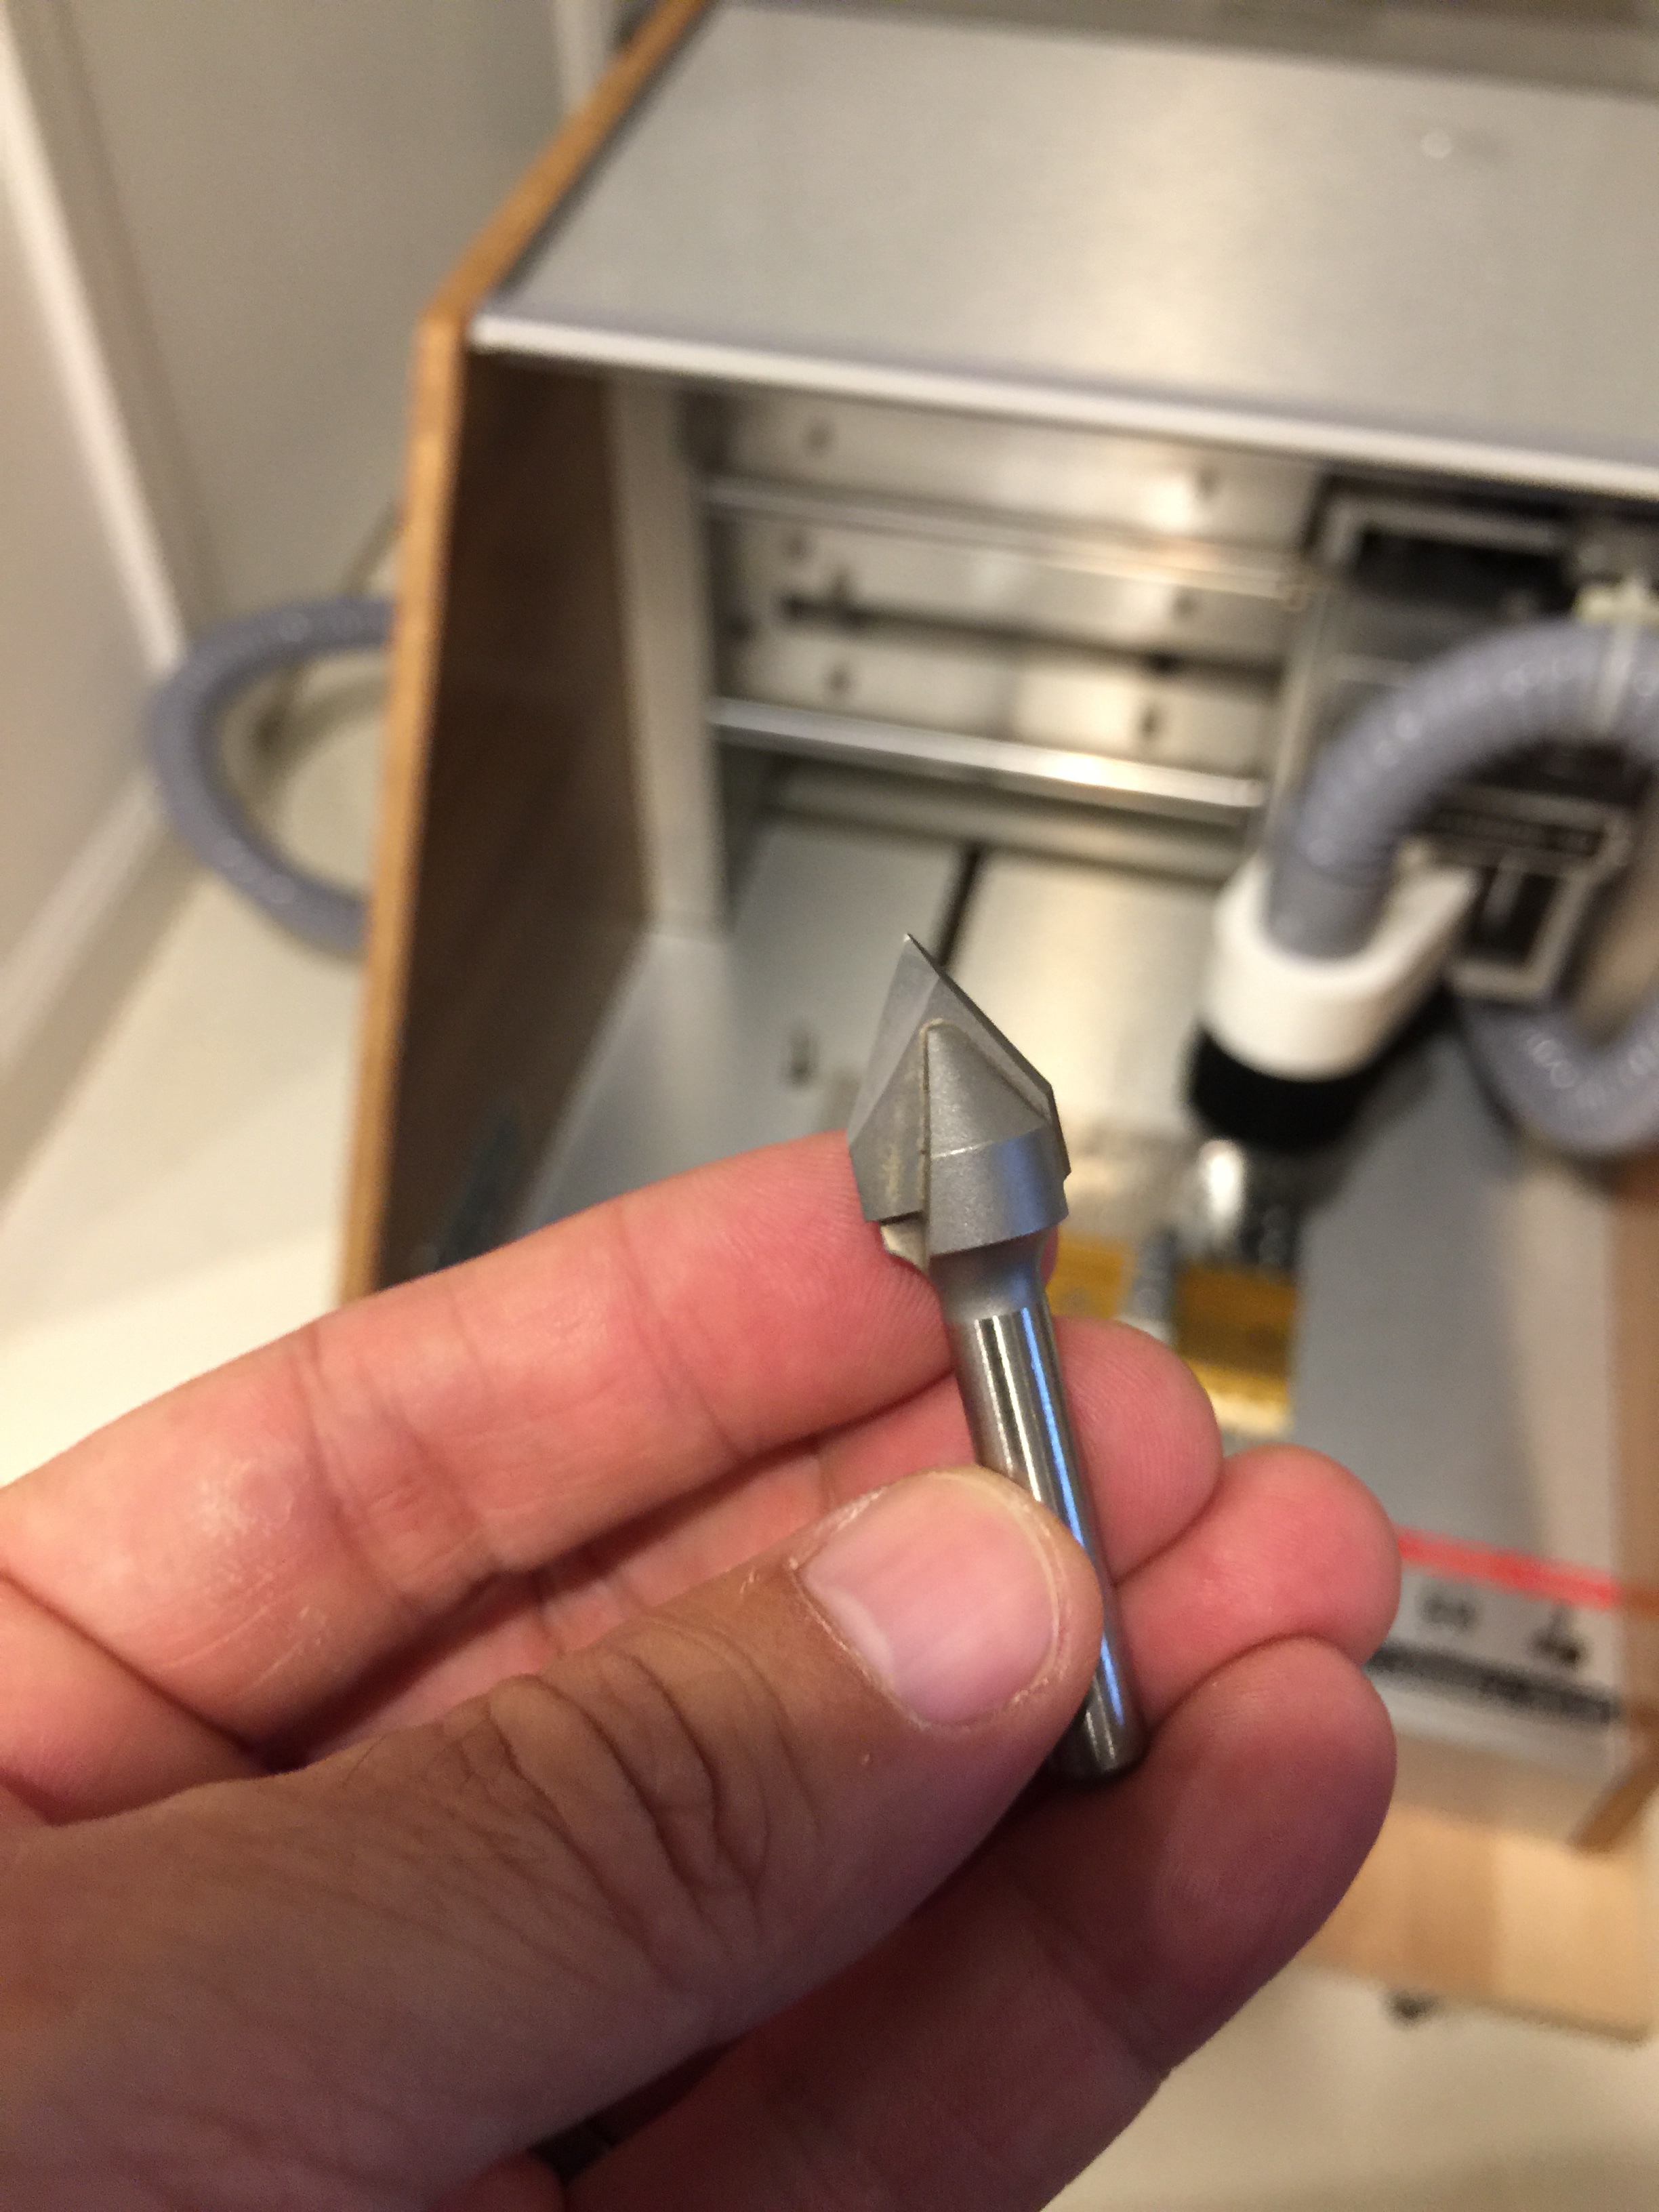
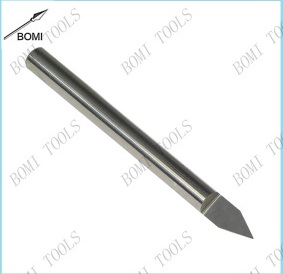
Hi @ApolloCrowe. I used a 60deg V-bit I bought from you. I have only used it a couple of times and it has been on wood. Here is the picture of it.
I posted my settings above.
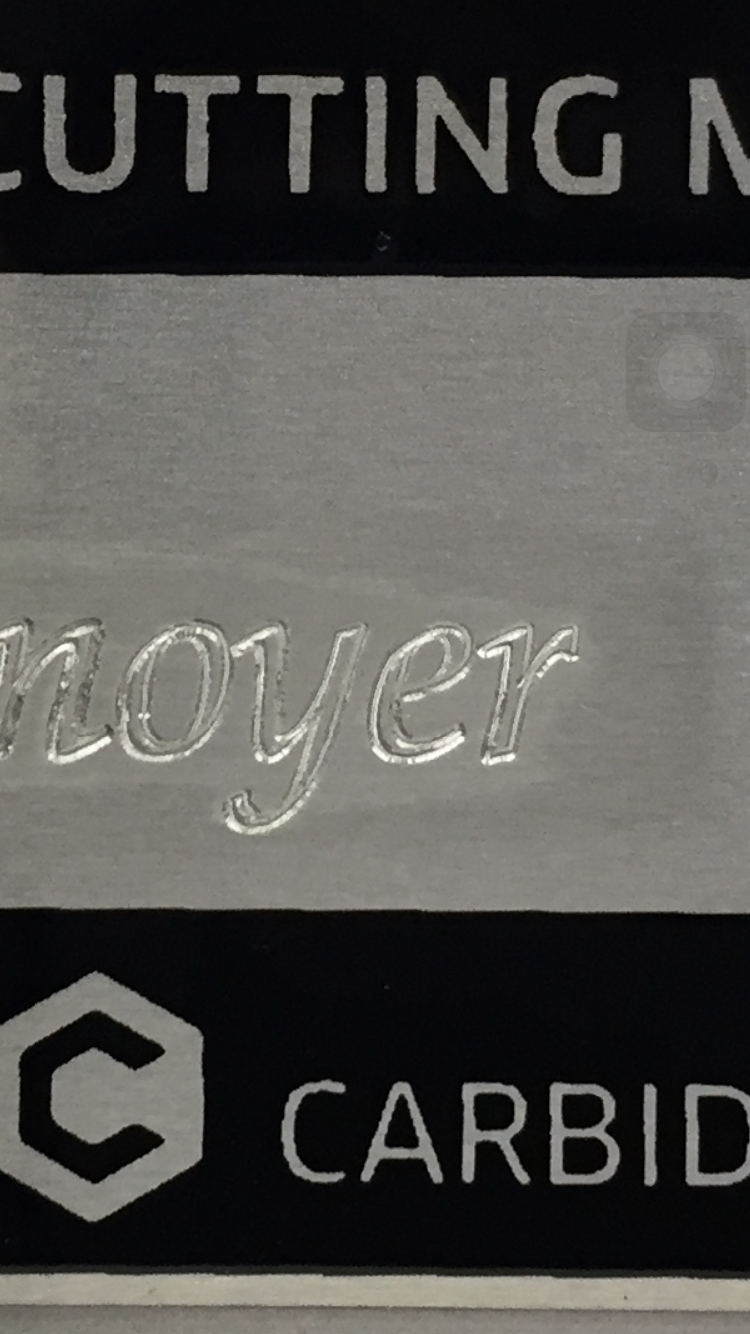
In my humble opinion with 40+ years of machining…that’s a wood cutter, not an metal engraving tool. You need something like this (see photo) for engraving nice fine lines 1/8 shank will be a lot cheaper… since you are only using the very tip. PS They say a picture is worth a 1000 words, thanks Apollo for requesting the photo.
Thanks for the info. I bought this v-bit from Carbide 3D thinking it was an engraving tool. My mistake then. Is the bit I bought for making V grooved channels in wood, then?. So my collection of bits continues growing. Wohoo!!!.
Sorry @ApolloCrowe, I forgot to say that I do have a 1/32"ball bit. Can I use it to engrave aluminum?. I was afraid it was too small.
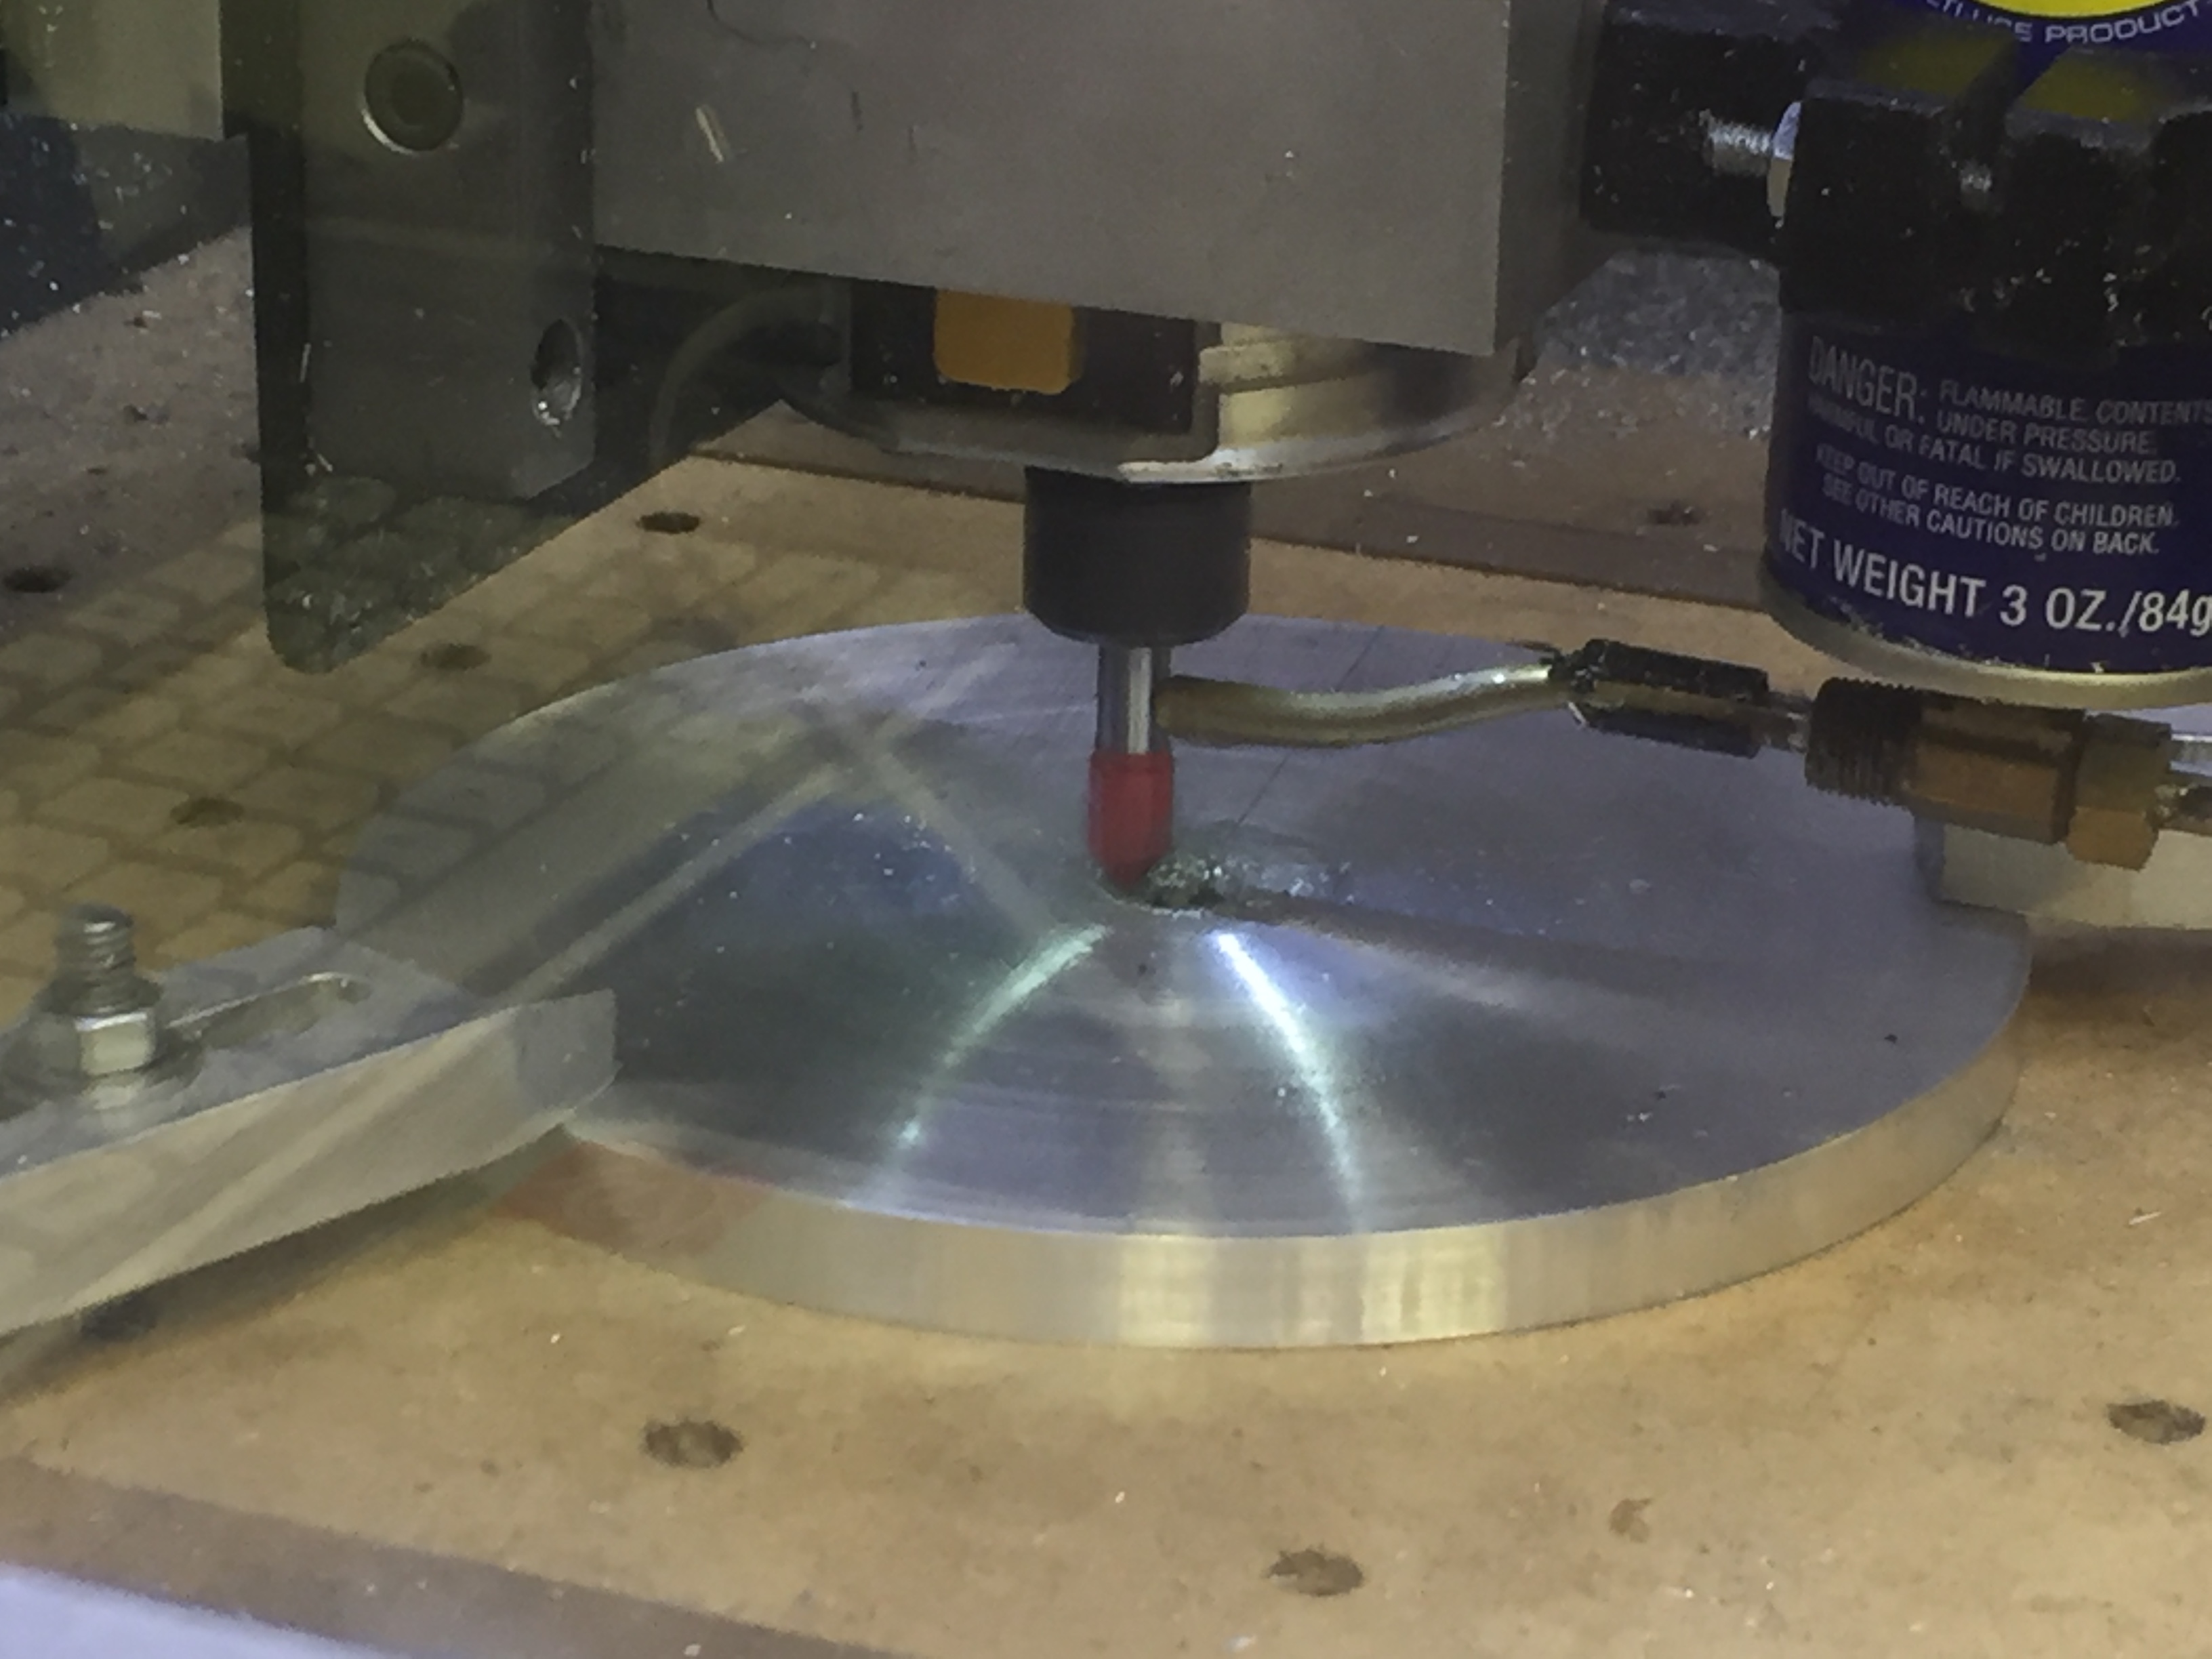
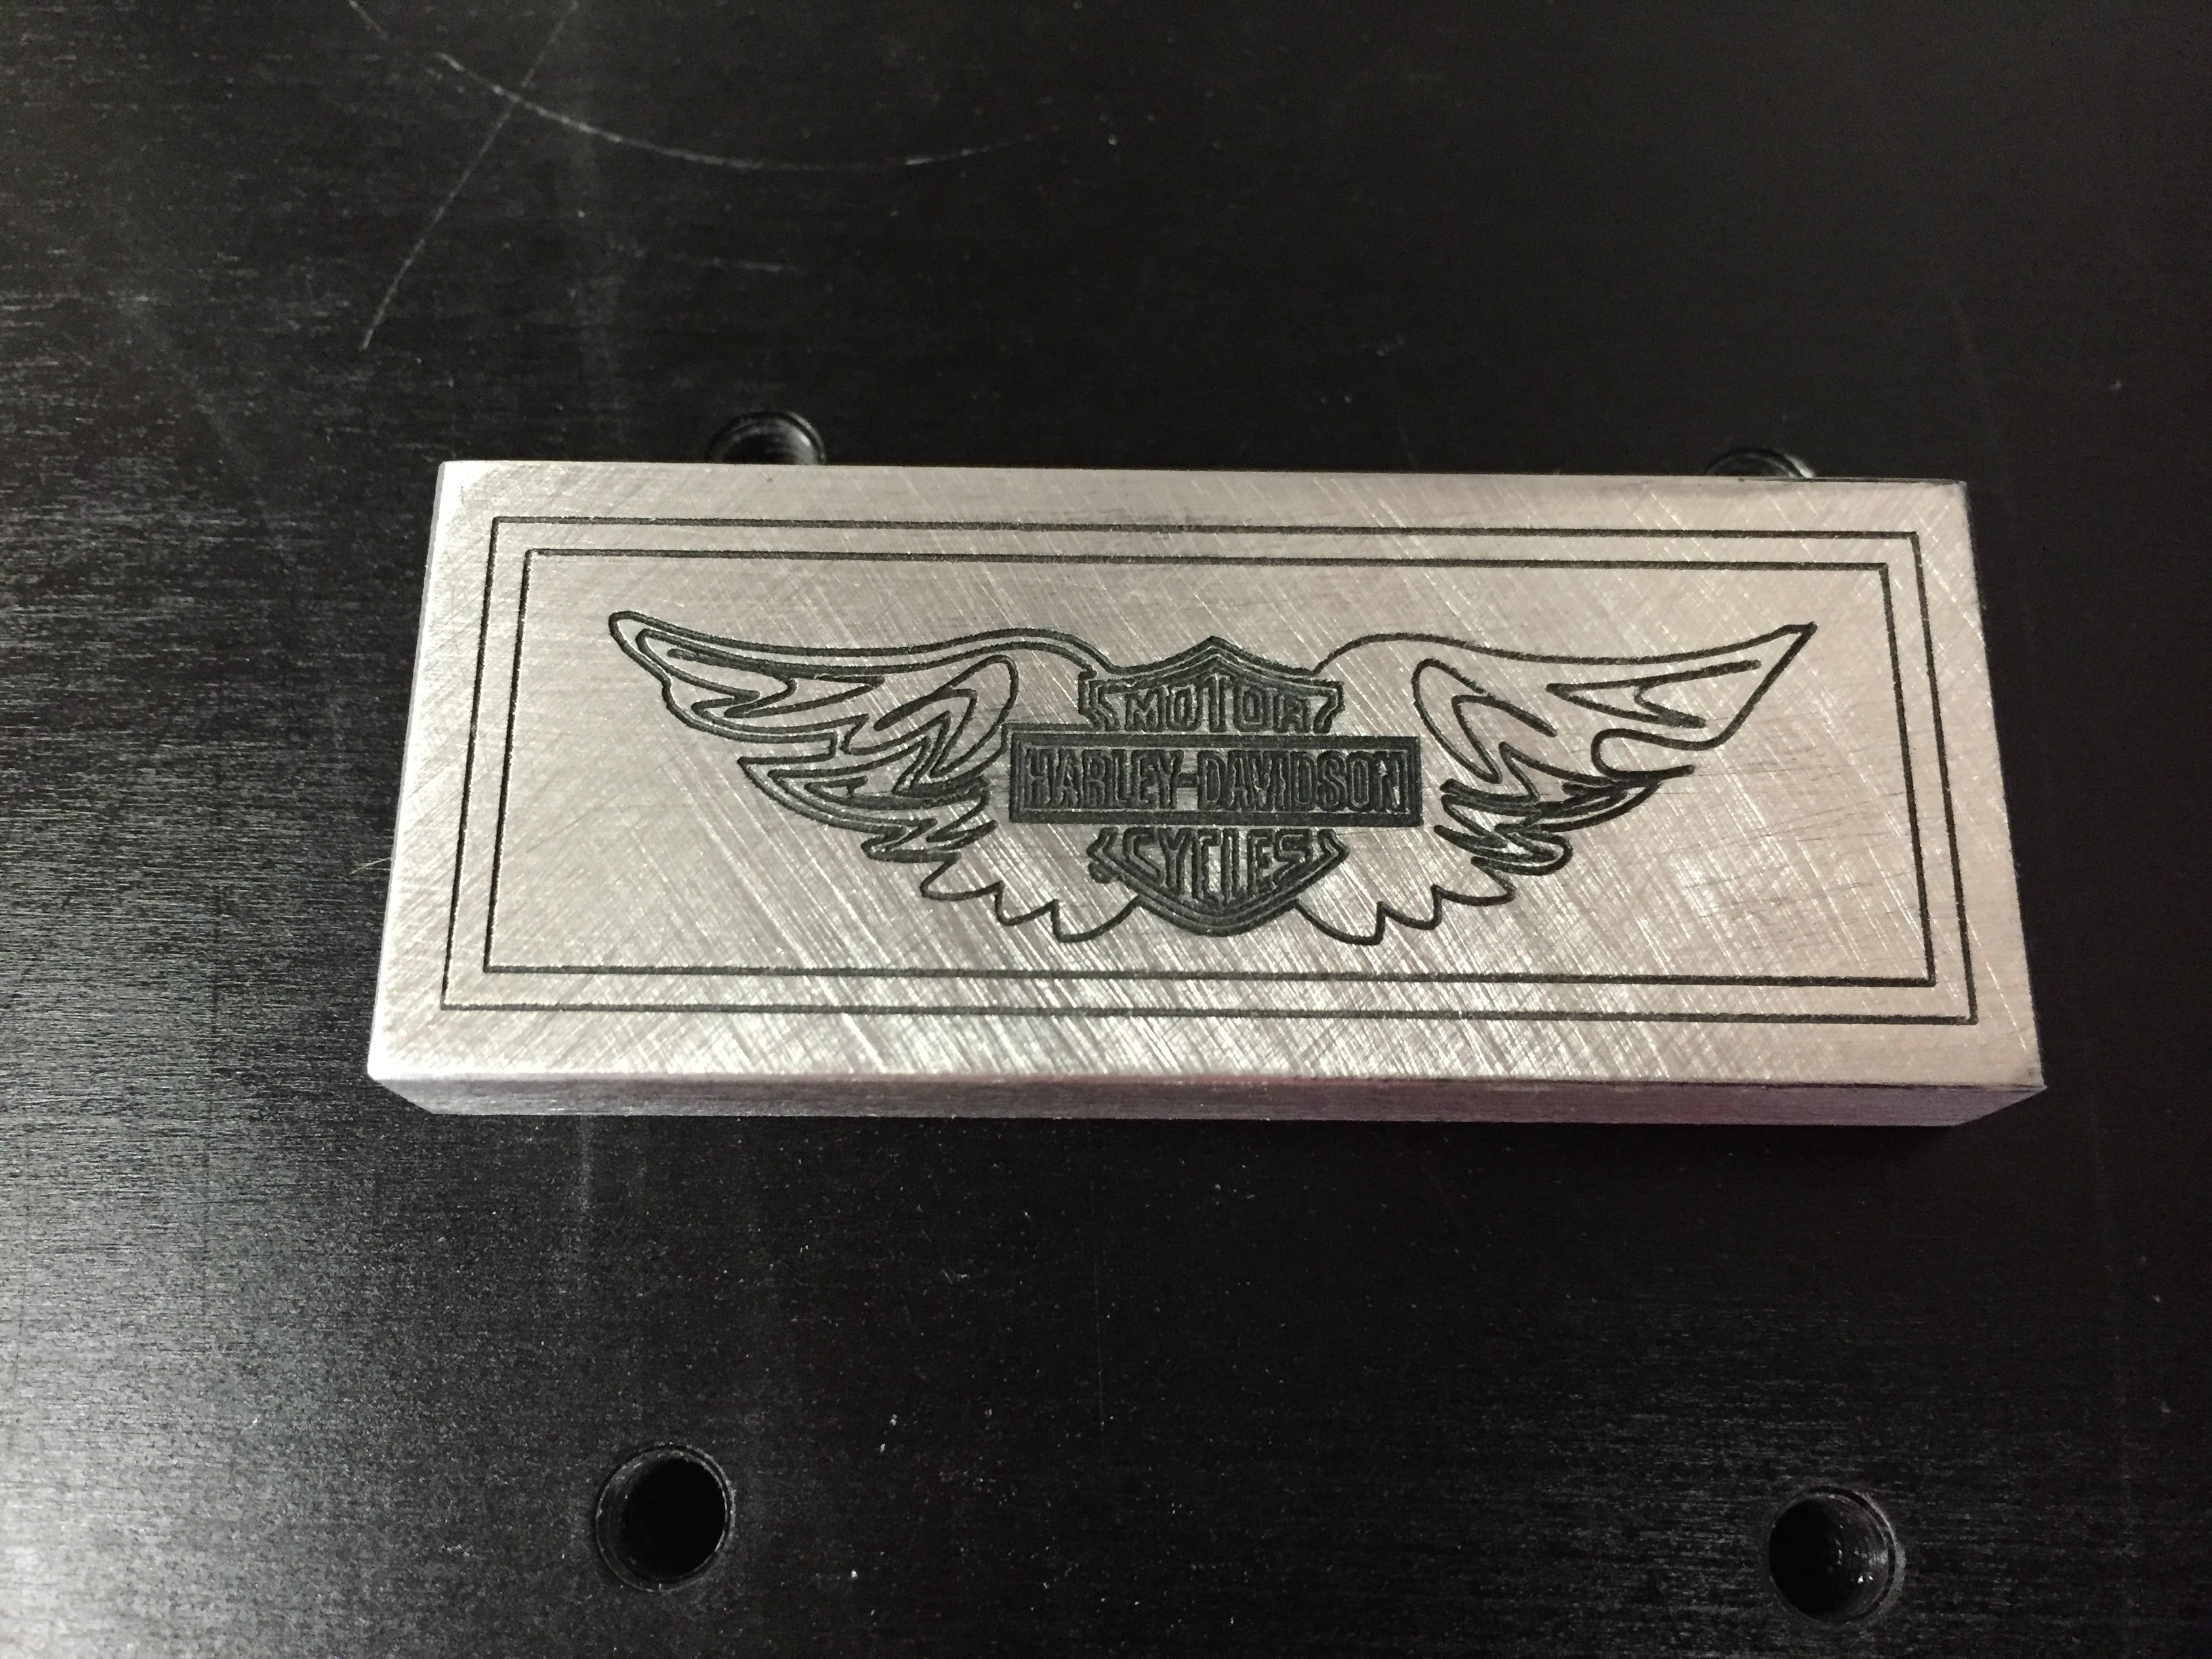
Well, maybe someday you’ll be at the level to use it to machine large countersinks in metal (See photo 1) The cutter that I showed you earlier was used to engrave this HD gift. (photo 2)
Sweet!. I hope so. As my expertise grows so do my ideas for larger things. Maybe a Shapeoko 3 is in my future!
@patofoto
Yes, you can use the 1/32 ball endmill to engrave.
When setting up your Engraving job, you will want to make sure the vise body is perfectly level, otherwise your engraving will be deeper in some areas.
Test the z height in all four quadrants of the part.
Un-Even bolt tension could be a leveling factor.
If some elevation compensation is required, use shim stock or some paper will work.
With the 1/32" balled I use a. 002" DOC pass as a first test. You can adjust total depth after that.
10k RPM
8 ipm feed
1 ipm plunge
.002"-.005" doc
Multiple passes may be required for the finished look you want.
Thank you @ApolloCrowe!. Will try it next week. I’m leaving on a job today and won’t be back until Monday.
What would be the difference between these?:
I know the flutes are different but any advantage of either one?.
If you don’t get your answer from the link, let me know.
Clear. Thank you guys. Always forget to check Shaepoko related posts as most answers are there.