Using the measurements I got from PreciseBits (Thank you Ron) I was able to create a nut replica, which I used to cut out the center of a 50mm fan I downloaded from GrabCad.
Now, I’ve increased the thickness and length of the blades to have pretty much 2-2.5mm for every part and have a final 60mm diameter.
I’ll have to find filament for my 3D printer to try and print this, but because the blades are overlapping, I won’t be able to mill this.
But, as a proof of concept, yes the mirror operation in Fusion will allow you to take a PC fan component, and make it compatible with spin rotation of the router.
I’m happy with the three-blade fan that I modeled after the one found on that other machine’s CNC website. I milled a couple of them as fans to fit on the bits but that reduces the available bit depth too much. So I’m going with the DeWalt collet design. Right now I’m waiting on some 1/2 inch HDPE, although I might mill one out of MDF just to check that reality is the same as the design. It looks like this.
It will be interesting to compare them when they are done. My trials with the bit-mounted versions produce a lot of wind and clear the work zone very well. But, again, putting something on the bit reduces the depth you can cut and that’s a problem.
Got my prototype printed last night. My PLA had been sitting around for too long, so the end result it not what I am used to, but hey, its a prototype.
I had set the center hole for the nut to be the exact diameter of the nut, thus, I knew in advance it would not fit, but I needed to figure out by how much. Turns out, between 0.1mm to 0.2mm of gap needs to be included for a snug fit.
The other drawback is that, because of the number of blades on the fan, it cannot be milled. When I redesign the part tonight, I will probably remove 2 blades so that a 1/8 endmill can pass between the blades. That or I will ask around who can print this in resin.
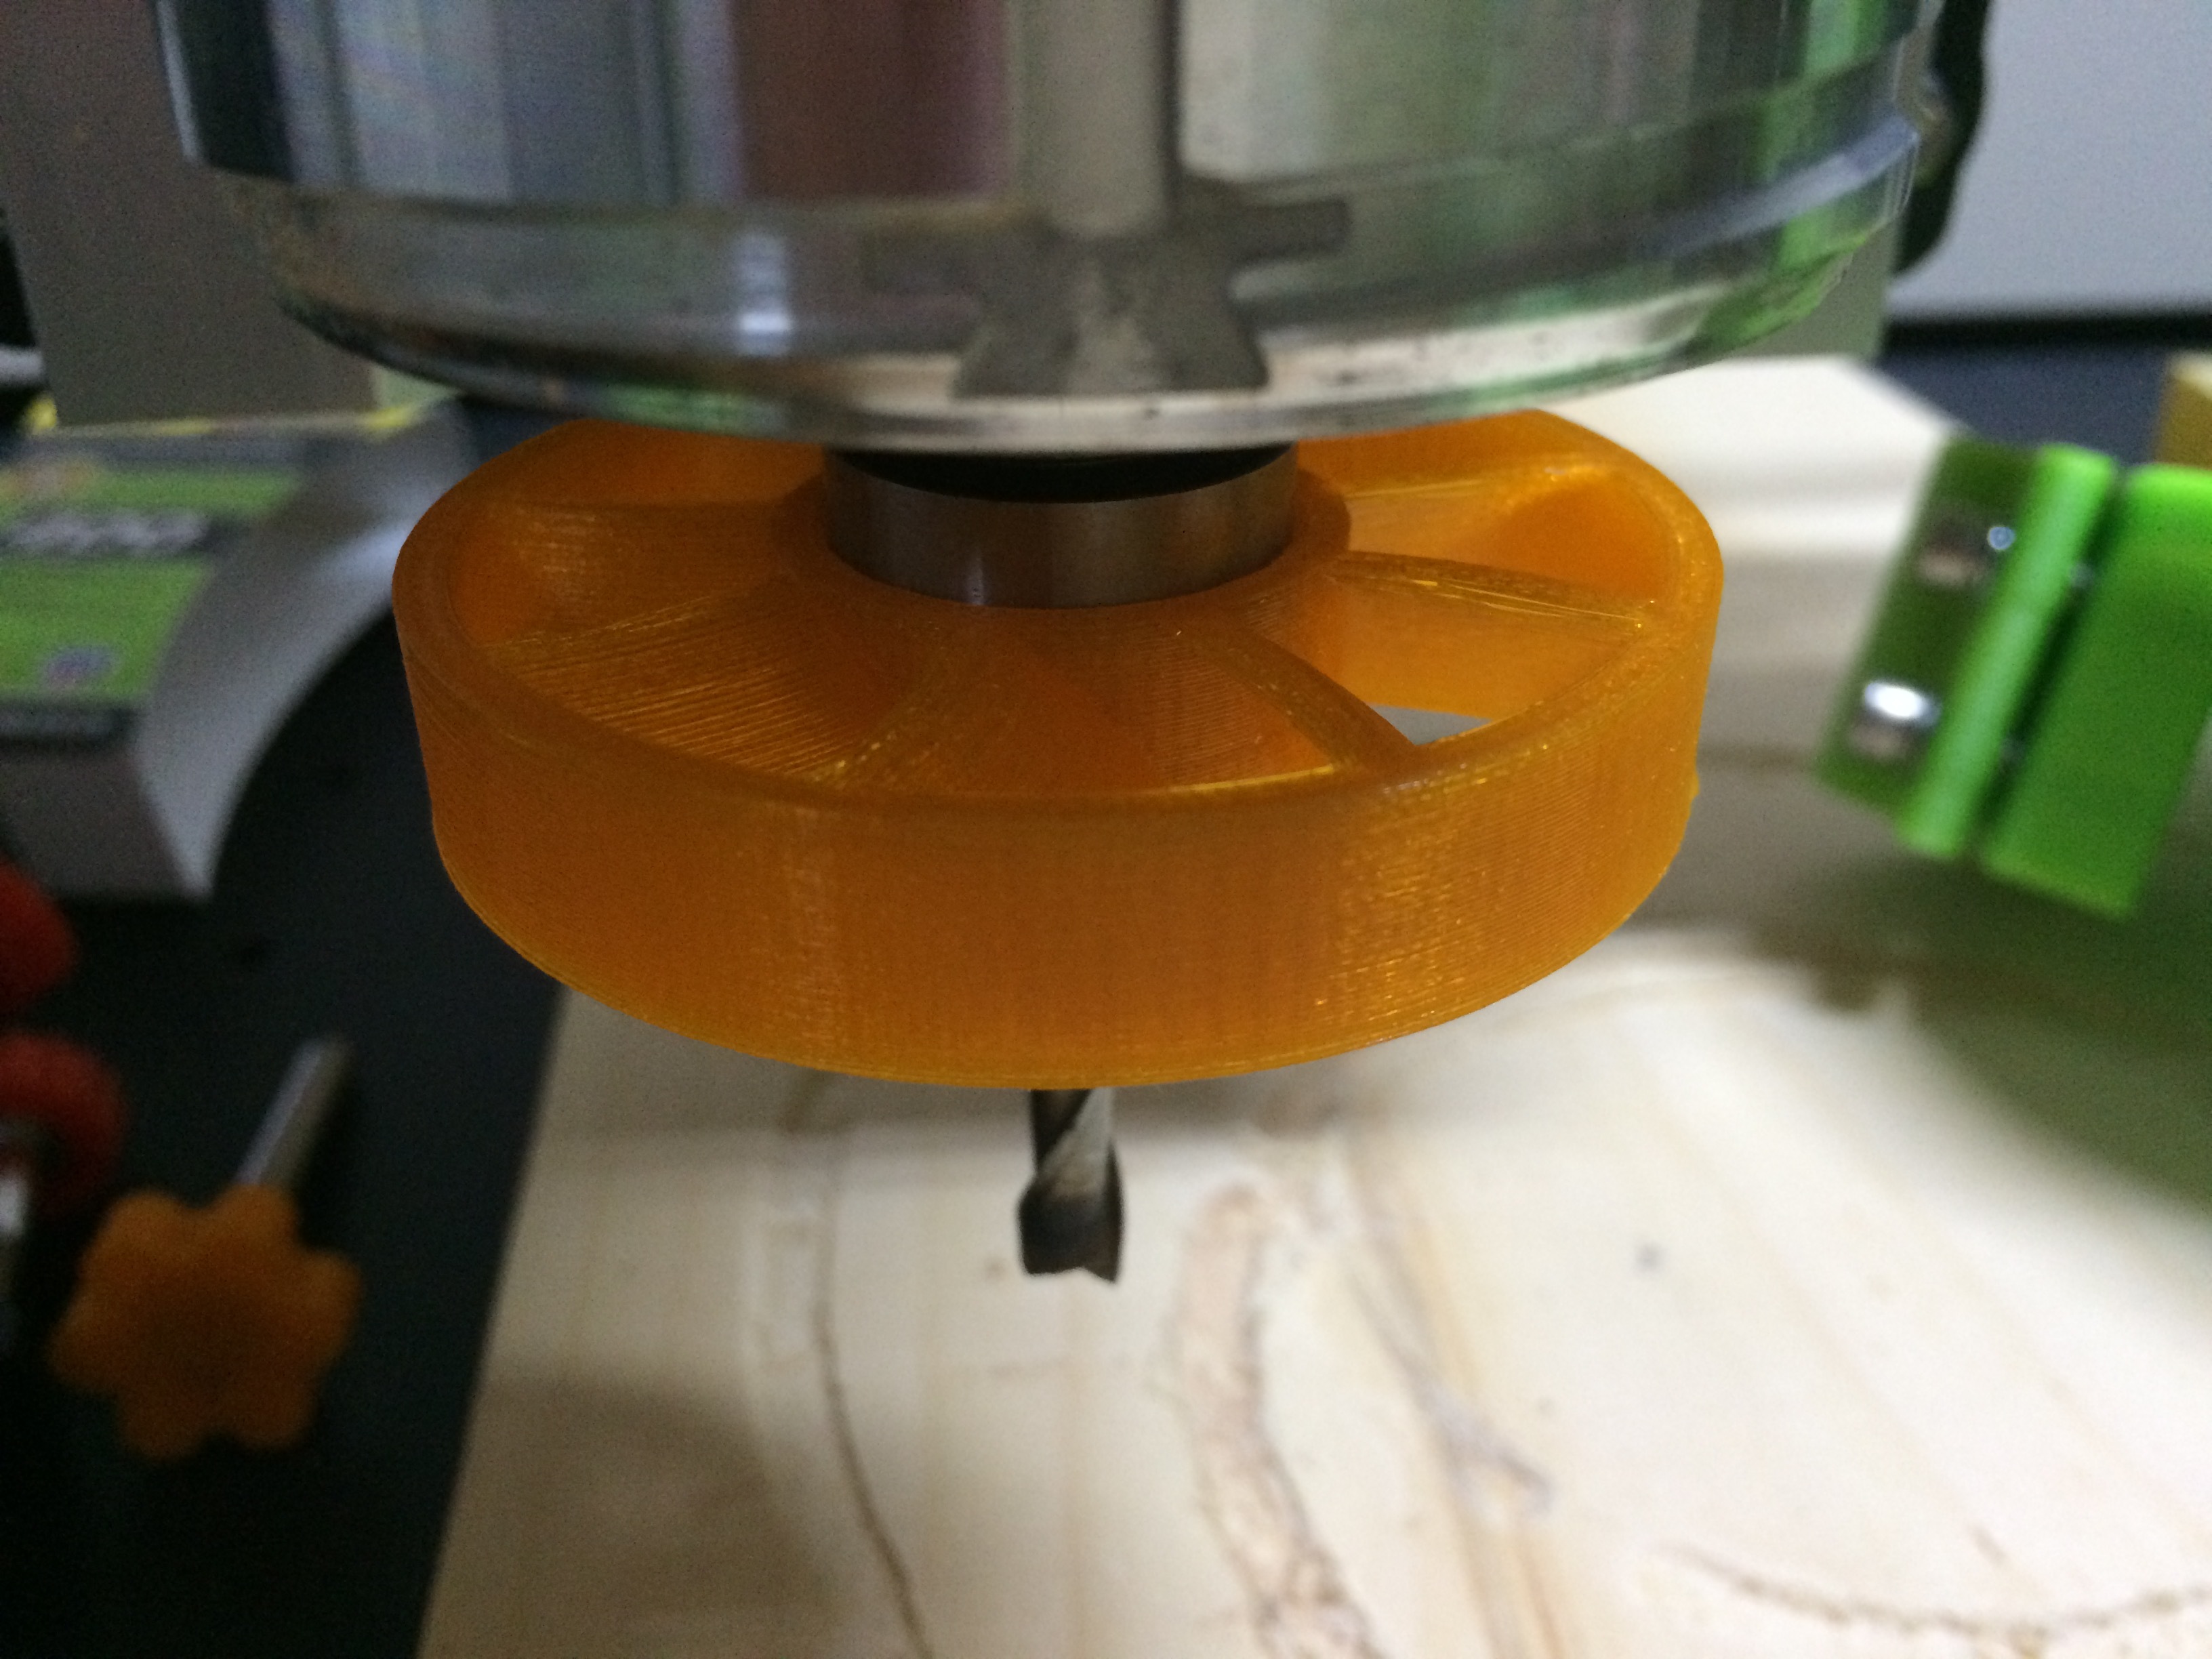
At any rate, I fired up my router this morning, and I can tell you I no longer have any dust on my base plate. I will try it again with the dust shoe on, to see how it behaves. There was a lot of wind turbulence between the top of the fan and what router sends out.
At low RPM, that thing is useless. It was good at about 9,000+ RPM.
That looks very good. I’m going to cut my DeWalt 611 collet version tonight or tomorrow. I’m going to cut just one side initially to test fit and stuff. I’ve not done any two-sided cutting yet, so there’s still that to learn.
But the few times I had to, I used a technique demonstrated in this video:
It worked quite well, but added the need to create more features in the design to have the flip apparatus working.
It might be easy on our fan to just use a vise and a square piece of stock, but when I did use the technique, it was with larger parts that would have never fitted on a vise.
There was a video I watched last night where two dowels were used for a pin system to flip. But after thinking about it for a while, I realized that I could cut a male profile of the collet. When Side A of the fan is done, I’d insert the collet profile in the fan and screw it to the wasteboard. Then remove the fan and flip it, and the collet profile should align it just fine.
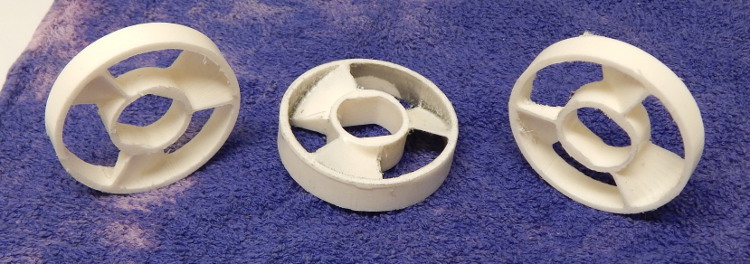
I spent some time today milling a collet fan for a DeWalt 611. They look a touch ratty in the photo and they could use some clean-up with a sharp hobby blade to get rid of the fuzzies that were left. I used an STL file of a fan that I downloaded and added the 611 collet portion to it. This was done in Fusion 360, and here’s a link to the file http://a360.co/2eVzwRf .
This was the first time I’ve done anything two-sided. I handled the flip this way: when I cut the interior of the collet portion, I went into the wasteboard an additional 3 mm. When I finished milling the front, I put a second 611 collet into the hole and used a screw to hold it in place. Because the sides of the collet fit into the 3 mm cutout in the wasteboard, it was in there tight. I then flipped the workpiece over and fitted it over the collet. I anchored the fan down, took out the collet and milled the back side. Here’s the pix:
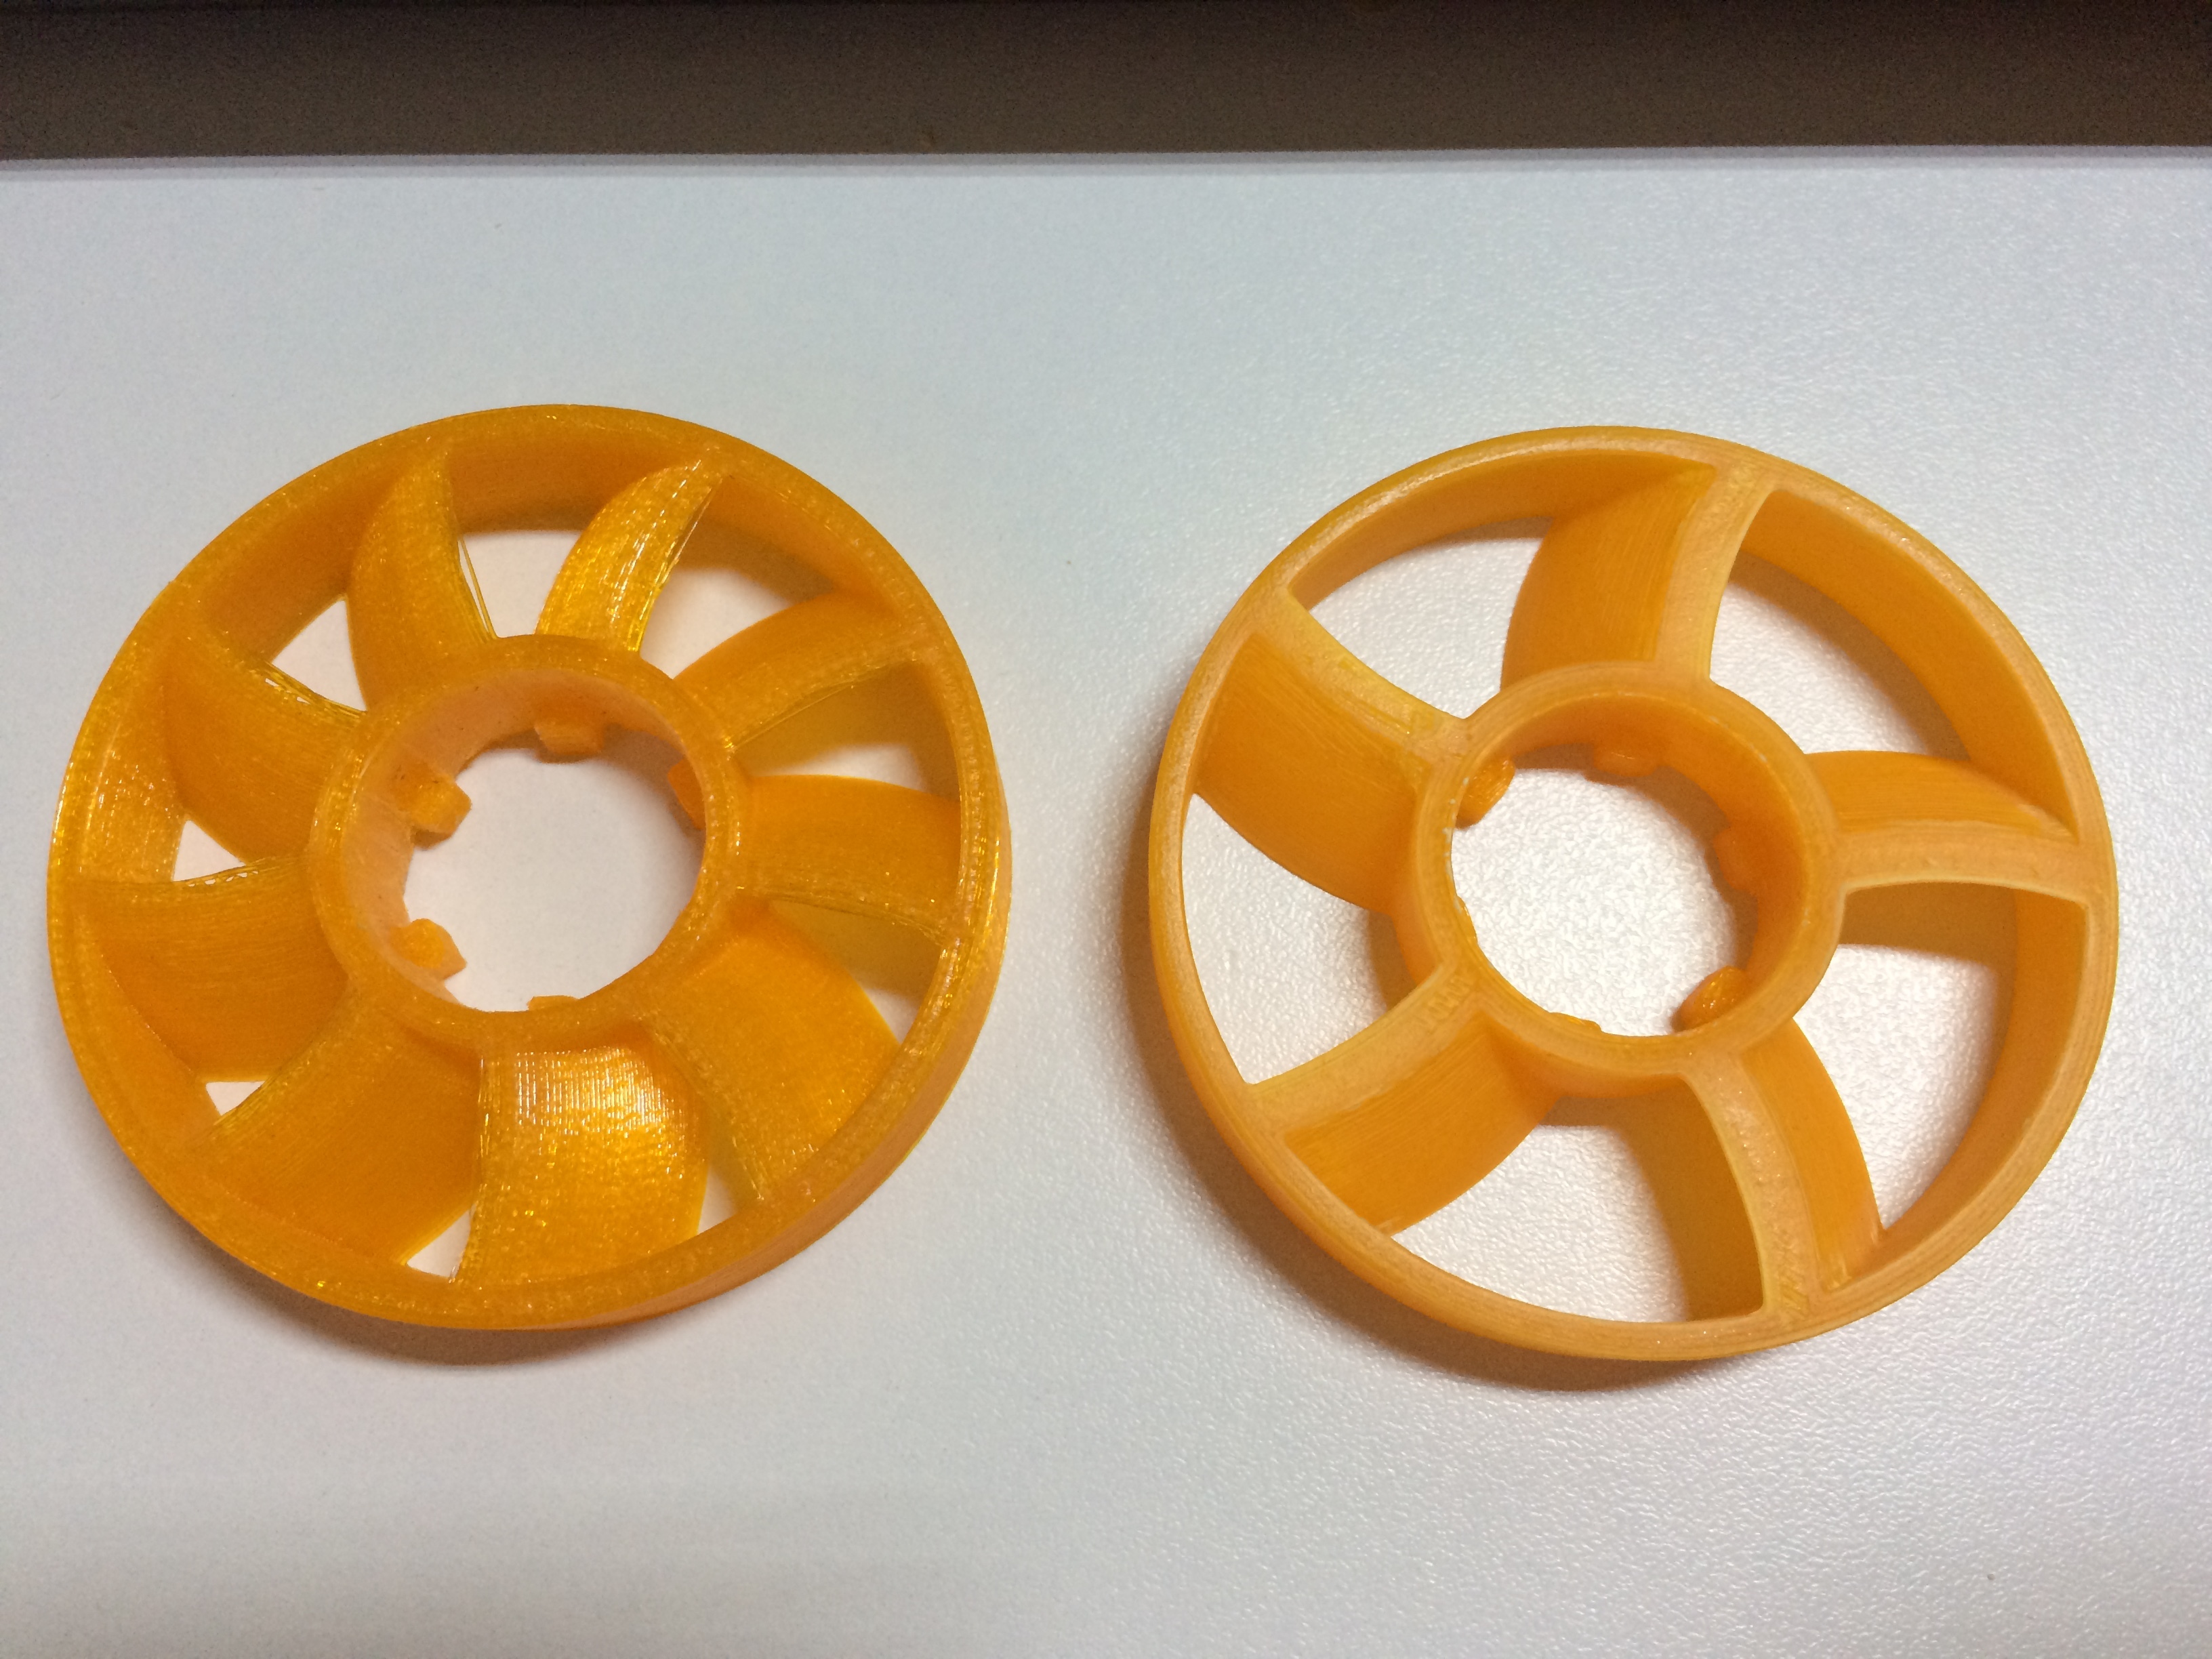
On my side, I have recreated my fan from scratch, the initial post was just a proof of concept I whipped up in 10 minutes.
This time, I went with 5 blades and sized the hole for a perfect fit without alterations after the print. I also made the fan thinner to leave more room for the air coming out of the router to escape. This is the result:
The production part was painted last night with 2 coats of adhesion promoter and two coats of frosted glass. I like doing it this way because it seals the part and it makes it smoother, and since the part was printed at 0.25mm per layer, you could feel the layers with your finger. Painted, you no longer can.
With this, I’ll be able to attempt to cut a real part, might as well be this very fan, and see what the outcomes is.
But, we will have two fully sunny days this week-end, so we’re off to the water park. Woohoo !!!
Just be careful with the 3D printed one… My original PLA fan (I forgot I printed it in PLA not ABS) randomly shattered throwing plastic shrapnel pretty hard into the sides of my enclosure! I’m thankful I had the doors shut as I was watching the job as it happened!
The 3d printed one would take too much work to get to a usable state. It was also designed to mount on the bit. I redesigned it to connect to the collet and milled a few out of HDPE. I haven’t had an issue with one of them yet.