Just need to work on the led lights and the hose for dust collection,was thinking about installing a Oneida Dust Deputy aswell.Just thought id throw up some pics of the build,a few been asking about it so here she is in all her glory. Big thanks to Tony for the advise on various questions and the inspiration to build the enclosure.
3 Likes
Nice. I bet you are feeling pretty good now that you’ve got it this far.
You will definitely want a cyclone before the shop vac since the SO3 fills up shop vac bags quickly. I recommend using a bag and a filter in your vac to keep particle counts down to a safe level.
Make sure you get a cyclone that is sized for whatever flow rate you are running. Shop vacs can use the small one but dust collectors need a much larger one and require a much larger hose going to the router to not kill the air flow.
2 Likes
Great setup @orlrobinson. I’m working toward a similar goal with my XXL. Definitely do the Dust Deputy deal… ordered mine from ACE Hardware ($49 bucks) as they beat most all of the Amazonians and EBay’rs. I did finally run a V-carve project last night on some scrap 2x4 and just held the vac near the cutter. I’m working on a hack dust shoe using off-the-shelf stuff along with other hacks I’m compiling to share with the community here.
1 Like
do you think using a small hose inside the enclosure adapted to a big hose outside would do it? I have a 5hp shop vac
Can you elaborate a bit on your new wasteboard/clamp tandem@ orlrobinson? It appears this is additional MDF sitting atop the stock wasteboard? I’m liking the rail clamp options after stweing on this for a few weeks.
I may be asking for your dust shoe details depending on how my hack turns out… it’s a $14 experiment (shipped) sans the felt or plastic skirting I’ll add.
very nice work. working on getting my dust deputy setup, tried a chinese knock off, see if it works 
1 Like
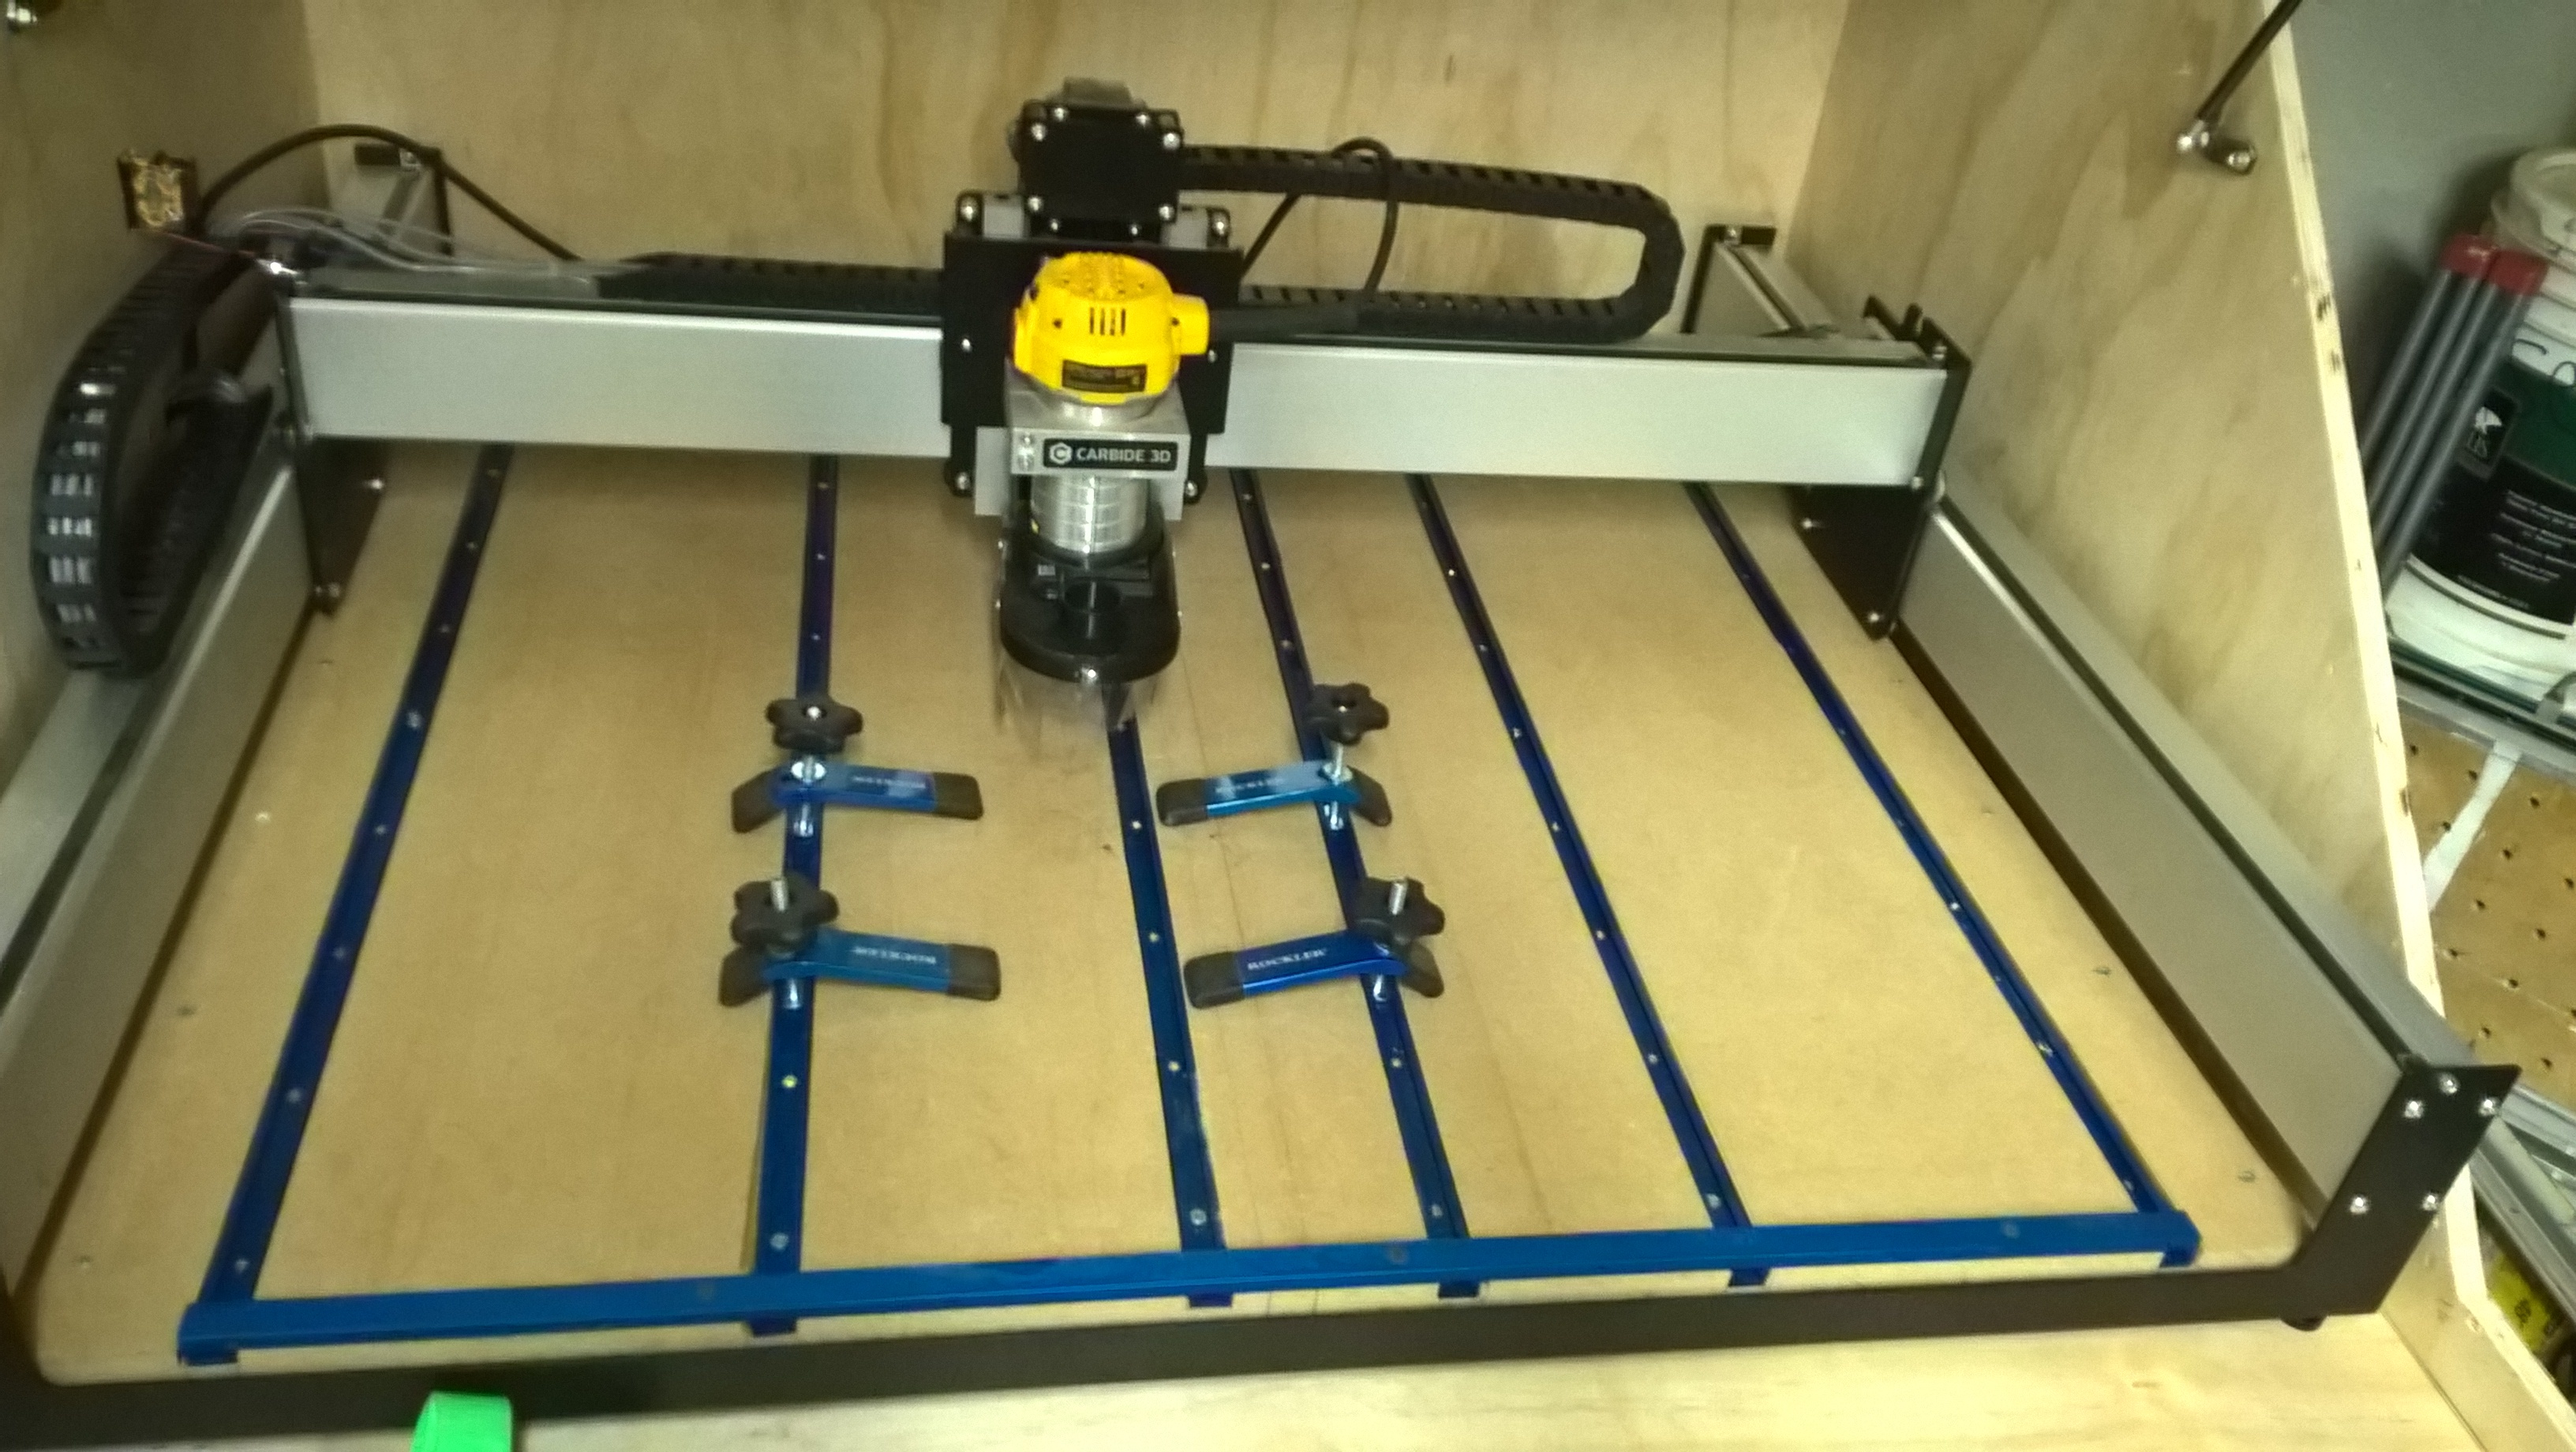
the dust shoe i use is this http://www.thingiverse.com/thing:1243484 and the t-track is this
http://www.rockler.com/48-universal-t-track-with-hold-down-clamps
http://www.rockler.com/rockler-18-24-aluminum-miter-bar
http://www.rockler.com/universal-t-track-universal-t-track
1 Like
@Jim Amos correct i used 3/4 mdf and dado the slots on it for the t-track and it sits on top on the stock waste board
A shop vac can supply a much larger pressure drop than a dust collector so you should be fine. I’d suggest keeping the hoses at 2" ID but it will still have plenty of flow even with a 1.5" ID hose inside your enclosure…
1 Like
You did any modification on the dust shoe, or it fit perfectly for shapeoko 3?( because it sayis for the x carve). I was thinking print it but was afraid it do not work, thanks.
Click on the picture above its installed on the shapeoko 3 
no mods just need to file its track system to slide smoothly when taking on/off
Very nice setup, can you elaborate on the purpose of the miter bar at the front of the setup ? Rigidity ?
Thanks
Miter bar was just somthing to have as a starting point and somthing square to put the stock against
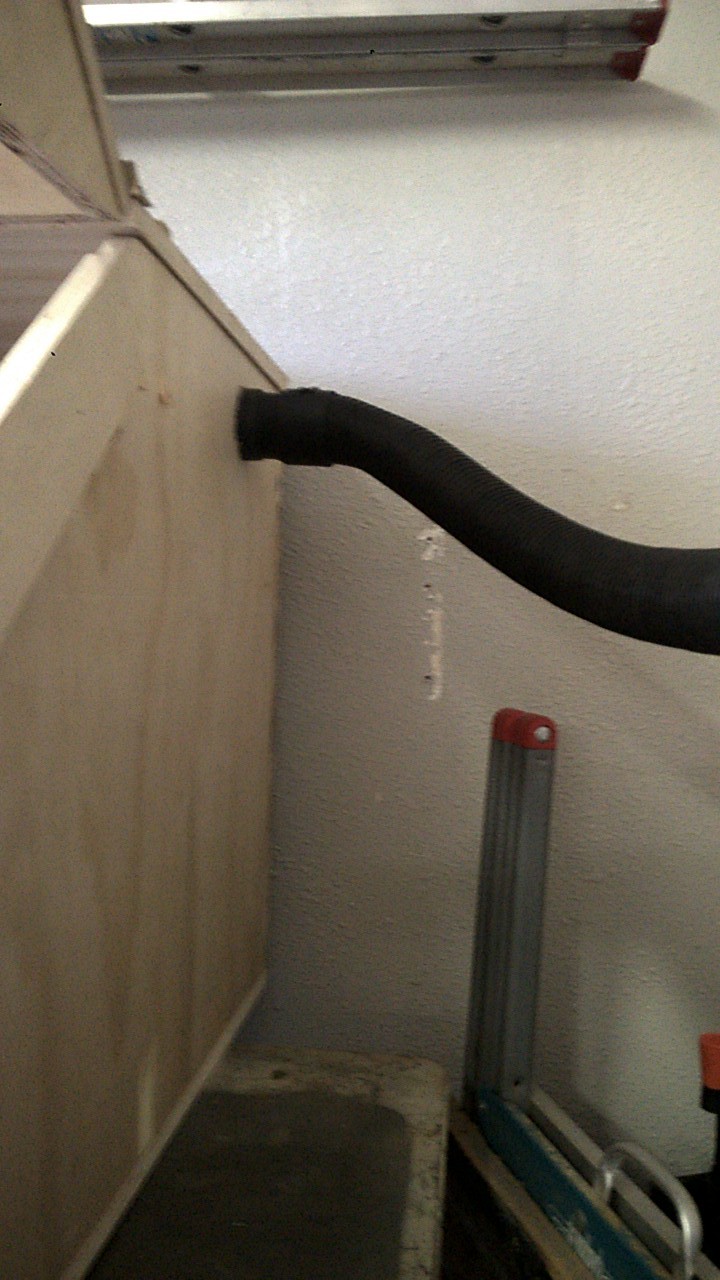
Catching up,I ended up putting the Dust Deputy in.Im using the 5.75hp 16gal shop vac with 2 1/2" hose from vac to deputy and from deputy to a reducer on the side of the enclosure it reduces down to 1 1/2" to the dust shoe.I added a bungie cord with a ballend and an eyelet to keep the hose out of the way.I also had to cut a ring out of another 5gal bucket and slip in inside the deputy collection as it was caving in without it.


Im using a diffrent dust shoe now
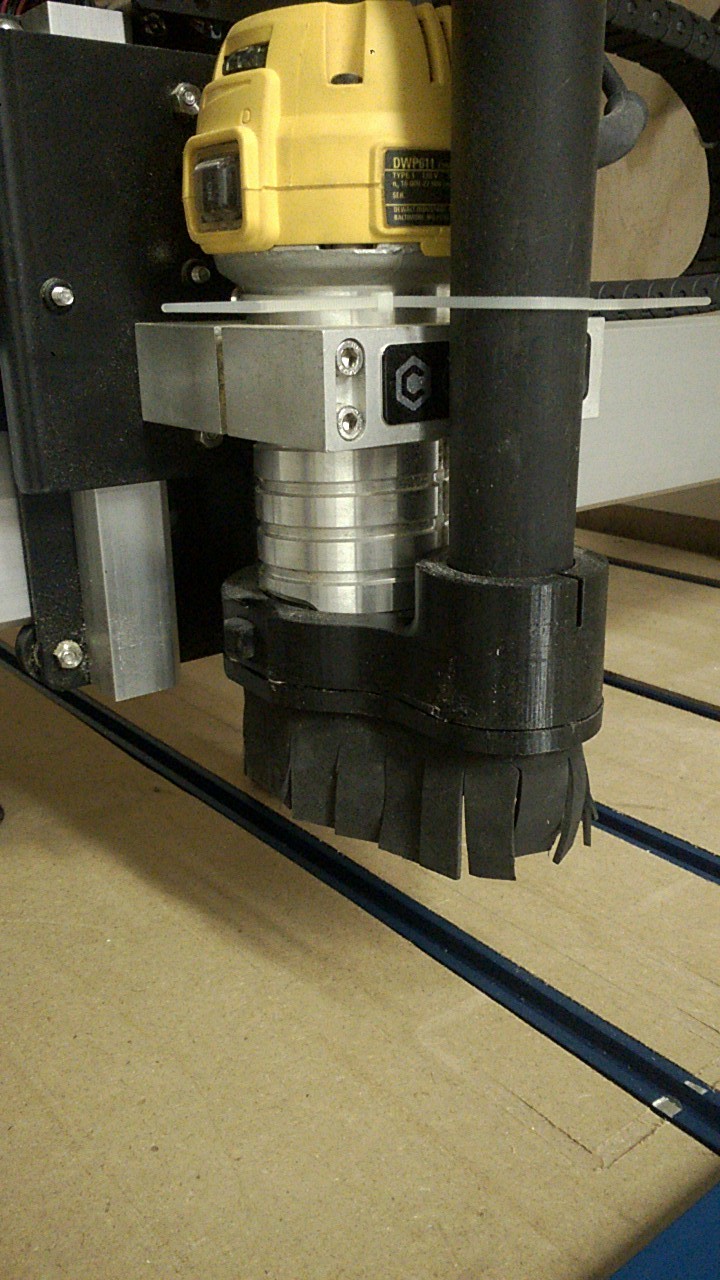
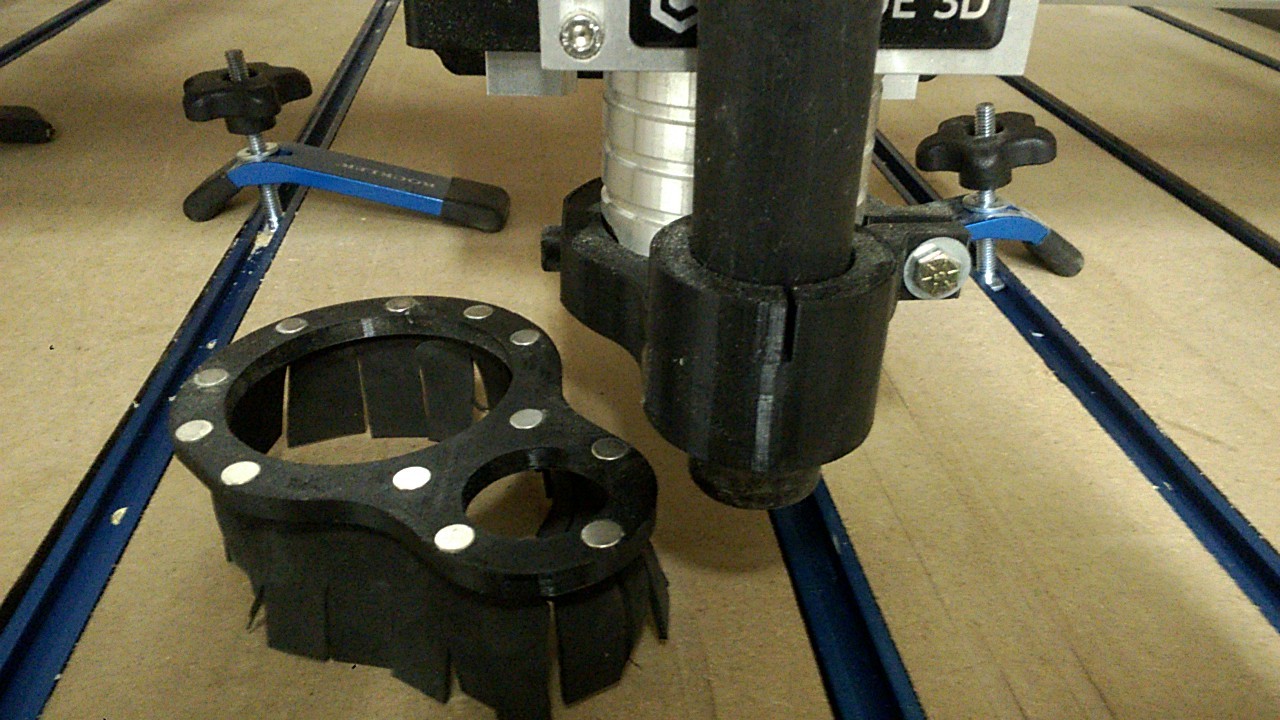
Its magnetic and alot faster to create.found it here http://www.thingiverse.com/thing:1645328 made the brushes from craft foam sheets from michaels (A craft store here) and used gorilla super glue to attach it,its the clear kind that dosent expand.
Hard to take a pic of or see but i added led’s under the x axis the complete lenght of the gantry
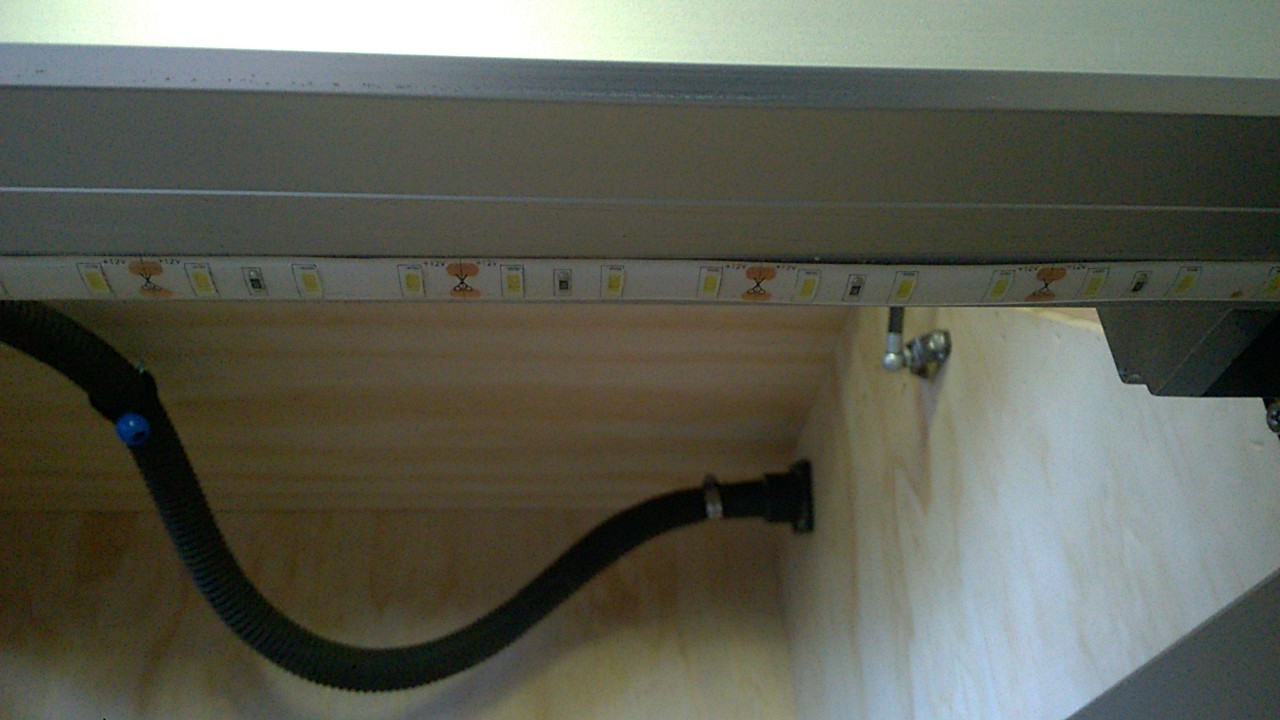
I also put the router/vac/and lights on a remote system,Has been working great,added a spidy fan grille too 
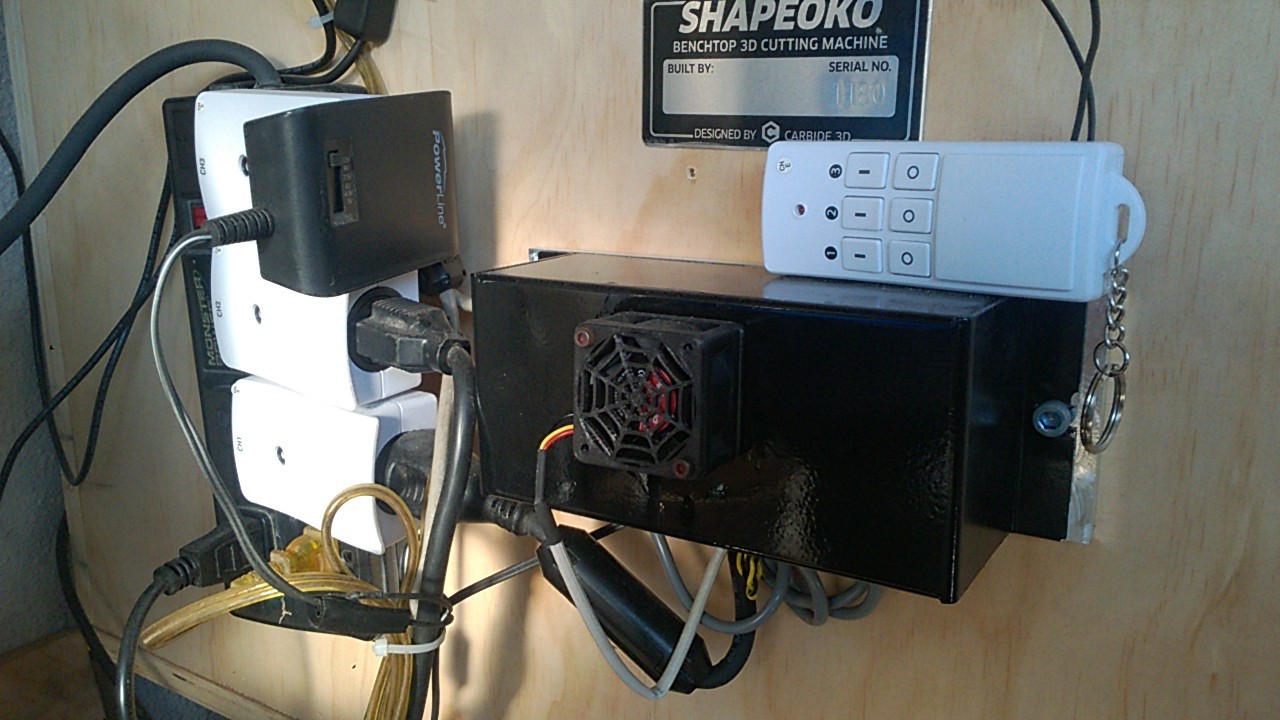
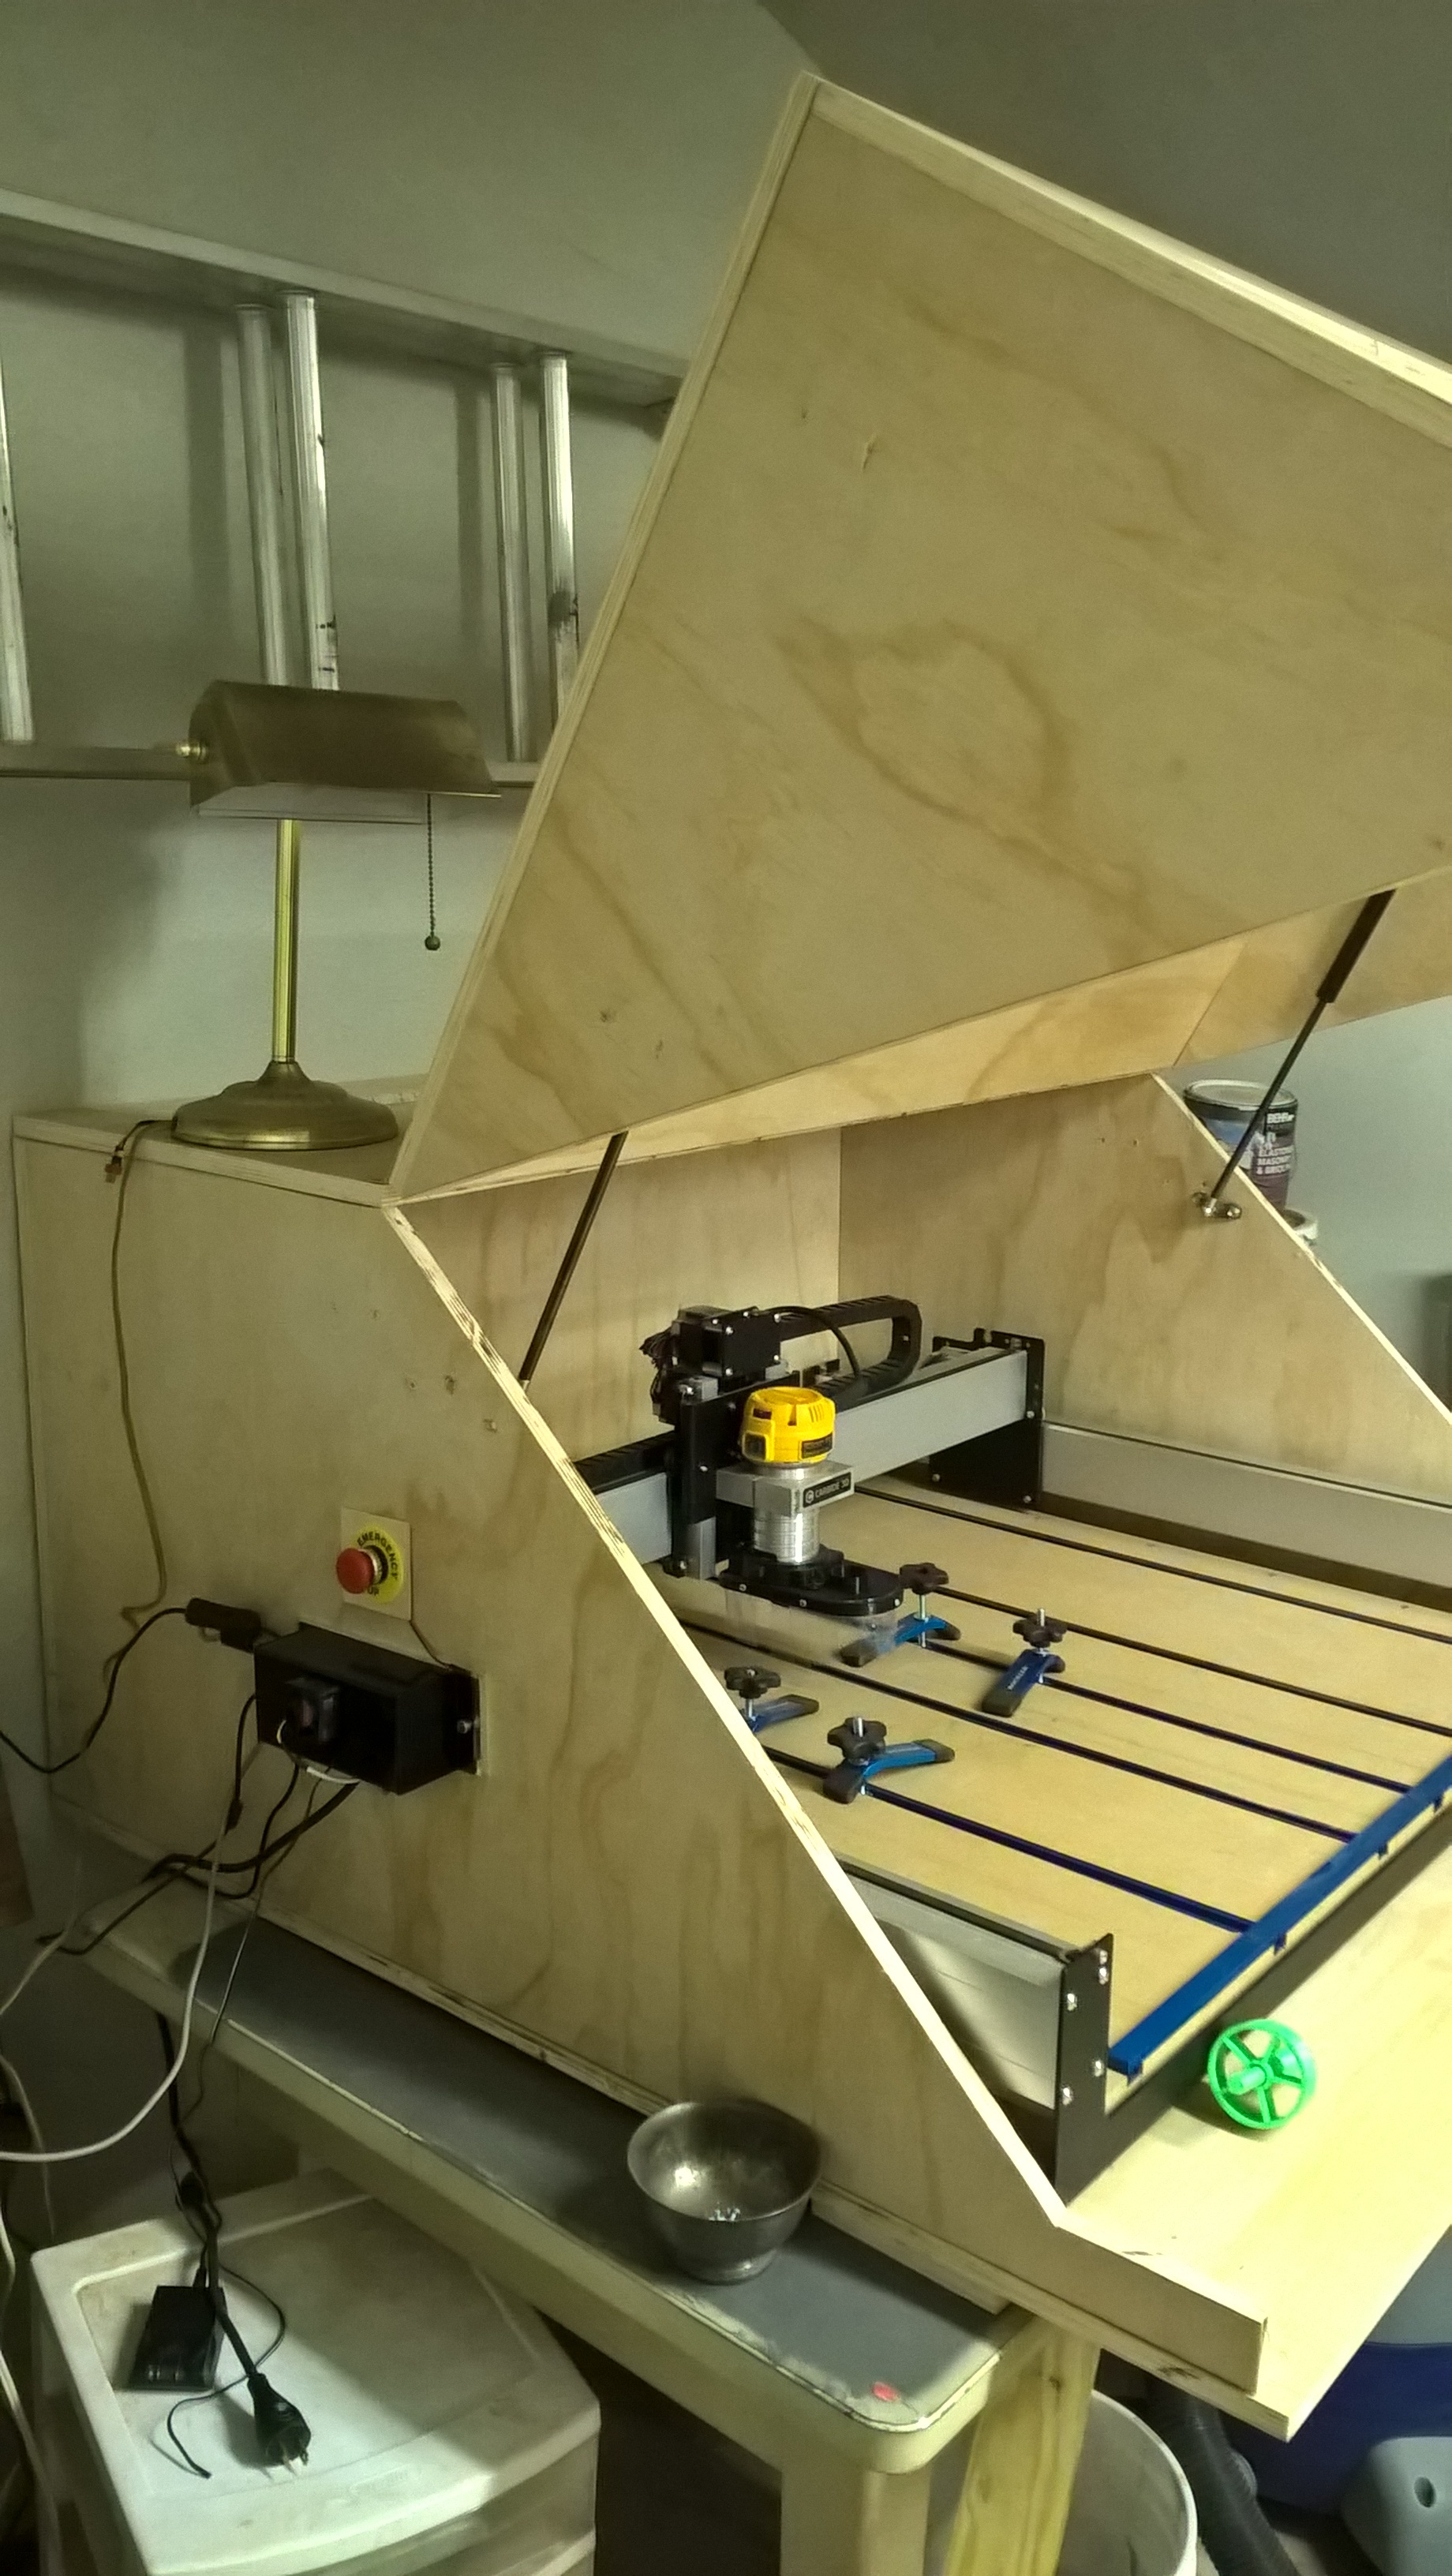
Excuse the wire mess,I really need to tidy up.
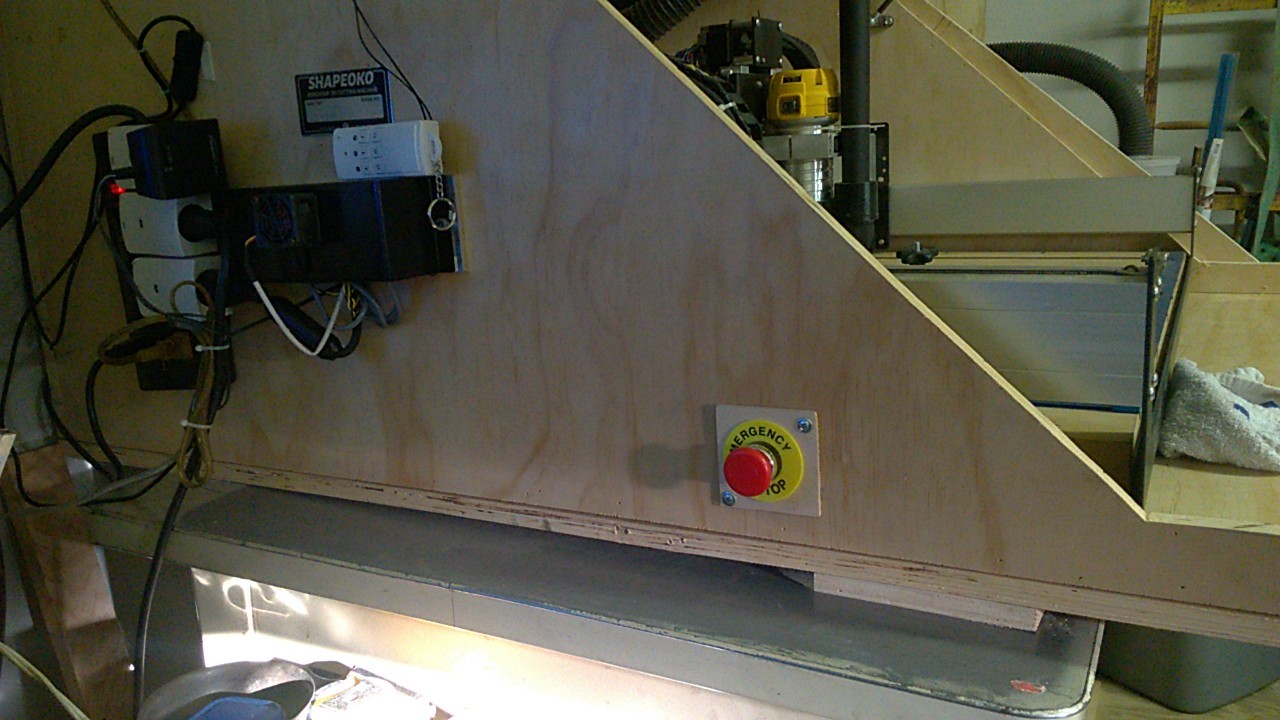
I ended up relocating the emergency stop switch,was interfering with the drag chain from time to time and used the shapeoko dog tag to hide the hole.I prefer its location now with it all by itsself.
Santa was good to me this year and got a new tv for the house,the best part the shop got the old 40" hand me down
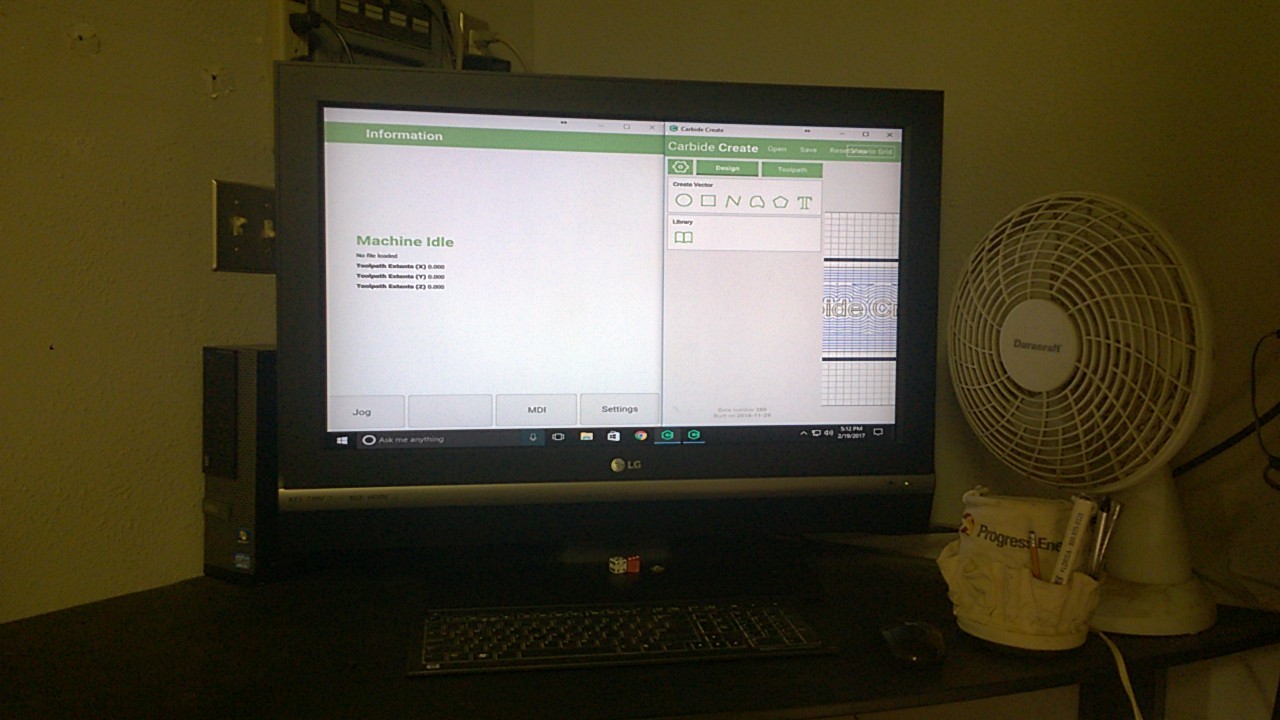
its connected to a dell small form factor with an i5 processor.
Still have a few more needs but its coming along.
2 Likes
Great looking work and a very nice looking system overall Mark!
Nice project! I seem to work more ON my Shapeoko rather than using it! But I use it enough when I need it.
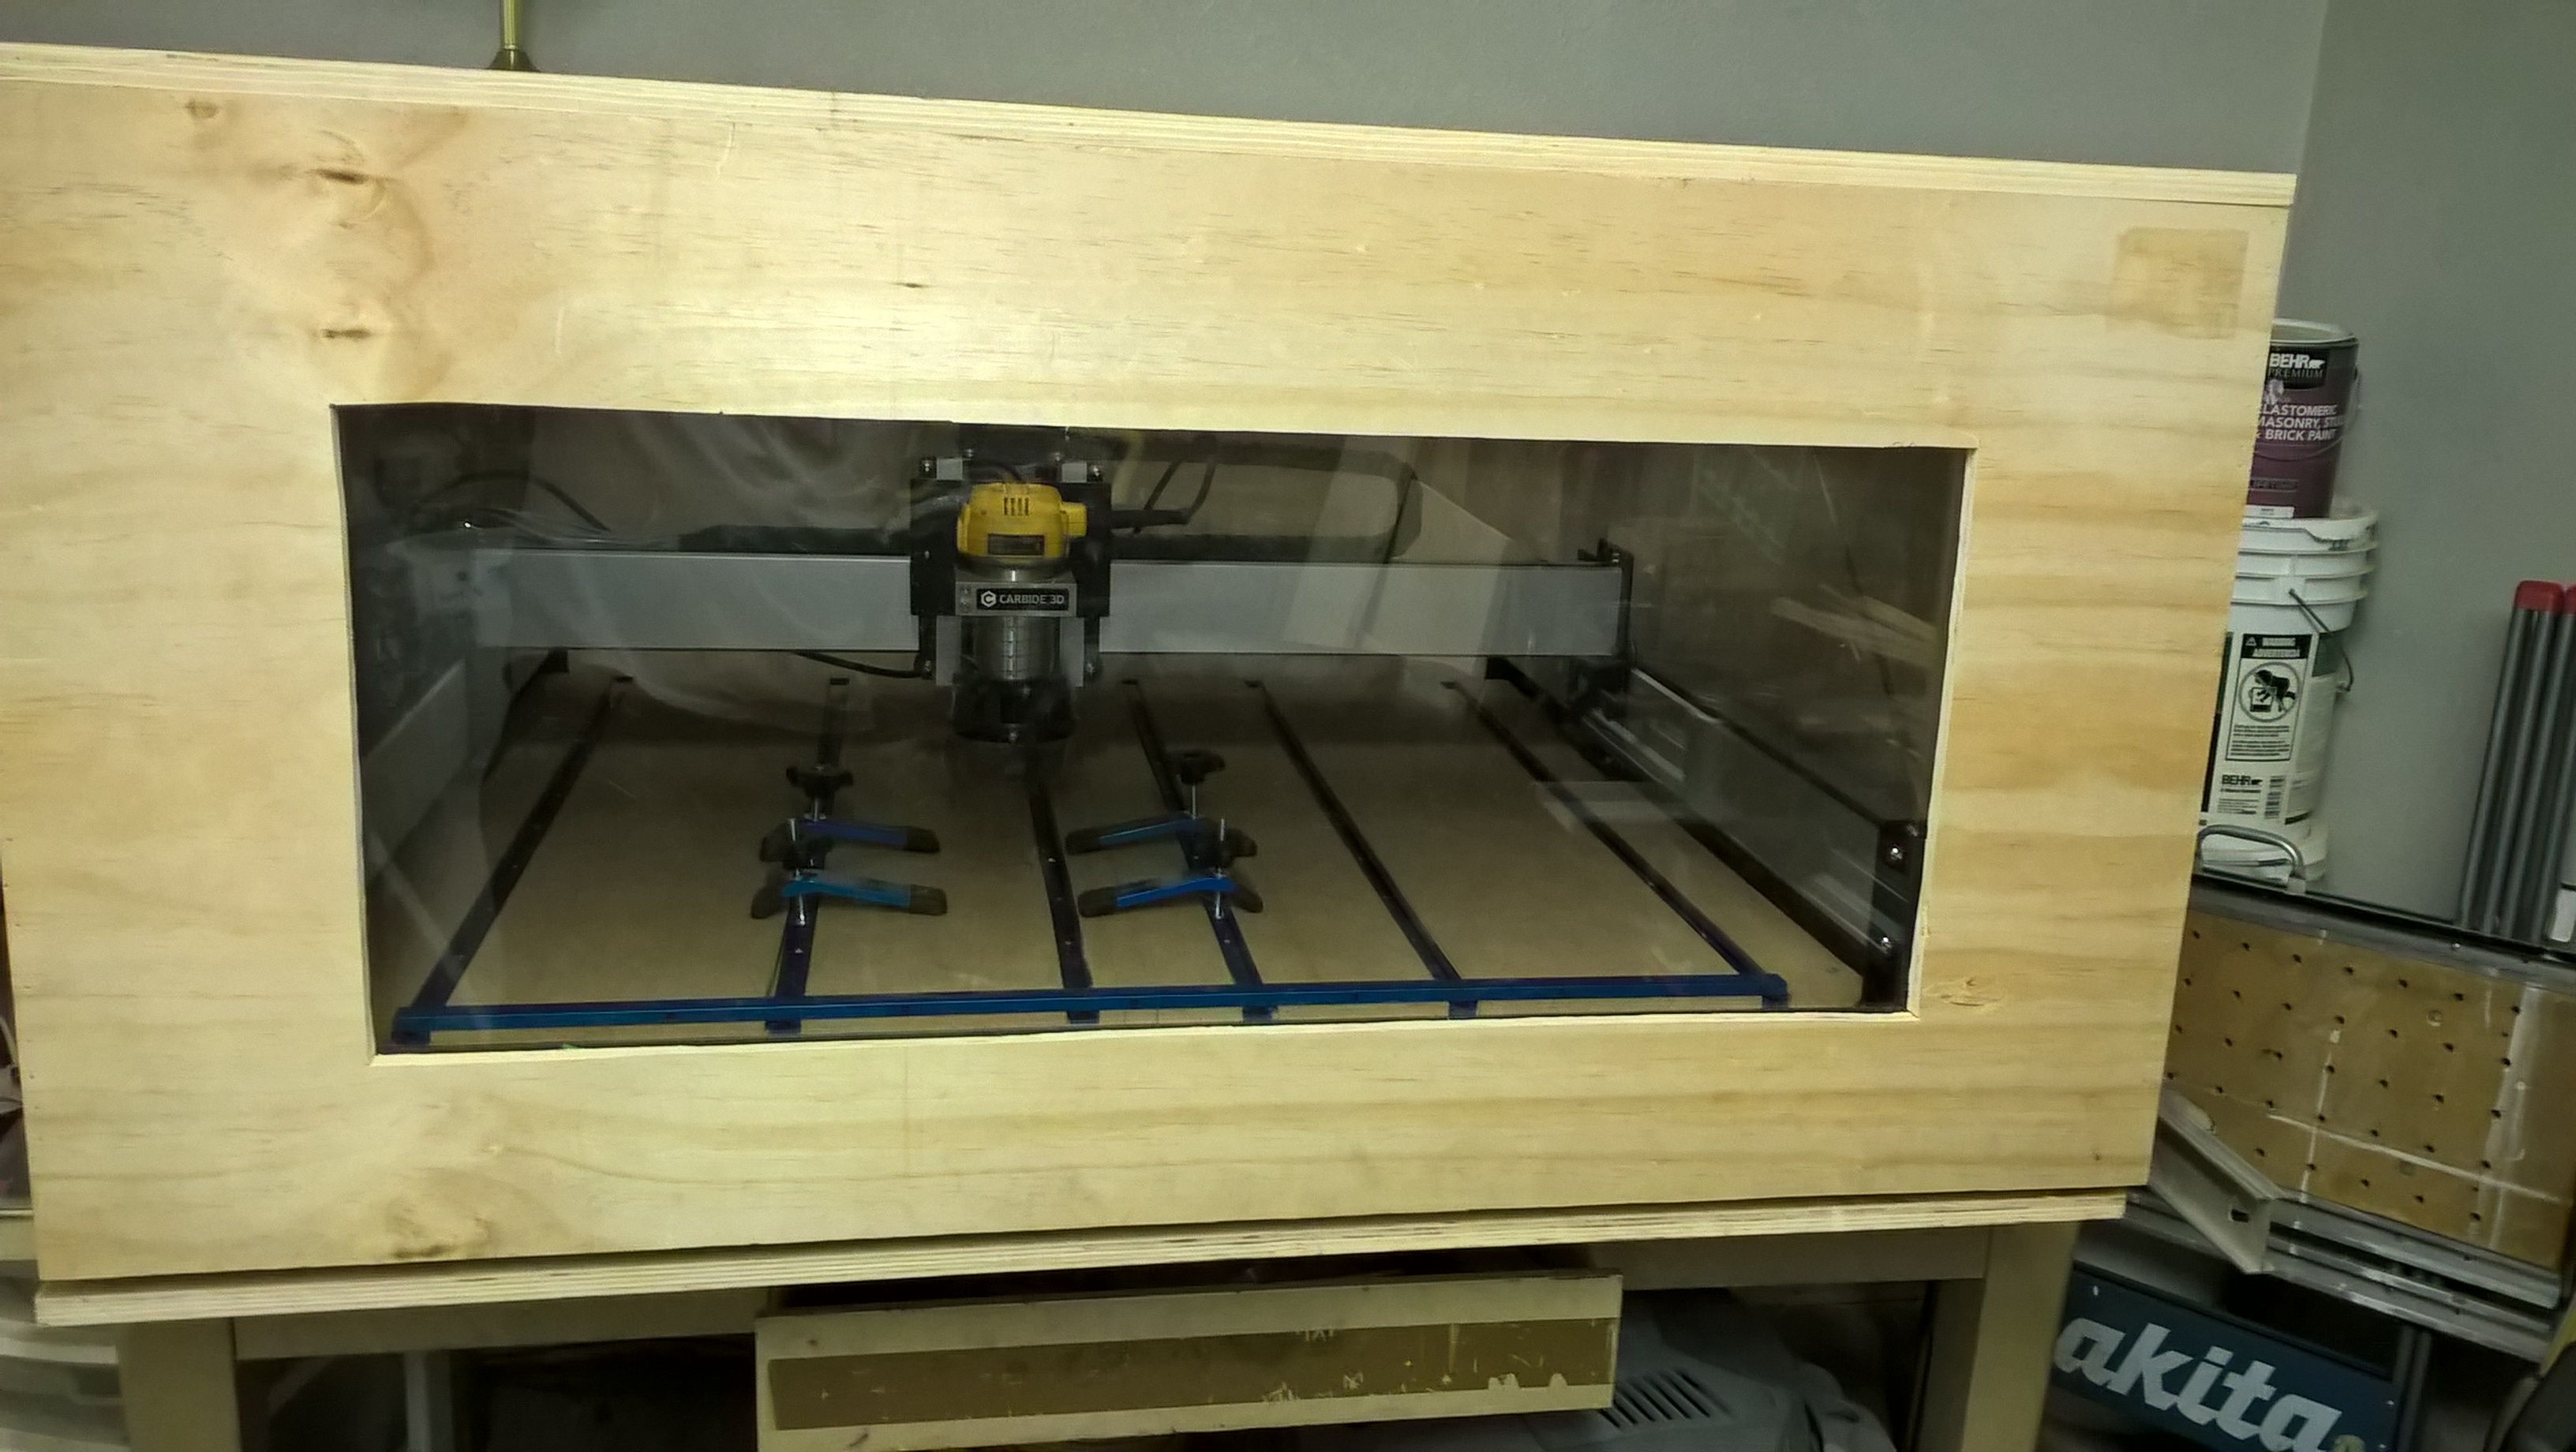
This is certainly a well thought out enclosure with cool features. Thanks for documenting with pictures, we all love pictures!
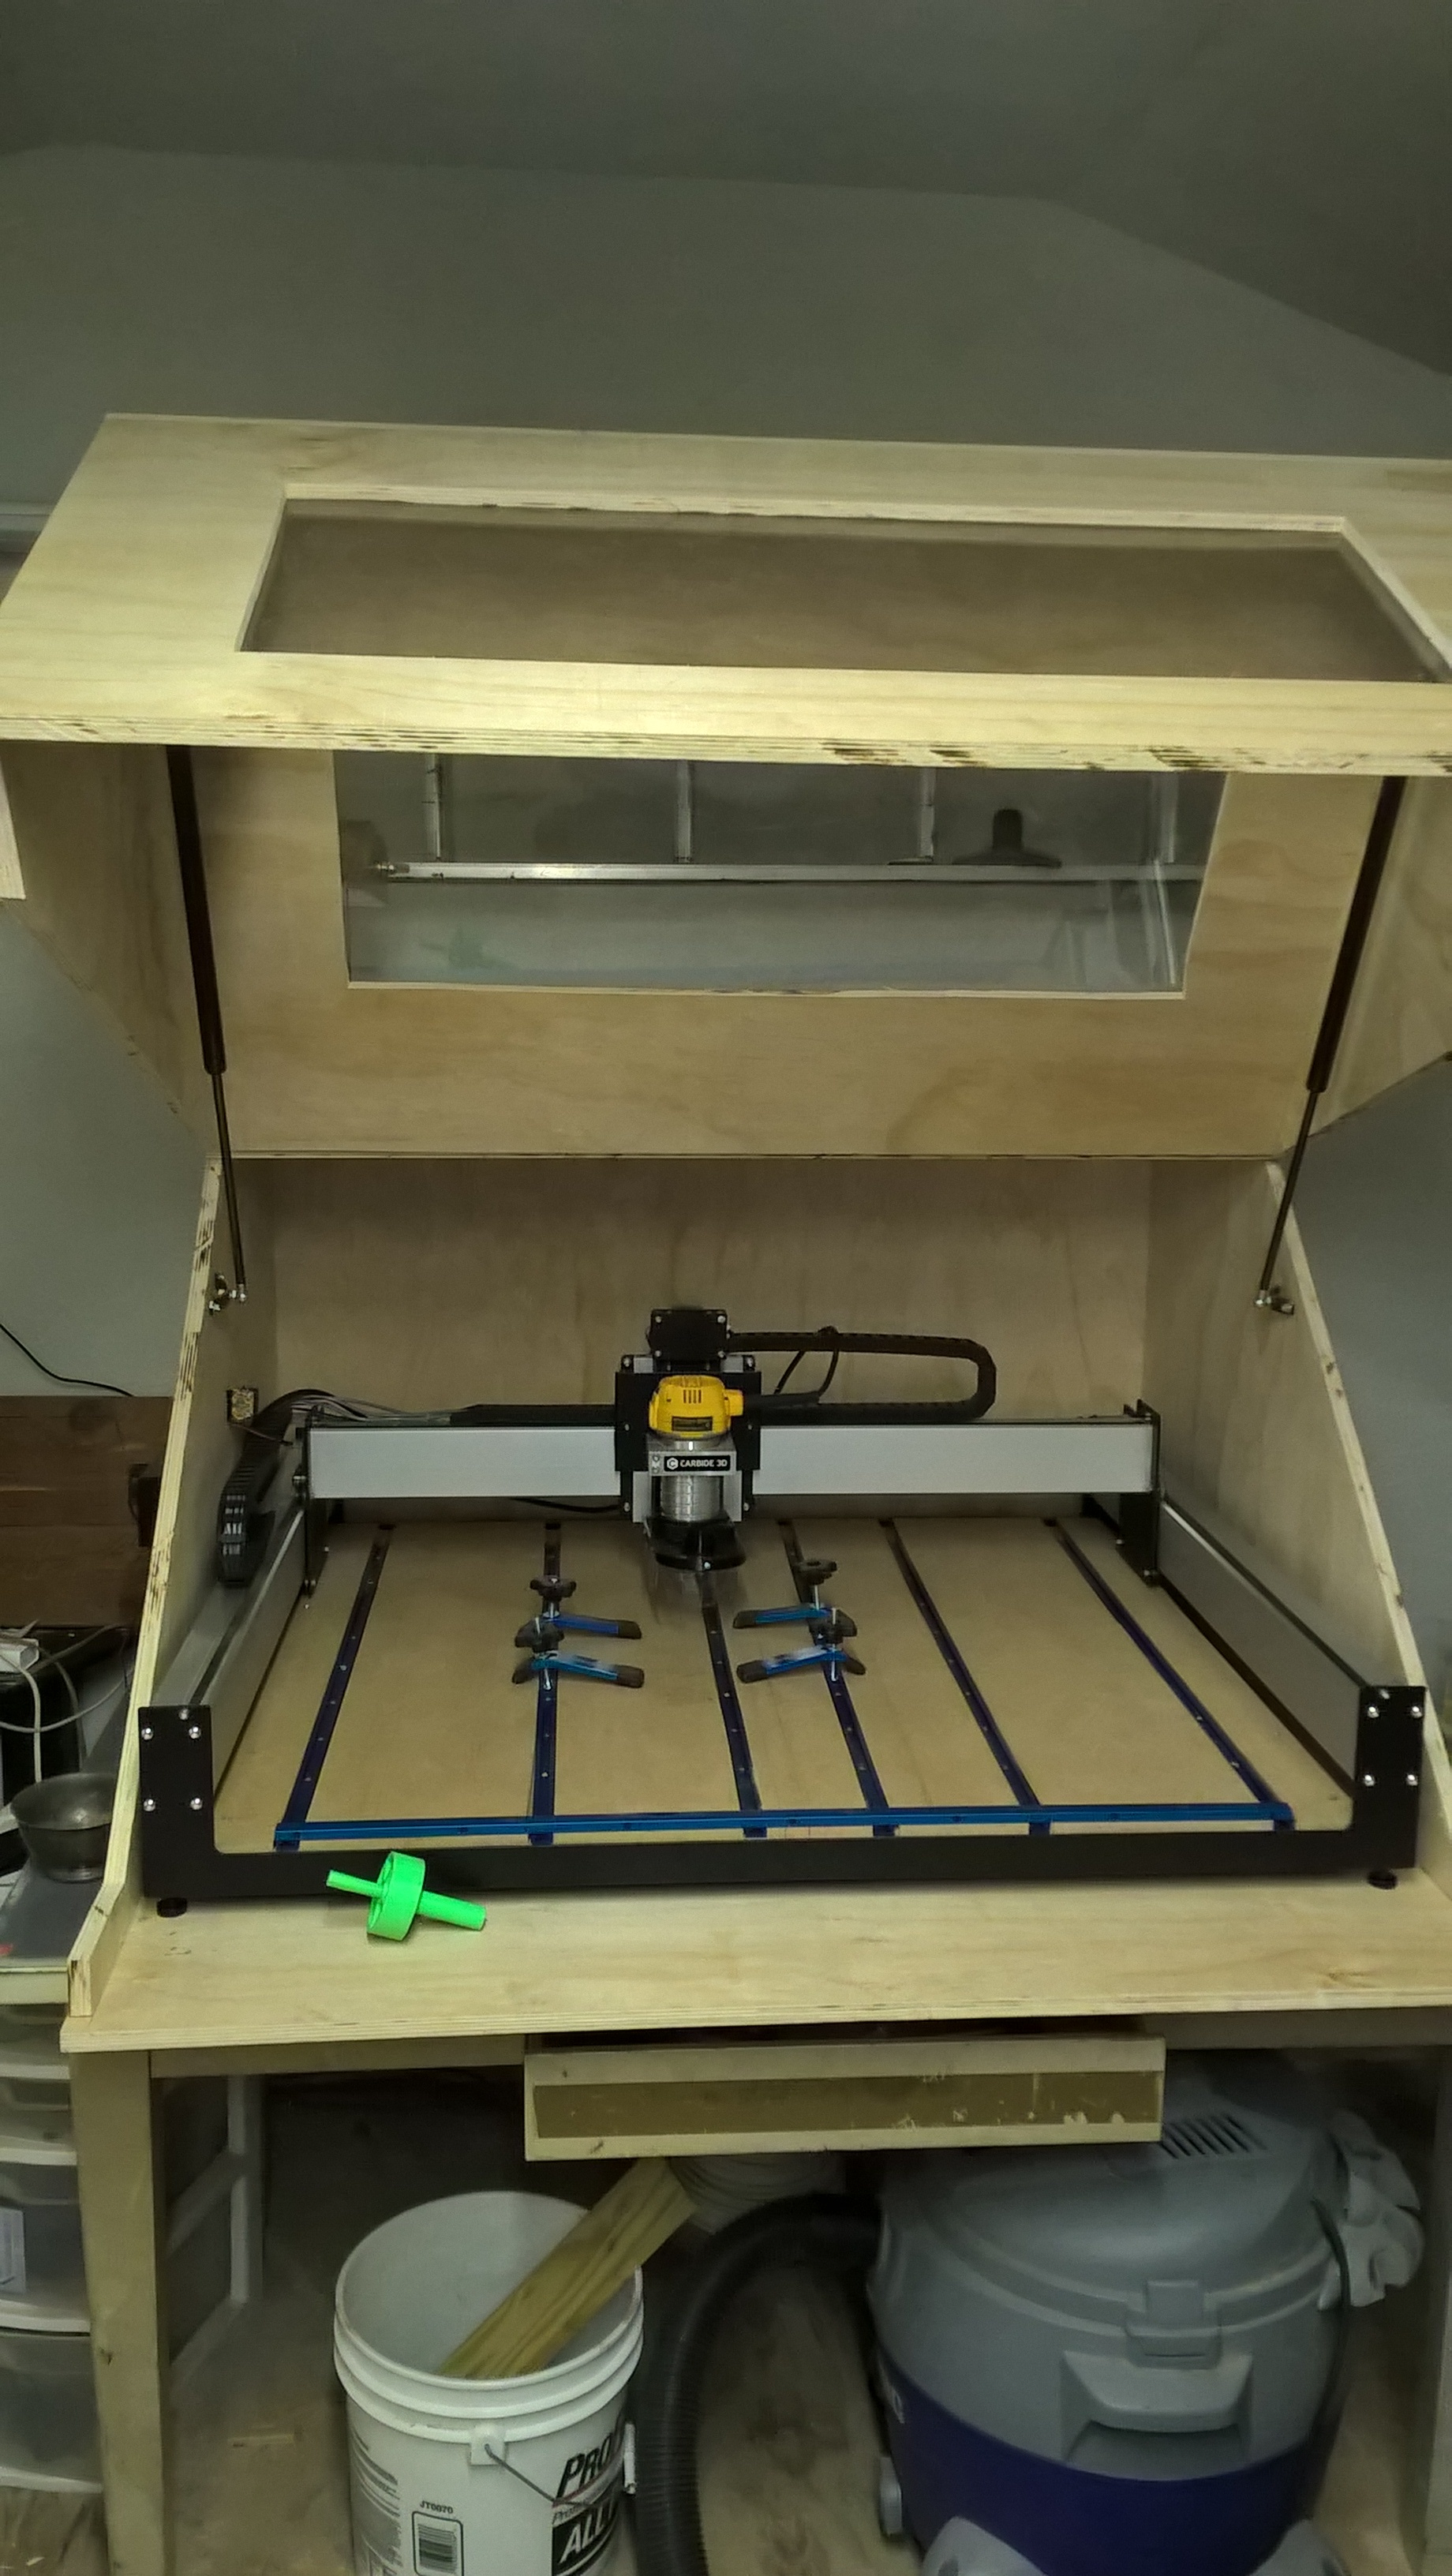
Now, while some must have (or really prefer) to have the Shapeoko in an enclosure. In my case, I can live with the noise. The best advantage to this is that I have full easy access to the machine for adjustments, inspections, cleaning, etc.
It’s something to think about, and I’m sure you have.
1 Like
Thank you @DJ_Valenski ive also thought up a plan so i can clean and inspect and still enjoy the enclosure.Im not sure when ill get around to doing it but ill def post pics when i do.