Hey gents - I need some help 
Issue - no idea how to create (2) files - please see below.
Equipment:
Shapeoko XXL
3/4" Bottom Cleaning Bit
What I’ve done so far:
I copied the XXL waste-board kit from the online Carbide store with locally sourced track and MDF I had on hand. My waste-board covers the entire deck, which I’ve learned will leave a ‘ridge’ marking the X/Y boundaries one I run the levelling function.
To eliminate this, it was suggested that I run a 32"x32" ‘square’ in Carbide Create to give me a thin outline as reference. From there, unscrew my existing waste-board and then trim off the ‘out of bounds’ area with a table-saw, re-mount to my XXL base and then run a levelling function.
I’m guessing that this will take 2 separate files in Carbide Create - one to mark the perimeter with a light pass and another for the actual levelling process once I have my waste-board trimmed and reinstalled.
-
For the first operation (perimeter cut), I’ve created a new file in Carbide Create setting ‘stock size’ to 32 x 32.
-
For ‘stock thickness’ I set it to .75 (3/4" MDF) - dropdown is set to ‘top’ but I don’t know if this is right.
-
Toolpath Zero - set to ‘Lower Left’
-
Material - set to MDF-Wood
-
Machine set to SH. XXL - ‘retract Height’ set to default 10mm (no idea if this is suitable / what this means).
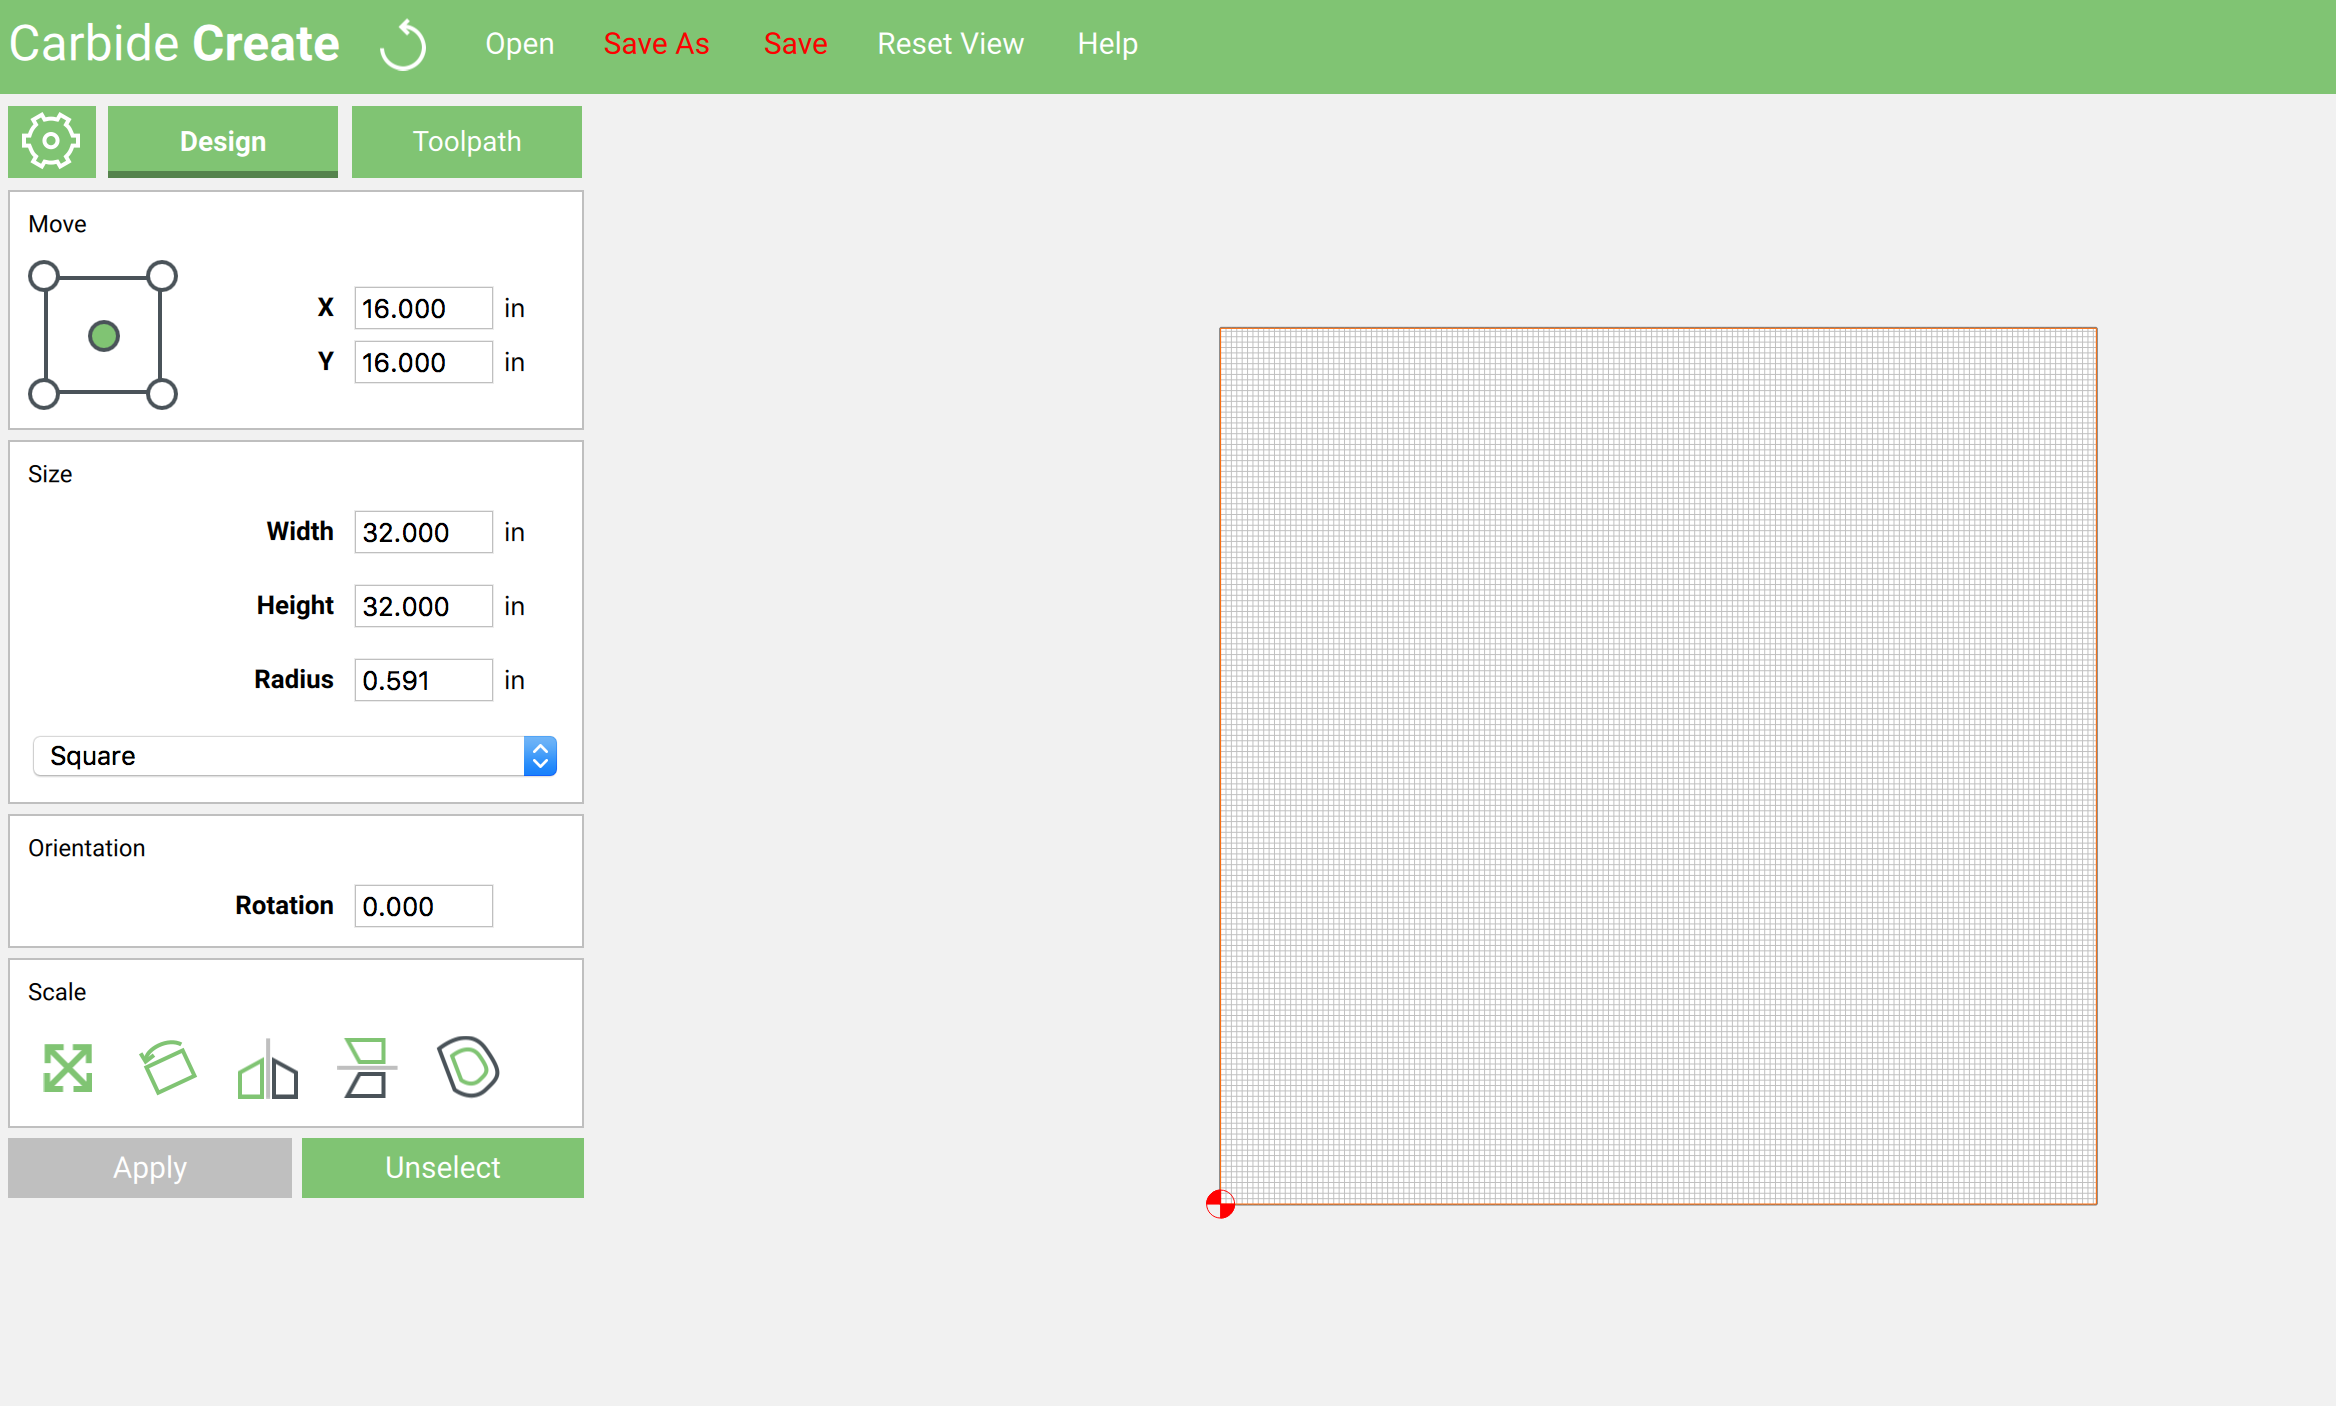
Then I created a rectangle at 32 by 32, X/Y are set to 16".
This is as far as I’ve gotten. I have no idea what to enter in the ‘Toolpath’ tab or how to run the next file for actually levelling the board.
I appreciate any help. ‘Dumbing down’ is highly encouraged. Thanks!!