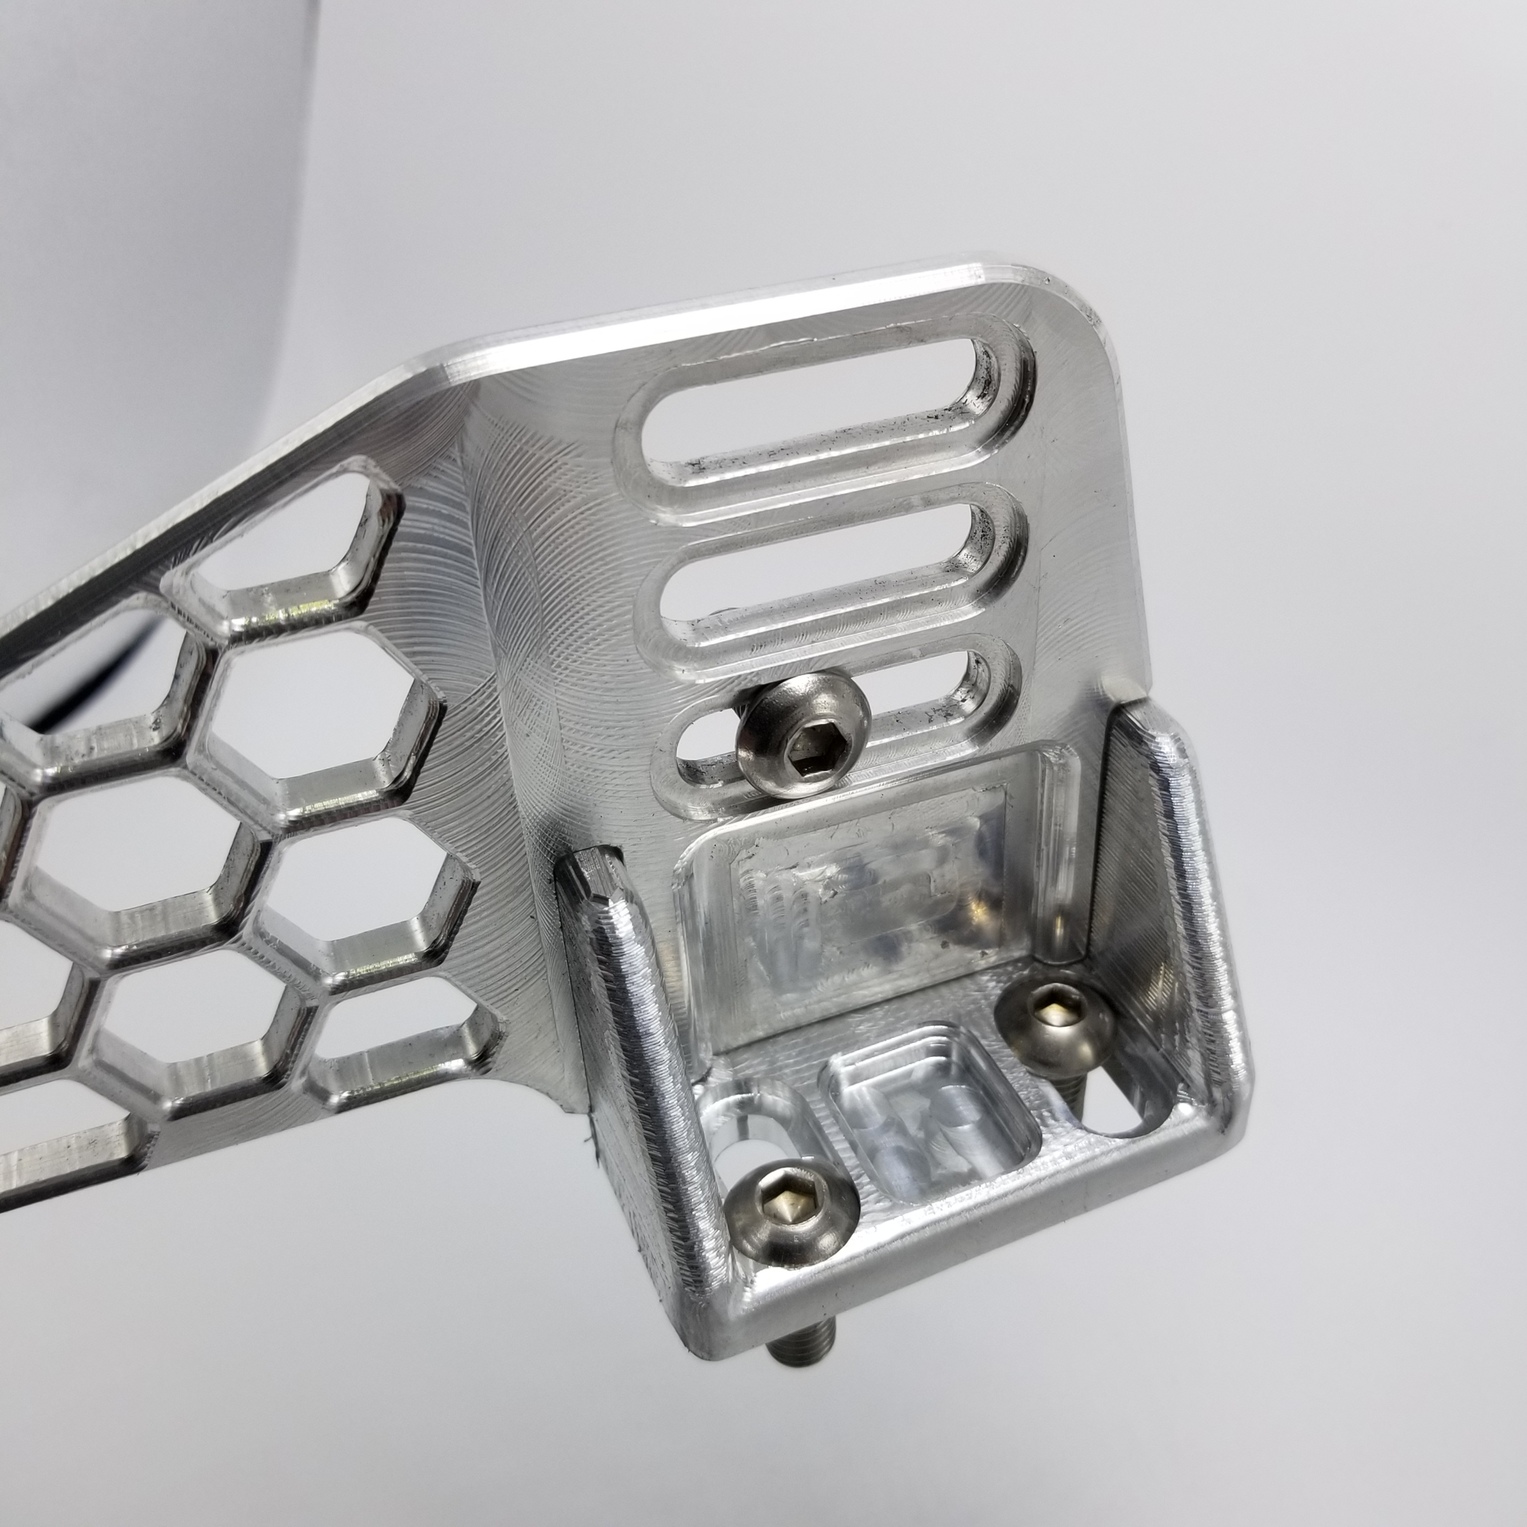
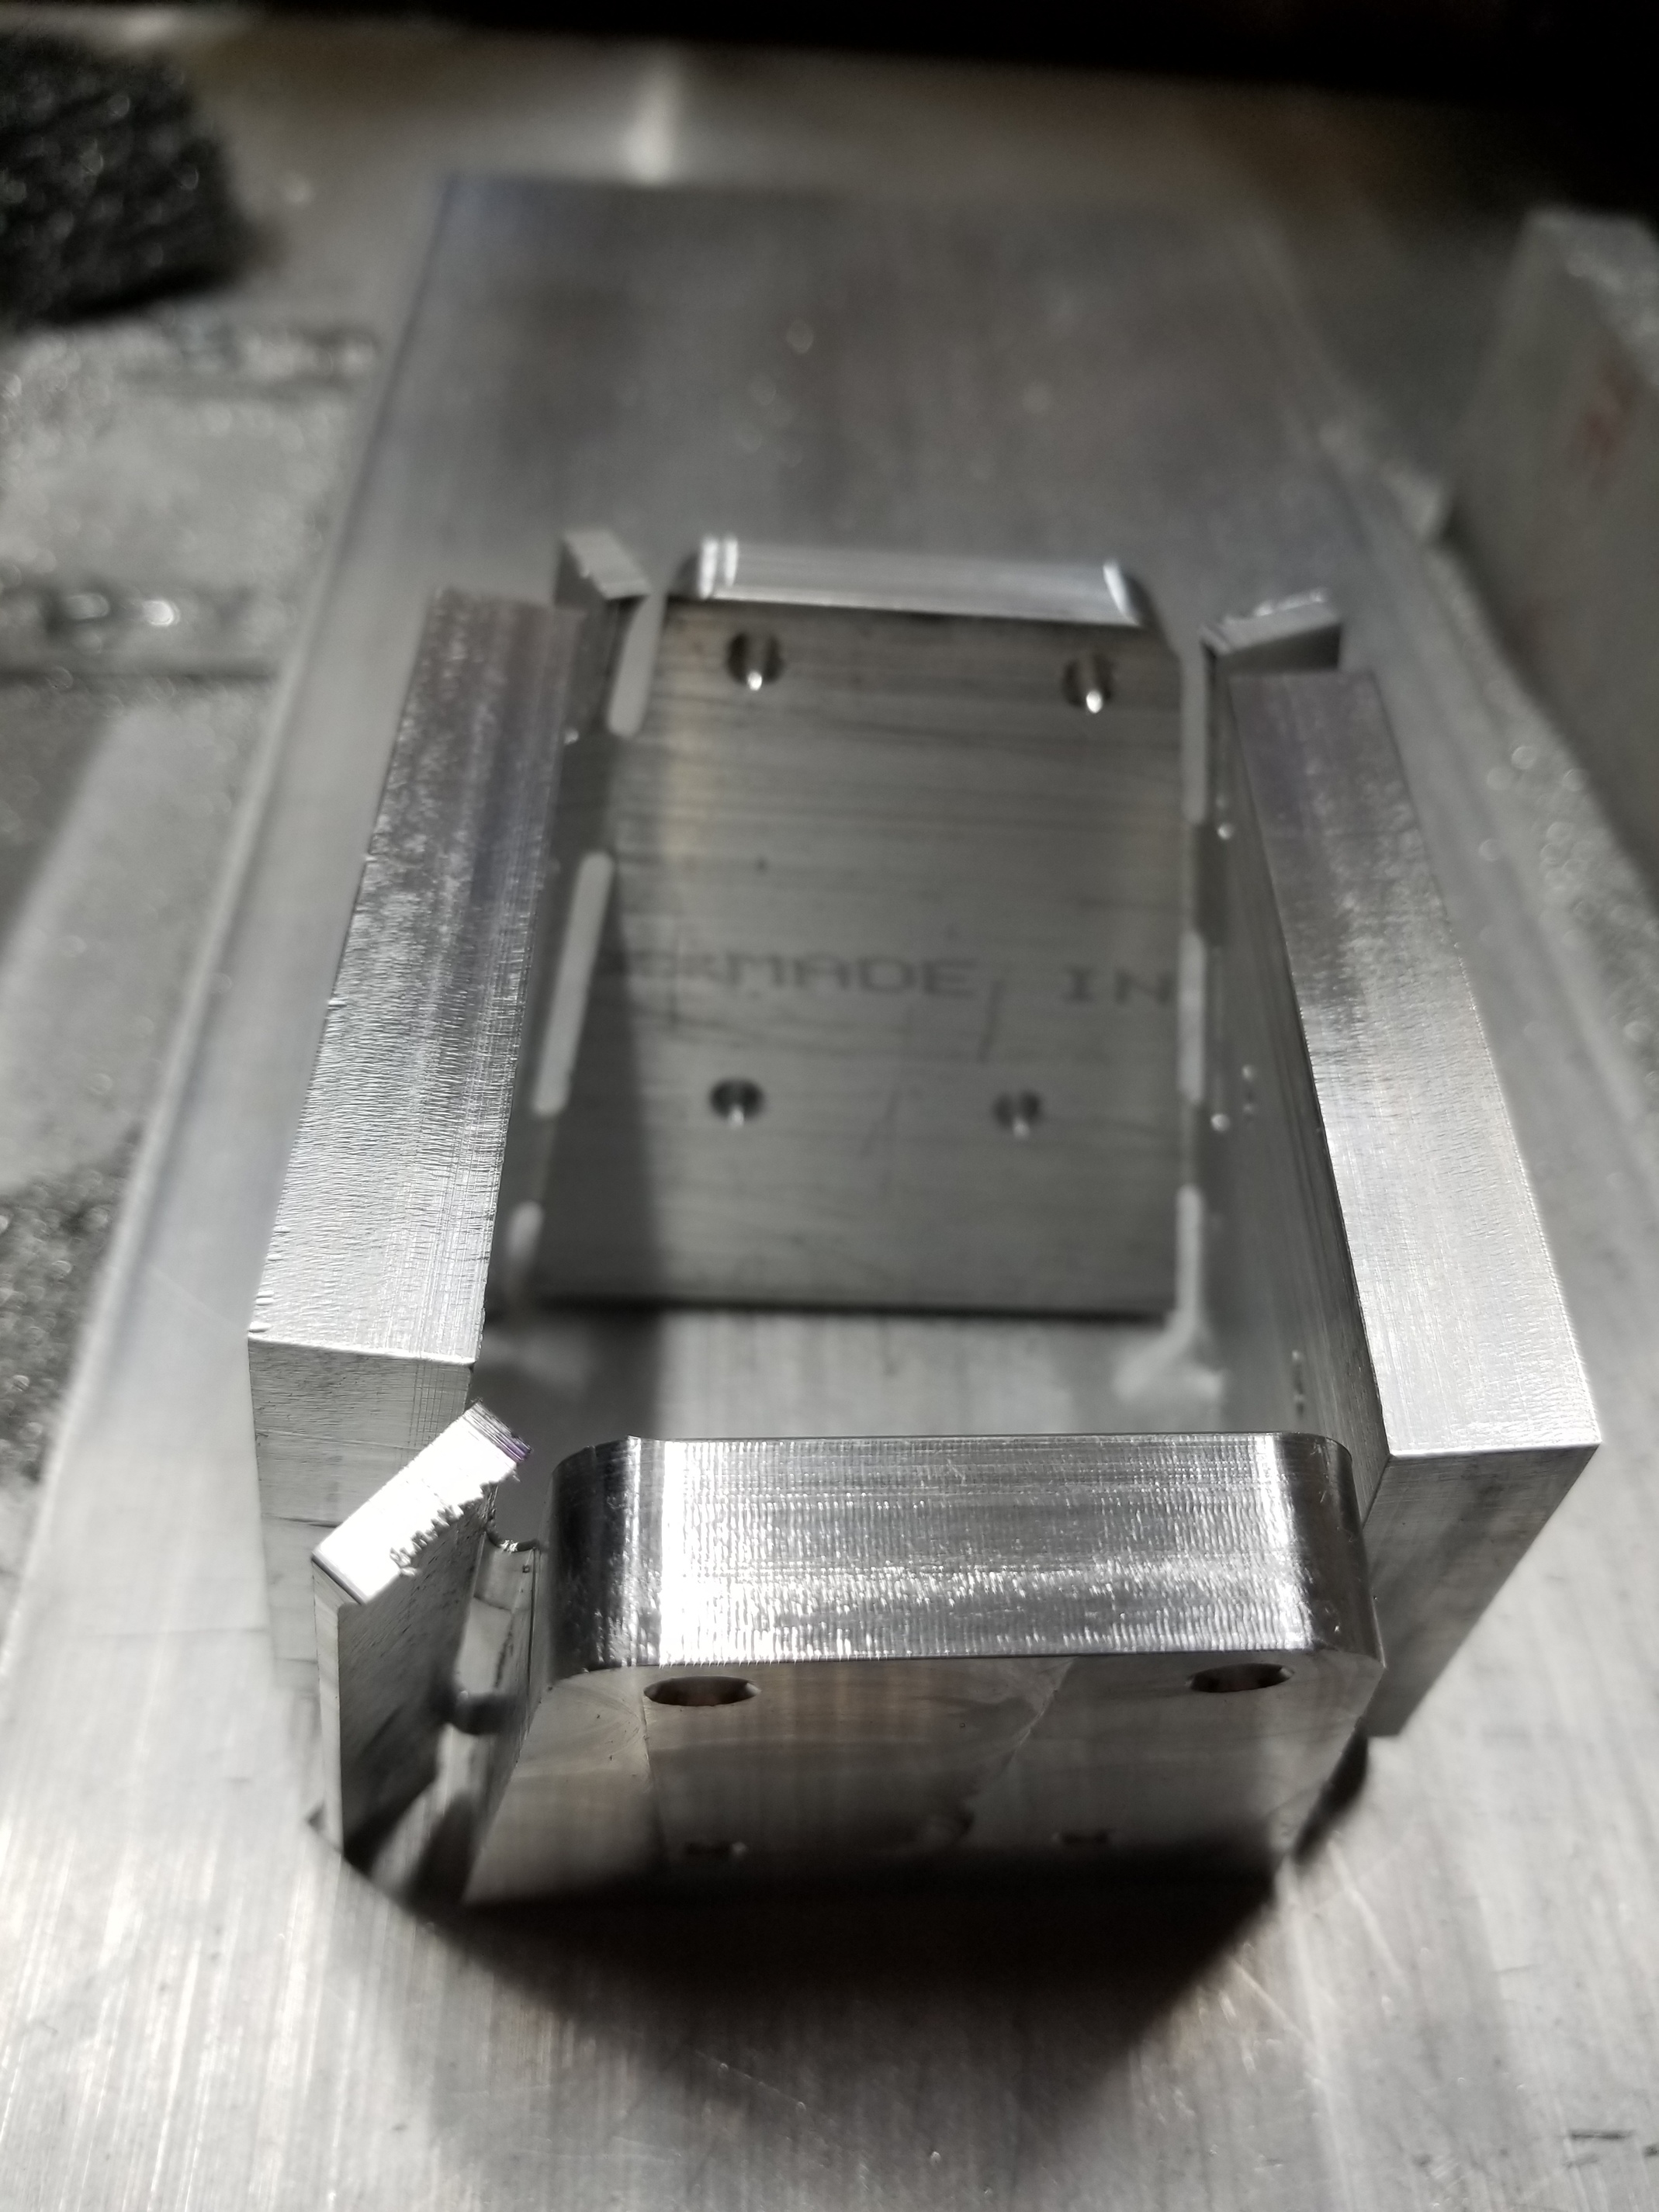
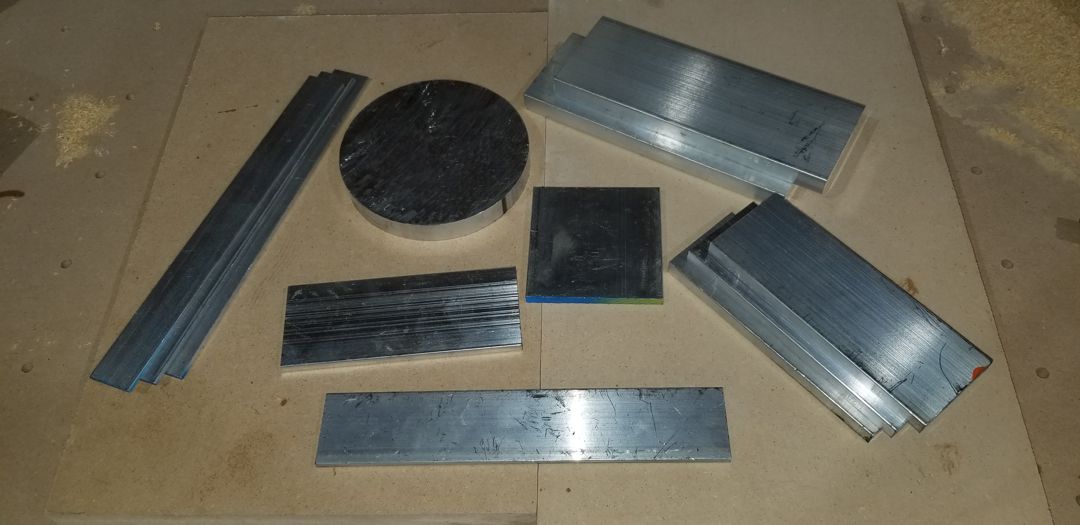
Test fit before final clean, debur, tig welding. Really happy with these but in hindsight I should have done the second setup a little different for better ball contouring accuracy. Decided to skip the fillet on the pocket.
Bolt tolerances and fitment are on point and should really help with the part strength in case an accident ever occurs. This will be a track car as well
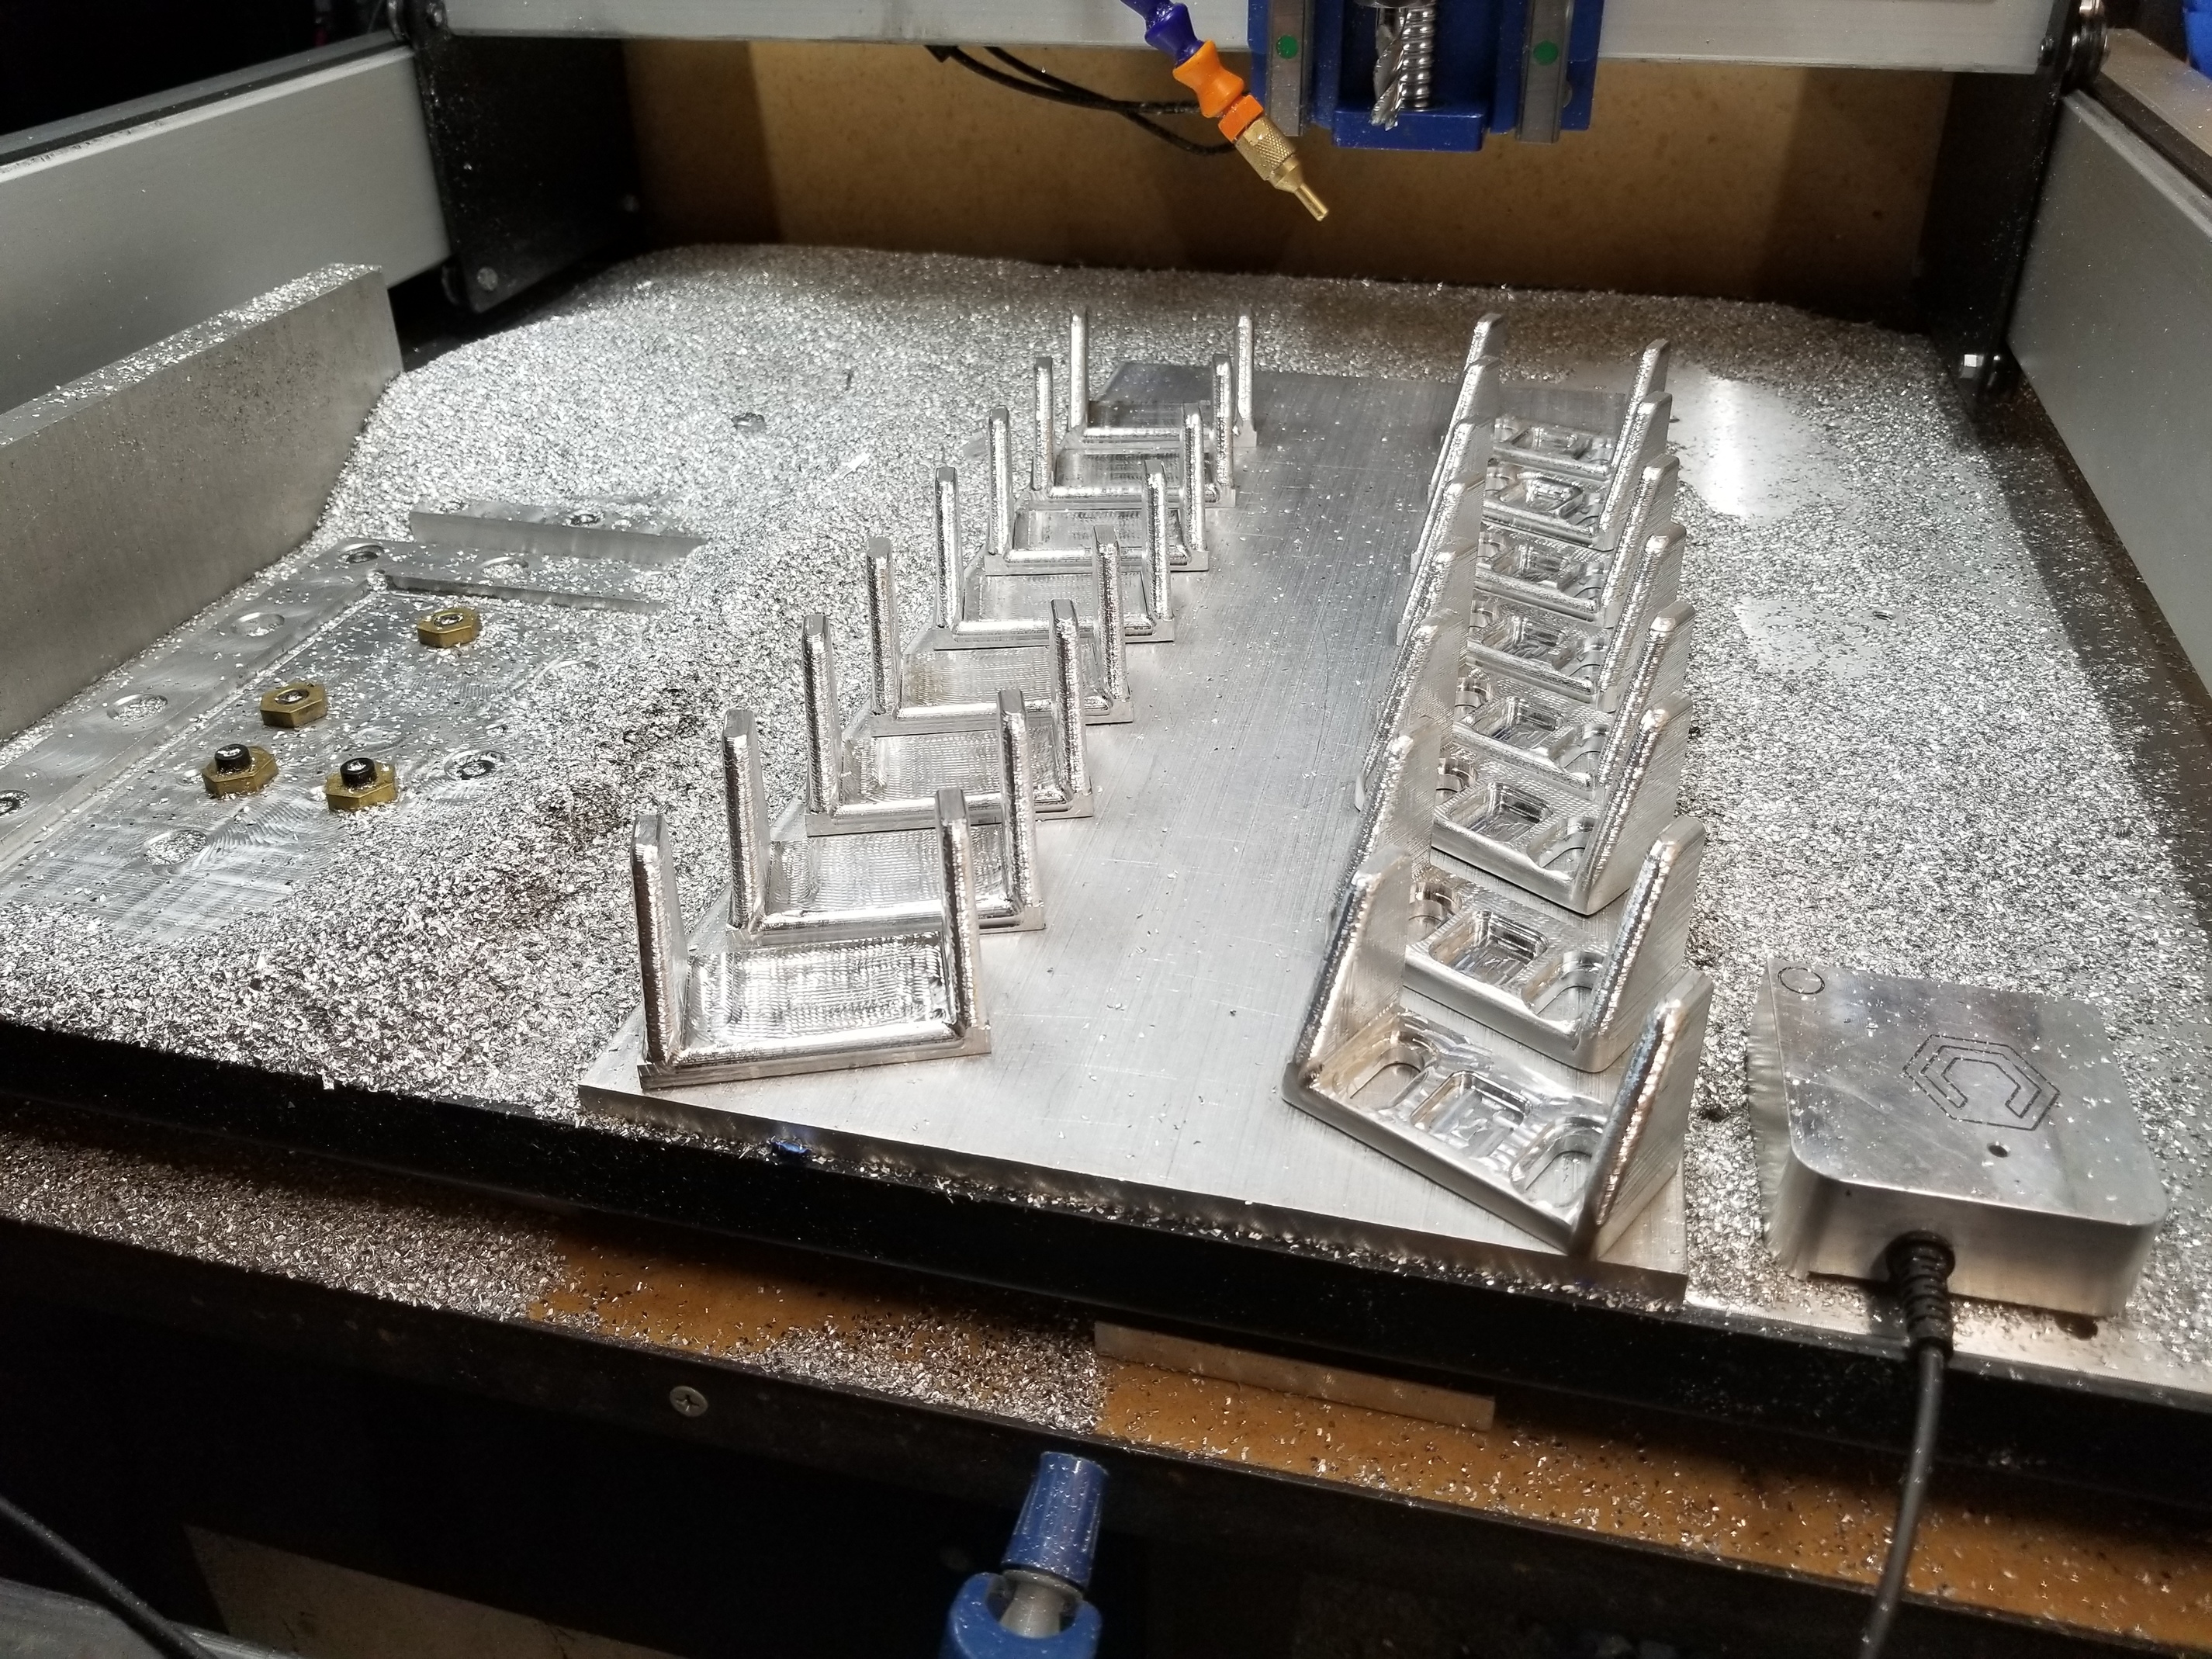
Time to finish 2nd op on the set of “in stock” brackets. These take much more time for setup so I decided to have extra, they will fit all Recaro sliders and we do a bunch of Evos here. They are also great little pieces to show people cnc abilities.
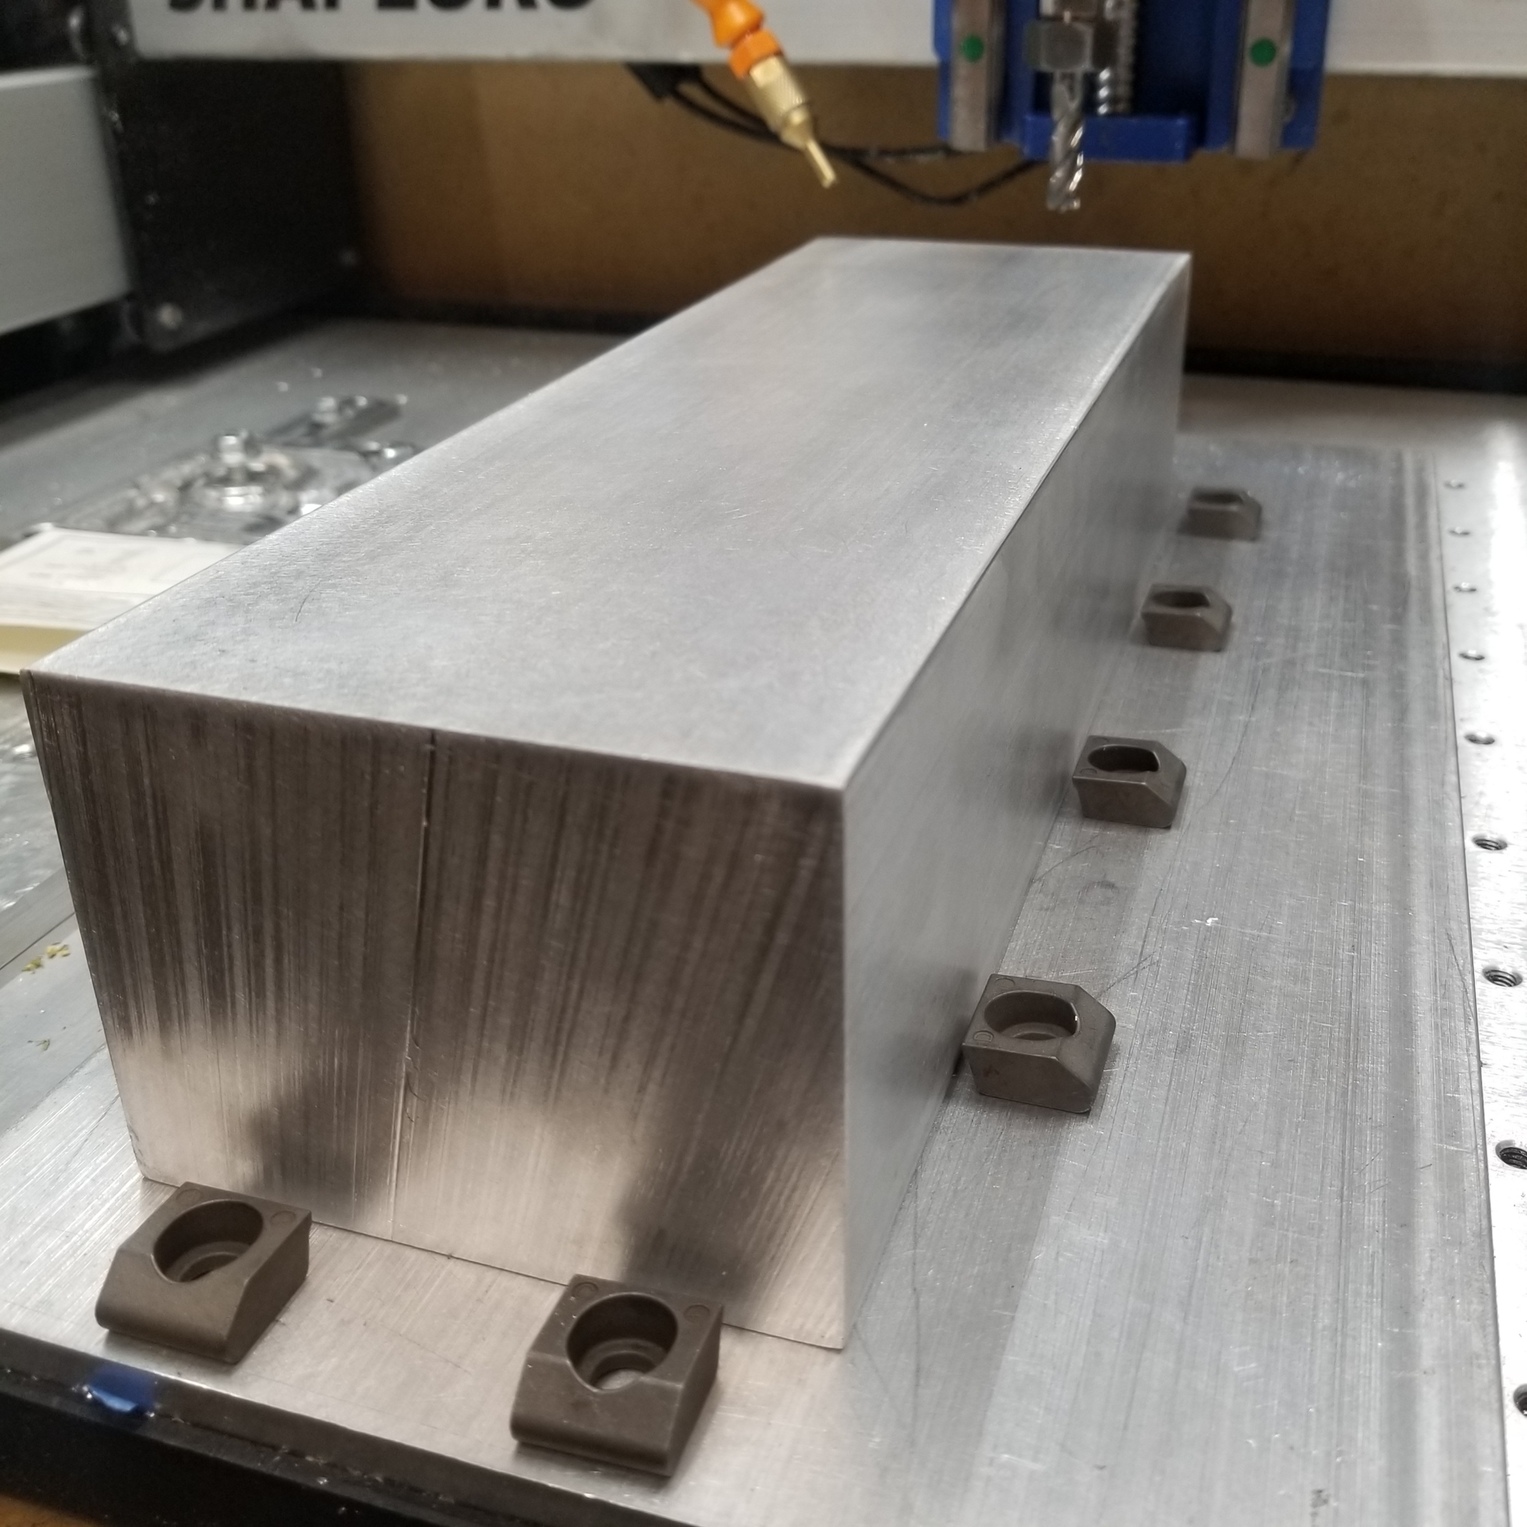
Prepping the huge 3x4x12 blocks and finalizing this design, going to add some cooling/structural fins. The simulations will be very helpful to design desired strength as this intercooler could see as high as 70 psi of boost.
On a side note the landlord put in two separate 110 circuits and a 220 in the new cnc room. Kinda really stoked. Definitely need to either finish my enclosure or design a new one for a custom spec’d s3xl
@reidfo its excitement too, I’ve been fabricating for 17 years, my entire working life. To be able to express your craft in a different nature is primo.
You can make anything
Stay excited, stay young
Challenge possibilities
Speed comes with time
@neilferreri hoping to increase the previous max by 10-20%. But that’s a few sleepless nights away… actually might try a full DOC adaptive. This would be a hardware modification…
If you want to know setting for a stock z or stock plus beaver I can share those right now
I’m just curious what CAM operations you choose and what the settings are within those. I know my machine pretty well, but most of my knowledge comes from limited personal experience. It would be nice to gain from your experience by seeing a Fusion file.
Griff
(Well crap, my hypometric precursor device is blown…)
112
Hey Vince, don’t you think it’s time for you to start a YouTube channel in your ”spare“ time? HaHa! something like NYC CNC?
In the meantime, keep up the good work.
Been a tough week, my business partner decided that he wasn’t going to work anymore and it came to a head finally. Im left with four heavy project cars that need my immediate attention and ive started a 19/5 schedule to try to compensate. Nineteen hours in the shop, five hours sleeping and repeat lol.
I know that’s oversharing but that’s the extent of my free time haha. Just trying to make the best out of the situation.
Future is looking bright and I can’t wait to share the details of my next project! Maybe just maybe I’ll try the video thing. The more youtube I watch the more I realize there isn’t that much good content for cnc router guys n gals
3 Likes
Griff
(Well crap, my hypometric precursor device is blown…)
115
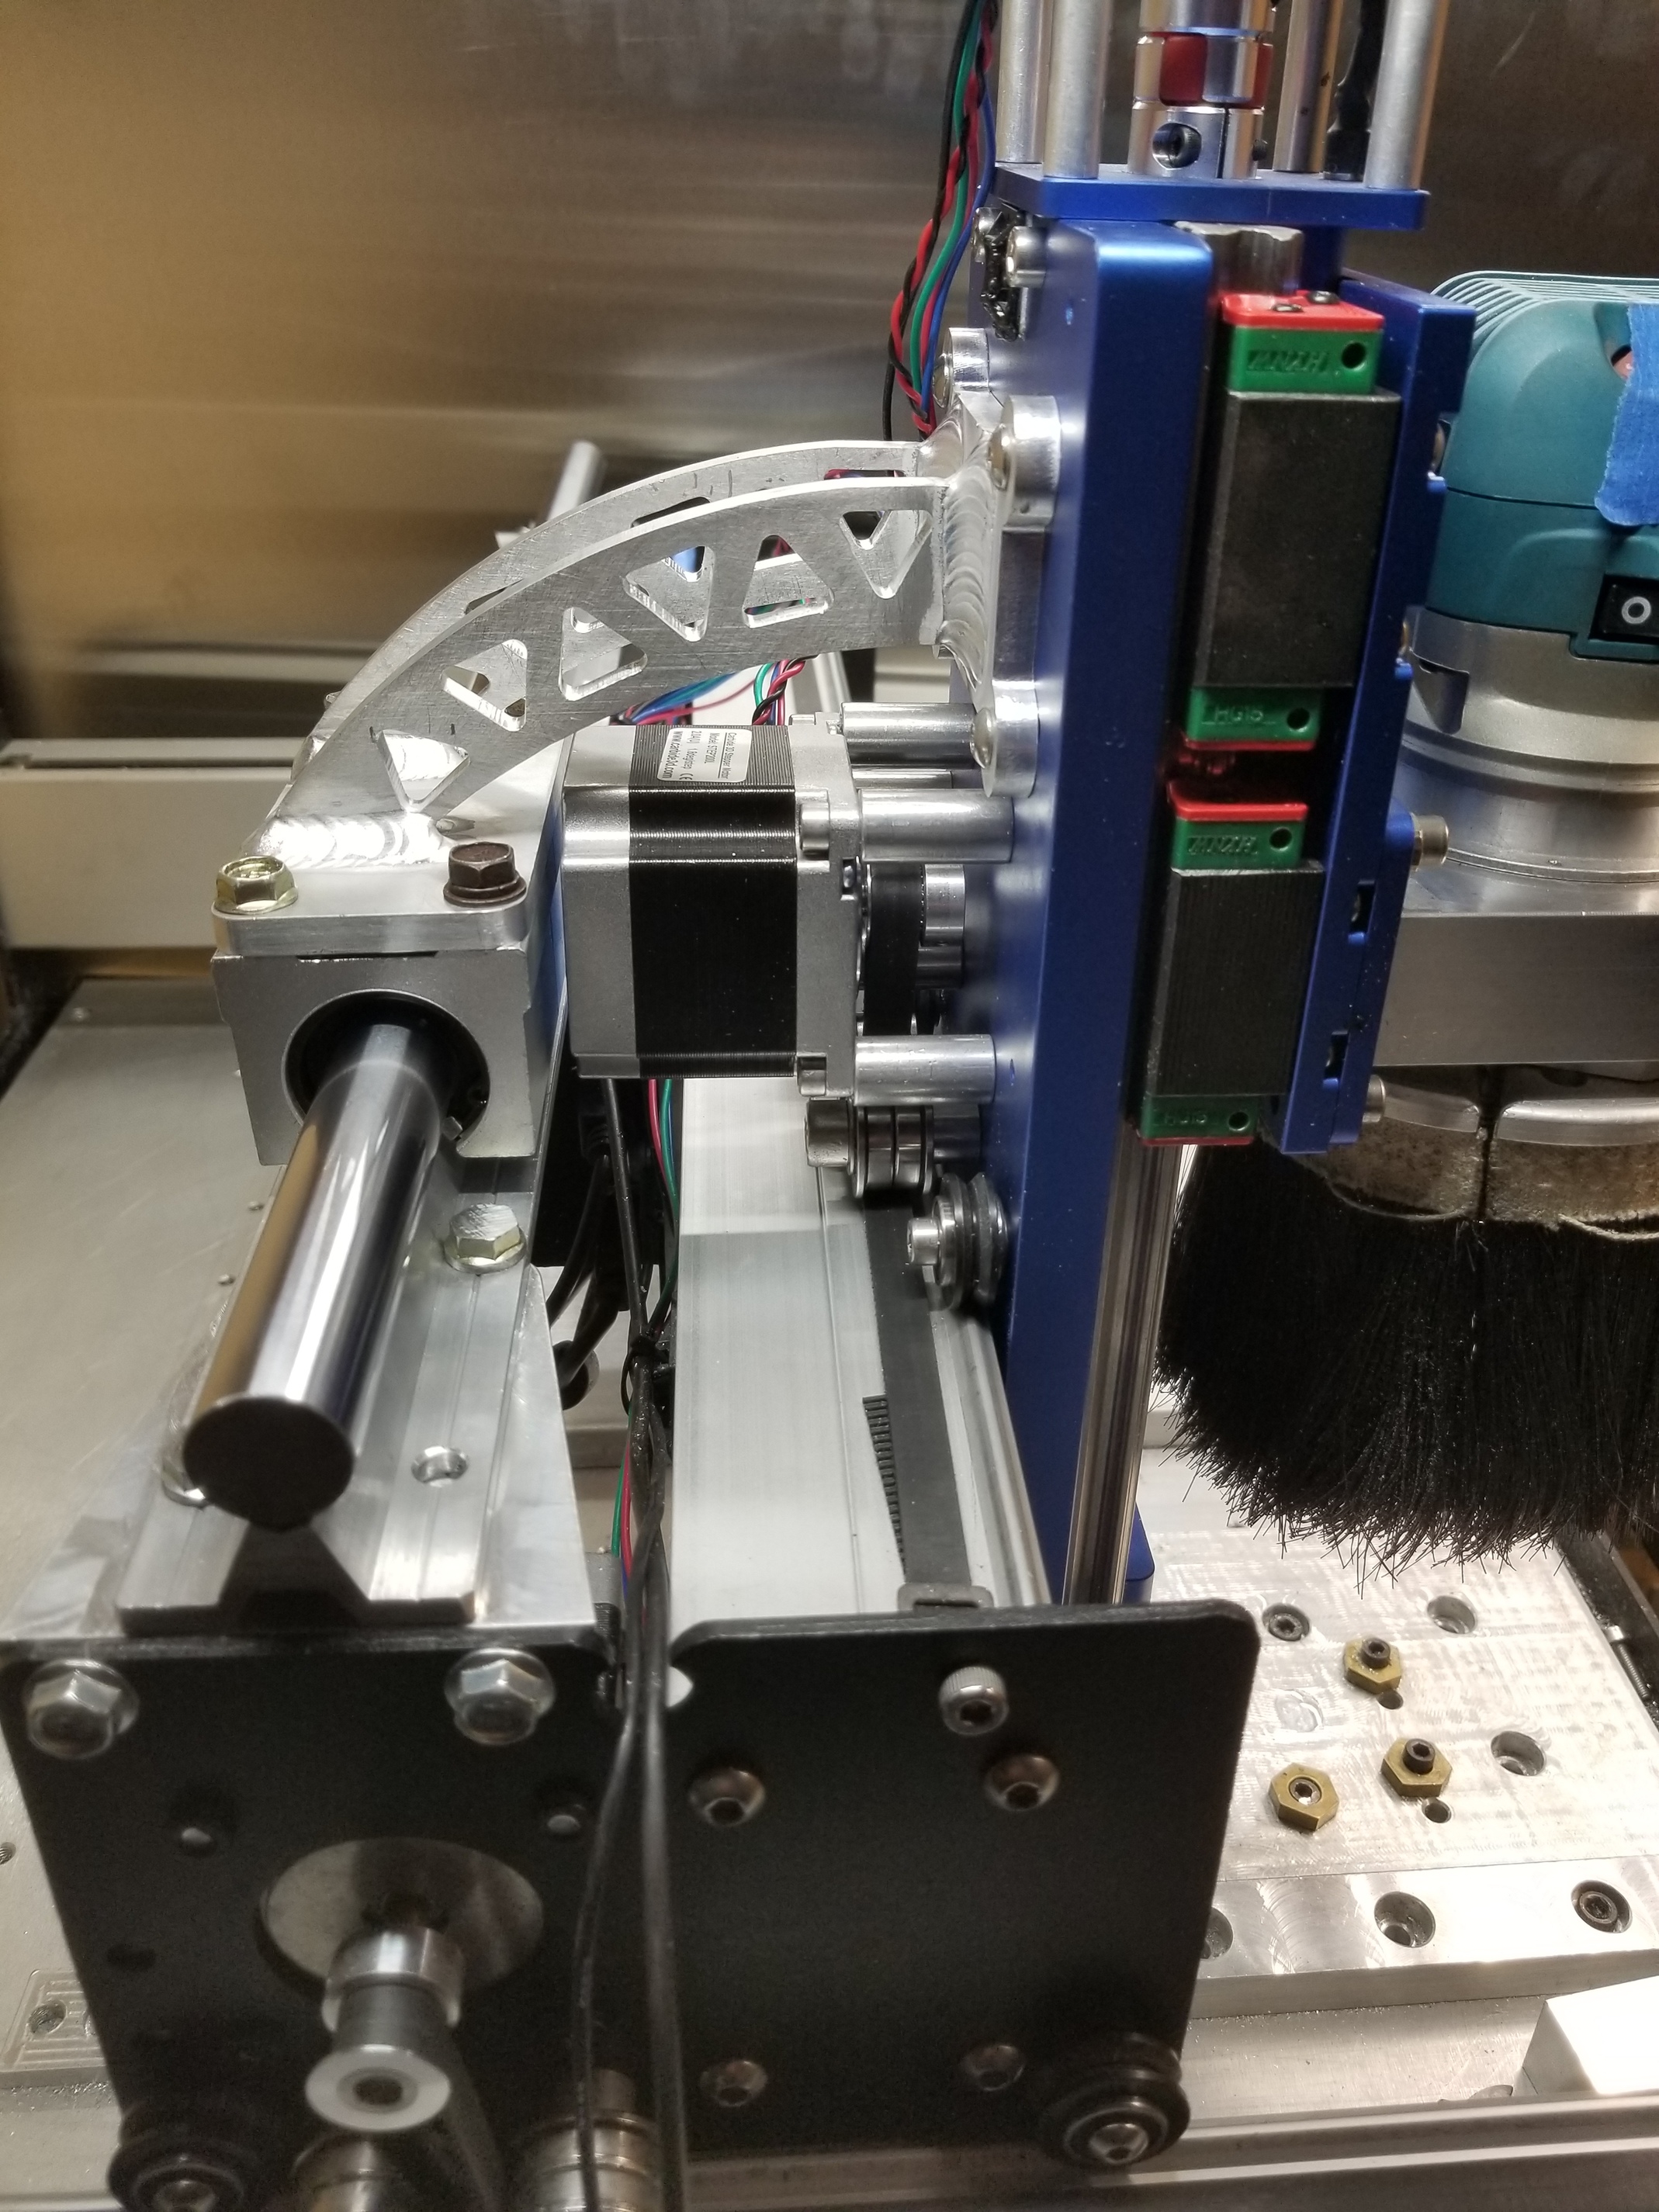
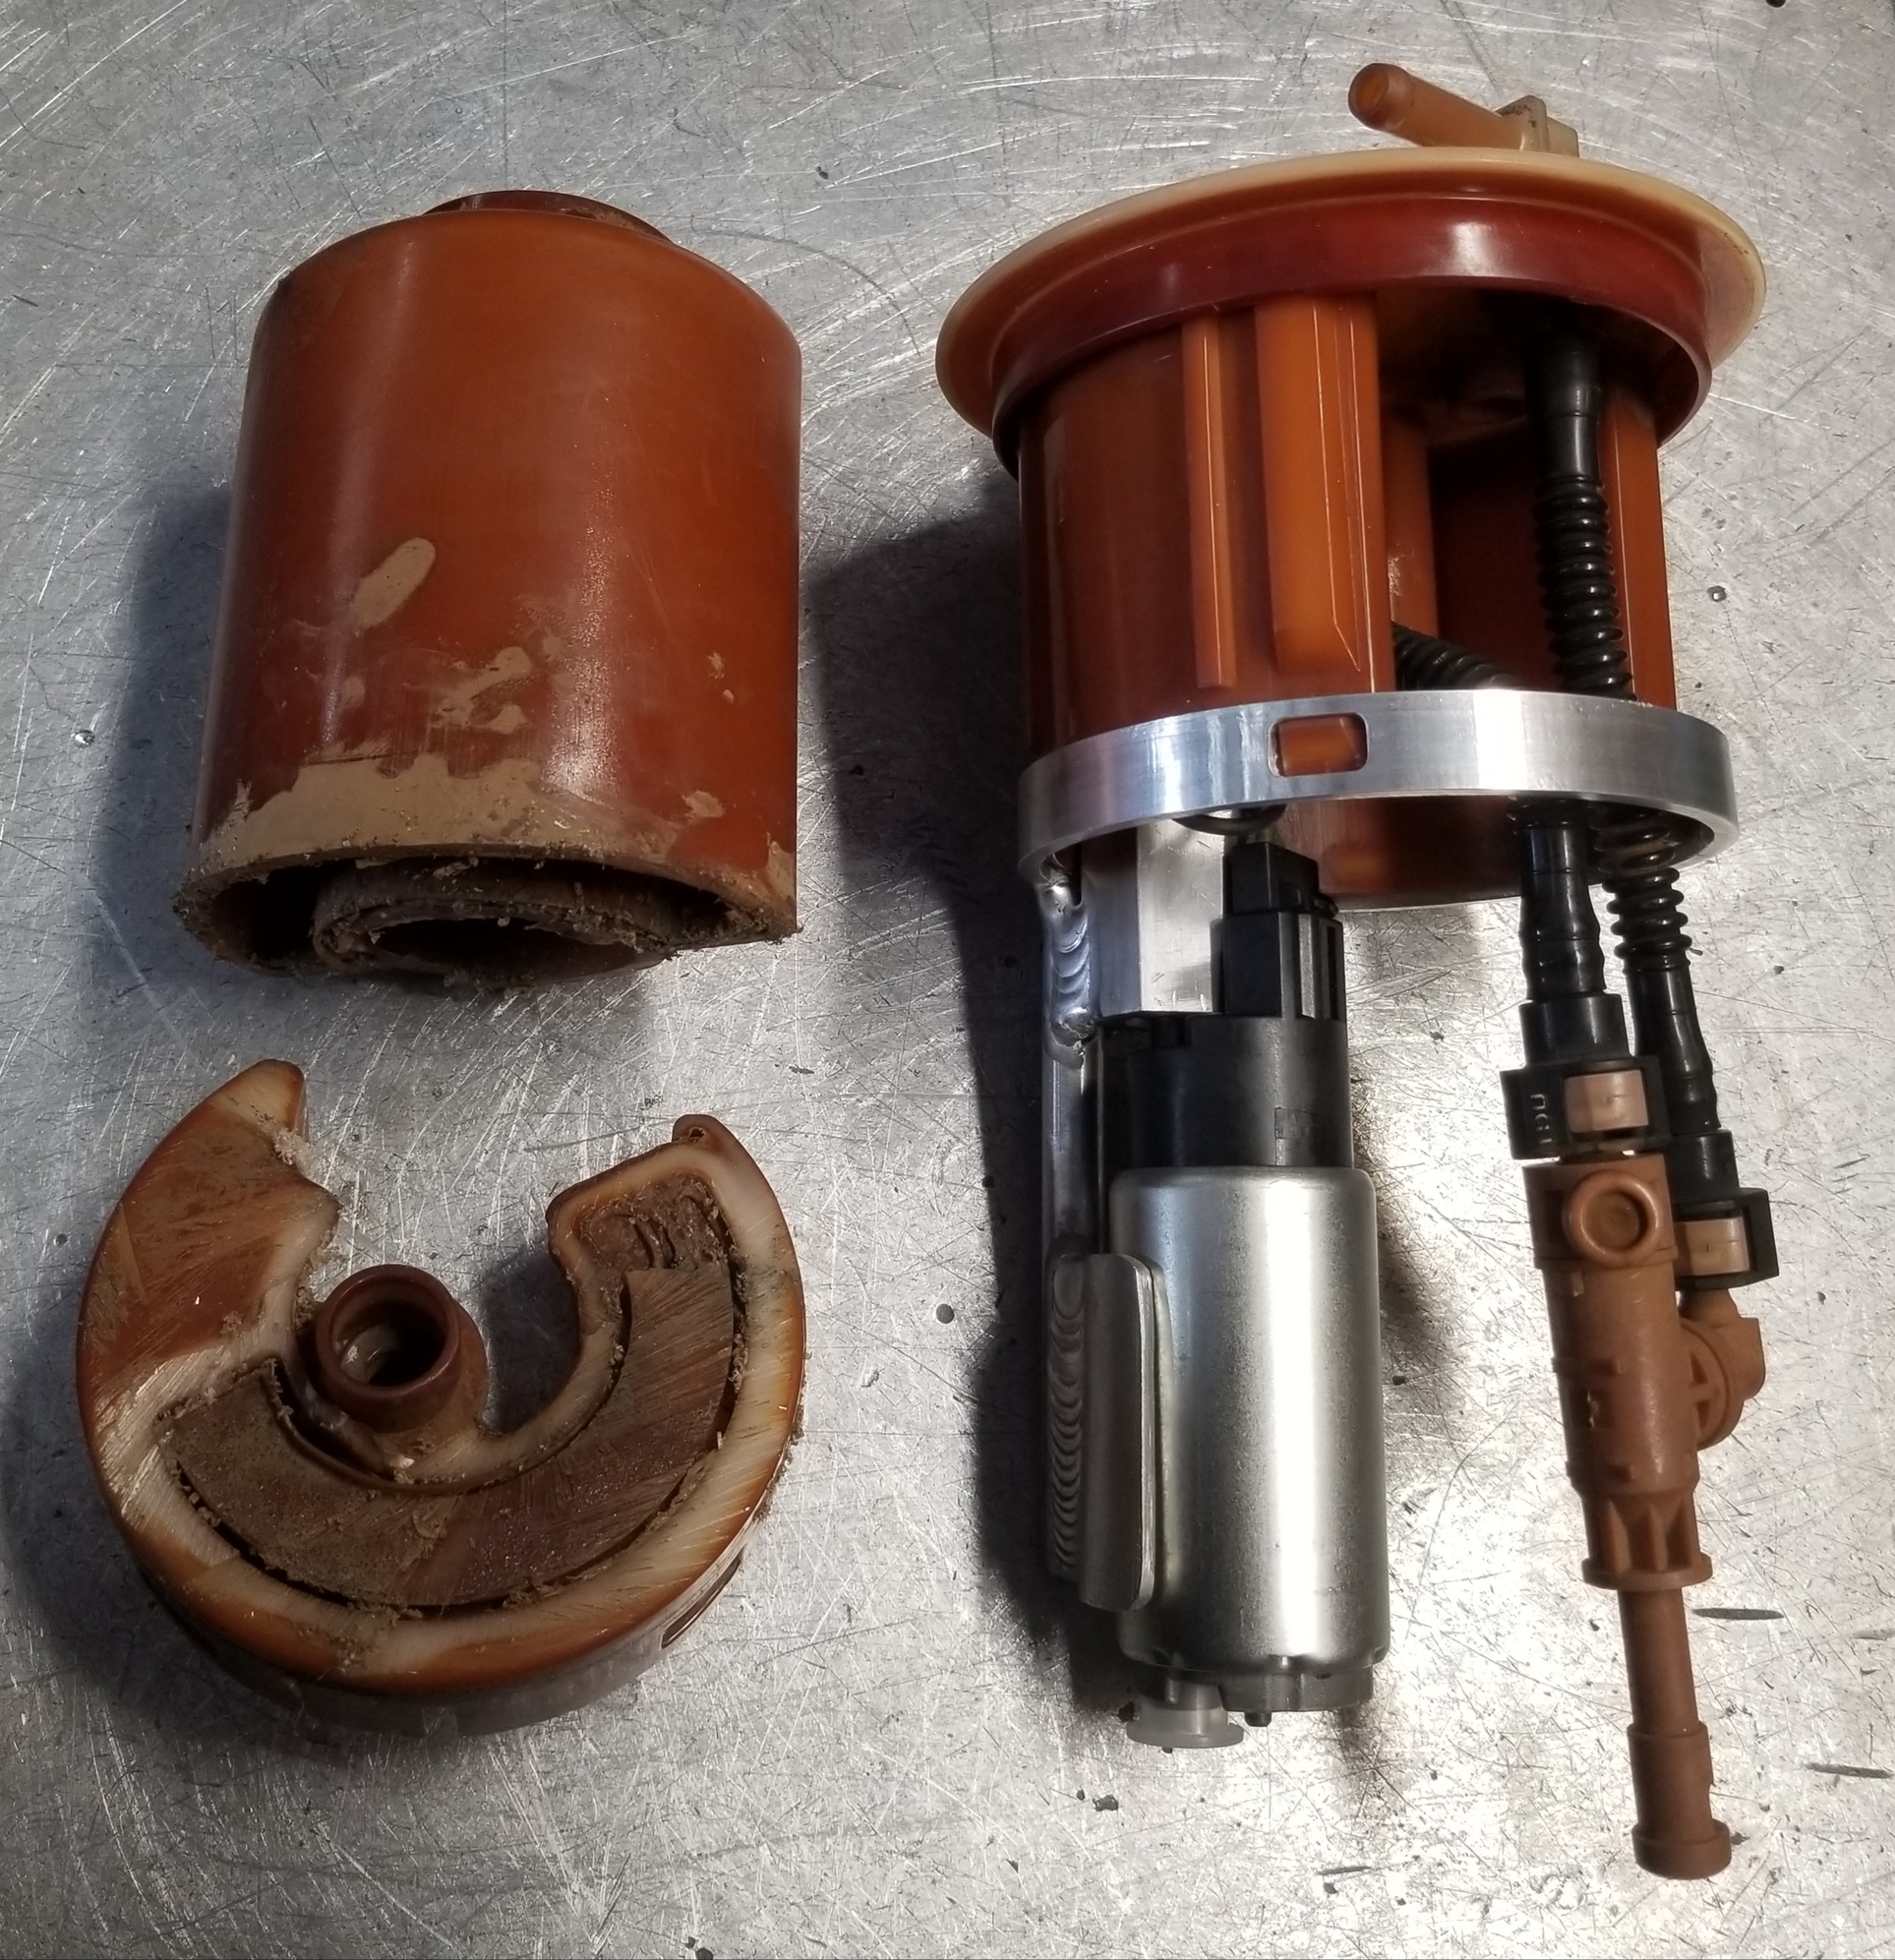
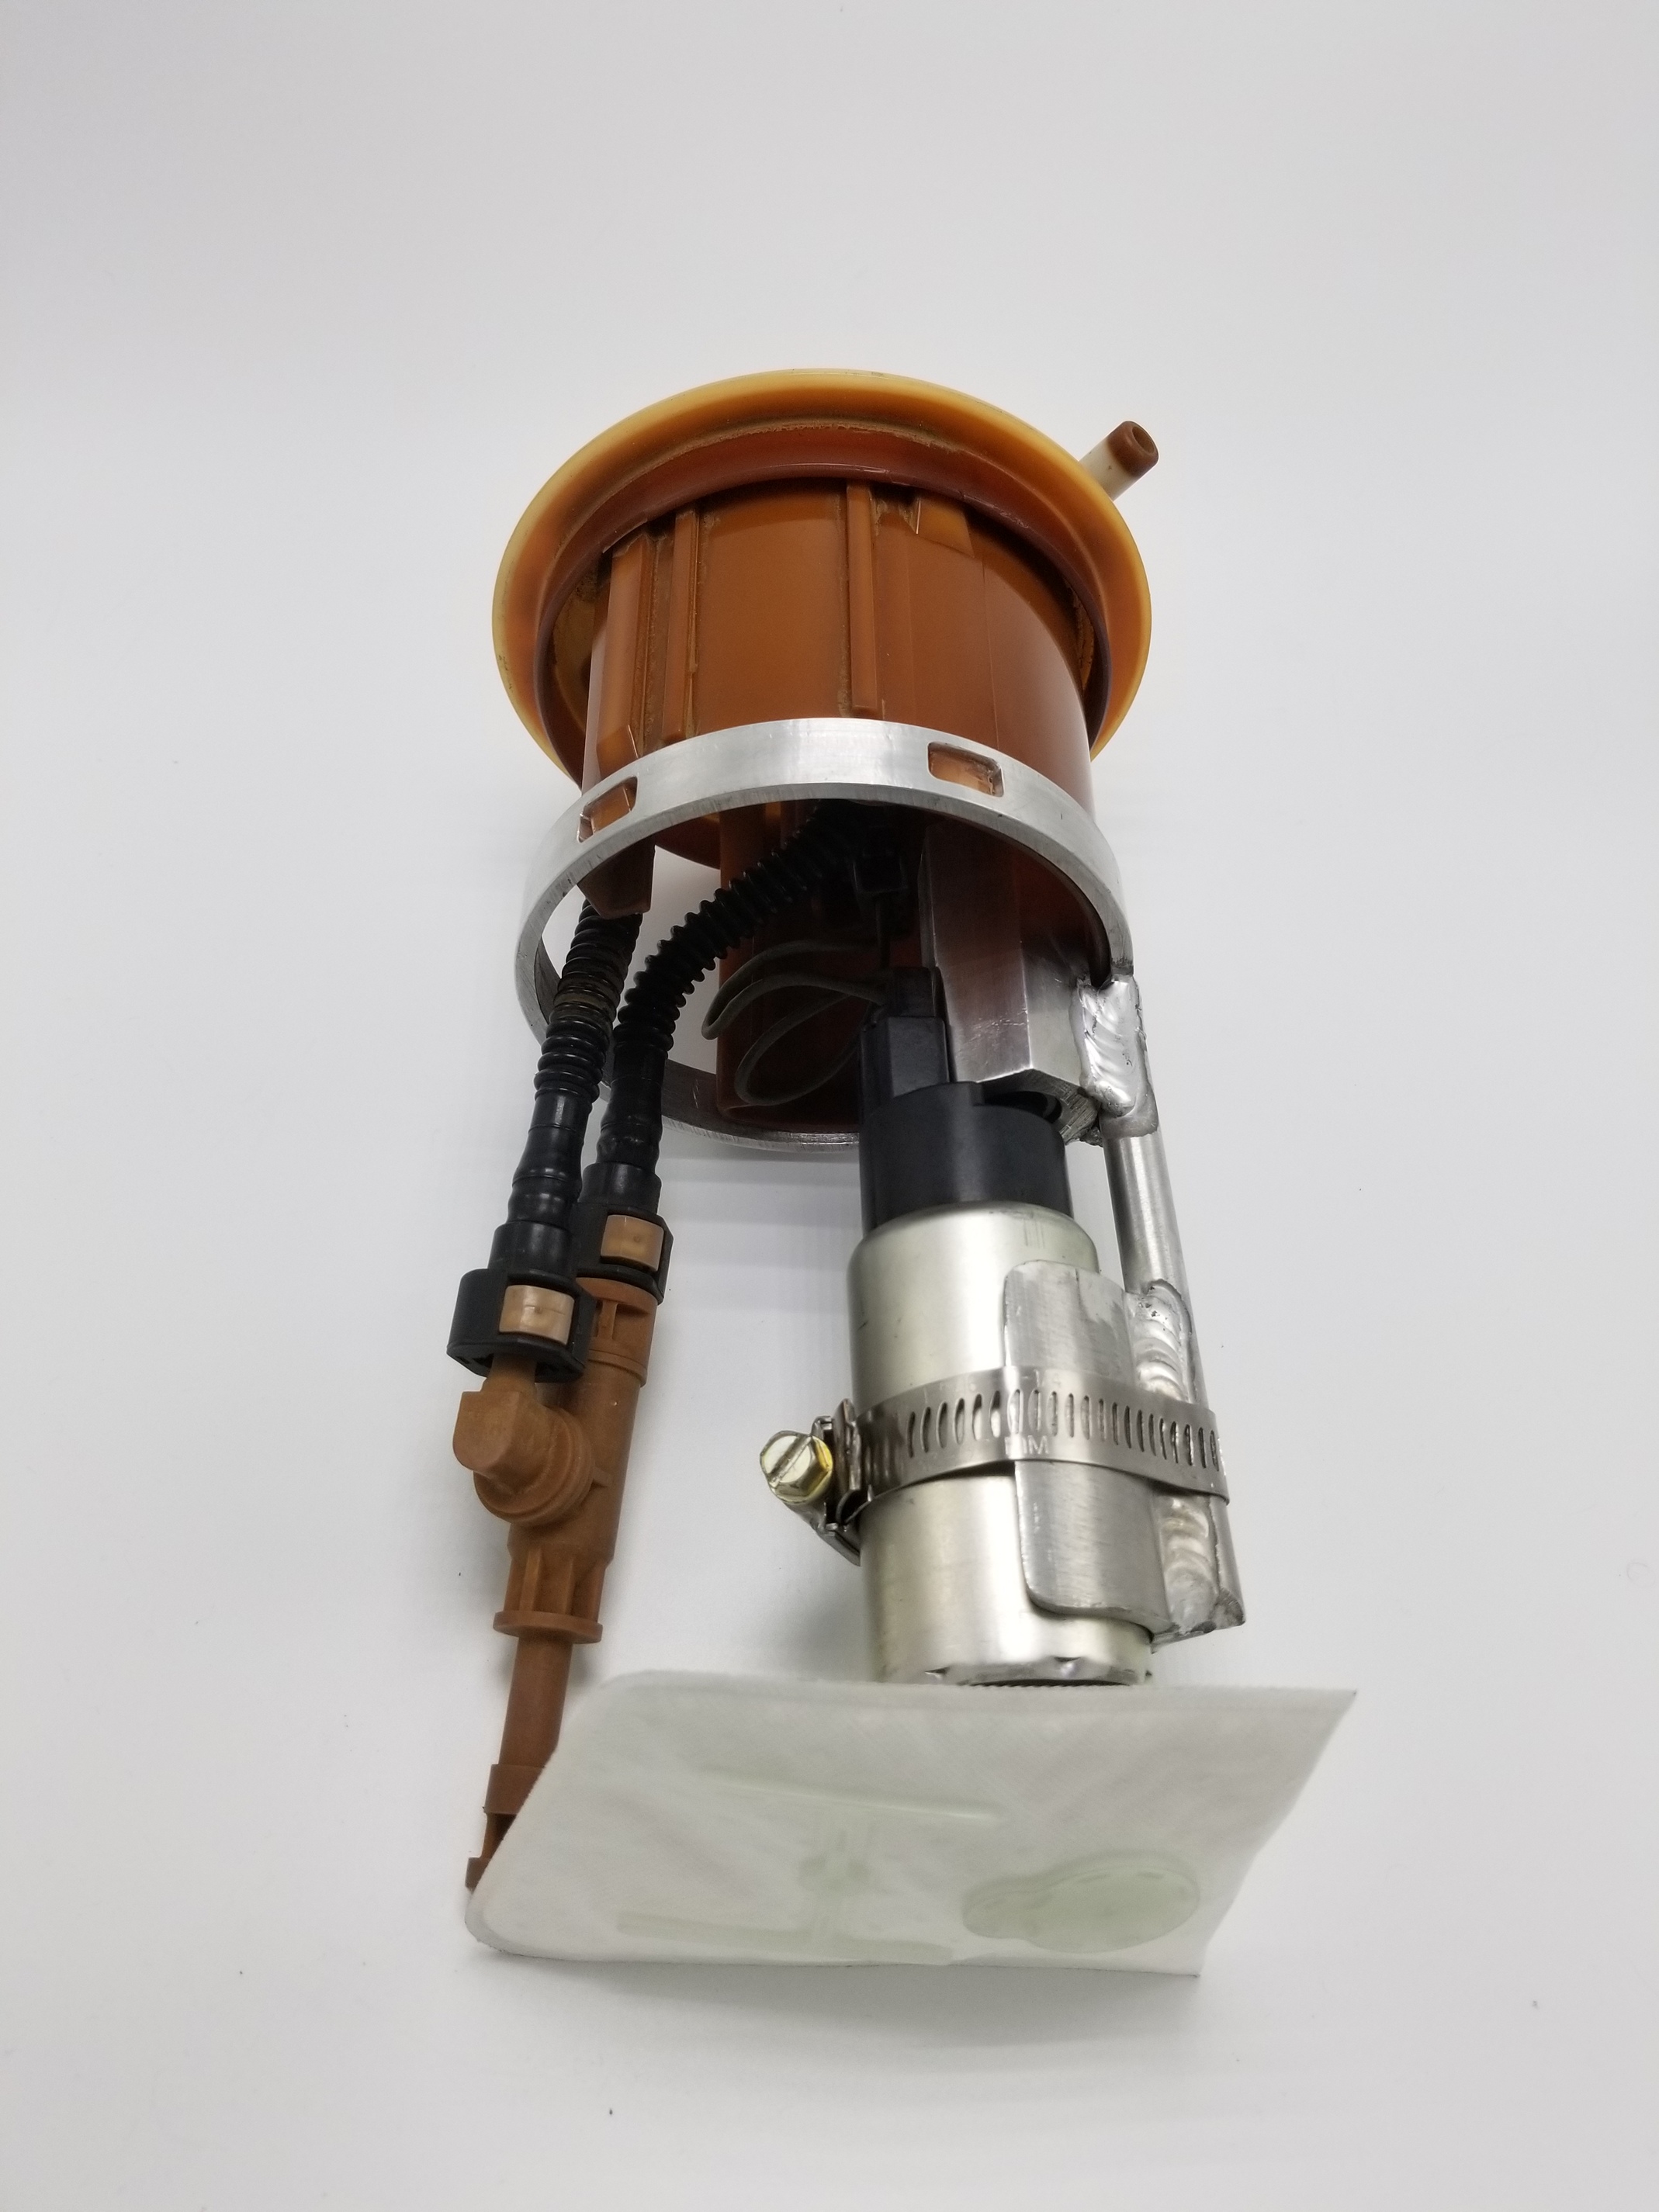
@Griff This is a 20mm dual linear bearing bolt on upgrade for the X axis sir. I could sit and write a huge long winded post but ide rather just show you guys results.
200ipm or bust?
A few people much smarter than I like it so that gives me hope!
@TK-422 These upgrades aren’t too expensive if you do the work. Linear rails are cheap, mine were $56 for two assemblies shipped. Use your machine to make its own parts!
@fiero1 that’s awesome! Using 8 bearings total lol, love it. Thank you for the kind words, love being able to learn machining and integrate it so easily!
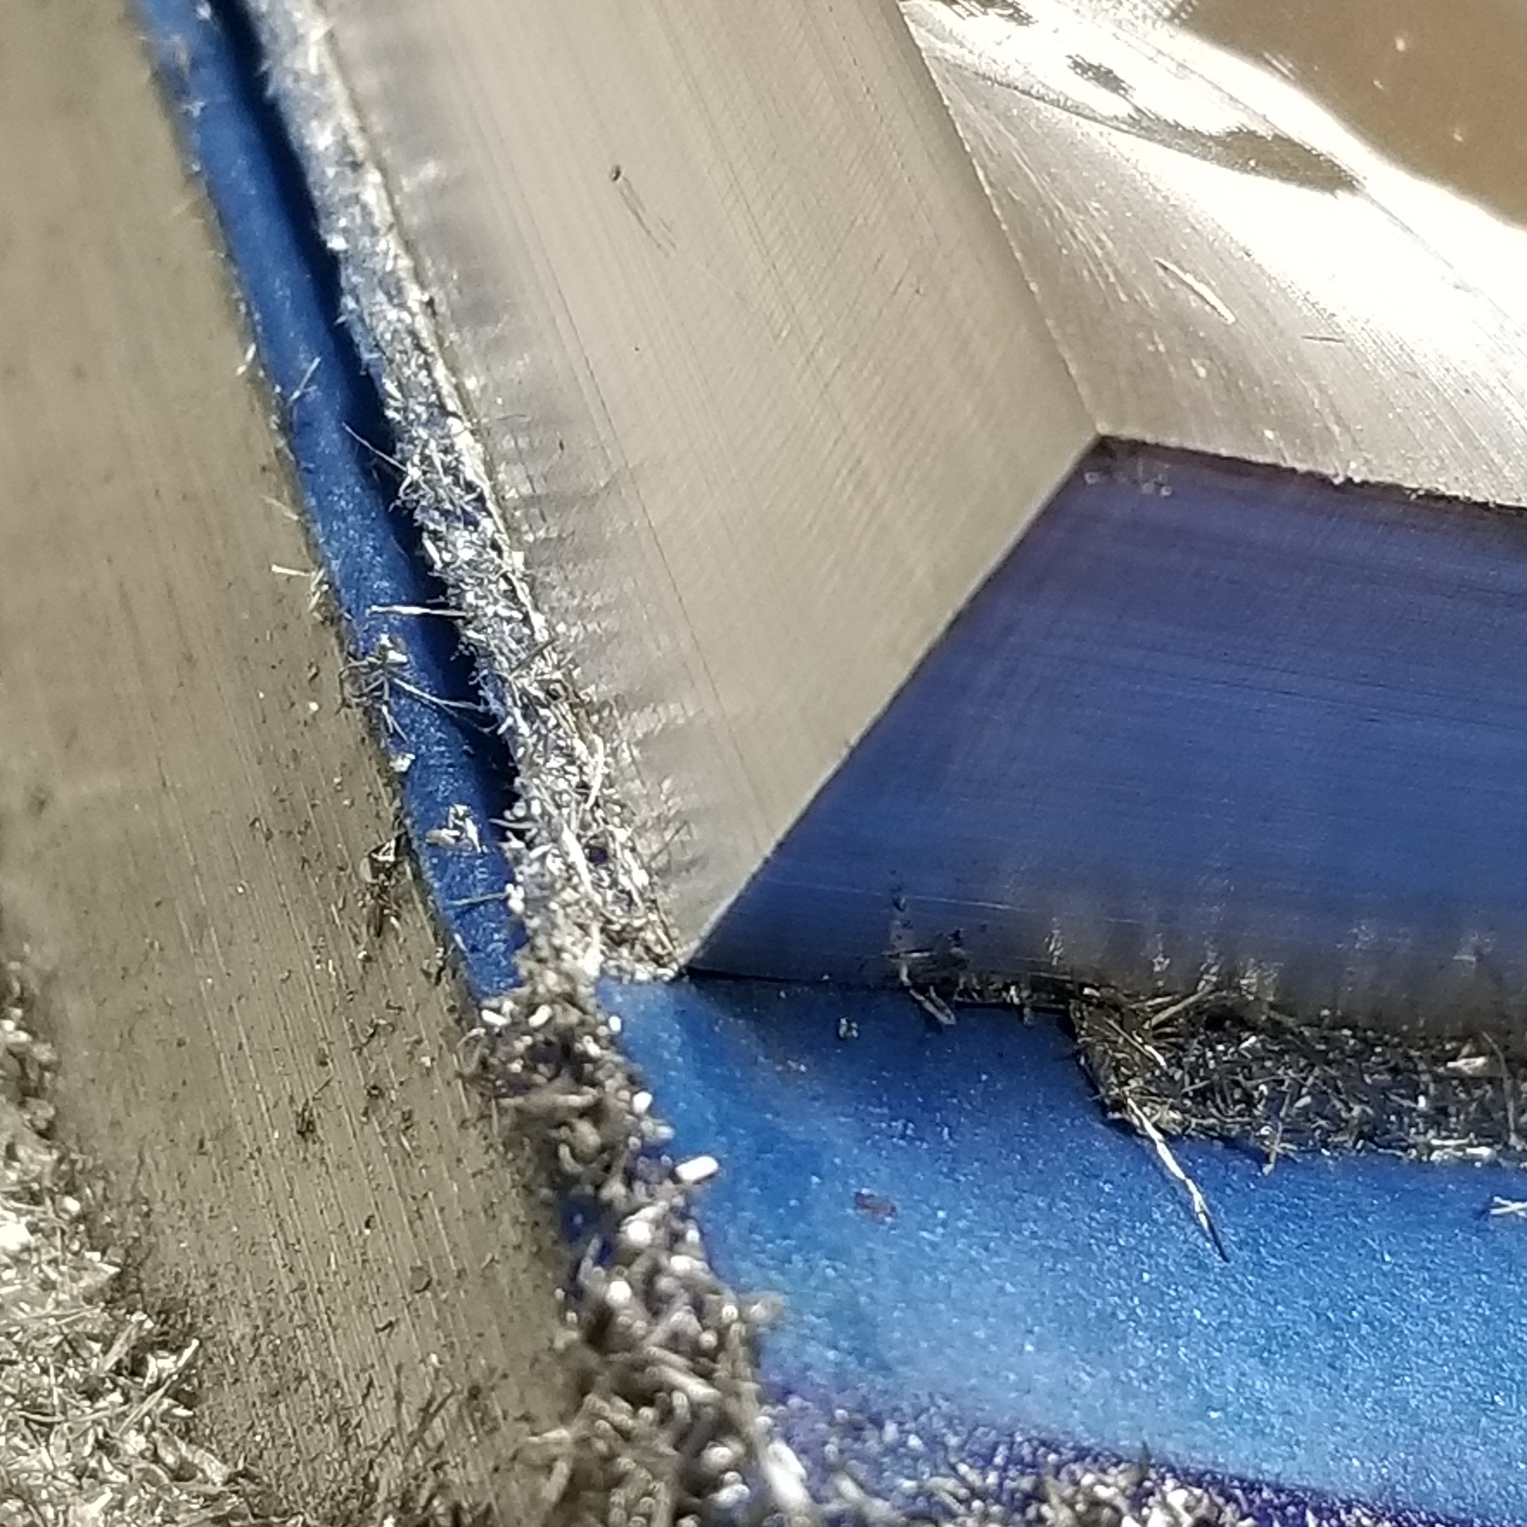
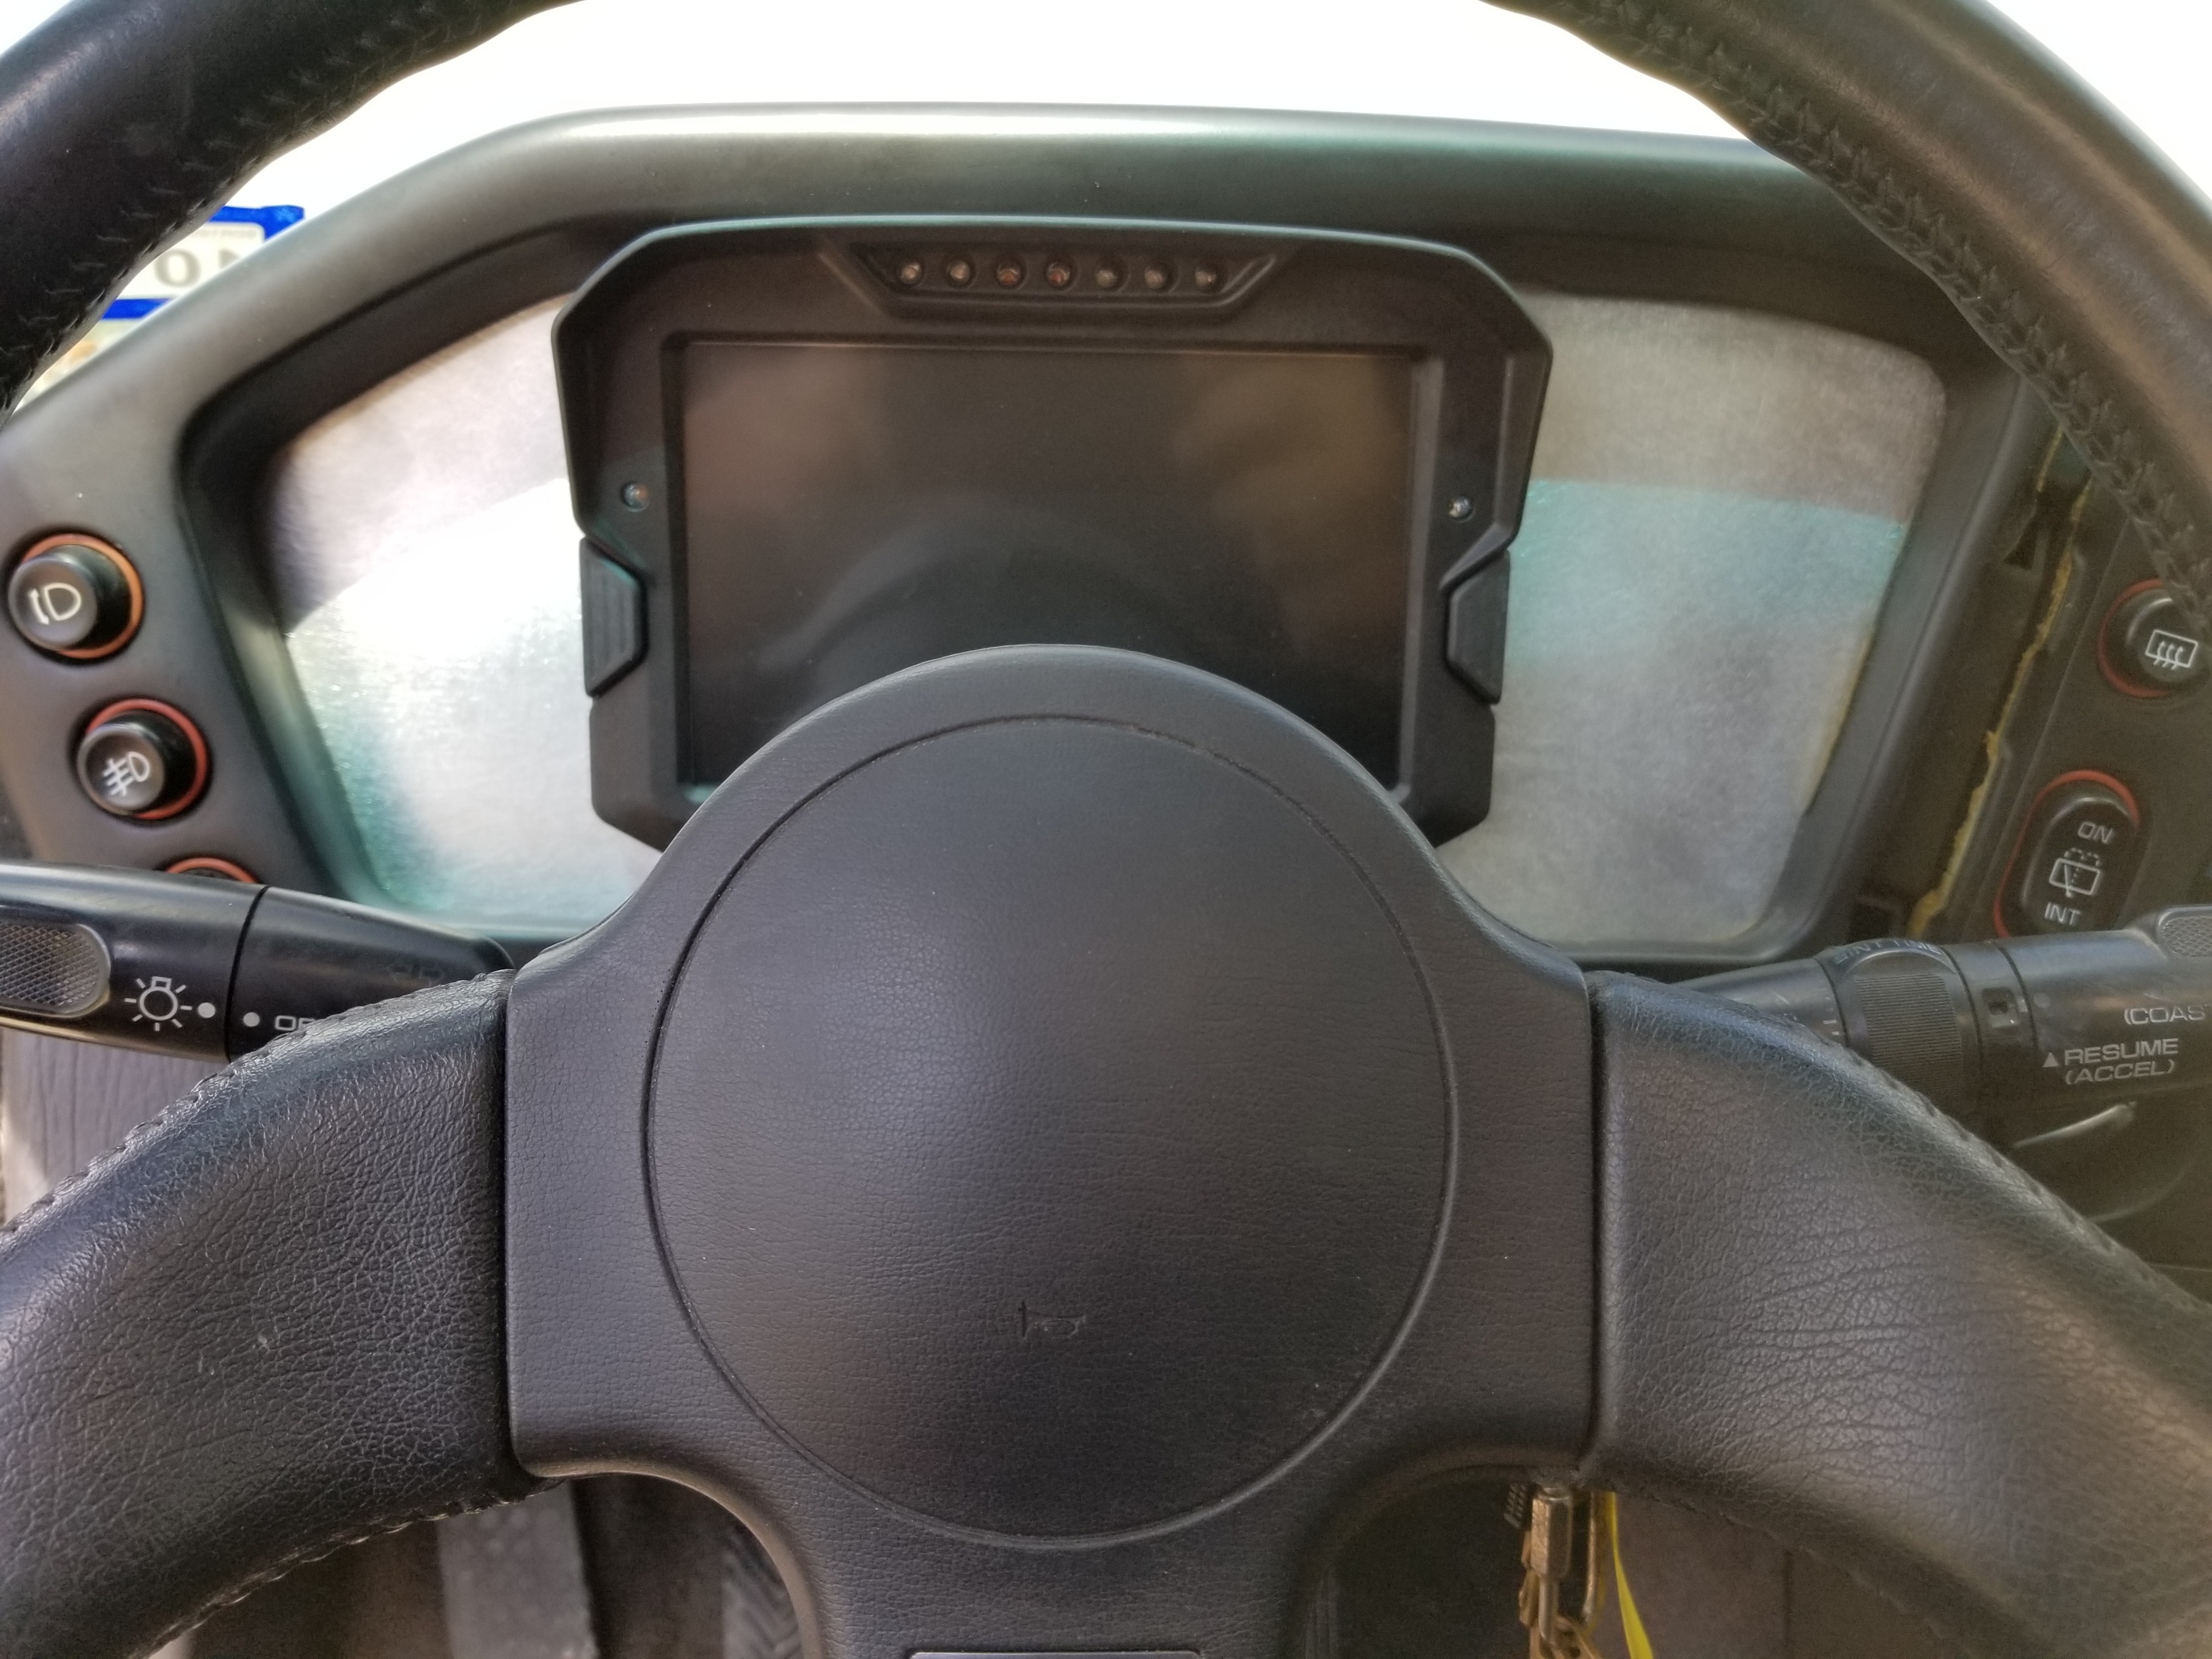
Wild setups, creative design, wall finish on certain parts contoured for O ring compliant sealing, 100% oem fitment and compatibility, tig welding goodness.
Your hardcore milling has definitely inspired me. I haven’t even completed my enclosure for my CNC yet but making the front control panel I ran into a problem with small text.
It worked (Kinda) I broke a couple end mills (1.2 and 1.4mm). By the time I got to the 1.6mm I had slowed it down to 50mm /m, that cut great but took 6 hours for the cleaning pass to 1mm deep. Somehow my XY were slightly off so the letters look a little wonky. I ordered some 1/8" brass to try again on Sunday.