My first significant project with my new XL is going to be helping a friend with a Christmas gift she’s making for someone, a puzzle. I’m still testing to make sure the toolpath and design and whatnot work out so that the puzzle pieces fit together properly, but my next major concern is workholding. I plan to cut the pieces out of MDF, and each piece is going to be ~>1 inch square. My question is, how do I hold the material so that each piece stays still when the cutter bottoms out, to avoid mangling the parts?
I’ve read through the Workholding page on the wiki and done a search in the forums, and the best way I can think of is to use adhesive of some type, but my understanding is that adhesives gum up the cutter and are likely to cause broken cutters as a result (not to mention leaving residue on the back of the pieces, which isn’t ideal for a puzzle). I don’t think using tabs would work because of the number of pieces (500) and the tiny size and small-diameter curves, and not-quite-bottoming out (leaving a skin at the bottom of the stock) wouldn’t be ideal because it’s MDF and again because of the amount of manual work and finishing that that would require. Does anyone have experience or suggestions for how best to do this?
Apparently there are spring-loaded mechanisms which push down on such small parts while cutting — I’d still worry about a part getting caught.
Vacuums unfortunately don’t work well on small parts
Best thing probably is tabs, make them small enough to cut with a sharp chisel and locate them along a flat area, or a curve for which one has a matching curved chisel/gouge, or get a laser — kind of wonder if one couldn’t do a tool switch, and just use the laser to cut through the tabs…
If you finished the bottom of the puzzle first, you could maybe use fixturing wax.
There are a ton of options. This is a situation where I doubt you will avoid a good bit of hand cleanup. No matter what method you select, for this type of job, I’d do all of the cuts a couple thousandths short, then a final pass to free the parts, so the cutting forces are low when the parts free.
Some that I have used in similar circumstances are (starting with the ones you reject):
Two sided tape. Run the tool path very slightly shallow to keep the parts from floating and separate after machining. A little clean up is generally needed, and with adhesive, a fair bit will be to remove it anyway. A thin edge on MDF will usually break off cleanly with no tools needed.
Tabs to keep the parts together. This is a common strategy, and many CAM toolpath generation tools provide this as a standard option. Again, this requires post-machining cleanup
Vacuum table. This is about as good an option as you get. This would usually be made for the job (or job class) at hand. For many things, a shopvac provides sufficient, if loud, vacuum (about 1/3 to 1/2 atmosphere). The prework for this is more than most people would want to deal with for a one-off job.
Solvent-cutable adhesive. I have used cyano-acrylates for this. After machining, acetone to remove.
Use top-side hold downs. Do most of the cut, pause to install a hold down for the soon to be free parts, then finish. This is a pretty standard technique. If I were doing a flat (jig-saw style) puzzle with pieces in the 25mm range, I’d use 12.5X25mm section aluminum bar for the hold down, tie it at both ends, and tie it about every other part along the length.
One thought on the vacuum system, elaborating on @enl_public’s observation — perhaps you could do a custom insert for each puzzle design, where the vacuum holes only appear beneath the puzzle pieces, not where the cuts occur — that might be workable.
I’ve been using a hot glue gun with good results - holds well assuming the part does not get hot. Easy to remove. Previously I had been using double sided tape.
I have been wondering if anyone has tried the old woodworker’s trick of watered-down glue and a paper bag for clamping. It seems that you could hold an entire sheet down and cut out all of the pieces through completely.
If you are just doing a one-off puzzle, and are fairly new to CNC and don’t want to deal with a complex work holding setup, I would suggest you use double sided tape, and just keep an eye one your endmill during the job. If it starts to look gummy, stop the cutter and wipe it carefully with some goo-gone. I use that stuff constantly for exactly this purpose, and it works perfectly. If it were me, I’d set it up to cut all the pieces down to 1mm away from the bottom, so I didn’t have to watch it the entire time. Then I’d run a slower, finishing pass through the bottom, and keep a close eye on things.
You probably know this already, but for MDF, if you are using any of the adhesive work holding options, I would suggest sealing the bottom of your puzzle with some kind of finish prior to machining - wipe-on poly works well on MDF, but anything will do.
I highly recommend this brand of tape, it’s great:
Not sure if it’s been mentioned already - for thin sheet parts with a skin, you’ll get best results if you
surface the wasteboard with a leveling pass first.
A secondary wasteboard just larger than your puzzle would be my suggestion.
Thanks for the ideas, everyone! I’ll do some testing on just a few pieces at a time to see what works best, I’ll update this post once I figure it out in case anyone in the future is working on a similar project.
A couple of other things I do are use my other woodworking tools to finish the job. I understand that many use the Cnc router to do everything, but I have used my table saw and drum sander on some of these issues. if I’m going to want a 1/4" piece cut out, I’ll put a 1/2" piece or so on the router, cut it deeper than 1/4" but less than 1/2", then go back and rip it on the table saw with the little pieces in the side of the blade where they will fall out, not on the fence side. If the pieces are really dainty, that sometimes will not work and the pieces will break, especially on softer woods where the grain isn’t tight. In that case I have a drum sander that does quick work. Again, I know some might not have either tool (especially the drum sander) or maybe you consider this cheating, but it works very well for me.
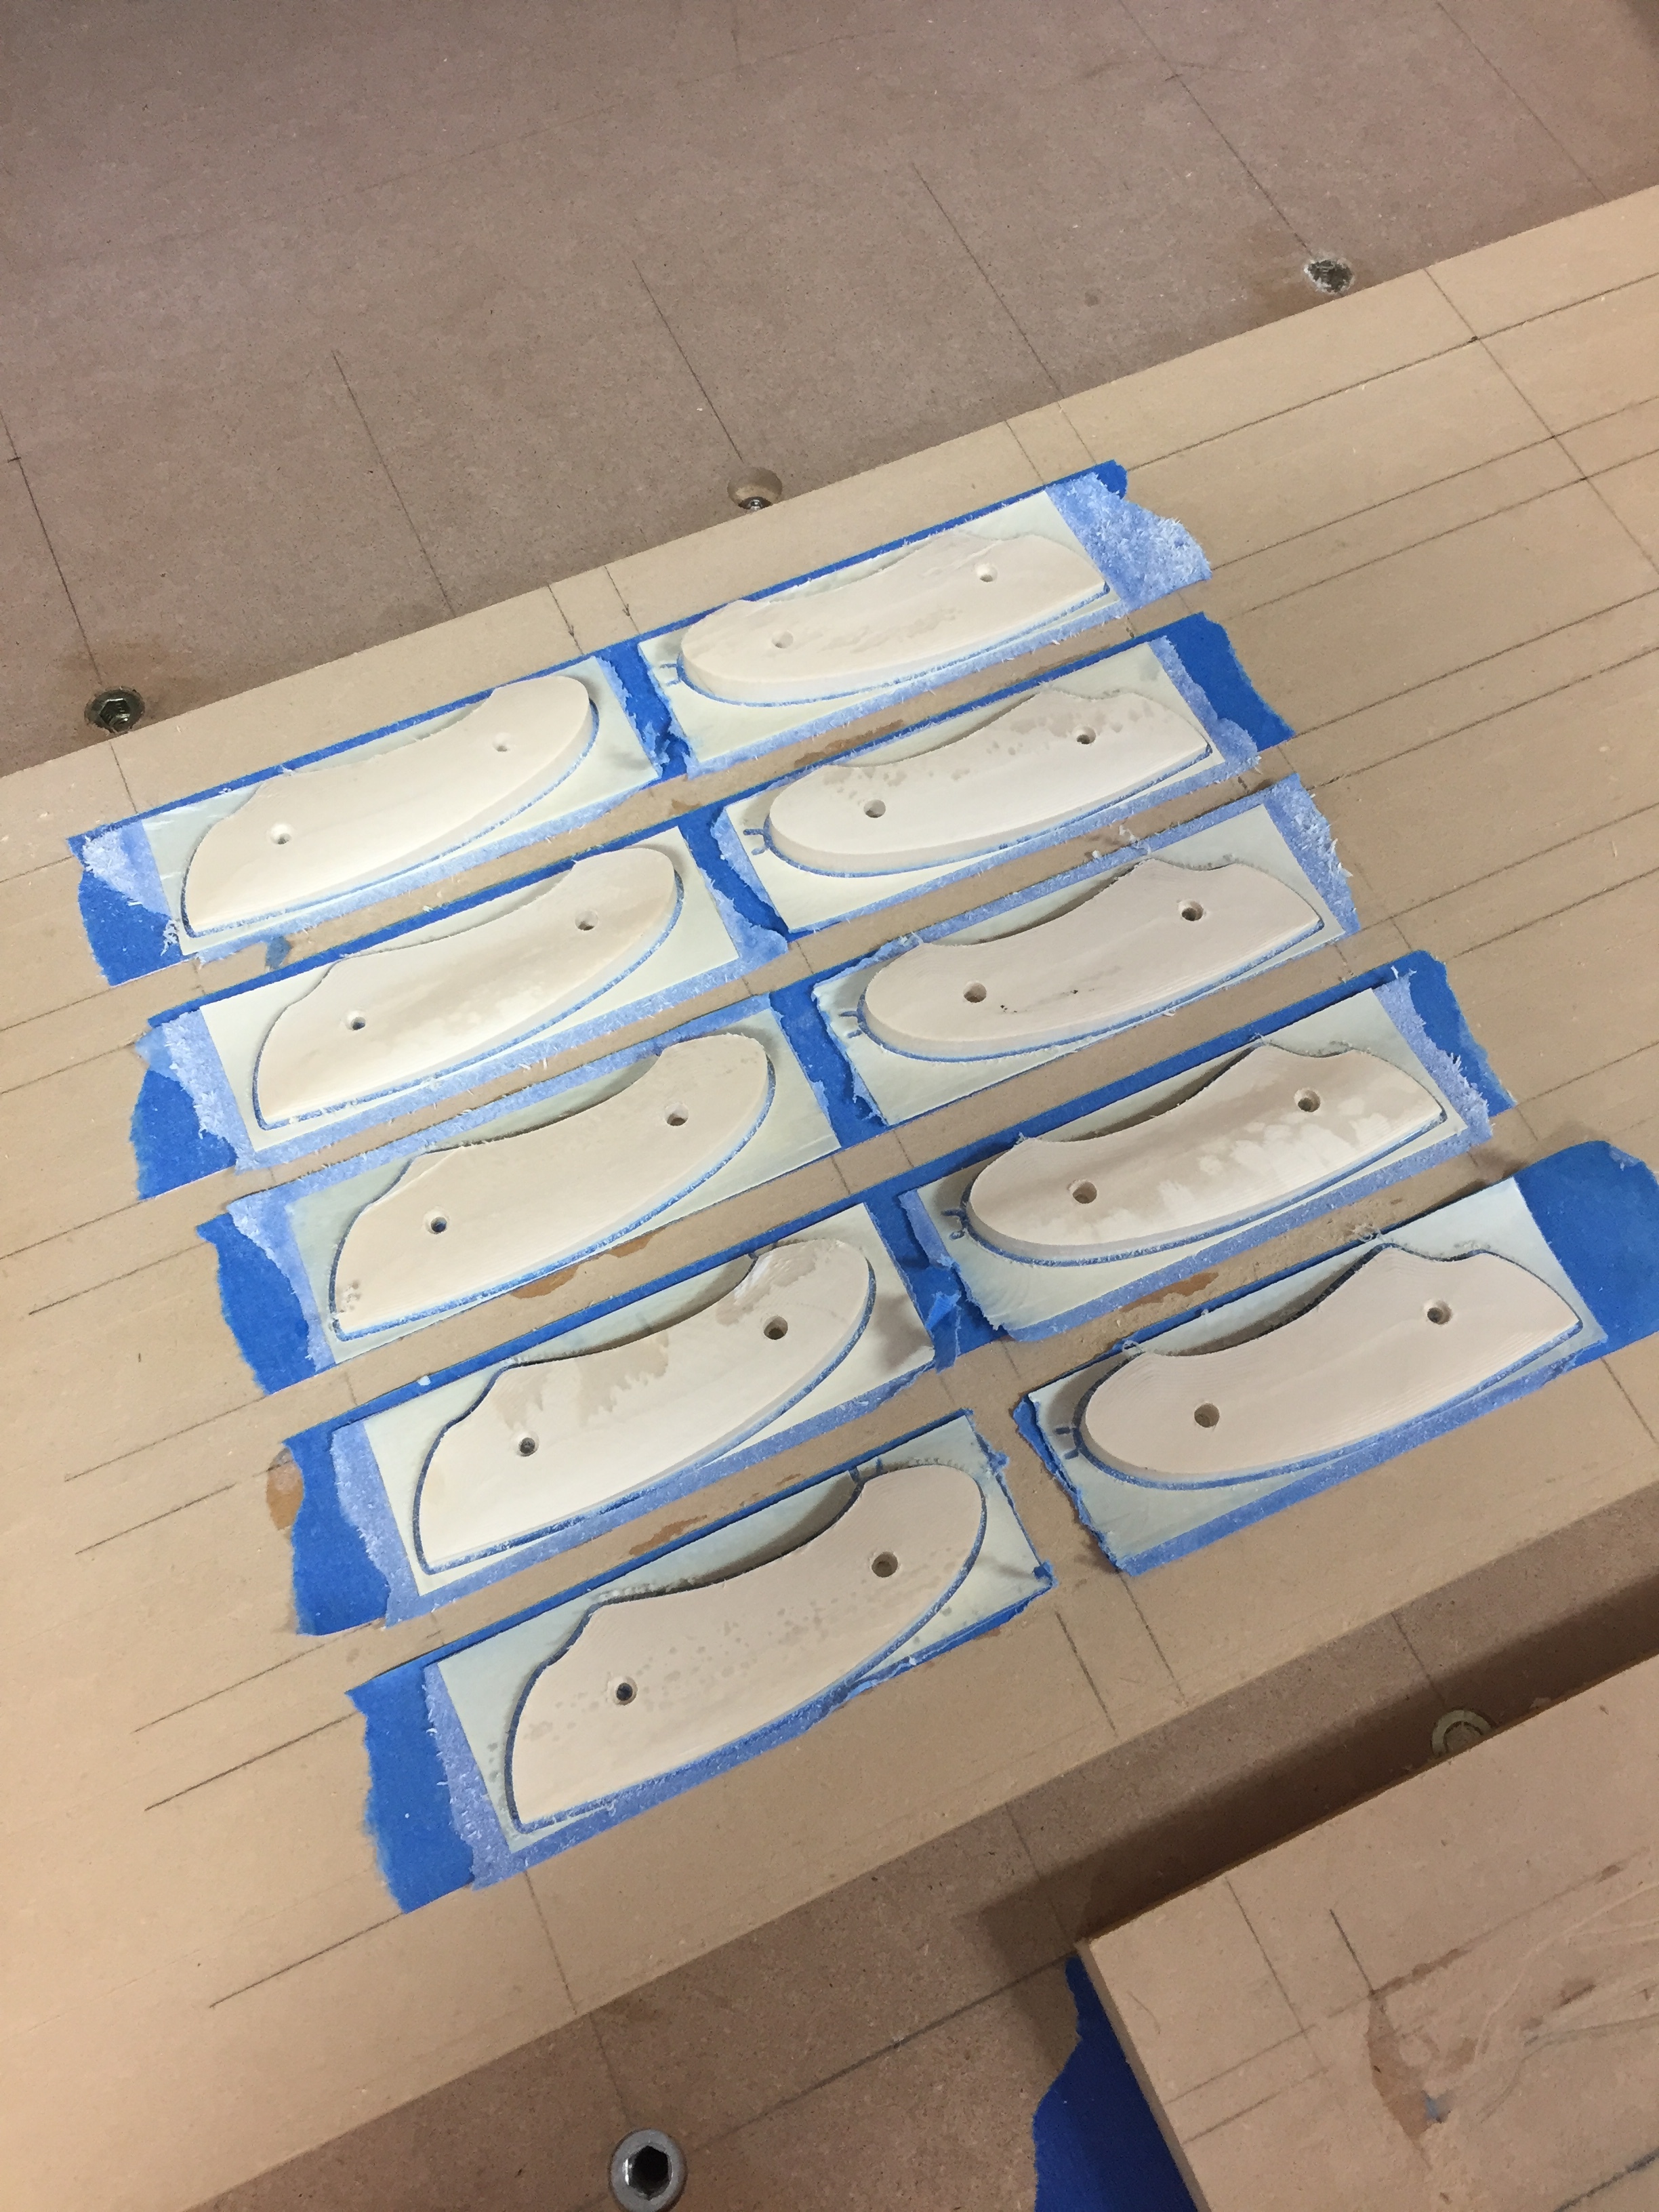
I use a combination of blue painter’s tape and CA glue. Here’s how to do it. First, apply the painters tape to the waste board and the part(s). I prefer to use a medium to thick viscosity CA glue. Apply the glue to the wasteboard painters tape. Immediately apply the part(s) on top and hold securely for a few seconds until the glue cures. Wait just a few minutes then ensure the parts are secure by firmly trying to move the part from side to side. If no movement is detected you are good to go. If you feel the parts move at all, the bond is not good and you need to do it again.
I took it a step further like some others suggested and I used spray activator on the tape attached to the piece and CA glue on the tape that was on the waste board. Using a couple of holes + dowels I had in the waste board as alignment tools, press down. The adhesion is within a few seconds with the activator. The CA + activator doesn’t give you any time to adjust once you put the two together, but with the alignment pins it all works out. I was able to cut out some small pieces and not have them go anywhere. Admittedly more than half of them still had a bit of a wood skin holding them down too, but there were a few out of the bunch that I cut where the only thing holding them down was the tape + CA glue.
An old trick in the wood toy making community is packing tape first and than spray glue your template onto the work. This is for scroll sawing and the packing tape lubricates the scroll saw blade. Old woodworking tricks require new experimentation to be used in this modern era. How this will work for CNC and whether or not the cutter benefits from the packing tape “lubrication” is unknown. Use a scrap piece to test this with, not saying spray glue will hold in CNC machine but that packing tape removes easily from wood (mdf ??? never made toys with it) as a backer for other "gluing. Always be careful what you ask for.