Just finished milling out some parts in aluminum on a Nomad 883 for a student club I’m part of that’s sending a satellite to space next year. As I had access to HSMWorks for free as a student, I decided to CAM the part up in it.
The parts I’ve currently milled aren’t going to space but instead are being used for thermal modeling experiments, that being said I’m actively experimenting to see if the Nomad can hit the tight .1mm tolerances the CubeSat standard requires.
I would say that the Nomad can hit 0.1mm with little trouble. I have run parts to 0.05mm repeatably over 100mm span.
You will want to run a full calibration check on the machine (x, y, and z travel; homing and tool length repeatability) though. The leadscrew on my machine is within spec, but there is enough accumulated error that on a 70mm travel (70mm C-C, +/-0.05), 3mm alignment pins wouldn’t make the holes on an optical assembly. The adjustment to the steps/mm setting was mad and it was all good.
See: Inaccurate positioning for what I did to check and adjust. Note that the machine was not matching an existing gauged part over center-to-center for holes and, after calibration check and adjustment, it does, and still does today. I haven’t worried about root causes. I have seen worse from much more expensive machines.
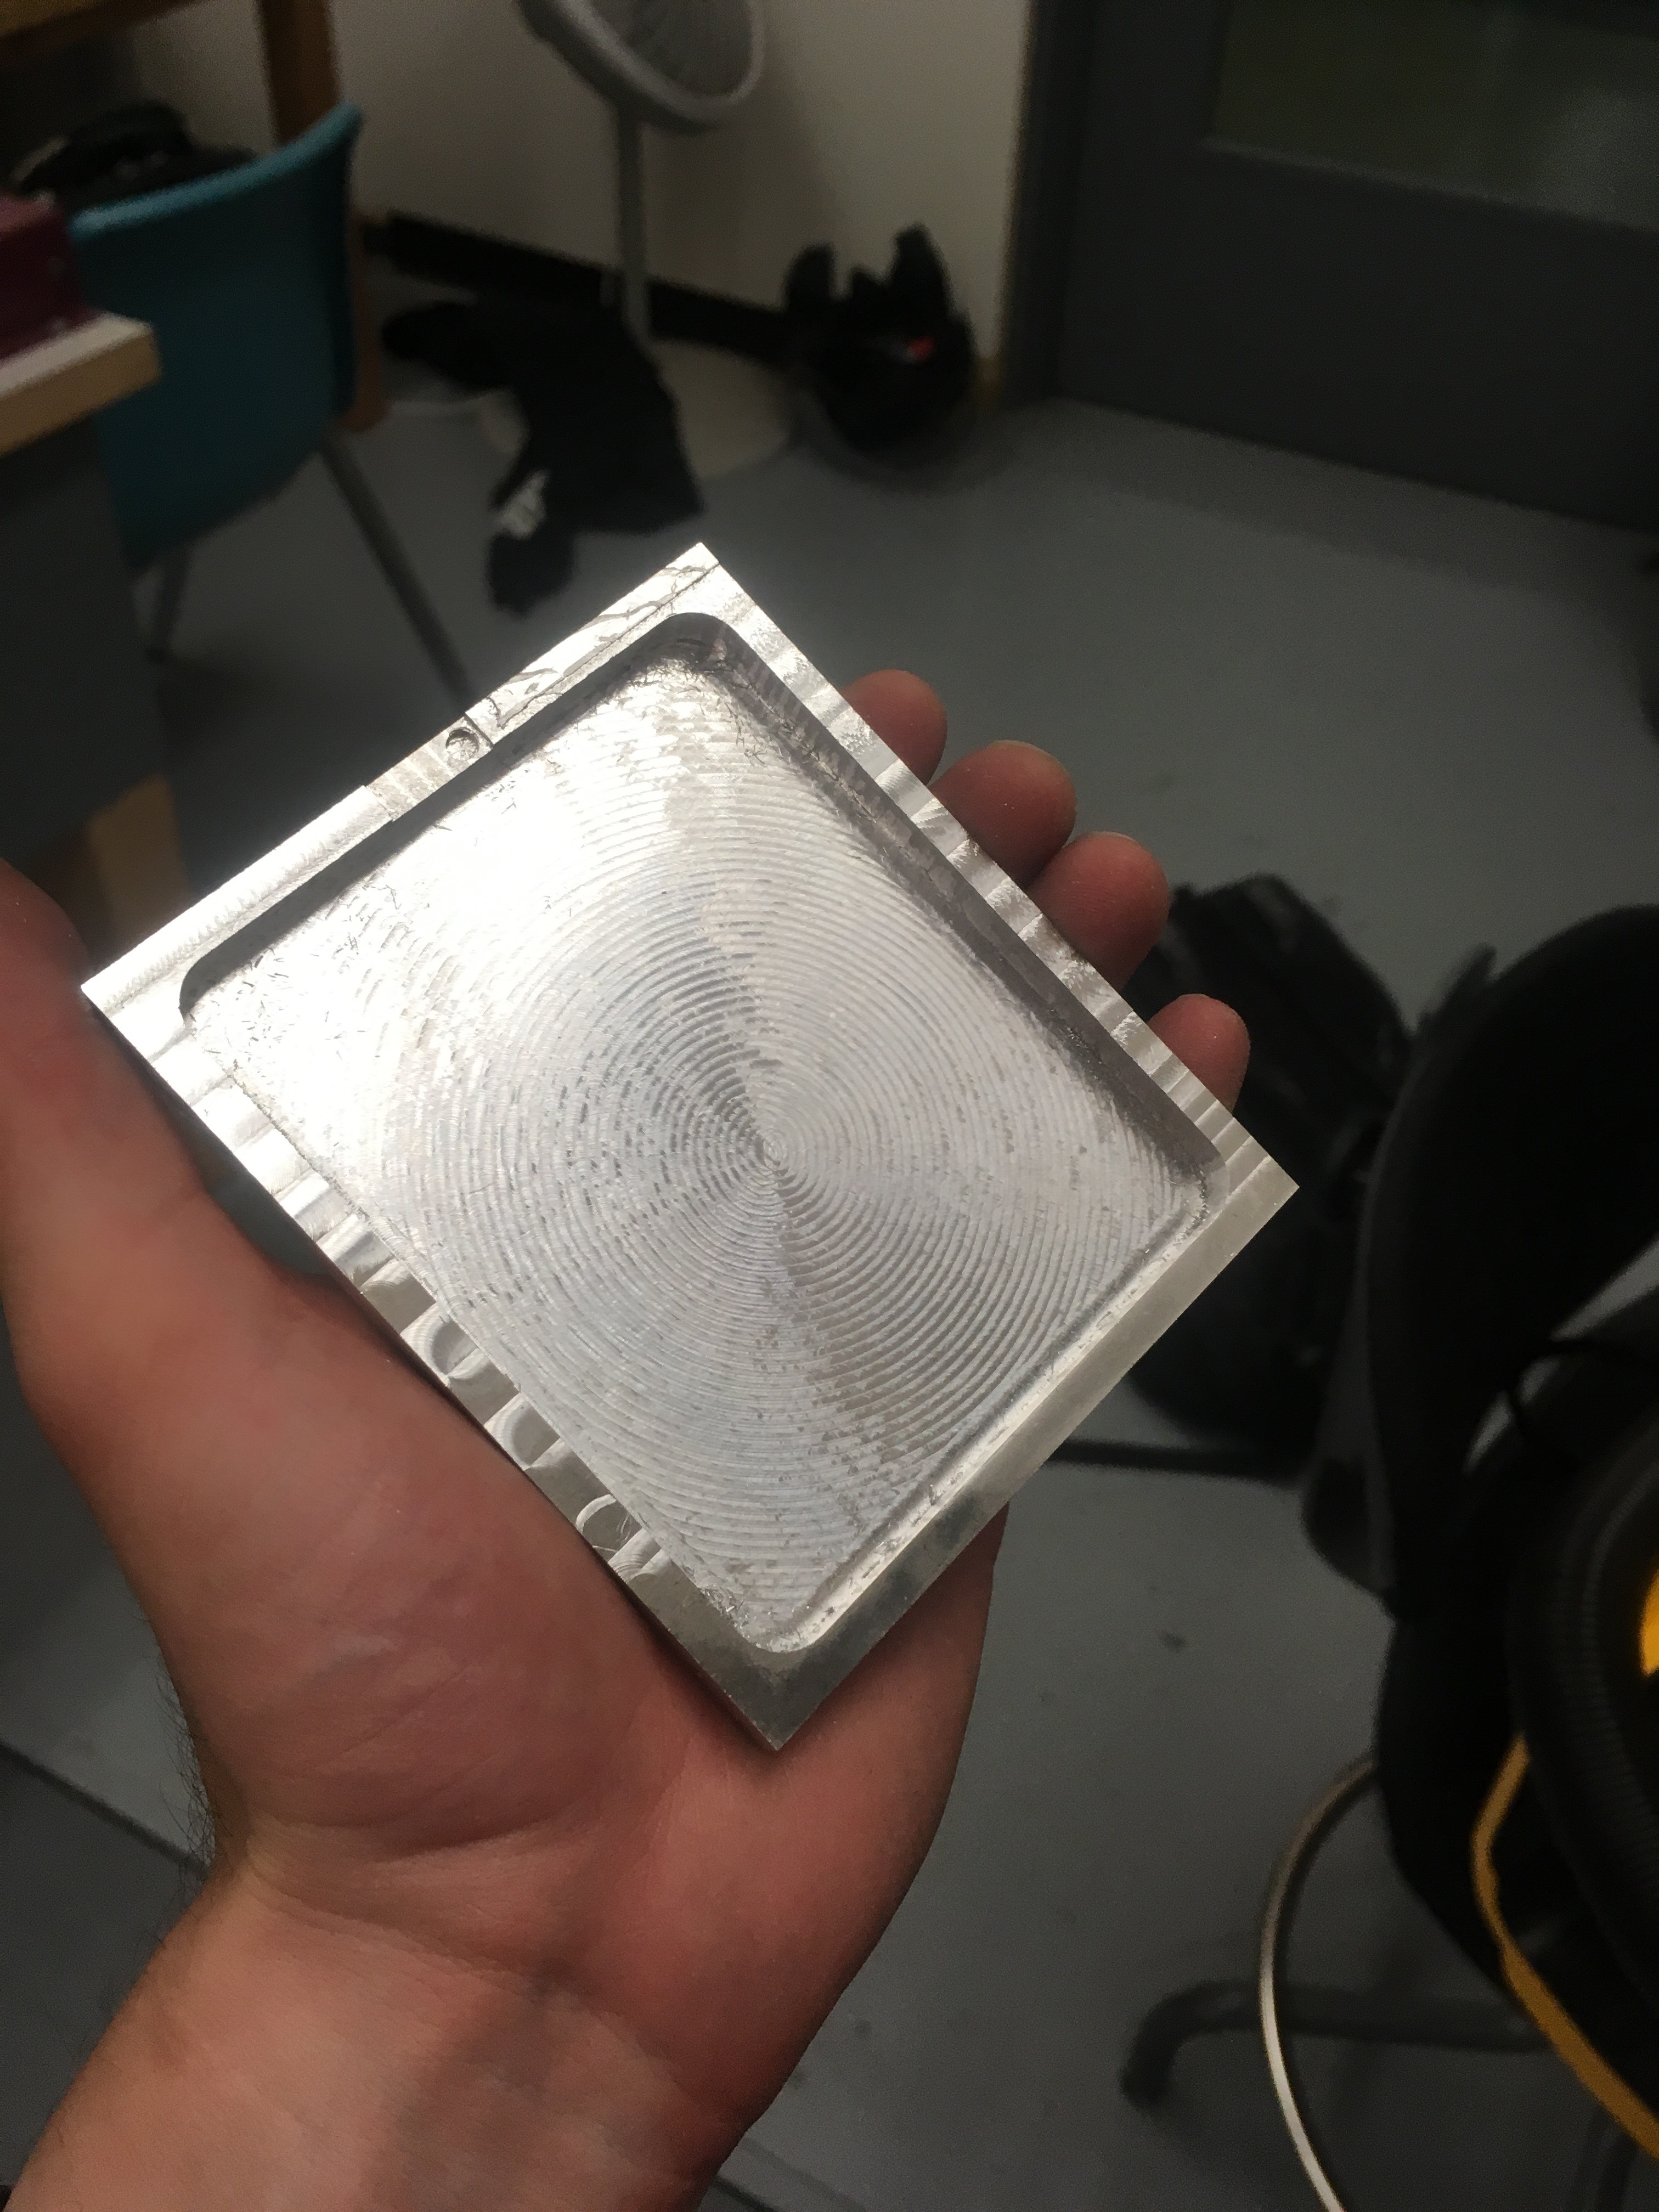
The question: It appears that you ran a surfacing operation, then did the large pocket. What was your pocket strategy? It appears to be HSM adaptive (trochoidal). Why no finishing strategy?
From what I showed in the video, I had done an adaptive clear all the way down to .1mm over what I wanted, then in my second job I did a second adaptive clear to a .1mm depth at a slightly slower speed. This was my intuition in regards to the best way to do a finishing pass, but completely open to better suggestions.
Also will give your calibration a try. Noticing that for whatever reason my two parts were both off by .3mm in the x and .2mm in the y: I wonder if this is what’s causing it.
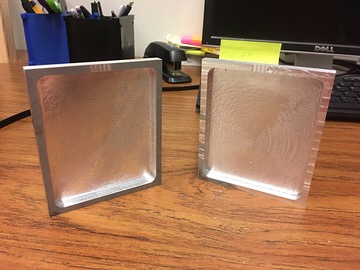
EDIT: Just realized you were talking about the top face. That reside was leftover from the stock I was using. Here’s a picture of my second time attempting the part, the second attempt being on the left.