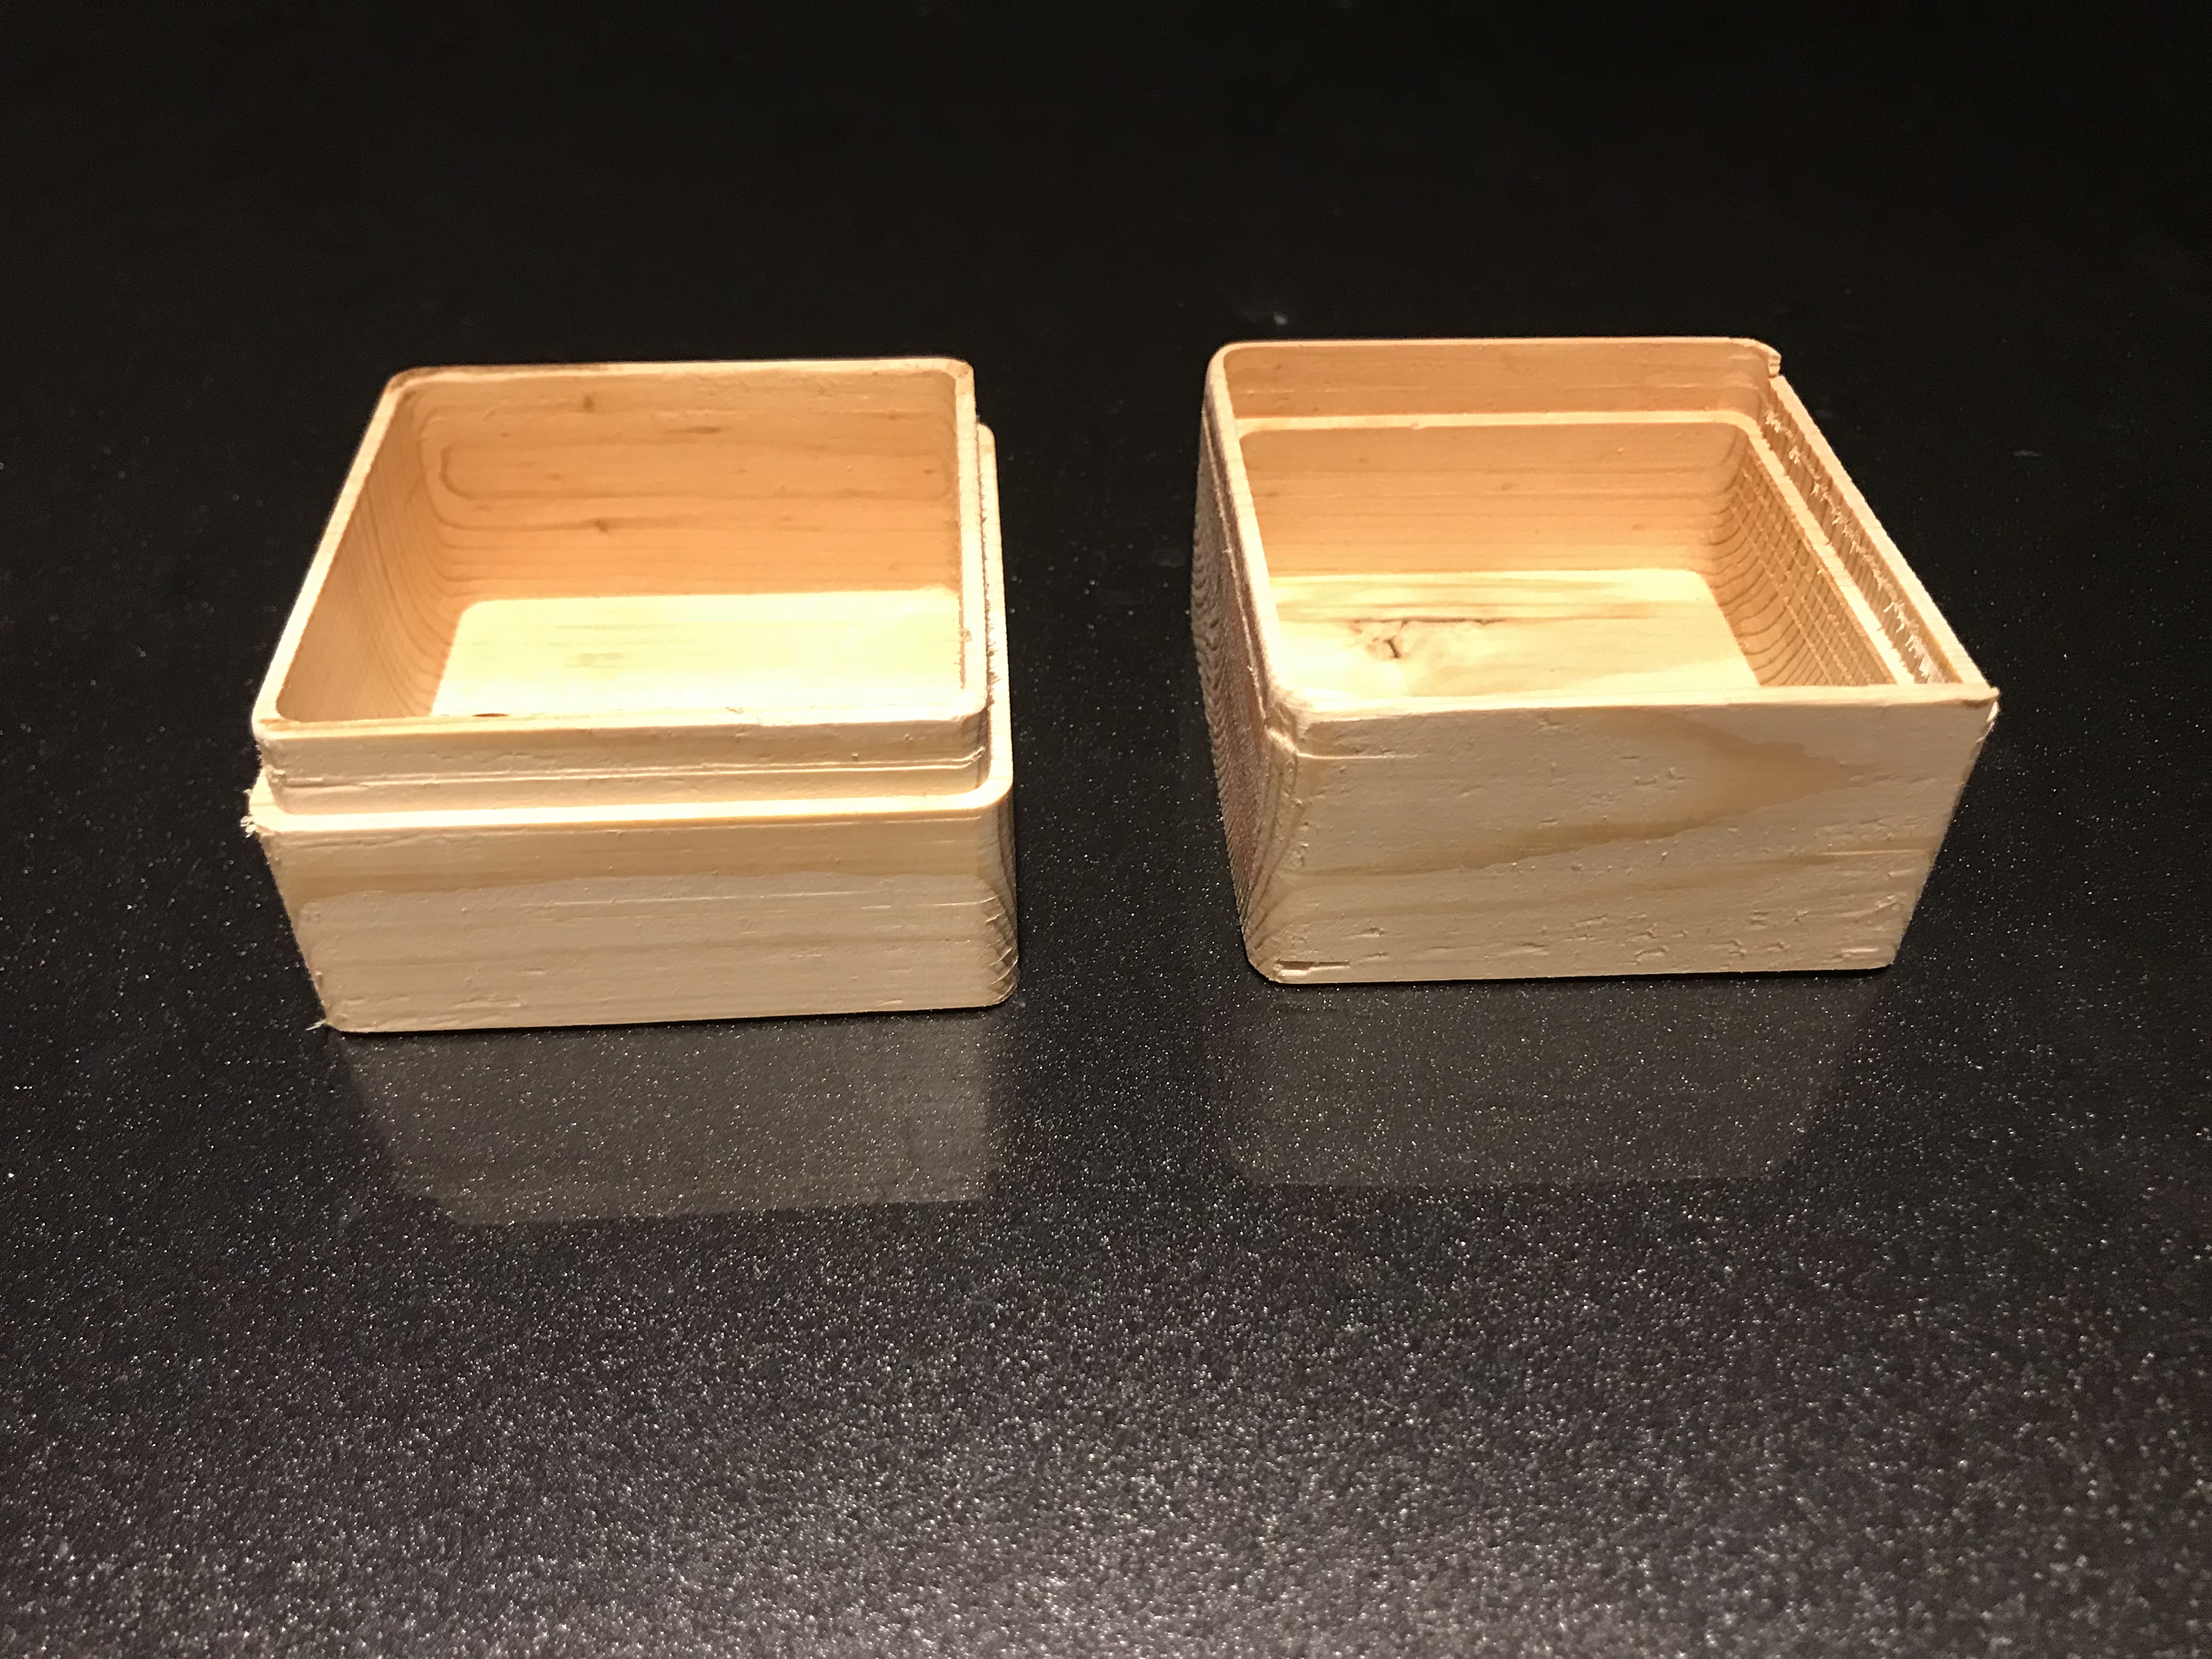
Newbie progression post. As a followup to the problems with the Z plunging suddenly, thought I’d give the 2x4 box another whirl. Aggressively cleaned the Z V-wheels and double checked the Z belt tension. Kept a close eye on sawdust, and there it is. Small victory, but one nonetheless. Things I learned:
Agressive dust control. Not sure if that cause my Z slippage earlier, but didn’t occur this time. Need to up my dust control game a bunch. Planning on a dust deputy and dedicated shop vac soon.
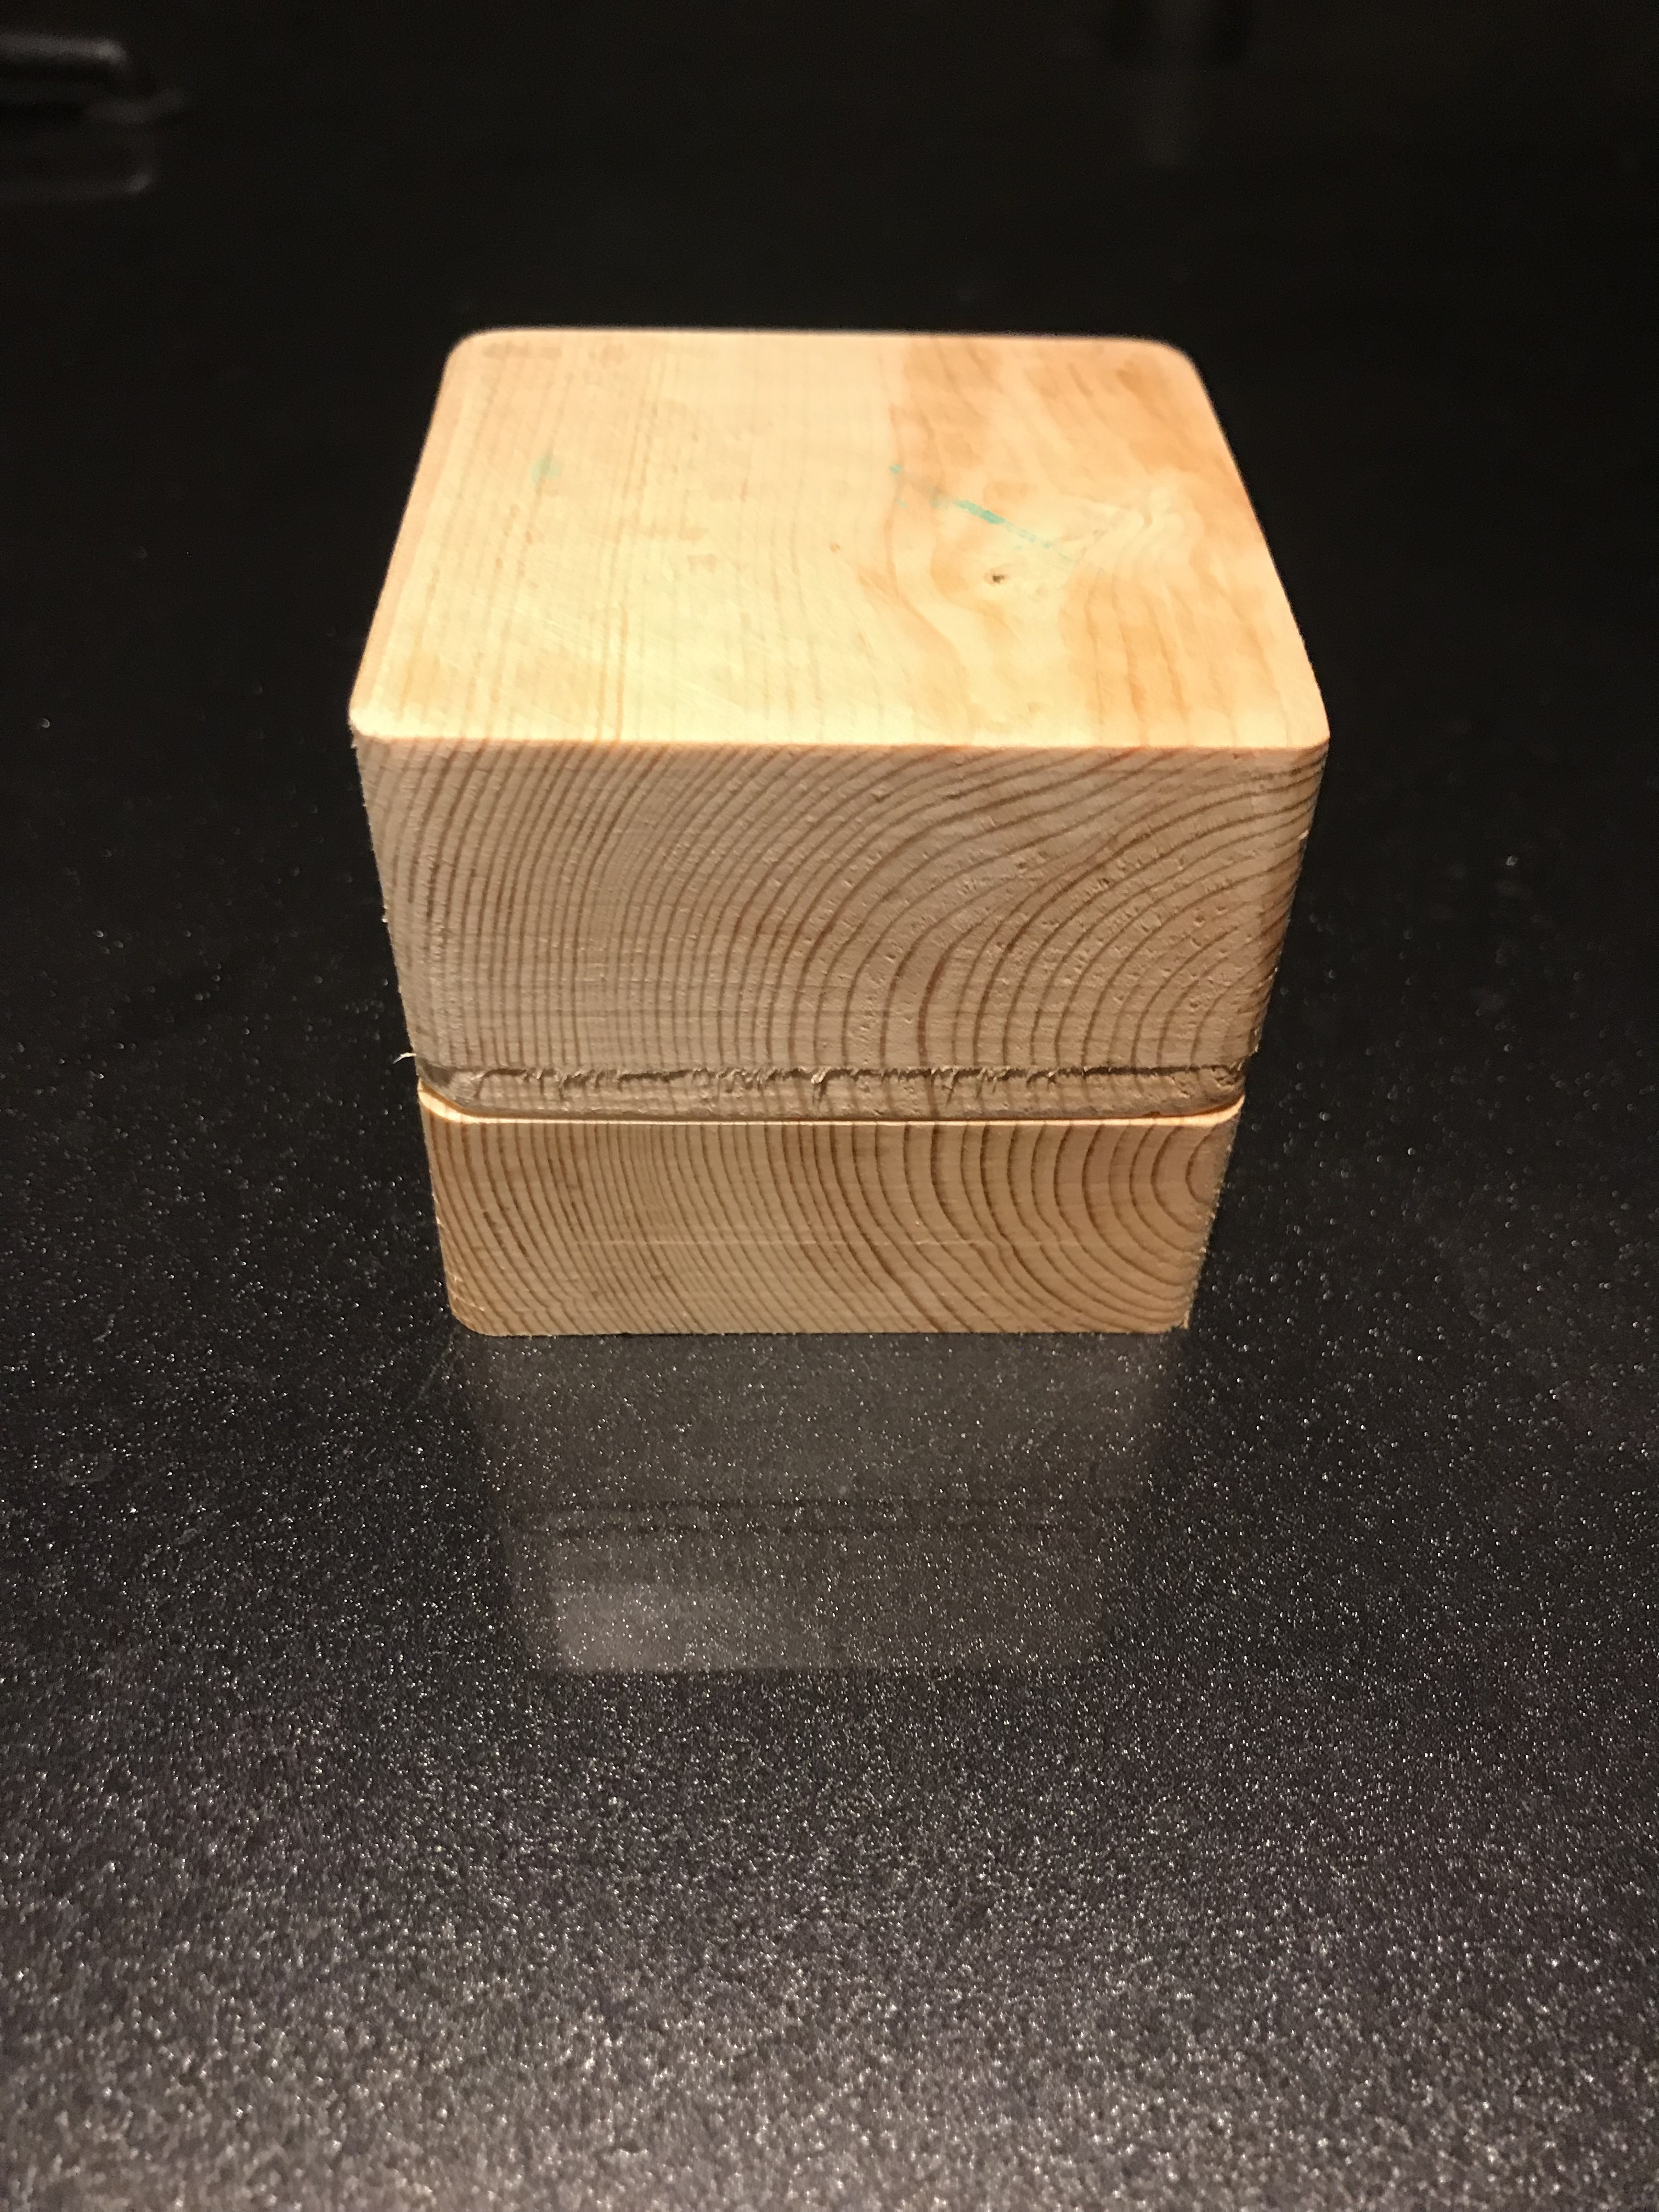
Double check how deep your endmill will travel before locking it in. I realized about half way through the job that the router would be on the stock on the next pass since it was a deep cutout. Stopped the job and rezeroed the Z after dropping the endmill in the collet. Caused a little irregularity at the seam, but nothing critical for now.
Sanding will become an obsession. After completing a 45 minute job successfully (I’m sure that exhilaration will fade over time, but not yet), the last thing you want is rough edges. Need to up my sanding game a bunch.
I’ve made a few boxes like this. I’m still learning though…but some lessons I have learned:
To go as deep as you are trying to go, you will most likely need an extended reach endmill. The trade off you get with a longer mill and reach is that you get more deflection at the end of the bit, which can lead to rough edges so…
I use a regular up-cut end mill to “hog” out most of the material but I use a “stock to leave” setting to keep from going all the way to the walls of the box; then I use a “down” cut mill to contour around the inside edge wall, being careful not to drop beyond the “floor” depth as it is
Pine 2x4s are going to give you garbage results most of the time. I know you are just doing testing, but you can count on hardwoods giving you much better results just by virtue of the density of the grain. So don’t sweat how things are coming out from a finishing standpoint in pine
Be careful of your initial zero point in relation to tool changes. I’ve found out the hard way that my zero was in the center of the top surface, then cleared out the box part, only to remember that following tool operations needed that top surface to zero. You can save it, but you have to rebuild the follow on toolpaths to be zero’ed at a different point. Which can also become challenging when you are using a corner, but then you do a contour around that top edge.
In hardwoods, it can take some effort to get a press-fit box or a snug-fit box with the style lid you are doing. Sometimes I have had to design one of those “walls” where the box will meet to be .01 - .05" smaller / larger than the other wall that will face it. Getting it not too tight or not too loose can be challenging without having to sand.
Some of mine are referenced in this recent thread: