Hat off to you sir! Very commendable effort. Event after the cutting the parts the planking, decking, and detailing will be a major accomplishment. I hope you document the whole process so it cans serve as an inspiration to normal mortals like me. I look forward to seeing more of your progress.
2 Likes
When I was a younger fool, I built a wooden ship model of the Charles W. Morgan. It was a solid hull that needed some minor sanding and shaping. But it took me years to finish it anyway. It sat on the mantle in the living room for years until one day a gust of wind blew it off and it crashed down onto the stone hearth upsidedown. I never fixed it and it was finally discarded when I moved from Virginia. But there’s a side story to this. Several years ago, I went to a 24-hour reading of Moby Dick on board the Charles W. Morgan at Mystic Seaport. I slept on deck and wandered throughout the bowels of the ship. That was about a year before they restored the Morgan and took it on a tour. I don’t think I have the ambition to build another wooden ship model and I can appreciate your endeavor.
4 Likes
Many years ago I also purchased a solid hull model Kit. It came complete with all the pot metal castings.It was a marvelous thing to behold. I worked on it for quite some time without finishing the hull. I realized that I lacked the patience,skill and fortitude (and talent) needed to complete the project. I think my problems were due to my inability to achieve the detail in the model that I could envision in my minds eye. I could have built the real ship, but the model eluded me. I occasionally come across the box with the components still sitting on a shelf in my shop and give it a wistful glance. These days I have more patience and somewhat more skill, but sadly not the talent.
1 Like
aww when I saw an update post on this project i got excyted
5 Likes
Me too. Looking forward to any progress on the commendable project.
3 Likes
I’ve got 30 more frames to make then I will post an update  getting married today so just chilling before 3pm!
Tim
5 Likes
Congrats!
1 Like
Congratulations Tim  That’s fantastic! Have a great Wedding
1 Like
oh wow, that’s a true art out there. you have a real talent and you should keep doing it further as you do it very well… also, would you be this kind to help me in regards to the program use? i am a newbie and i’m currently doing nothing but searching for hgh reviews. its because of my health issues and now i just stay at home doing nothing. i thought about learning a bit. thanks a lot!
1 Like
Sorry for being so quiet I am currently back studying and now that I’m married I don’t get as much time on my Nomad as I’d like.
I have 26 frames left to machine then I will post some pics of it being constructed… its been awhile. I thought I would be done with the basic frames by now but assume it will be a few years before I finish the model completely now.
Hi Woody, I use Solidworks and then Carbine Motion to cut the pieces out. To check each run time I use CAMotics.
The NomadPro does everything I ask it to do, although I have snapped and generally destroyed parts when first starting out. It was a bit of trial and error at first and sometimes still is!! last Sunday I snapped a spindle which I haven’t done in a long time. The wood must have come off the waste board during a plunge.
I haven’t tried brass or anything other than wood yet.
Thanks
Tim
3 Likes
I built a ship model years ago of the Charles W. Morgan from an all wood and metal kit. Even with all the parts at hand, it took me several years. There were long stretches where I just didn’t feel motivated enough to work on it. So taking years to build it is my expectation for a project like this.
2 Likes
ok so I’m still at it… 95 individual frames complete about 10 frames to go… and I need to remake the bow pieces as they are about 1mm out. but love the accuracy of the NomadPro
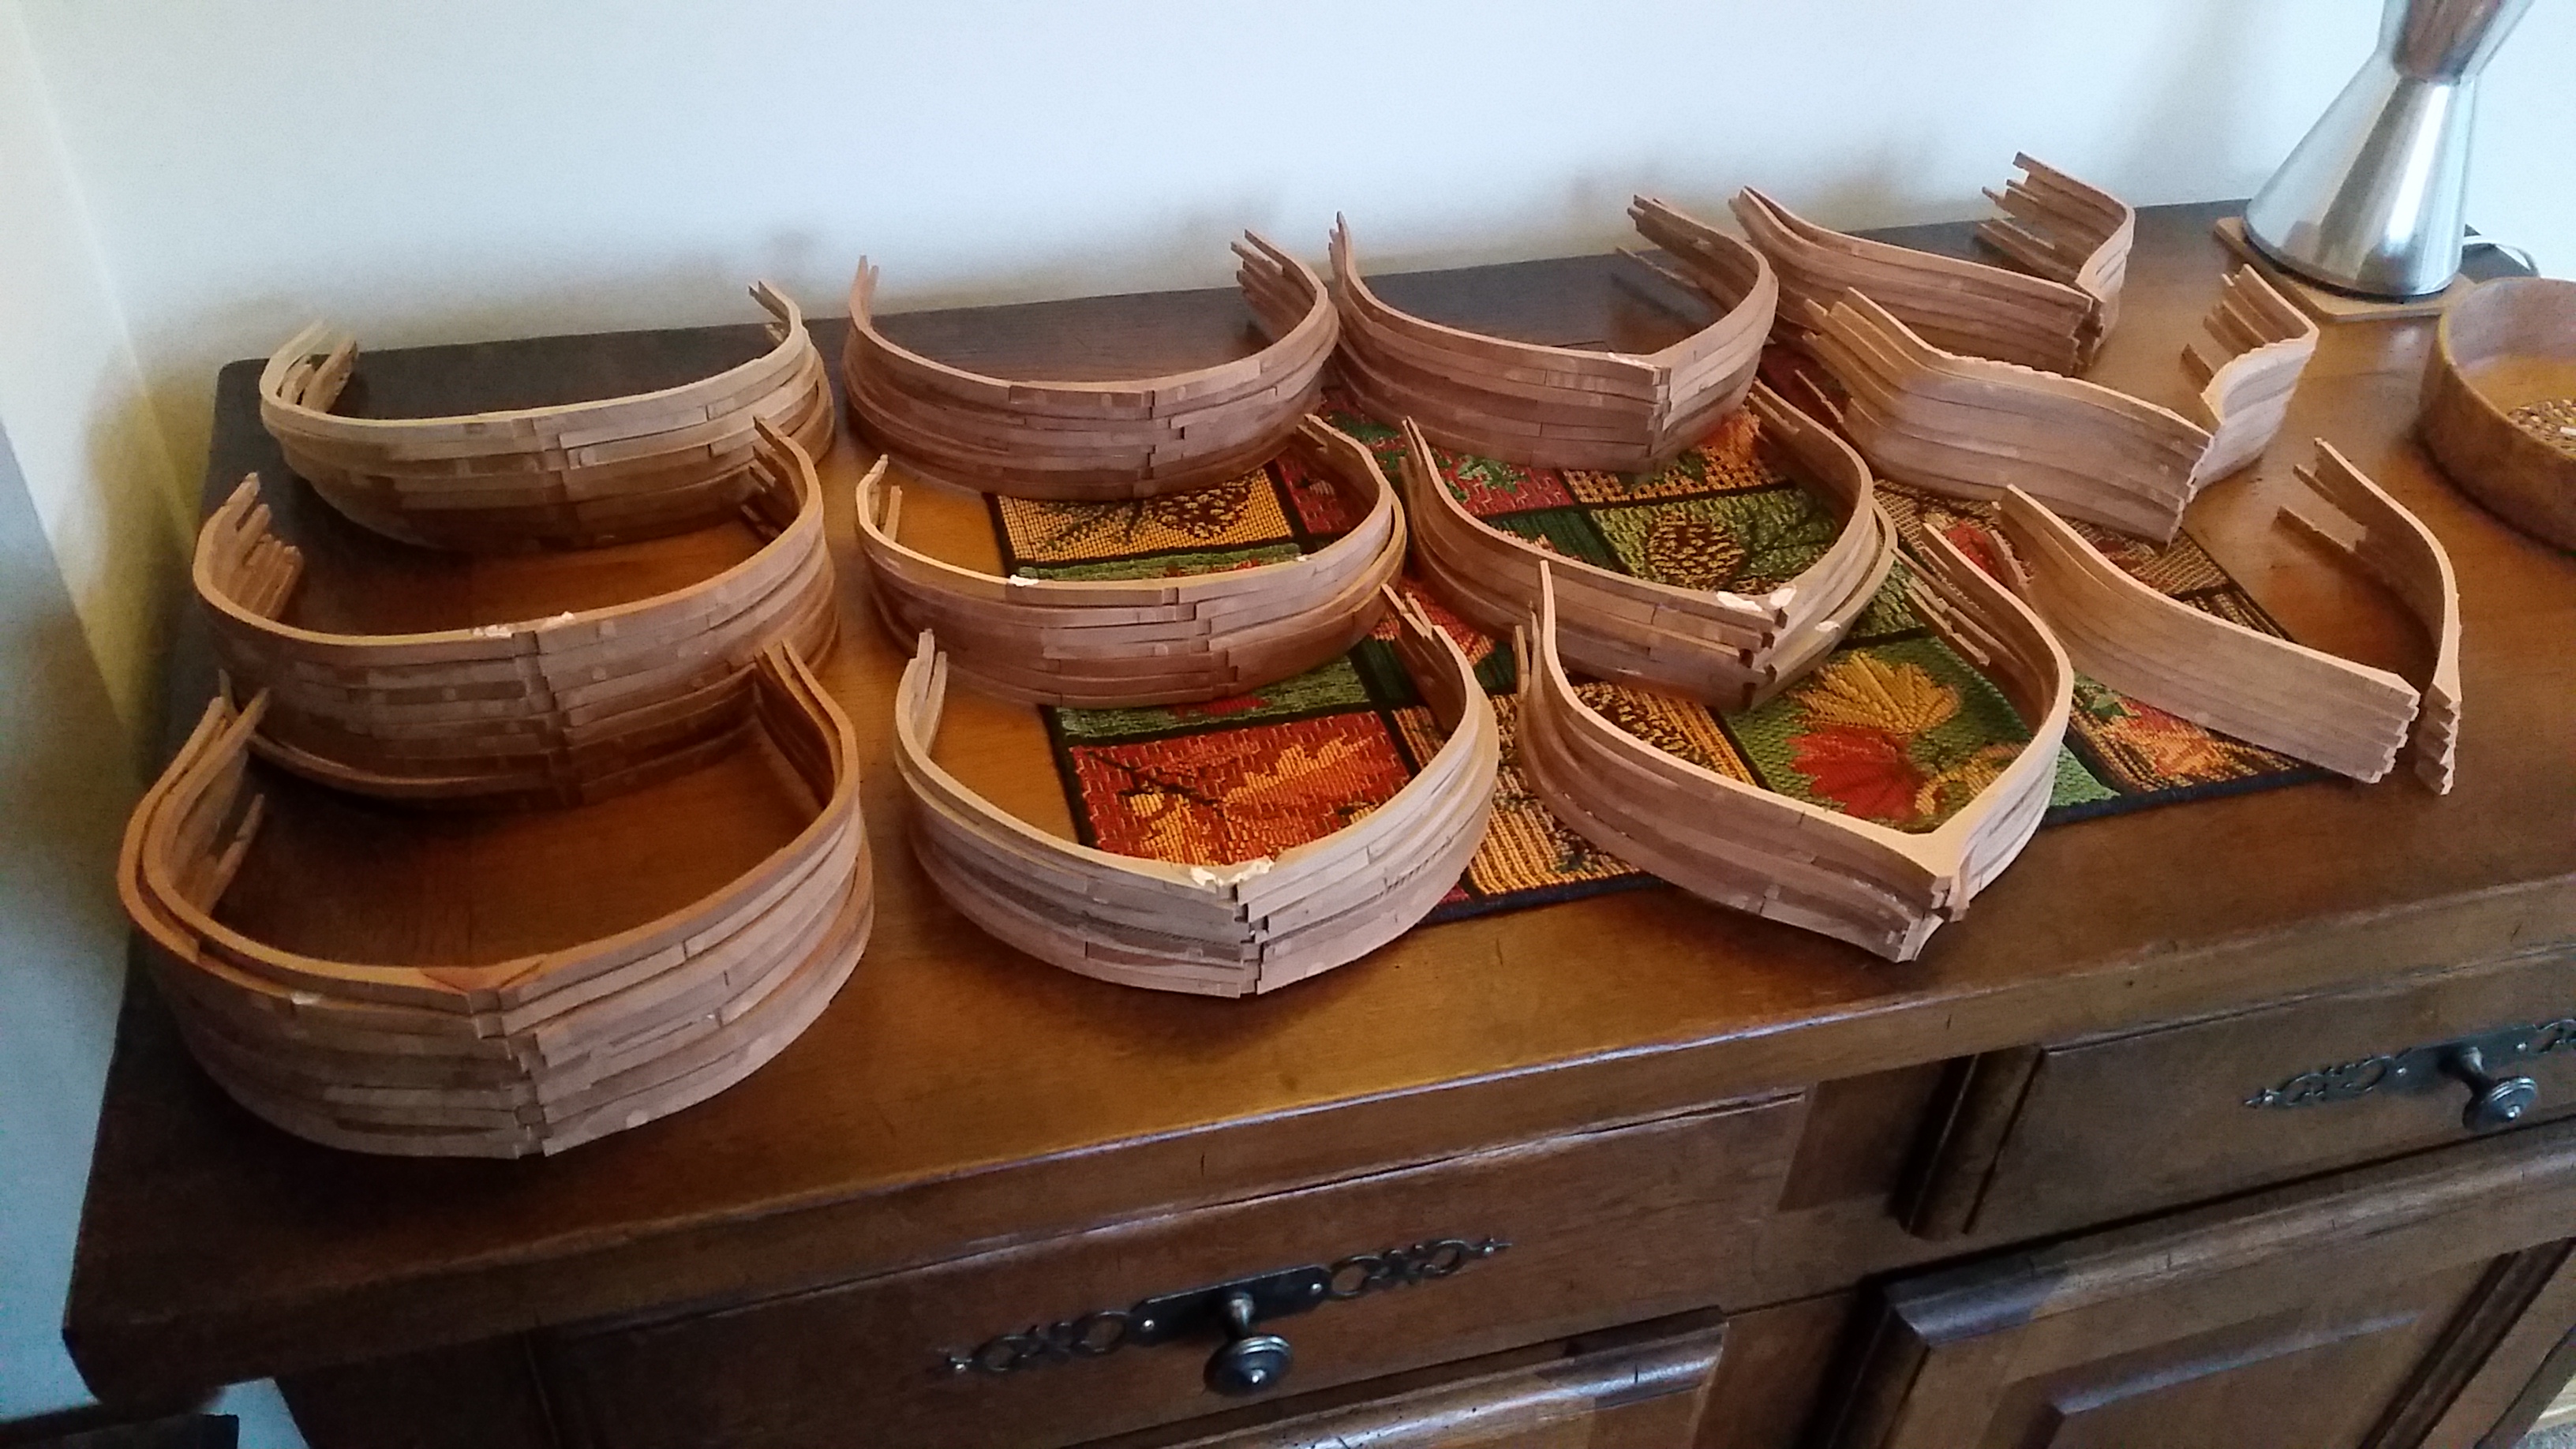
10 Likes
Love watching this project!
2 Likes
A small update reworking the bow as I messed the original up with painting it…
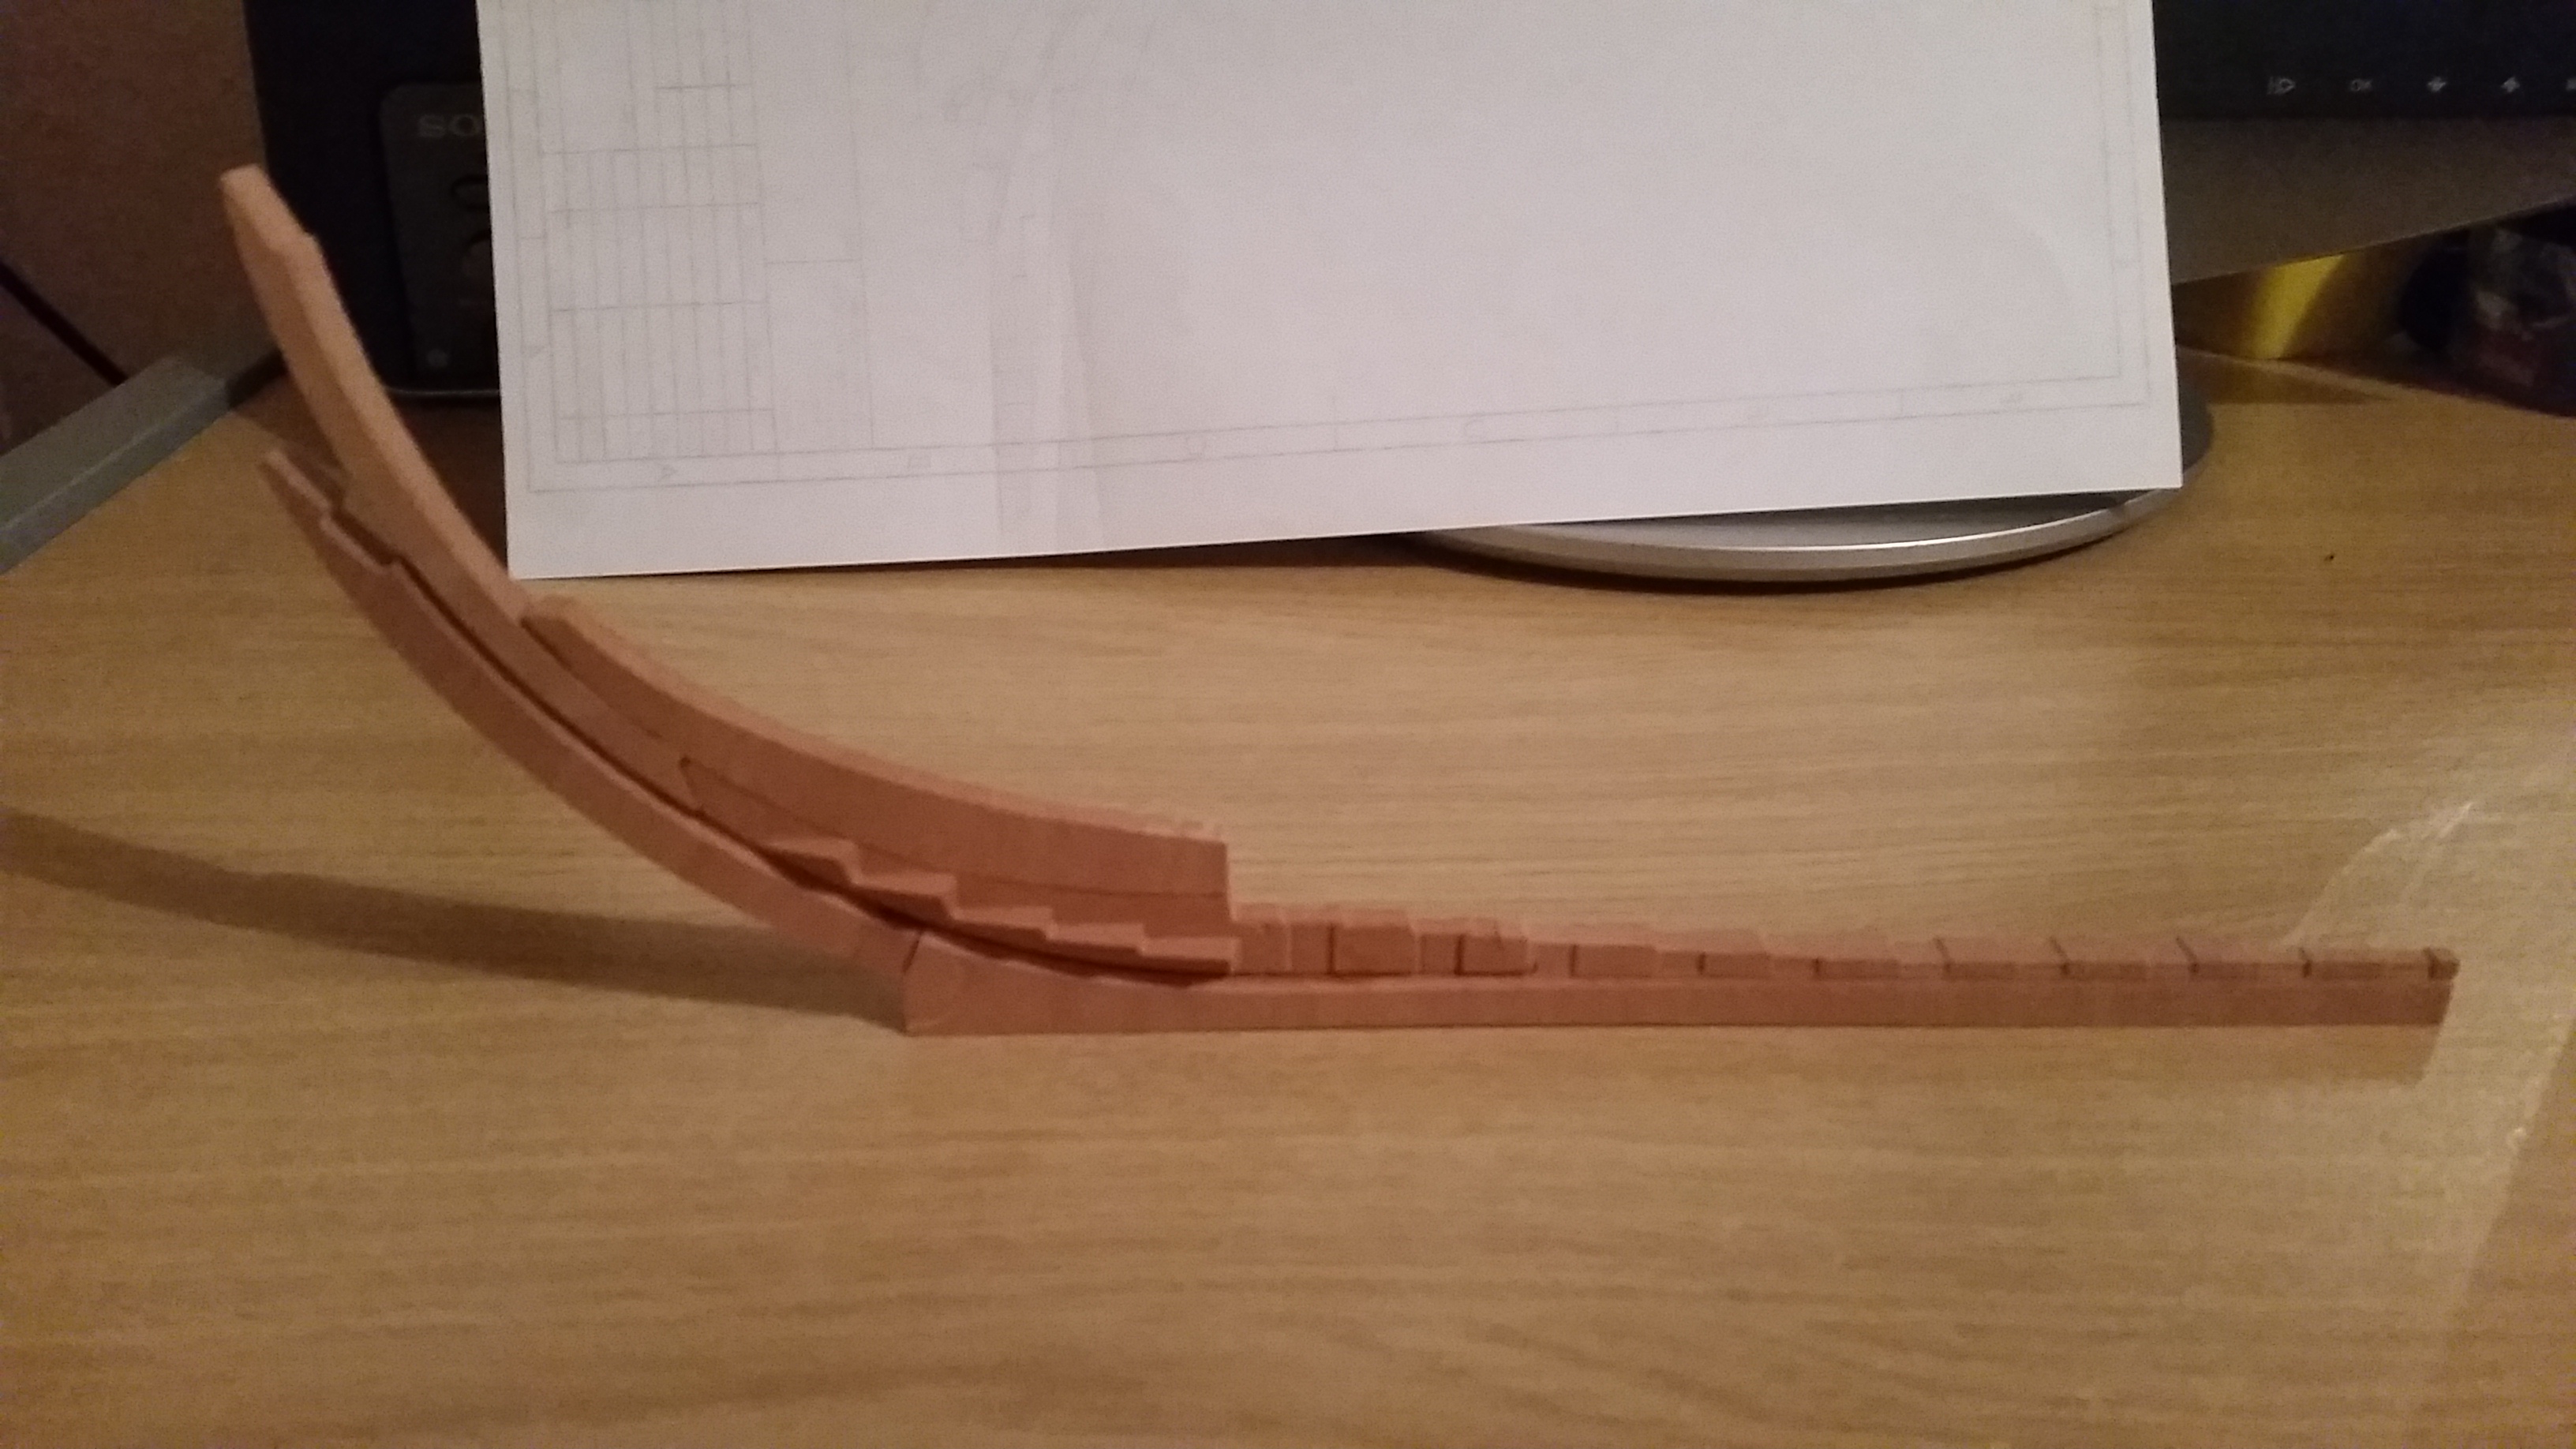
Finished all the major frames and most of the keel just need to get time to build a building bed and finish some small frames off then I will uploaded more pics
8 Likes
So you’re using 15mm swiss pear for your stock and using the flip frame for doublesided milling? Are you using tabs for work holding then? How will you be attaching the pieces, glue? Awesome project!
Hi tito,
The thickness of the Swiss pear varies from 5mm to 20mm depending on the peice being cut. I’m using double sided sticky tape to hold the stock to the waste board and then using wood glue.
I’ve got 3 more frames to cut then I will upload pictures
I do have the flip frame but don’t use it. I use appollo’s technique of drilling two holes in the waste board and stock wood, then aligning the holes to match on both sides
Thanks
Tim
4 Likes
solid works is the best!
I can’t wait to see this finished!!! It’s easily the most amazing thing on this forum
1 Like
willadams and mrbeaver, you guys should feature this on the made with carbide 3d/projects home page even just as a work in progress! it’s bloody amazing. I just spent last night looking through thingiverse and the other 3d printing forums searching for a quick project I might be able to knock out for fun but nothing comes close to what people do with their carbide 3d machines.
3 Likes
Great point! I’ve suggested it be added.