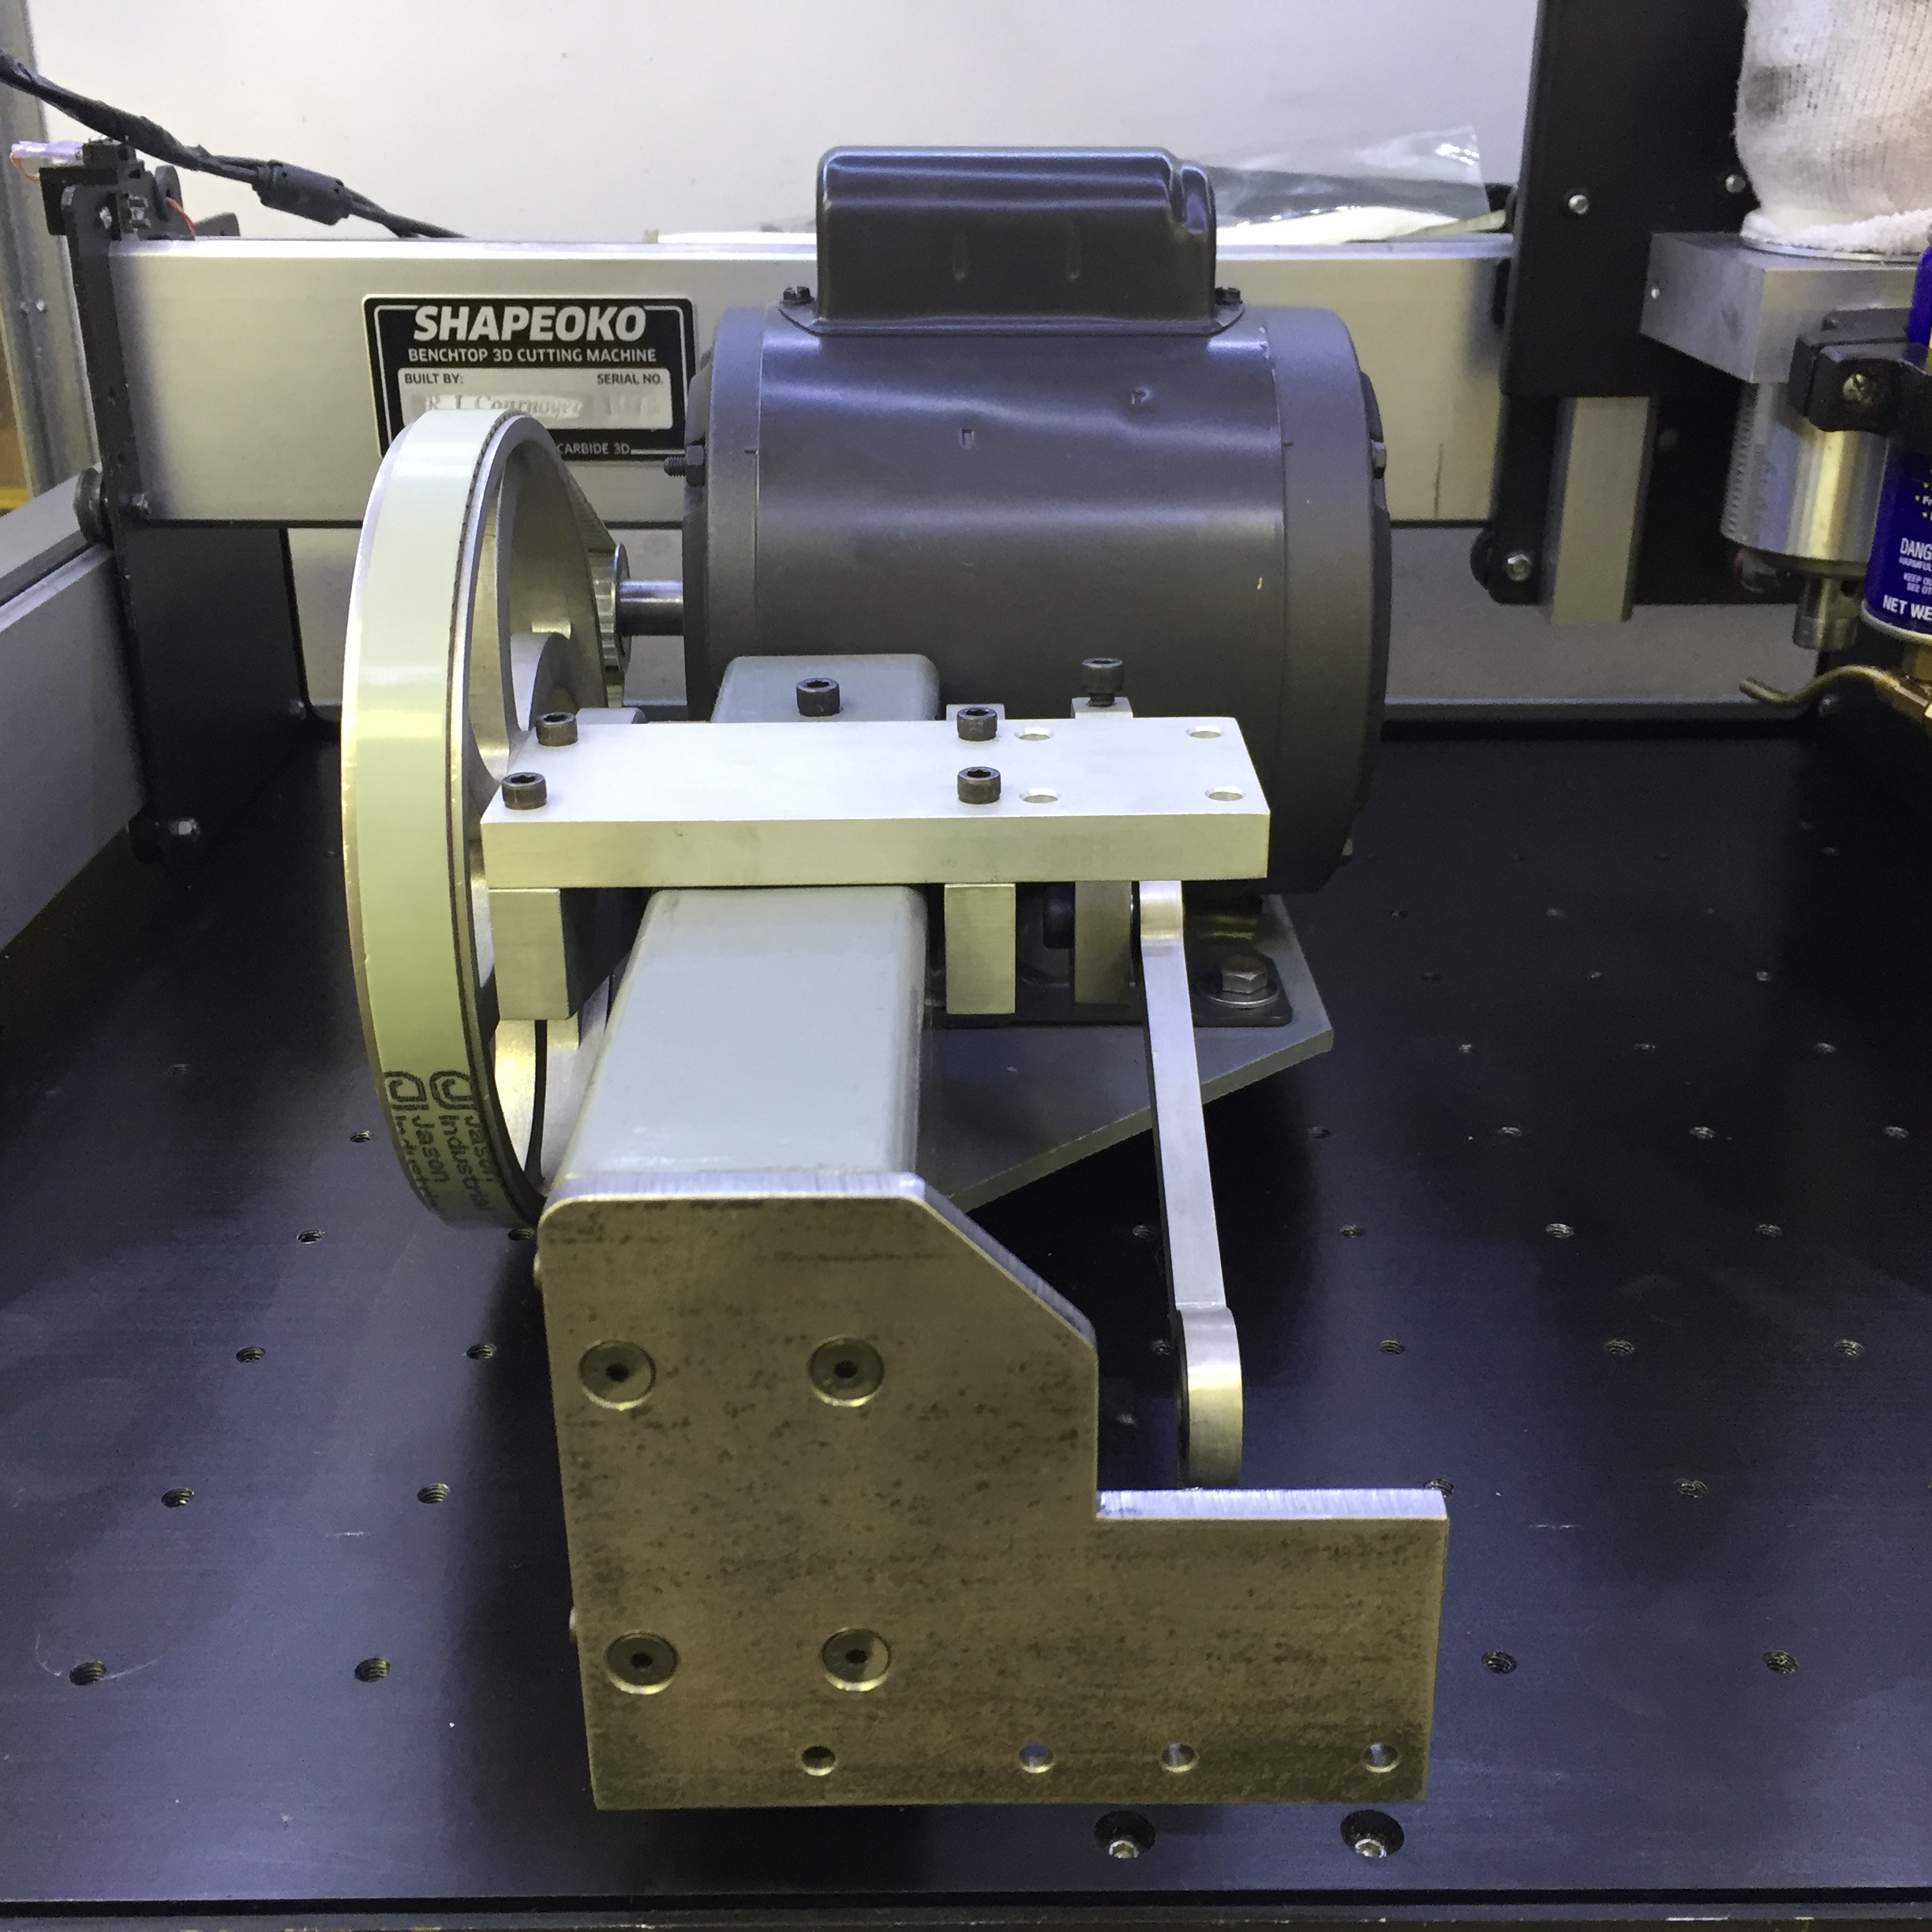
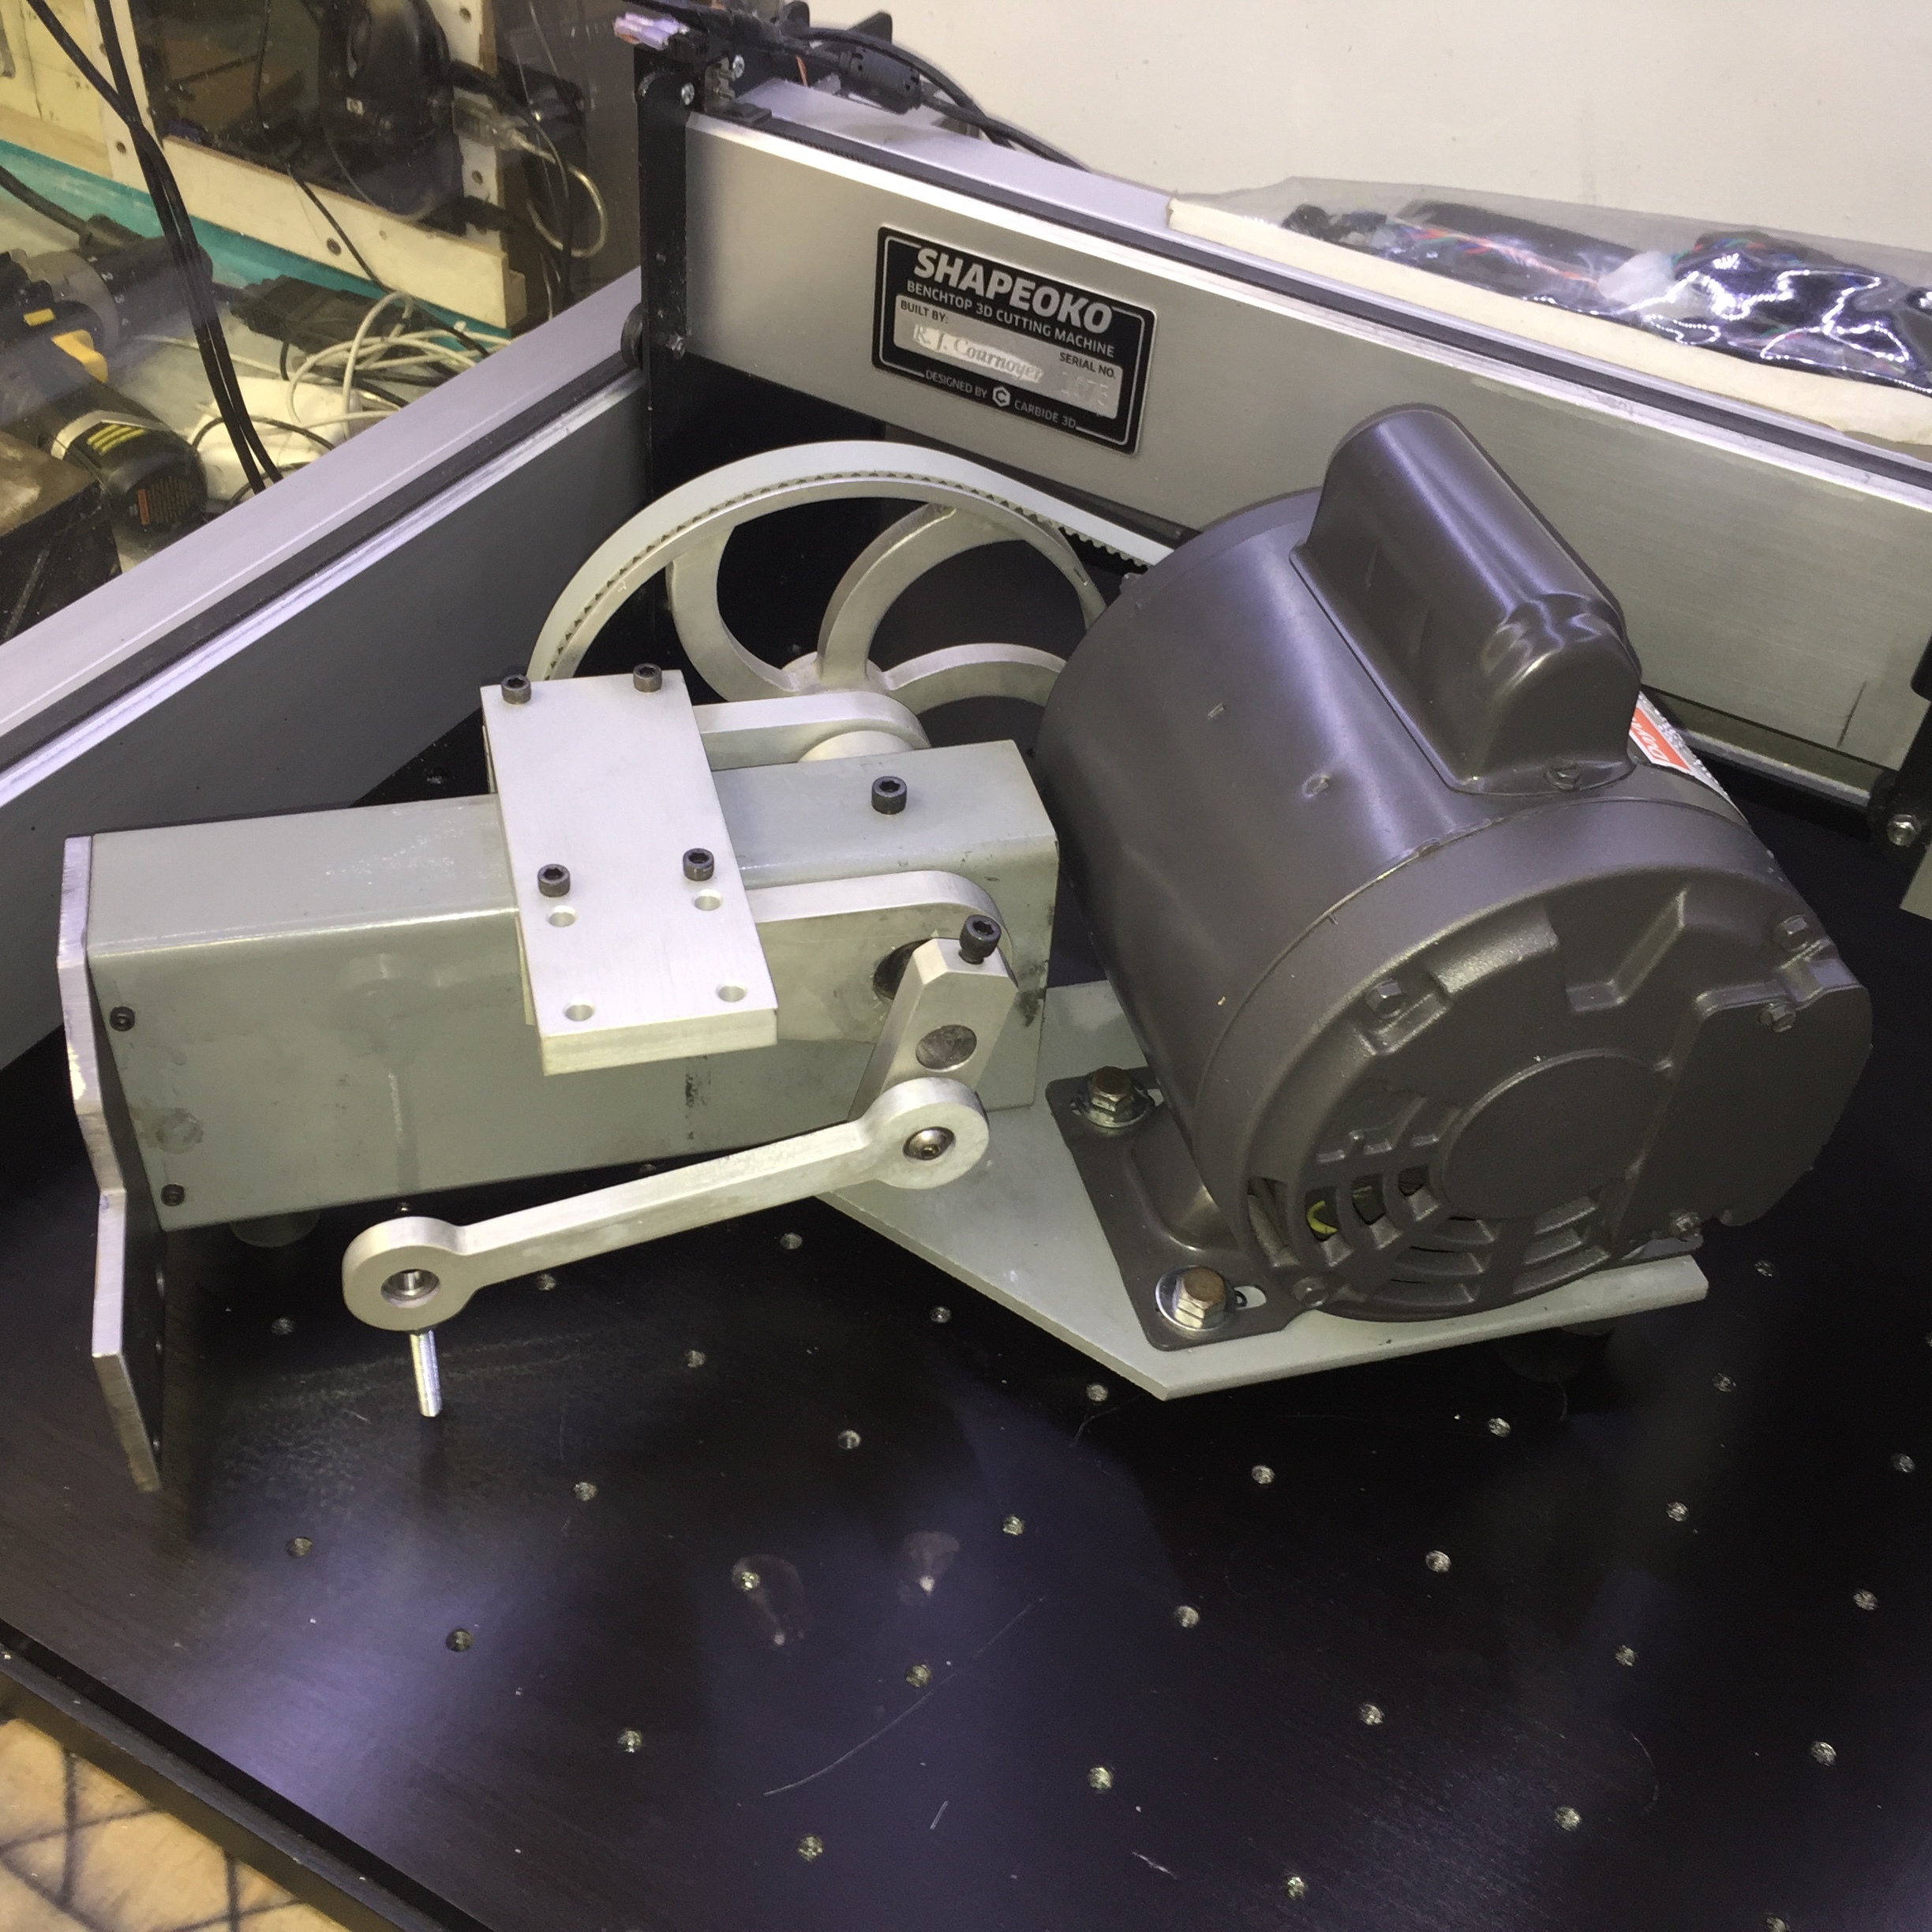
The director at JPL was known for saying, it’s not enough to just “Think outside of the Box, sometimes you need to think, in front of the box. That statement was a perfect for today’s activity. I have (about) 20 steel parts and many are very simple to make for this Power Hacksaw project, but the information on machining steel is fairly limited, so I picked one of the easiest parts to help me on my learning curve. I needed a piece of 4” x 2" x 1/8" steel tubing, but my supplier only stocks 4" x 3" x 1/8" so I planed on machining a 1.0" strip out of the tube, and then welding it back together.
Problem number 1
It DOESN’T fit on the machine! The Z axis is all the way up and the Spindle Nut is resting on the part.
Solution: Think in Front of the Box
It will fit out here, and I have plenty of Y-Axis travel, so let’s do it.
The Setup
Two down force clamps, and two C-clamps to hold the machine down to my part.
It Going to be Hot
I pick up a low budget spray mister, and mounted it to the Motor plate. (and TWO trips to Home Depot)
Programmed a simple 13" x 1" (Inside slot) program in Carbide Create, and accepted the default settings for Steel.
It ran amazing (Thanks Apollo for the speed and feeds). NO burrs, and the cutter is still in good shape. PS There IS a mist coming from that tip, it just didn’t show up in the photo
Finished part (Top Side)
I left 1/64 at the bottom of the cut mainly to keep the part together, which would make machining the bottom side a little bit easier. (Note: No Burrs!)
I simply peeled the 1.0" strip like a Canned Ham (You young guys can ask your parents)
I’ll grind a small weld prep and then weld, and grind smooth for a finished tube. Note: This part will still get machined on four sides (Mounting and access holes) at a later time.
Overall it went fairly well. It’s a LOT noisier then machining aluminum, but to be fair, this setup was not that robust. Now my machine is a mess of steel chips and mist coolant, time for a good cleaning…tomorrow.