Working on a project to create a functional chair. Did a quick prototype this weekend. Anyone had any success doing furniture? Any tips and tricks?
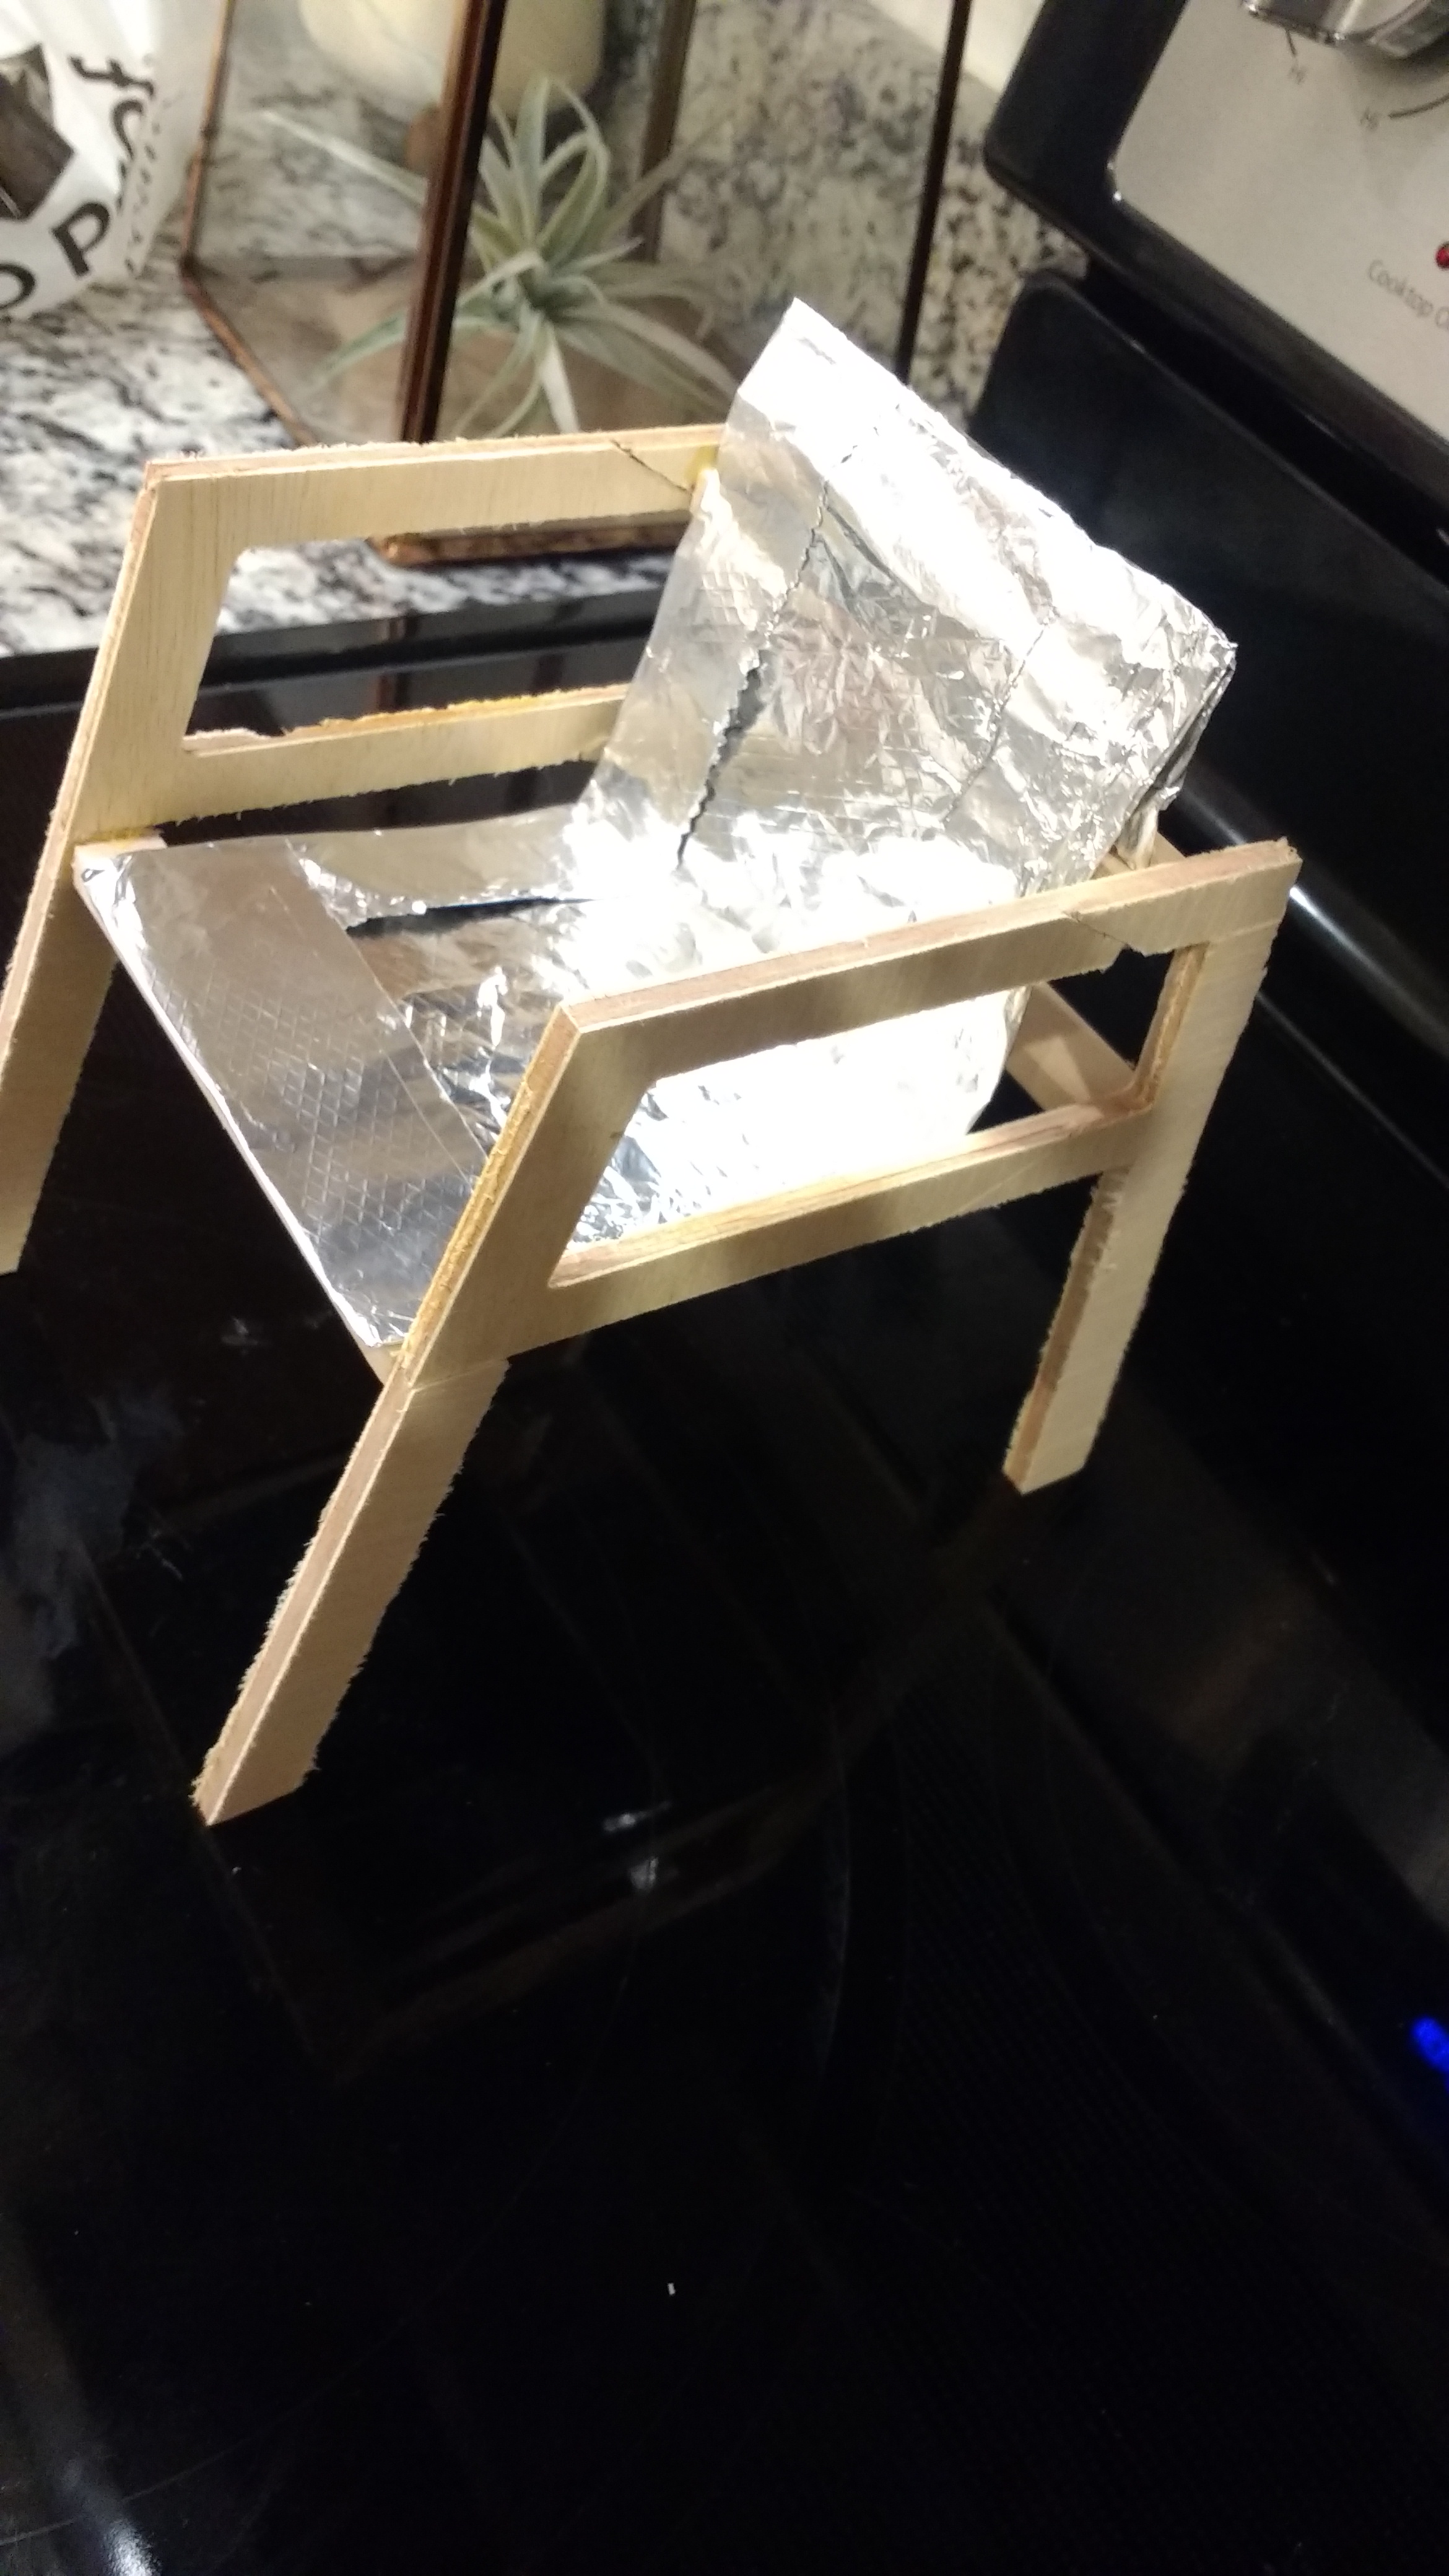
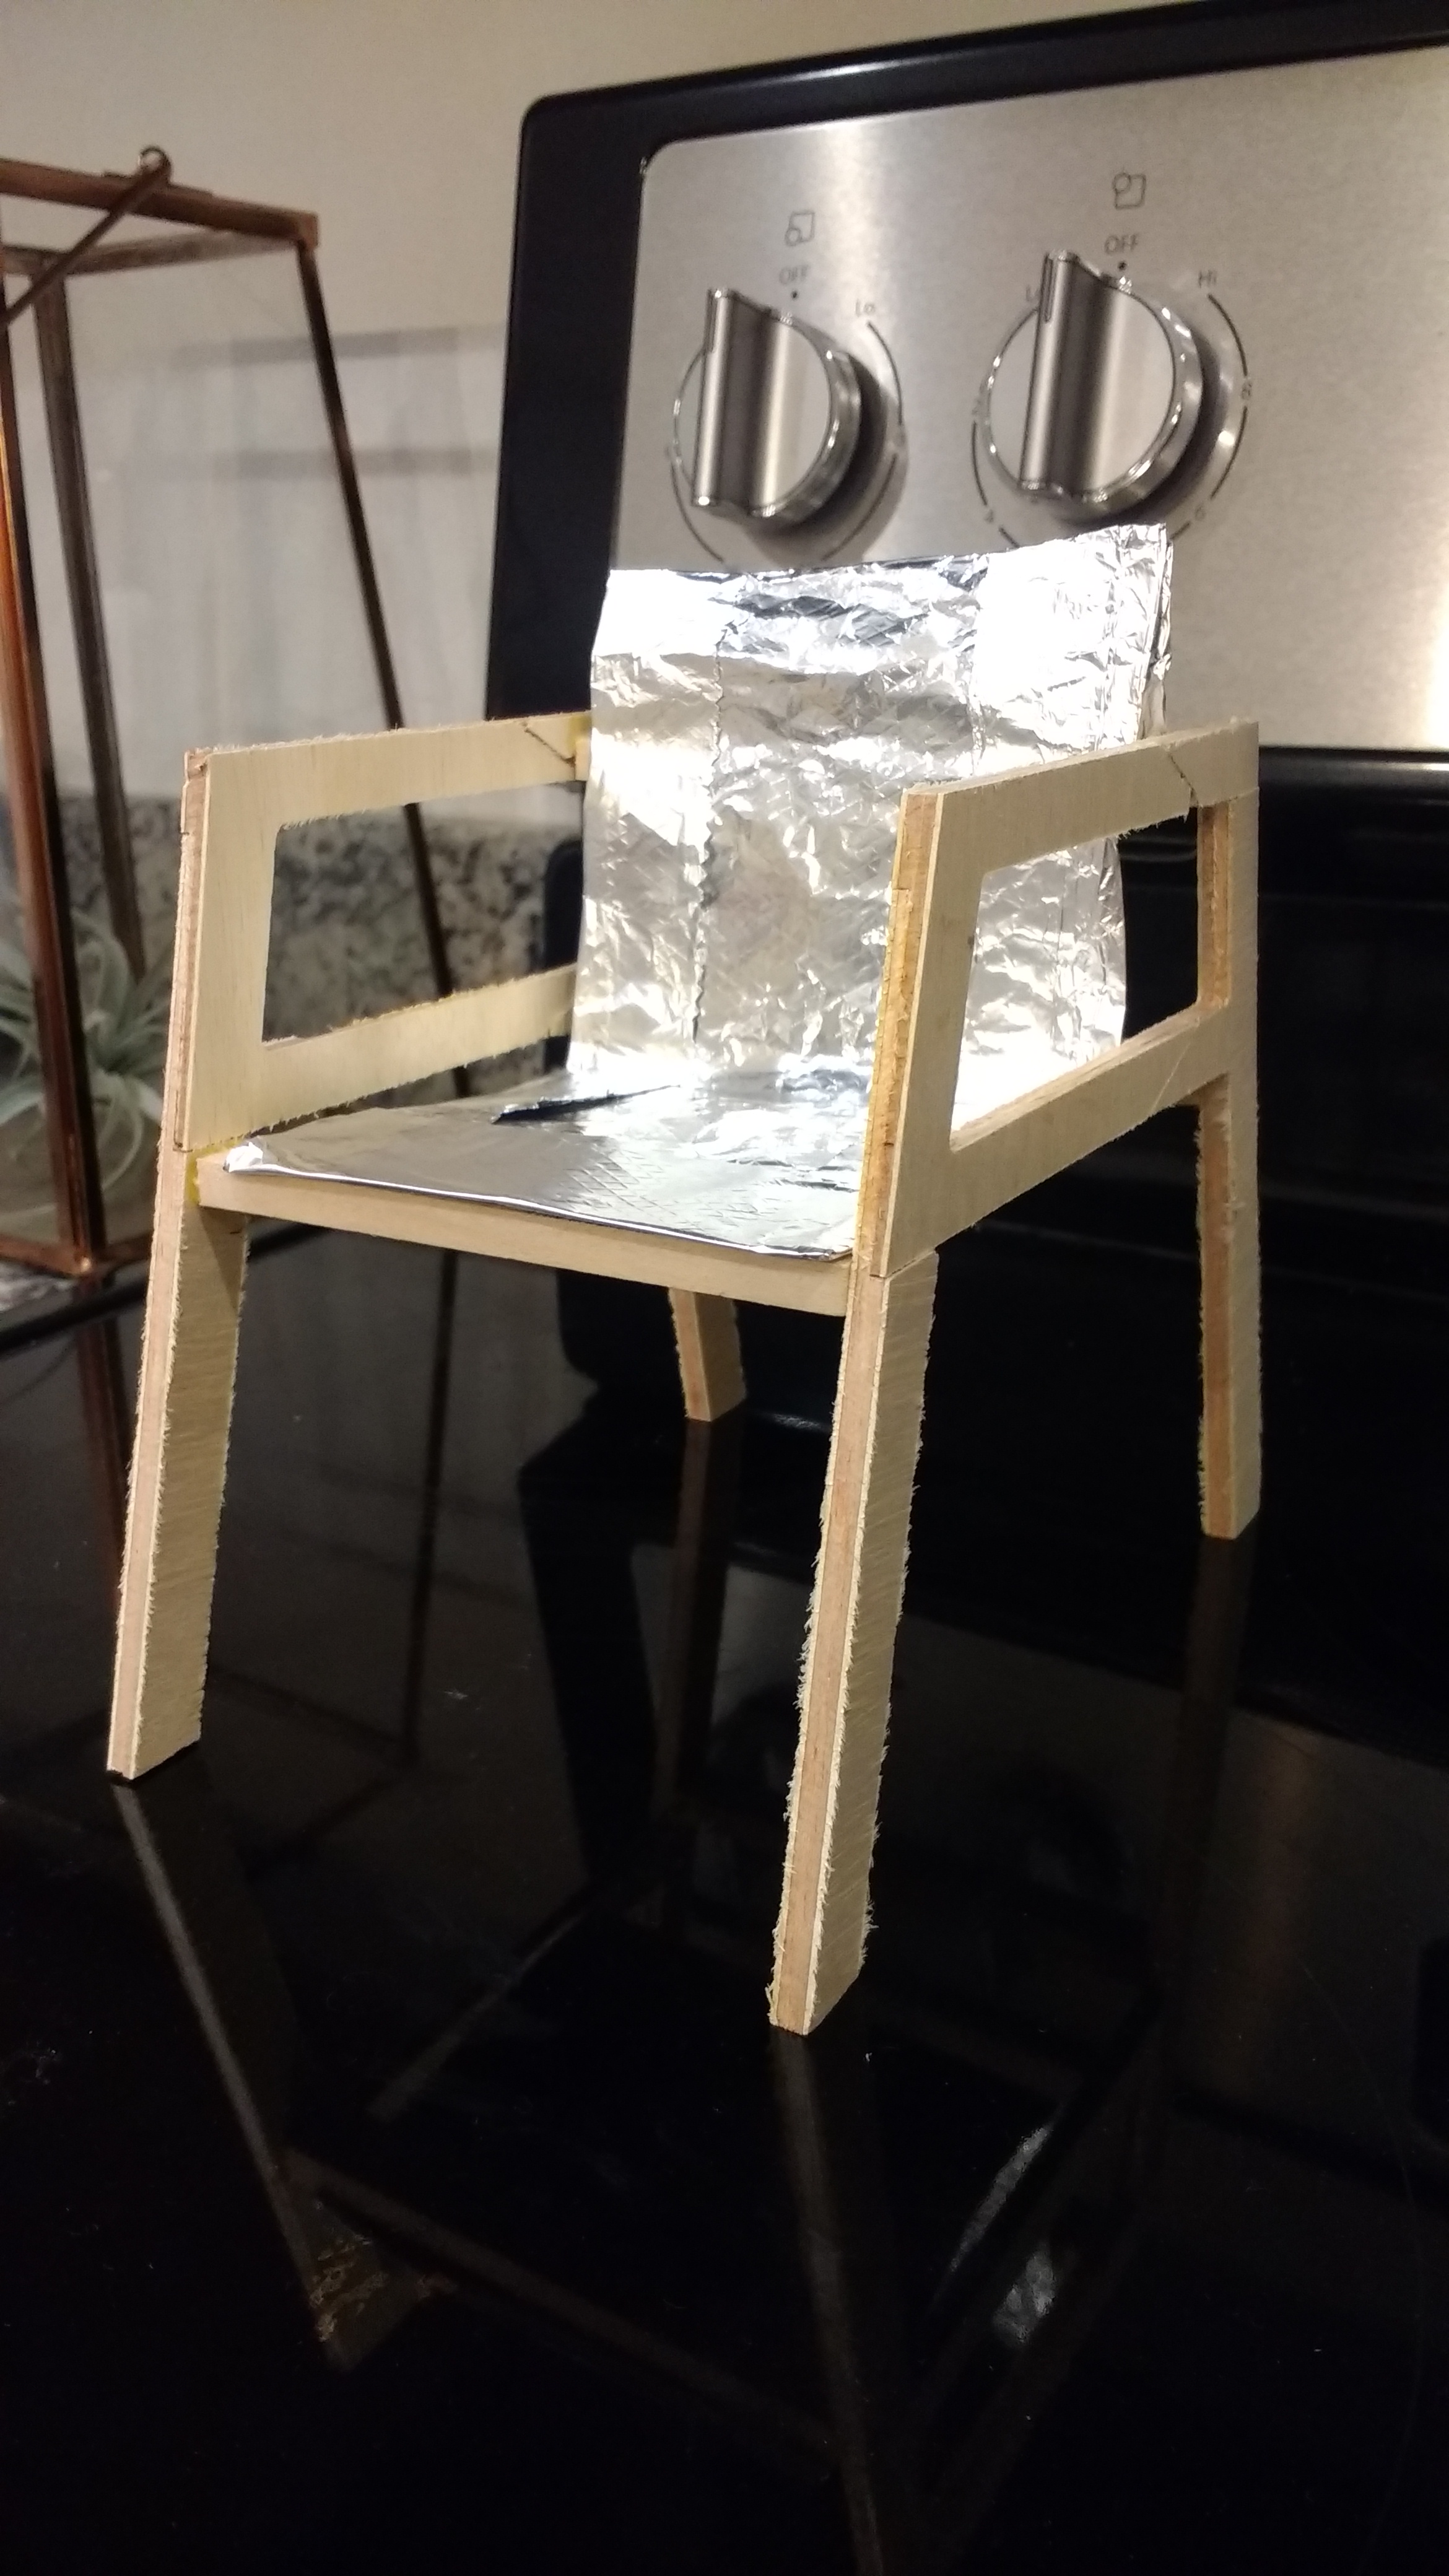
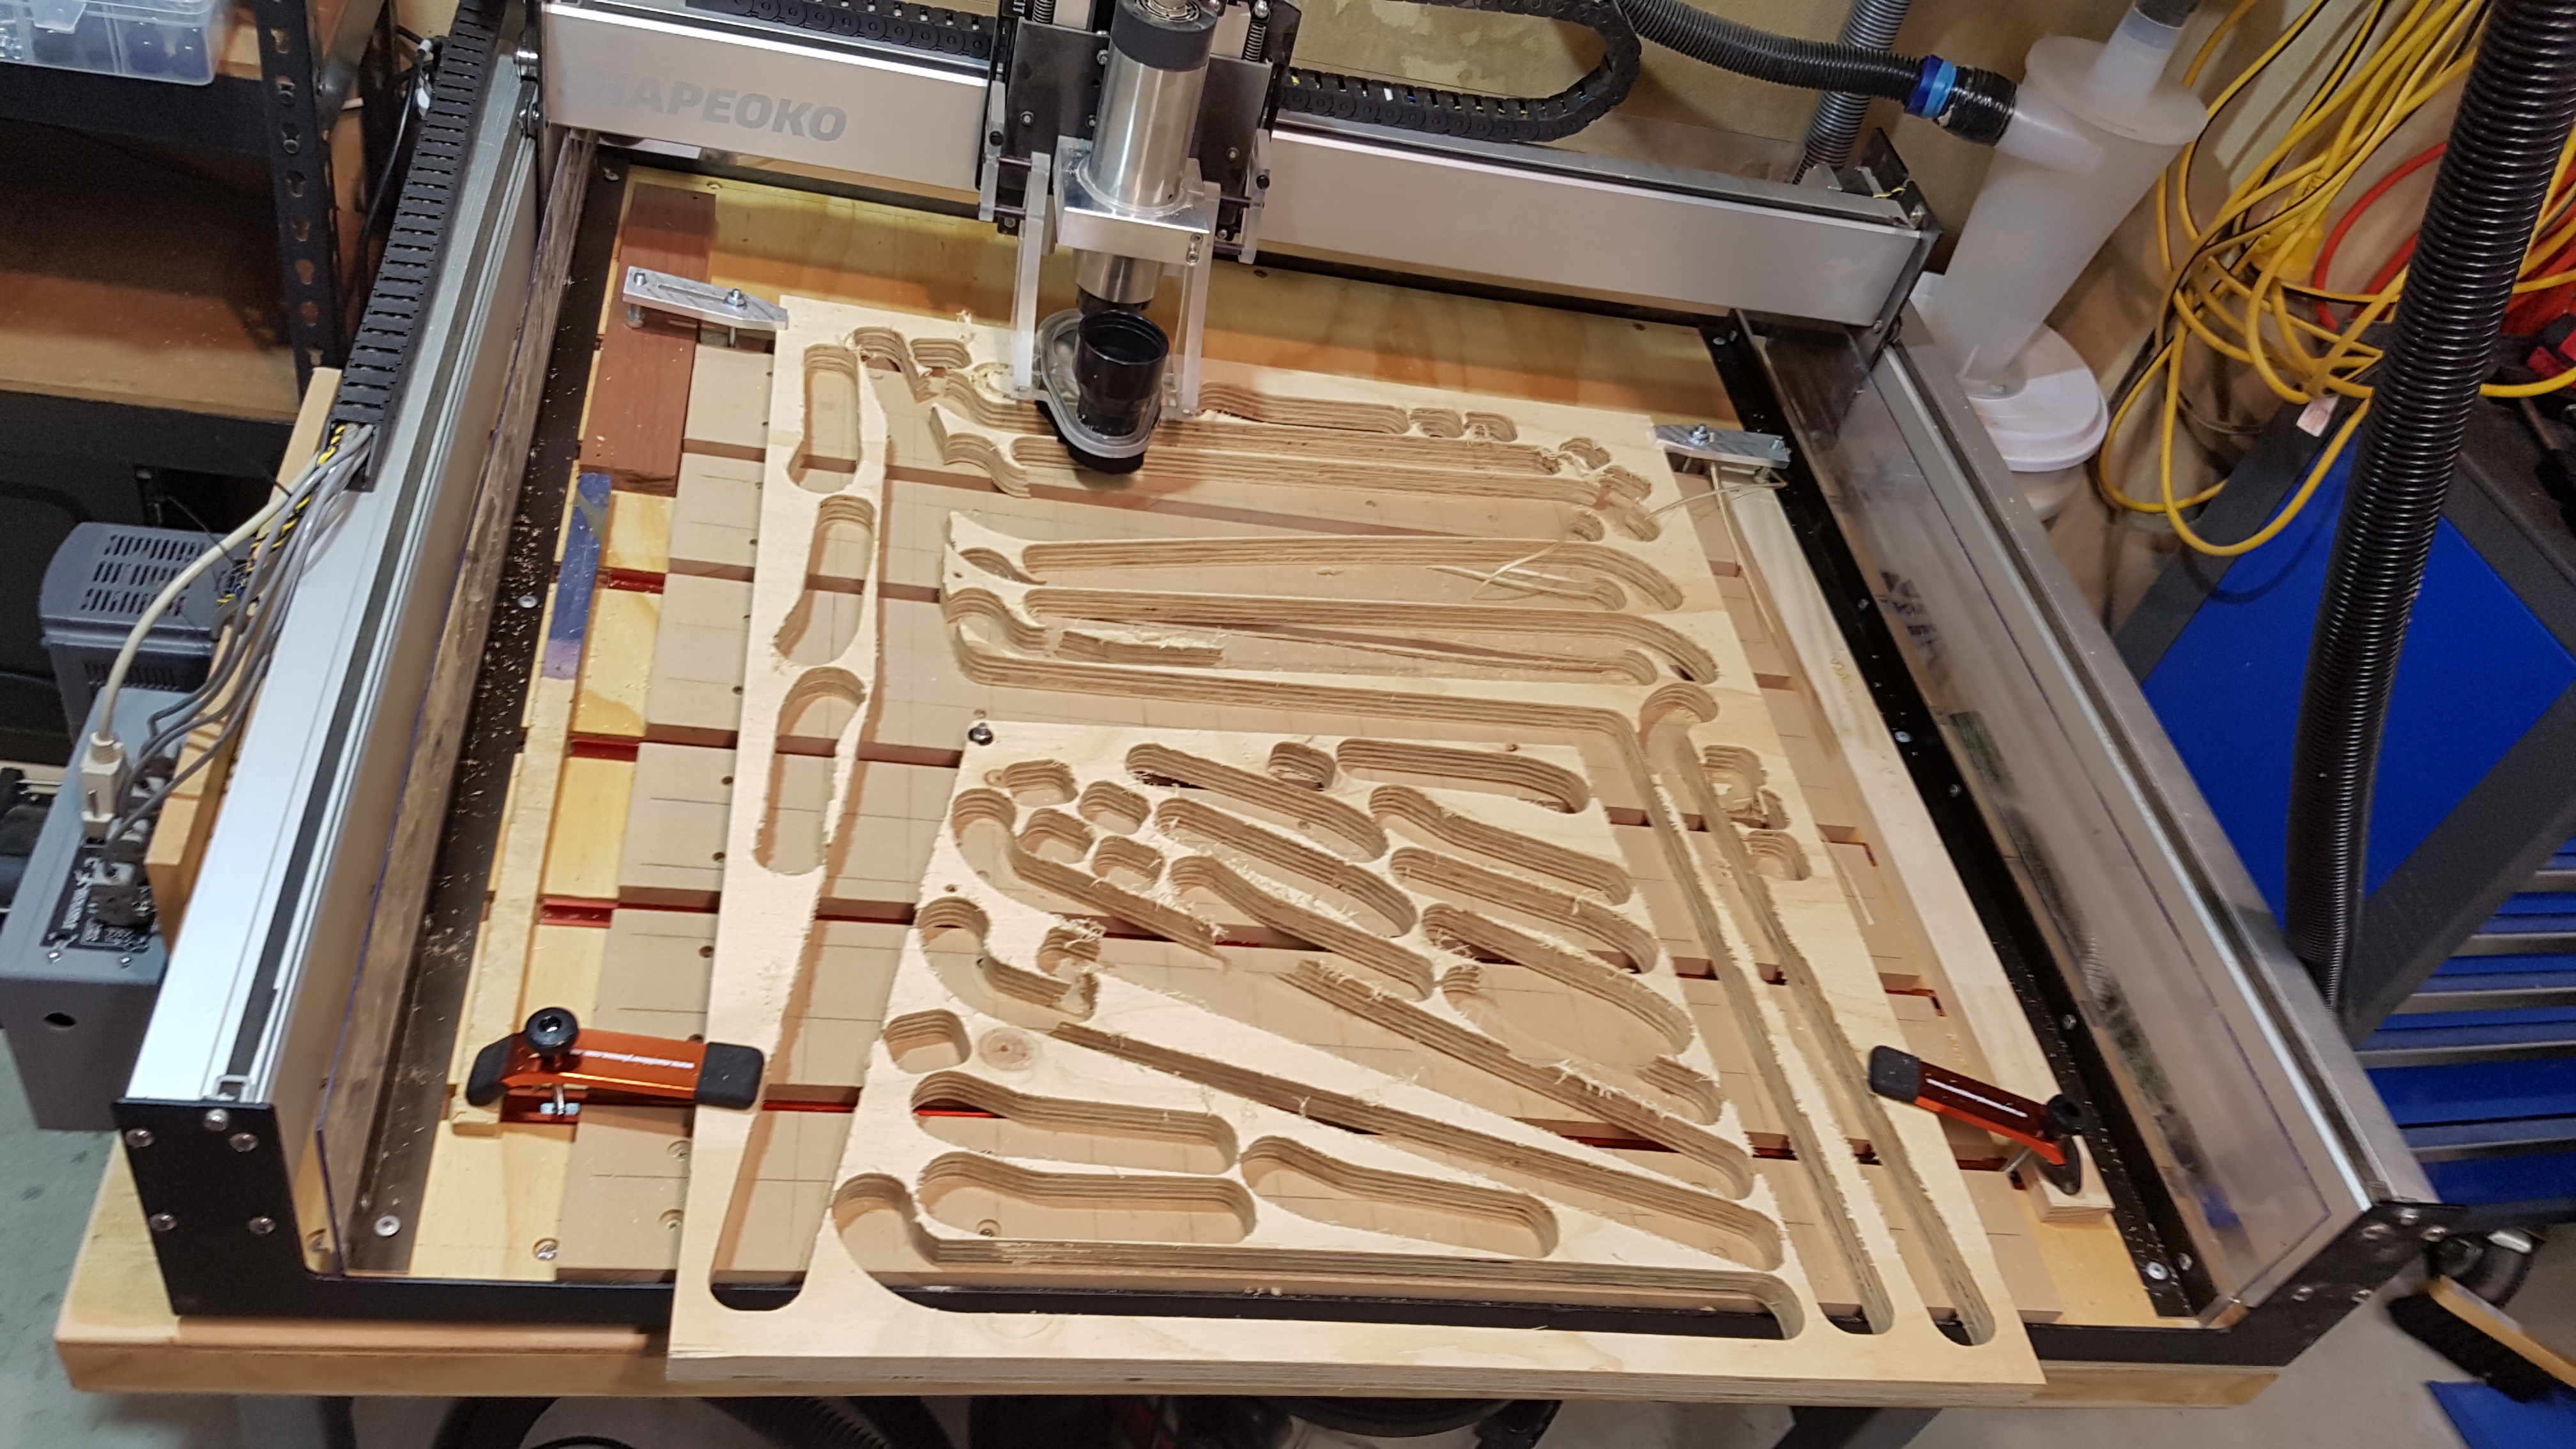
Currently I’m seaming together 4 pieces per side. each piece is recessed to allow for a long glueing area. Really impressed with how well it fit together on a rough draft. Excited to get a full sized one made. getting the pieces small enough to fit into hte bed of the xl is a little rough though ha.
Oh…you piqued my interest. This looks totally doable…
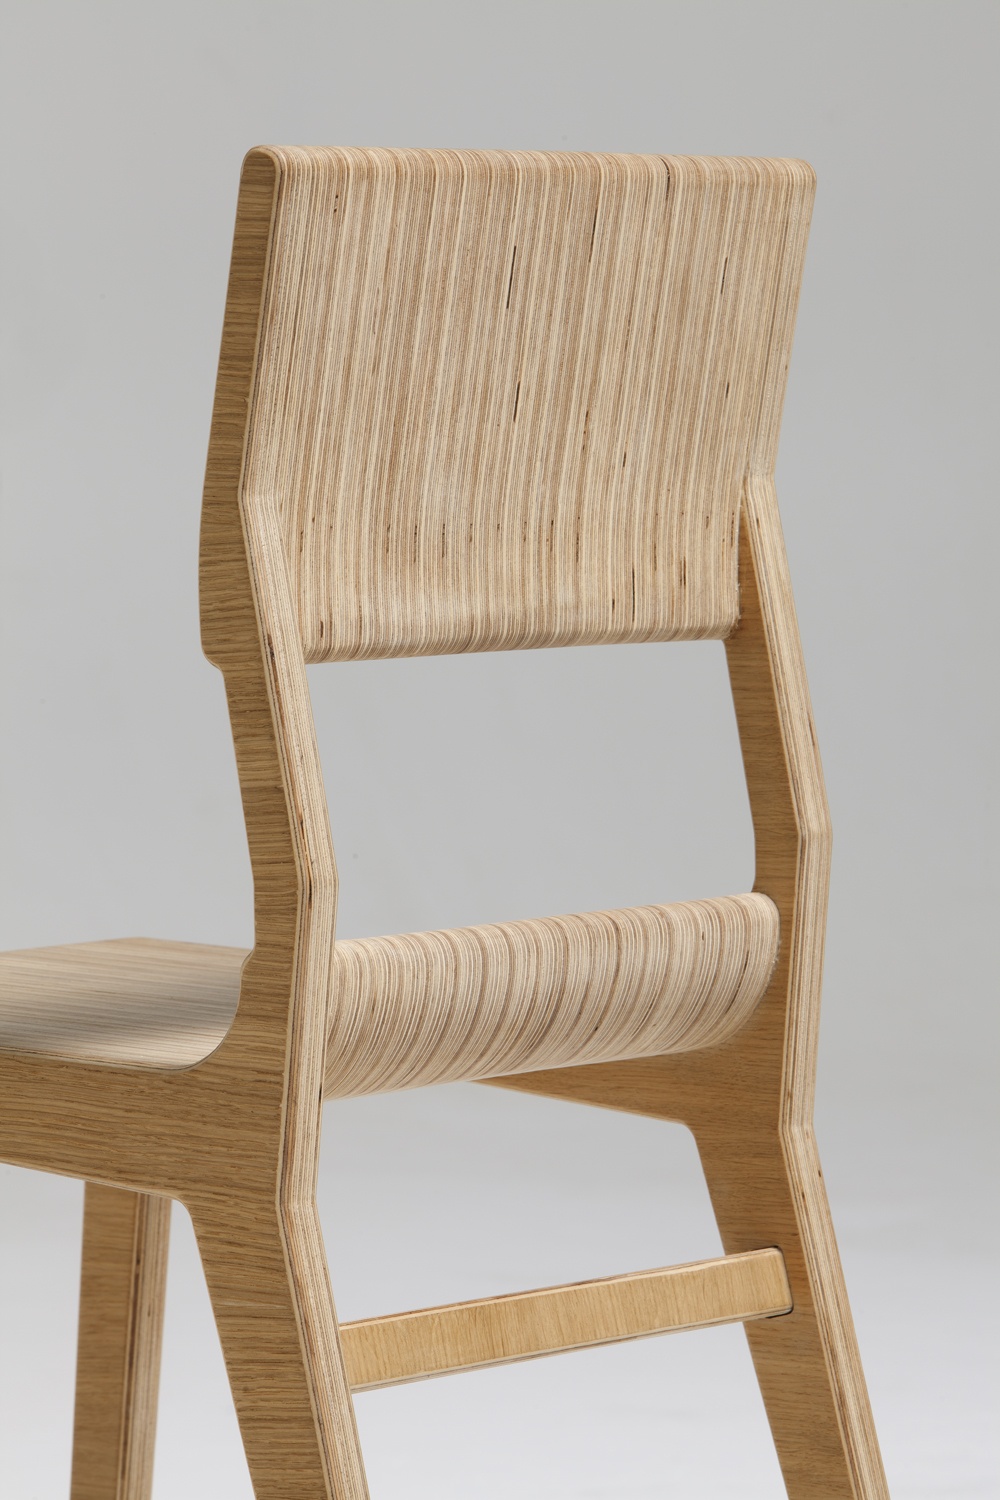
Also, on your prototype…you would want to rotate your cross bar under the seat so that the edges face up and down. plywood has the most strength at the edge, not the face. I just noticed that’s a small prototype on your… stove? =D
Hey, thats a good point, I hadn’t thought about that. I just took some thin balsa strips and cut some crossbeams. In the full size I would definitely put the beams like your saying for the most strength. I just uploaded the svg for the cut as well.
I’ve been working on a folding bookshelf (Folding Bookshelf) — it’s been slow, not much machine time and I’ve been iterating on cutting out parts, and how to do the joinery — all complicated by my initial intent to use “free” roughsawn lumber in the absence of having a planer, and not being willing to hand-plane that much stock.
I believe I’ve got it worked out though, and as soon as I finish up a graphic for a support e-mail will be working on the final version and getting it all cut out.
Yess! I saw that post and was super interested in seeing it. Logistically CNC cut furniture is fun but just from making this prototype I am running into alot of questoins and concerns on howto mill it so that nothing gets warped and none of my sharp edges are left un-cut. Excited to hear how that turns out. hahah but rough cut only sounds a little ambitious. I’m sticking to some hefty thick plywood. which leads me to my next question.
Up to this point i’ve only really cut thin plywood, maybe 10mm tops. for this project I will most likely be talking an inch of plywood, cutting with a 1/4" bit. Would love to do it in 4 passes but I realize thats ambitious, will more than likely be 6-8. Any suggestions on howto do such deep cuts? Currently I’m doing half depth cuts for my overlapping sections. then the cut out for the pieces themselves.
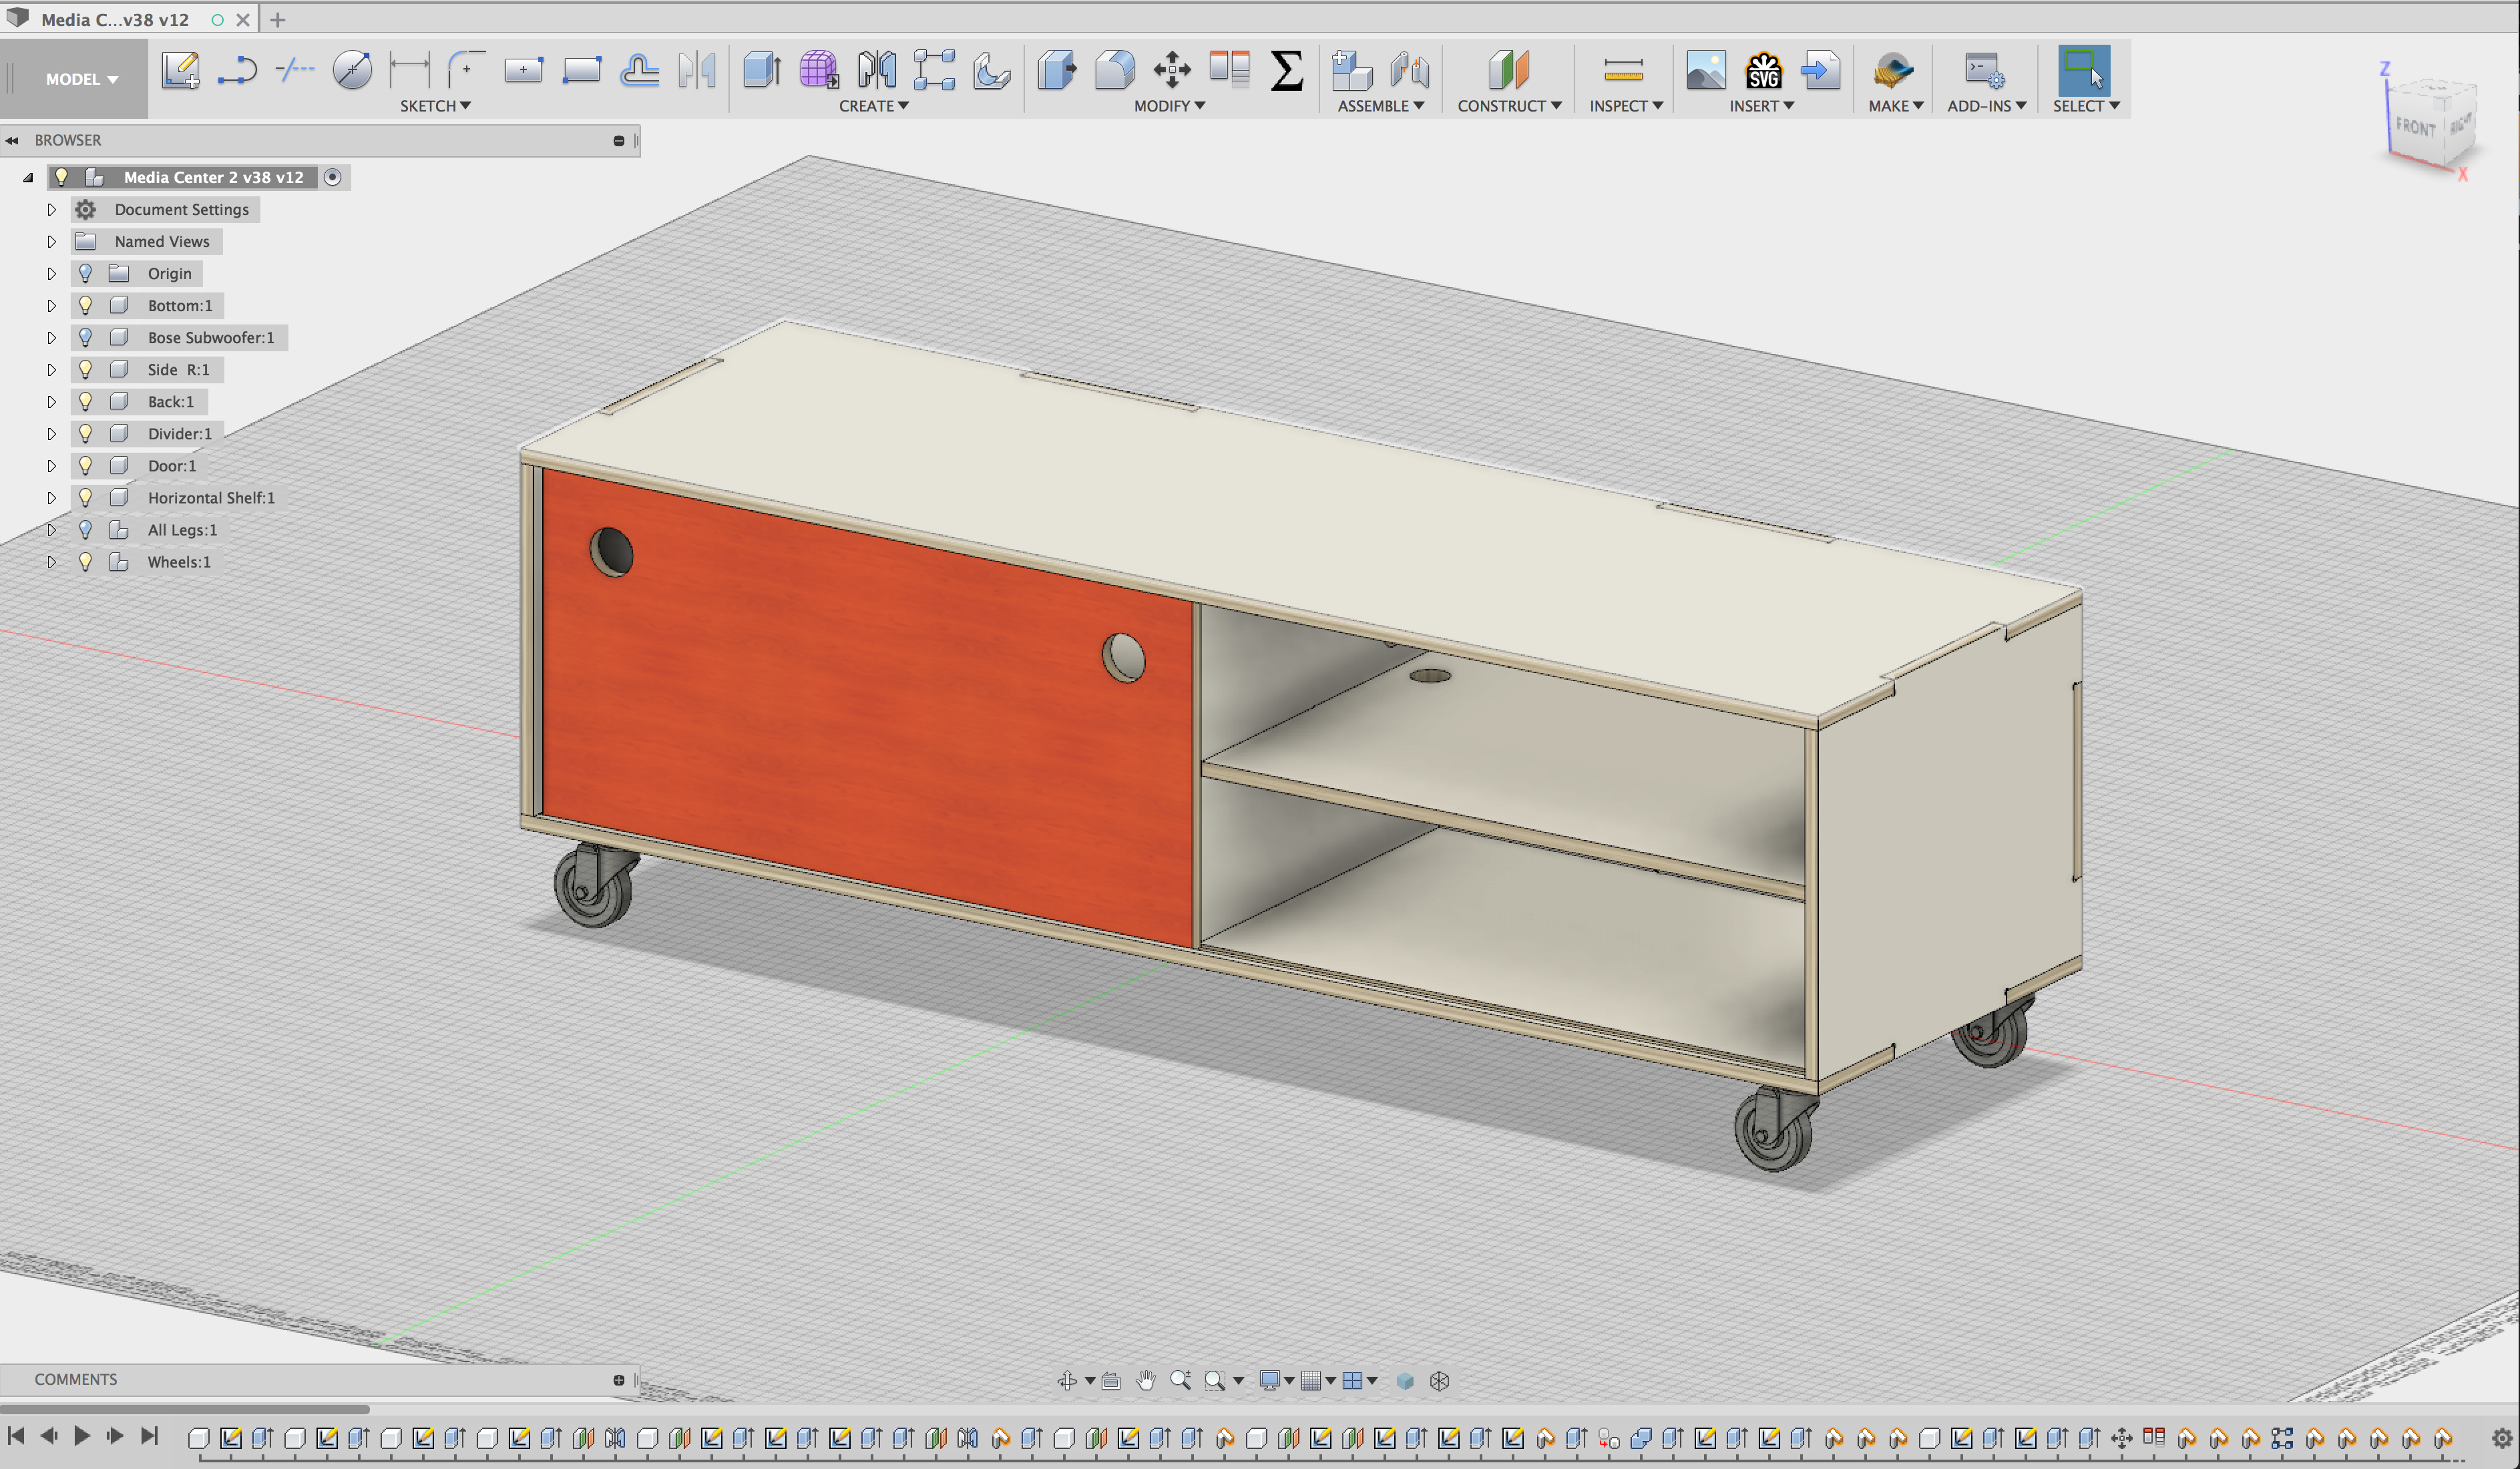
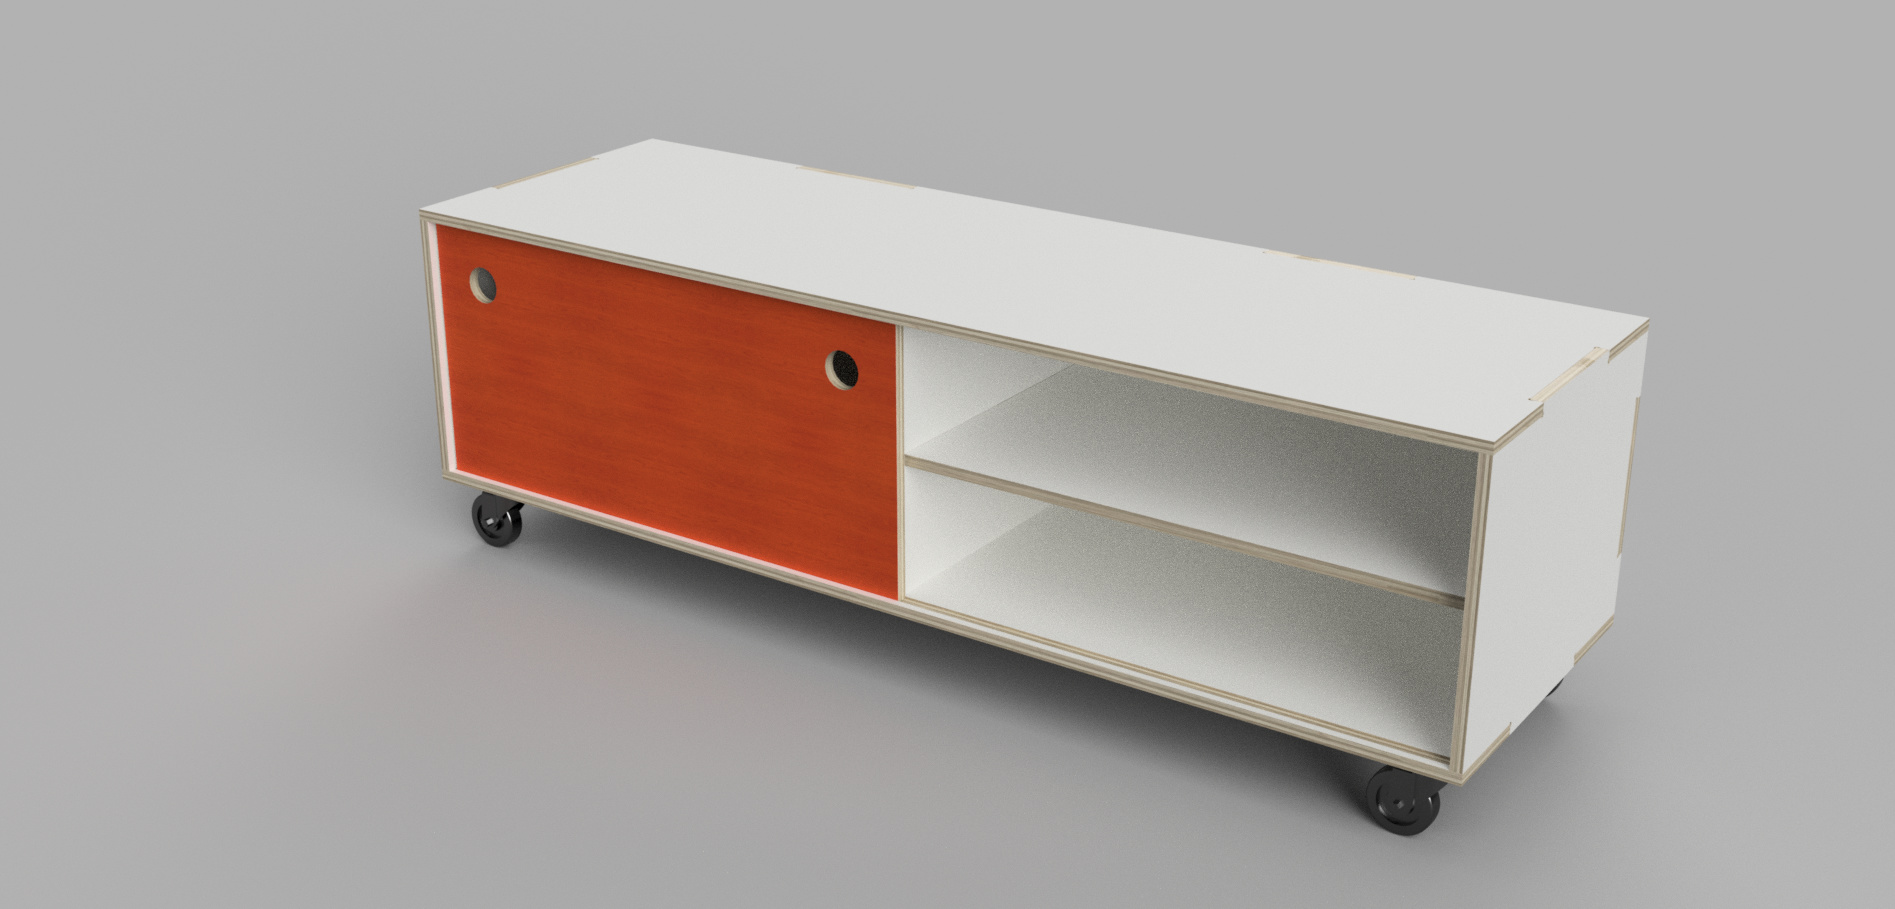
I am dying to make furniture. I’ve already designed a media center to be milled out of two whole sheets of plywood. Need large CNC machine!!! Anyone knows one in the NY area?.
I concur with Will…a downcut endmill is a necessity! I got one recently and don’t know how I worked without one for so long. Saves me a ton of sanding…especially with plywood.
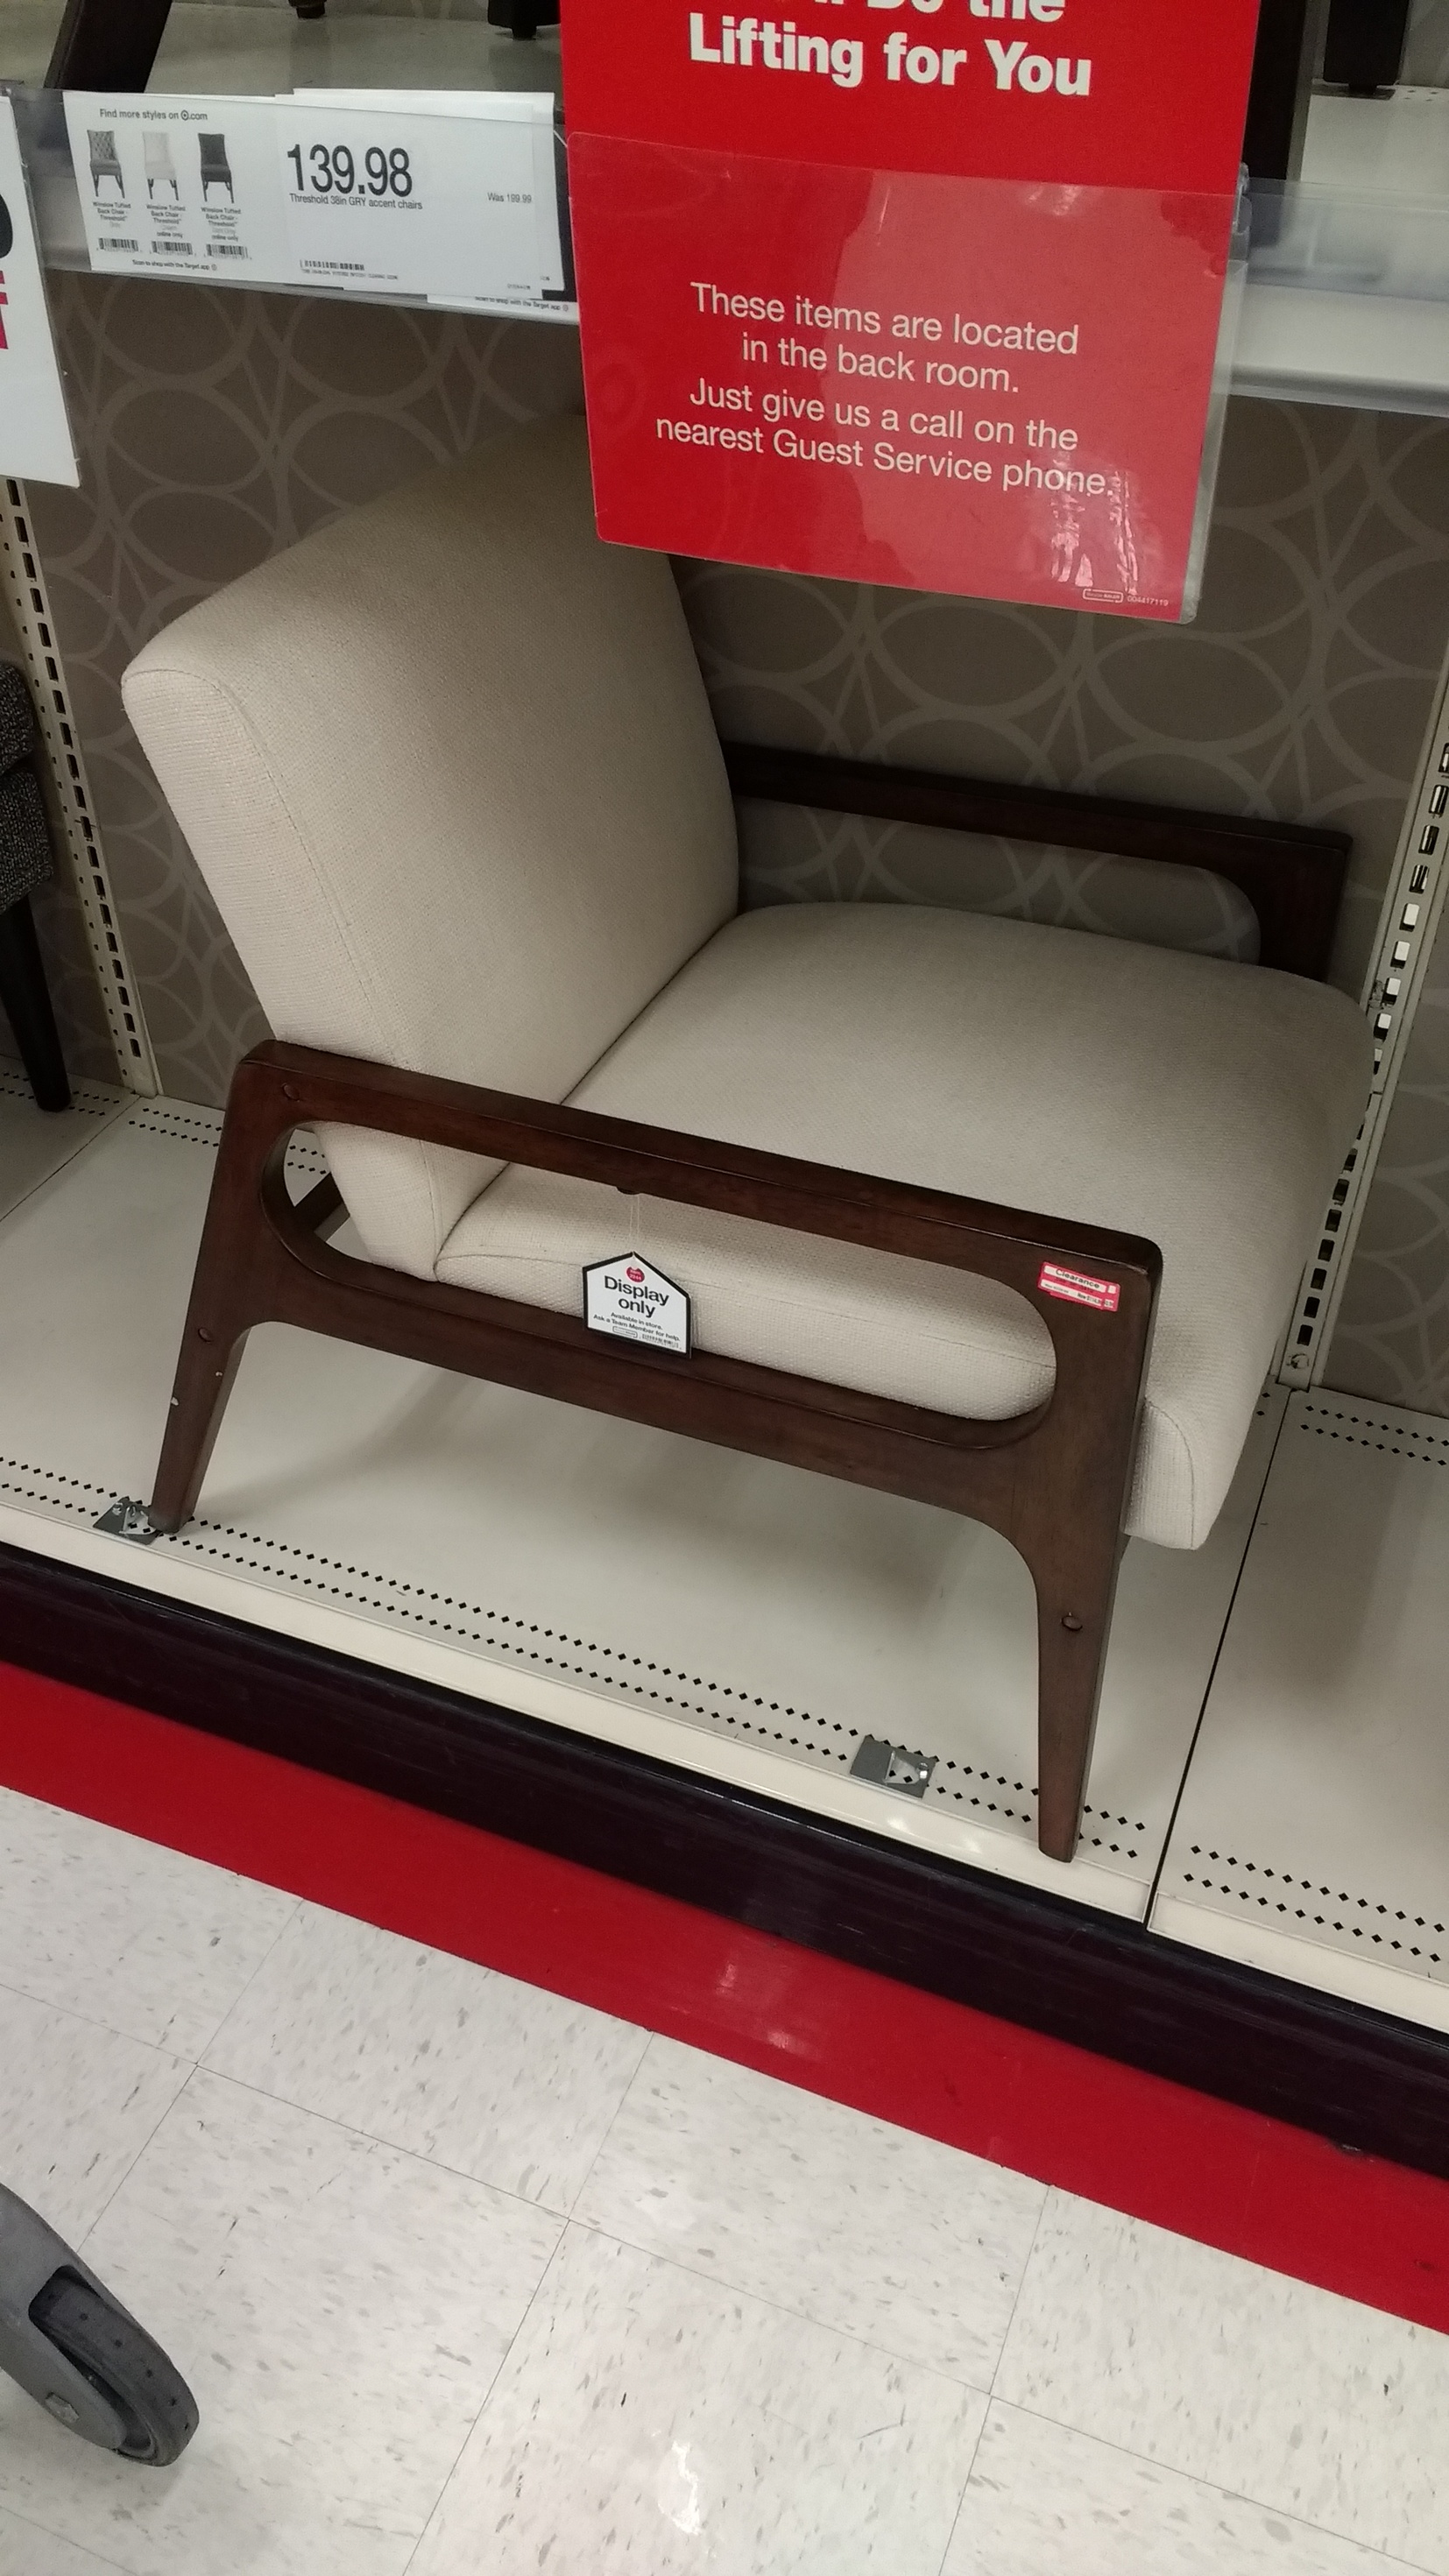
Wow awesome! Didn’t think about finding better pics of it. Been kinda eyeballing it from memory using some basic chair schematics for reference. Currently my svg above shows a red overlap area where i’m cutting half depth between the two so they sandwich together(forgot to add the pockets for where the legs slot in, they have the same sandwhich effect about 3/4s the way into the top part). I was going to use wood pins in between them for stability instead of joinery and try to get the most glue area possible to make for a solid piece. I realized from the mockup however that it creates very weak spot at the seams. I was thinking about doing a single butterfly joint on them to re-enforce them so there is less chance of torsion causing them to snap.
I just picked up some hefty birch plywood from home depo(3/4" Thats about the thickest i’ve found, I may need to look at getting two half inch pieces and working the design to glue them together). Cut it down to 12"x24" sections to cut on the shapeoko. Still figuring out my sizing but based on that I might be able to get away with doing the whole arm bar without having to seam them. Would definitely save alot of cutting time. Need to get back to Target and take measurements lol.
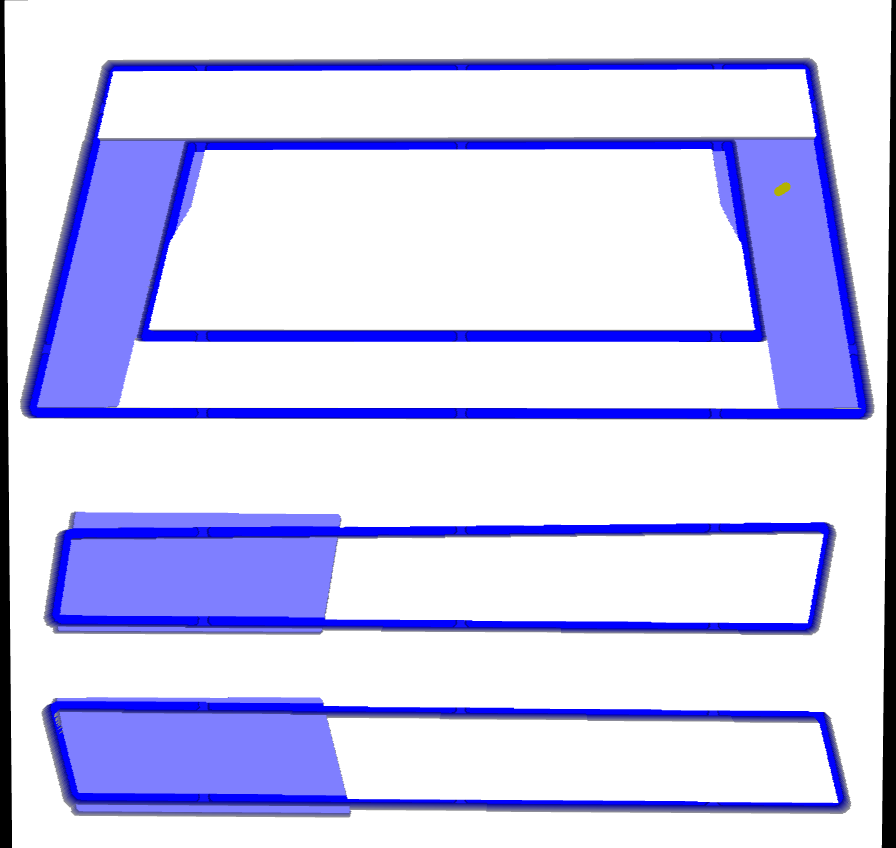
Had the wood for a while but not been able to make any cuts. hoping to do some tonight. got the gcode all up to speed though. Attached is a draft of the cut. had to make pockets big enough to make sure the cut reached the actual edges and everything lined up. Thankfully the software had the settings to add width to the cut and i didn’t have to make a wider path. it will do two laps per pass to get a cut width of about 125% the bit width, should i go wider than that?