I was thinking about making the Minibox Project from the tutorials on my XL then realized that it is sized for the XXL. It turns out it was easy to split in two. Just open the c2d file and change the stock size to 12" high. Delete the top pieces that don’t fit. There are a few in the middle that you will need to squish down a bit and they’ll fit. Save that as a new project, update the tool paths then save the gcode.
Now open the original file again and change the stock size to 12" high. Delete the parts that you included before then move the rest down onto your stock. Save that as another new project, update the tool paths and save the gcode.
Here are the files that I created for the XL. I haven’t run these yet. I hope try them out this weekend. If someone beats me to it, share some pictures and let us know how it worked.
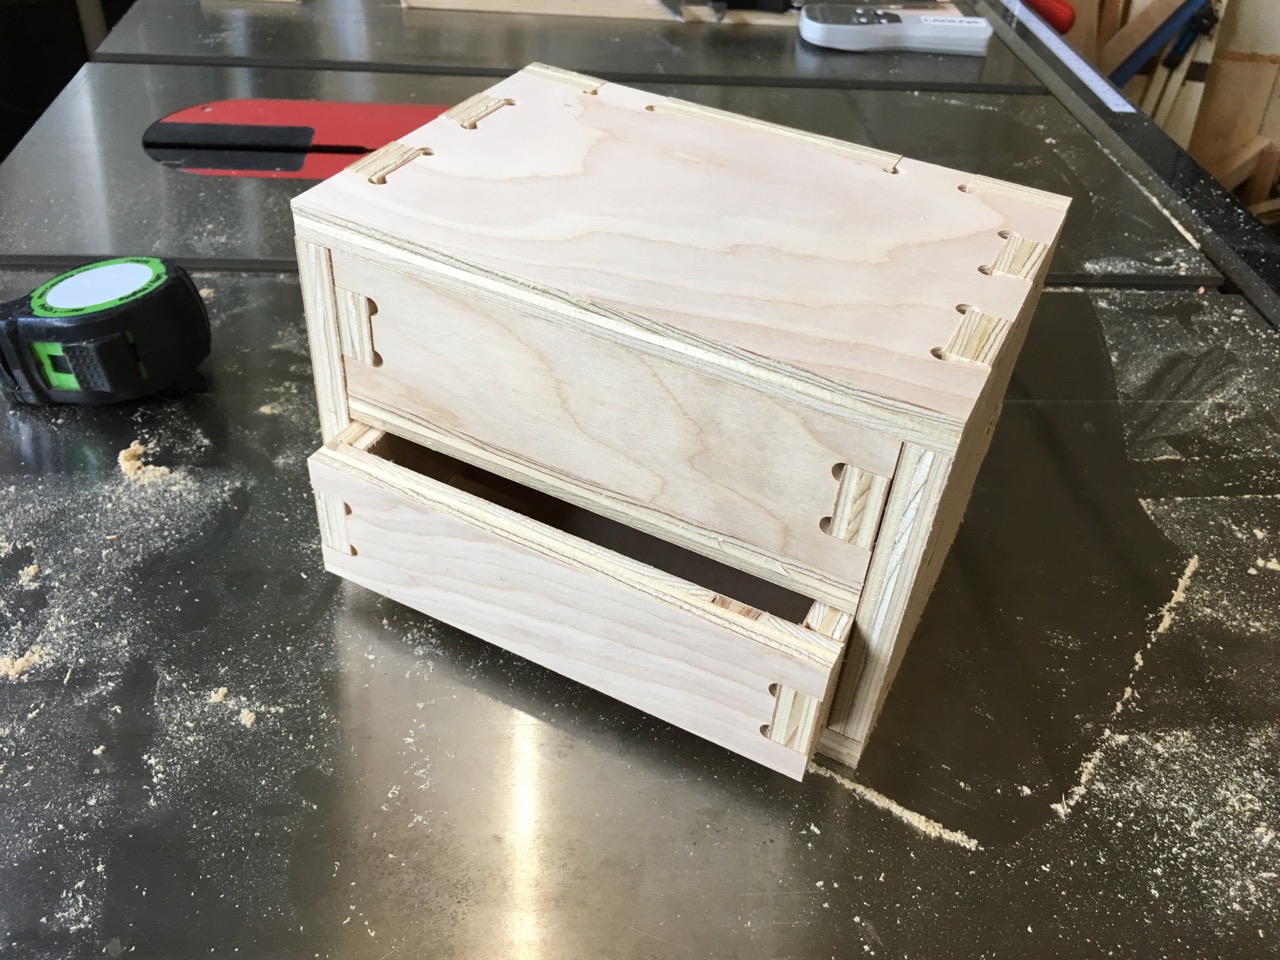
It worked. This is right off the Shapeoko 3 XL, dry fit with no post processing and the parts fit together fine. I just clamped my stock down with no tape then realized that there are no tabs. The tool paths are not aggressively fast so it was easy to get some fingers on each piece as it finished the last pass to keep them from moving. Just watch the flow and it should be obvious where you can put your fingers away from the cutter. As soon as the bit lifts at the end of the cut then you can get your hand out of the way before it moves on to the next part. If you’re not comfortable doing that then use tape.
The only minor issue I ran into is that I had part of the ledge for the drawer bottoms break away as it was cutting out those parts. I ran the 1/8" bit first which cuts those grooves. When the 1/4" bit ran around the end of the ledge at the bottom of the drawer sides it chipped out part of that ledge. Not enough to ruin the part but it would probably be better to cut those grooves last. That will only work if you use tape to hold everything in place.
pro-tip: To get a really clean finish on all the edges, I ran over everything with a belt sander, then hit it with the RO and 220 grit to smooth everything out.
Yes, this was just a quick dry fit to see if all the tabs would go together. I have some sanding and finishing to do. I did notice that some of the dogbone holes did not drill all the way through so I had to clean them up with a utility knife. Everything else cut out clean. Now everything fits tight.
In another tutorial it recommended to cut the parts with holding tabs so when it’s done all the parts are still connected to your stock. Then do your surface sanding before cutting the tabs. Sounds like a good plan since it makes it easier to hold the parts while sanding.
I’ll have to come up with some drawer pulls. I may make some myself since I haven’t done that before. probably just a simple block with beveled sides. I’ll attach them to the fronts of the drawers before assembly. That should make it much easier than trying to install screws from the inside of a small completed drawer.
In this case I’ll likely use this in the shop somewhere so finish isn’t as important. Probably a light sanding to 220 then a coat or two of spray lacquer. May add a bit of paste wax to the floor of the two shelves to keep the drawers from sticking.
Just thought of a mod to this design. Include a slot in the underside of the top and shelf. Then include a small tab on the top of the back panel of each drawer that would line up with those slots. That way the drawer can’t just pull all the way out. You should still be able to get it out by tilting the drawer up a bit if the slot and tab are just right.