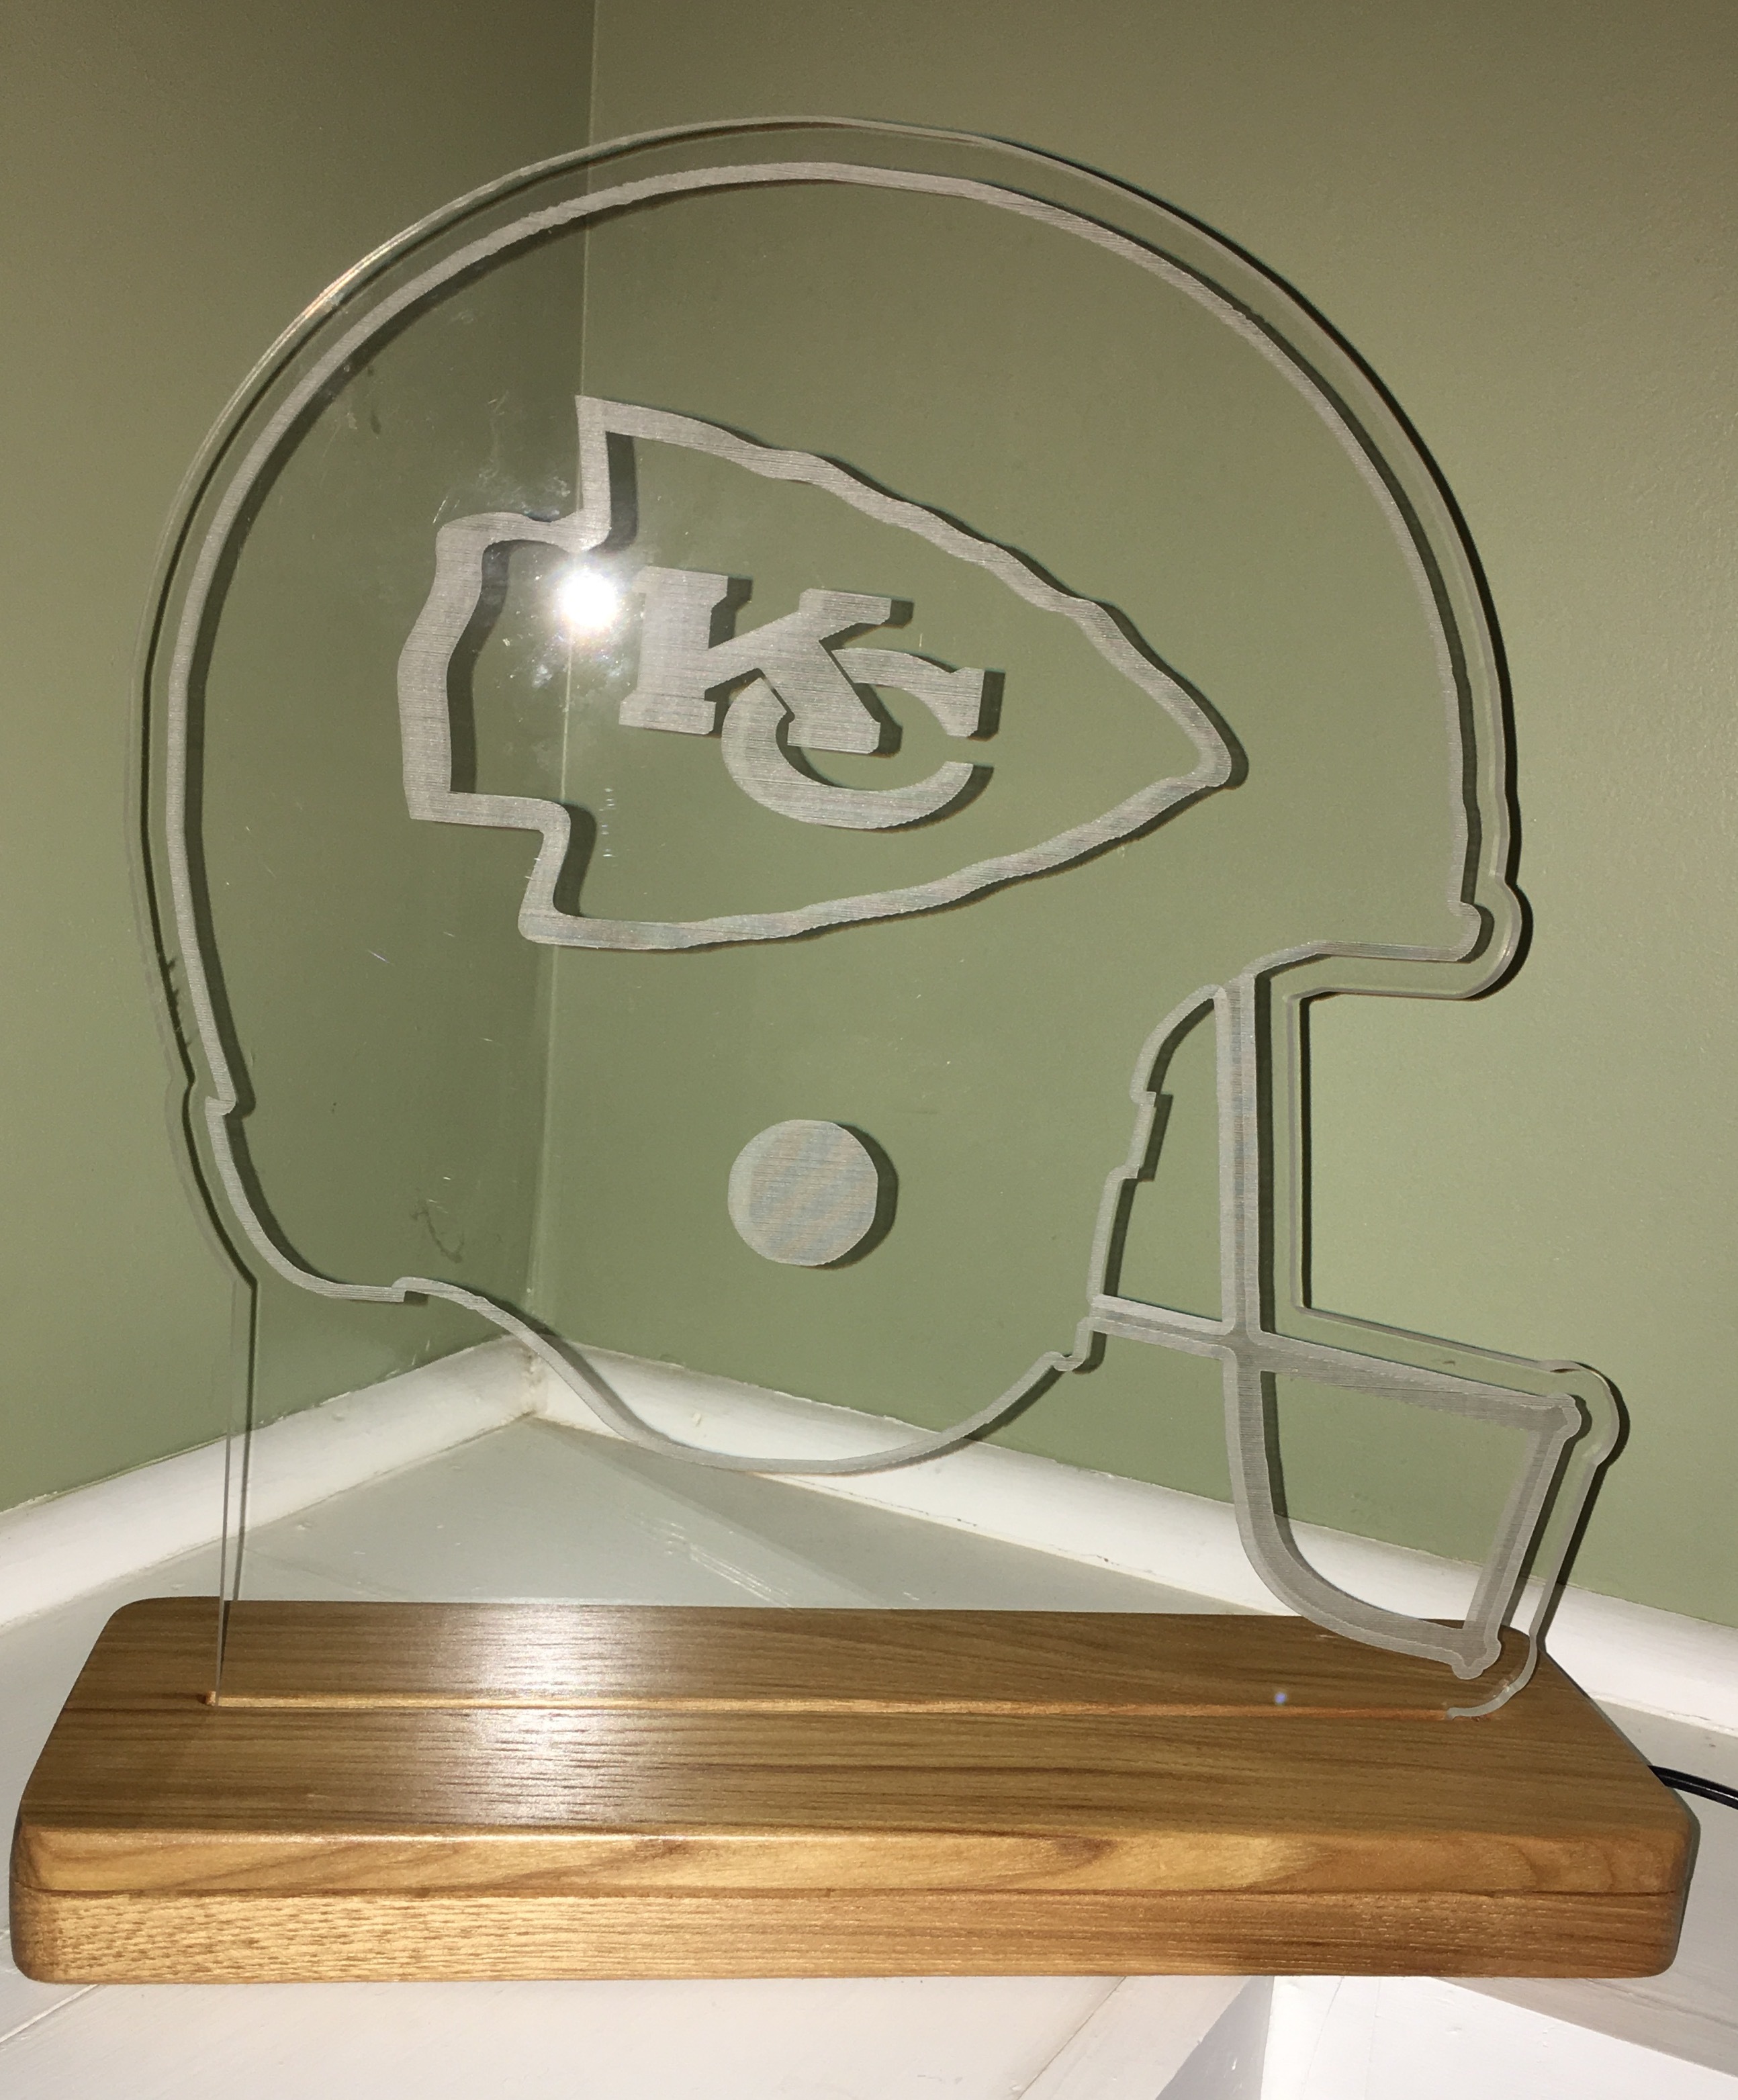
.25" Cast Acrylic
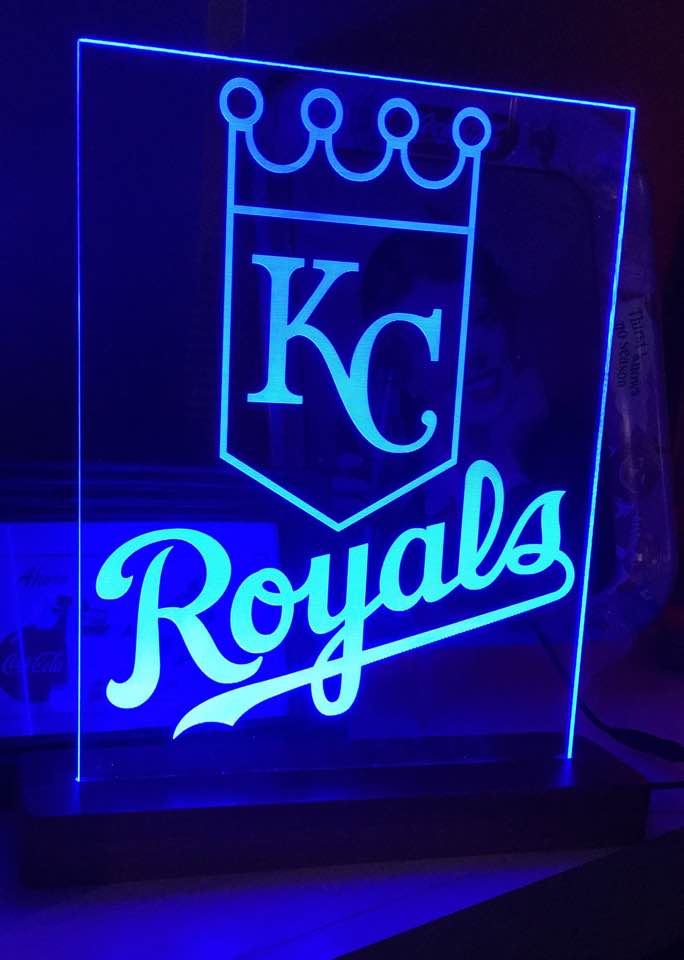
Red LED Light Strip
12v adapter
All of these parts were ordered on Amazon
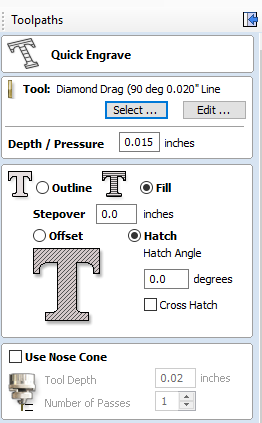
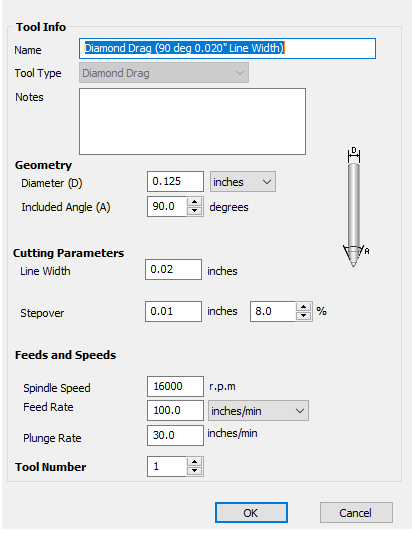
I used a spring loaded diamond tip engraving bit I got off eBay for the etching.
Cut the helmet shape out using a 1/8" upcut end mill.
The base was made out of a slab I had in the wood pile. I used 2 pieces that fit together with a slot on the top for the acrylic to go through and a slot on the bottom for the LED strip to sit in. Ran a channel for the cord out of the end.
No stain, just a few coats of satin poly from a rattle can.
Completed in VCarve Pro 9.0
I found out that is is difficult to photograph a red LED sign using an iPhone. Some of the lines wash out and look white in the pic. I used Instagram to take the photo and it came out much better.
Correct. You leave he spindle off, and the bit just drags along and scratches the surface. I bought this bit on eBay in November 2015, and I can’t find the exact one. But here is the description from my purchase history -
1/4" DIAMOND SPRING LOADED DRAG ENGRAVING TOOL WITH 90 DEGREE TIP
Here is a link to the seller. He has 4 different sizes, and it looks like his prices have remained pretty much the same.
Here is a link to what I think is the same or similar -
His description and the pictures are a little odd. I don’t know why the picure shows 45/90 and 60/120. But further down it does say that this one is a 90 degree.
This is my first time using the tool, and I had good results, but I am not in a position to recommend this bit or seller.
I bought mine from the same seller (60 degree). I like your results better with the 90.
I’ve only tried it on soft Home depot plexi and polycarbonate, I need to get some cast acrylic and buy the 90 degree bit.
Thanks for the info on where to buy. I kept looking on Amazon and they are much more expensive there…I wasn’t prepared to drop $140 on one of these, but those are much more reasonable if they hold up well.
Carol I created the base by cutting a pocket in the bottom piece that holds the led strip. In the top half I milled a slot just large enough to get the acrylic sheet through. You want that slot to be a snug fit on the acrylic so it stays in place with just friction. Then I cut a little slot for the cord to go through the side of the bottom piece. I screw the 2 pieces together, then sand them together to make sure I have a nice smooth edge fit. This method takes twice the wood and twice the time. I may start milling out the pocket and slot in a single piece and making a thin cap to cover the bottom. I haven’t experimented with that yet.
I created the base by cutting a pocket in the bottom piece that holds the led strip. In the top half I milled a slot just large enough to get the acrylic sheet through. You want that slot to be a snug fit on the acrylic so it stays in place with just friction. Then I cut a little slot for the cord to go through the side of the bottom piece. I screw the 2 pieces together, then sand them together to make sure I have a nice smooth edge fit. This method takes twice the wood and twice the time. I may start milling out the pocket and slot in a single piece and making a thin cap to cover the bottom. I haven’t experimented with that yet.
Are you making the LED bases yourself? There used to be a good resource for them that was relatively cheap but they quit selling them.
I would like to get into doing them again and use my laser but I want to keep the cost low. I know luminces (sp?) sales them but the ones with bases seems expensive for what they are made of. I guess supply and demand
I make my bases. So far I have always used two pieces of 3/4” material and make a sandwich style base. Slot on the top for the acrylic. Bottom pocket for the led strip and wires. I have seen people make them out of a single piece of 3/4” too. On the single they end up using a thin piece on the bottom as a cover plate. I may try that for smaller signs and use the double for larger signs. But the base it the most time consuming part for me. But I prefer making them than buying from someone else.