Post your GRBL settings
hey guys sorry. I tried to post that I got it fixed. For some reason the speed setting $112 didn’t hold but that was the problem. It was attempting to go way to fast. Thx!
2 Likes
Just posted a very VERY slight review of it here:
I was wondering if any one was having this problem?
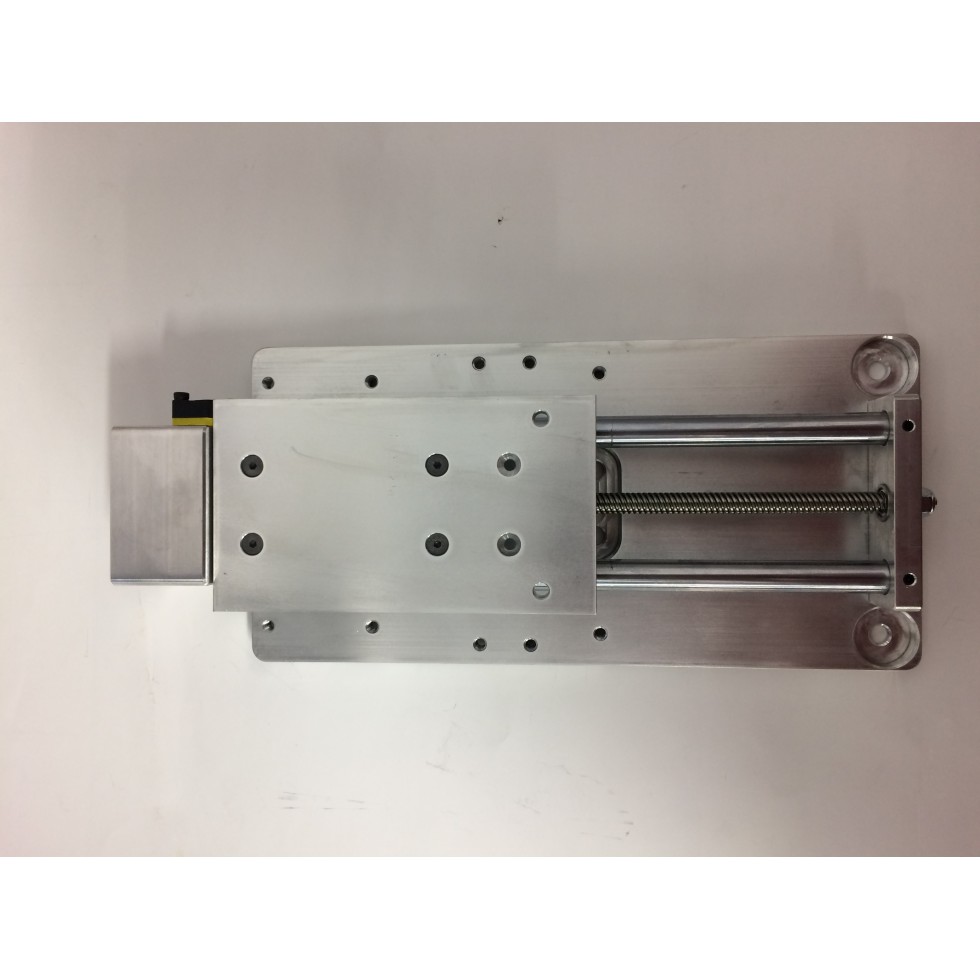
With no Z plate mounted, the unit goes up and down smoothly. the minute I mount the Z plate it chatters and vibrates going down. If I loosen the bottom screws less then a turn it goes away but then the Zplate is to loose.
1 Like
Mine does not do that. I’d send a link of your video to Joe and see what he says. Mine a lot more quiet going up than going down, but not nearly that loud.
I did, he was of no help. It is binding some how.
Sounds like something is not true and flat. Do you have a good straight edge that you can check the surfaces for flatness or a good reference plate to check for twist? Granite plate or cast iron table saw top?
Also check that the plate is tapped properly and not at an angle. This could also cause issues when tightening down the mounts.
Does it make the same sound with the Spindle installed?
1 Like
Crikey, that doesn’t sound good at-all!
I will try to help other than plug my heavy duty version 
From my experience thats a grinding sound. If thats the case it’s going to between three metal parts and your main culprits would be a
- Lead screw in this version - unfortunately lead screws are not usually lubricated and have no moving parts. It could have something jammed in it. I would dismantle, remove and clean in de-greaser.
- The liner rails are based on ball bearings. If these are binding on the rails you would usually see some kind of score/wear marks on the linear rails. Unfortunately you can’t degrease these but you can clean with air, some wd40 then re-grease.
- Your upper and lower ball bearing. If it’s a sealed BB this is unlikely. I can’t see anyone using unsealed BBs
If I were you I’d dismantle the unit and start looking at the lead-screw as your first port. I’d suspect something has gotten stuck in there. When you go down it’s jamming and not moving smoothly. If you have an air compressor you could try blowing air down it to begin with then shooting a bunch of WD40 down from above.
SOOOOOOOO…….
It ended up being my coupling was slightly cocked off to one side. With no weight on the axis it would run smooth, put the least amount of weight on it and it was grinding into the upper bearing are.
All is good now and I appreciate all the help. Thanks Ray
The latest images on their website seem to show a new slider that completely replaces the entire z axis assembly, has anyone had experience with this new version?
I have the older one, and it’s kind of…half assed. It’s very difficult to get trammed properly, and only uses two screws to mount to the carriage (one at the top, one at the bottom) as delivered. It actually has two more, but they don’t quite line up with the carriage, so you need to drill out the carriage holes to use them at all. Additionally, there are two pockets on the back of it to clear some features on the carriage plate, and they’re not in the right place, and need to be enlarged, which is a real pain when the machine is all torn apart. I’m not 100% happy with it, but it’s better than the stock axis. I’ll be changing to @Luke’s at my earliest opportunity. I’d recommend that one if it’s in your budget.
1 Like
thats a shame i thought this newer version shows great potential in replacing the whole carriage, i will definitely look in to this alternative.
Maybe it does, but given the previous one, it would have a lot to fix.
1 Like
I have the new one and it is good. Better than the belt Z and quick and easy install.
1 Like
It’s probably a silly question, but why don’t you install the linear Z the other way round? i.e. the moving plate fixes to the Shapeoko back plate and the router/spindle fixes to the bottom of the ‘fixed’ side. The motor has to haul a bit more weight, but the advantage is you could cut deeper because the router would always be at the end of the z gantry. Imagine a 12" ball screw linear plate assembly and a Shapeoko with a hole in it’s wasteboard and support table. You could do 12" deep cuts… For shallow cuts the router would be better supported because the mount could be close to the base of the router where the cutting is happening.
Just an idle thought…
2 Likes
I have this new one on mine and wasn’t a fan of where the router sits. It is cantilevered off the end of the aluminum and so deflects more than it should under load. I swapped the aluminum plate with the steel one Carbide3D sells and although I had to drill 4 custom holes, it fits on and works great.
1 Like
Hi Everyone
I have been using the shapeoko 3 xl for a few months now and love it. However, like many in this thread, I found the z-axis to be a bit too soft. So I just mounted the new Cnc4newbies z-axis upgrad, which look very well made. My questions now is how to I get it to work. Do you guys change the code inside carbide create (or motion) or do you use another sender? I downloaded Universal G-code which looks really great. However, how do I add the code like @xcaper or @JoseD3? Any help here would be very appreciated.
And then, what is the workflow? Do you use carbide create to create the tool paths and then export to another sender? I am a bit confused here…
Thanks.
Ps: I will post pics of my build when I get to my garage.
All the settings I changed are in my original post above. I use UGS. I do not use Carbide Create, but yes, your workflow would be to create your toolpaths in CC, then run them using UGS to get them to the machine.
1 Like