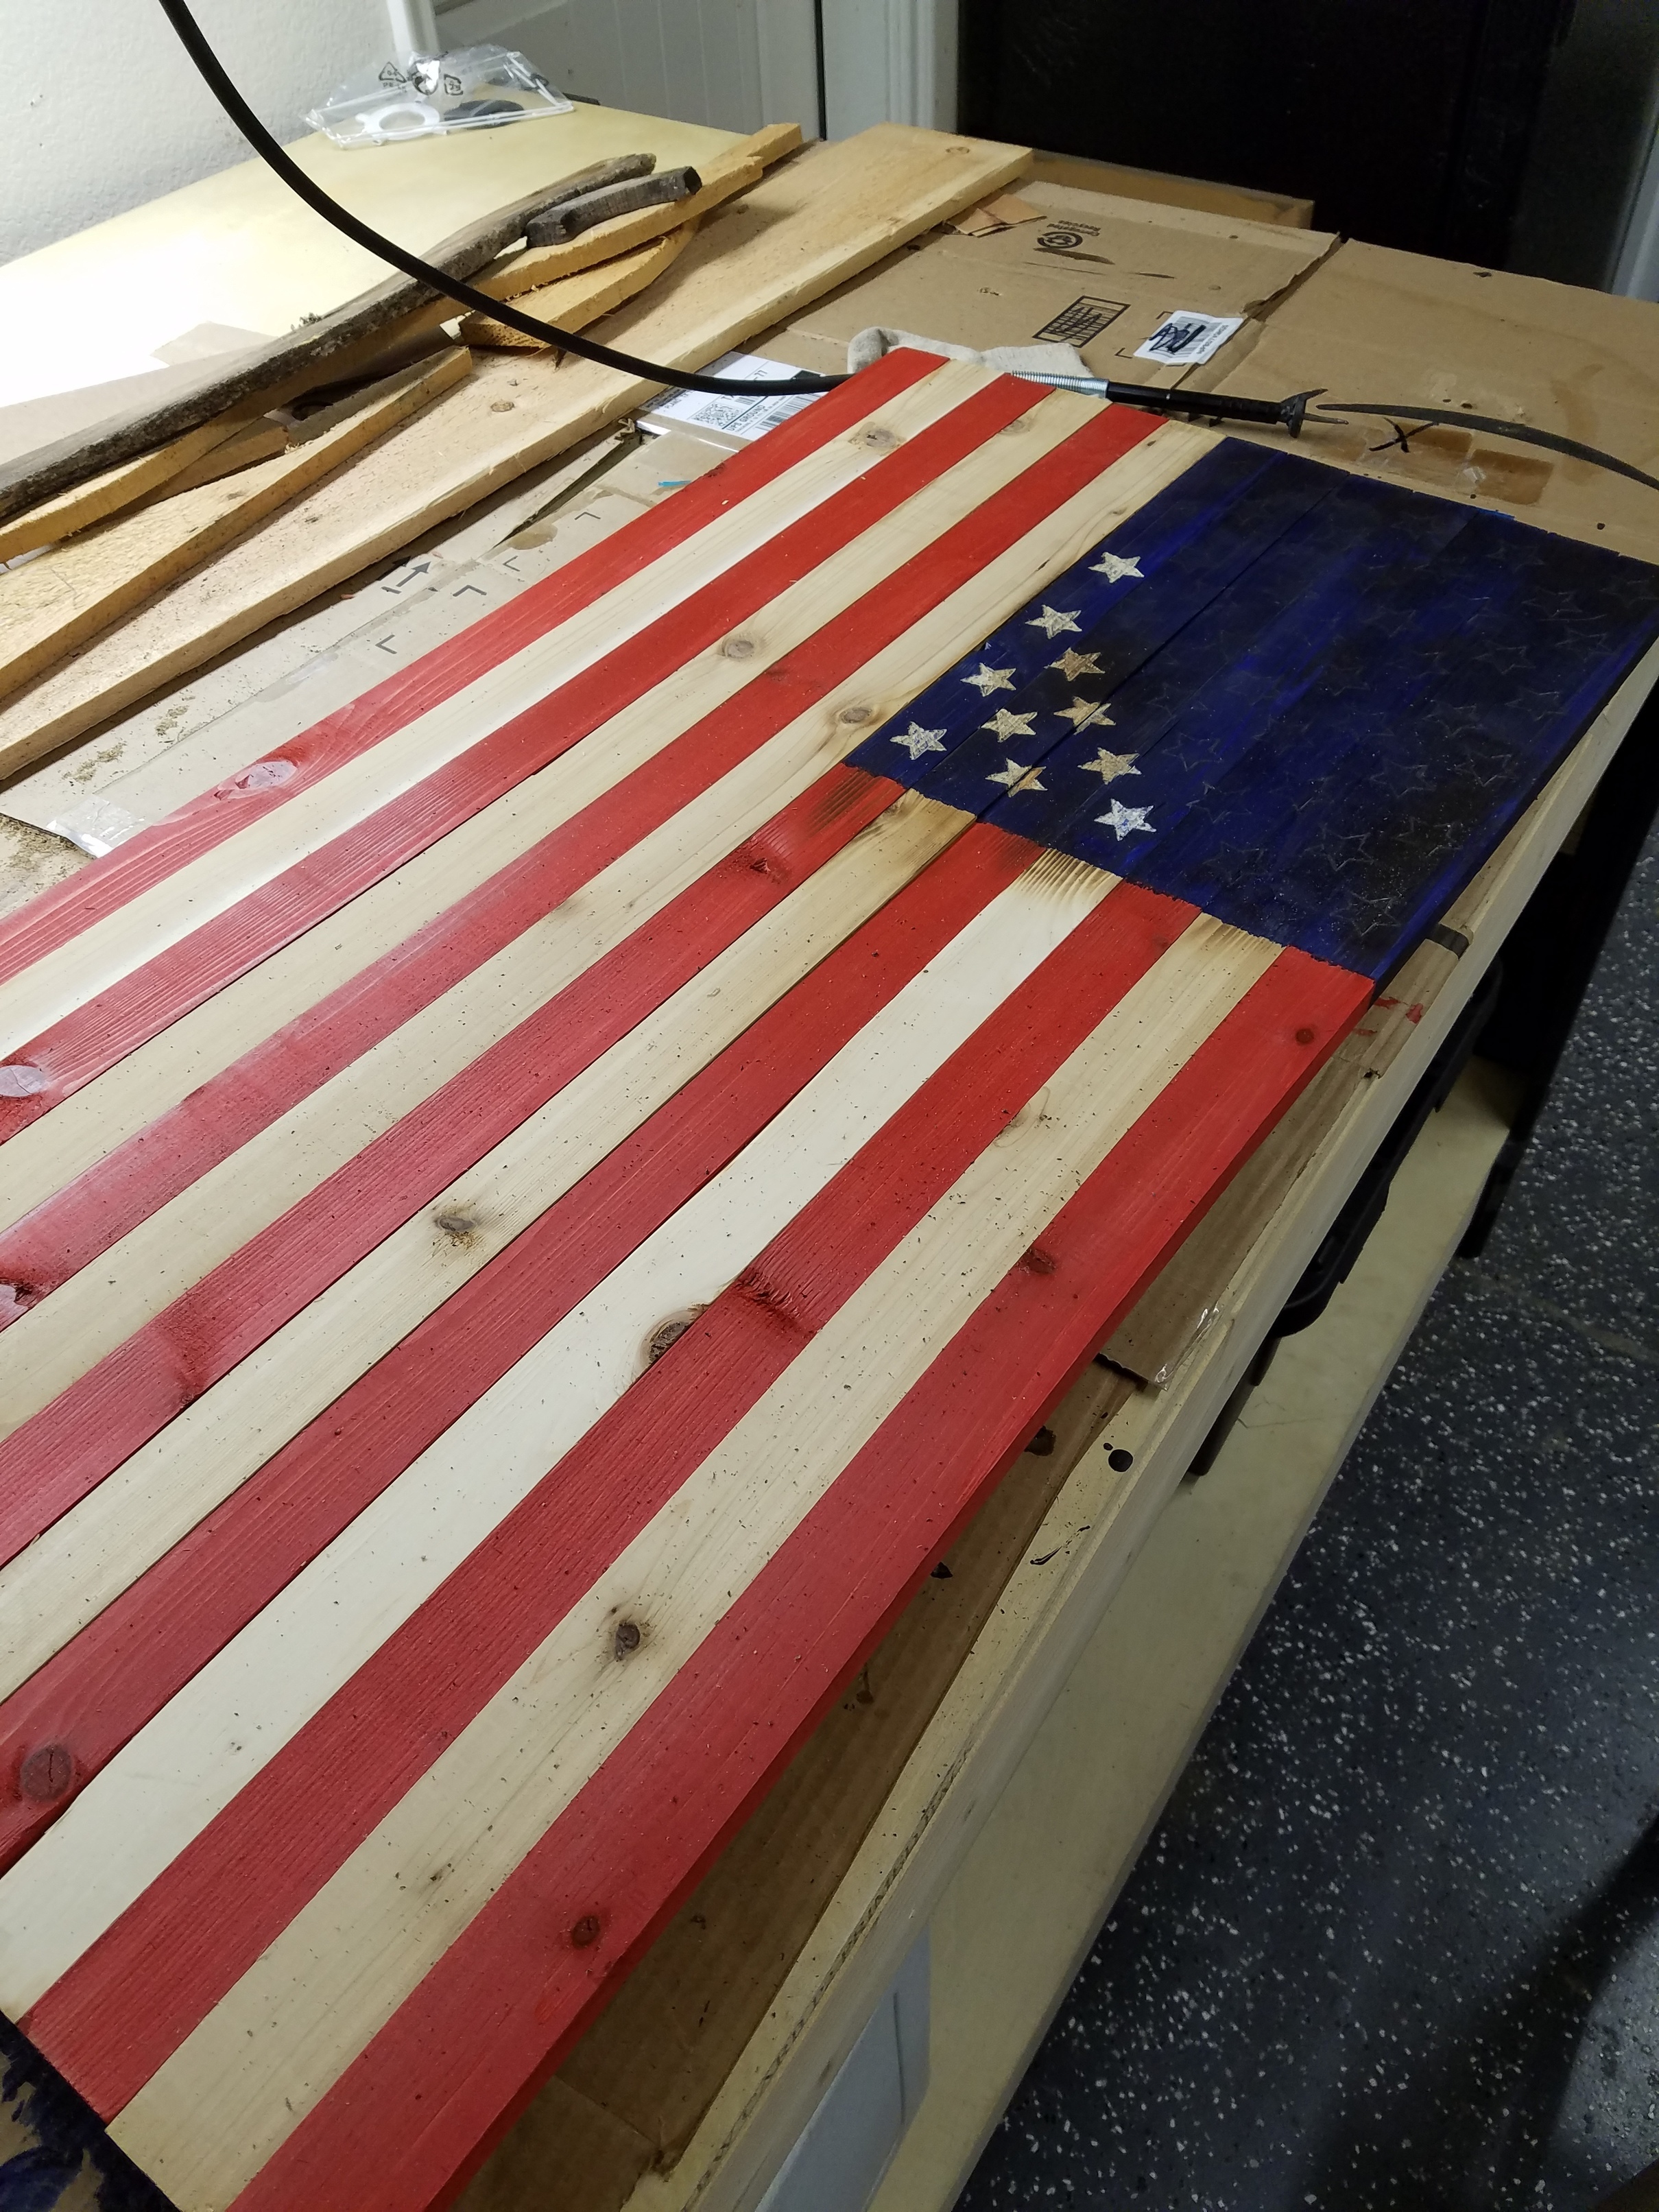
Hey, I make American Flags and used to dremel out the stars in the Union by hand so i bought a Shapeoko XXL to do this for me to help speed up production. Now i am looking to create the Union and wonder if anyone has already created something like this or maybe has a location to find these type of files?
I have this attached svg i have been playing with in inkscape and may be close to getting something but wanted to ask for some help/pointers to get this into carbide create and be successful. I make 2 sizes of flags so would need to tweak the file for each (which i have been playing with).
Edit: svg is below the 2nd flag pic, it is white for some reason but can be downloaded.
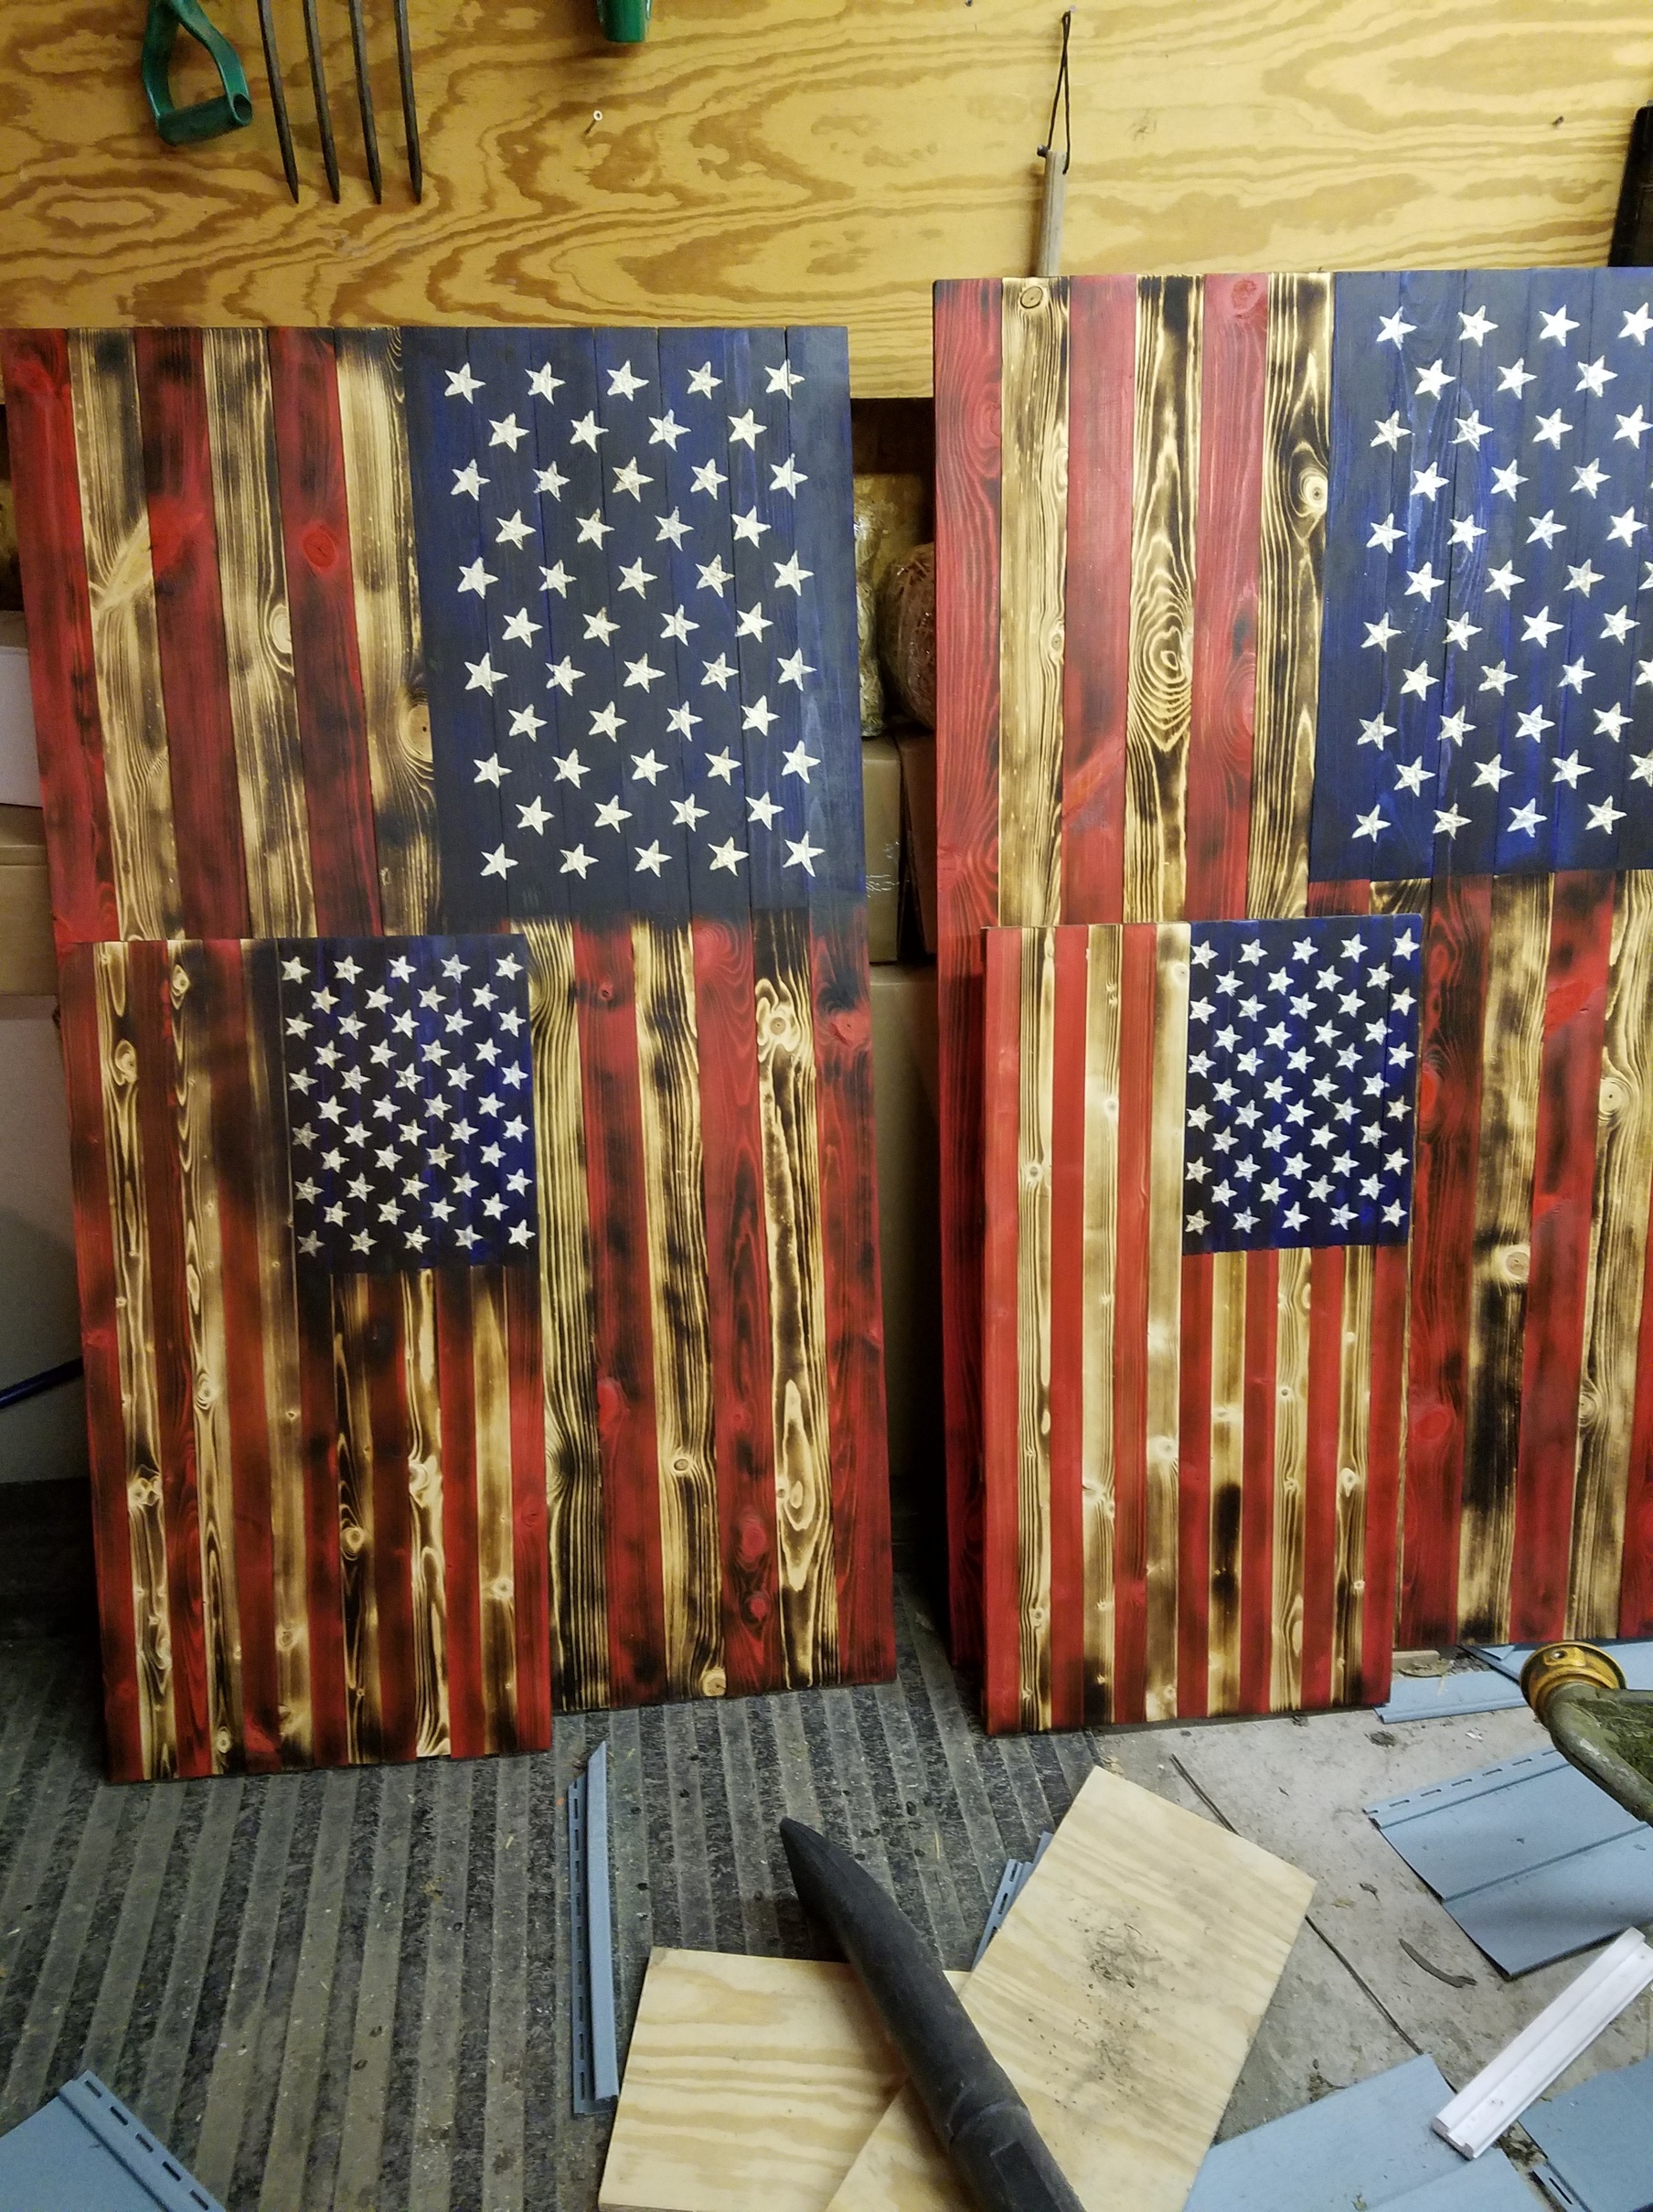
Also, i bought a 30 degree vbit to make the stars as they will be just cutting the surface like sign making. Is this the correct bit? the star corners need to be fine and thought this would do the trick. Looking for all advice. I have attached photos of some flags i create and the dremel is taking too much time…but so is setting up this CNC, lol.
That’s really nice work.
The file is blank in inkscape, too.
Are these stars inlays, or just v carved?
If you can upload just a black and white photo, and detail what size and depth you need, and what bits you are using, I could generate the g code for you, or even the square with the stars.
Or retry uploading the file.
If the stars are V carved, I would probably go with a 90 deg. bit, or a 60. I believe you divide those in half in Carbide create. I have a CAM I’ve been using before I got my SO3, so I haven’t used it.
The wider the bit, the shallower the cut and faster the tool path.
The SVG file shows — it’s just an empty file though (FWIW, I always find myself having the select a post, quote it, then extract the SVG link out of the quoted text).
<?xml version="1.0" encoding="UTF-8" standalone="no"?>
<!-- Generator: Adobe Illustrator 10.0.3, SVG Export Plug-In . SVG Version: 3.0.0 Build 77)  -->
<svg xmlns:ns4="http://ns.adobe.com/SaveForWeb/1.0/" xmlns:ns3="http://ns.adobe.com/AdobeIllustrator/10.0/" xmlns:ns0="http://ns.adobe.com/Variables/1.0/" xmlns:dc="http://purl.org/dc/elements/1.1/" xmlns:cc="http://creativecommons.org/ns#" xmlns:rdf="http://www.w3.org/1999/02/22-rdf-syntax-ns#" xmlns:svg="http://www.w3.org/2000/svg" xmlns="http://www.w3.org/2000/svg" xmlns:xlink="http://www.w3.org/1999/xlink" xmlns:sodipodi="http://sodipodi.sourceforge.net/DTD/sodipodi-0.dtd" xmlns:inkscape="http://www.inkscape.org/namespaces/inkscape" ns3:viewOrigin="-46.1133 598.001" ns3:rulerOrigin="90 -90" ns3:pageBounds="-90 702 702 90" width="704.2" height="370.751" viewBox="0 0 704.2 370.751" overflow="visible" enable-background="new 0 0 704.2 370.751" xml:space="preserve" id="svg2" version="1.1" inkscape:version="0.91 r13725" sodipodi:docname="us-flag-union-large.svg">
  <defs id="defs186"/>
  <!--
	Title: US Flag Artwork SVG
Author: Dave Yost
Description: US Flag - Precise digital artwork for the flag of the United States of America
Copyright Notice: Copyright 2002 Dave@Yost.com. Permission granted for derivative works on physical objects.
Owner URL: http://Yost.com/USFlagArtwork/
-->
</svg>
You can avoid that sort of difficulty by always checking a file in outline mode:
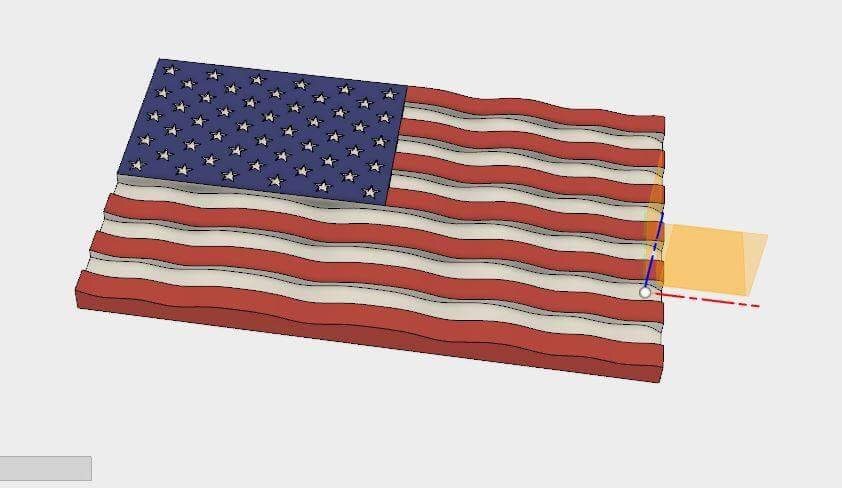
Using the little tutorial i found above i created the below file, it is probably more accurate than the previous file that was “blank” as i was able to clone the exact size of star and adjust Union to correct size. Now i need to copy and adjust for my smaller flag template. So getting this file to Carbide Create is the next step for me.
The bit i need to use is the question, i figured 30 degrees in order to get the point sharp but the depth is small as it would be just cutting the surface away, you mentioned the 60 or 90 degree would work.
Note that the top left star is darker than the others — it’s a duplicate and should be removed, since stacked geometry can confuse Carbide Create.
Opening that though, results in a single star in Carbide Create, so obviously another step is necessary.
Selecting the graphics in Inkscape reveals that there are 50 objects, of types “Star, Clone” — doing:
Path | Object to Path
converts the star which was importing fine into a path, but leaves the other 49 as clones of it. Not seeing any easy or obvious way to change that, and it still only imports one star… Saving it as a PDF and re-opening that in Inkscape results in a group which when ungrouped is 50 paths. Importing that SVG results in:
Once one has the file in place, one has to work up the math to do the inlay pieces.
Belike one will also want to add an inset path so as to make cutting out the pocket for the inlay more efficient (and less damaging to the spoilboard since Carbide Create won’t depth-limit when cutting such).
For all of that one will need some dimensions:
thickness of the stock
thickness of the inlay material (if different
angle of the V-bit (use taper angle when entering into Carbide Create’s tool library)
There should be some information on applying all the above (along w/ some basic trigonometry) in:
Let us know if you get stuck and we’ll work out the tricky stuff with you.
Alternately, it should be possible to just cut things out using a
Toolpath | Contour | No Offset path
for the inlay pockets, then cut out the stars using an Outside / Right Offset path which uses for the diameter the effective diameter of the V-bit at the desired thickness of cut (there’s that trigonometry I mentioned). I would suggest using a more efficient layout for the inlay stars though.
1/4" downcut for roughing and either a v bit for stars or a 1/16" ball. Its up to you to input tooling on the cam side. I think the dimensions are 15x24, but that can easily be changed to fit your machine.
Update…
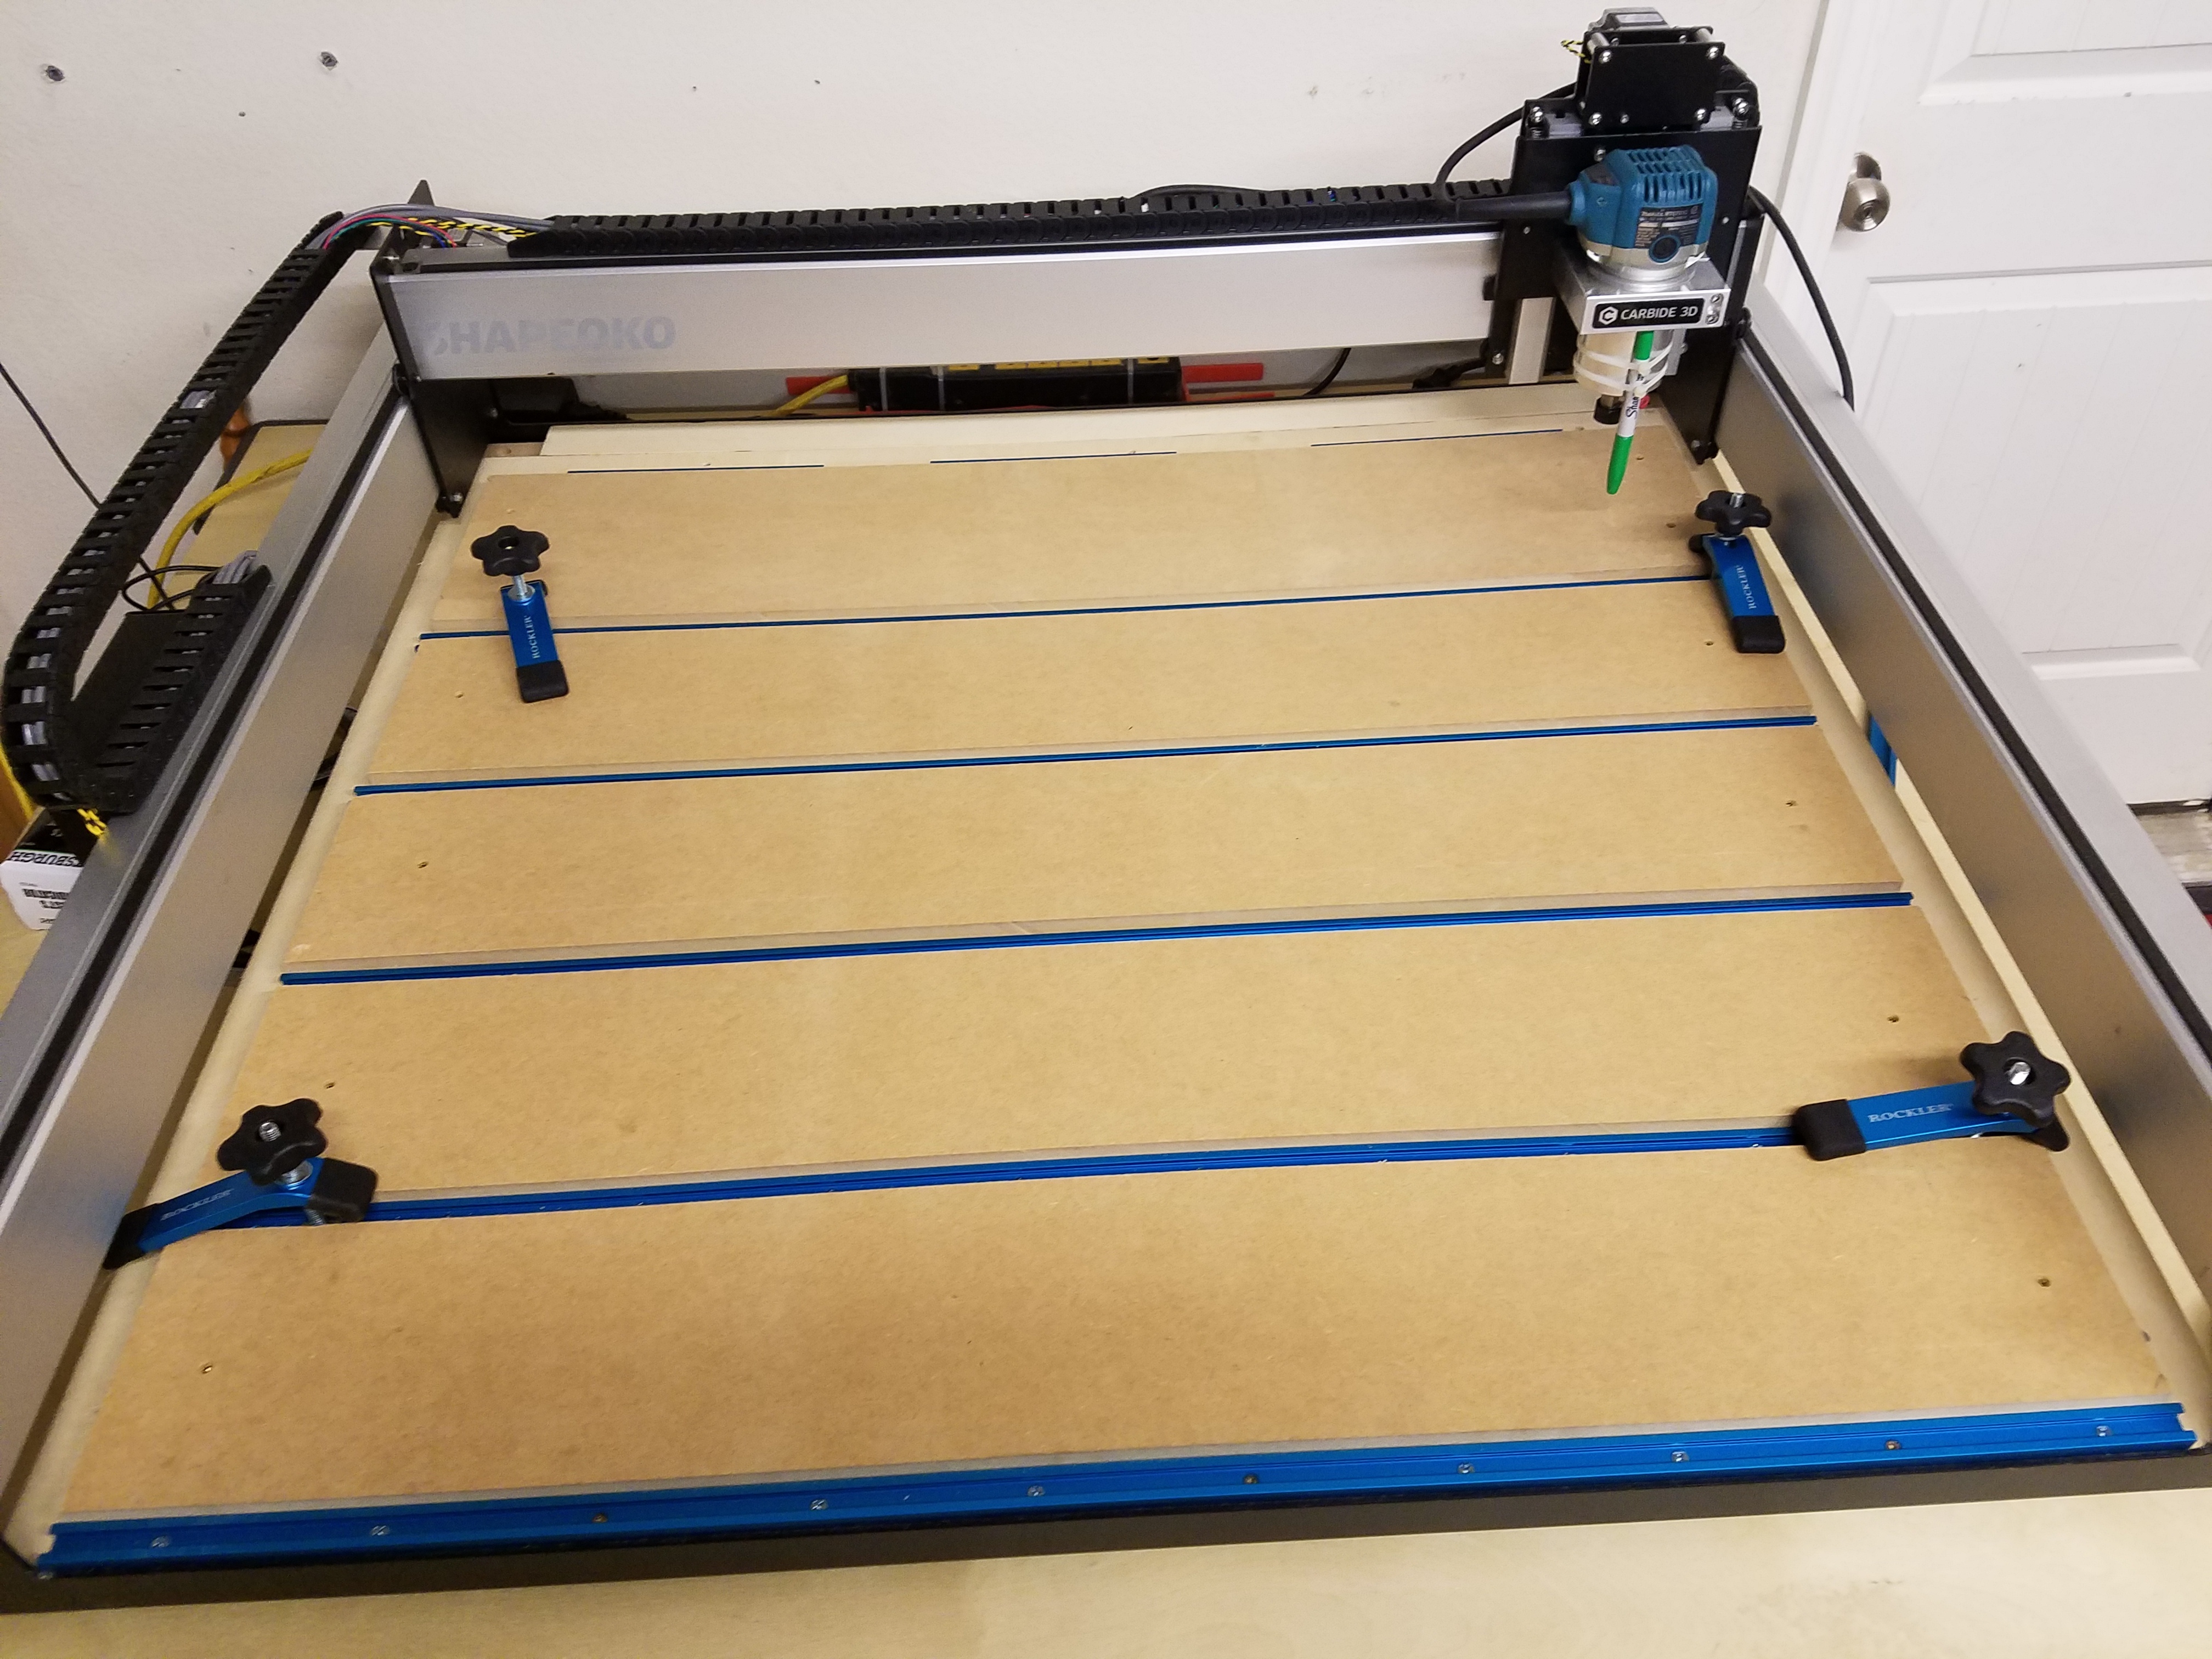
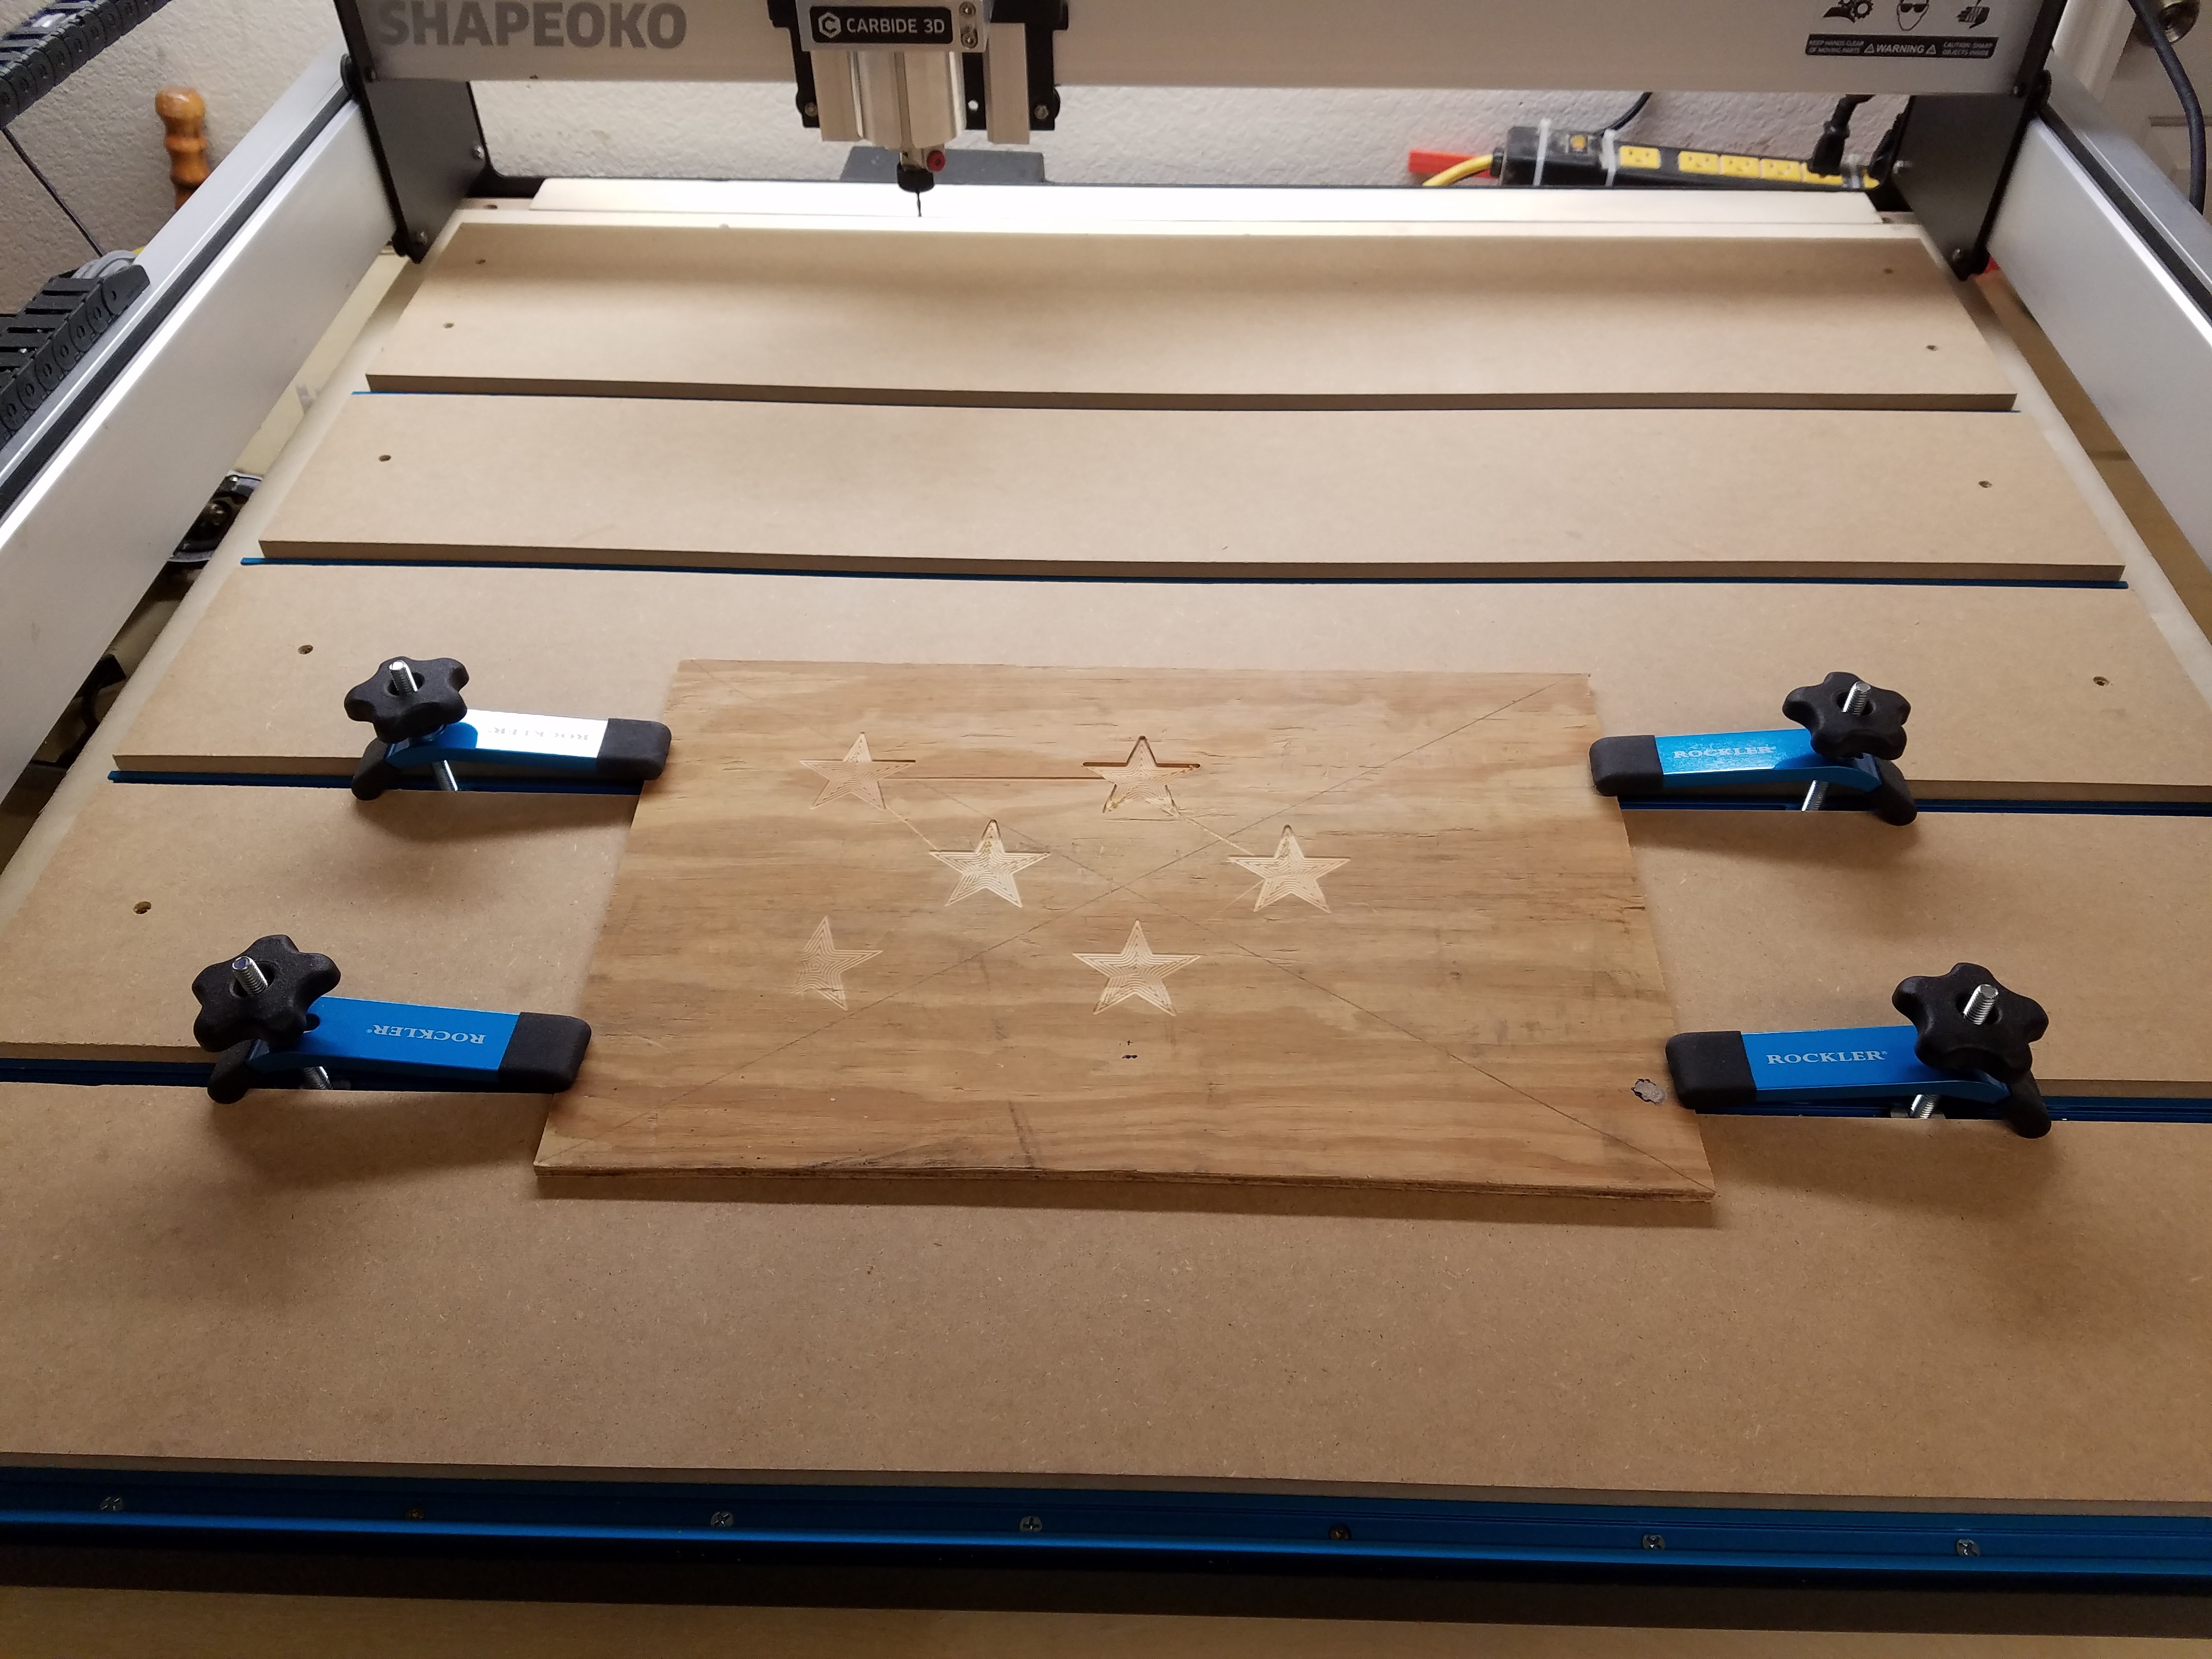
Will helped me on another post about Hello World not working and i have yet to tram the device but i did add mdf and some hold downs as well as ran my first real job, the Husker logo. This seemed to work ok but in the middle top it dug deeper than the rest. (I couldn’t get the R to work right in Carbide Create in the imported logo, so i just let it go to save time.)
The Star design i trashed and am starting over (Inkscape is smarter than me) but i did do a quick job of 6 stars on some old plywood and as you can see the top dug deep, even moving to another star (center position start) and then finish bottom left where it barely scratched the surface. Of course the plywood could be a bit warped too. I used the 101 ball bit for the stars as it seems to work ok, i can also try later with the 60deg V bit. I will not be cutting all the way through the wood, just scratch the surface a bit to bring under layer of wood out.
So for this post the stars do work i just have to get a better design.
I suppose i need to go ahead and tram the MDF boards to get a “level” or “true” surface?
Hello, I am looking to make a American Flag for our house. I moved to another country and miss seeing the red white and blue. I was going to order the template with the stars 1.1 scale size. So basically the medium flag. The problem is I do not have any programs on my computer to make the template and if I order the template its I have to pay for the template, shipping and plus customs fees. Would anyone know where I could just down load the template with the 1.1 scale stars? Any advice I would be grateful. Thank you.


