Let me start by apologizing. I’ve been meaning to post this for a long time now and I know it is way overdue.
In late July of 2015 I got my Nomad 833. Having absolutely no CNC experience, scouring the internet for morsels of information and tutorials that made sense to me was a daily mission. I asked a lot of questions and made mistakes but found great pleasure in the process. Liking a clean working environment was always a priority for me so vacuuming while I was milling was a constant chore for me. One day I found a video of someone building a dust head for the Shaepoko and thought it would be great to build one for my Nomad. Since there were no videos or no tutorials to follow, I decided to start my own.
It seemed like such a complex project for a beginner and was somewhat hesitant but @mbellon was kind enough offer to mentor me through the process. This is a great project for a beginner. Not only will it take you step by step through the process of setting up a job and milling something but you will end up with an essential piece of gear needed for your Nomad. Through this project I learned how important it is to the safety of everyone around your CNC machine that most airborne particles are dealt with. This head will keep your work surface mostly clean and your work environment safe.
This design is only for the Nomad Classic and the Nomad Pro saw significant changes in its design (@mbellon is working on the Nomad Pro version of the Dust Head). It is by no claims, perfect. It is a very good starting point. I’ll continue to tweak and adjust the design and anyone inclined to do so, please be my guest.
The purpose of this particular design is to make it as easy as possible, to a complete beginner, to setup and mill this project. It is milled from a single piece of Starboard and no flipping is required. The hole for the screw is the only “manual” thing you will have to do. No precision is required, just careful drilling. I don’t own a drill press so this was also one of my design parameters. I’ve included the STL file for those that want to go through the job setup themselves. I chose Fusion 360 as my CAD software because it allows me more control over the way I CAM. The G-Code I provide was generated by Fusion 360. I’m open to suggestions as I’m still, and hope to be for a long time, learning.
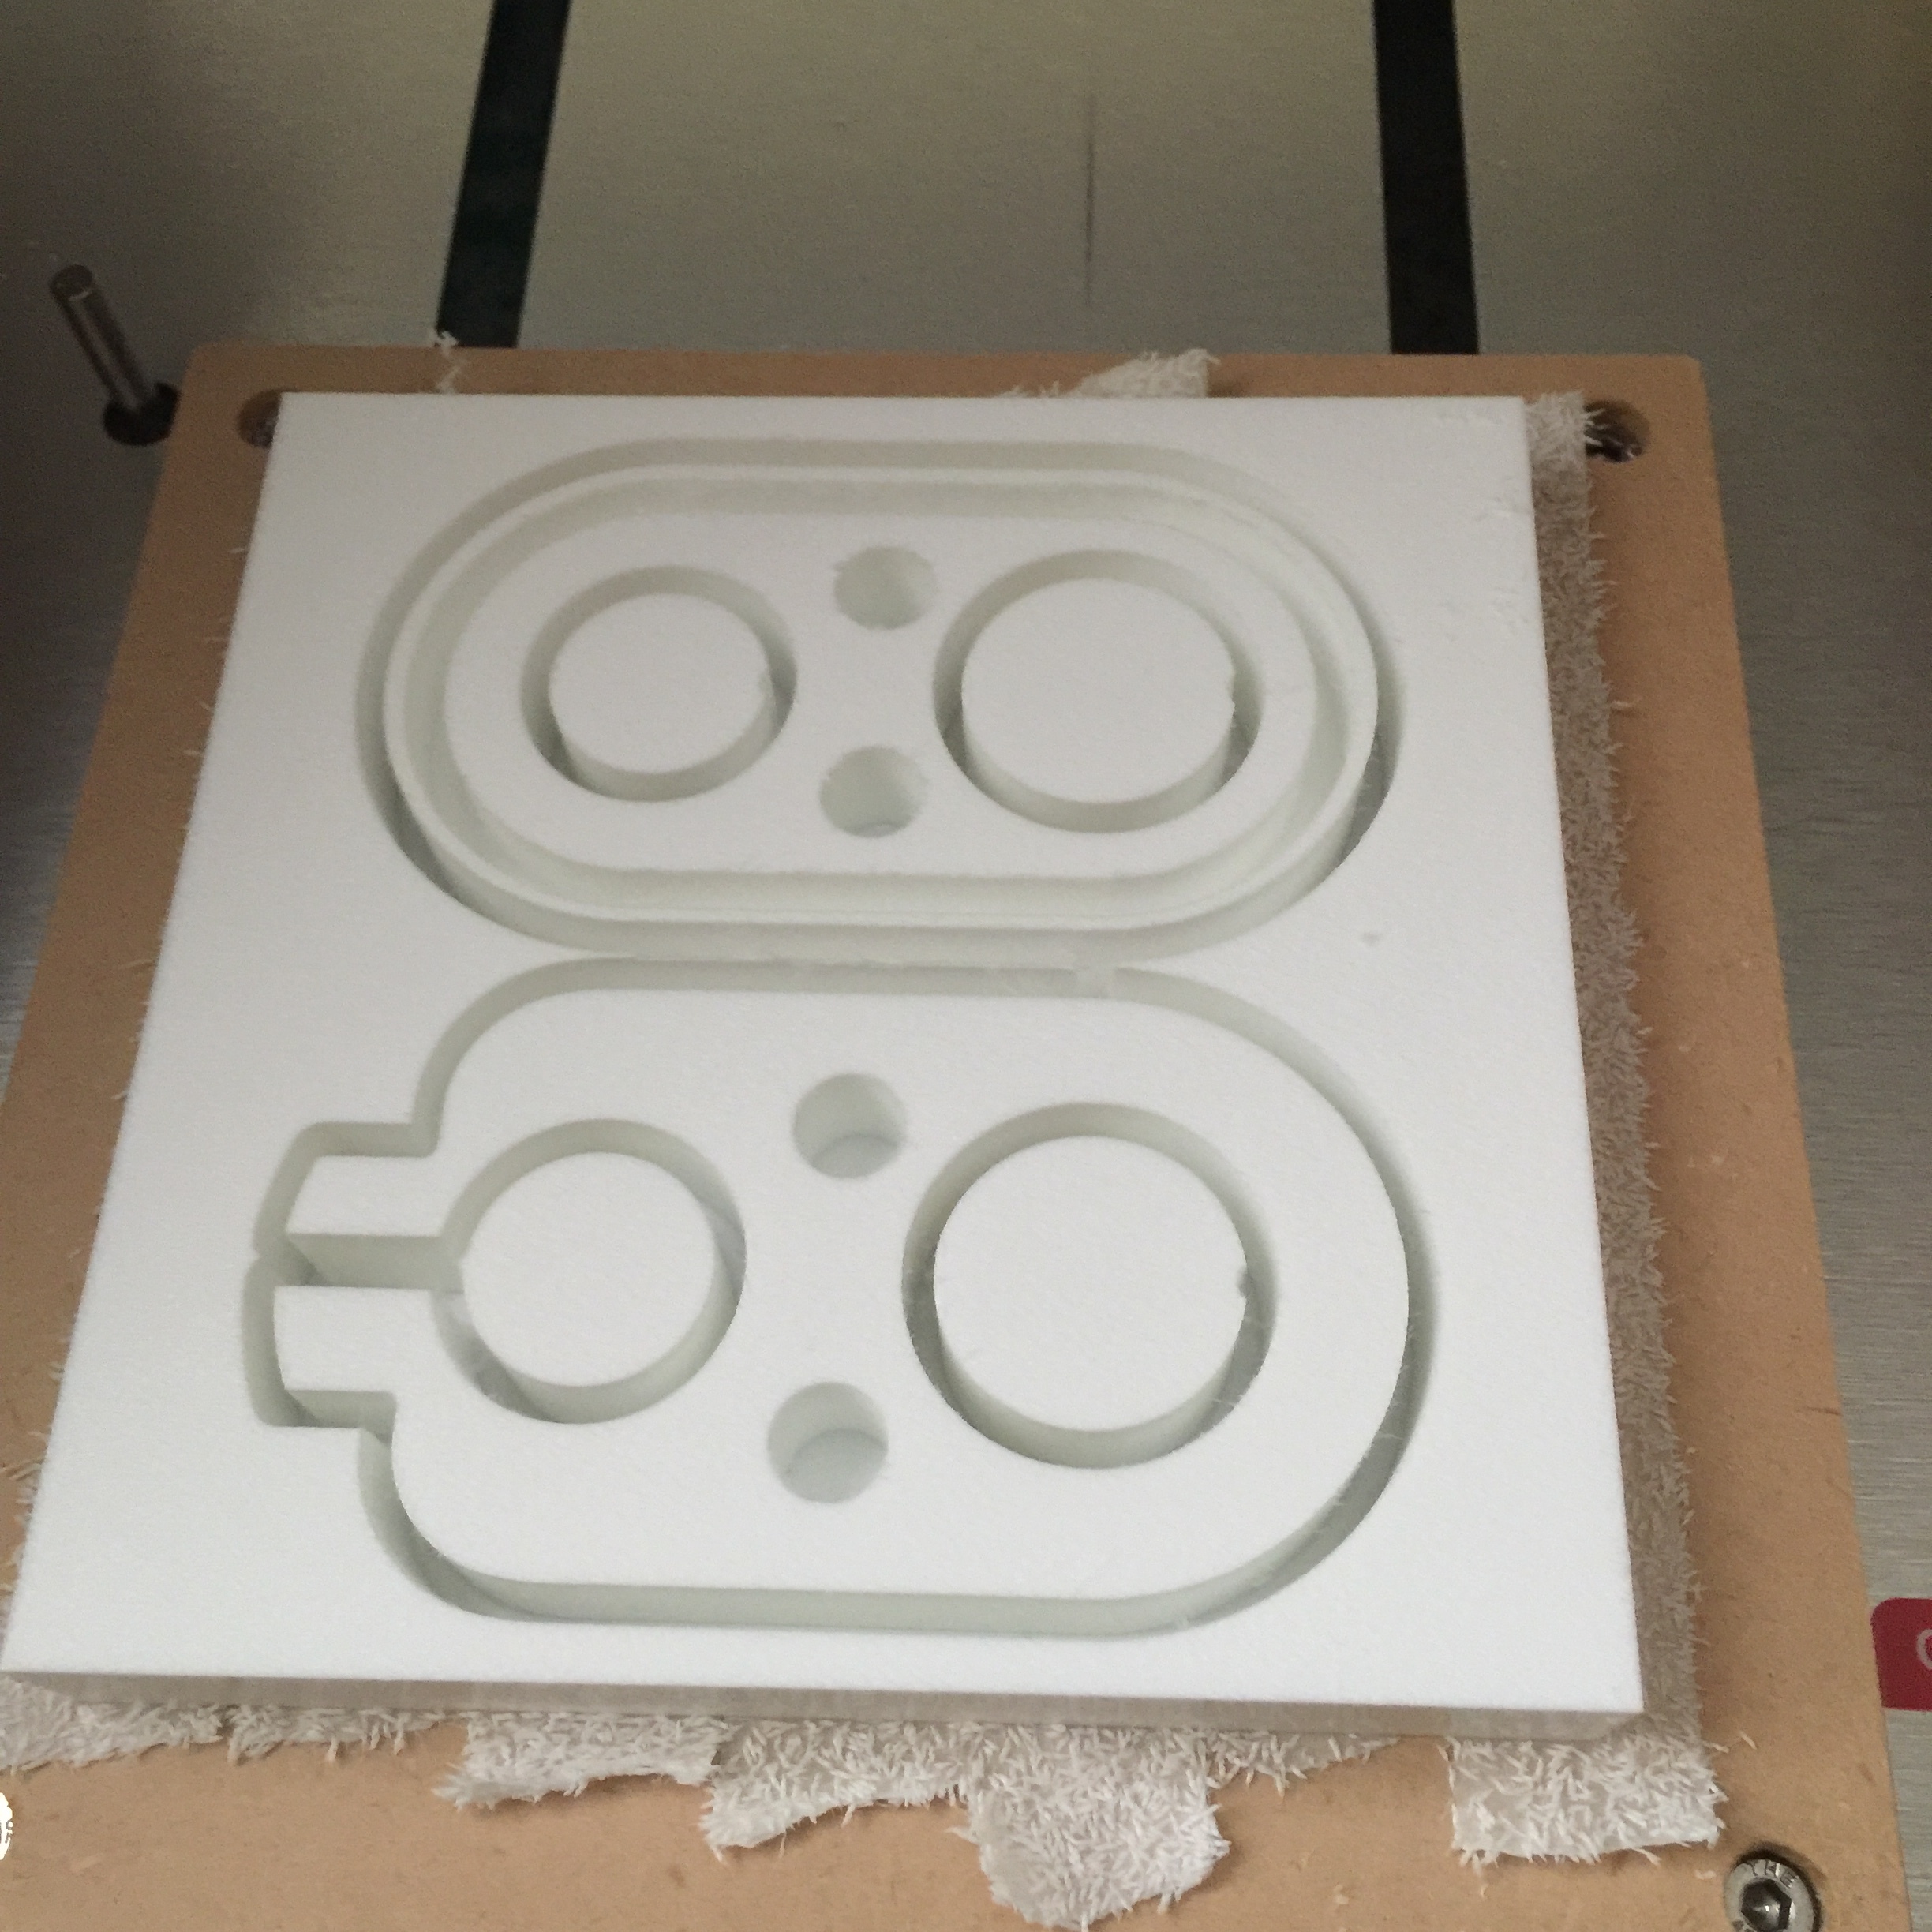
Start by taping your stock to the bed with tape. This is not my preferred method but it’s the easiest to get work done at the beginning. Holding your stock down to the bed is, as I’m discovering, an art and every job is different and everyone will have their own method/opinion on this. Tape is messy and the risk of a part coming loose and jamming against the mill always exists. It happened to me many times. The Nitto tape was suggested to me as a replacement to the one that came with my Nomad and have to say that it is much, much better. It does stick well so you might need more force and care to get things off the bed. Be tidy and cover all the surface with tape. This will diminish the chances of a piece coming loose.
Load the G-Code into Carbide Motion
Setup your job as follows:
Zeroing the stock is crucial to a successful job and another part of CNCing that, if done improperly, leads to failures. This job doesn’t need that much precision on the X, Y but good care needs to be taken on the Z axis to get as clean a finished piece as possible. Errors will lead to having a thin layer of stock to clean up afterwards or tape gunk to clean off your mill. This is still an area where I only have tips to give you but no absolutes. I, for the most part, zero visually. I know I will get flack for this but X, Y axis are not that important for me because I usually have enough stock to make up for slight imperfections in my method. I just eyeball the center of the drill bit with the bottom left corner of my stock and that’s it. For the Z axis I get very close to the surface and then hand move the bit as I’m lowering it until I start to see that I’m starting to scratch the surface slightly. Zero all axis.
Start the job
You should end up with this.
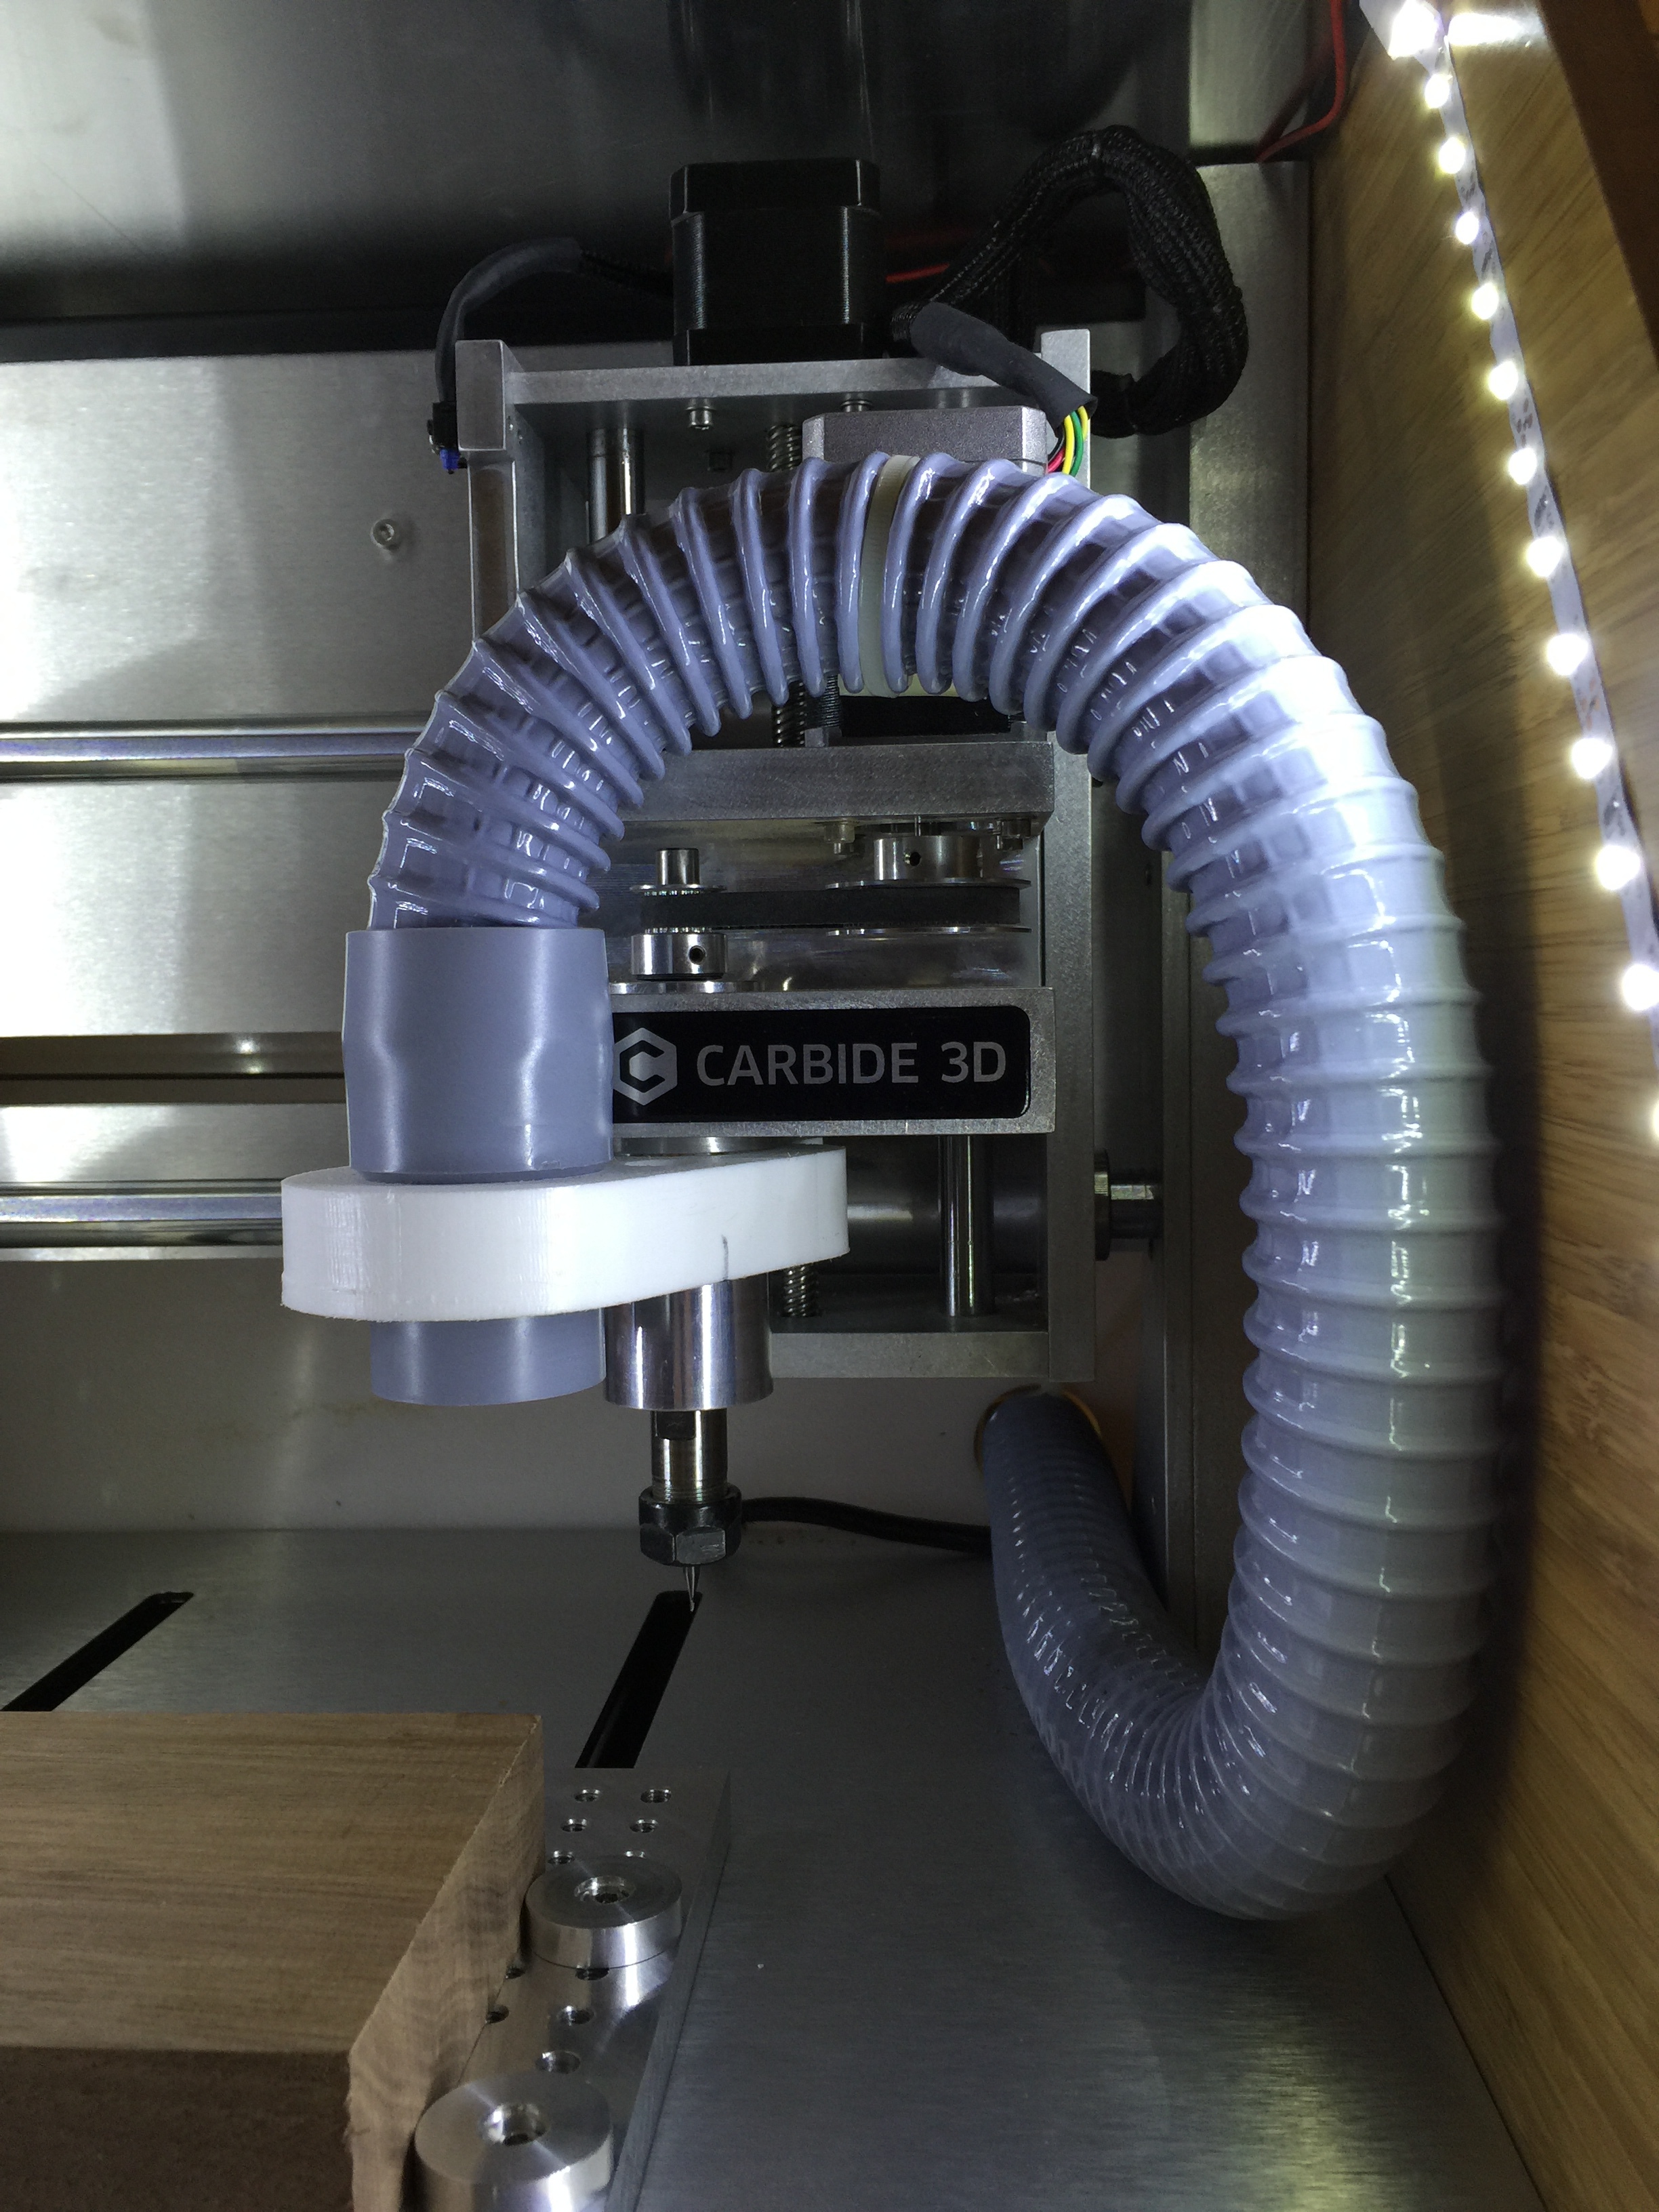
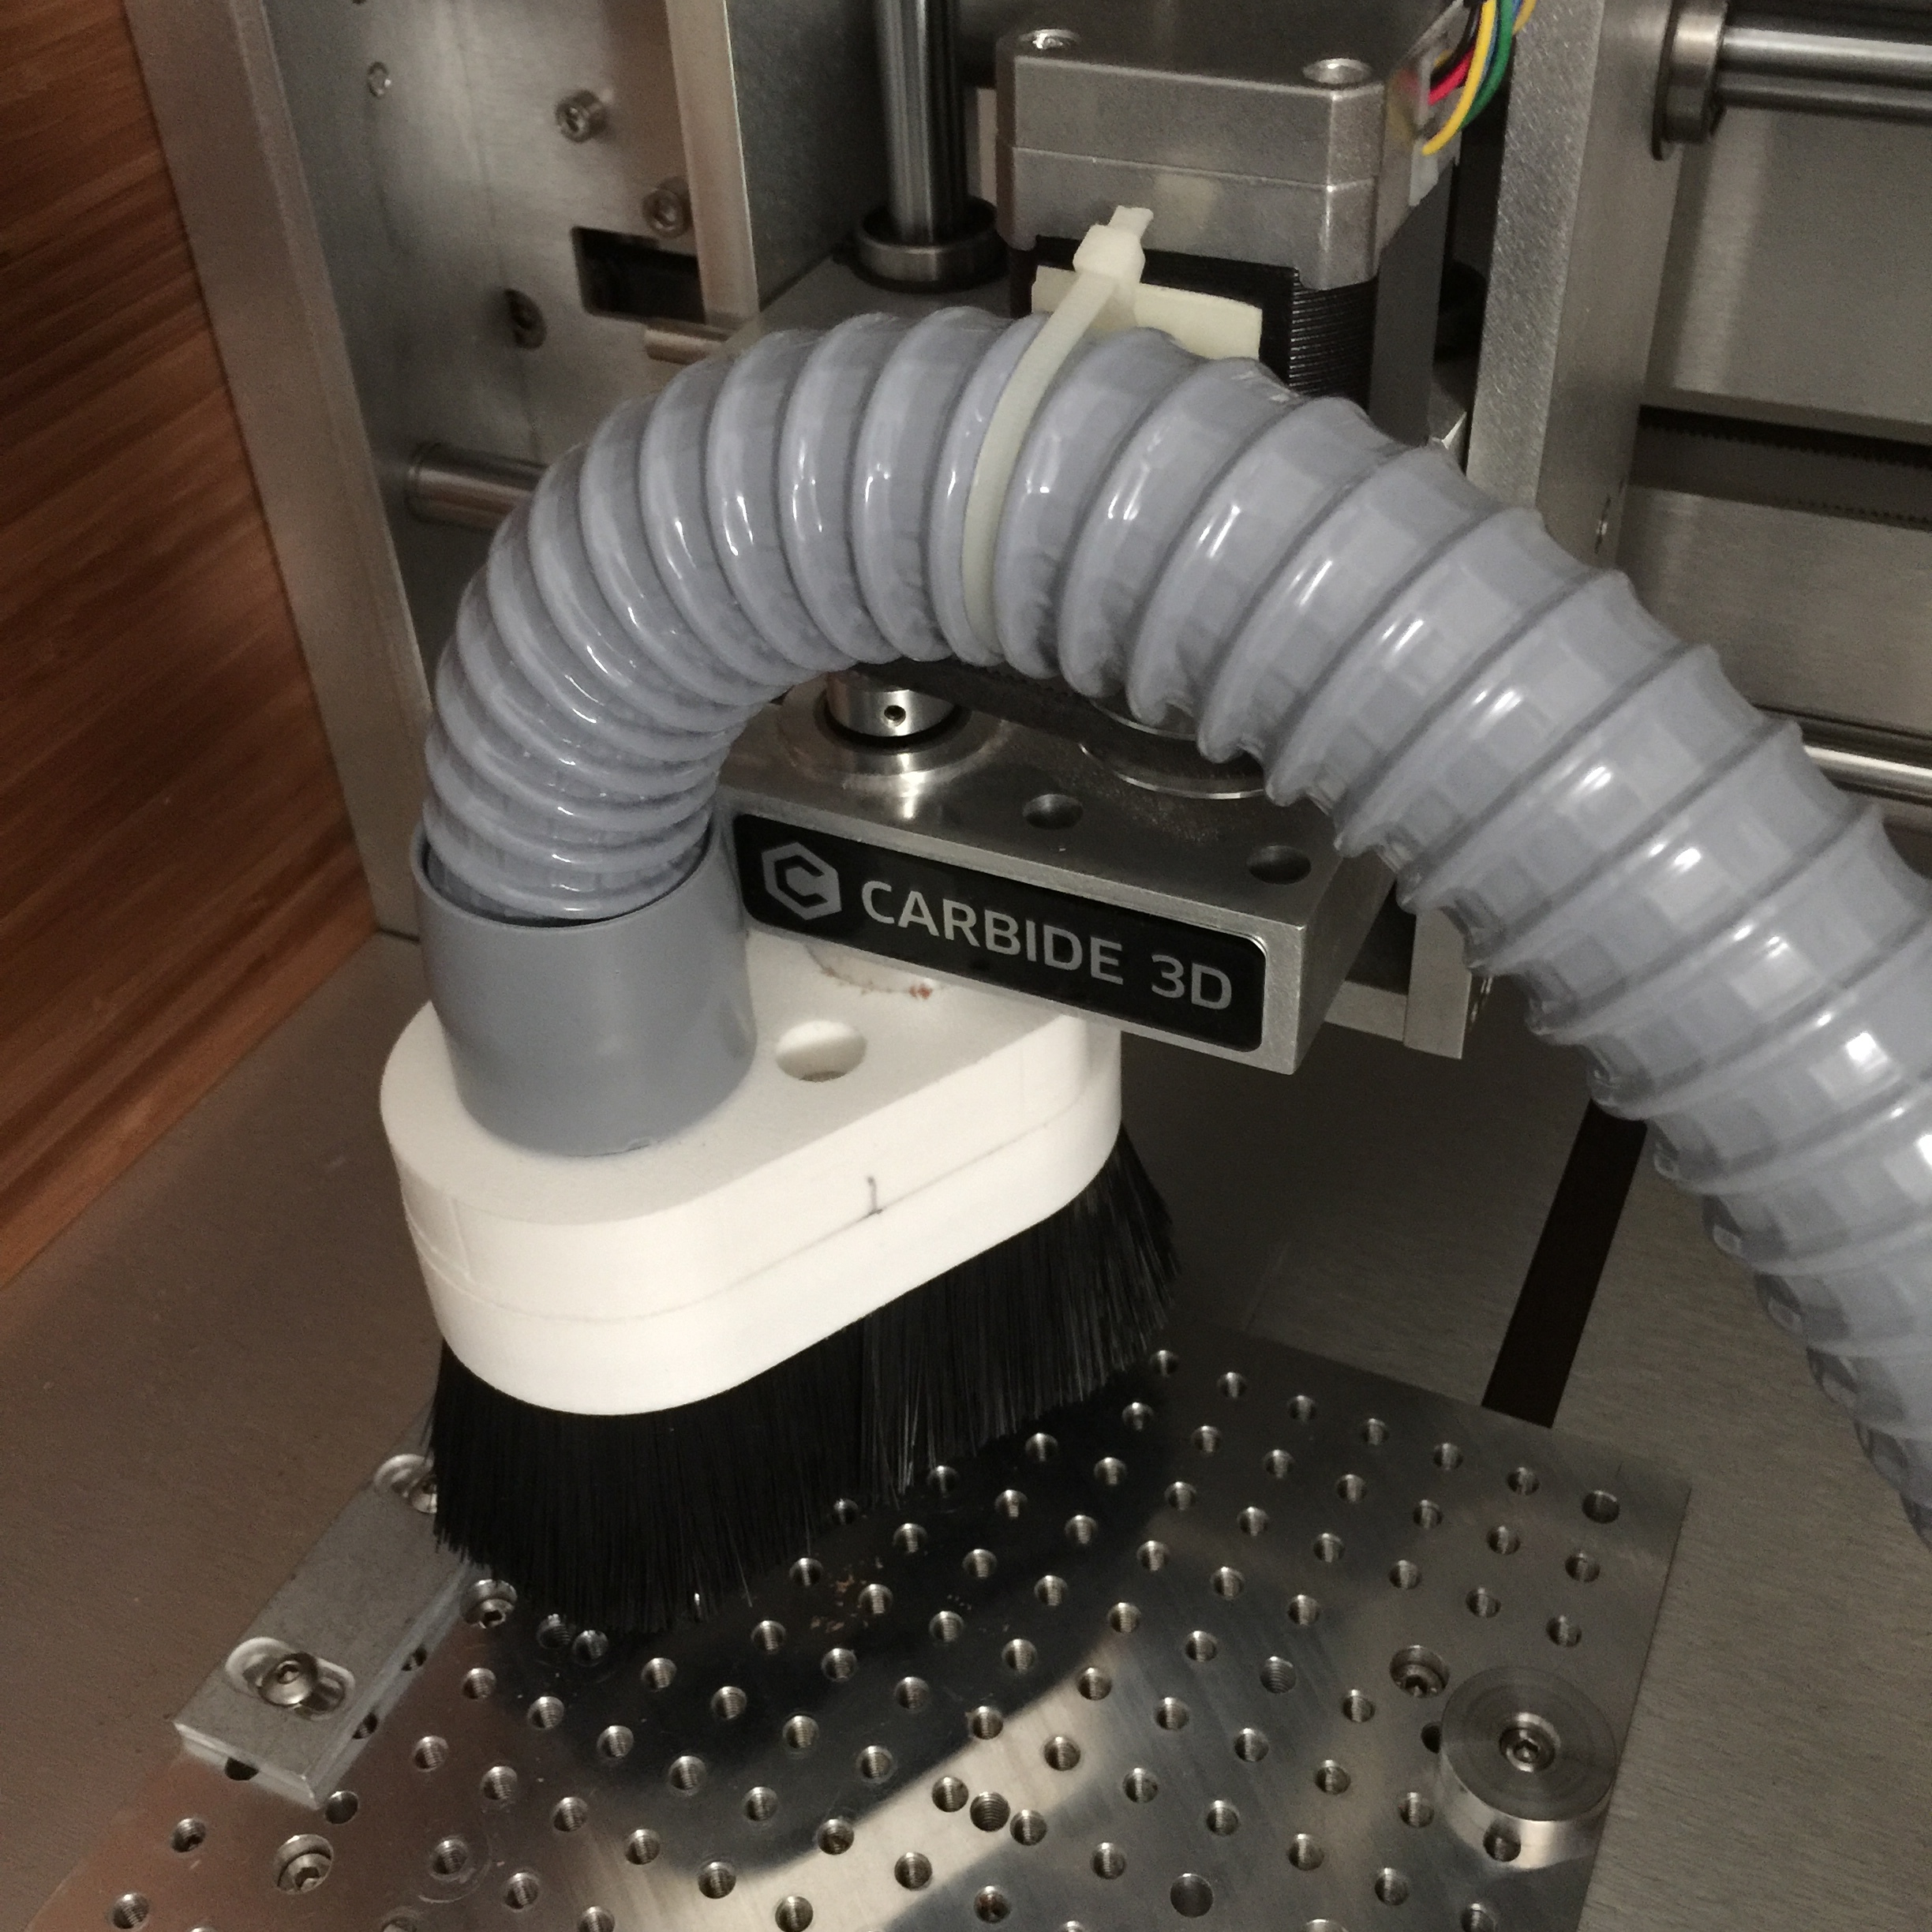
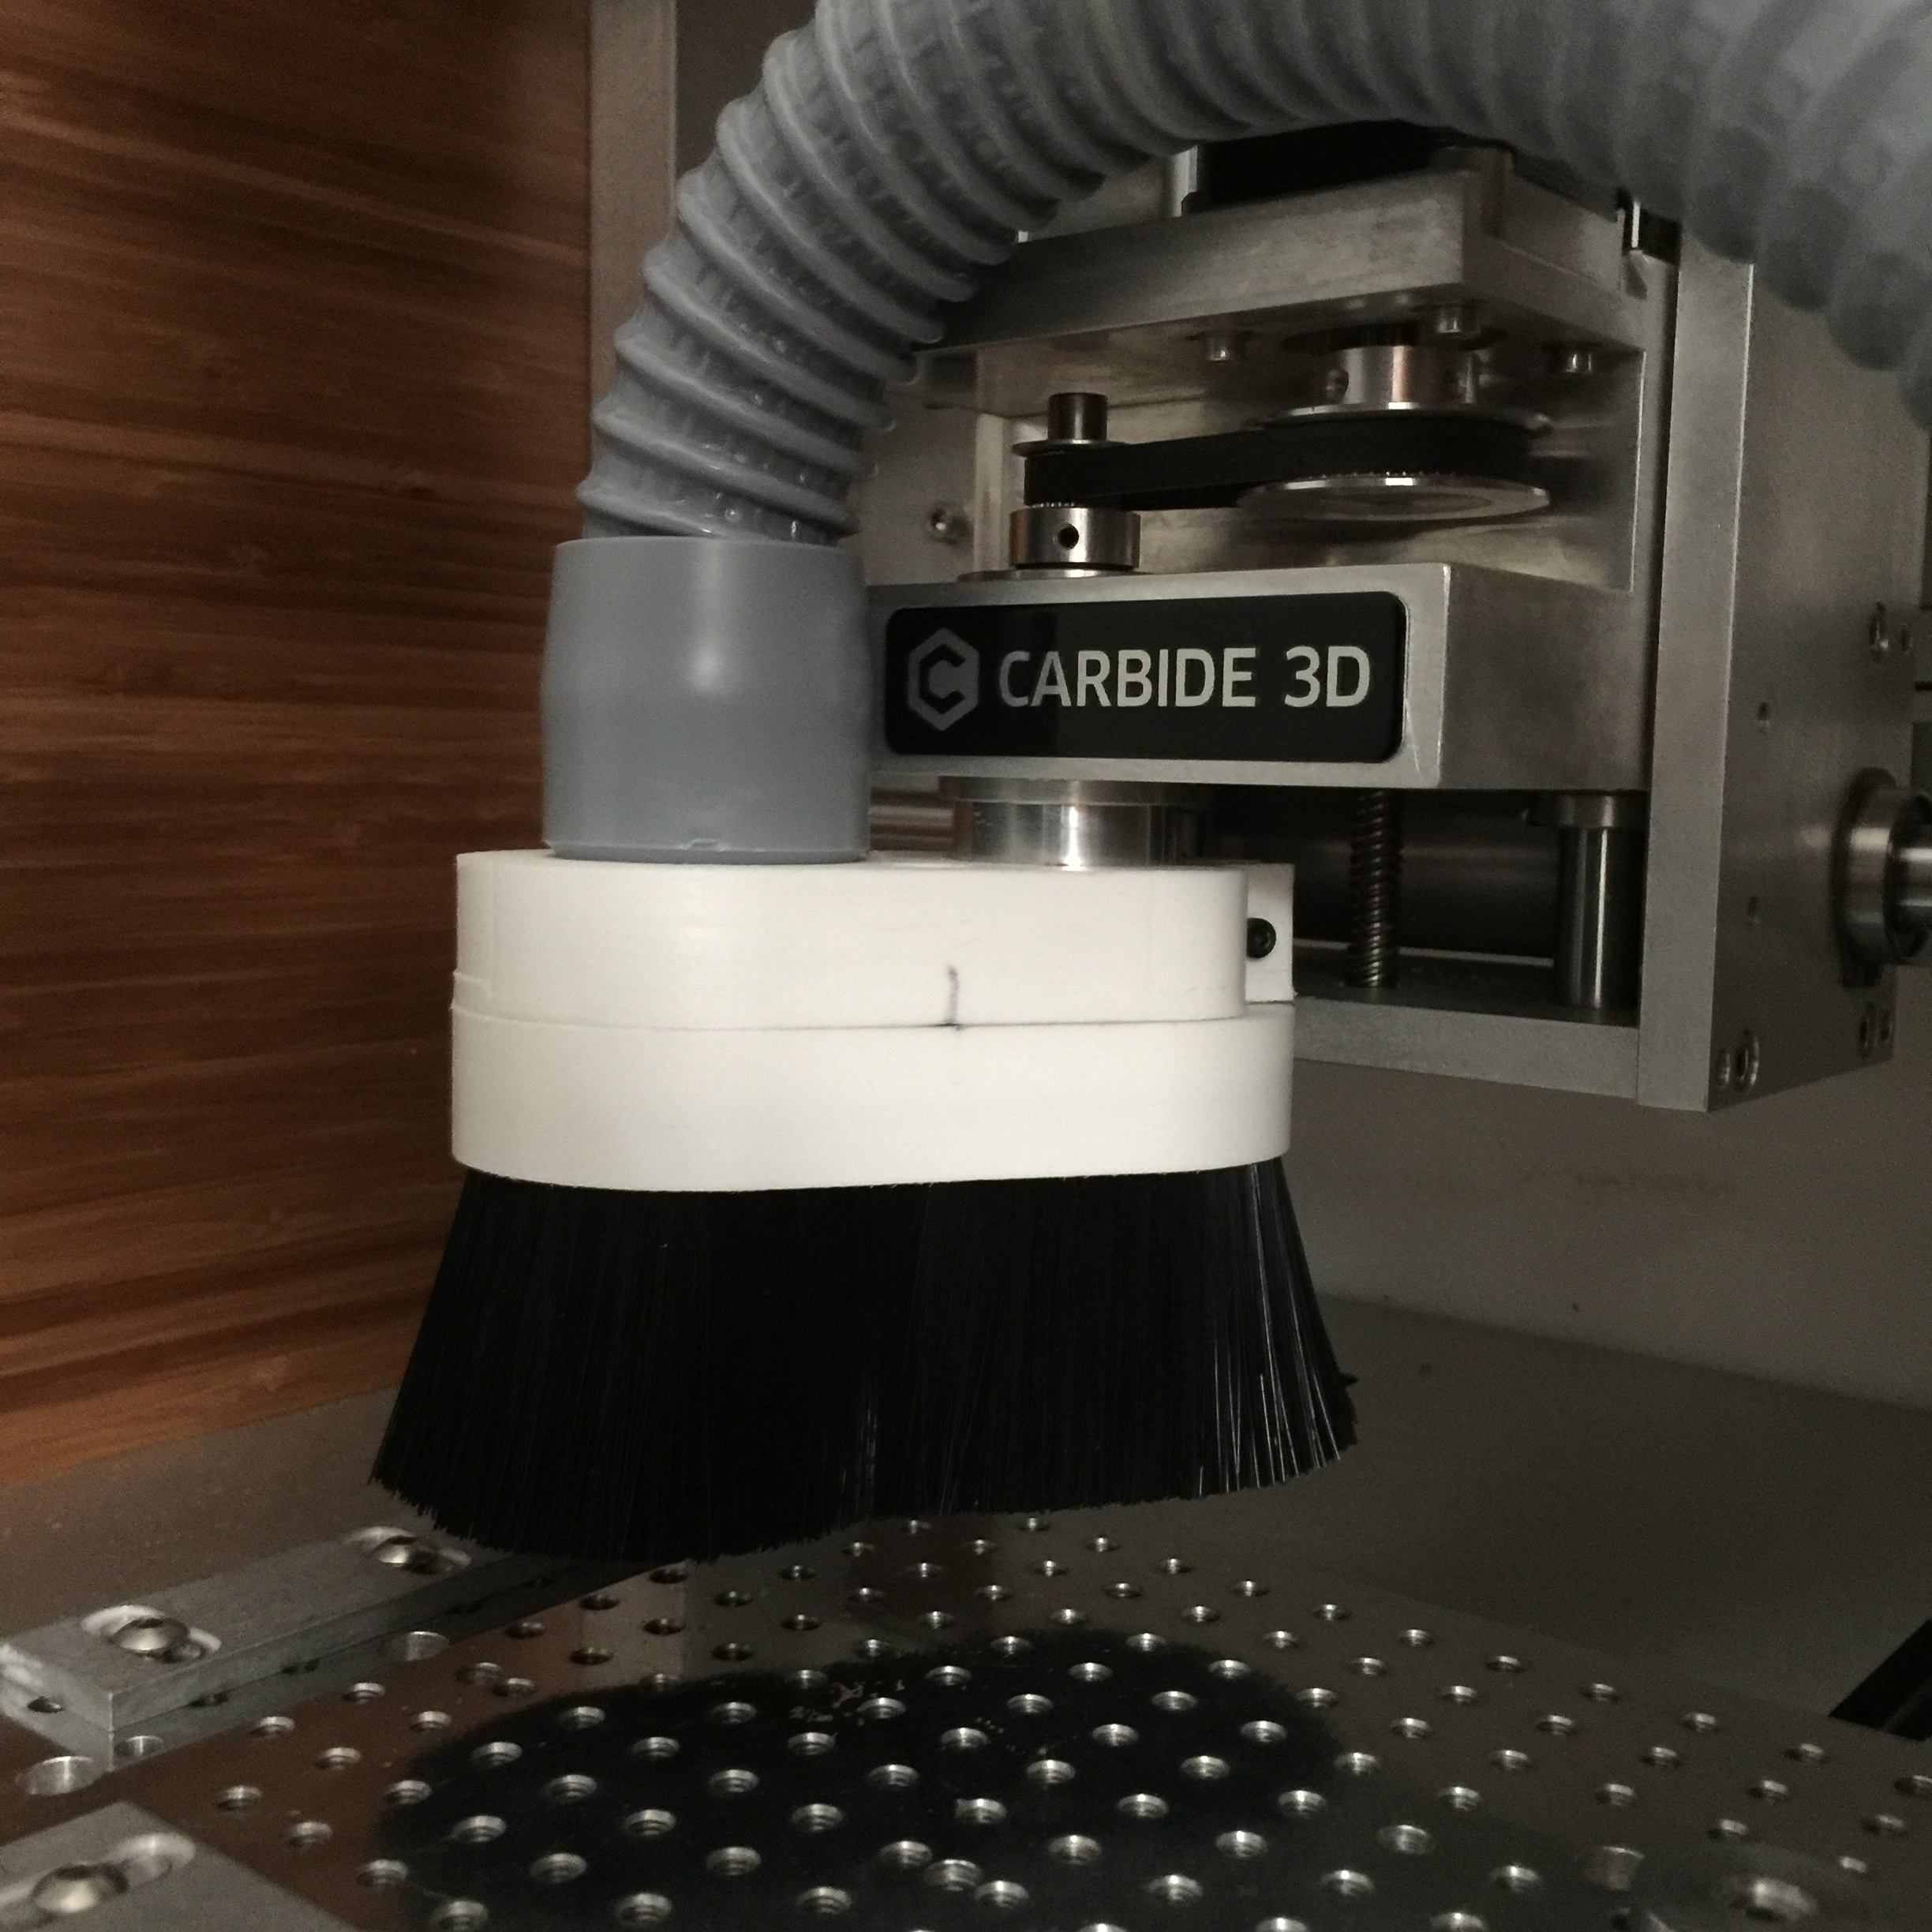
The bottom part where the brush goes, snaps into place with magnets. They are very strong. I’ve placed mine with polar oposites so the two pieces align by magnetic force.
This design has still a lot of room to grow. I’d make it wider so that the brush is further apart from the bit. Depending on what you are milling, the brush might get eaten by the mill. Keep an eye out for this. Maybe it’s worth trying a slightly shorter brush. Will try to change the design in the future but my schedule is packed lately (hence the tardiness of this post).
Good luck and CNC away. This has beed an amazing learning experience for me!.
Materials List
Stock
(The more you buy, the cheaper they are)
http://www.tapplastics.com/product/plastics/cut_to_size_plastic/king_starboard/526
6x6x0.75
Cost $10
Tubing
McMaster Carr Part# 5500K31
Cost $2.74 per foot (need 5ft)
Total $13.70
Fitting
McMaster Carr Part# 5500K17
Cost $2.23 each (need one)
Magnets
McMaster Carr Part# 58605K77
Cost $6.42 each (need 4)
Total $25.68
Brush
McMaster Carr Part# 7900T5
Cost $3.34 per foot (need 2ft)
Total $6.68
Screw (x1)
McMaster Carr Part# 91274A106
Cost $5.10 (pack of 50)
Nut (x1)
McMaster Carr Part# 94150A325
Cost $3.08 (pack of 50)
Washers (x2)
McMaster Carr Part# 90965A130
Cost $2.68 (pack of 100)
Vacuum Cleaner Hose Adaptor
http://www.amazon.com/WORKSHOP-Wet-Dry-Vacs-WS25055A/dp/B00FX2R2LK/ref=sr_1_1?ie=UTF8&qid=1448305046&sr=8-1&keywords=VT1755
Cost $11.99
Nitto (Permacel) P-02 Double Coated Kraft Paper Tape: 1 in. x 36 yds. (White)
http://www.amazon.com/gp/product/B000QDL9GK?psc=1&redirect=true&ref_=oh_aui_detailpage_o08_s00
Cost $27.03