So the better half said I could order the XXL as my anniversary gift this year (26 years!). So, of course like any good man would do, I must accessorize for the new toy. What end mills would you purchase starting out? 75% of my projects will be wood, and the rest will be metals. What other items do you wish you had purchased when you got the machine to make starting out easier? I’m using the Makita unit for the spindle. I have a SurfacePro laptop I will use for the PC. Any insight would be great.
Added note - I’m thinking of ordering end mills from Ebay, in sets of 10. I know they probably aren’t the best quality, but for learning purposes they should do well. I know I will break some just from lack of experience, so I would rather break a $3 unit than an $30 high end one.
2 Likes
Hey Taylor,
Congrats on the new purchase! I mostly use 1/8" and 1/4" flat end mills. I have a Vee bit but haven’t used it yet.
Here are my suggestions for getting started…
Get a digital caliper to measure the material you will be cutting. For example, 1/2" Baltic birch plywood isn’t .5", more like .47". Thousands of an inch makes a difference!
There are several ways to clamp down your project material when cutting, so be thinking of how you want to do that.
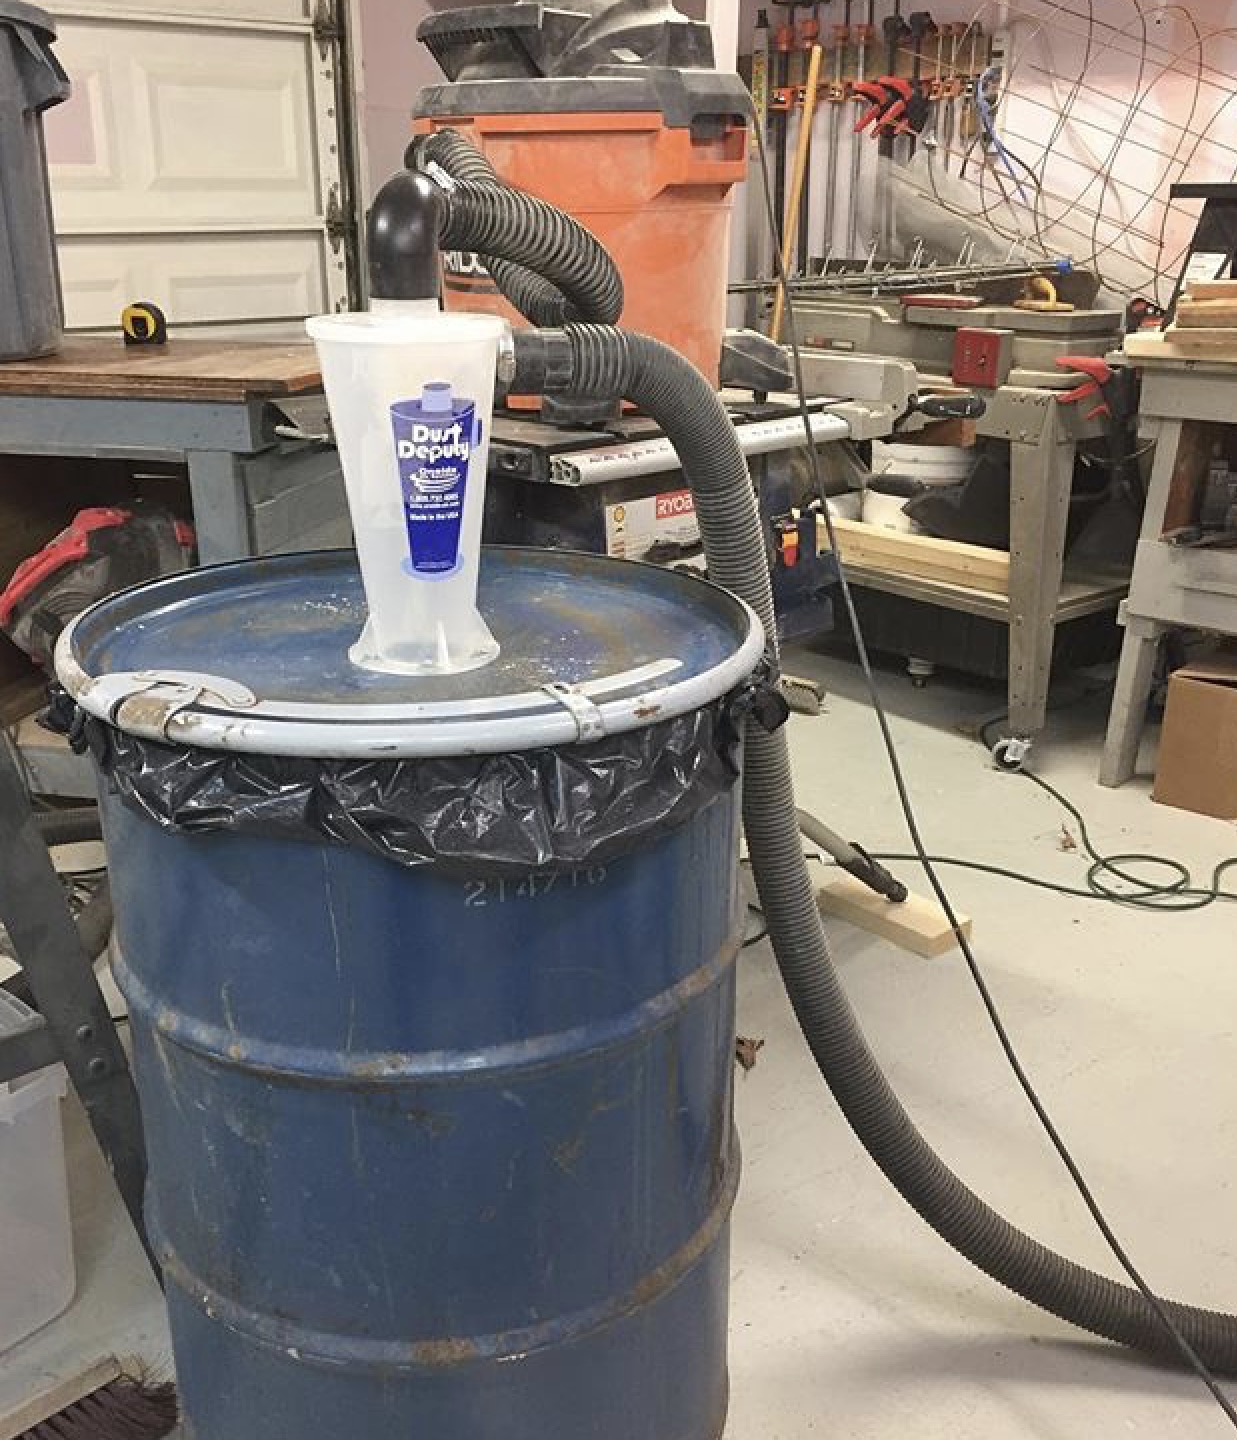
Dust collection! Invest in a great dust shoe. I also suggest investing in a dust deputy as well.
Good luck!
3 Likes
Big things to buy:
- dust collection (material and hardware to make dust shoe), vacuum, dust cyclone / separator, &c. — note that a Sweepy is now bundled with the machine:
Shapeoko CNC Router, Rigid, Accurate, Reliable, and Affordable and Shapeoko CNC Router, Rigid, Accurate, Reliable, and Affordable
- measurement tools (digital caliper at a minimum)
- inexpensive tablet to control the machine
- clamps / workholding — note that Essential clamps are now bundled with the machine
- precision collet set — note that these are now bundled with a Carbide Compact Router or VFD
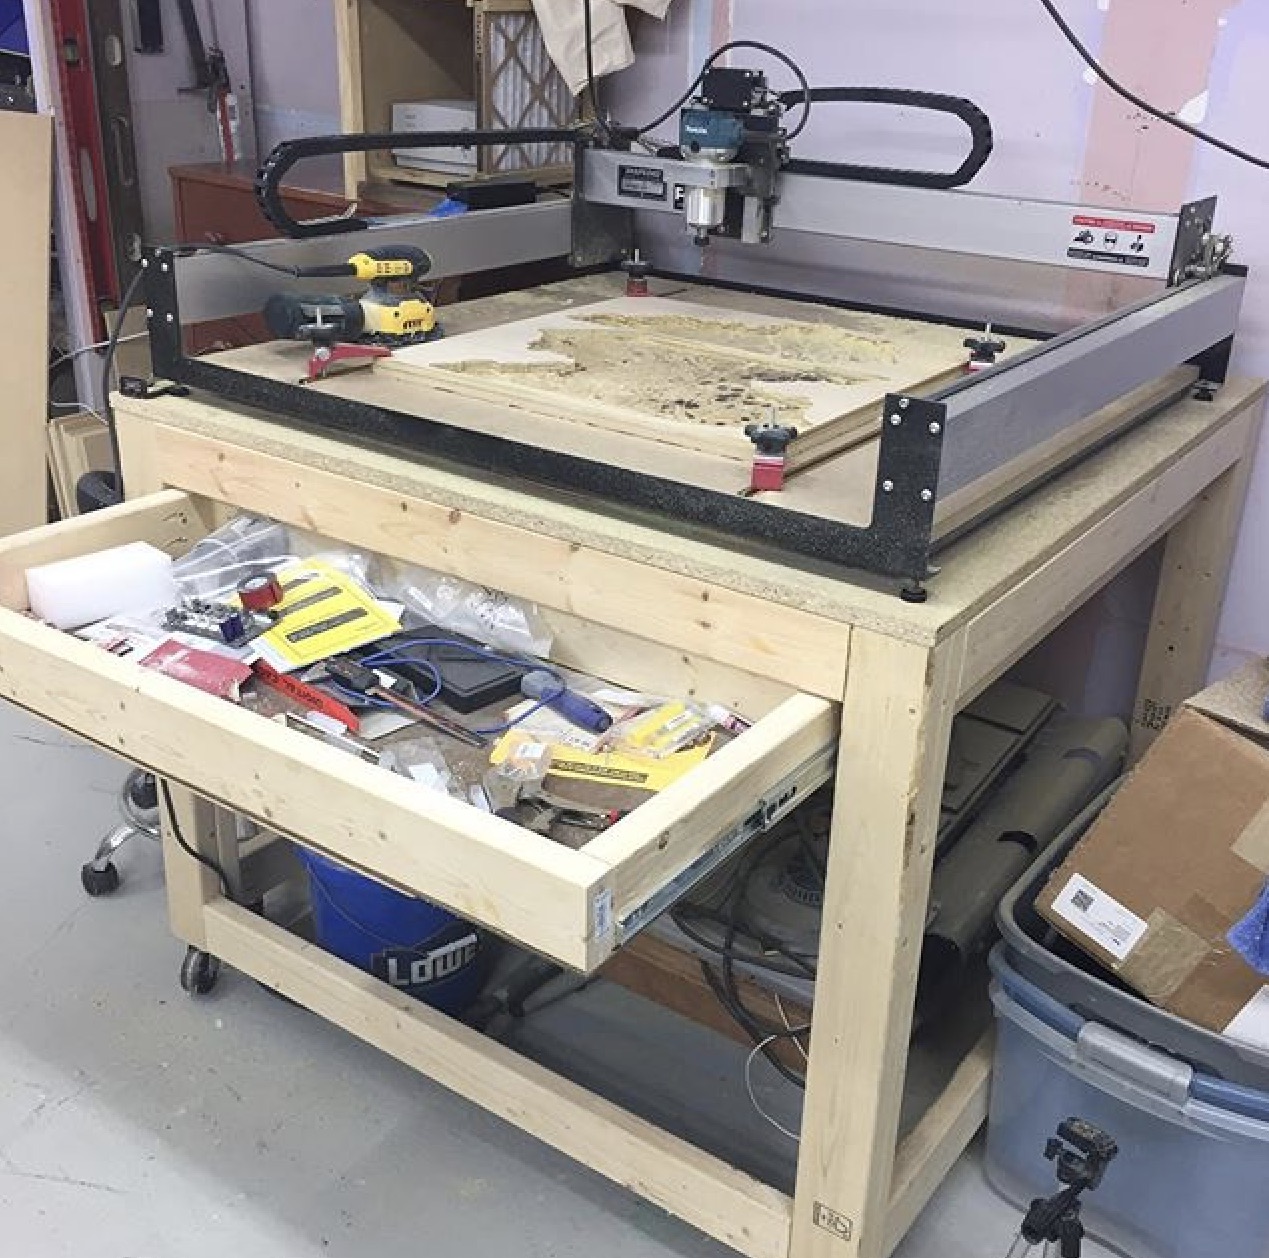
- suitable table / worksurface
FWIW, this is an FAQ:
The Suckit dust boot is a decently priced option if you don’t want to craft your own dust shoe.
Digital calipers as everyone suggested.
I’d get a roll of double sided paper tape such as
If you’re using it indoors and don’t have it, hearing protection. I like the 3m workmate, it has radio, mp3 player (off a micro SD) and bluetooth. Likewise safety glasses if you don’t have them.
I’m also now a GWizard convert, if you’re new to CNCing, buy a 1 year subscription to GWizard’s feed and speed calculator. It’ll help you get your pieces cut accurately and quickly with good surface finish. There’s a 30 day free trial.
Make sure you have a 1/8" collet if your router doesn’t include one, my dewalt did not.
Most of us recommend a sacrificial wasteboard on top of the machine’s own wasteboard. I like these inserts: https://www.amazon.com/gp/product/B002KSZ13G/ref=oh_aui_detailpage_o00_s00?ie=UTF8&psc=1
I think I needed 2 adapters from my hardware store to be able to drive them with my drill. I cut the hole pattern on the CNC itself, installed the inserts, then flattened it. On that note a 1/2" or 3/4" surfacing bit will make that go much faster if you want. A bunch of 1/4-20 hardware in various sizes would help there also. This is just how I went, some people use T-Tracks or other holddown methods.
A level for … well leveling the machine.
2 Likes
I’d also consider the depth gauge / magnetic base combo cited in the Winston Moy calibration video. This by far is the most efficient means of calibration your machine in my opinion:
2 Likes
Thanks for all the replies so far. I’ve been a carpenter for the last 28 years, with a generals license the last 15, so I have a lot of tools, just not all the right ones. I do have some of my dad’s machinists tools - micrometers, machine set up levels, calipers, etc, but the digital caliper will be a nice upgrade for ageing eyes.
I really like the method of keeping the factory waste board and then adding a 2nd one on that acts as your disposable one. I think that is going to be one of my first projects. I do have a question about the factory board - is it merely a waste board or is it also to help keep the machine square? I see the XXL comes with a 2 piece board, which got me to thinking about shear panels. First rule of shear is always use the biggest single piece you can. If the waste board is even partly being used to keep the machine stable, wouldn’t a change to a single sheet of mdf help keep it more rigid? I see it’s only held with a few bolts, and then thru bolted in the center, so it’s not shear “nailed”, but just curious about this.
Sorry if I offended anyone by asking the question. I found the wiki lacking in information in regards to what you wish you had or wish you knew when you bought the machine. I’ve been researching this purchase for the last month, read the forums and the wiki, but personal posts in a forum usually contain very candid needs or issues about an item, more than what is written in an informational wiki.
I have the normal size one but I believe on all 3 the ‘wasteboard’ is structural, part of the reason for keeping it in good shape. Second reason is I don’t think C3D sells replacements, so you’d be manufacturing your own if it got bad enough you wanted to replace it.
No offense meant, none taken.
The wasteboard gets the machine started on being square (precision has to begin somewhere), but once everything else assembled, is not a structural element — that said, an all-metal wasteboard does seem to help w/ the rigidity.
Get a few end mills from 1/4 down to 0.032, Get some small V-Bits for engraving small letters and numbers. Make lots of hold down clamps for your first carving job.
1 Like
Have you seen this thread yet? What did you wish you knew about shapeoko 3 before purchasing it? (newbie)
1 Like