How much is the tool sticking out? Looks like tool deflection perhaps?
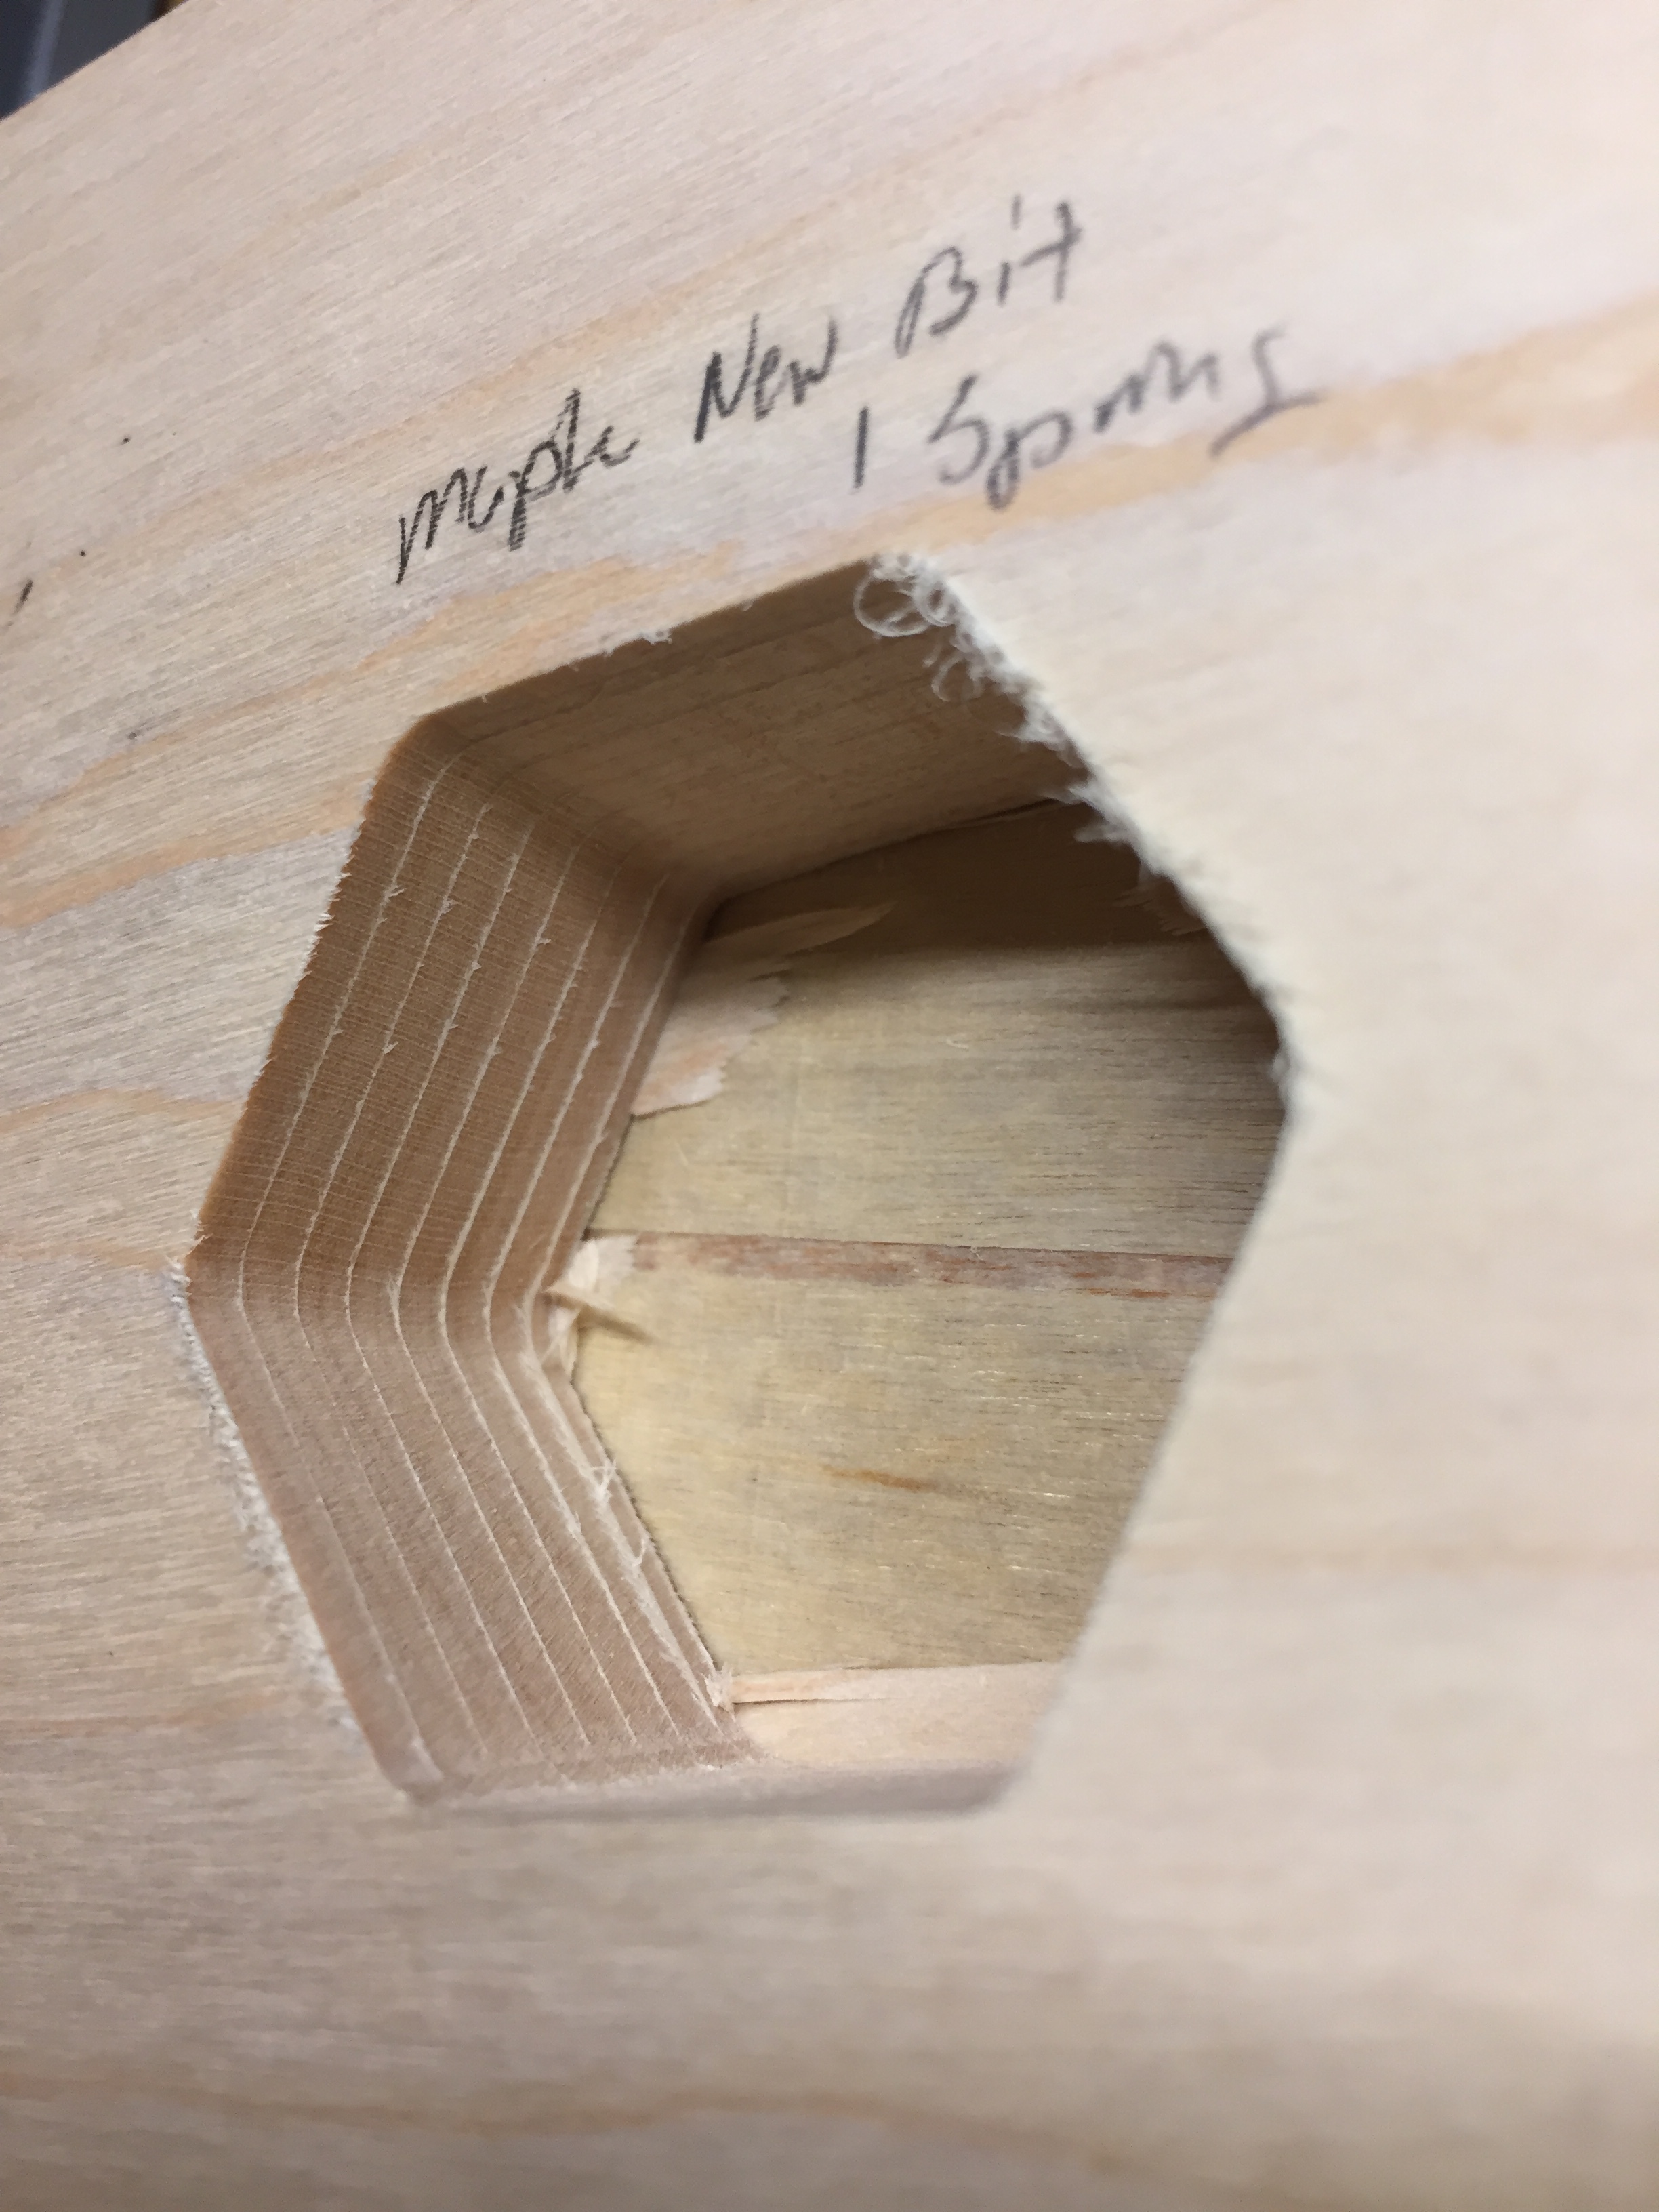
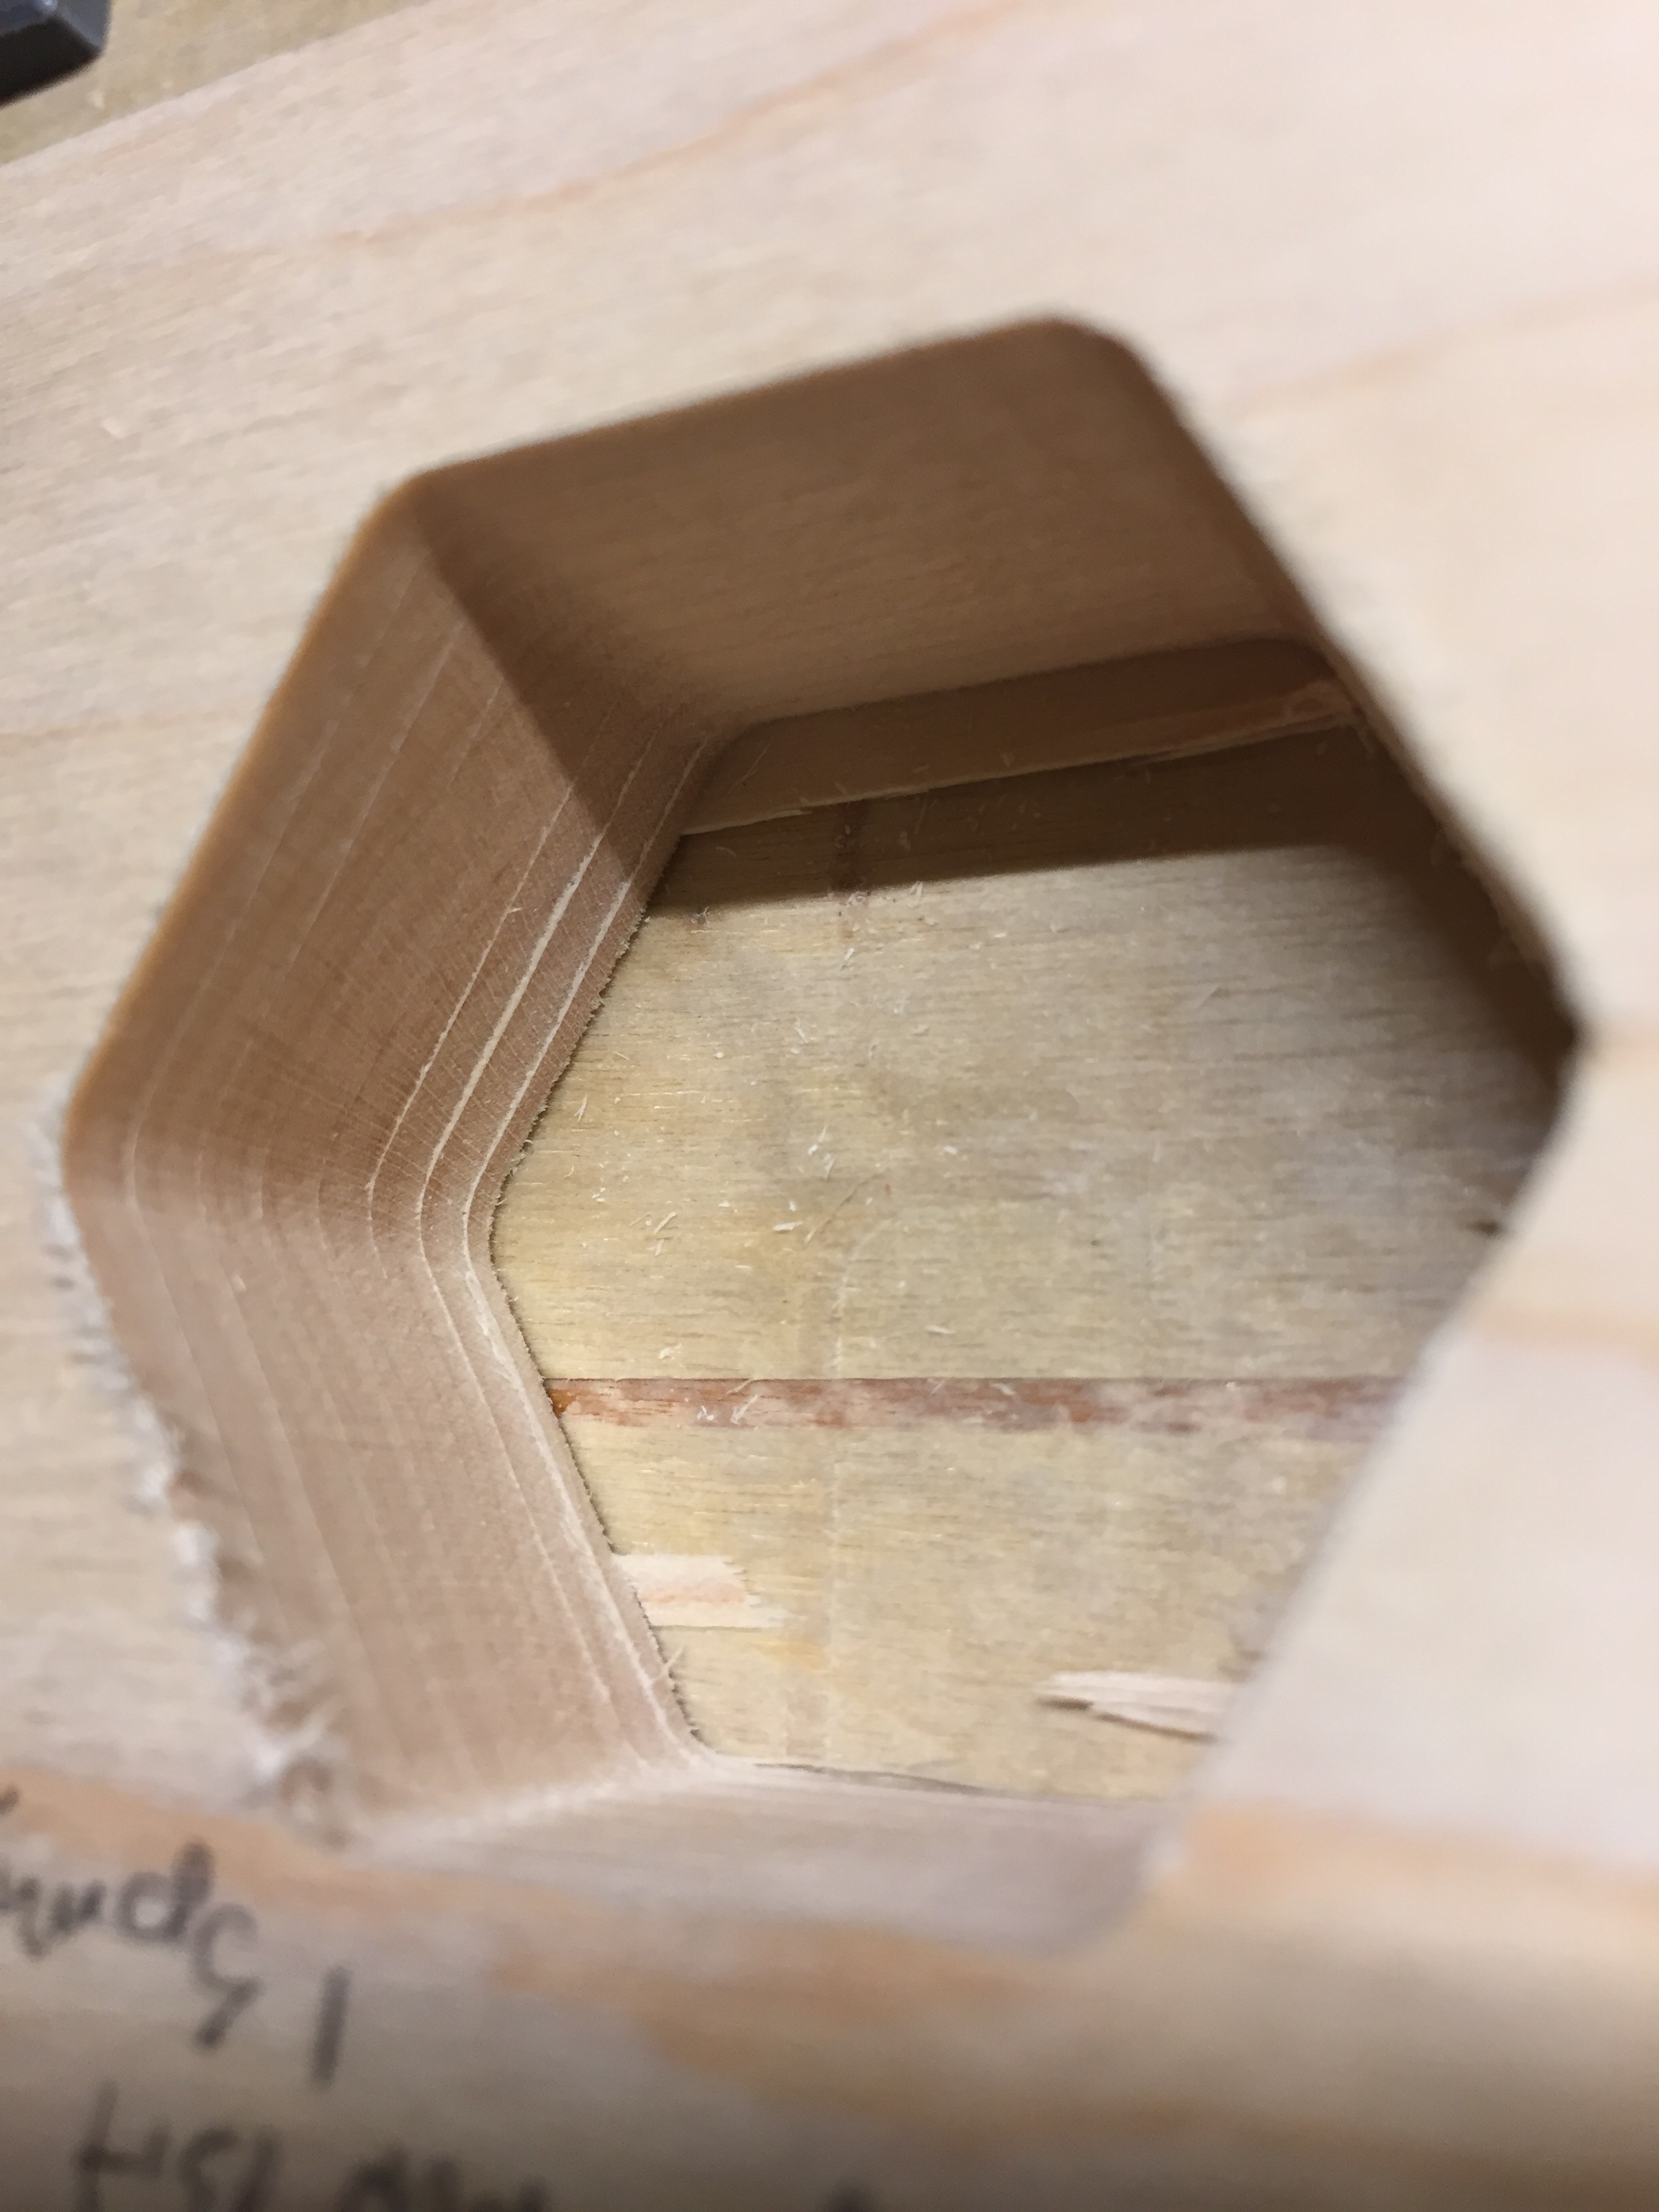
I actually just got back from trying a little more. I slowed the feedrate to 20 (the pictures were at 35) and did a test cut, still got ridges, then I threw a brand new bit in there and ran it on the same settings, no ridges.
Now I’d concluded I borked another bit, but you’re mentioning deflection, and one thing that happened was I didn’t re-zero the Z axis between tests, there was not a lot of material left but the first cut was all the way through. Since they were both C3D bits that means the 2nd run wasn’t just a new bit but also held deeper in the collet.
So sounds like next time I have a chance I need to try the bit giving me issues but make sure it’s as far into the collet as it will go and run it at 20 again. That should eliminate one of the two theories at least.
3 Likes
I had a very similar problem and mine was caused simply by the router not being completely square to the bed forcing the bit just to be slightly cocked. This will cause the small ridges you are seeing. Took me awhile to find it and had to use a good tramming set but now my machine cuts straight down through 3/4 stock with no visible lines.
2 Likes
Have any good recommendations?
1 Like
Yeah that’s my next step I think once I do the test I mentioned above. Since it happens with some bits and not others I’m leaning towards thinking it’s either the bit or deflection from not being far enough in the collet. Will know Thursday when I can play with it again. I’d be curious to your answer to Mark though on a good tramming kit. @wmoy also did a video recently on his homebrew tool for squaring the router.
2 Likes
This is what I used. It is pretty expensive but works well and is very accurate. I will use it in my drill press also and it should last for a lifetime so taking that cost and spreading it out helped ease the pain just a little.
3 Likes
I just bought the mini. It fits, as it has a 1/4" shank. The bigger one has a half inch shank. I’m still trying to learn to use it properly, as it is so sensitive.
1 Like
I think for $100 I’ll see how it goes with ensuring more collet contact with the bit first  But it’s good to have a recommendation if I do end up spending the money on it.
There are some wire options on YouTube and other ways you can test the tram on your machine much cheaper. I just wanted to make sure I was spot on and this device makes it easy to do that in all directions an over the entire span of the wasteboard.
1 Like
Any chance you are using a Makita router? I didn’t have the best luck with the collet keeping the bit square. My dewalt does a better job.
I love Whiteside bits too…have had some pretty good results from them
Using the DeWalt. I’m going to keep posting updates as I work through this in case it sparks any suggestions or in case this thread is useful to someone else.
I was REALLY hopeful that @WillAdams suggestion that it could just be tool deflection would be correct, so I threw the suspect bit back in, with barely more out of the router than I needed for the 3/4" deep cut.
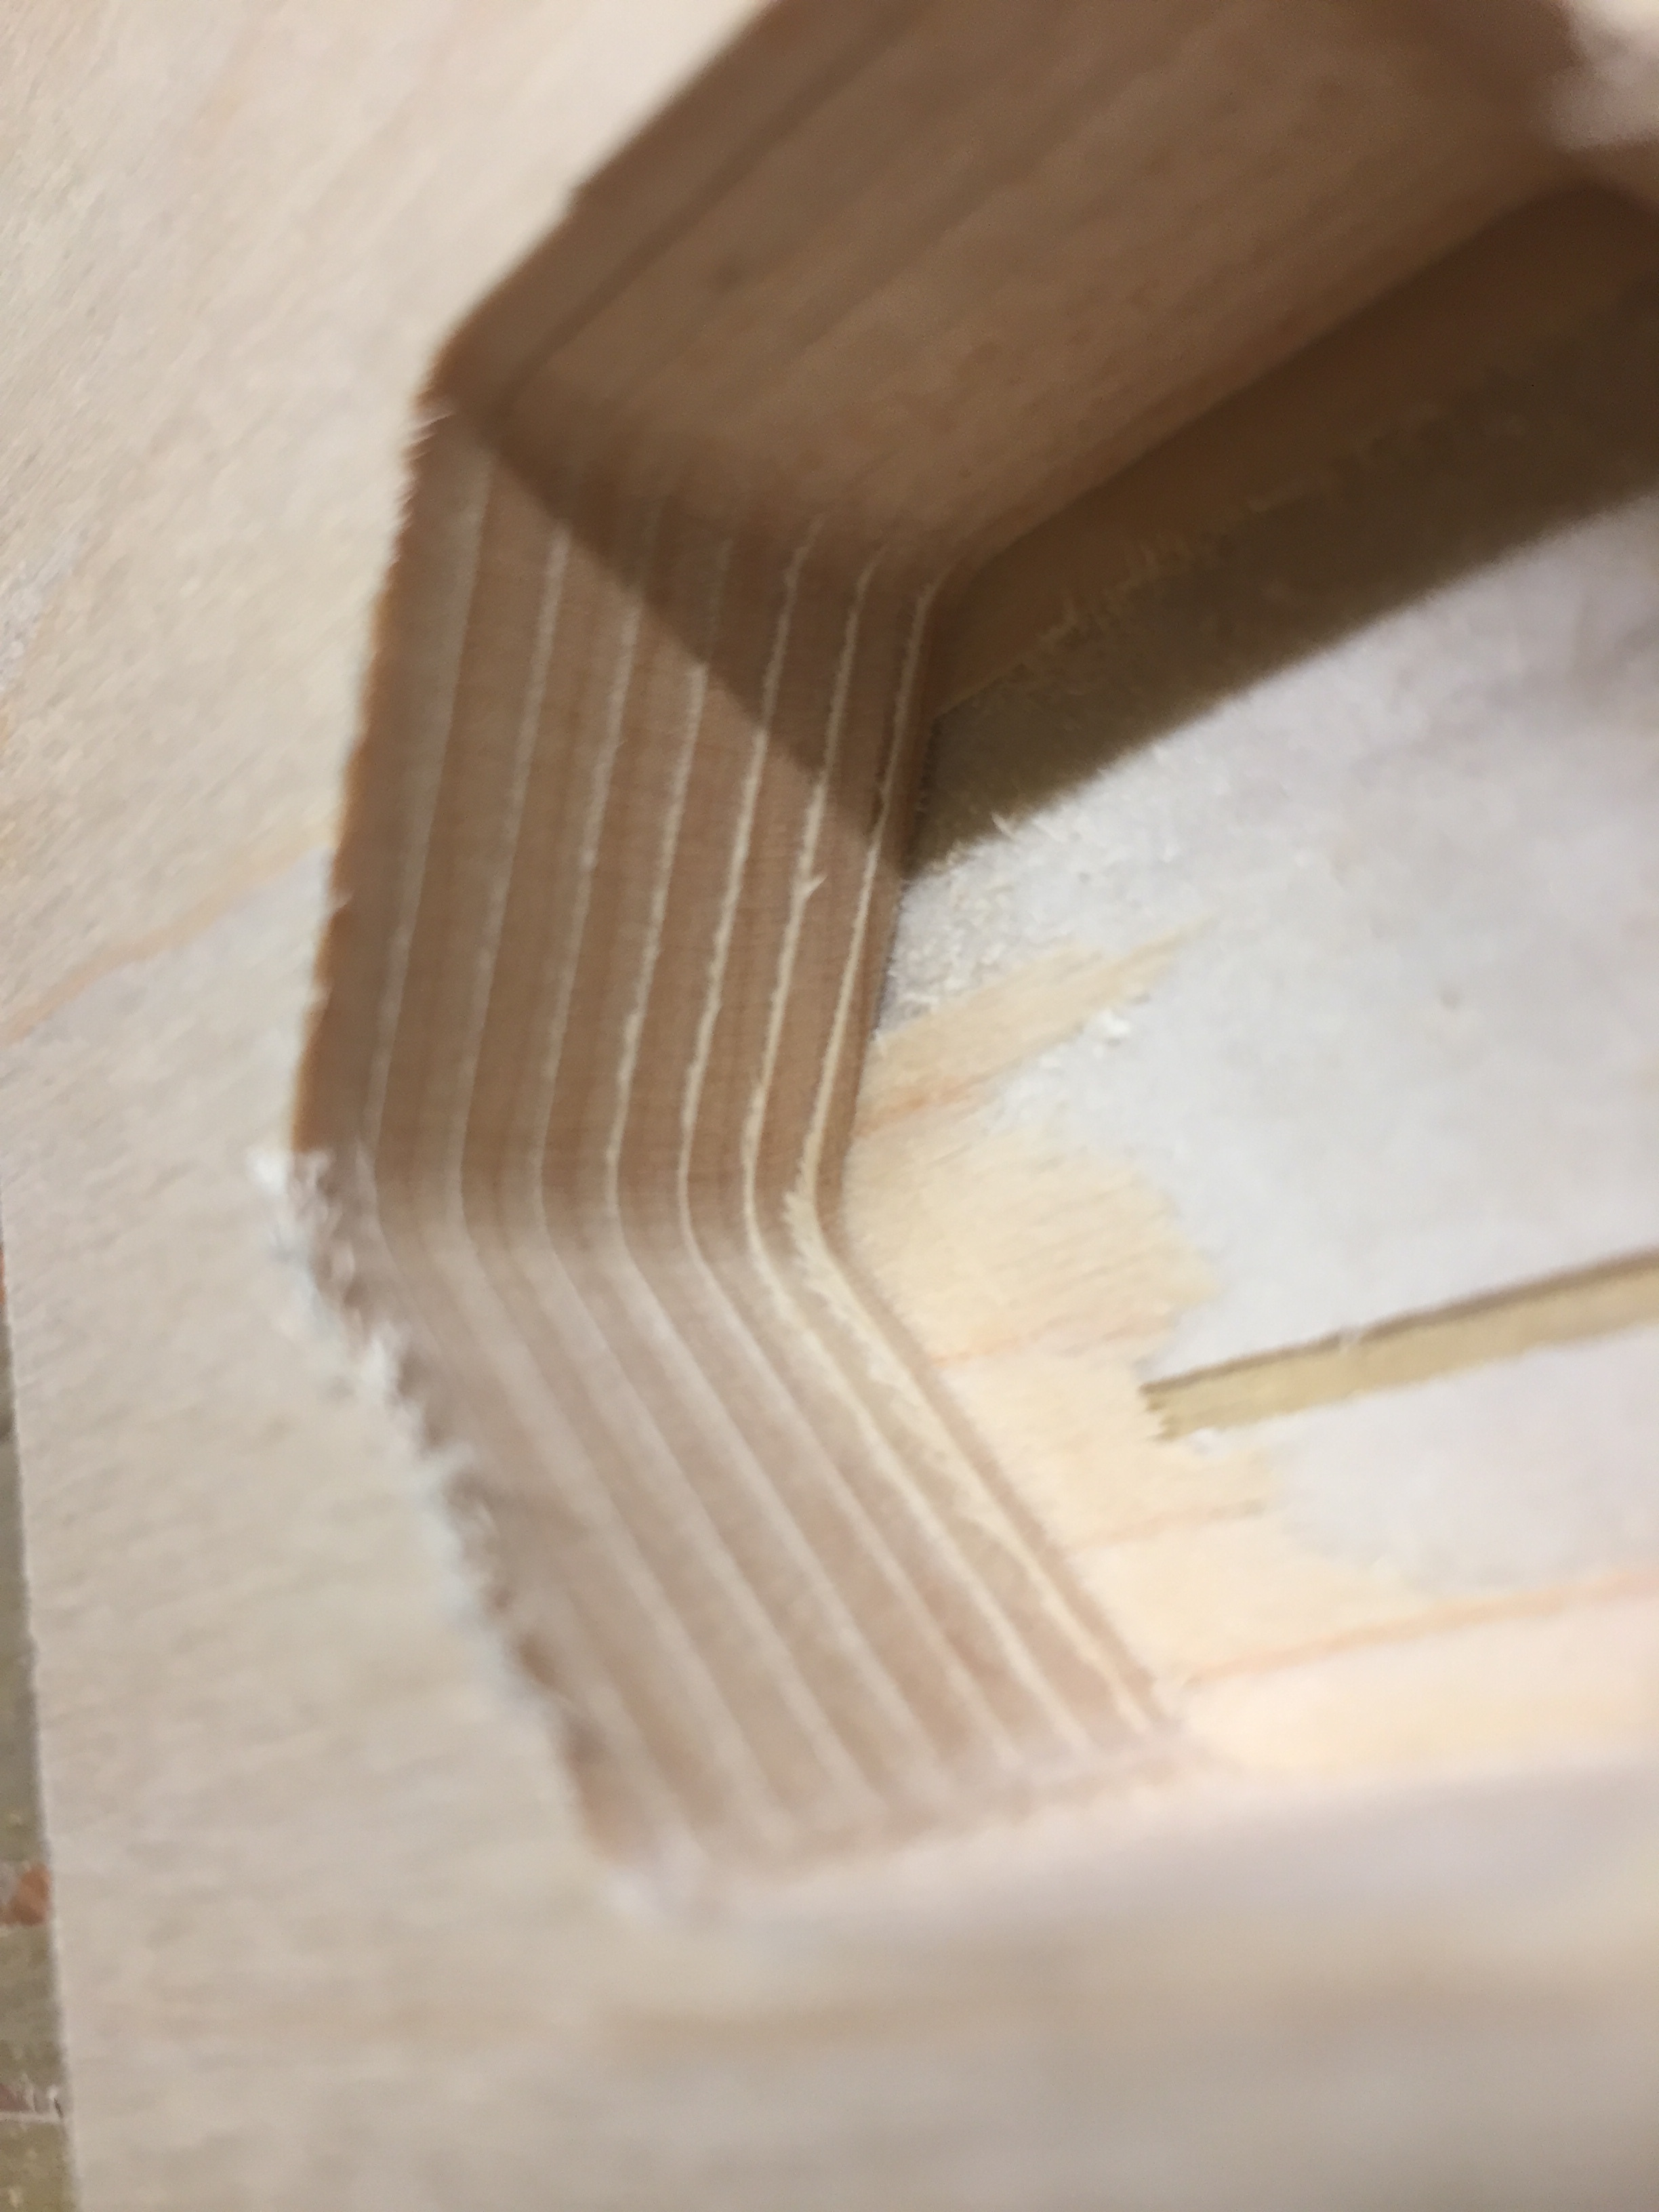
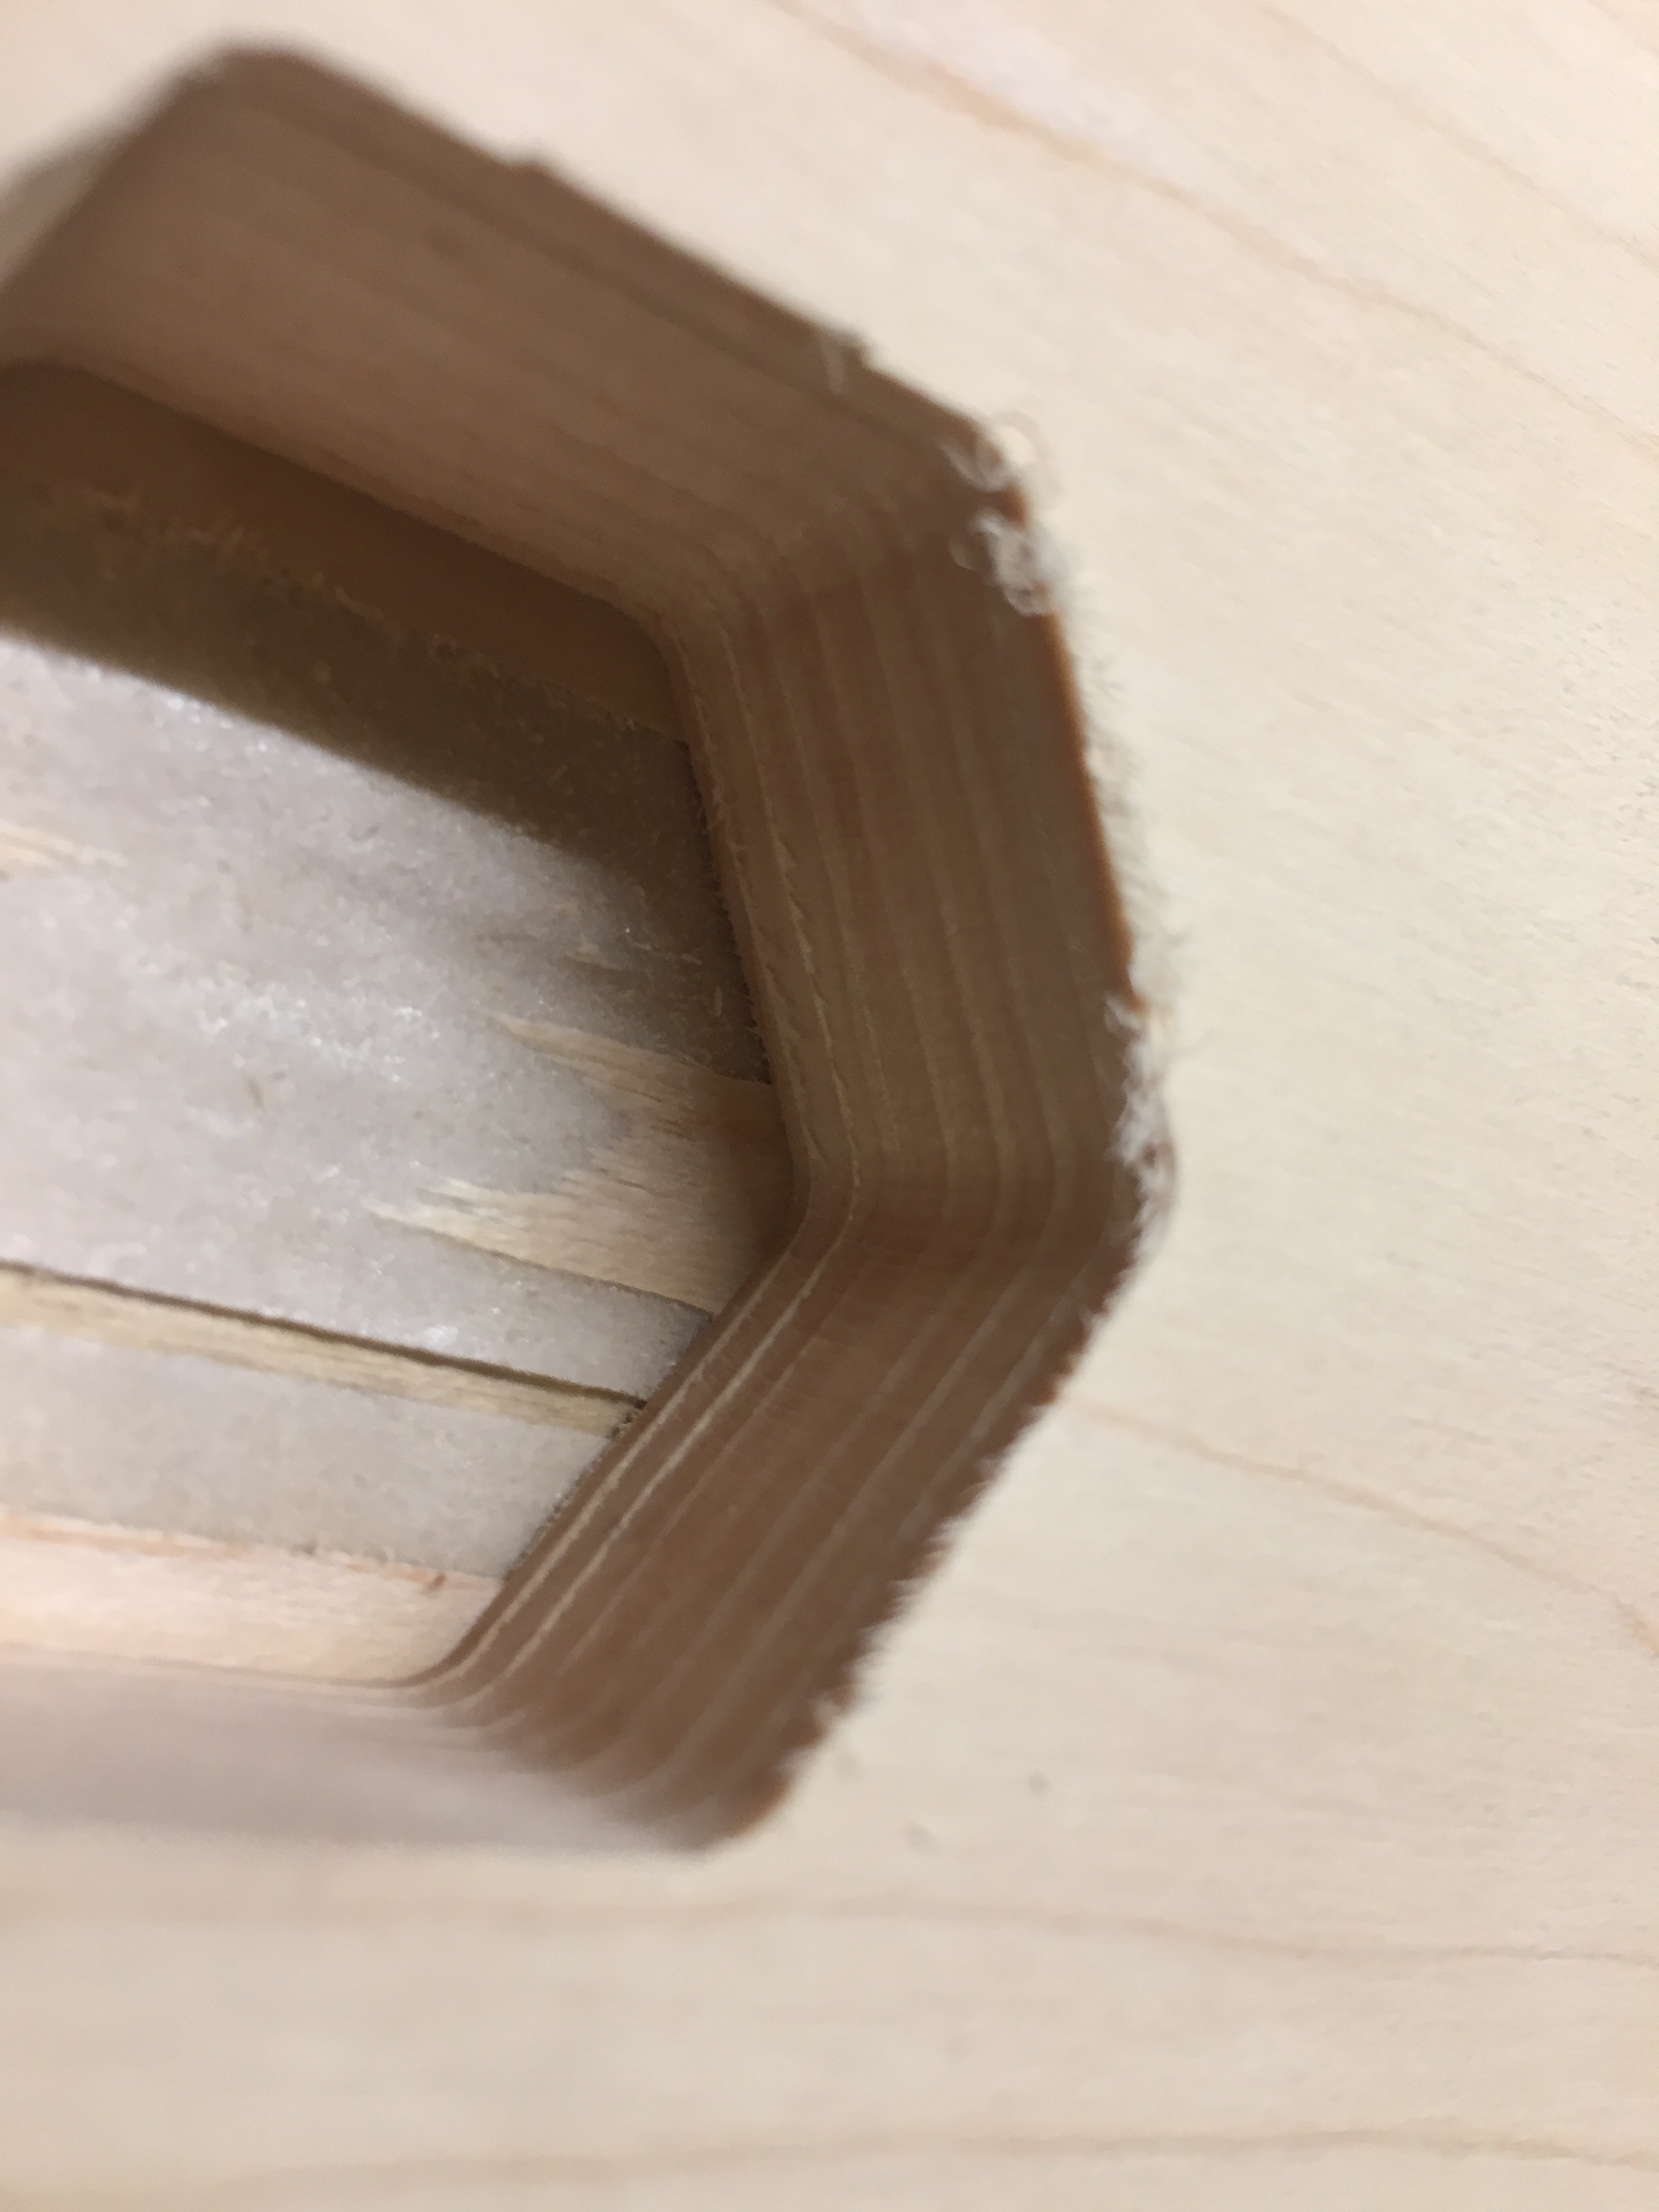
Okay so that’s a no. That made me think it was the bit, I ran it too hard and bent it or something. GWizard during my trial was like “OMG MAX THAT SPEED OUT!” but I’d prefer to be conservative. All these tests were at 20ipm with a 1/8" square bit and a .1" cutting depth. So, to be thorough I threw in the new bit, which in my last post produced clean results…

Suspect bit is bottom left, new bit, this being it’s 2nd cut ever, produced the top right, damn near identical results.
I did one final cut, and it kind of looks like one side is deflected ‘out’ and one side is deflected ‘in’, which lends itself to the idea that it’s not square. I used a normal square and visually it looks fine but of course that is only so precise. I guess I’m spending $100 on a tram testing jig, and hoping that resolves it.
1 Like
I know after tramming my XXL as best I could with the equipment I have, I found those ridges to be much less pronounced. So, I’m inclined to think it might still be what is troubling you to some degree.
Thanks @UncommonDad, glad, in a sense, that others had this issue. For some pieces I could sand it off but these are for boxes with fitted lids so the sanding gets very precarious. Either way I got the rig @Bonch suggested up thread, will see how that goes once it arrives.
1 Like
Try Winstons free version first to get an idea how bad its out of tram befor dropping alot of $$ Imo. here is the link and he supplys the file to cut
My question is where or what is everyone adjusting when they figure out its out of tram?
2 Likes
Already placed the order, I did see Winston’s video and it’s an elegant and simple/cheap solution but I have such limited shop time that I’m okay occasionally trading money for time.
I was actually curious how much the v-wheels come into play in leveling. The simplest adjustment is at the rail edges but I’m a little hesitant to drill those out (if it’s that bad). I feel like when you have a lateral screw trying to prevent a heavy rail from sliding down.
1 Like
I liked that video too, Mark. It gave me some pretty good starting points…plus with no real extra money to spend on tramming tool, free is the only way…lol!
2 Likes
With the machine powered off spindle in hand everything goes up and down real smooth? no wiggles or bumps or awkwards? looked for any flat spots on the vwheels?
If it’s showing more on one edge than the other, then it’s definitely the Z-axis not being plumb / square