Just went to check for flat spots. The X travel was maybe a bit off, so I took the belt off, inspected and cleaned the V wheels, no issues I could identify. Retightened the wheels and it was much smoother after that, put the belt back on and tightened it all up. Unfortunately didn’t make any difference.
@WillAdams yeah hopefully early next wheel I have the tram tool and can get that sorted out, hopefully that’s it.
I actually had this issue a few weeks ago with a whiteside bit. It’s clearly the machine, I really wish I knew why on earth I got a clean cut on Tuesday with a new bit though. That worries me but we’ll see how squaring things up goes.
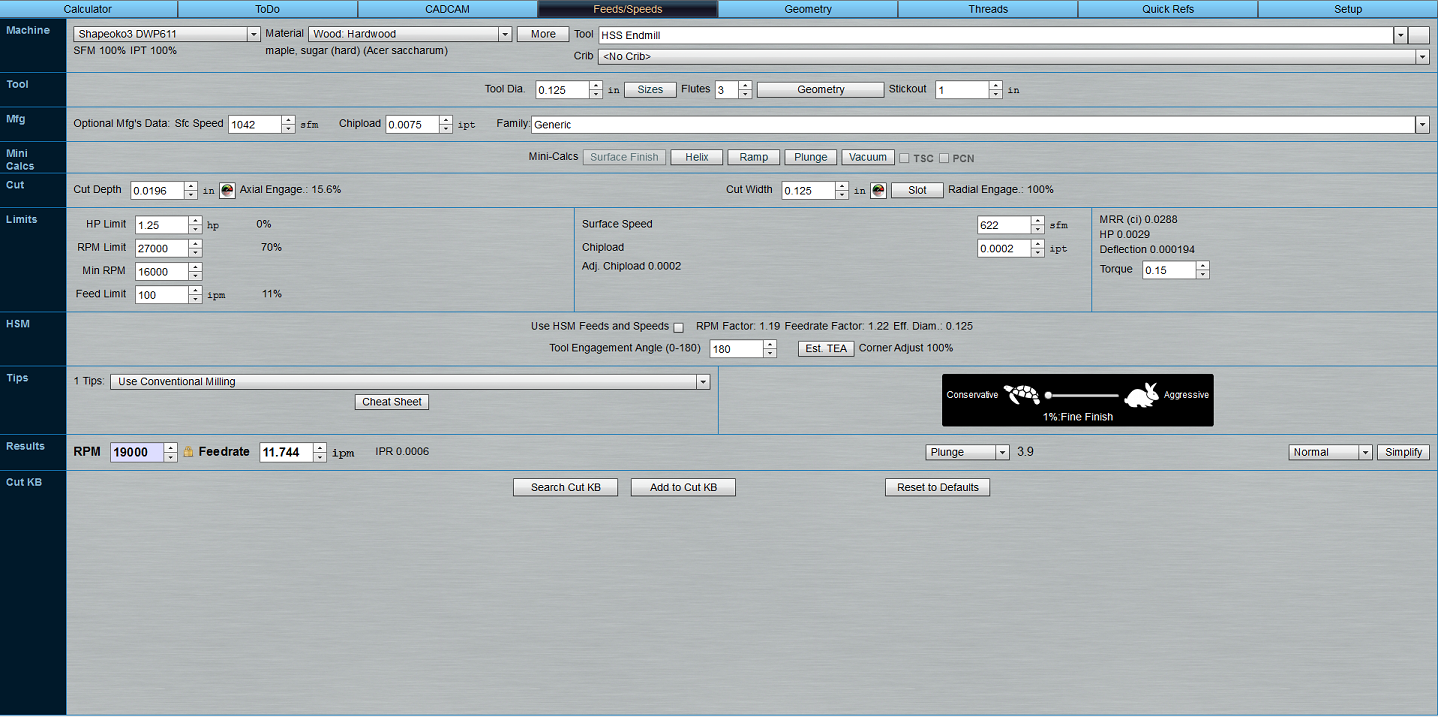
So @ItsDan, I’ve been following this for some time and I’m sorry you are still having issues. Just for drill, I ran your bit through G-Wizard. I found something interesting: I’m assuming you are not clearing all material out of the center, just doing a contour to separate the inner wall from the stock, and the same on the outside. So using the Cut Optimizer, I assumed a .125" width of cut (max diameter of the bit) and optimized depth while locking for width, and for finishing in the deflection allowance setting. No matter how I swing it (various RPMs and various points on the tortoise / hare slider), G-wizard warns me that you have deflection concerns no matter what. I have to crank it down to 1% on the slider to avoid over deflection.
I’m wondering if the ridges you are seeing are coming from pure deflection. Even with a 1.5 OAL mill, you’ve still got probably about 1" sticking out. In a thin diameter bit, maybe deflection is the problem. I agree with you, if you had a rotation of your router about the X or Y axis (which you solve by tramming) You would think that only part of the box would see ridges sticking out, and then the opposite side would have ridges cut “in” to the wall. Maybe your depth of cut is to high and causing deflection all around? I’ve enclose a screen shot of my G-wizard run for you to see how it compares to yours. Also, you may want to try another piece of software like Fusion 360. You can do a roughing pass, specifying a small amount of stock to leave along the wall, and then come back with a down cutting mill to finish off the final amount. I have good luck with this in some of the boxes I have been making.
Thanks for running that. I was only doing part of the project so the part you see would have further passes, BUT the final cut out is as you describe, a 1/8 groove to cut the piece out. The depth of cut is also higher at .1 inches.
I’d manually setup a roughing pass in CC which isn’t particularly pleasant though not difficult. I’ve done some light cad work in f360 but haven’t tried the cam side of it. Once I get the spindle nice and square I may make the leap to fusion and see if those options help. The project also really could use tabs so it’s a good idea all around.
Thanks again, my gwizard trial ran out. Really wish there was something more affordable, will likely get the 3hp setup in the near future though since knowing about the deflection invalidates some of the testing.
Send them a email and ask them if there is something more affordable. When I did that, they sent me to another company that sells their software and has a purchase that licenses the Dewalt DW-611 for LIFE.
I haven’t noticed that if you get the lower end one for 2 years that it adds up to a 2hp life license. Little more than paying for 3 years upfront but I may go that route.
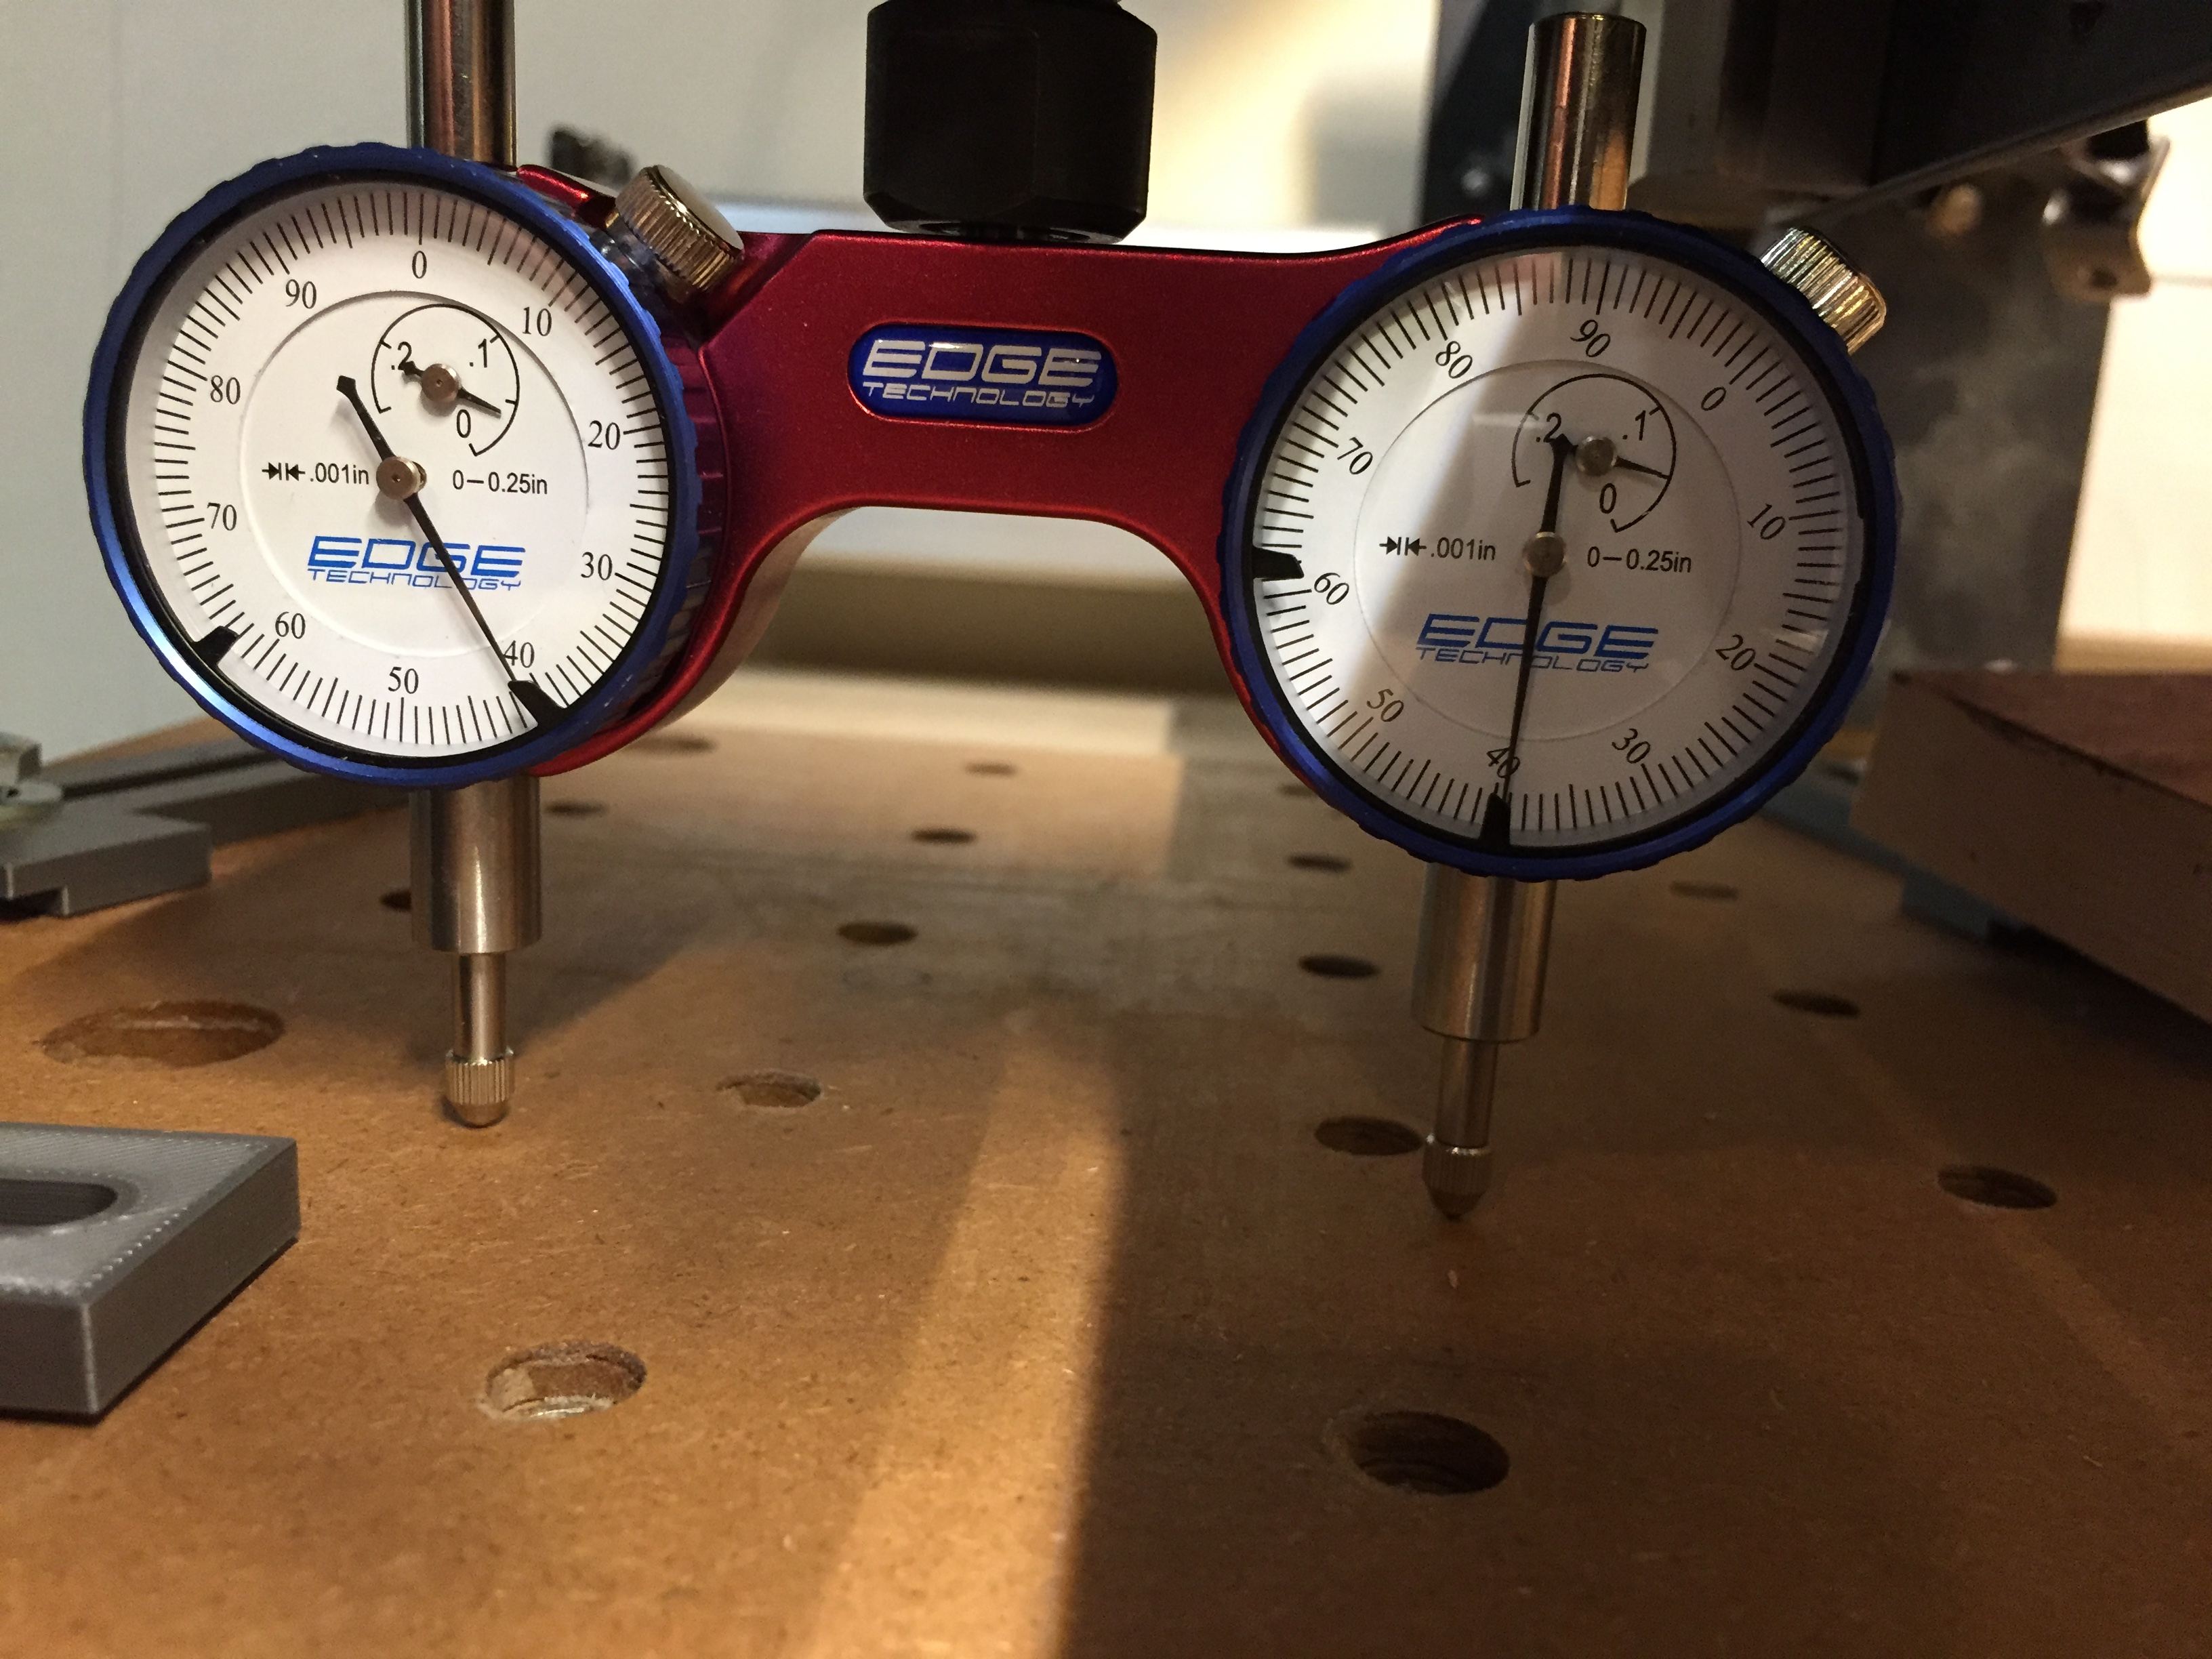
About 5 thou off, and over a much wider distance than a bit covers. For those of you who’ve done this, what’s the point where you stop chasing perfection?
I loosened the x rail bolts and lifted the low side using a clamp as a makeshift spreader until it was ~1 thou off, tightened it all up, removed the clamp and… fell back to the 5 thou. I was lifting the whole gantry not just the rail. I saw Winston Moy’s video suggest just scraping off the black paint/anodizing/whatever in the mounting holes may give you the wiggle room you need, but I’d need to take a lot more of the machine apart to do that, which I don’t have time for tonight.
I loosened the spindle mount and adjusted the tram by moving the spindle and re-tightening. It was tough to keep it trammed in both directions this way, so the way you were doing it is probably better.
It would be nice if the spindle mount had threaded holes in each side to allow actual tramming adjustments buy tightening set screws.
Dustin that raises a good point though. I couldn’t fit the tool under the spindle with the router mounted at the bottom of the holder. So once I square it, when I move the spindle to its usual spot it may throw it off. Hopefully less than it is now, though 5 thou seems small to me.
My next purchase is gwizard and I’ll play with the feeds and speeds. Also need to try and model the box in fusion 360 so I can use more advanced options like finishing passes, which if it is all deflection that should help.
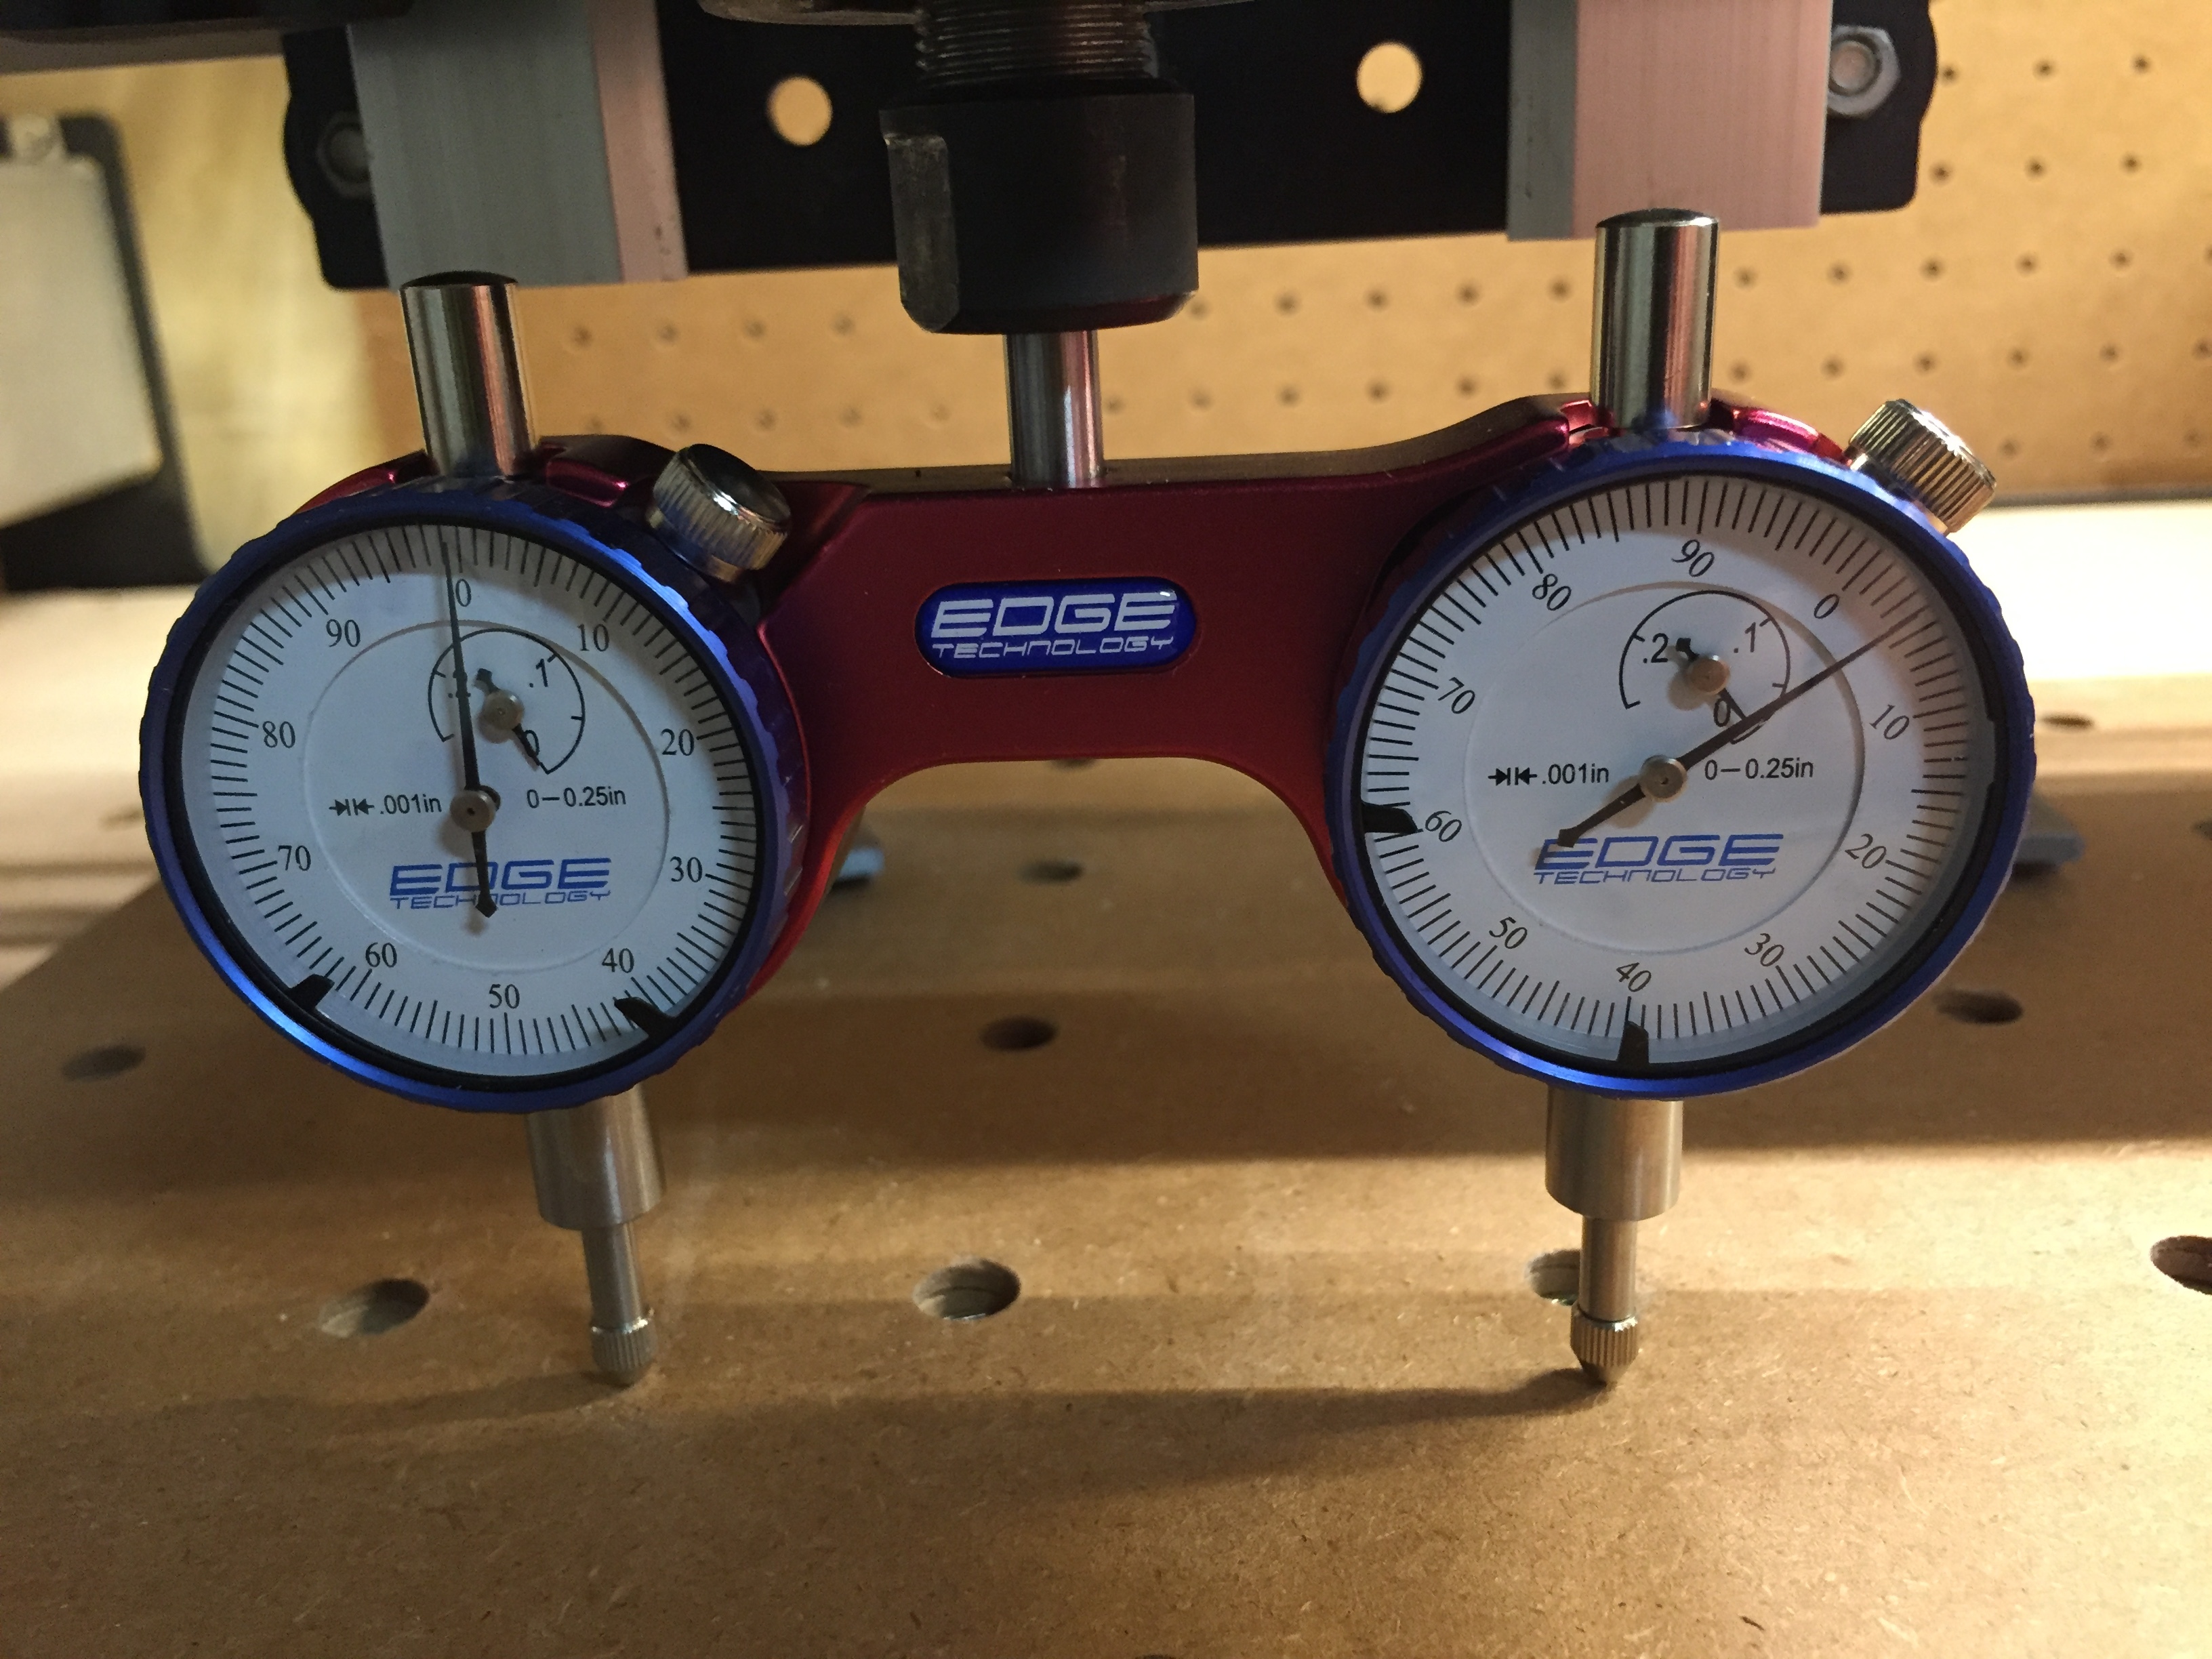
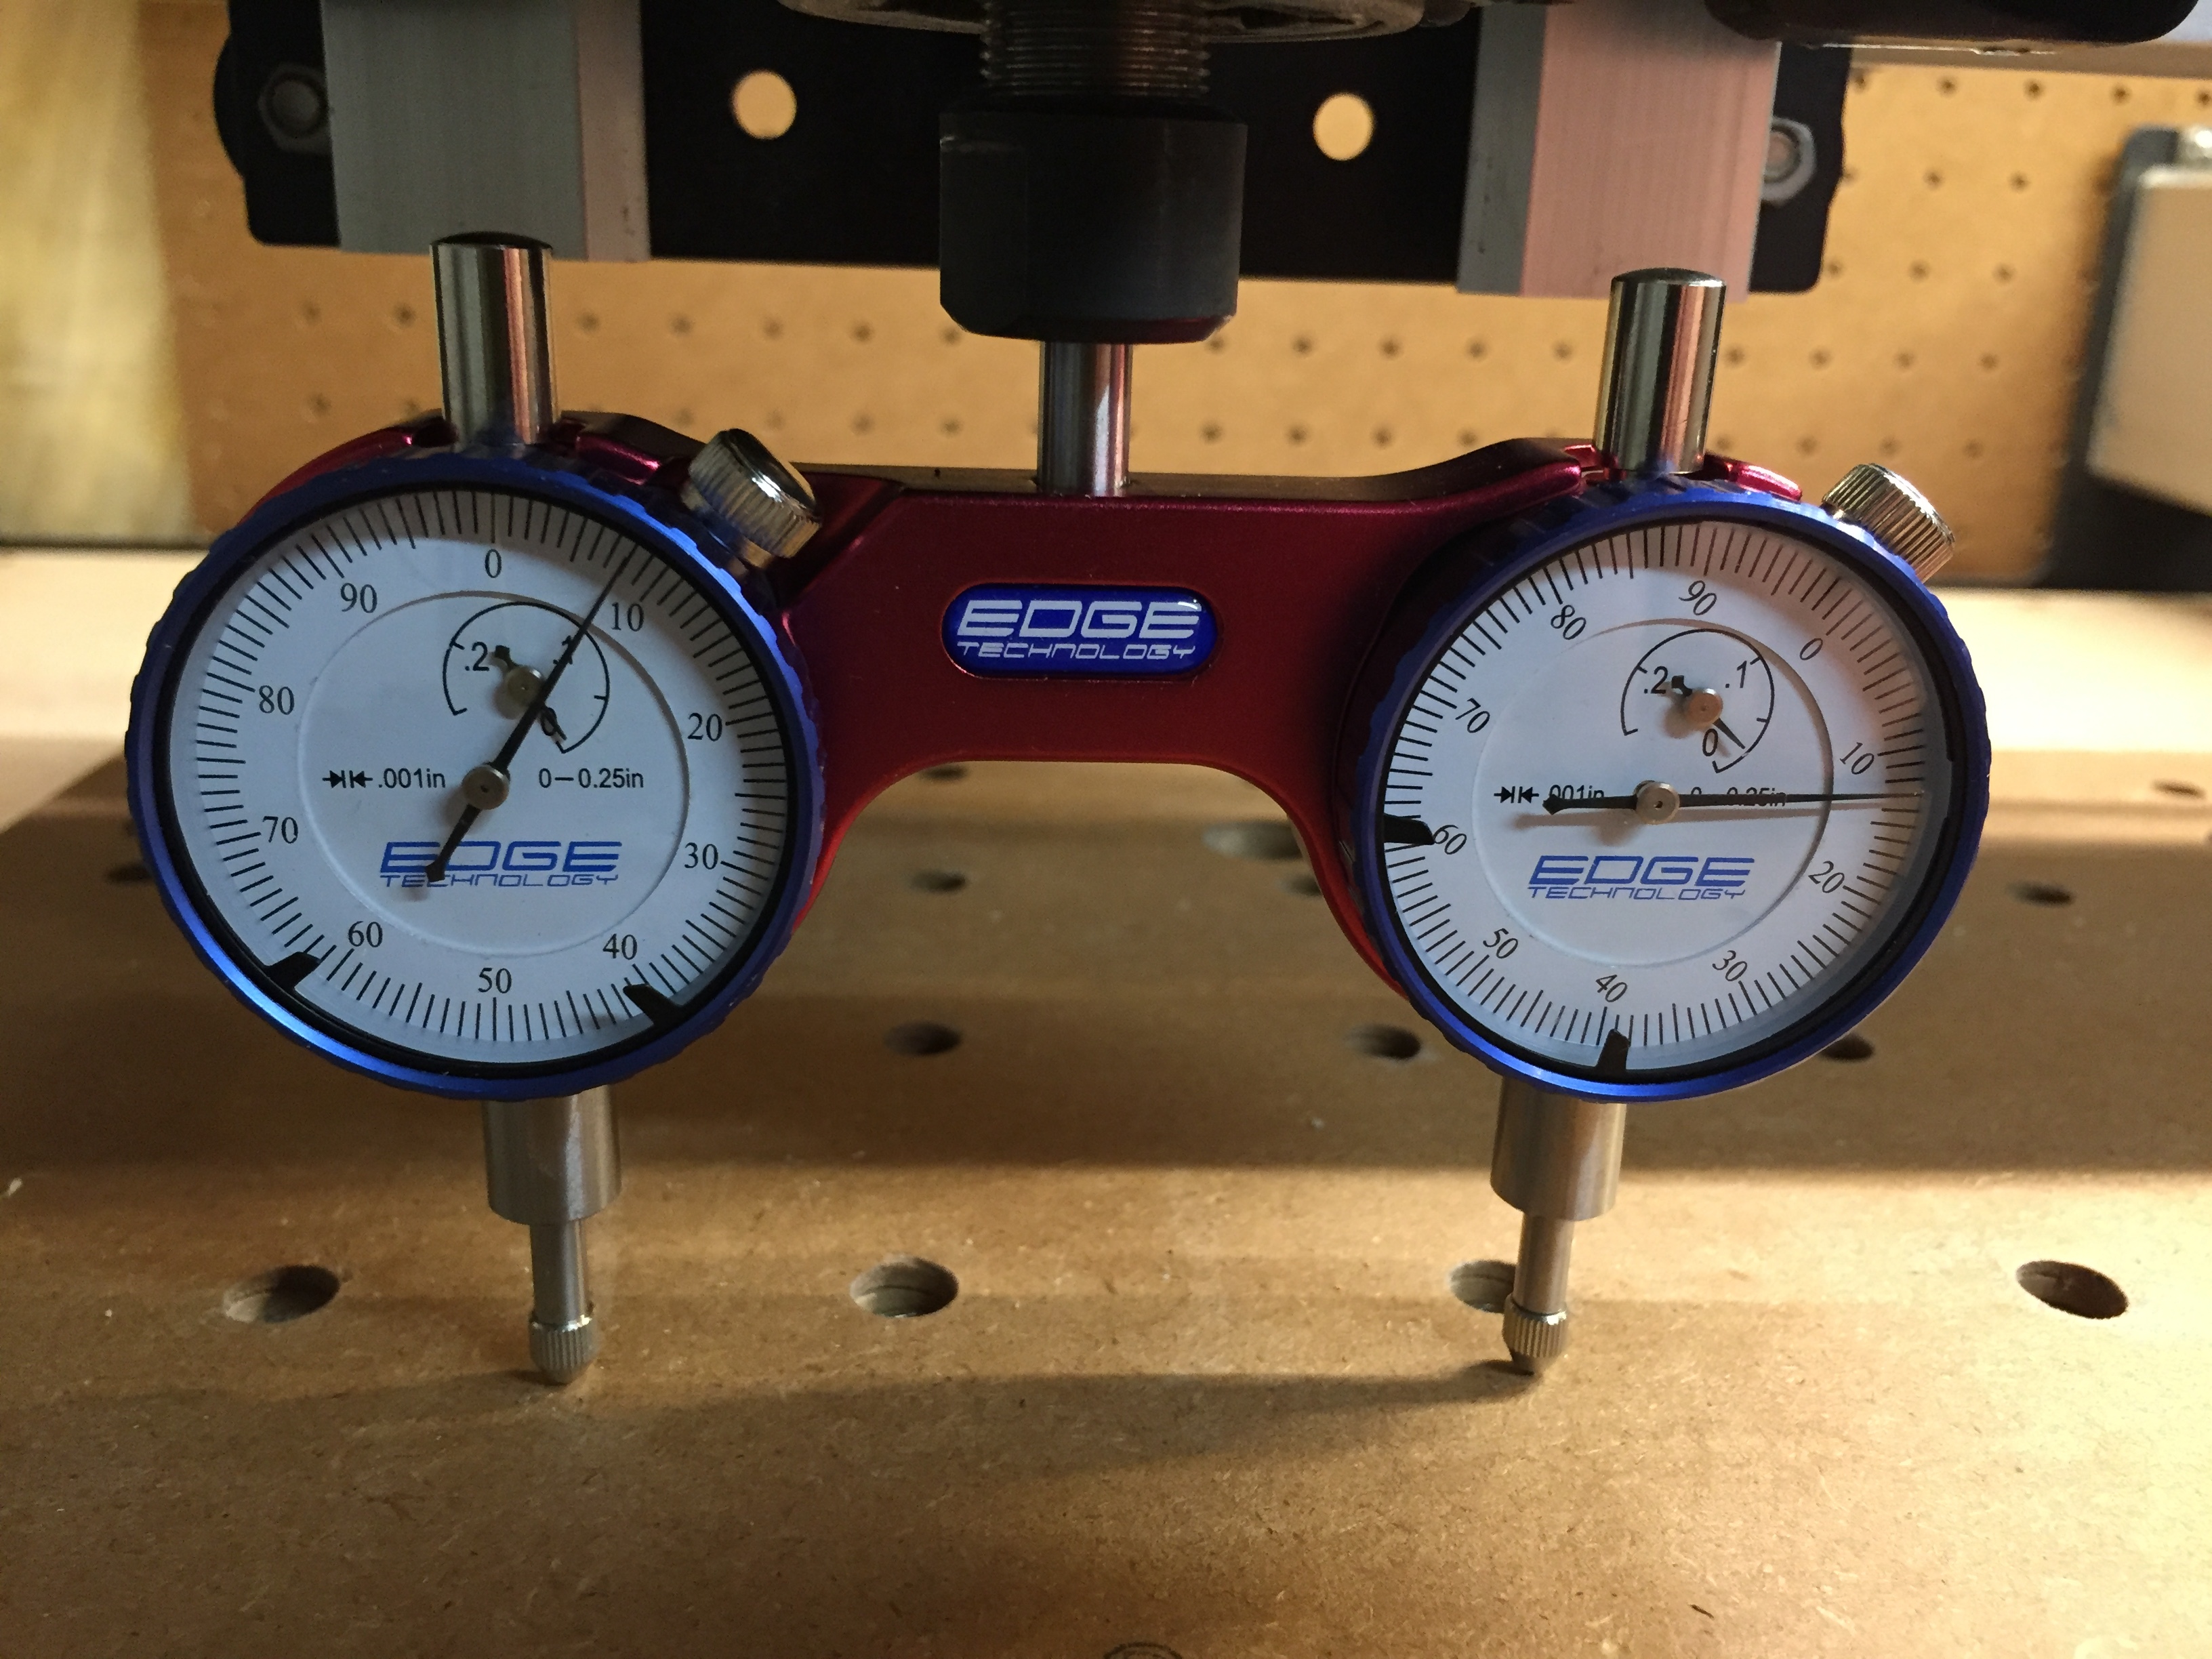
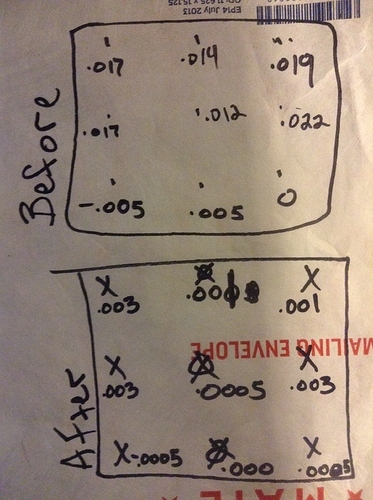
I got mine to .001 across the entire bed in all directions after getting it as close as could in the span of the instruments and then resurfacing the wasteboard. It took me both to get it all dialed in. It is nice to see when you shine a light across your wasteboard and see not a single line in X and Y directions.
If you’re using a wood(like) wasteboard, wouldn’t a change in humidity and temperature affect this kind of measurement? It seems it could be different day to day depending. I know I’ve cut some stuff one day in wood and have it be a tight fit and then tomorrow it’s loose because the new cut edges have had time to get acclimated. Wood, I suspect even particle board, isn’t going to expand/contract equally across the face of the board so wouldn’t it also depend on where you locate the gauges, too? Fake wood is more dimensionally stable, they say, but still we all know what happens when you get a drop of water on it. Chasing a thou isn’t in my genes especially since I work in wood and I read Zen and the Art of Motorcycle Maintenance many years ago.
My guess is the amount it’s out of square isn’t enough to cause the ridges I was seeing, but I’ll at least scrape the powder coating off the frame to lower the high side and raise the low side and see how close that gets me. I think the solution to my original issue is going to involve more ‘technique’ solutions.
So did I “Seldom do members of ones family grow up under the same roof”
That’s Awesome stuff. Thanks for the memories.
After putting my XXl on a solid surface, off the feet.
Resufaced, then rechecked.
I am pleased to say, that the entire floor is within .003" all over.
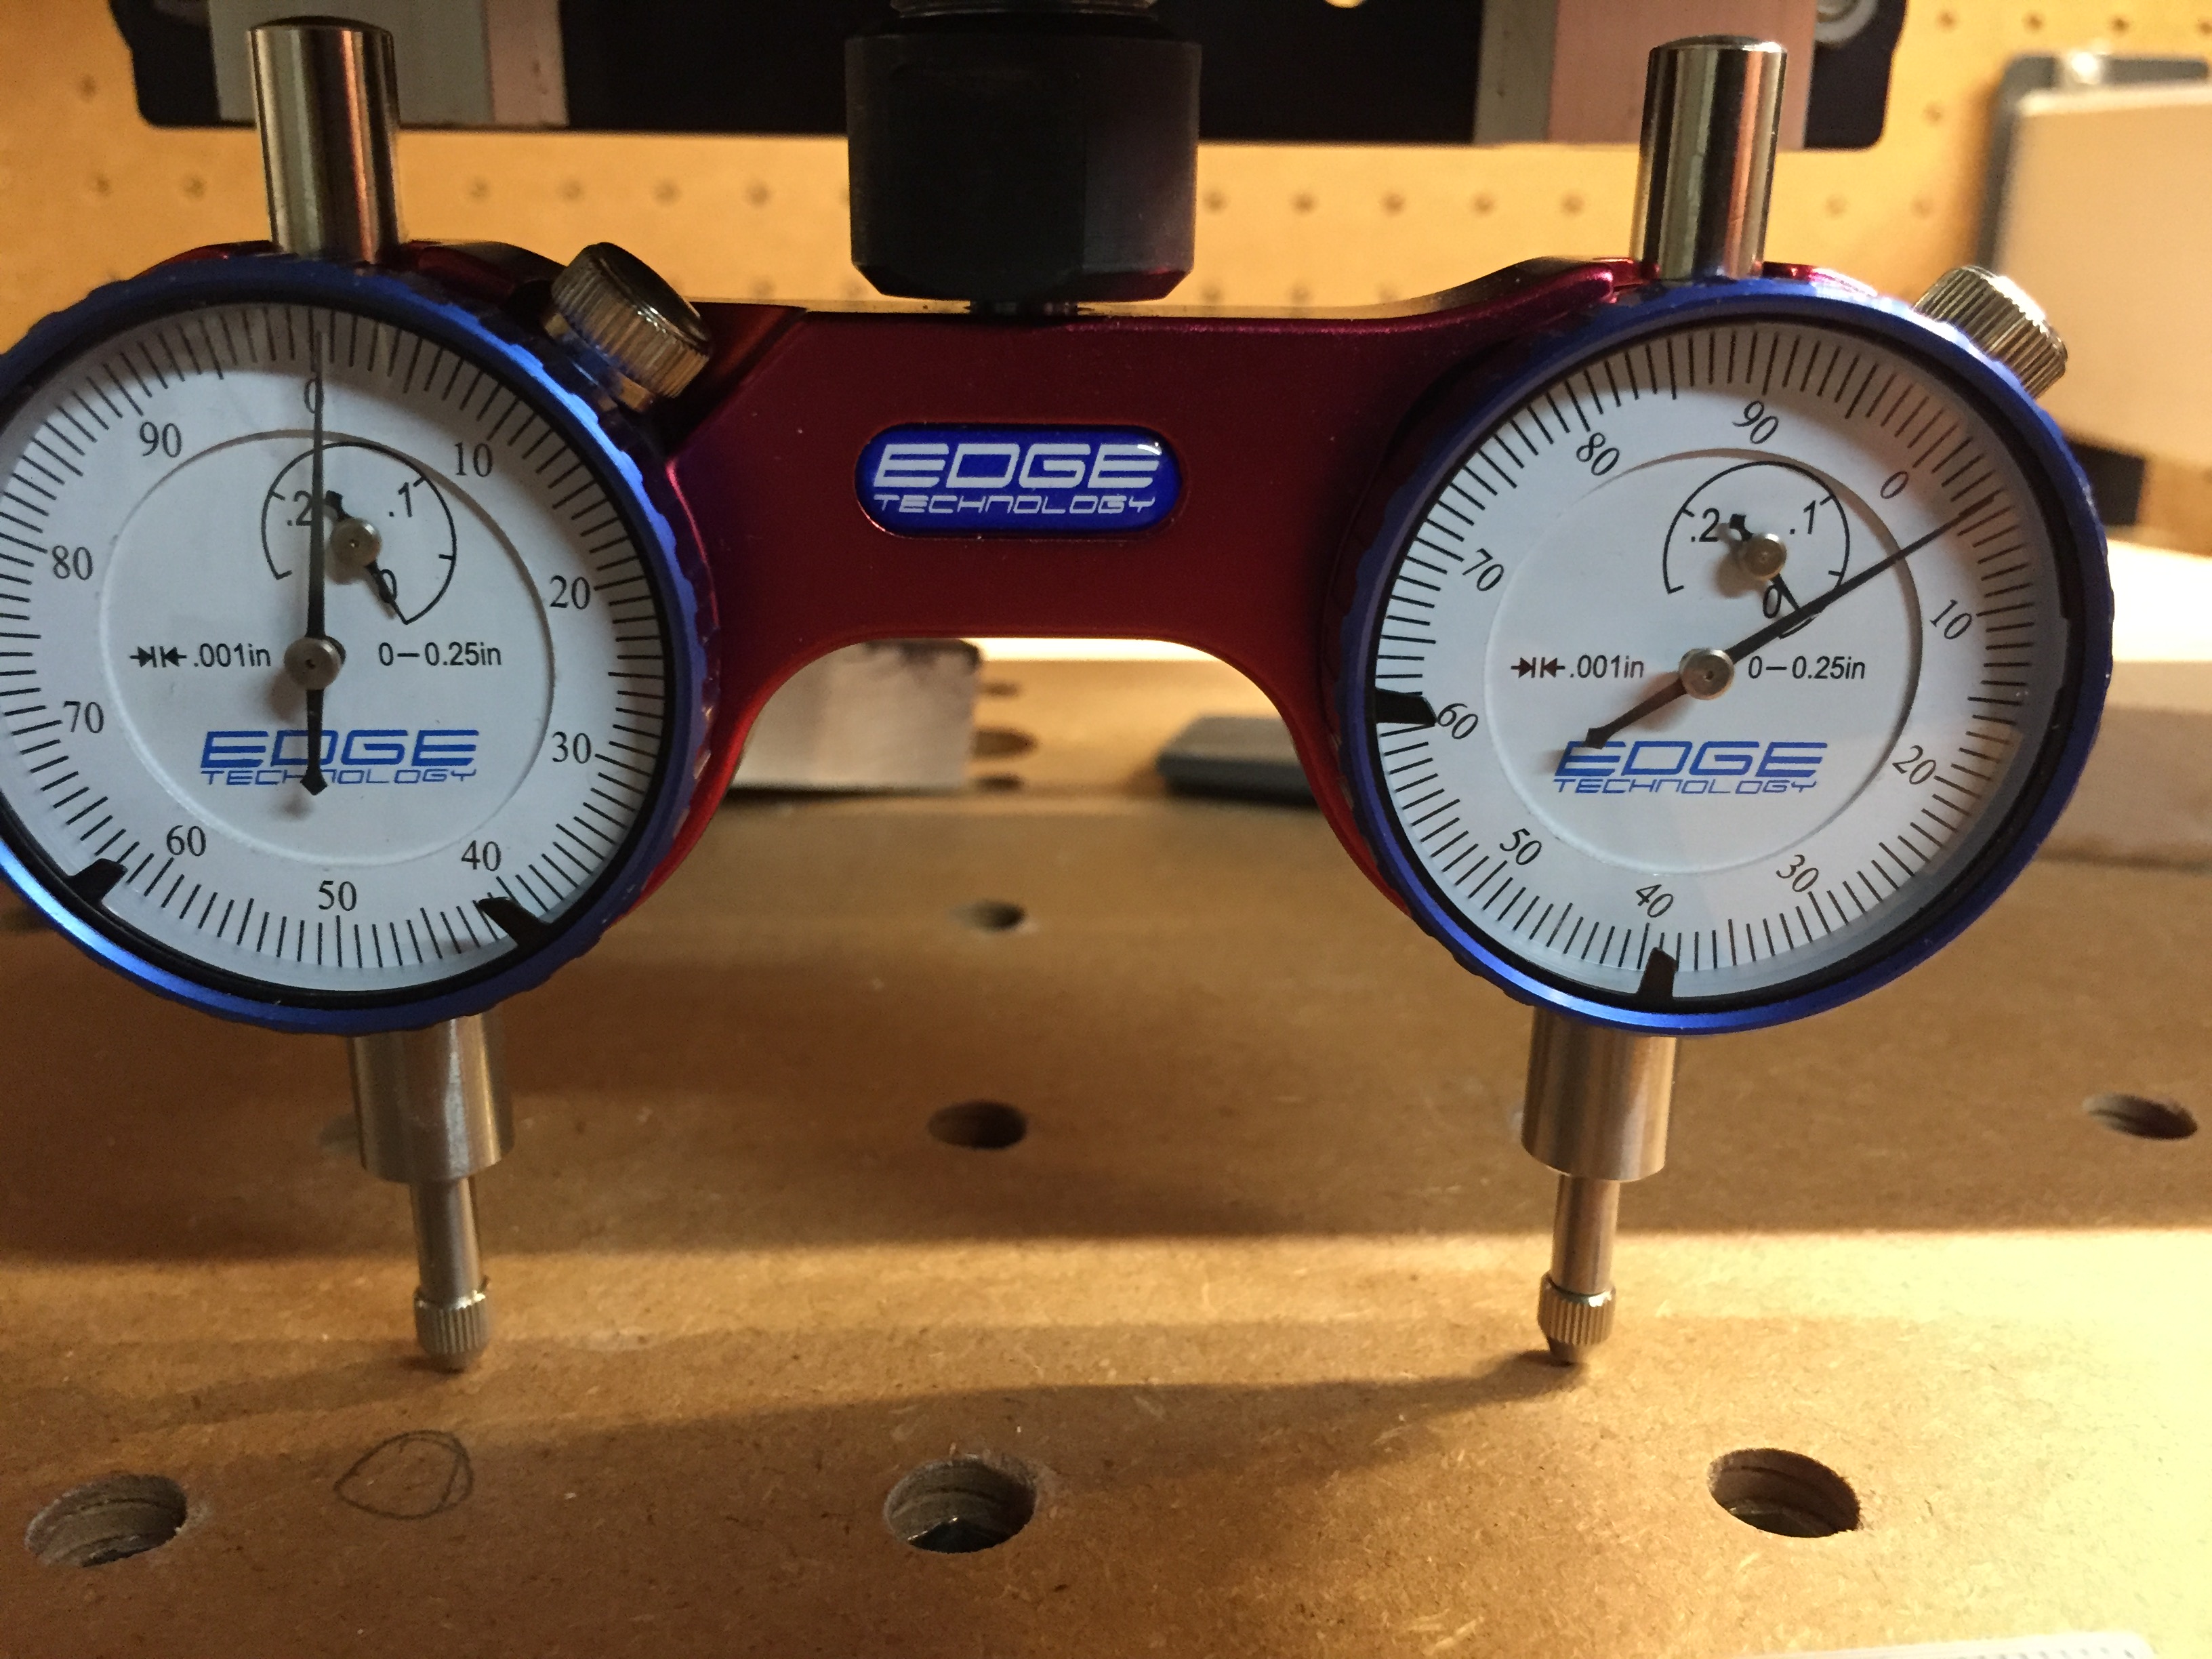
Now trammed, thats something els I have some slight scalloping, but nothing I cant live with.
If it was .003" off in a 3" span, then it would be off .031" From one side to the other, if it was consistant. Not quite the same as tramming, tho, and it wont be 100% consistant.
It did start off .02" from front to middle.
Was able to get the machine apart today. Used a dremel to elongate the holes on the side that was low, then did my best to hold it square while I tightened it down. Didn’t get a huge improvement across the X axis but improved the Y axis.
I also paid for a year subscription to GWizard, more or less the advice from that is cut the DOC drastically and speed up the RPMs and feedrate. I’ll be making another hexagonal box tomorrow to try it out.
I use the Gwizard all the time, now
It gets me running much faster than I would on my own.
I couldn’t remember if you have the XL,XXL, or original Shapeoko, but I keep the settings for the XXL at 45%. That seems to be about the max.
I imagine the smaller you get (Shapeoko), the closer to the default settings at 100% you could use.
I use Precise Bit’s info for Depth Of Cut reference:, tho honestly I cut them in half, myself.
Plunge Depth (Z)
Softwoods like pine or fir (Janka < 1,000): Z = 2 x D
Hardwoods like birch, cherry, maple or rosewood (1,000 < Janka < 2,500): Z = 1 x D
Extreme hardwoods like ebony and ipe (2,500 < Janka < 5,00): Z = 0.5 x D
Composites like G10, paper phenolic or carbon fiber: Z = 1 x D
Thermoplastics like PVC, ABS, acrylic or polycarbonate: Z = 1 x D
I have the regular S3. Interestingly my cuts have been in hardwoods including maple with a .1" DOC and I’ve had major issues, but it could be in part because I’m cutting slots so the bit is fully engaged with the material. GWizard suggests in those circumstances a DOC of .03" or thereabouts.