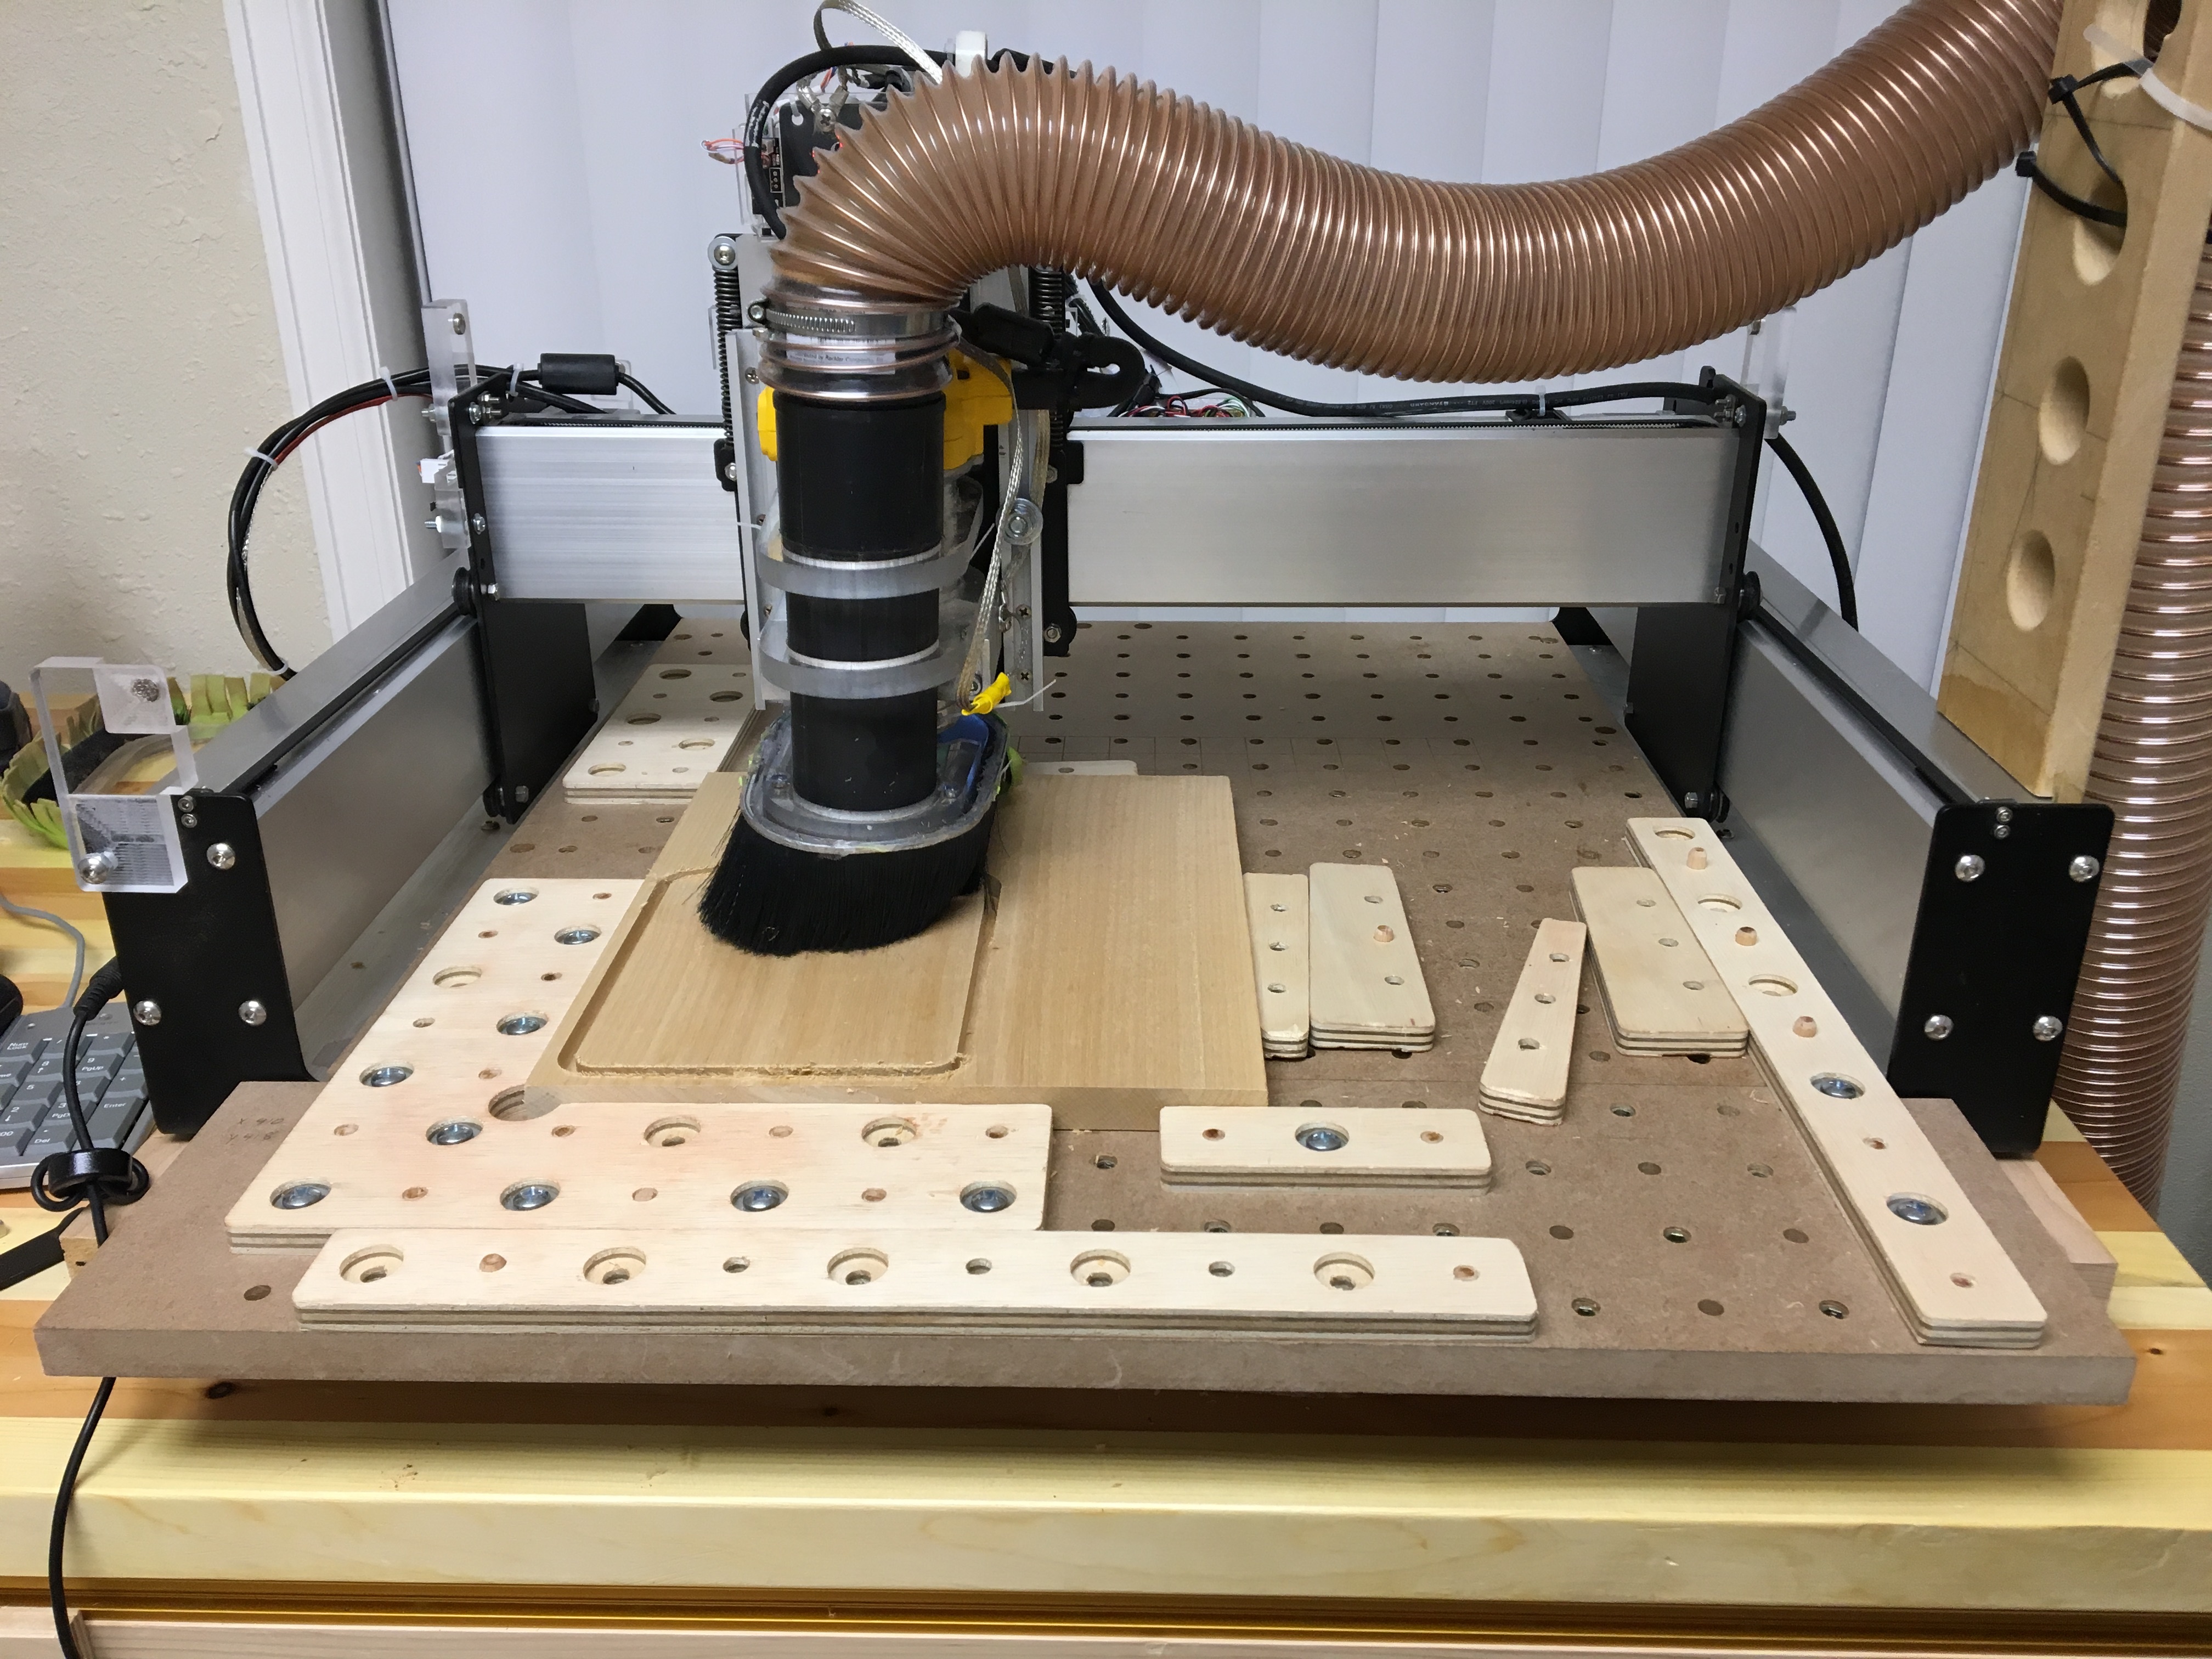
For spacing, I used various widths of PVC “lumber” which I use as a spoilboard — this is always a bit tricky — you want the smallest spacing to be equal to
smallest stock size + reach of smallest clamp
and the whole origin thing is a pain — front left corner would make the most sense, but it offends my sense of symmetry, and I find a centered arrangement convenient for some projects, and can usually work up workholding to as not to double any error from flipping things.
Phi appeals to my aesthetic sense, but didn’t work out as well as I’d hoped when I did a radial arrangement of threaded inserts: Shapeoko CNC Router, Rigid, Accurate, Reliable, and Affordable — that said, the PVC resulted in something pretty like to it.
I used MDF for a spacerboard — plywood, even Baltic Birch as a bit too much variability, just seal it, or accept that you’ll want to surface or use some scrap for a fixture before any project (I usually use a chunk of MDF: Shapeoko CNC Router, Rigid, Accurate, Reliable, and Affordable )
+1 on the SuckIt dust boot. I have (3) 48" T-Tracks for my XXL and I am still consternating over how I’ll use them (i.e. cut-size and spacing). In the meantime I’ve finally created a small surfaced board from 3/4" MDF with underside 1/4-20 T-nuts. I have bolted the surfaced board to my stock Shapeoko wasteboard which has 1/4-20 threaded inserts.
@stutaylo has a thread showing his track arrangement which has inspired me to consider a layout in the horizontal realm:
There are many examples of vertical spacing too as all the folks who have posted here have implemented and shared . At some point I’ll commit.
It’s all about the journey, and I’ve enjoyed it immensely…
It’s in the “Upgrades 1.x” series of posts, I think he gets to the part about the t-tracks at 1.4.
For me, I started with t-track, and later moved to a grid of holes in my CNC bed, because clamp posts sticking up from the t-track became a pain to plan safe z-heights around. For me, I decided screwing bolts down into the table farther (and taking more time to do so) was easier than worrying about posts sticking up higher than my clamps.
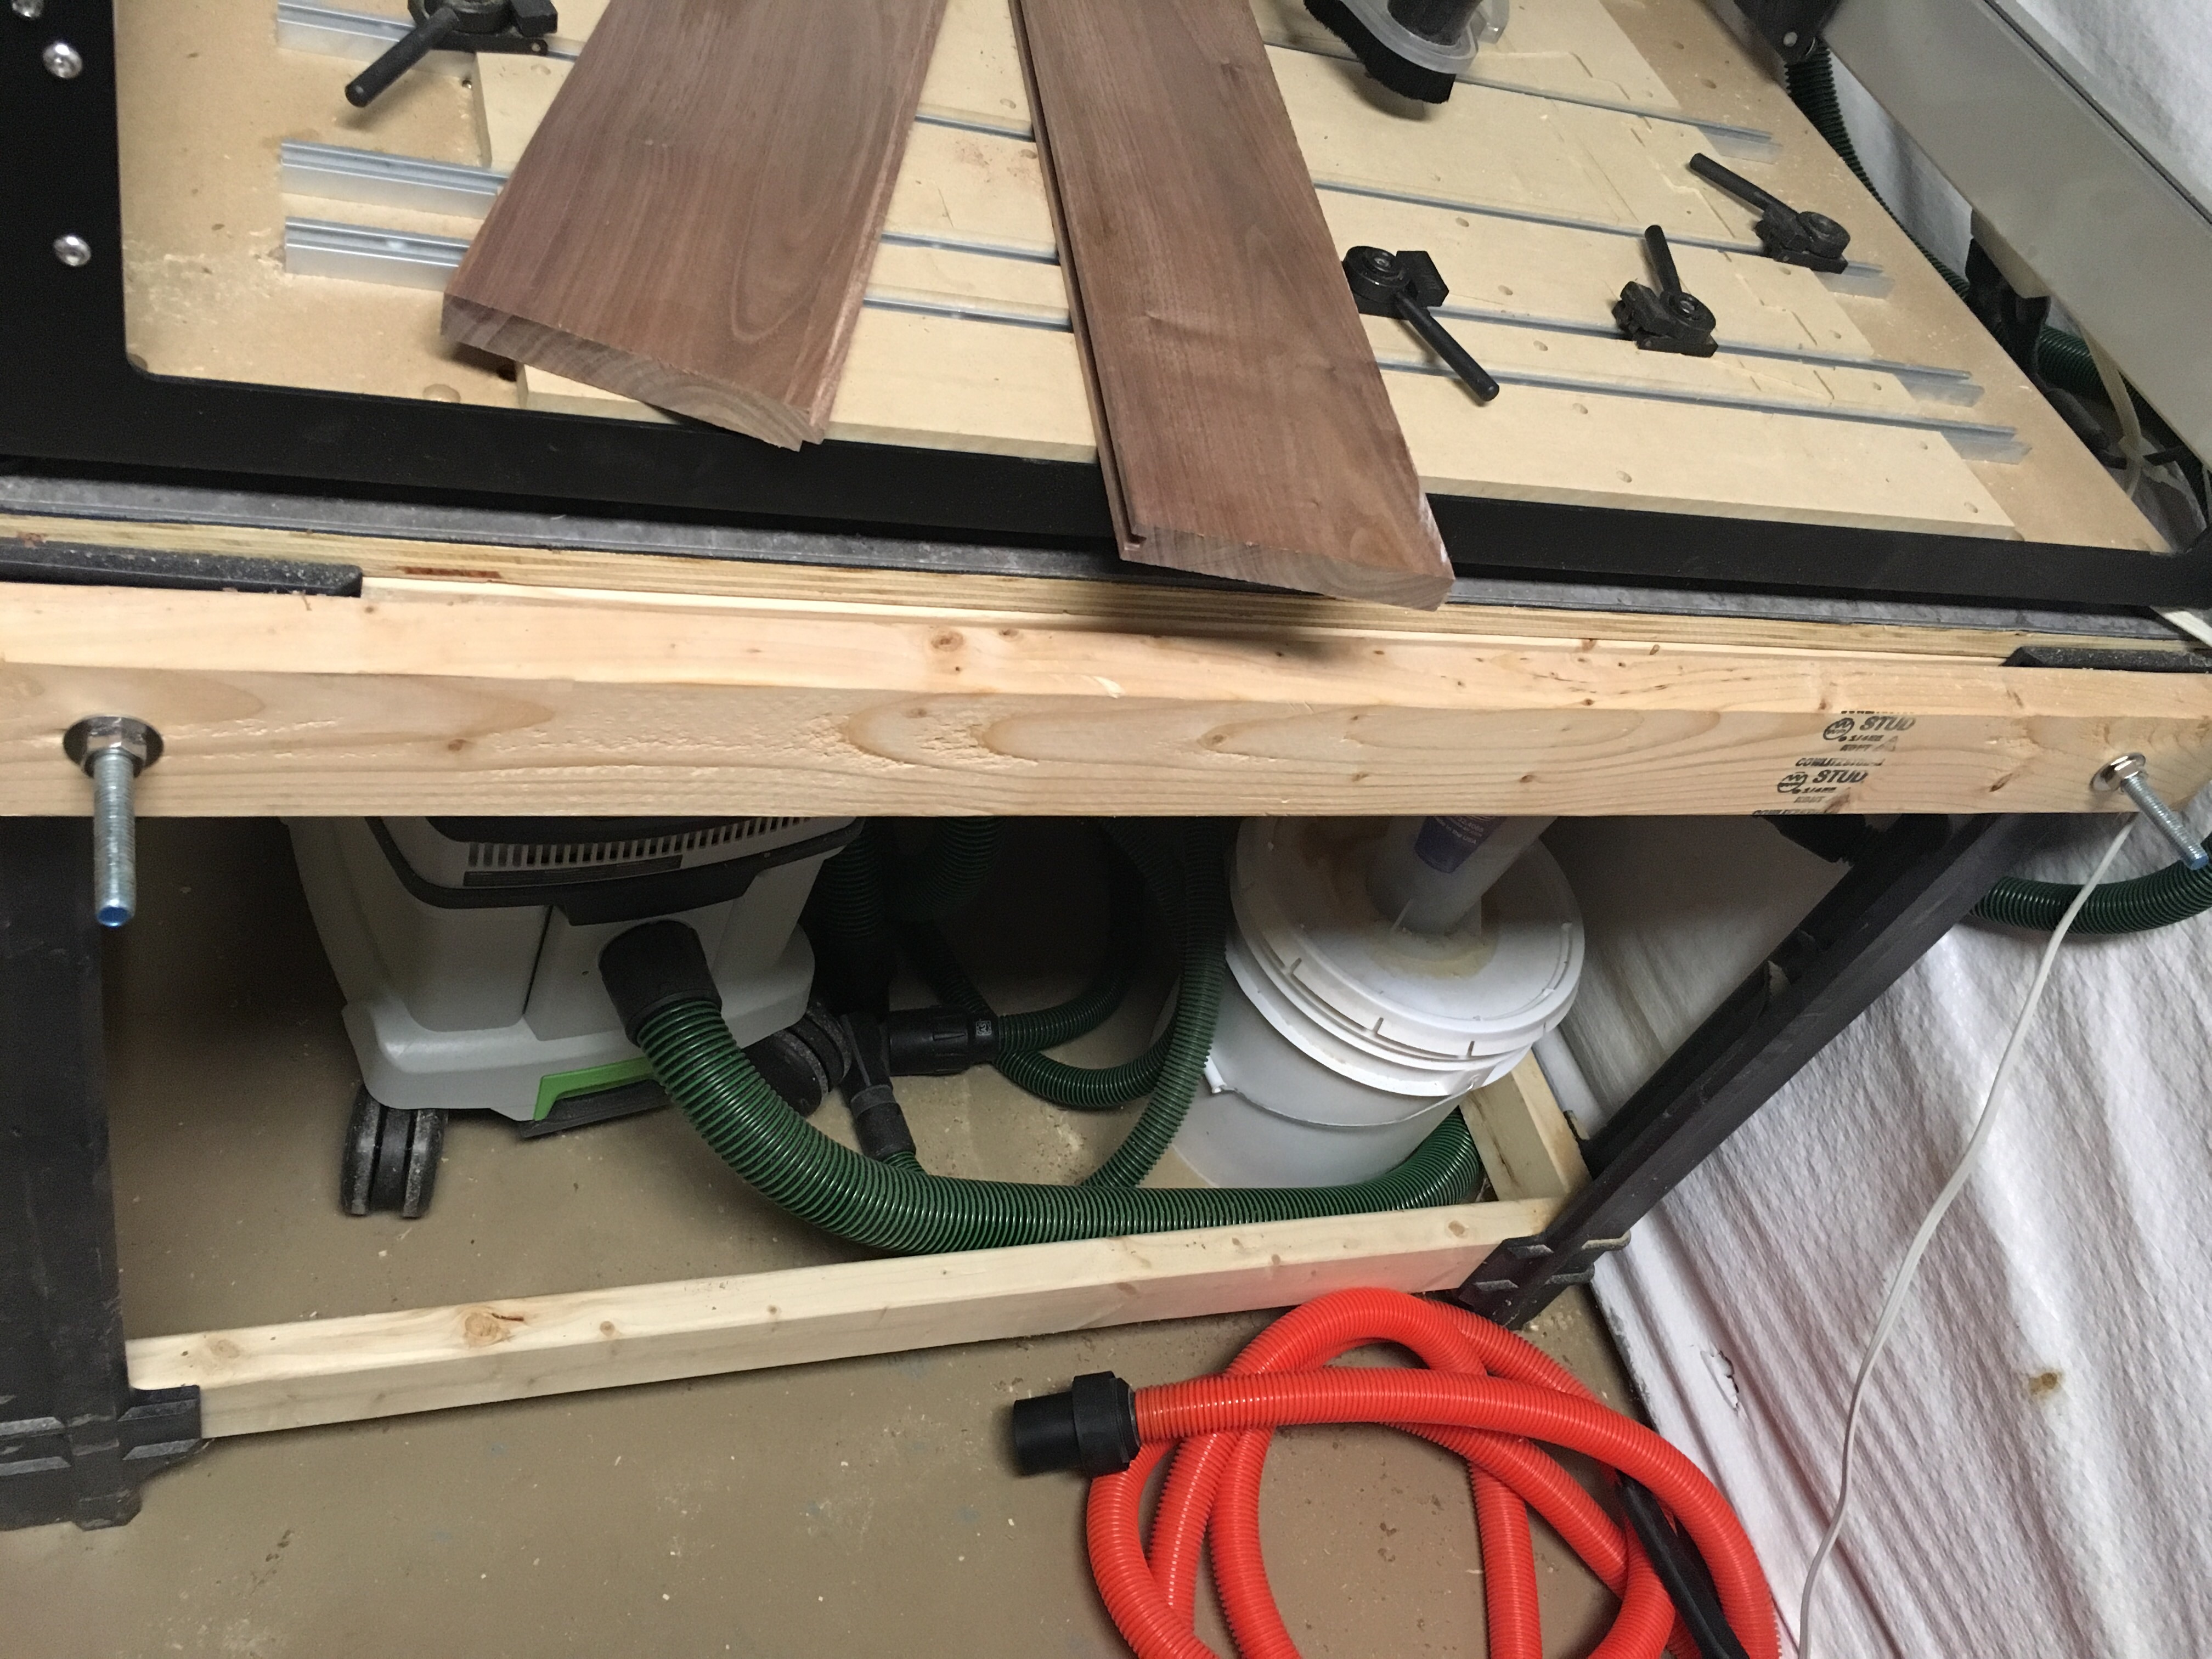
I also have a Suck-It dust boot, and give it a thumbs up. It’s not perfect, but it’s the closest I’ve seen and well worth the price.
I was also thinking of upgrading to T-track so all this info is nice. Thanks! In terms of the Suckit Dust Boot… I have a Suckit on both my machines. I highly recommend it! I won’t use my machines without it.
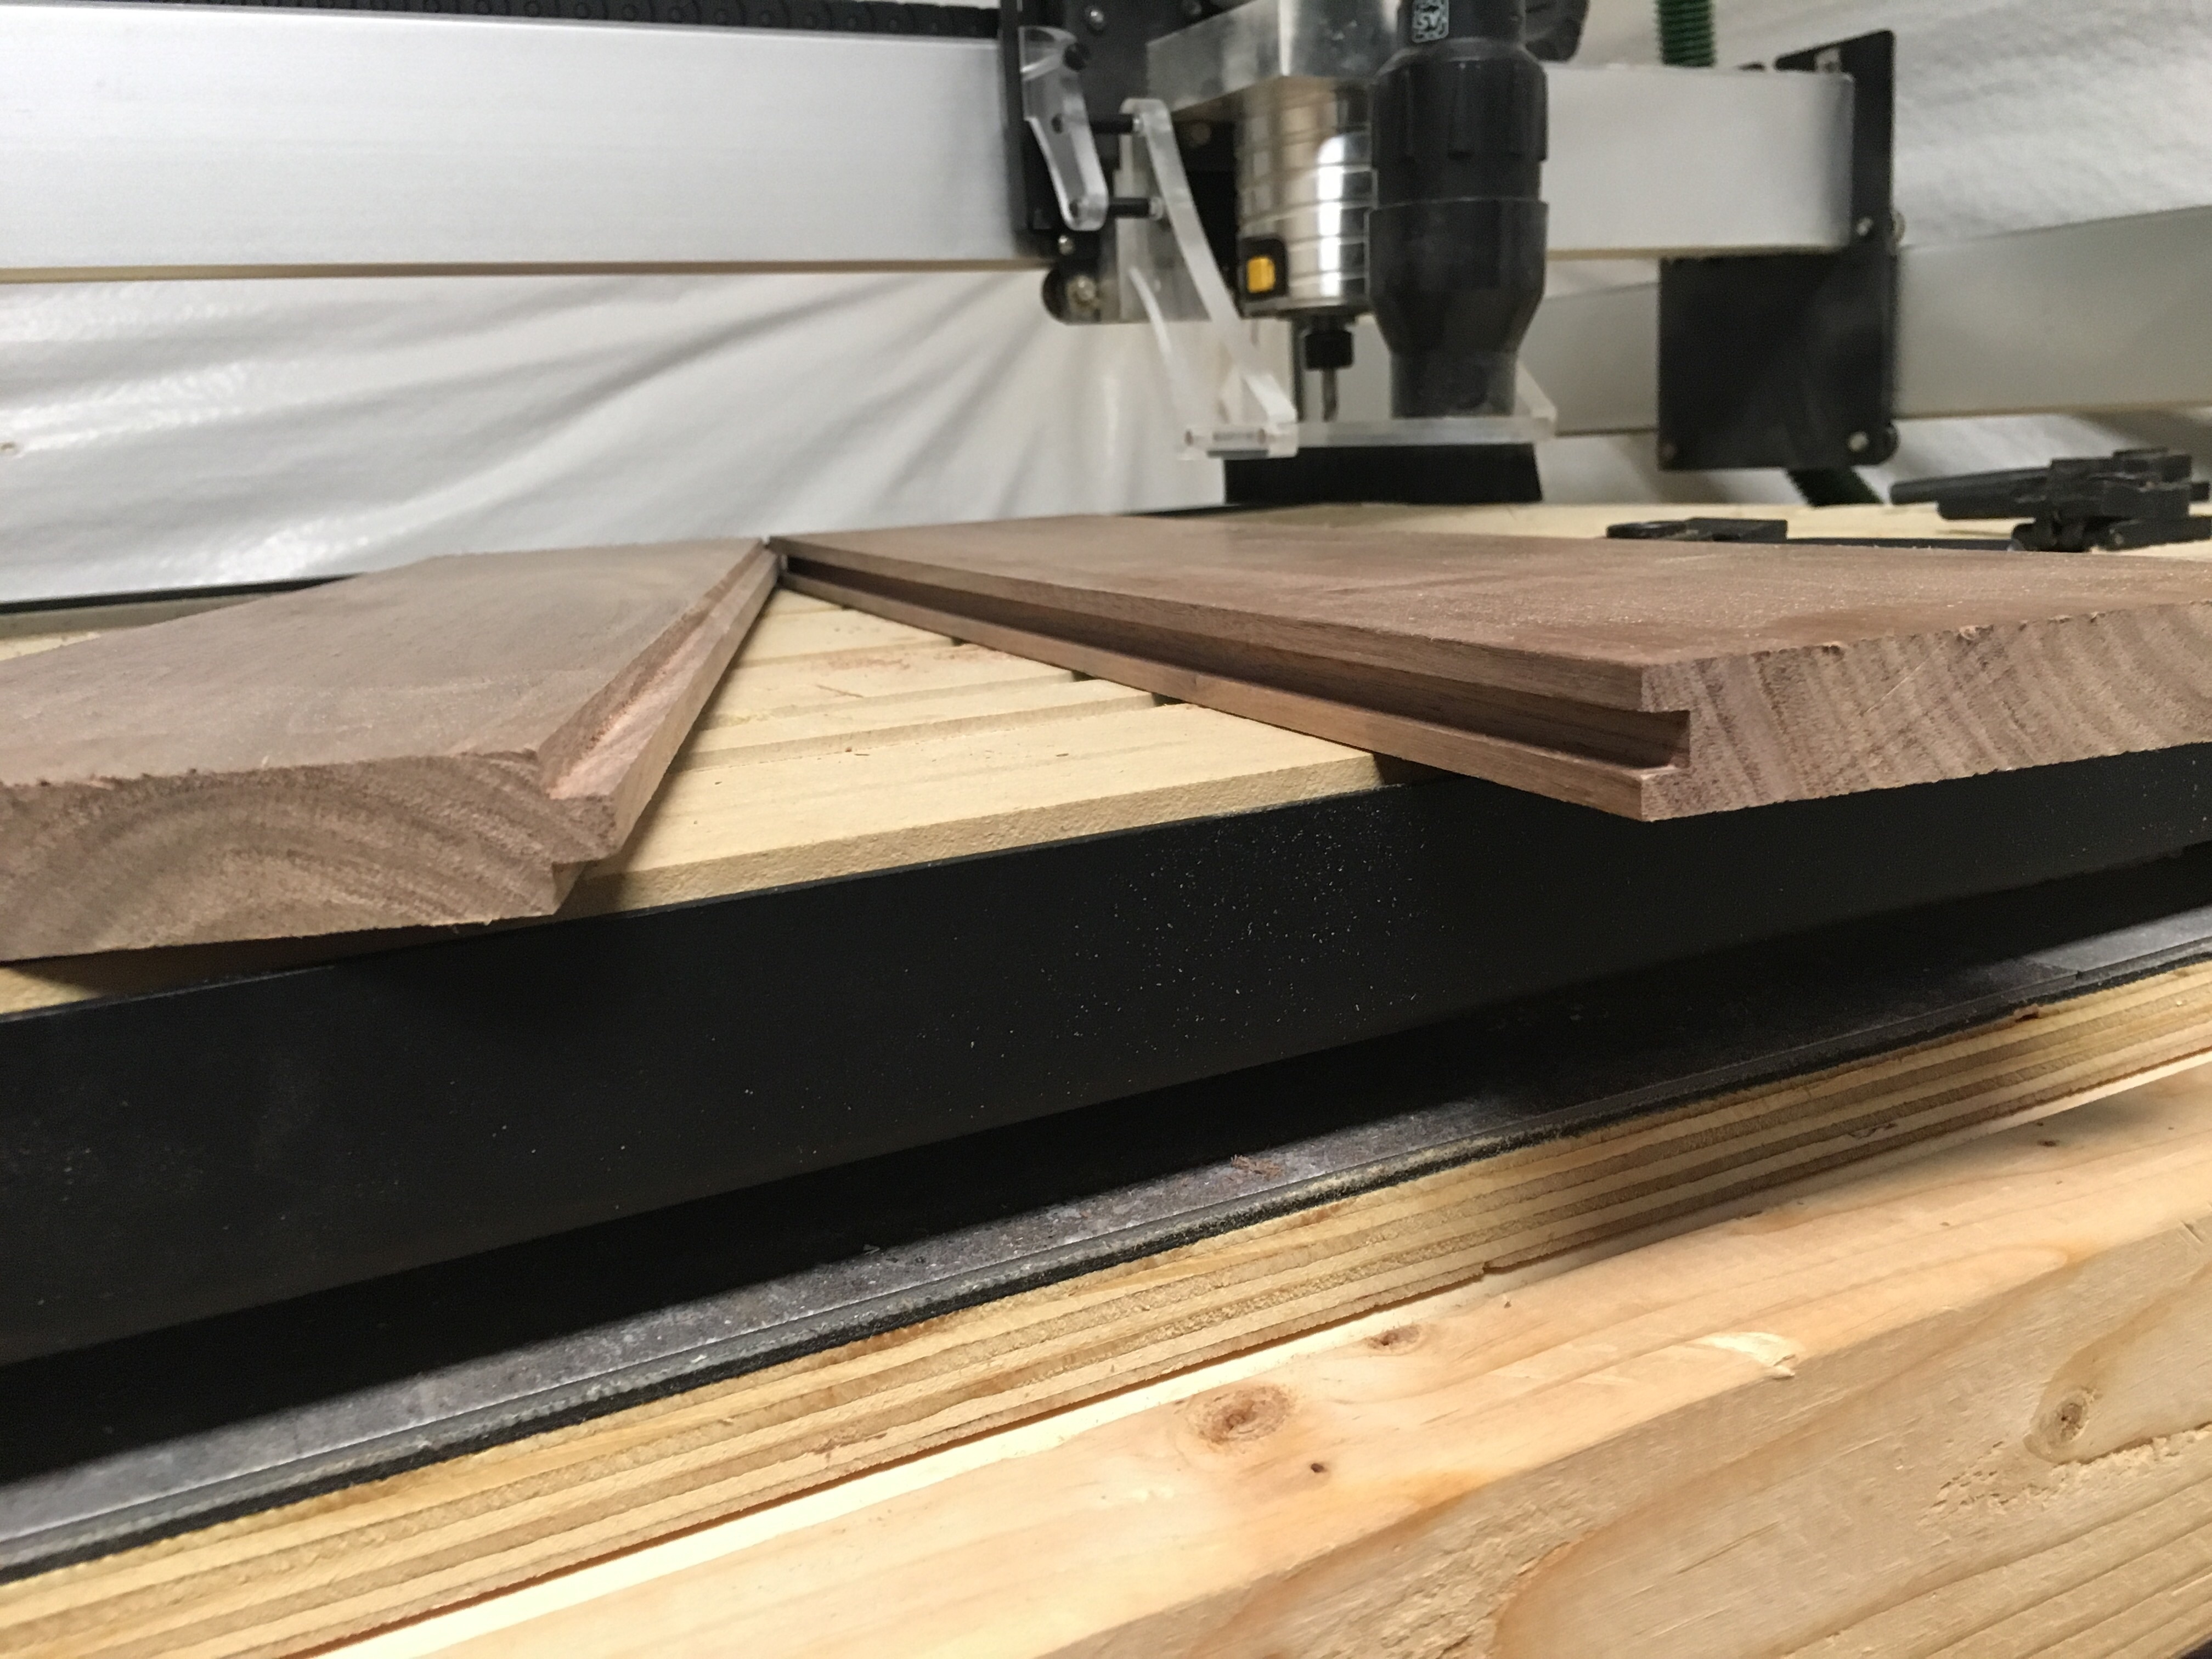
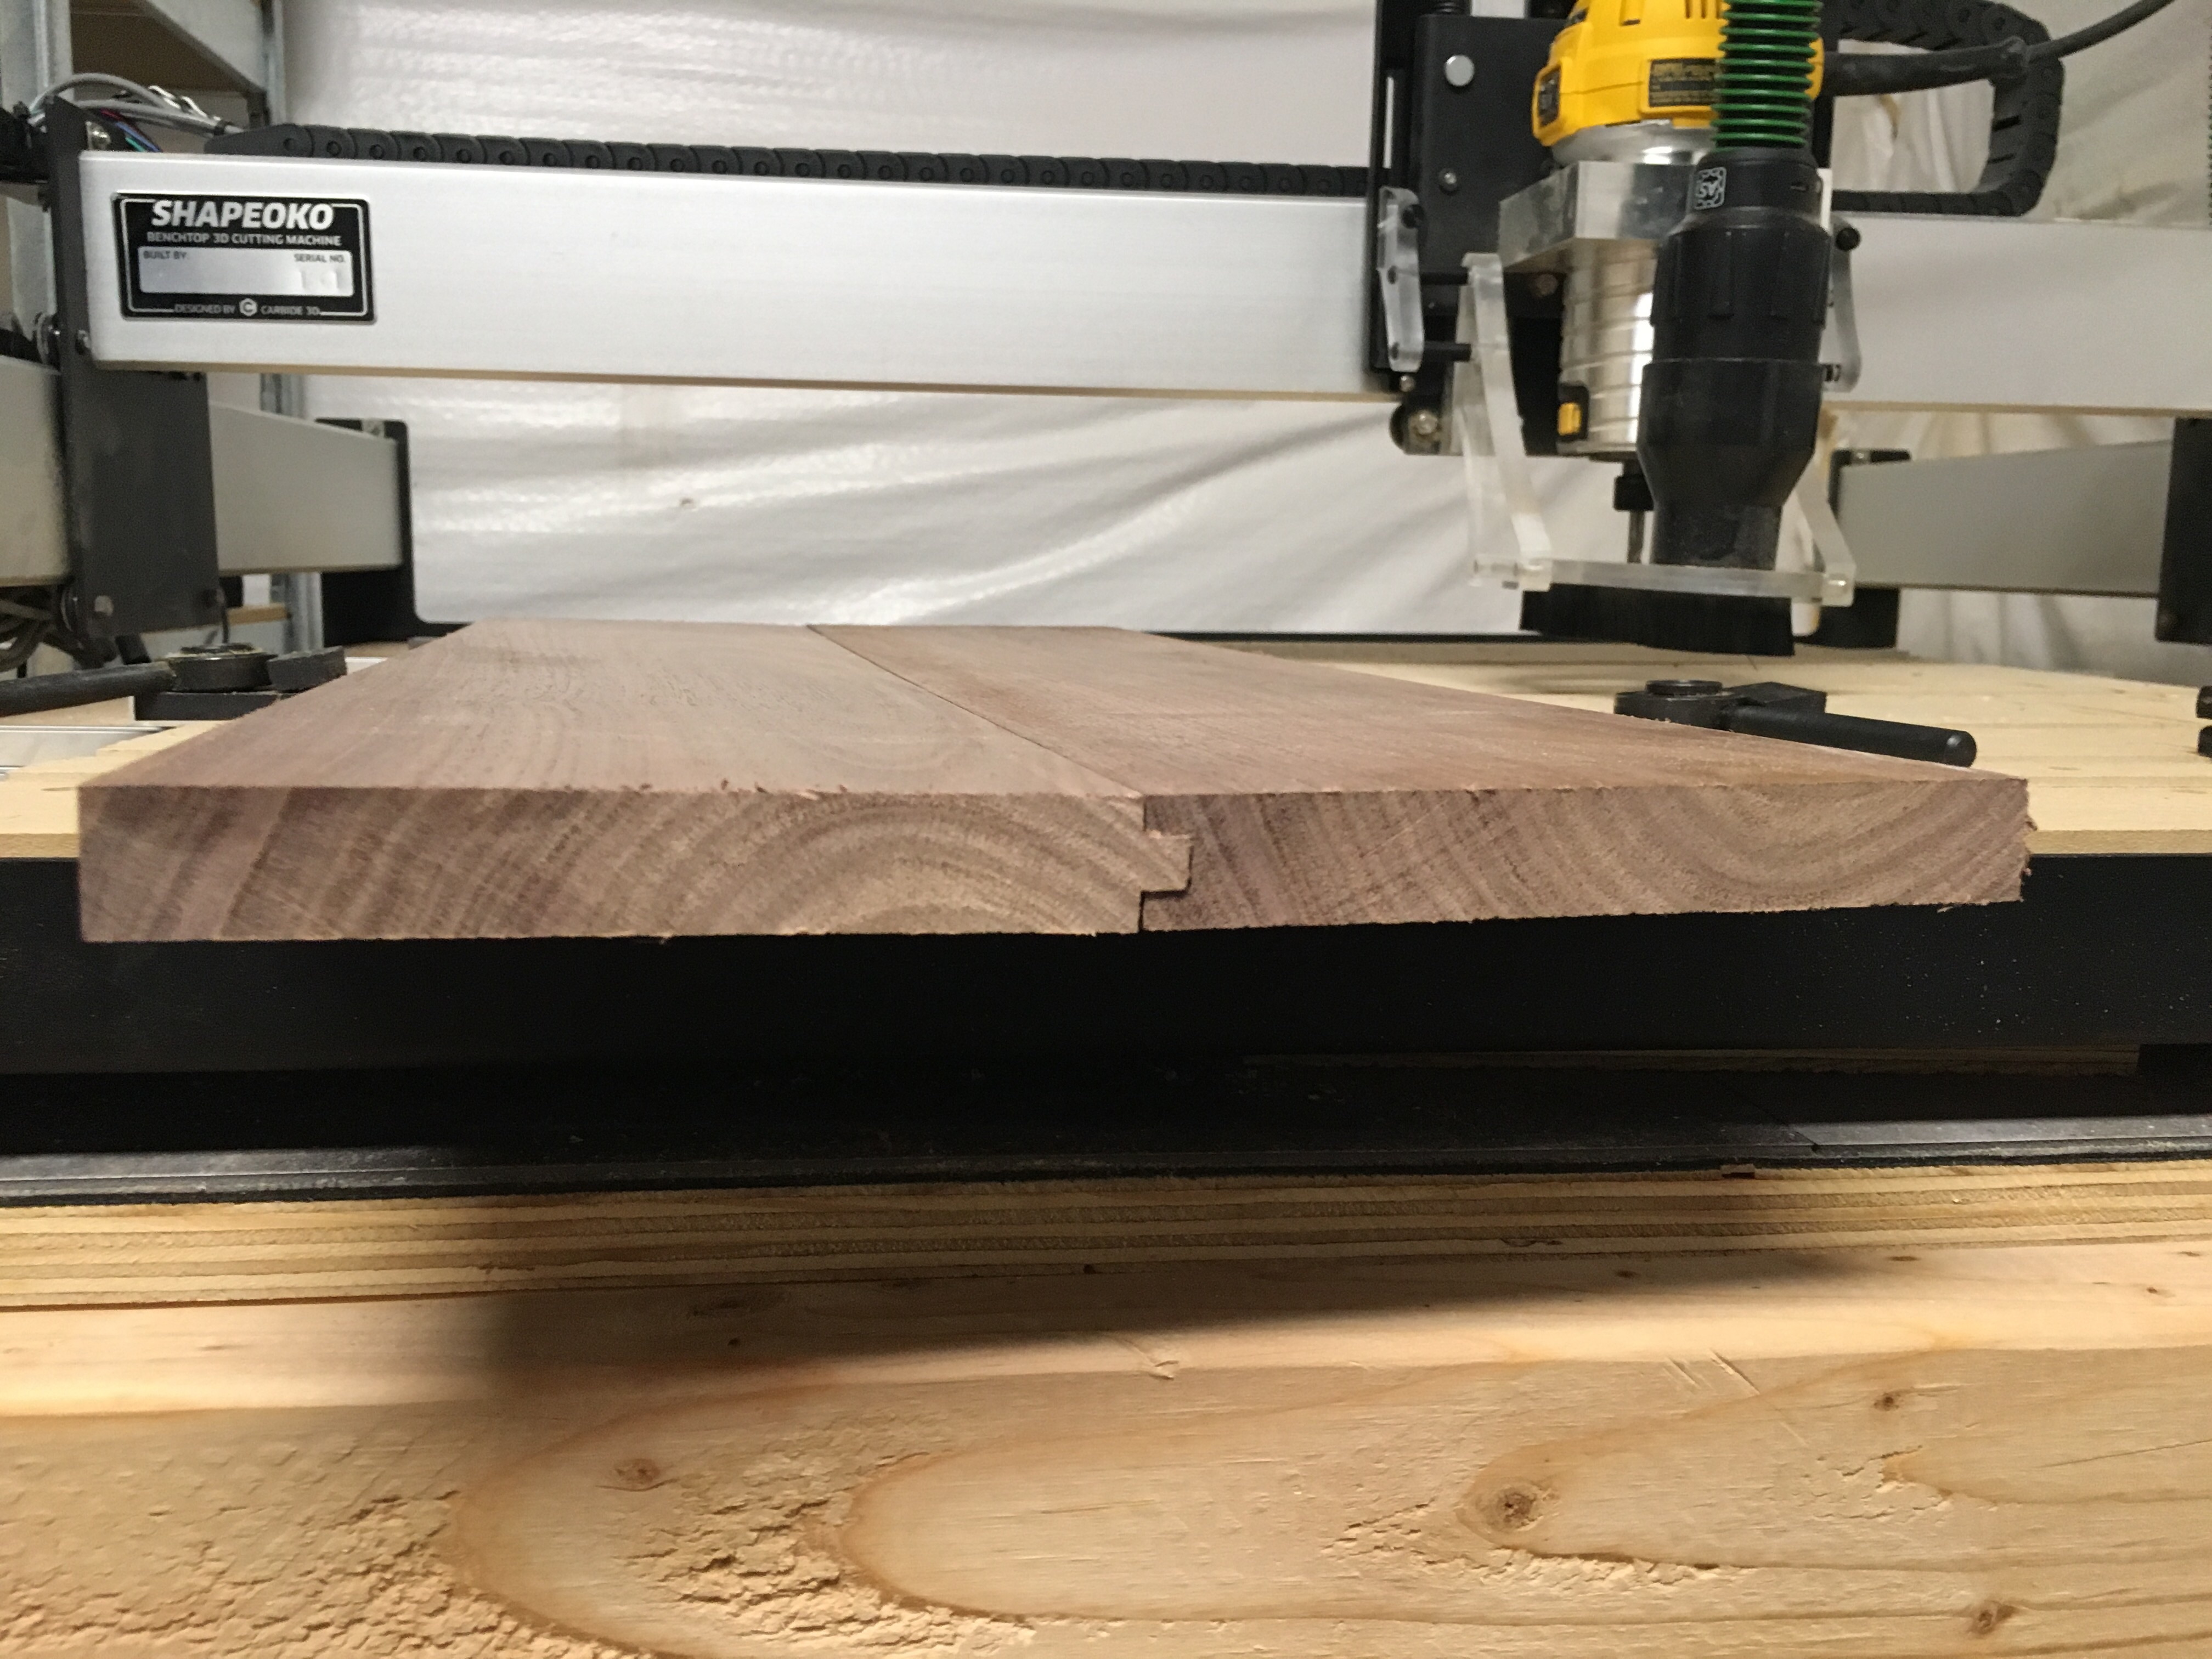
My current XXL setup is 3/4 MDF panels of increasing-ish width (2.5", 1", 3", 6", 10" and 10" or something like that – those aren’t the actual numbers but I don’t have actuals handy) arranged horizontally with t-track in between panels. The t-track tops are about .2" below the top of the MDF. MDF and t-track screwed to factory wasteboard.
Other tricks:
I use cam clamps for most workholding. Very low profile, no dust boot trouble.
The MDF spoilboard does not cover the entire factory wasteboard. I deliberately made it small enough in every dimension so that the machine can surface the entire spoilboard flat.
Note the 2x4 improvised clamp on the front. The spindle goes out past the front edge of the machine a few inches. This allows me to mill the edges of stock up to 3 plus feet in length and/or width.
I started out using T-track, since I was familiar with it doing traditional woodworking.
After about 6 months I switched to a system if 1/4" threaded inserts and 8mm dowels which works outstanding. It has fences, wedges, and you can make cam clamps. Originally designed for shopbot, I modified the proportions to work on the SO3.
I won’t go back to T-track for workholding on the CNC.
Referenced fences, WCS for different setups, and repeatable setups, once you get used to it, It’s hard to go back.
Craig: I’d love to see your steps for setting and using WCS for your repeatable setups. I was doing some cuts this weekend and it would have come in handy to have WCS set up. I have multiple identical pieces to cut, each requiring a tool change. I understand the premise of WCS, but I have not grasped how to set up 2 work locations and how to switch between work location 1 and 2 during the workflow.
Can you tell me more why you left the T-track route? I already made the purchase to do this but would love to understand the reasoning behind going to a different route. T-tracks make sense to my newbie brain…
Also, does everyone use hot glue or 2 sided tape for their projects? I would love to get away from that if possible.
I have the same question as you. I currently have a threaded insert wasteboard and have noticed some flaws in that concept. I was looking into going the T-track route, so I’m curious as to why someone doesn’t like it.
I’ve used both now and see pitfalls in both. Biggest thing for me currently using T-track is the height of most of the commercially available clamps and bolts, I could definitely go lower profile when using a threaded table and tall fixtures tend to be in the way of my dust boot. I think what I may ultimately do is add threaded inserts to the slats in between my T-tracks so I can have the best of both worlds. Also looking into making my own T-track clamps that will alleviate some of the height issues I have now with my store bought clamps.
I’ll probably ultimately lean towards both these solutions as well. I’m surprised there aren’t more low-profile T-track clamps…unless I just haven’t found them yet?
My newbie-ness didn’t even know you could have some that lock from the side instead of holding down from the top. I’ll definitely look at investing in these (the rocklers look nice) once I get a few successes.
Most of what I do on the CNC is repetitive set ups or referencing off the same location of the workpiece . With T-track, it is difficult to reliably repeat setups, and I experienced fences moving with some of the forces of machining producing errors.
The hold downs were also higher profile than what I have now.
The dowels are what helps the repeatability on the wasteboard. The dowels hold the fences and wedges, screws hold the fences, but are not required. I also use hold downs, but the head of the screw only projects above the hold down, so it is lower profile than T-bolts in T-track. Low profile connector bolts are also available, but I have not had a need to change out the pan head screws for the lower profile screws. I used 8mm x 30mm fluted dowels, as that’s what I had on hand from cabinet making, and they work well for holding the fences and wedges. If I need to double side machine, I place 8mm reference holes which correlate to the offset from the fence on the wasteboard, machine the first side, then inert dowels, flip, and machine side 2.
With homing switches, you can set different WCS coordinates for common setups. I reserve G54 for manual zero, G55 for my typical reference, and G59 for the front extension added on to provide full 33x33 cutting area.
First image is prior to XXL upgrade and previous typical dust shoe design.
It is a great point about dowel holes for consistent placement of fences and stock. I guess I don’t run into that much because my projects are mostly one-offs, and I use the Triquetra touch probe to locate the corner of the stock and set XYZ each tool change – if I even need better accuracy than the old eyeball version 1.0. I don’t really use Shapeoko as a precision machine the way many others do – I have the much less fussy Nomad for that.
As usual it really depends on your particular project needs/wants.
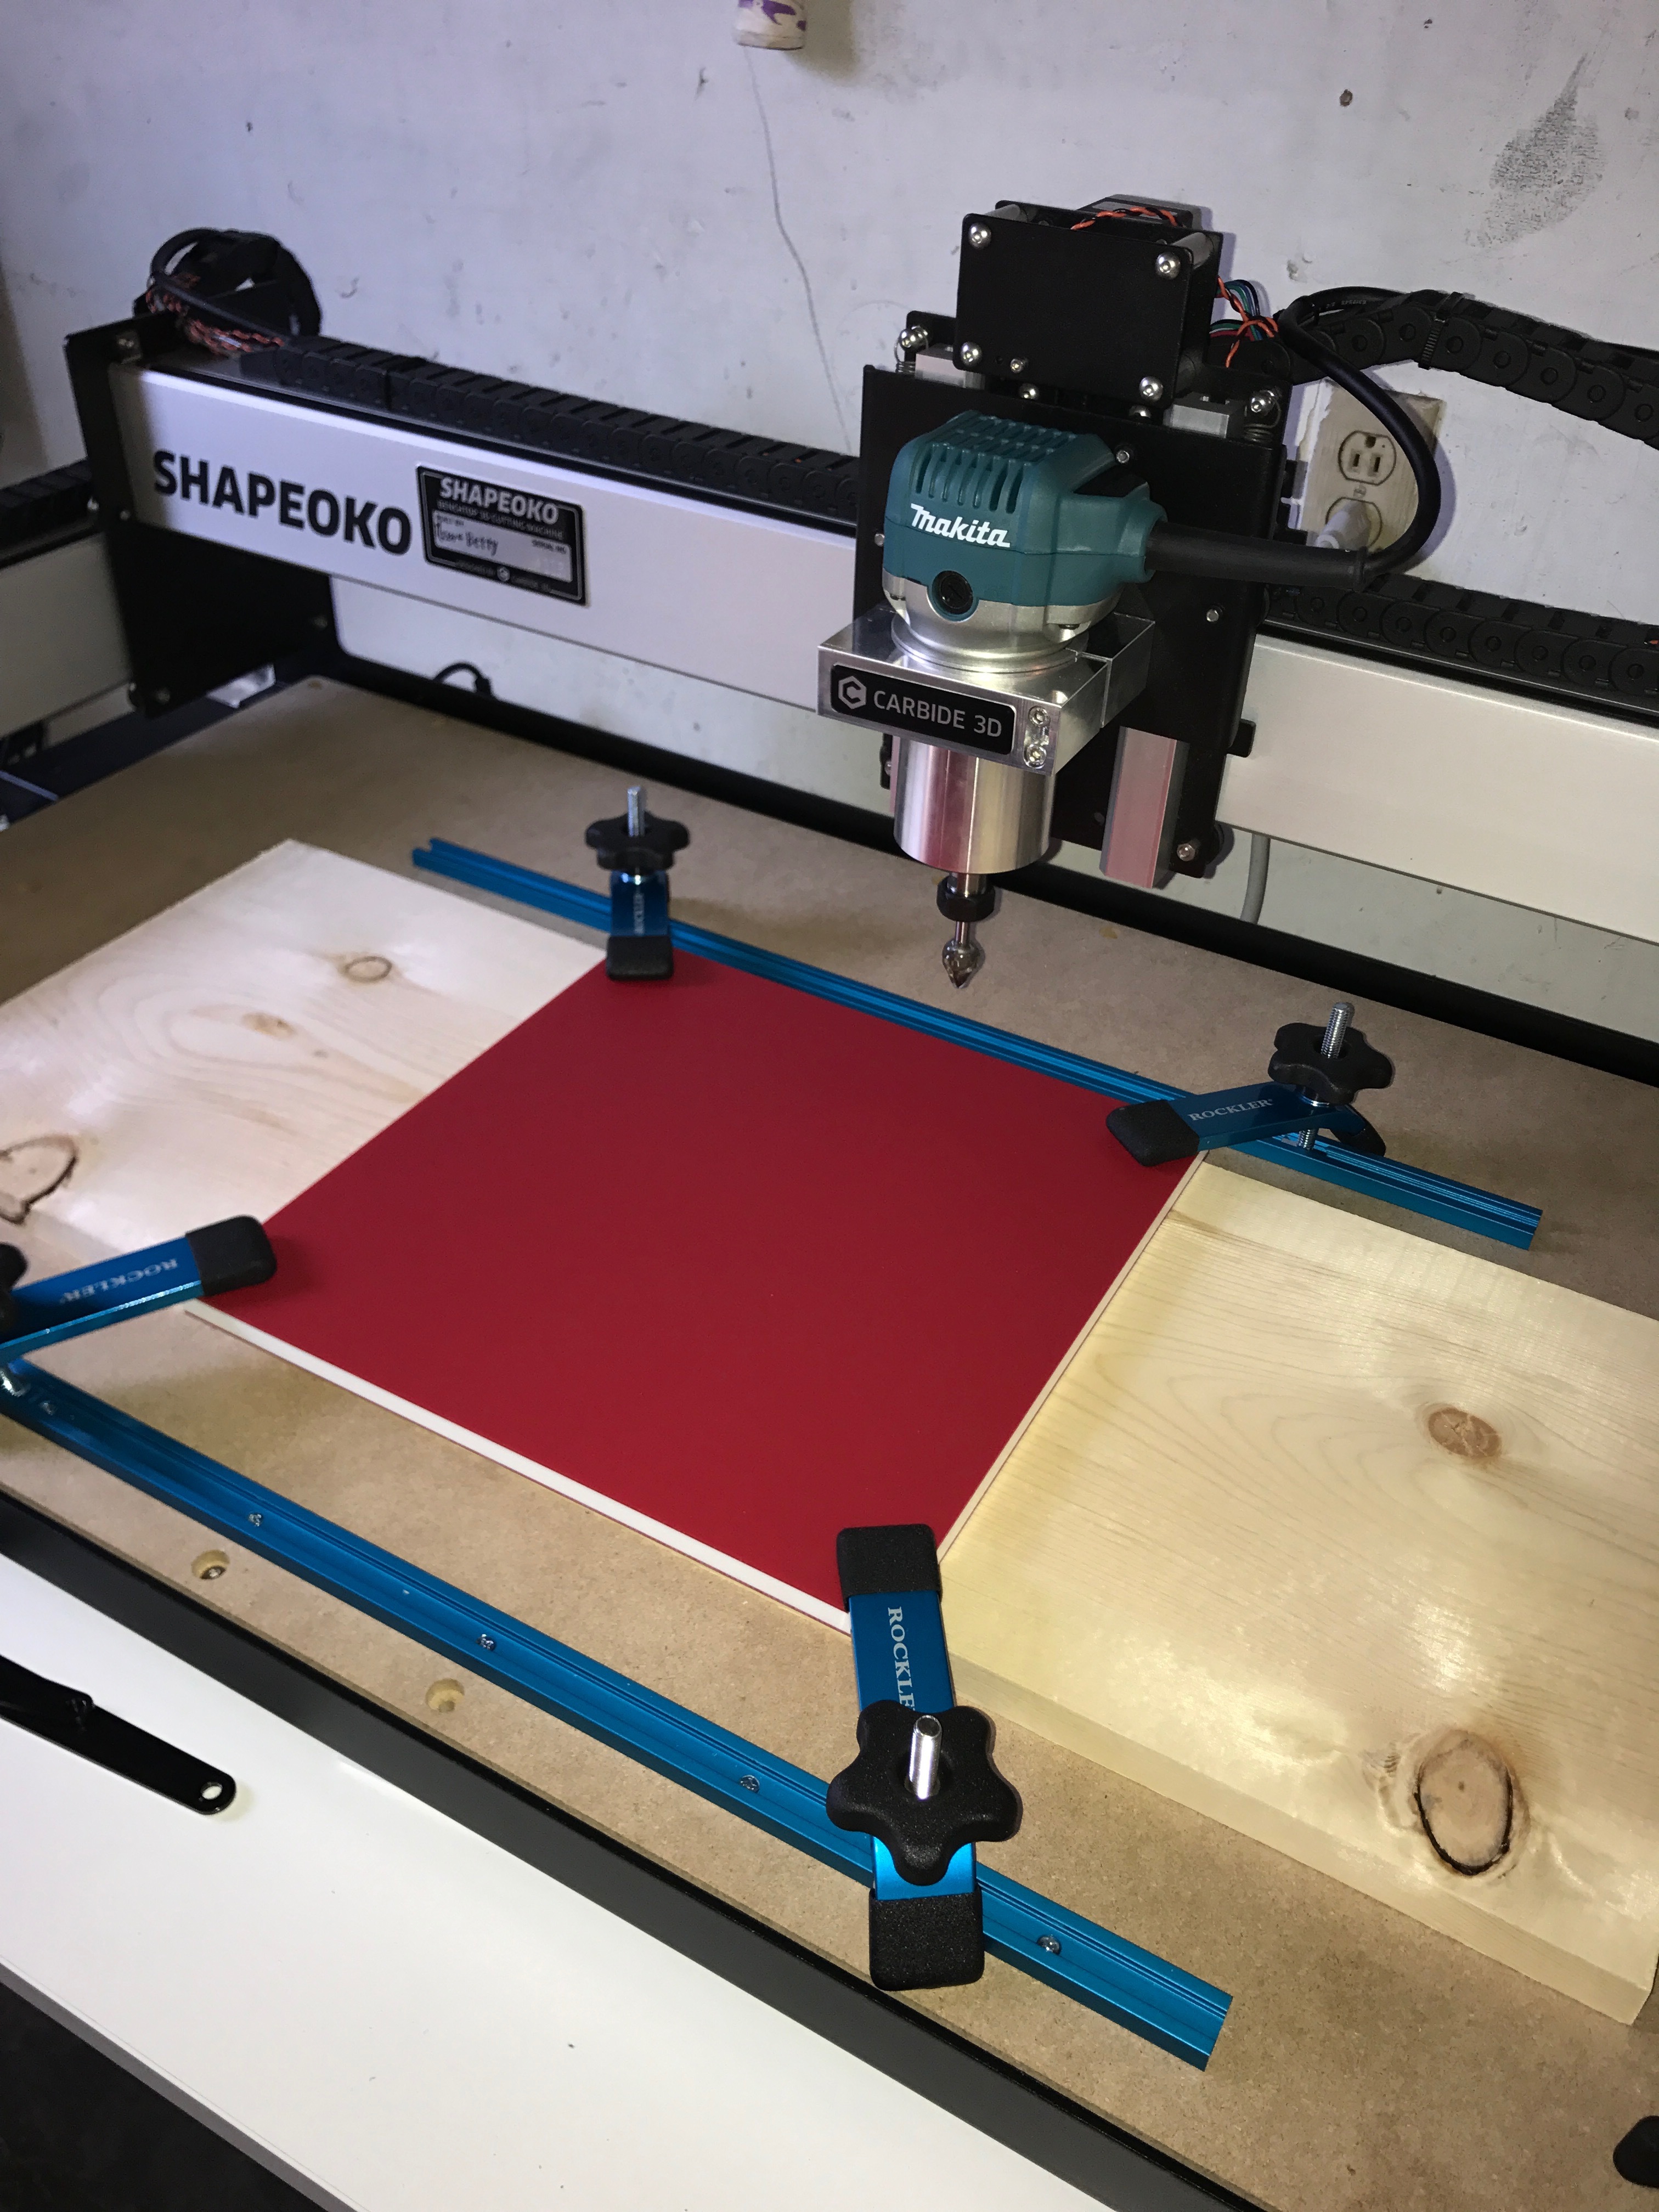
I put Rockler T-Track on my XL this week. I haven’t used it yet though. Like you I’ve gotten as far as Hello World. I was thinking of doing threaded insert grid, but decided that my very first project should not be on the spoil board itself. For the T-Track I drilled pilot holes and then I used #6 wood screws to hold the T-track down. The picture shows the large Rockler Clamps, but I have the Mini Clamps too. Eventually I want to sink the track into the spoil board, but I like @mpfreivald set up too.
I’ve tried them all, mostly.
I find i always like what I don’t have at the moment. LOL
Remember to know your safe retract height, and put it in your CAM.
You can mark where your clamps will be, then run above your table to make double sure you won’t hit them.
I get in a hurry, and keep too low of retract height to save time, but when merging toolpaths, they don’t always behave the same as in the simulations.
My last crash ripped 2 threaded inserts out of the table, and chewed up steel clamp, And broke a V wheel.
I had to buy the maintenance kit for that one
Better to get that ahead of time, as well. But they do ship fast
I started with the Rockler tracks screwed directly to the waste board since the screw holes were pretty minor damage compared to other things that happen. One carbide-to-aluminum strike and I pretty much stopped using it. Even the small clamps have a pretty high profile.
90% of the time I end up using the masking tape/CA glue method
I also installed the Winston Moy wasteboard and use the Carbide (tutorial) clamps. I have the hardware to reuse the Rockler clamps but they’re so big I never did that