Good idea, Phil. I’ll have to think about that once I figure out why my circles are ovals.
I think your circles are ovals because you’re plunging too quickly with a bit not moving x/y. If you can add a ramping motion or a lead-in, it might help.
1 Like
Possible. I set both the counter bore and through hole up as pockets in carbide create using the programs default feeds and speeds. I’m using a 1/8" flat end mill. Both are showing the same type of deviation showing oval to the right rear. Probably be the weekend before I can get out to the shop to start chasing it down.
@Dreamtym I believe you mentioned you have 3D printer experience. If you’ve done a lot of 3D printing, you’ve probably seen that shape for circles before. Probably something out of square or something loose causing motion that is out of square.
1 Like
Thanks, Neil. You are right. I suspect a loose X belt but as I said previously, I probably won’t get out to the shop to do some more calibration and testing until the weekend. Unfortunately, I’m at that stage of a cold where doing nothing is driving me crazy and doing anything requires more energy than I have.
1 Like
I currently have a second larger CNC to make wasteboards for my XL, but before I did, since the wasteboard is wider than deep, I rotate it 90 degrees, machine the holes in the front half, shift the wasteboard 180 degrees, then machine the rear half with the same gcode file. Make the hole pattern symmetrically spaced from a center line. Place Job Zero in that line. Basically, I divided the board in half and rotated it to fit the machines working area.
I have made many project cuts that seemed too big for the XL by shifting the longer stock along the Y axis. There is no limit to how long it can be as long as it is not over 32 inches wide. I often use dowel pins to line up the stock between cuts.
2 Likes
Excellent point, @Freddie2, to put the origin of your pattern along the centerline to facilitate setting up the board. I appreciate the suggestion. Too many years of measuring from a corner I guess. I hadn’t even considered setting things up differently.
1 Like
For the Autodesk challenged here is a simple wasteboard in Vcarve based on the original Winston Moy XXL wasteboard.
A couple of cons of this design:
- 3/4 MDF is more solid but it blocks access to the sides so I have take the wasteboard off to do tiling in X unless the material is very thin.
- His design is taller than the machine limits if bolted to the inside of the rails which means you have to hang it over the front to machine it and surfacing requires the top 1-1/2 inches to be hand sanded.
1 Like
Continuing the discussion from Setting up a Sea of Holes Wasteboard:
I did it manually stepping in X-Y-Z painfully with a 1/4” bit. Now I know that I could have pocketed .26” with a .25” mill. At first you think nothing happens in your tool map, but if you zoom way in, you’ll see a tool trajectory and your 3D verifies it.
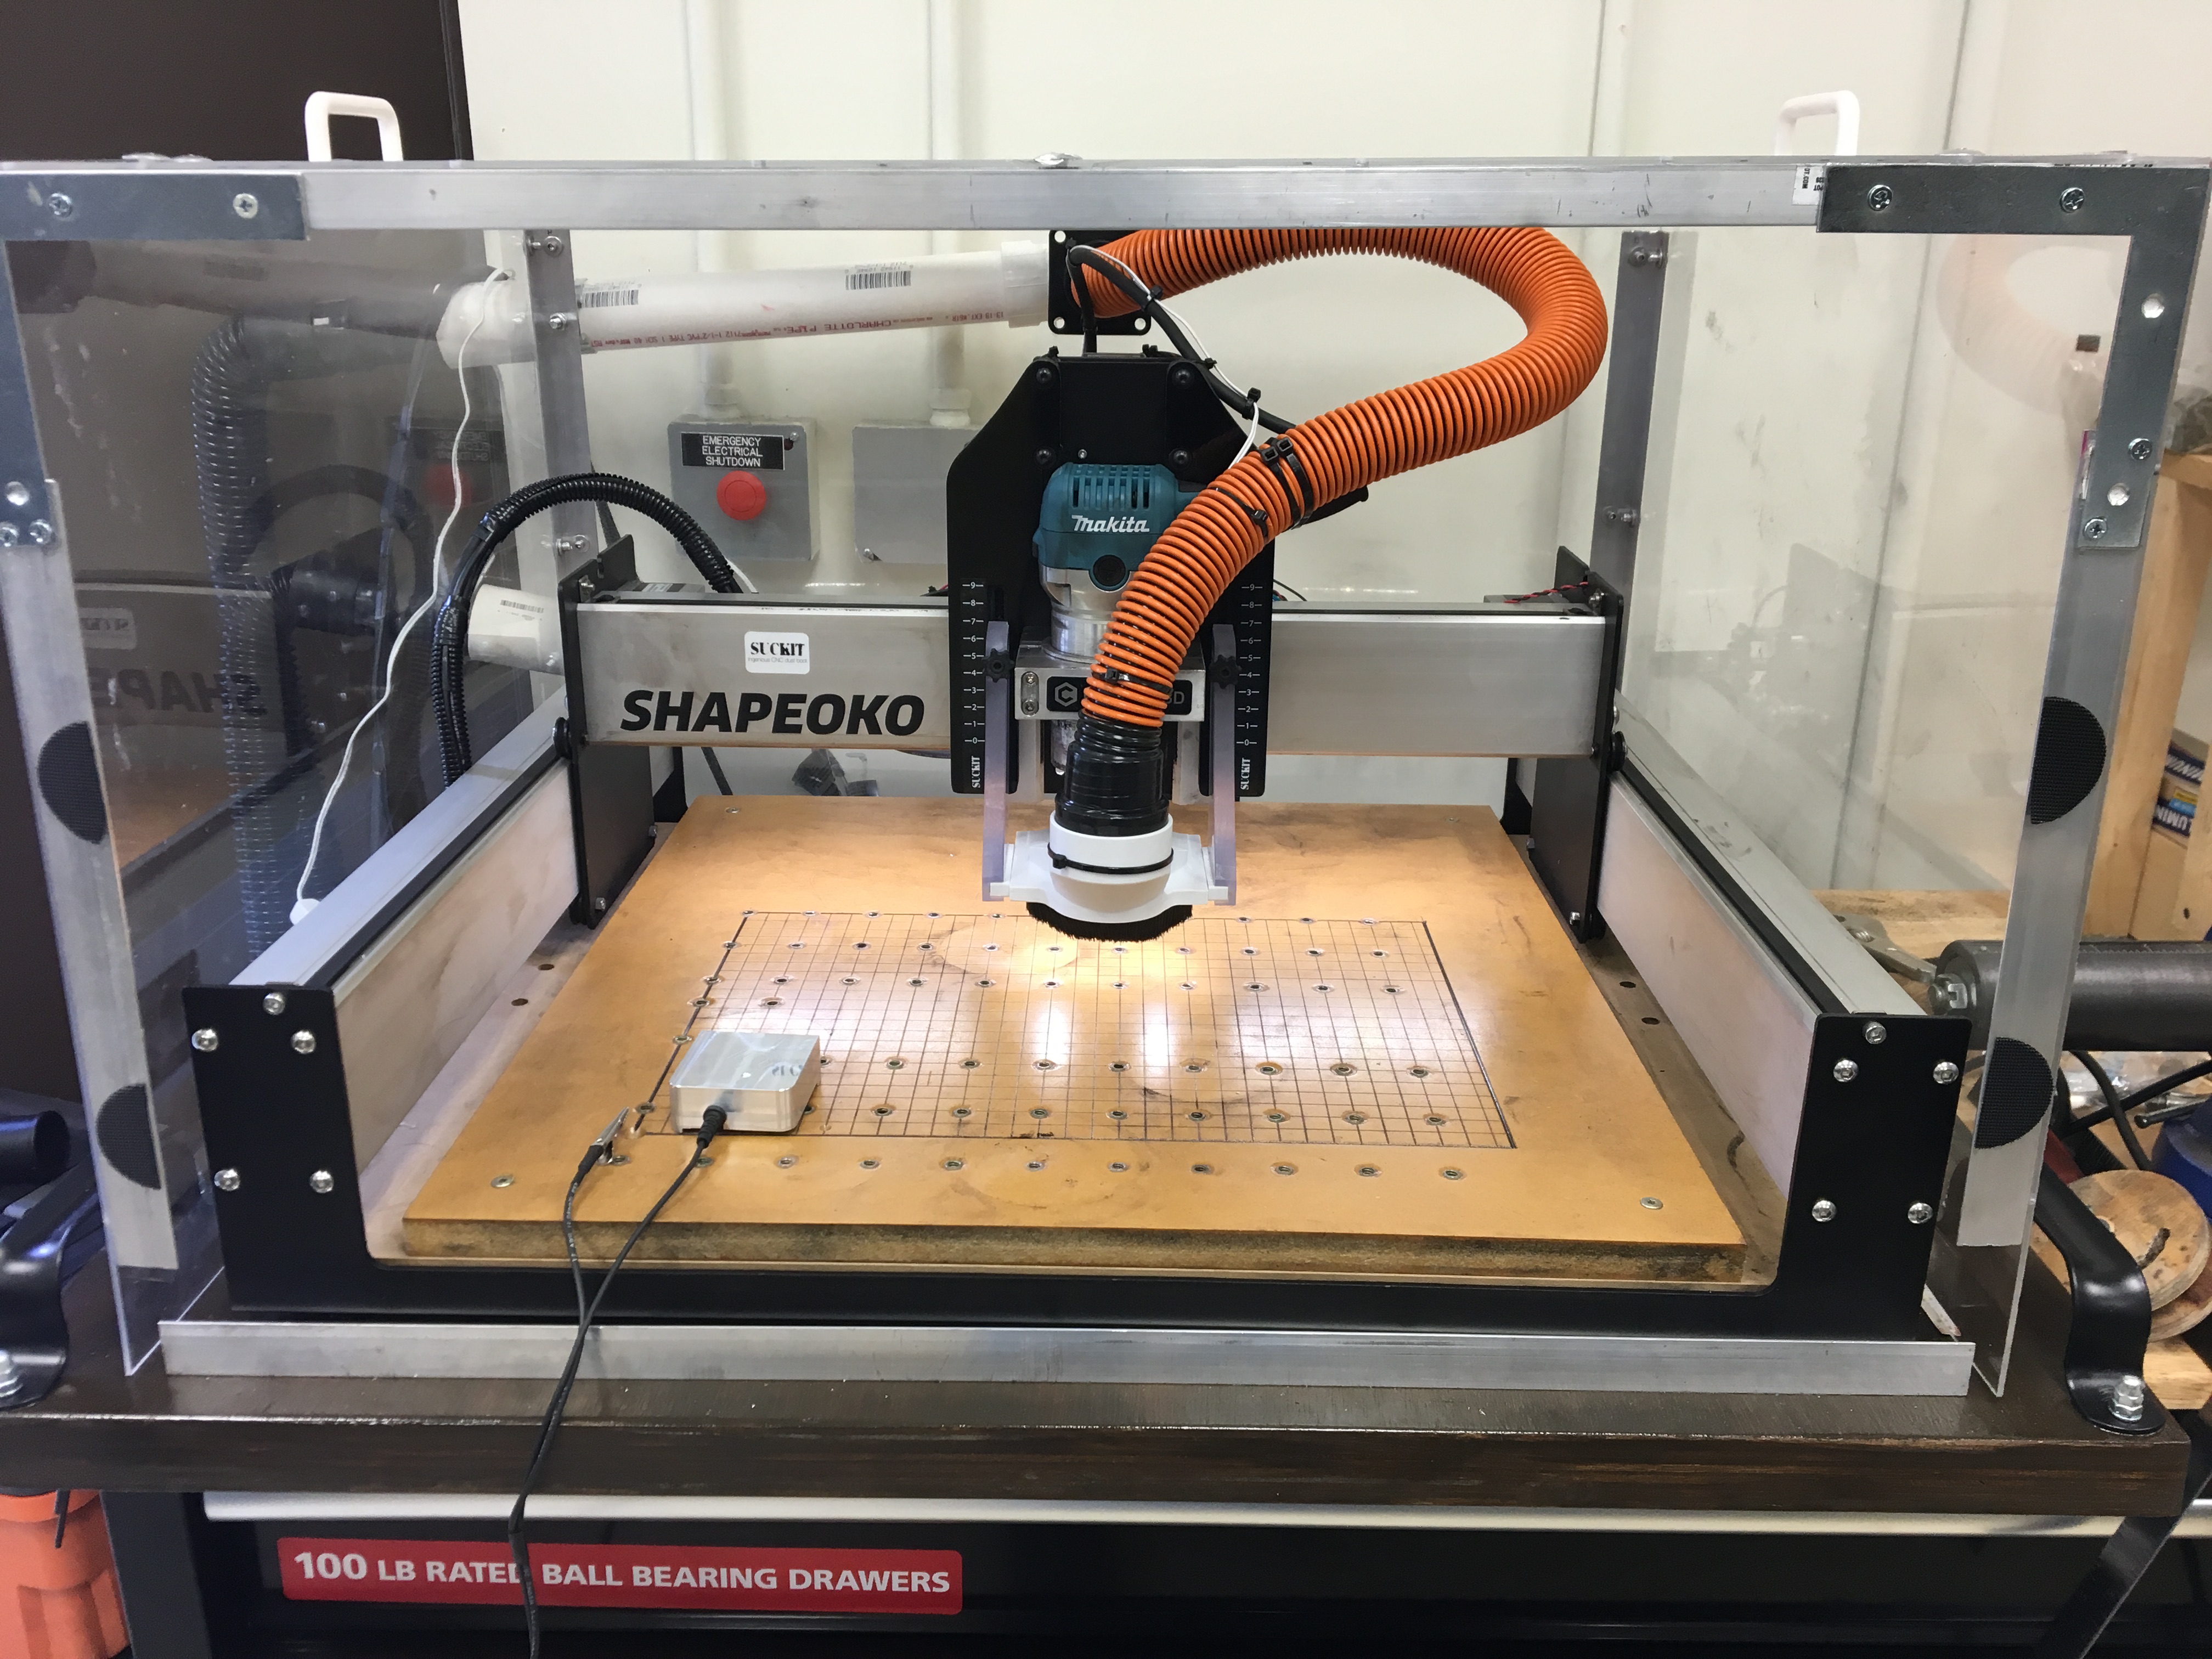
I just installed a light kit. I can really see well. Also plexiglas case w 2 vacuums; one for the Suckit and the other at the rear middle, pulling across the waste table from the front to back. I sprayed everything down lightly with anti static spray.
2 Likes
Nice setup. I like the plexi and angle construction. I may do that when i get that far.
I don’t intend this topic to die a slow death until I actually get my wasteboard done but this month has been a real train wreck due to health and computer problems. I haven’t been able to get out to the shop in about 2 weeks. I hope that I’ll be able to start chasing my mechanical problems sometime soon.
This topic was automatically closed 30 days after the last reply. New replies are no longer allowed.