@Adam_Xett - boy do I feel silly. So I did some tests last night and I thought if I put a wire between dcm and for it just started the spindle whenever… nope thats not the case, I was rushing and tired - if you short the pins you get the correct result.
No relay is needed!
Connect the PWM pin to VI
Ground Pin to ACM
Short DCM to For with a wire.
Change setting PD001 in VFD to take external controls - to 1
Change PD070 to 1 - to accept a 5 volt and not 10
Change $30 to 24000 in the GBRL setting
bobs your uncle - a fully automated CNC water cooled spindle!
Really nice work brother! Watching the order of ops there, Looks like the spindle is runnin when CM is prompting for a tool change. What are you generating your gcode with?
I must have missed it somewhere here… @Luke what clamp/mount did you use for the spindle? Did it come with one?
Can you toss a link on amz for the springs you used to double up?
The spindle came with a mount, I just chopped it down somewhat and then sanded, filed and painted it.
These are the springs I bought, but sure there are better out there.
As a small update I’ve been milling some 20mm wood with a 1/8 single flute mill. I made a small cock up and found it chews through 15mm a time very easily… I also am no longer getting tram lines in my work on each DOC - a real bonus.
I got mine working with a 110v VFD for those of us who live in the US without access to 220v. It works perfectly fine and the differences I have seen in this spindle vs both the Makita and Dewalt (I have used both) is very worth the upgrade. I did also design a new Z axis, albeit not as good as the Beaver HDZ to support the spindle. Having linear rails on the Z access is life!
FYI 220V is just your 110 Volt system using both phases which are 180 degrees out of phase. Electric clothes driers, ovens, and ranges are all 220 Volt systems as well as many 3+ H.P. motors used for shop tools and welders. My 2.2 KW spindle, Table saw, Band Saw, Planer/Joiner, and Welder are 220 volts.
The key is having 220V (240V really) outlets installed, where they typically aren’t in US homes except for certain appliances. I for one would have to do some rewiring in my garage and shop since the only 240V outlet I have is in the laundry room (and ironically enough I purchased a combination washer/dryer that only uses 120V, so I have to rewire that.)
I also updated the spindle. I am not a big fan of water cooled spindles, so I got myself a 2HP air cooled spindle. I like this spindle because it has a very low noice and being air-cooled it has a down draft that helps witch dust management. Other than the spindle, there are the other necessary updates for the Shapeoko, so here are the latest updates I did for my Shapeoko XXL:
The most important: a new 2HP air-cooled brushless spindle: The Bosch was quiet for a router, but this spindle makes very low noise. If it wasn’t for the shop-vac, I could listen to music while operating the CNC. I strongly recommend to stop cutting using routers, they are not made for continuous use.
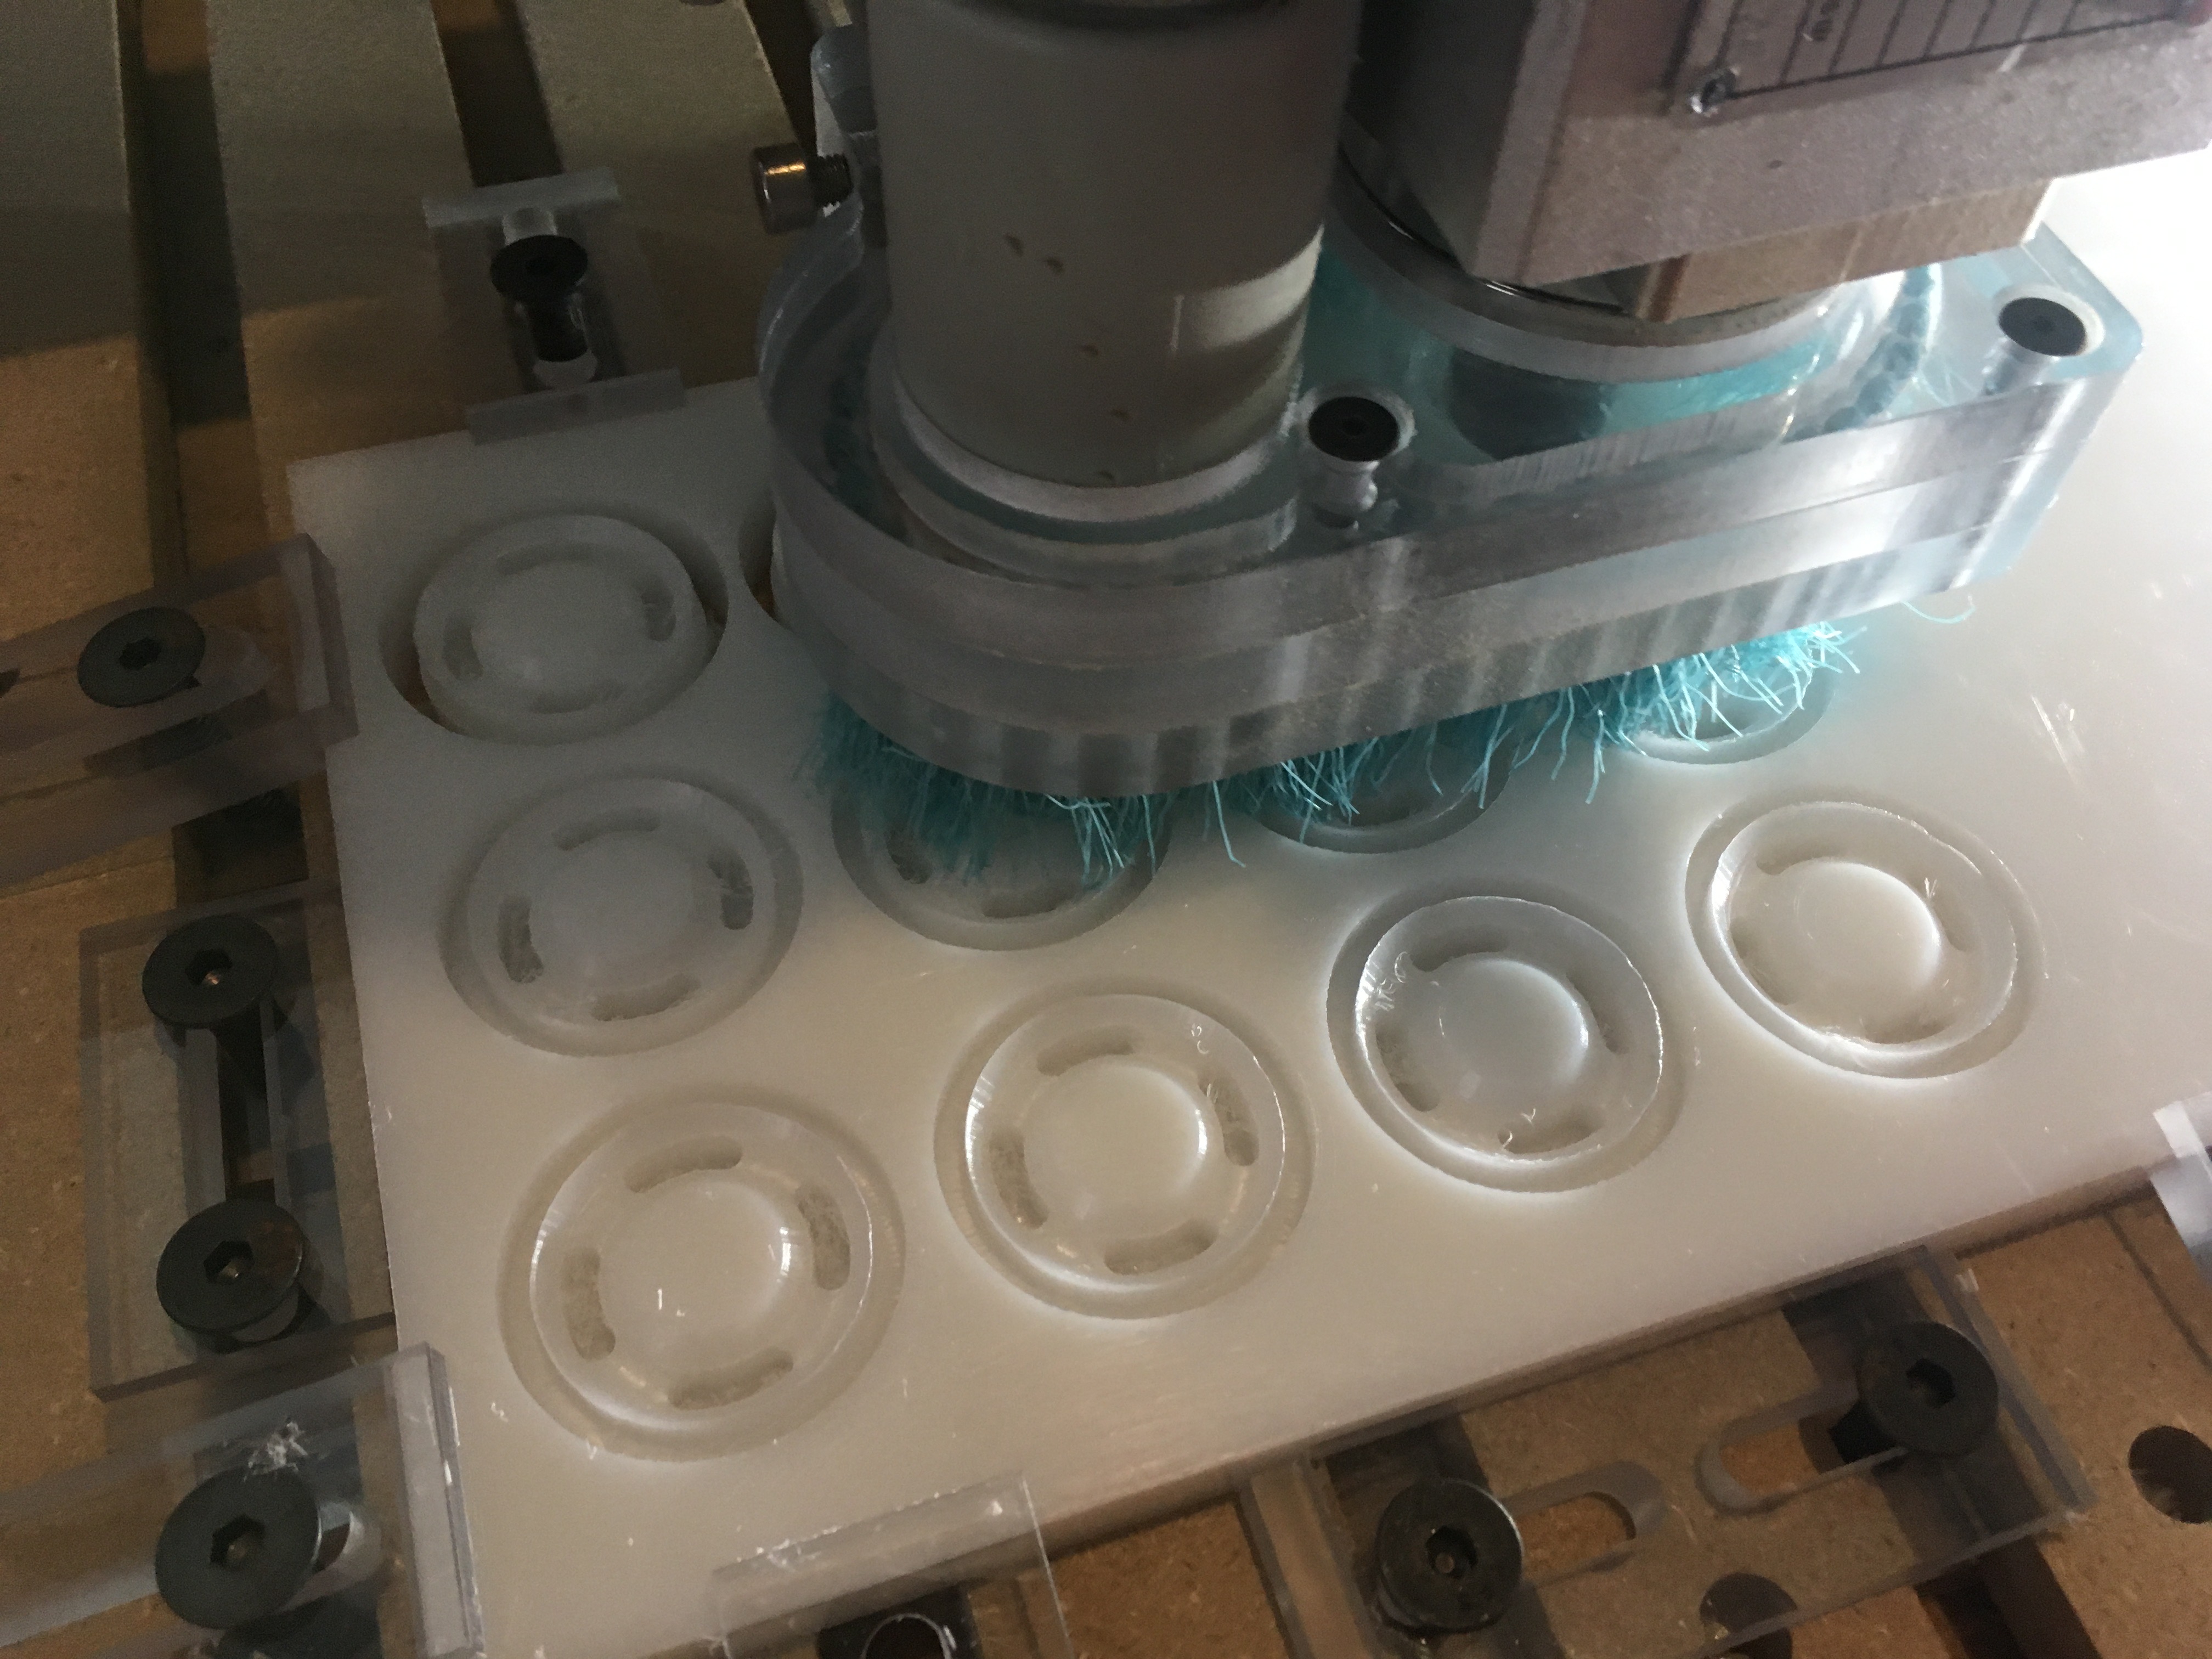
2nd most important - an updated dust shoe. This compact version is a improved version of the previous one I made for my Bosch router. Since I have updated my spindle, I had to make a new one. Same as before, this dust shoe has the main advantage that it could be set to travel or not on the Z axis. Most of the times I just set it to stay at a constant Z while the spindle travels up and down. This is very useful, because I could shorten the bristles to a minimum of 1" and so I optimize the suction of my shop-vac.
With the dust shoe, came the challenge of dust management. I designed and made a cyclone from two 5 gal buckets. This helps collecting the fine dust before it gets into the shop-vac. Lately I had to cut massive amounts of MDF. I can say I had no dust whatsoever on the dust shoe, so the laptop was spared as well.
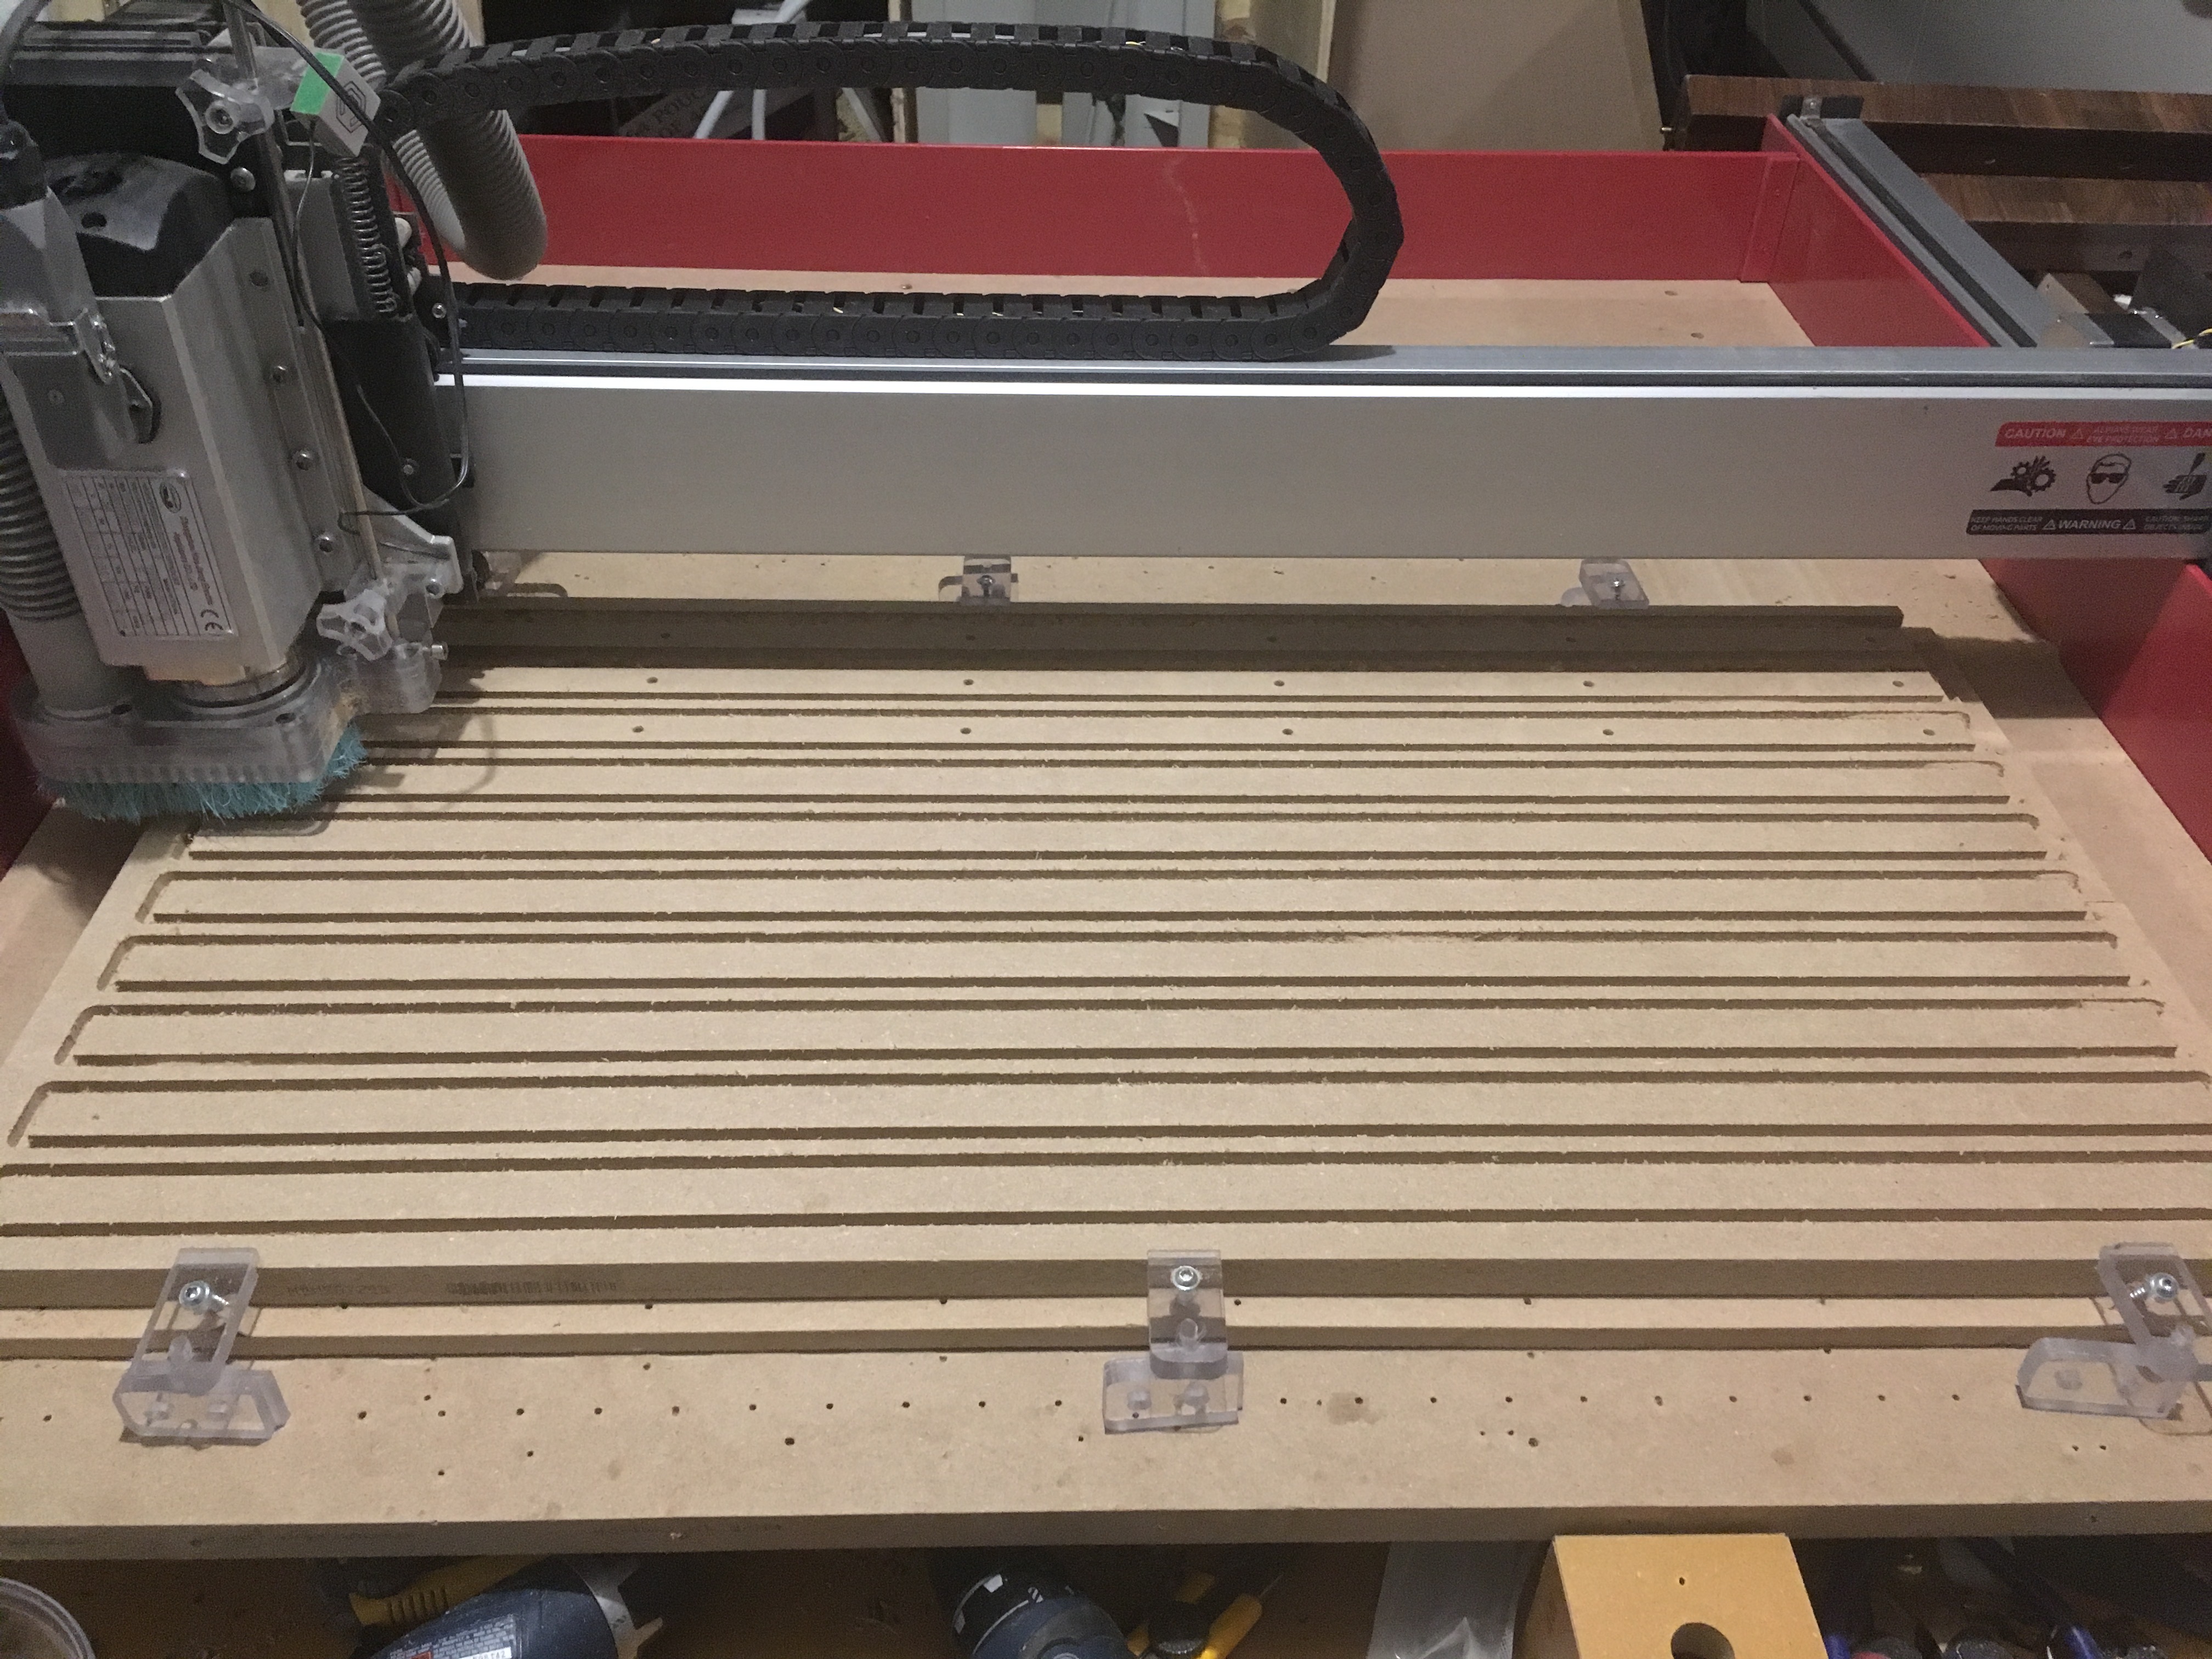
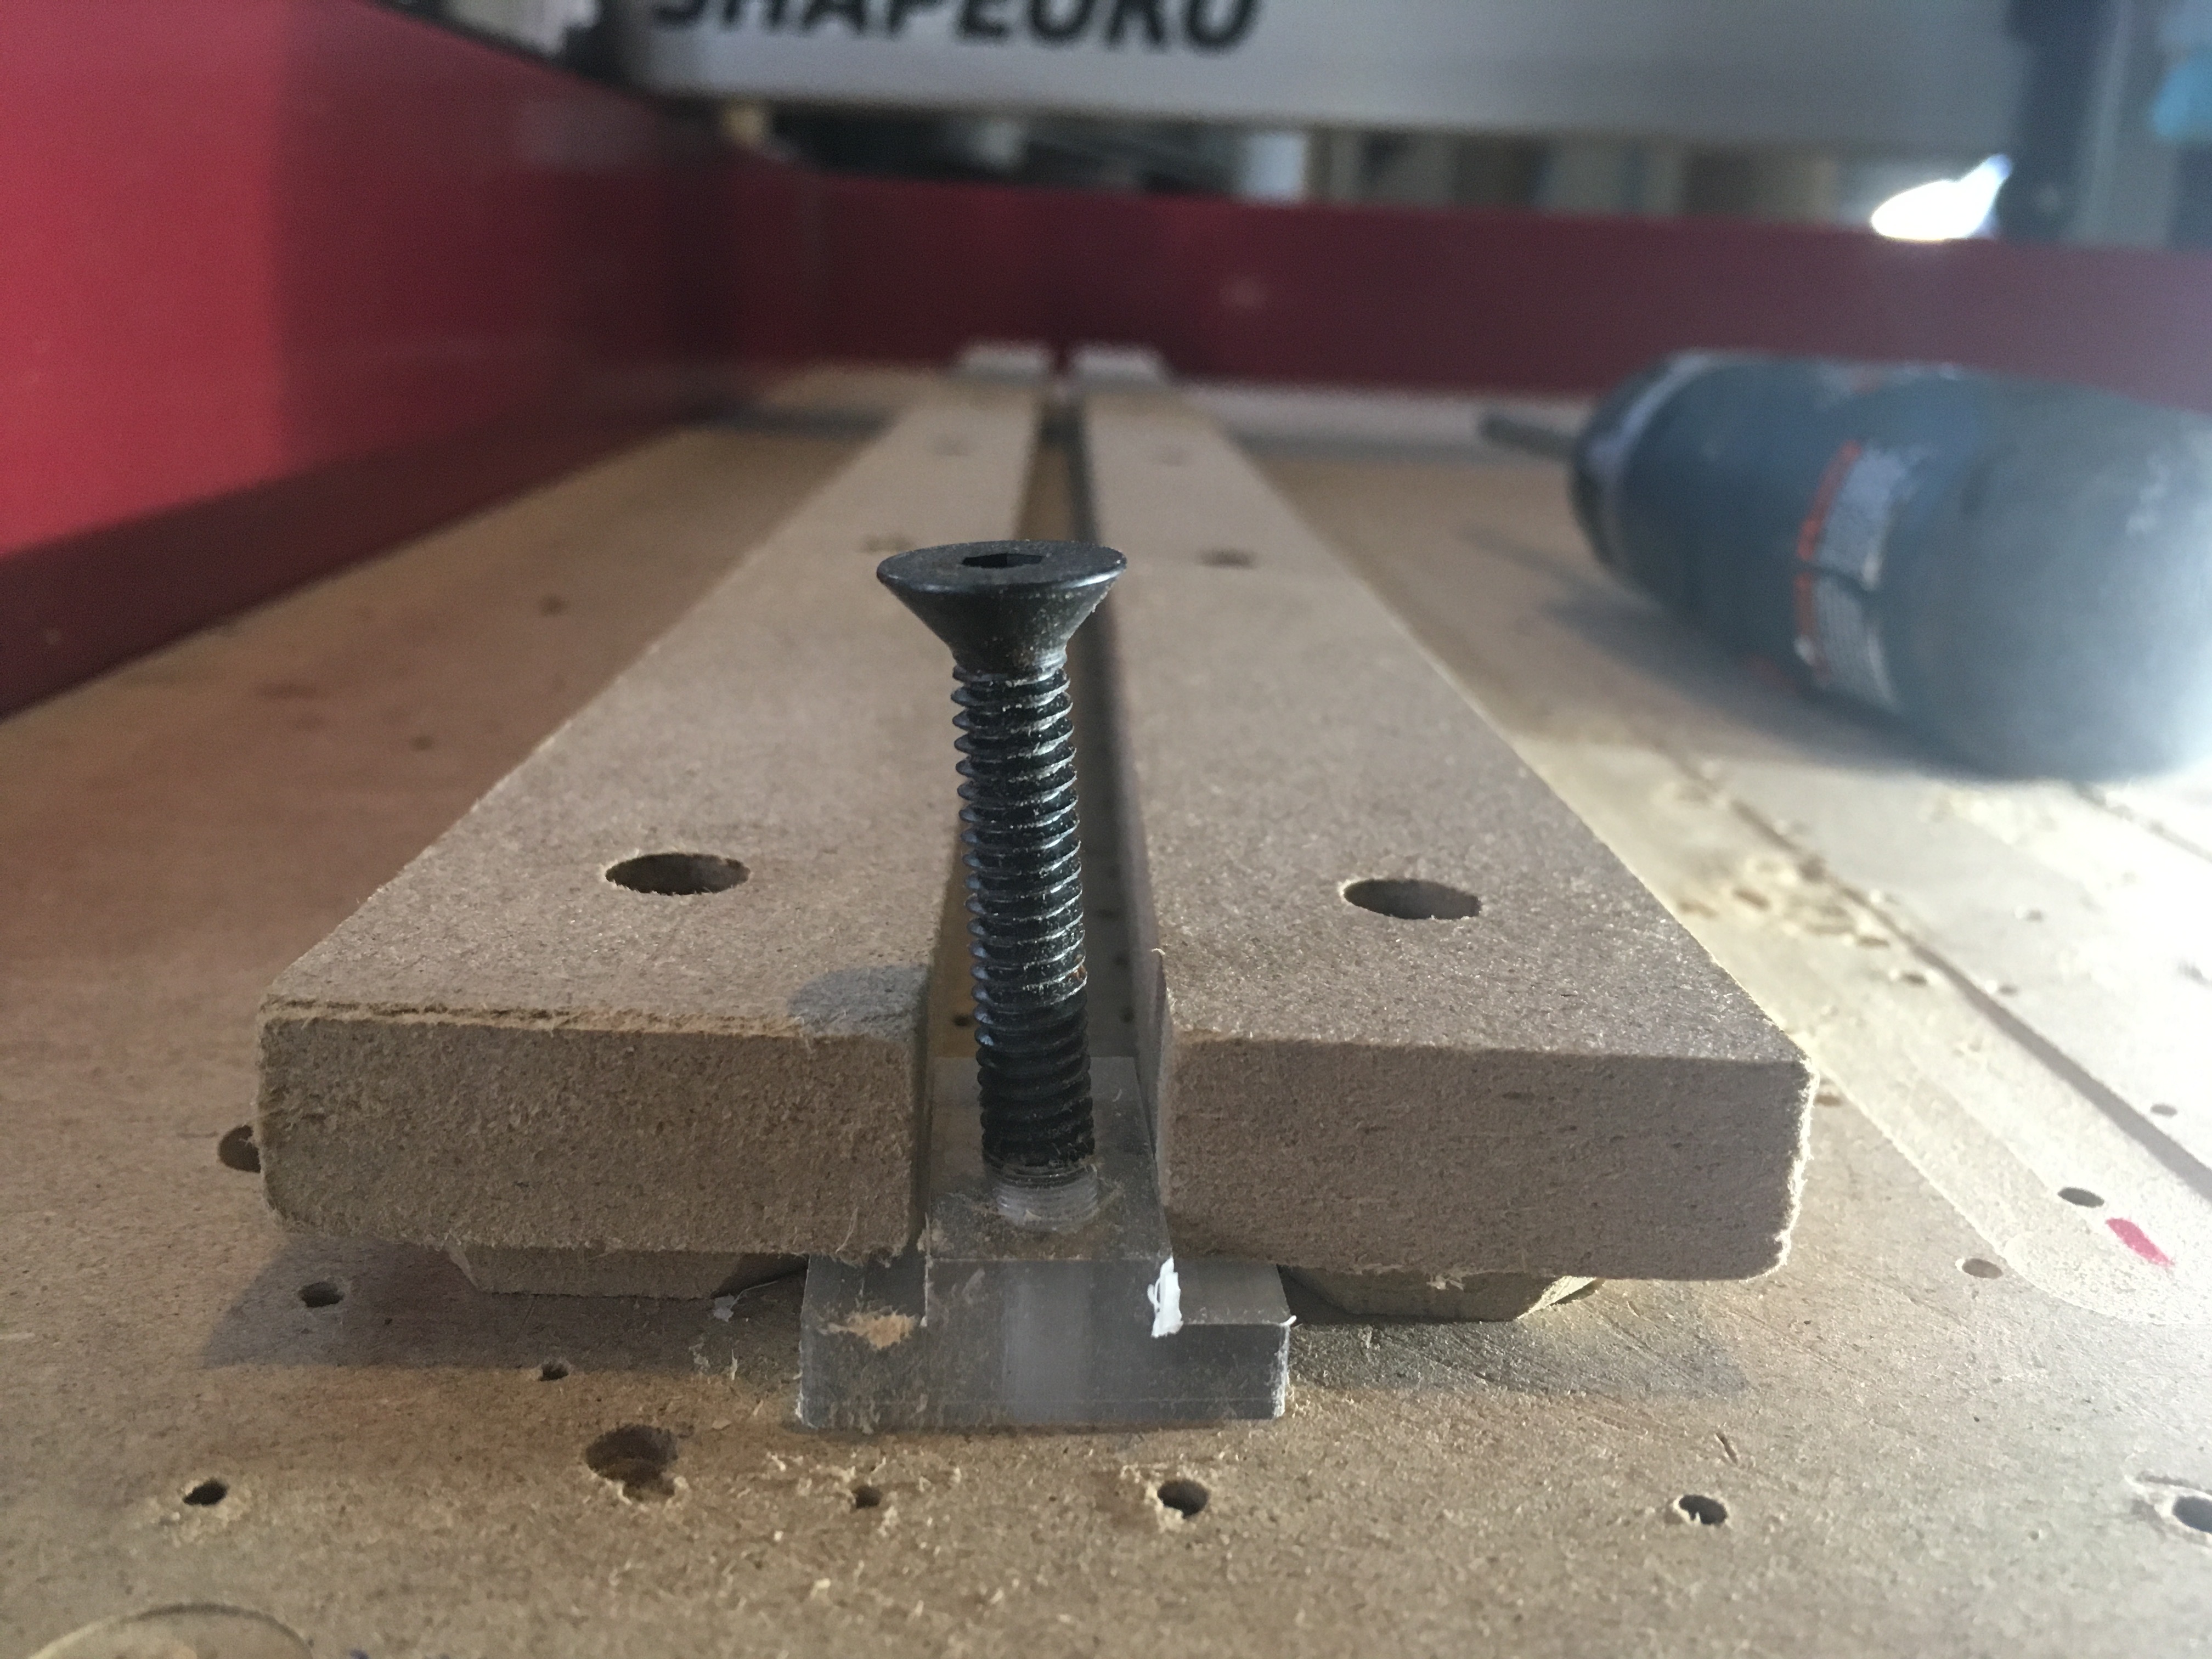
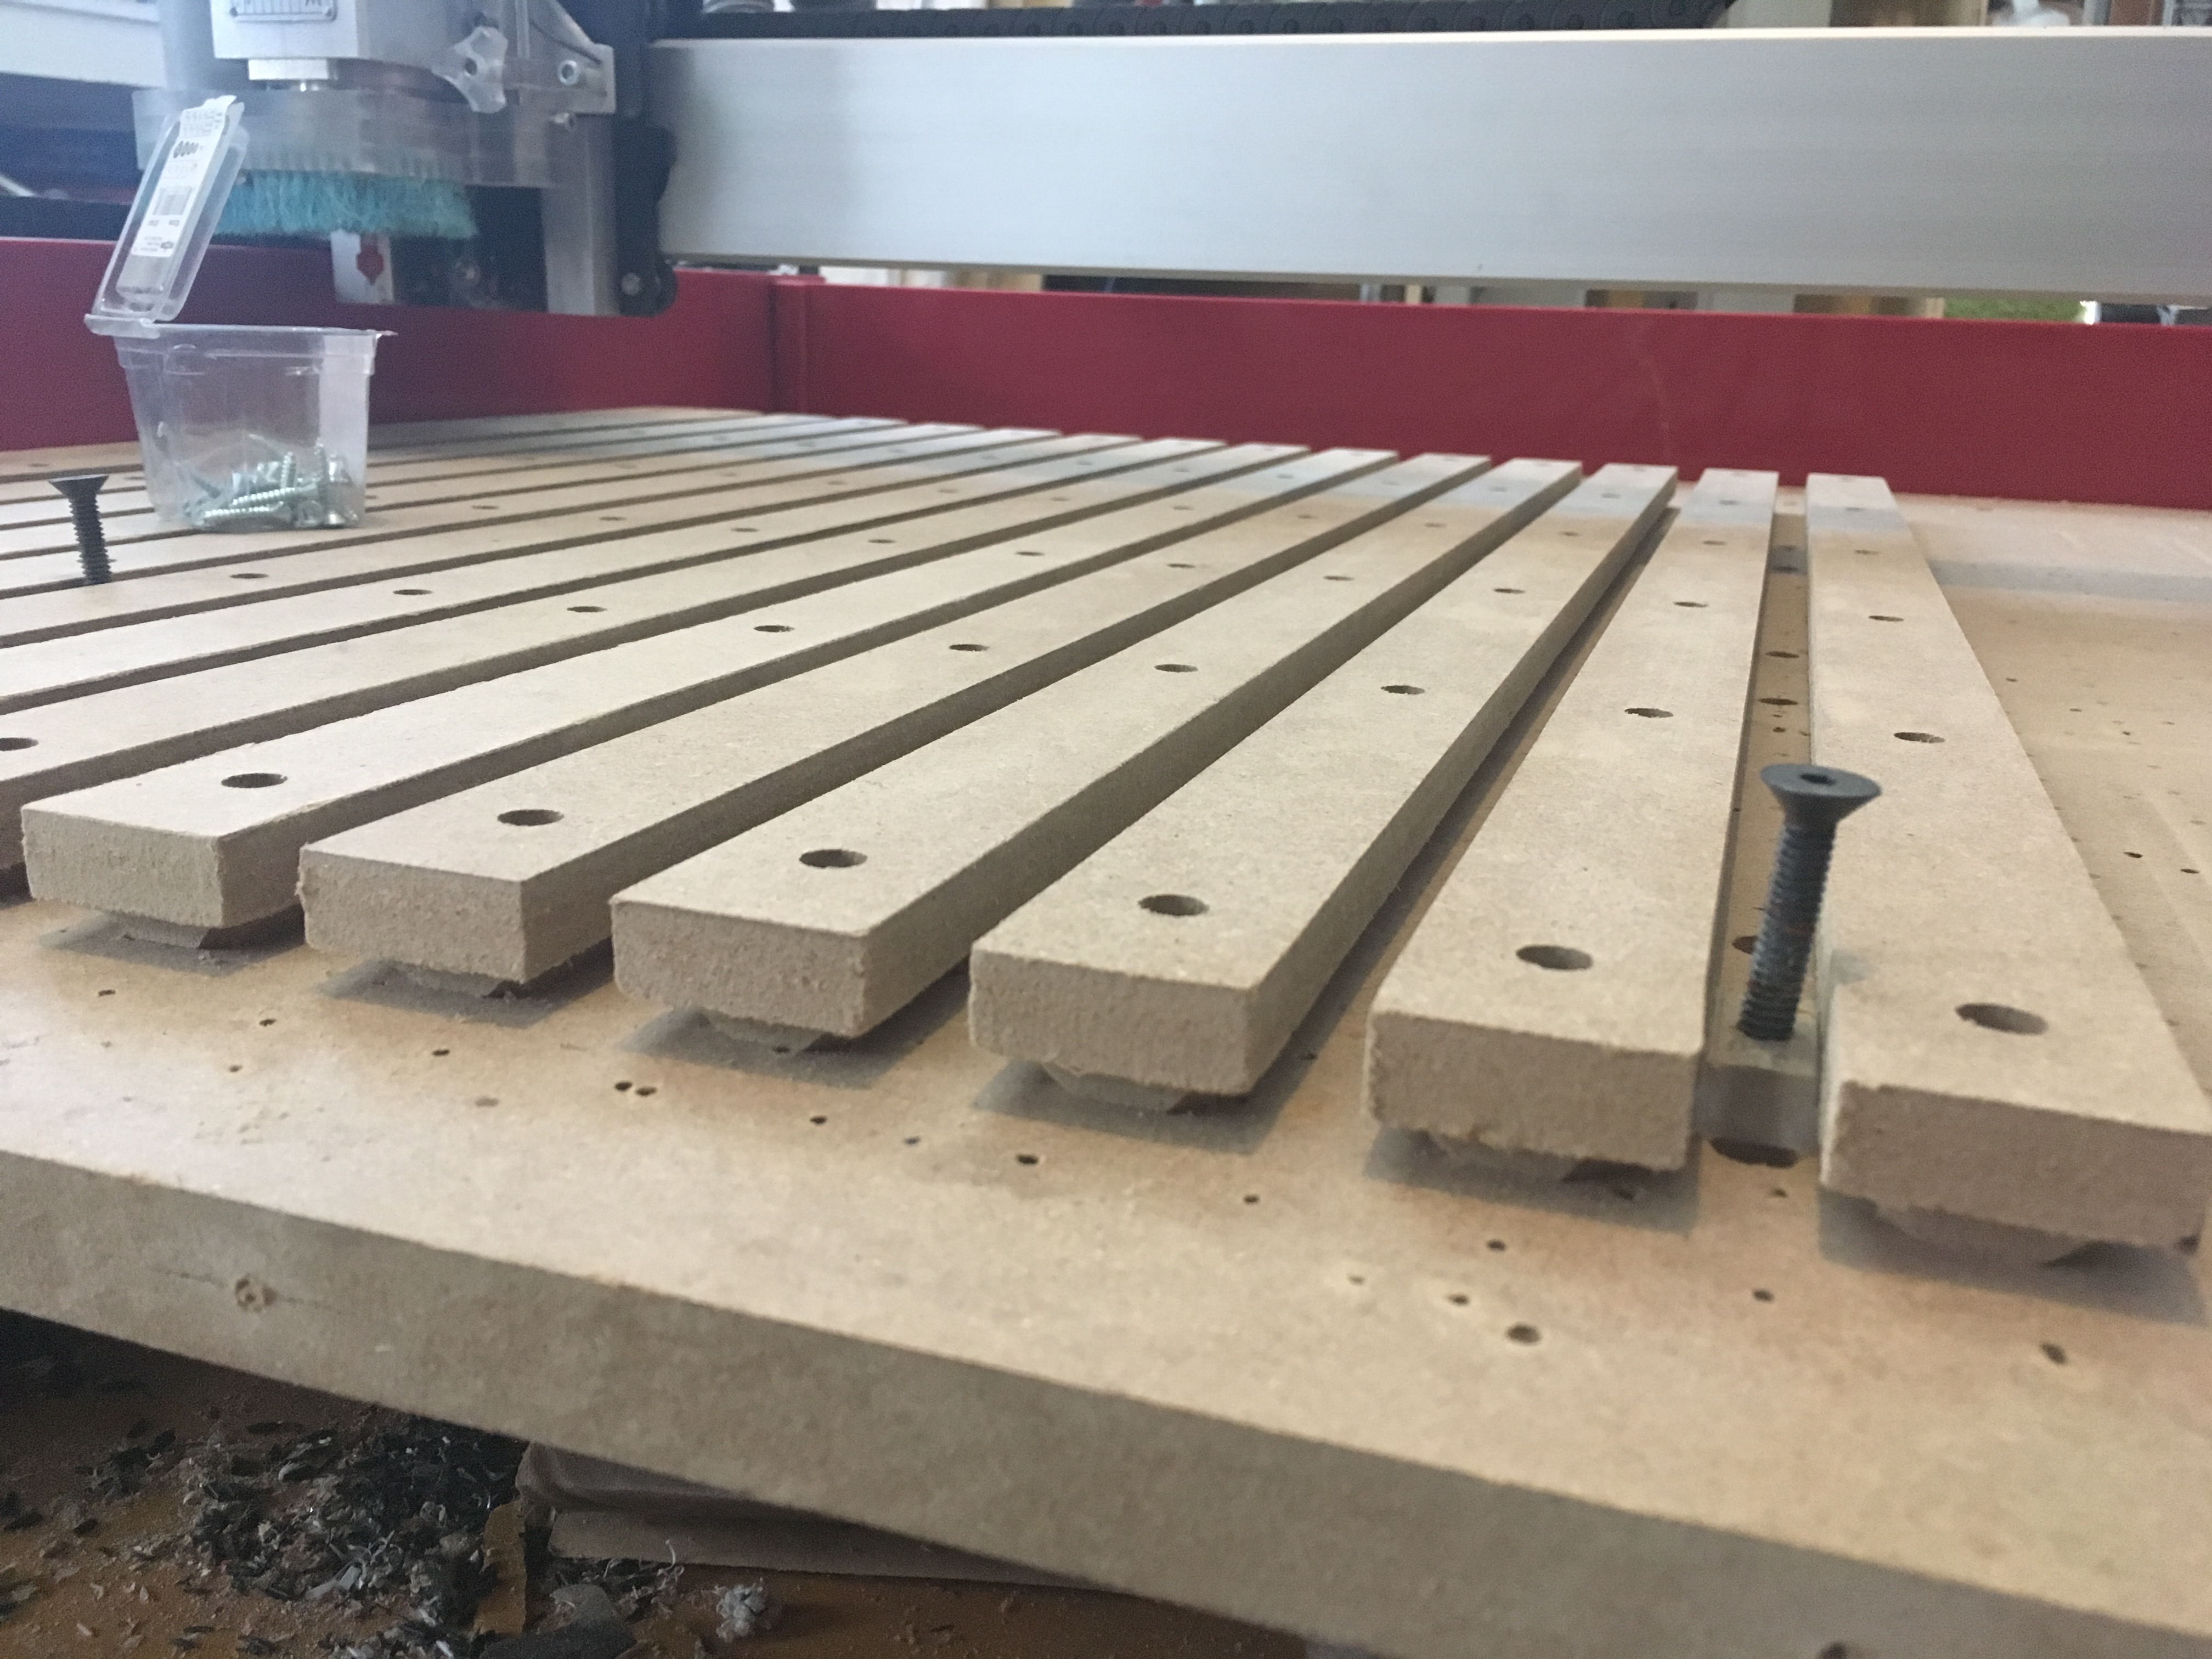
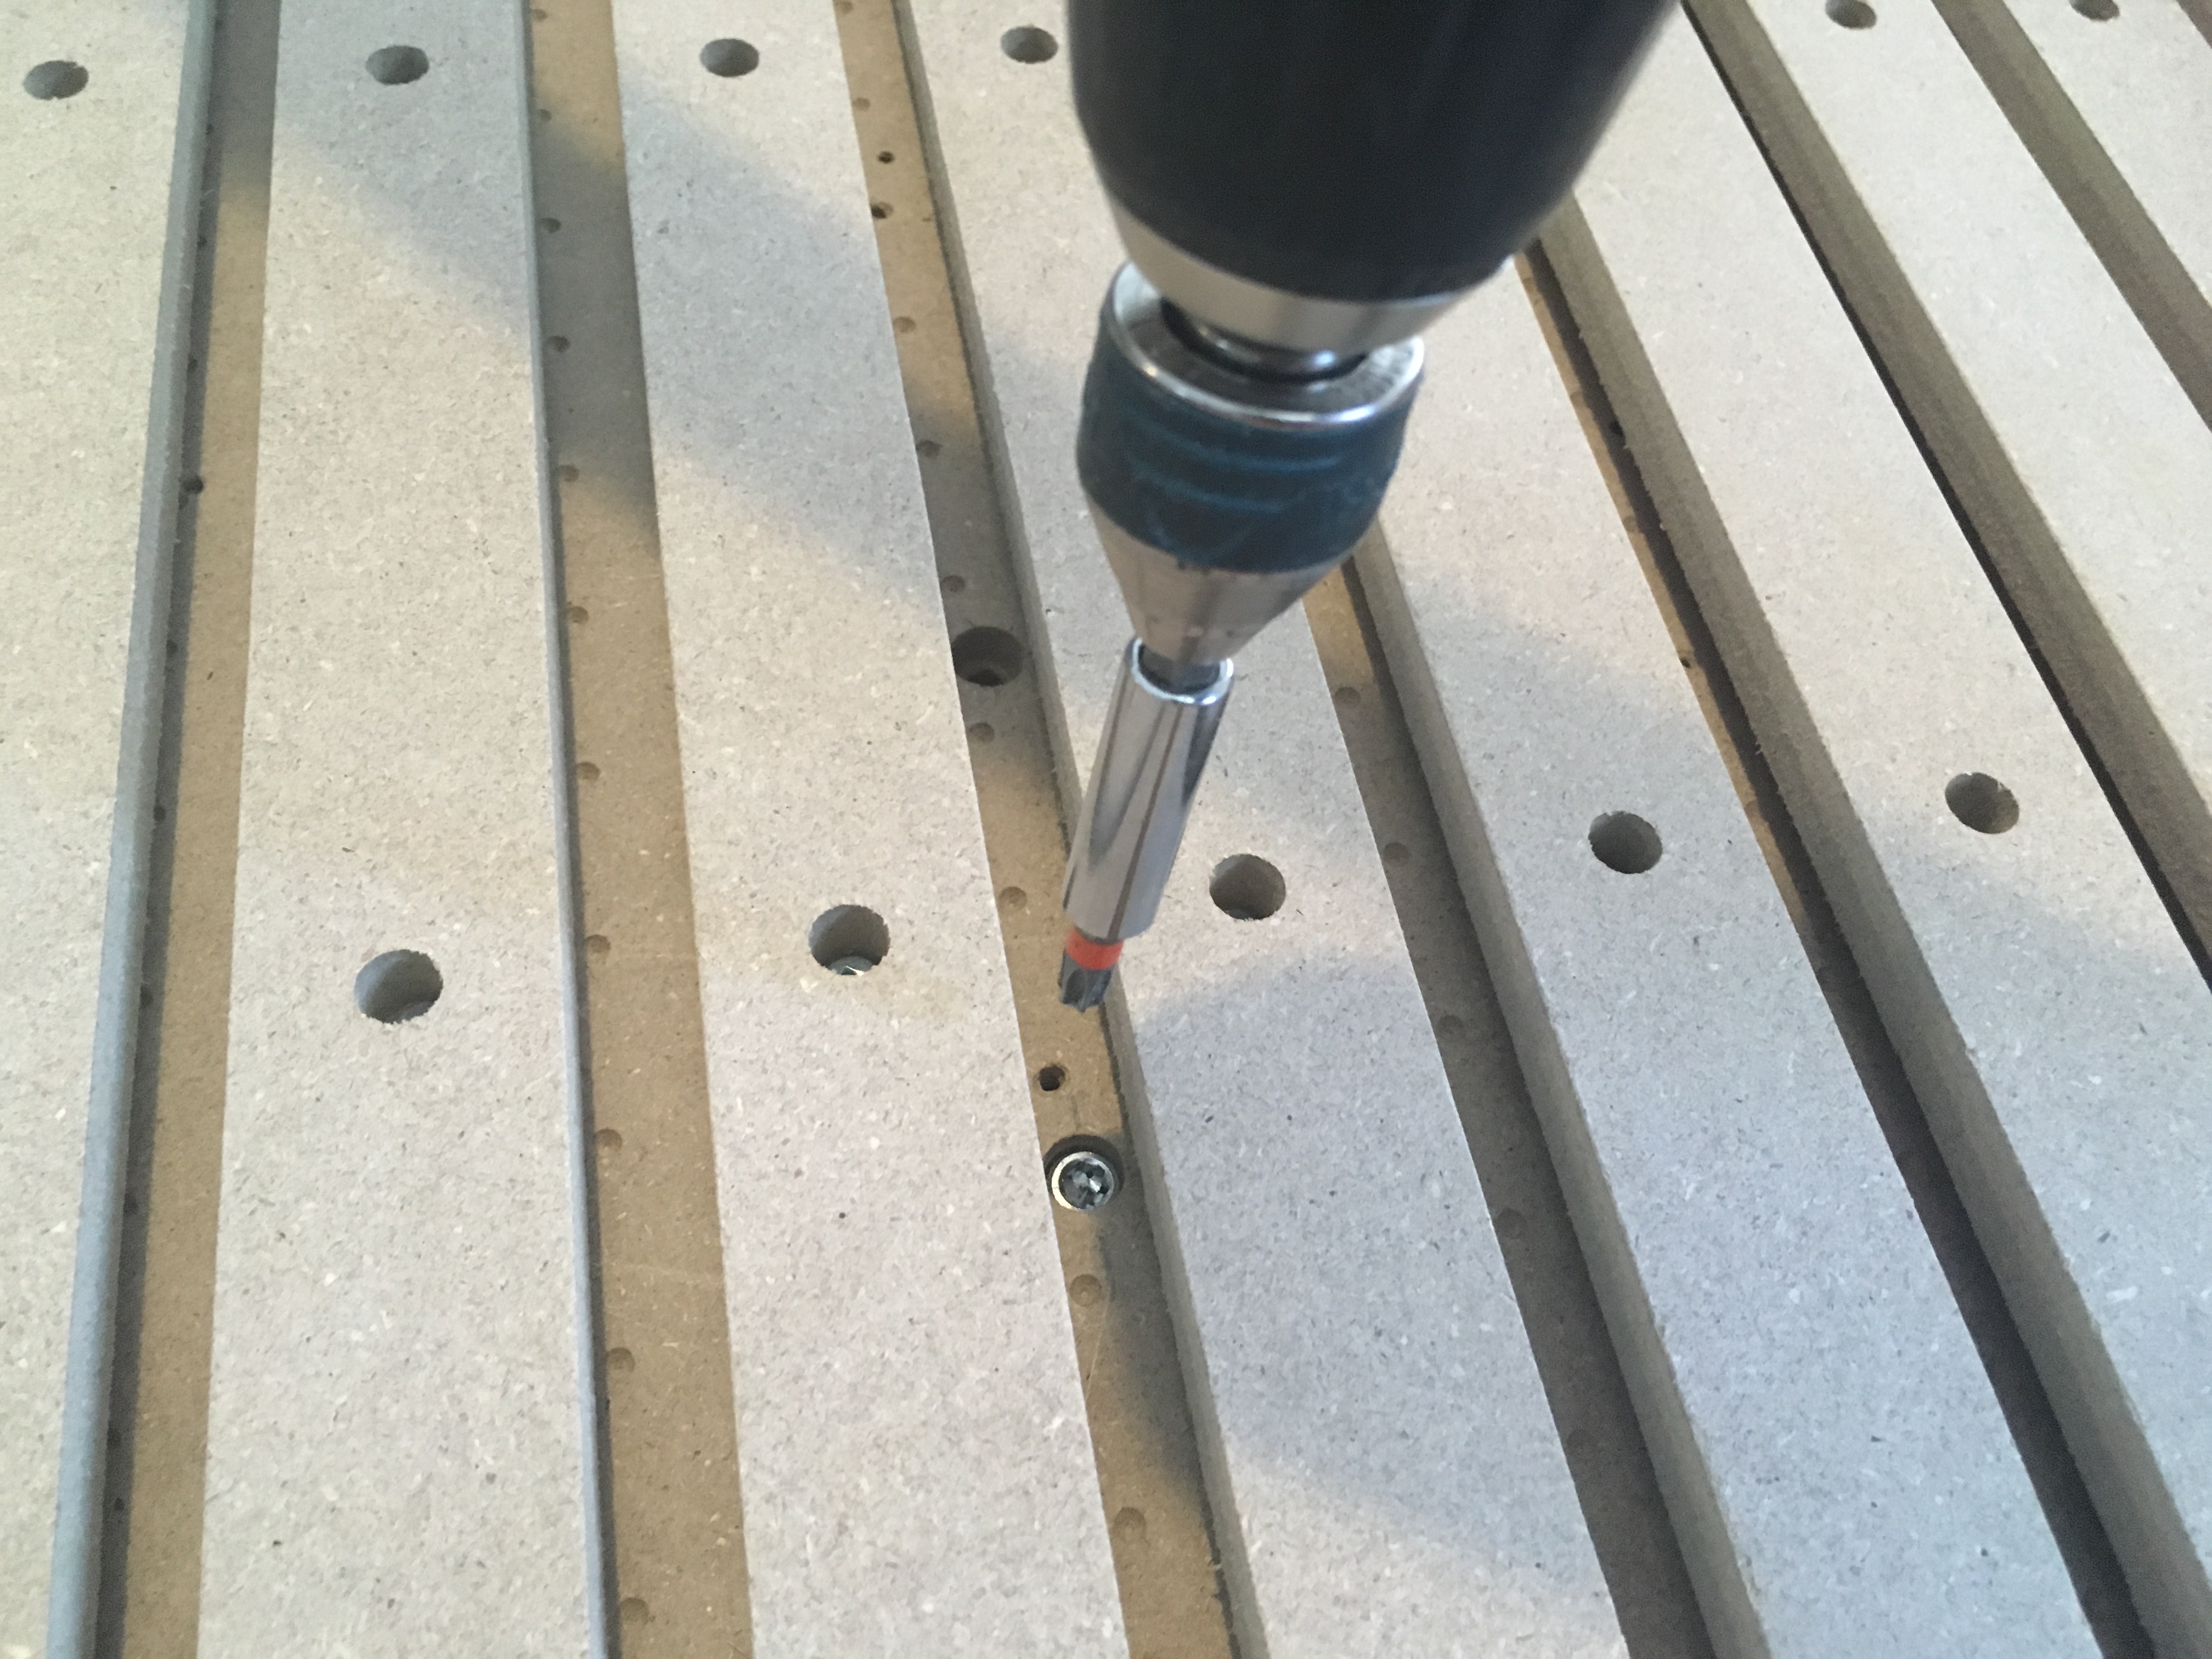
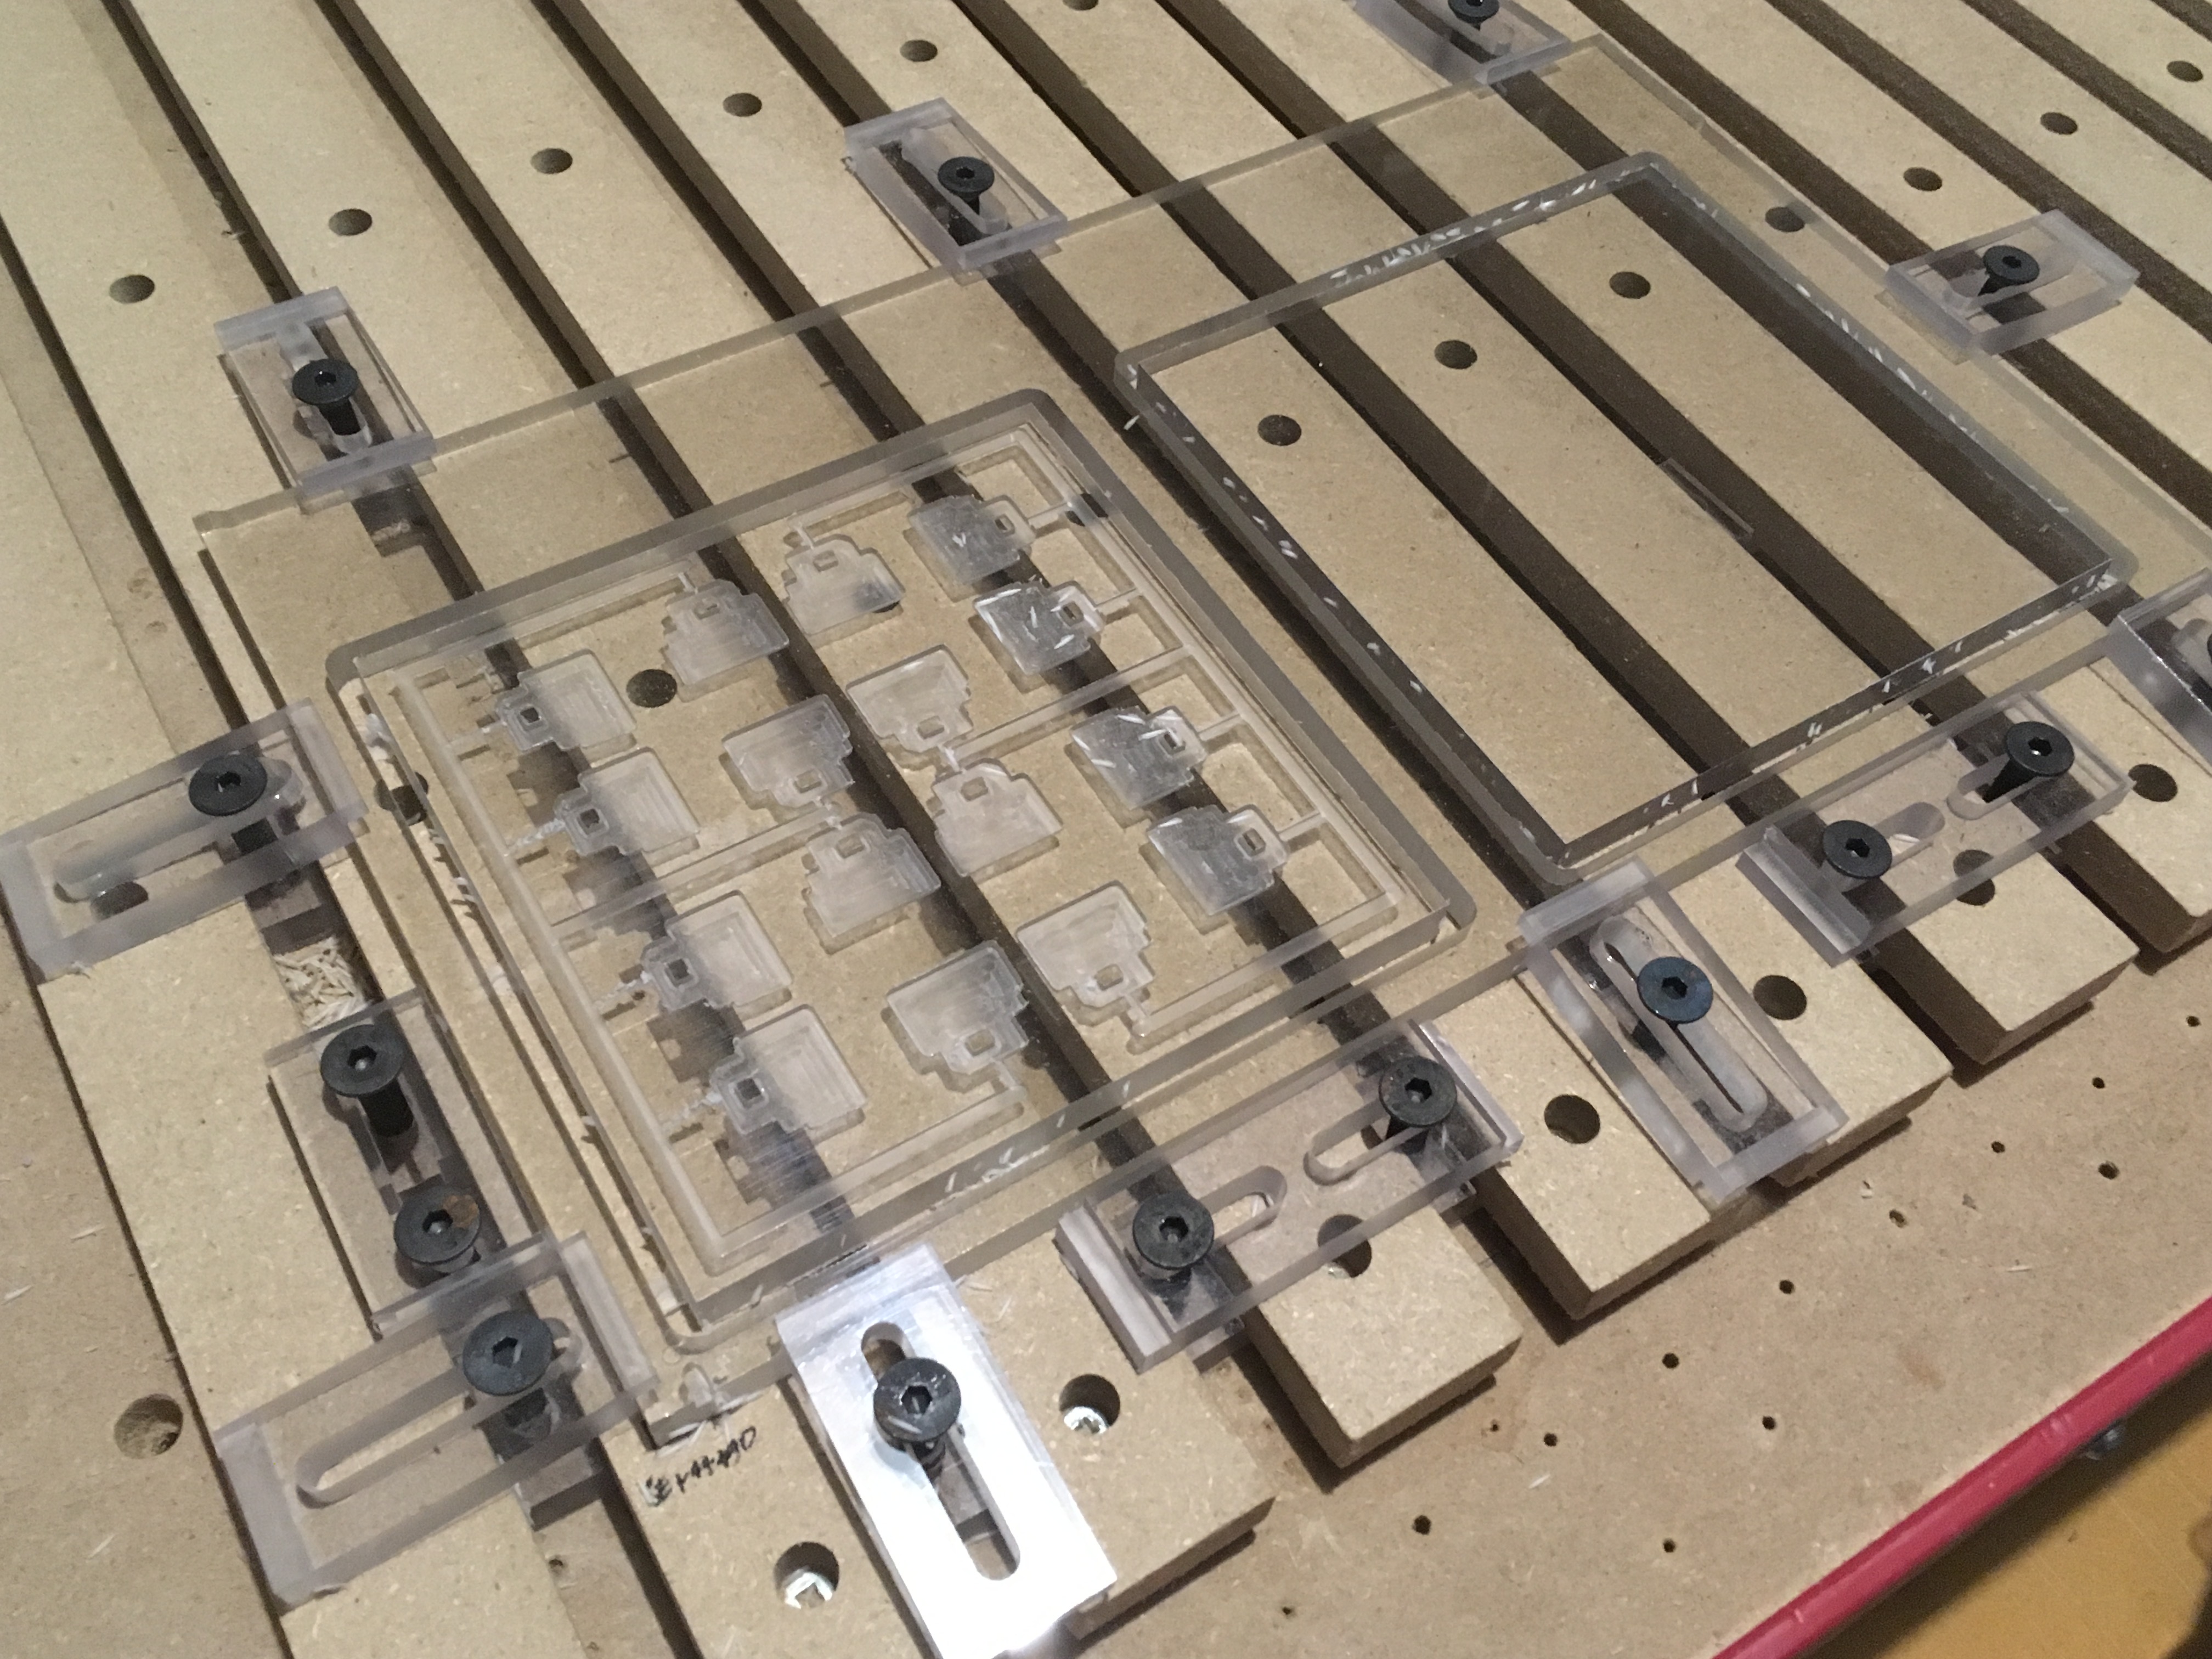
Next update was an MDF T-slot table. After struggling for the last 2 years to attach the parts on the table, I have designed and completed an MDF T-slot table. The main reason for this is that it can be easily surfaced so I can keep it level at all times. I made a file for surfacing it, and it takes less than half the time it was taking me before to surface my table. I use a 1.5" knife and I believe it takes less than 3 minutes to surface the entire table. Another feature of my table is that it allows to be moved forward for cutting pieces that are 32"x32". For brackets I use polycarbonate fixations with 1/4-20 mechanical screws. Why I chose polycarbonate is because it does not break (like wood) and if the cutter touches it by mistake, it will not damage it.
I didn’t mention the red plastic fence around the perimeter of the CNC, because that was the 1st improvement I did to the Shapeoko. At the time I had no dust shoe, it really helped keeping everything inside. Since plastics tend to statically adhere to everything, it was a necessity to design the dust shoe, the underside of the gantry was always full of plastic shavings.
Here is the finished table, scroll down for details of the construction:
I also have a washer and dryer that use 110 (gas dryer) so my 240 volt outlet in the laundry room was unused.
Luckily, the wall that the outlet is on is shared by my garage. I took the 240 volt outlet cover off, drilled a small hole through the drywall behind the outlet (which is the drywall in my garage) to mark where to cut on the other side, and just took the wires from the laundry room outlet to install a new outlet right behind it facing into my garage. Best thing I ever did in this house lol.
One of your photos show that the spindle draws 8 Amps @ 110 V and has a 0.75 power factor. That means its real input power is 8A times 110V times the square root of 3 times 0.75 = 1143 Watts. Even with a maximum efficiency of 70%, your spindle would be a properly rated (based on output power) 800 Watt spindle (i.e. equivalent to a “2 HP” router.) How much does it weigh? Did you have to get stiffer springs for the Z-axis?