Plunging a 5/8" router bit straight into oak would exert an extremely large amount of force on the machine. The Shapeoko is a CNC mill, not a router. The way to do round bottom slots and holes is a ball end end mill, not a large router bit, and do multiple lighter passes. At the very least, do a roughing pass with a normal end mill to remove the bulk of the material before trying to plunge your 5/8" bit.
The advantage of a CNC is that it can do multiple passes accurately, so theres no need to hog out a hole all at once with a giant bit. The Shapeoko is very capable (look around this forum for proof) but it isn’t a Tormach. Get too aggressive and things will flex and break.
Maybe post your file so people can see how you’re setting your job up?
3 Likes
Griff
(Well crap, my hypometric precursor device is blown…)
8
The tool is real.
The operator, not so much
I’ll take it off your hands as is. What’s your price?
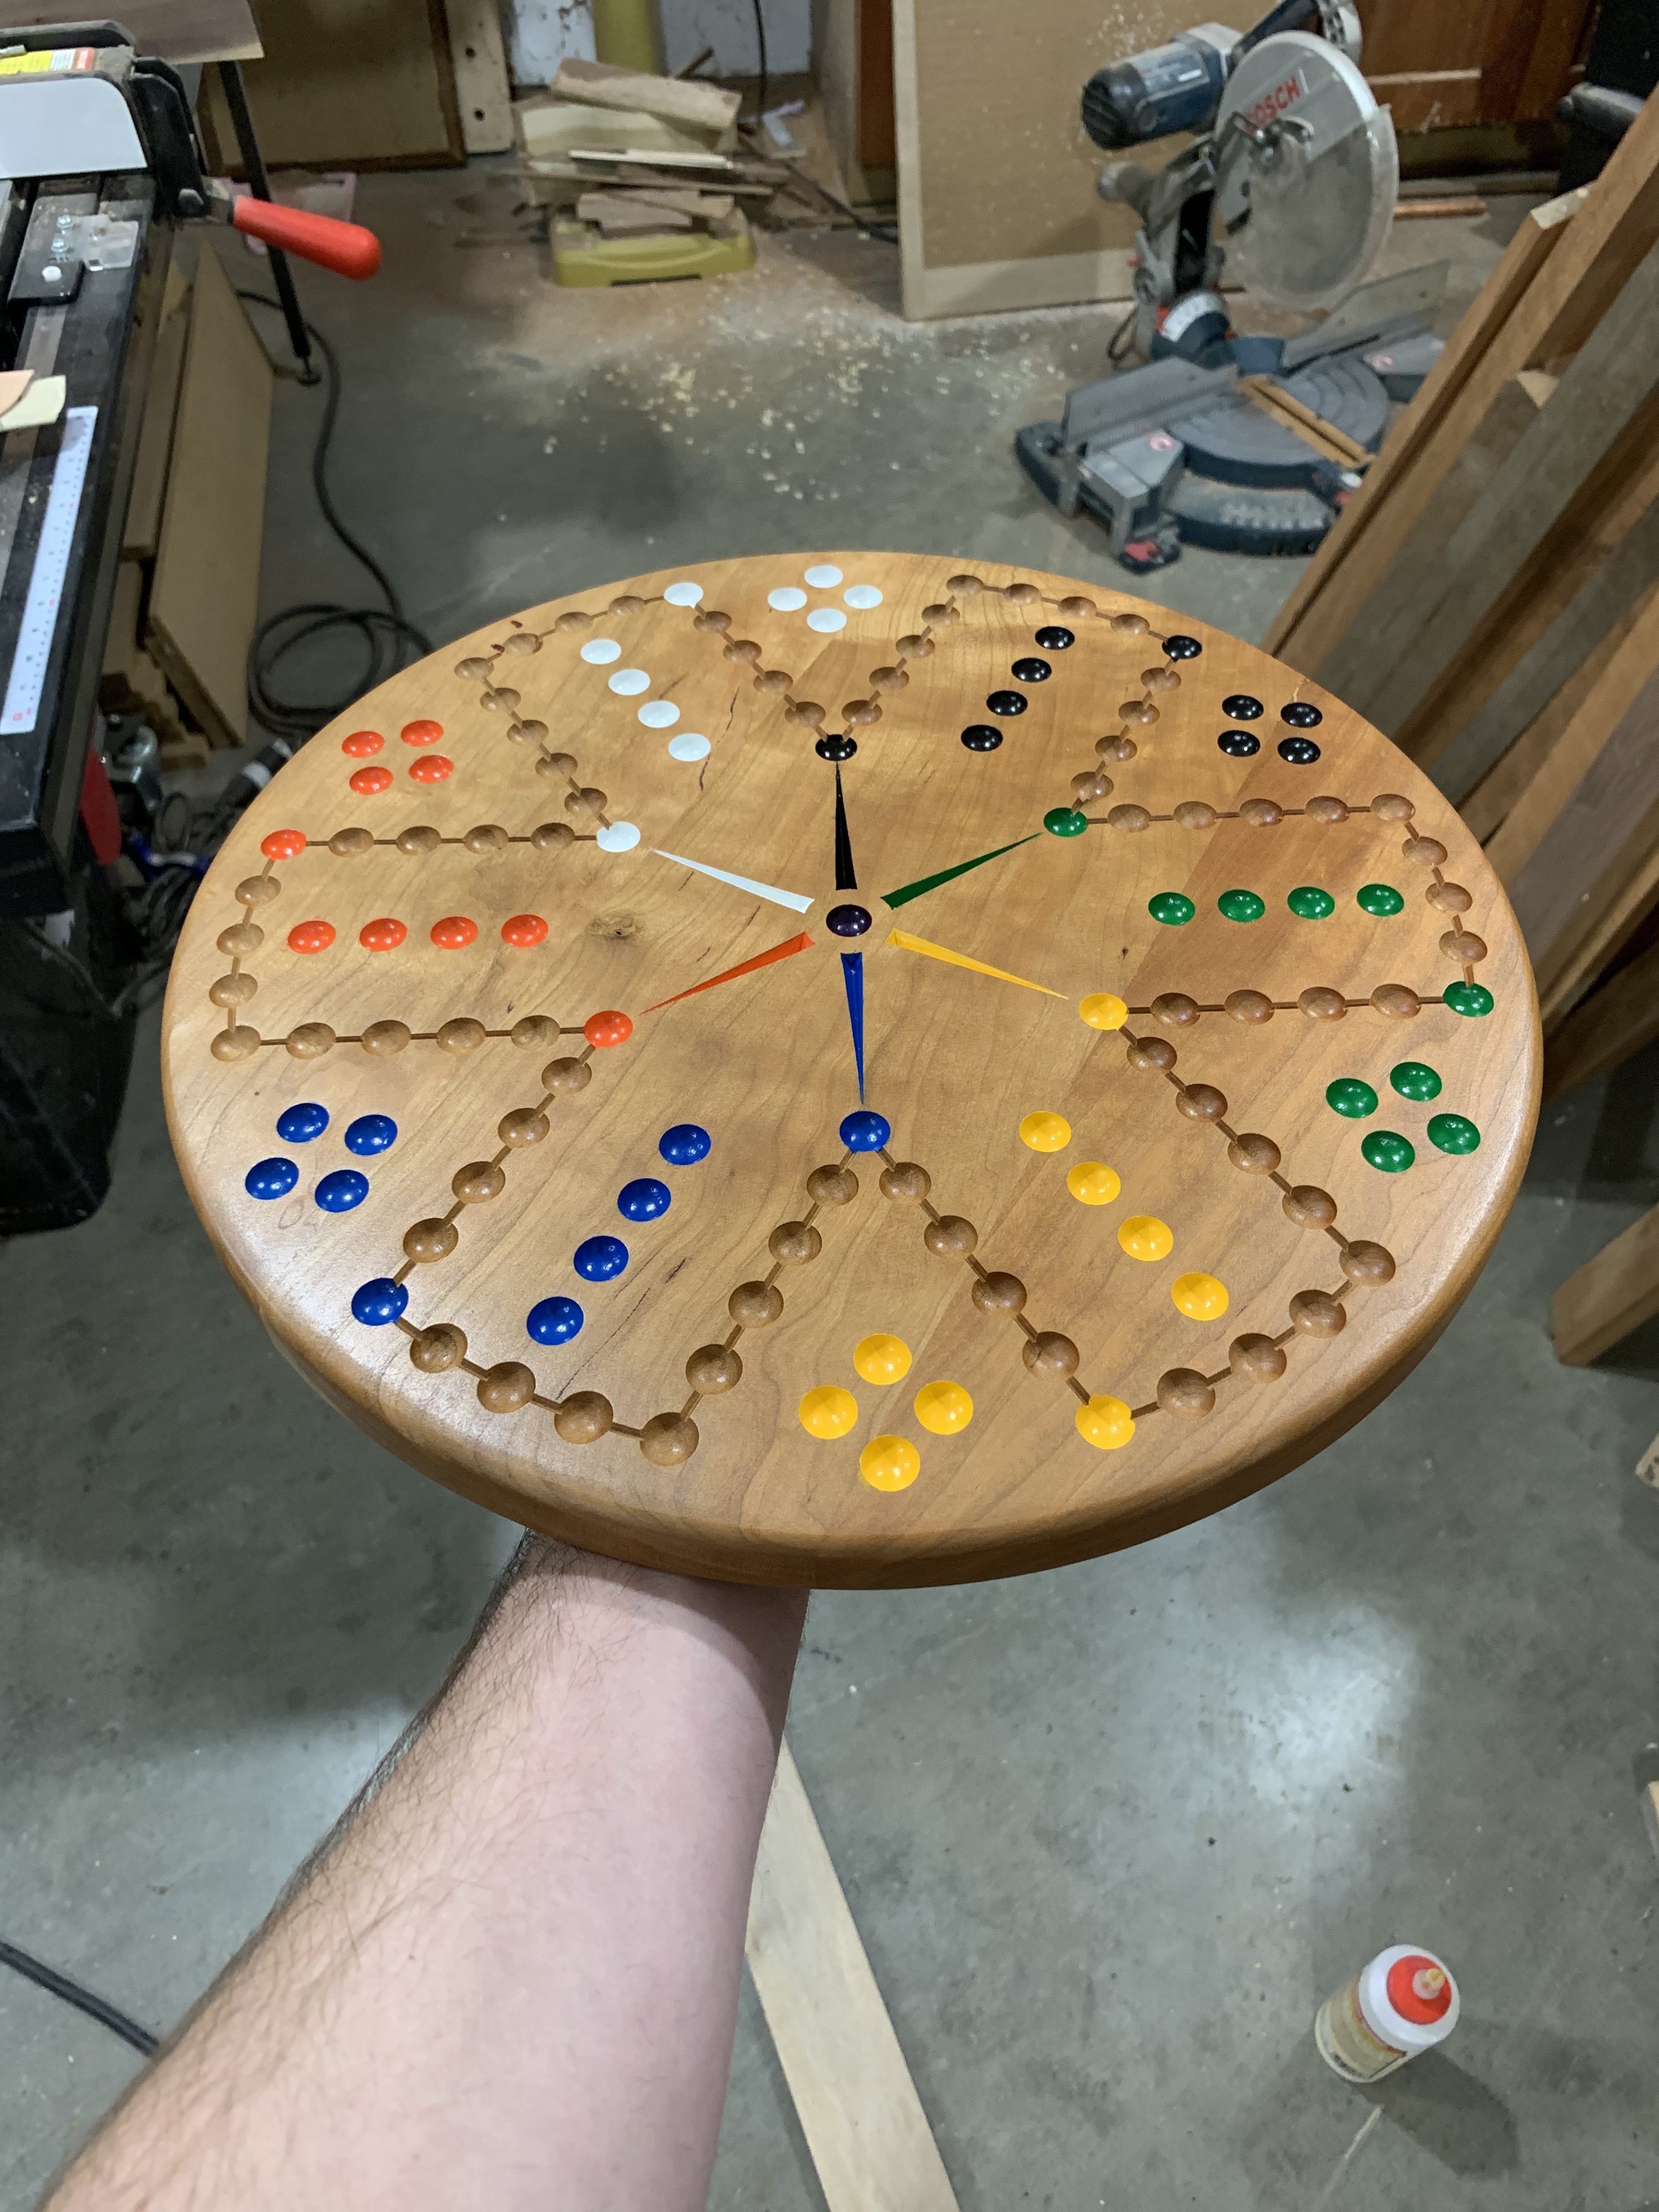
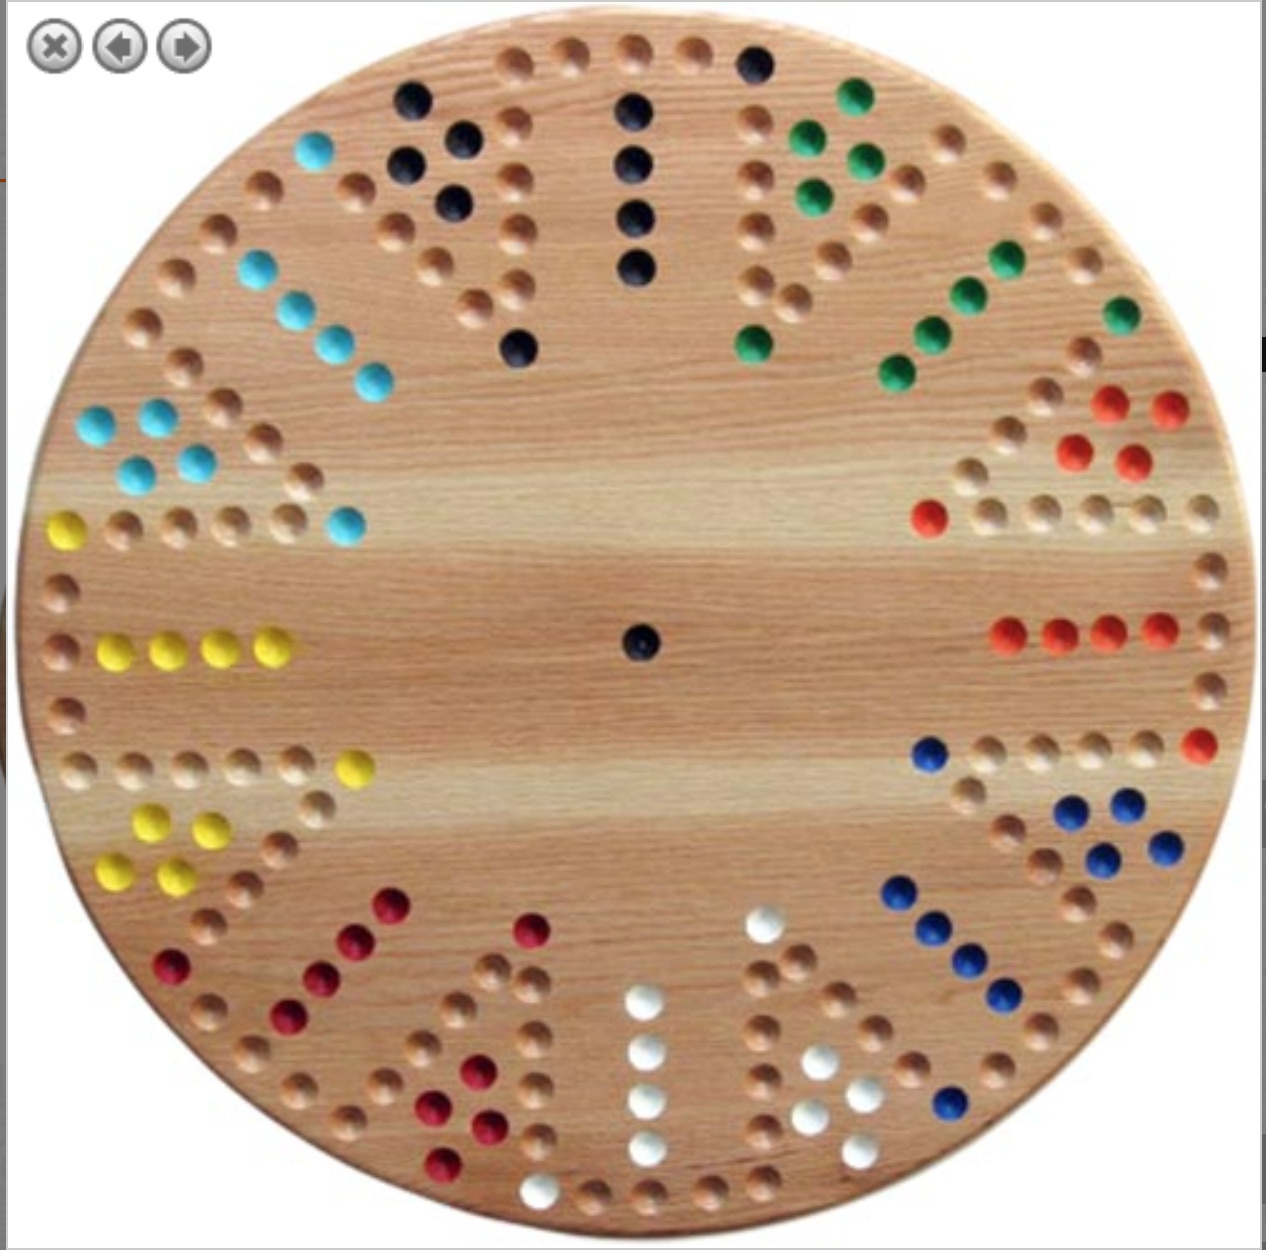
I have made multiple aggravation and Chinese checkers games with my XL and have never had an issue. I use a 1/2” core box bit (1/4” shank, just a cheapie from Menards) and do a peck drilling operation with 2 passes (using vcarve) for all of the holes. It seems like you would want to use a 1/2” core bit for the marbles that most of us use. If you need the settings I use I can get them for you when I get to my laptop.
We understand your frustration, it’s all god a pretty steep learning curve. You can do some amazing things with the machine:
To be fair, he has added some additional stiffness over time, but he’s been quite successful prior to that building some amazing stuff.
3 Likes
Griff
(Well crap, my hypometric precursor device is blown…)
11
@mikep and all others trying to help, this guy is like my father in law, “don’t confuse me with facts, my mind is made up”. Many a time I’ve beaten my head against that wall until the blood runs in my eyes.
Another thing to keep in mind is that the Z axis uses a 6mm gt2 belt vs the 9mm for x/y. This combined with the V wheel/rail motion system make it a little tricky until you learn the limits and proper adjustments. Debris clogging wheels will cause belt skips and cause behavior like you are describing.
If theres one wish I have is that Carbide 3D comes out with their own upgrade Z. With minimal improvements to the design it is capable of high speed machining easily with real world material removal.
It’s a cnc…just tell it to cut better. What rpm, sfm, and chipload are you running?
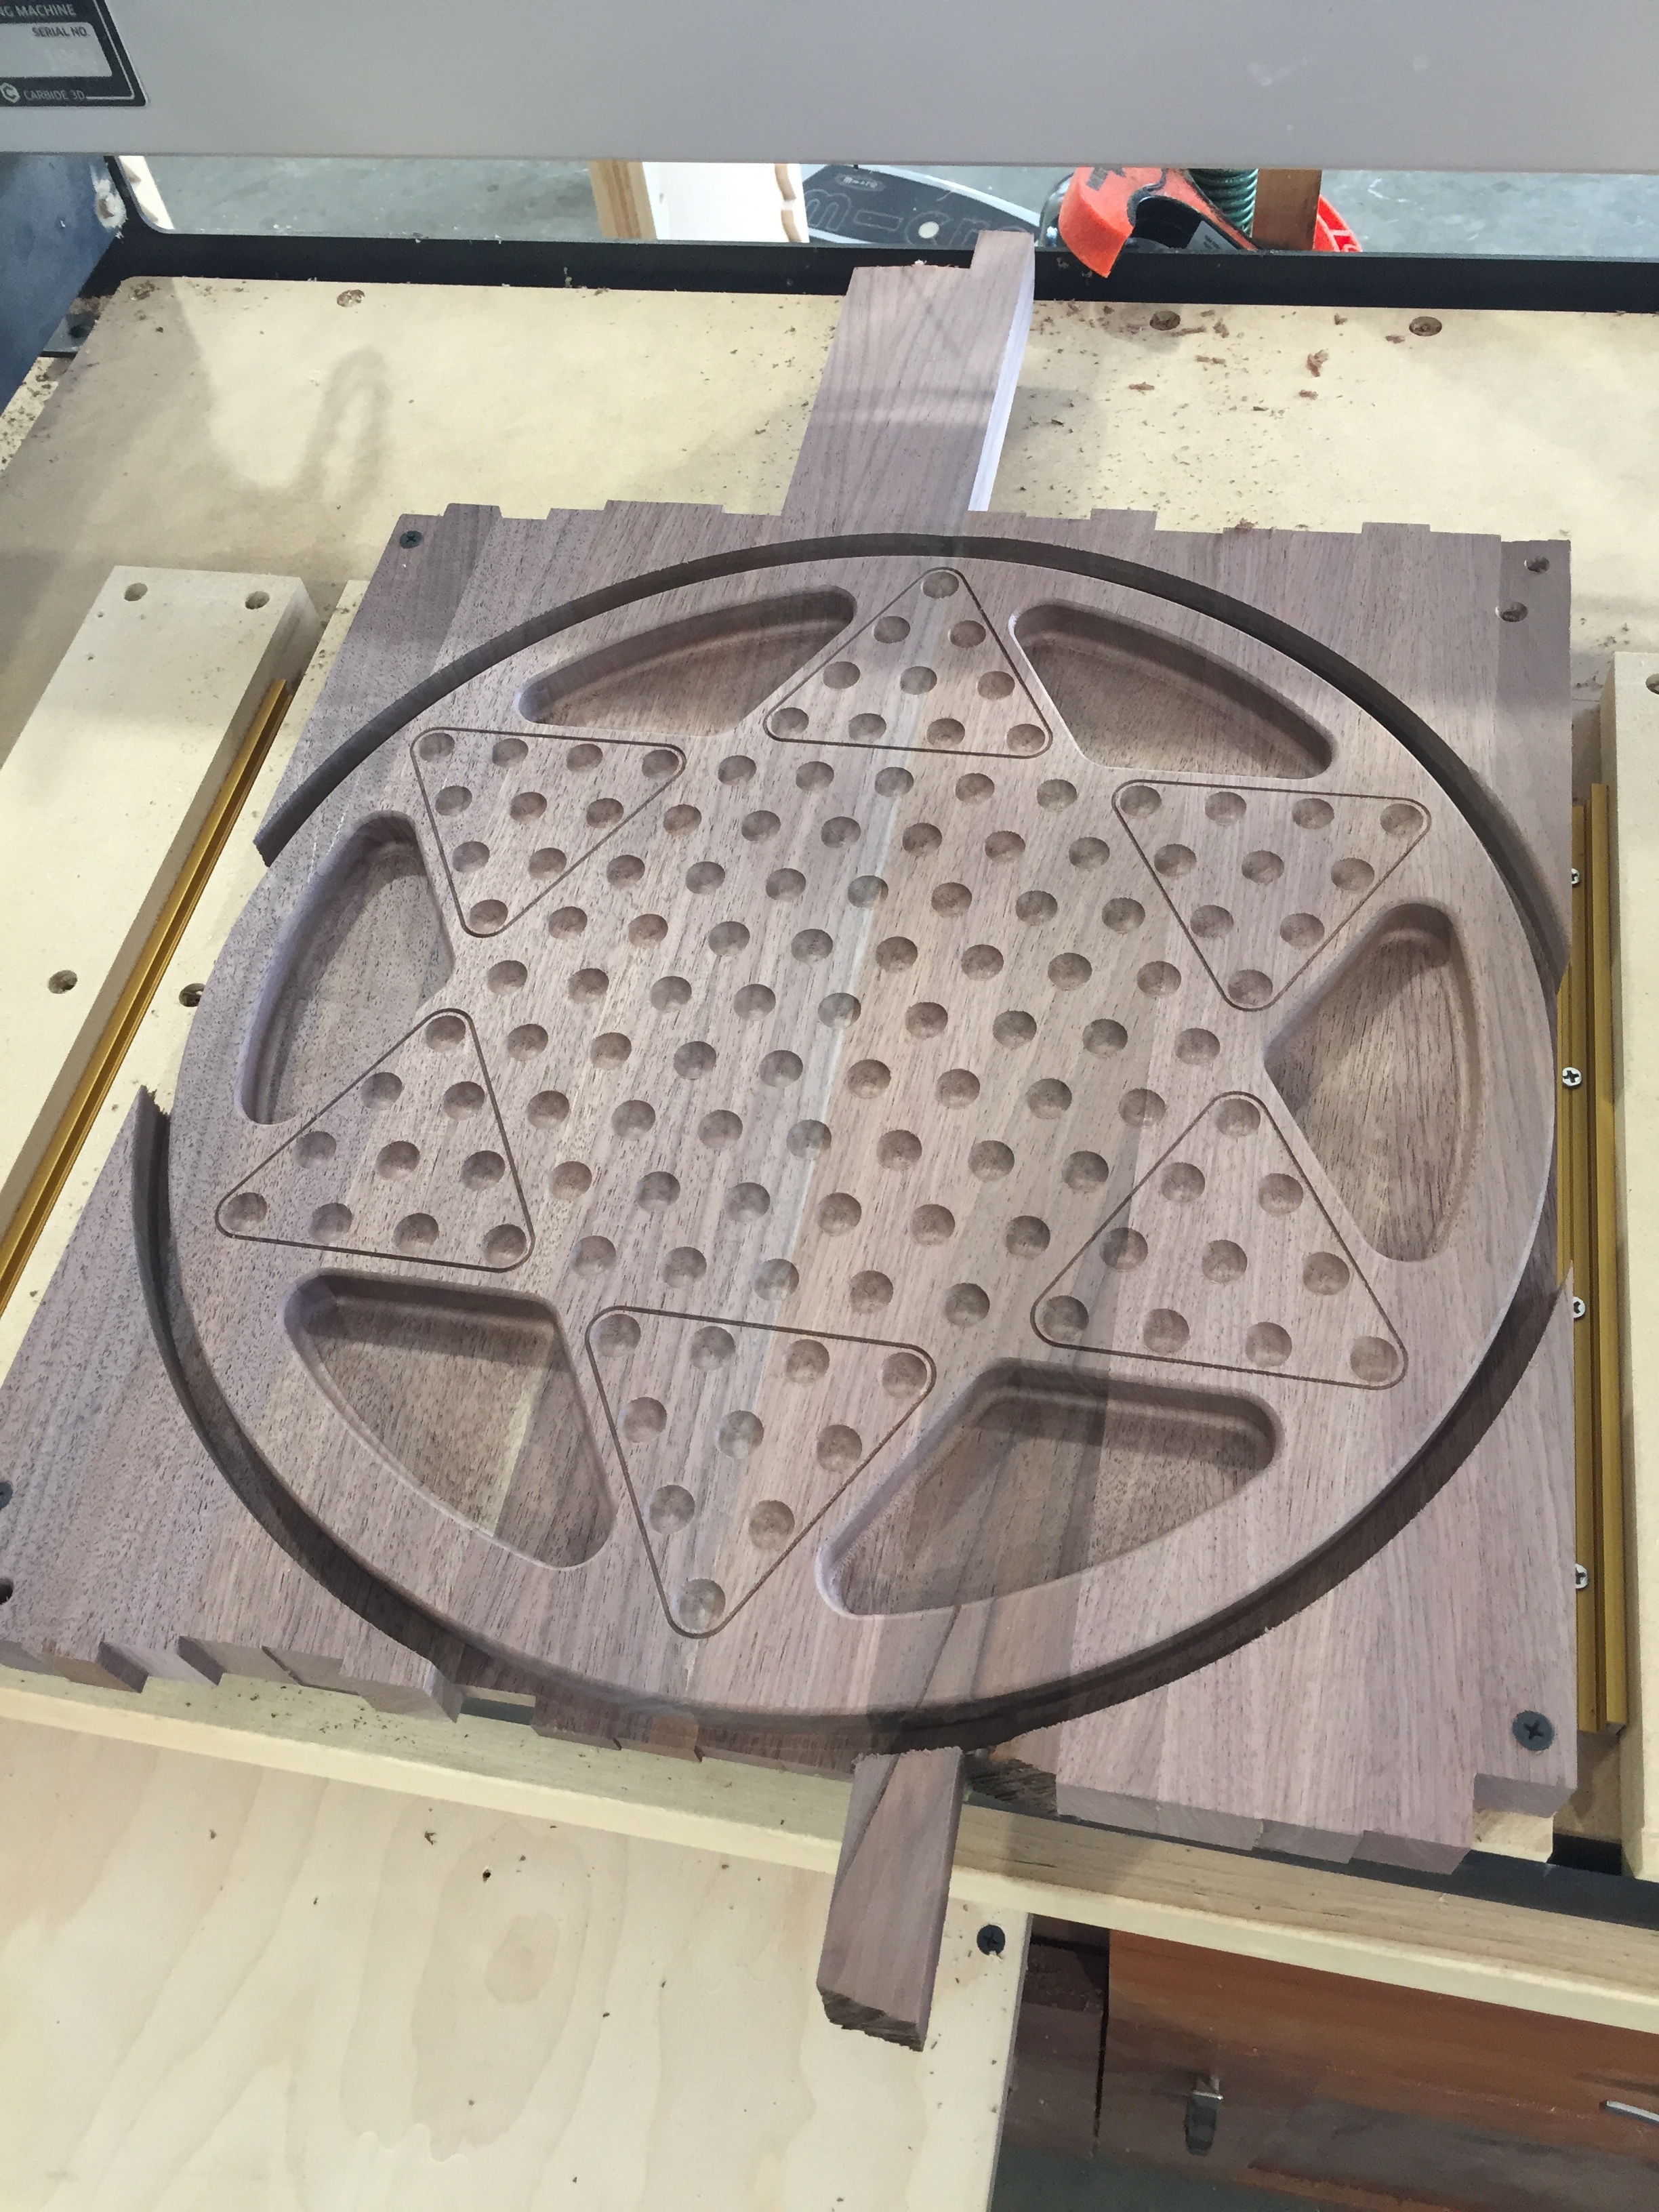
Good morning everyone. While many of you seem to have the answers to my problem, no one has told me how to achieve a round bottom 11/16 hole, which is a must for a decent looking product.
As far as “practicing” as was suggested, I have done that in plywood successfully, with with 3/4 90 degree bit for a not so good result.
Net step was to use core box. That worked ok for about 1/2 of the job. In a 8 player Aggravation game board, there are many holes (about 160) . While it starts out doing really well, it does all kinds of crazy things that destroy 40 dollars worth of Red oak.
The last problem is that the lower pulley just fell apart.
Thanks to everyone for doing their best to solving this problem.
Again, here are the settings that I was using.
0.345 diameter hole with a 5/8 inch core box bit.
Max depth of 0.250 in 3 pecks
The plunge rate was 1.5 inch per
That seems pretty reasonable to me.
I am no stranger to woodworking. I have been a carpenter and woodworker since 1959. Just thought that some f you might consider this helpful,
As Vince suggested, it would be really great improvement if the Z axis was needed up.
I really o not understand why it is so delicate.
Brian, thanks for that information, I ship all my boards with 7/8 inch marbles, which requires at least an 11/16 inch hole. Looks like that is enough of a difference in size to cause a failure.
Most of my customers are older retired people and they like larger marbles.
It’s not that the stock z is very delicate, it just has certain limitations. These can easily be dealt with with better cam and hardware setup. Imo the belt drive system is actually a good thing for beginners and will slip before doing lots of damage.
Also with this level of benchtop cnc I recommend doing a quick check of all pulleys at the beginning of each operation day. Vibration can and will make your life hard unless you use the recommended and included loctite in the kit on certain bolts.
The only hardware failures I have come across personally were operator error induced. Even so, lets say you recieved a bad or defective pulley, Carbide3D stands behind their product and im sure will help you with your issues.
As far as the cutting goes. That bit is pretty much a large ballmill correct. Endmills already have a hard time straight plunging, a ball mill due to its very slow moving center point and chip clearance would have an even harder time.
I usually only cut aluminum but imo the way to do it would be to rough using HSM and smaller endmills then toolchange to the core box for final dimensions. If that seems like too much work I would try to take more pecking passes. If the Z is currently being overloaded then back down on the load and slowly raise until limit, then back down another 10%.
If it makes you feel any better I know exactly how you feel. It seems like most people go through a love/hate phase at the start but seem to find a way if they stick with it.
If @osu22go can figure it out then you can too (beautiful work btw)
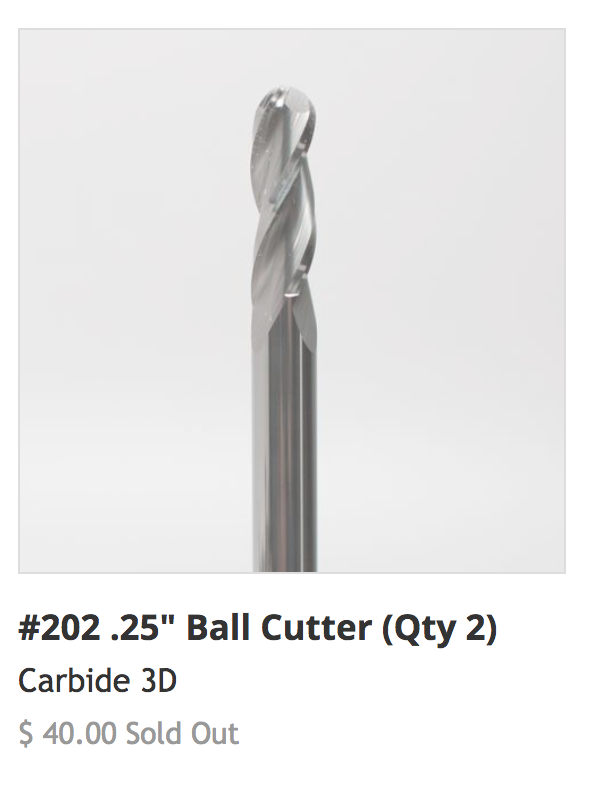
Machining Round Bottom holes using 1/8" or 1/4" Ball end mills is an easy task using 3D software (MeshCAM, Fusion 360, etc), but it does take some CADCAM modeling experience. Are you familiar with any 3D CADCAM software? You could always ask one of us to help you program your part… Just send us a drawing… we like to help.
Griff, I thought that this forum was here to help people wit their problems, not to criticize and and call names. But seeing some people believe they are God they can get away with that!
1 Like
Griff
(Well crap, my hypometric precursor device is blown…)
21
Just trying to calm you down son.
Nice to see you are focused on solving the problem rather then ranting.
Glad to see you are accepting the help offered.
Have fun with it, hope you revise your opinion of me. Happy to help, limited though my knowledge may be.
I use Fusion 360 and it has a great feature for doing this type of thing. You can create the divots you would need for just one player, select that and do a circular pattern. When you do the pattern, it asks you how many you want and it spaces them evenly so it’s just as easy to do a four player as a five or six or eight or any number. I did this on one of my boards where I made one star and then patterned it in a circle and so I could get 32 stars evenly spaced around the circle. Doing it manually would have been a nightmare of figuring out angles, etc.