And when I Zero All I make sure the end mills is a hair over the top of the 1" think stock but when I run the job the bit only goes in less then half the depth of what I entered in the commands and it looks like the milling pattern is reversed like this: When the job start the bit goes in the stock but as the job goes the Z patterns go higher and higher above the material instead of inside the material. Could I have reversed the Z axis motor wiring? Anyways, I was hopping someone has a simple design like a circle that I can try to test if it’s something wrong with my machine, thanks for reading and helping!
You should be able to test your z-axis by jogging in Carbide Motion. You want +Z (PageUp) to move your router up and -Z (PageDown) to move your router down.
When I Jog on my Mac computer I use the 4 keyboard arrows on the right of the space bar for the X and Y axis and use the < and > keys on the right of the M key for the Z axis like so:
The < key makes the spindle go Z-
and the > key makes the spindle go Z+
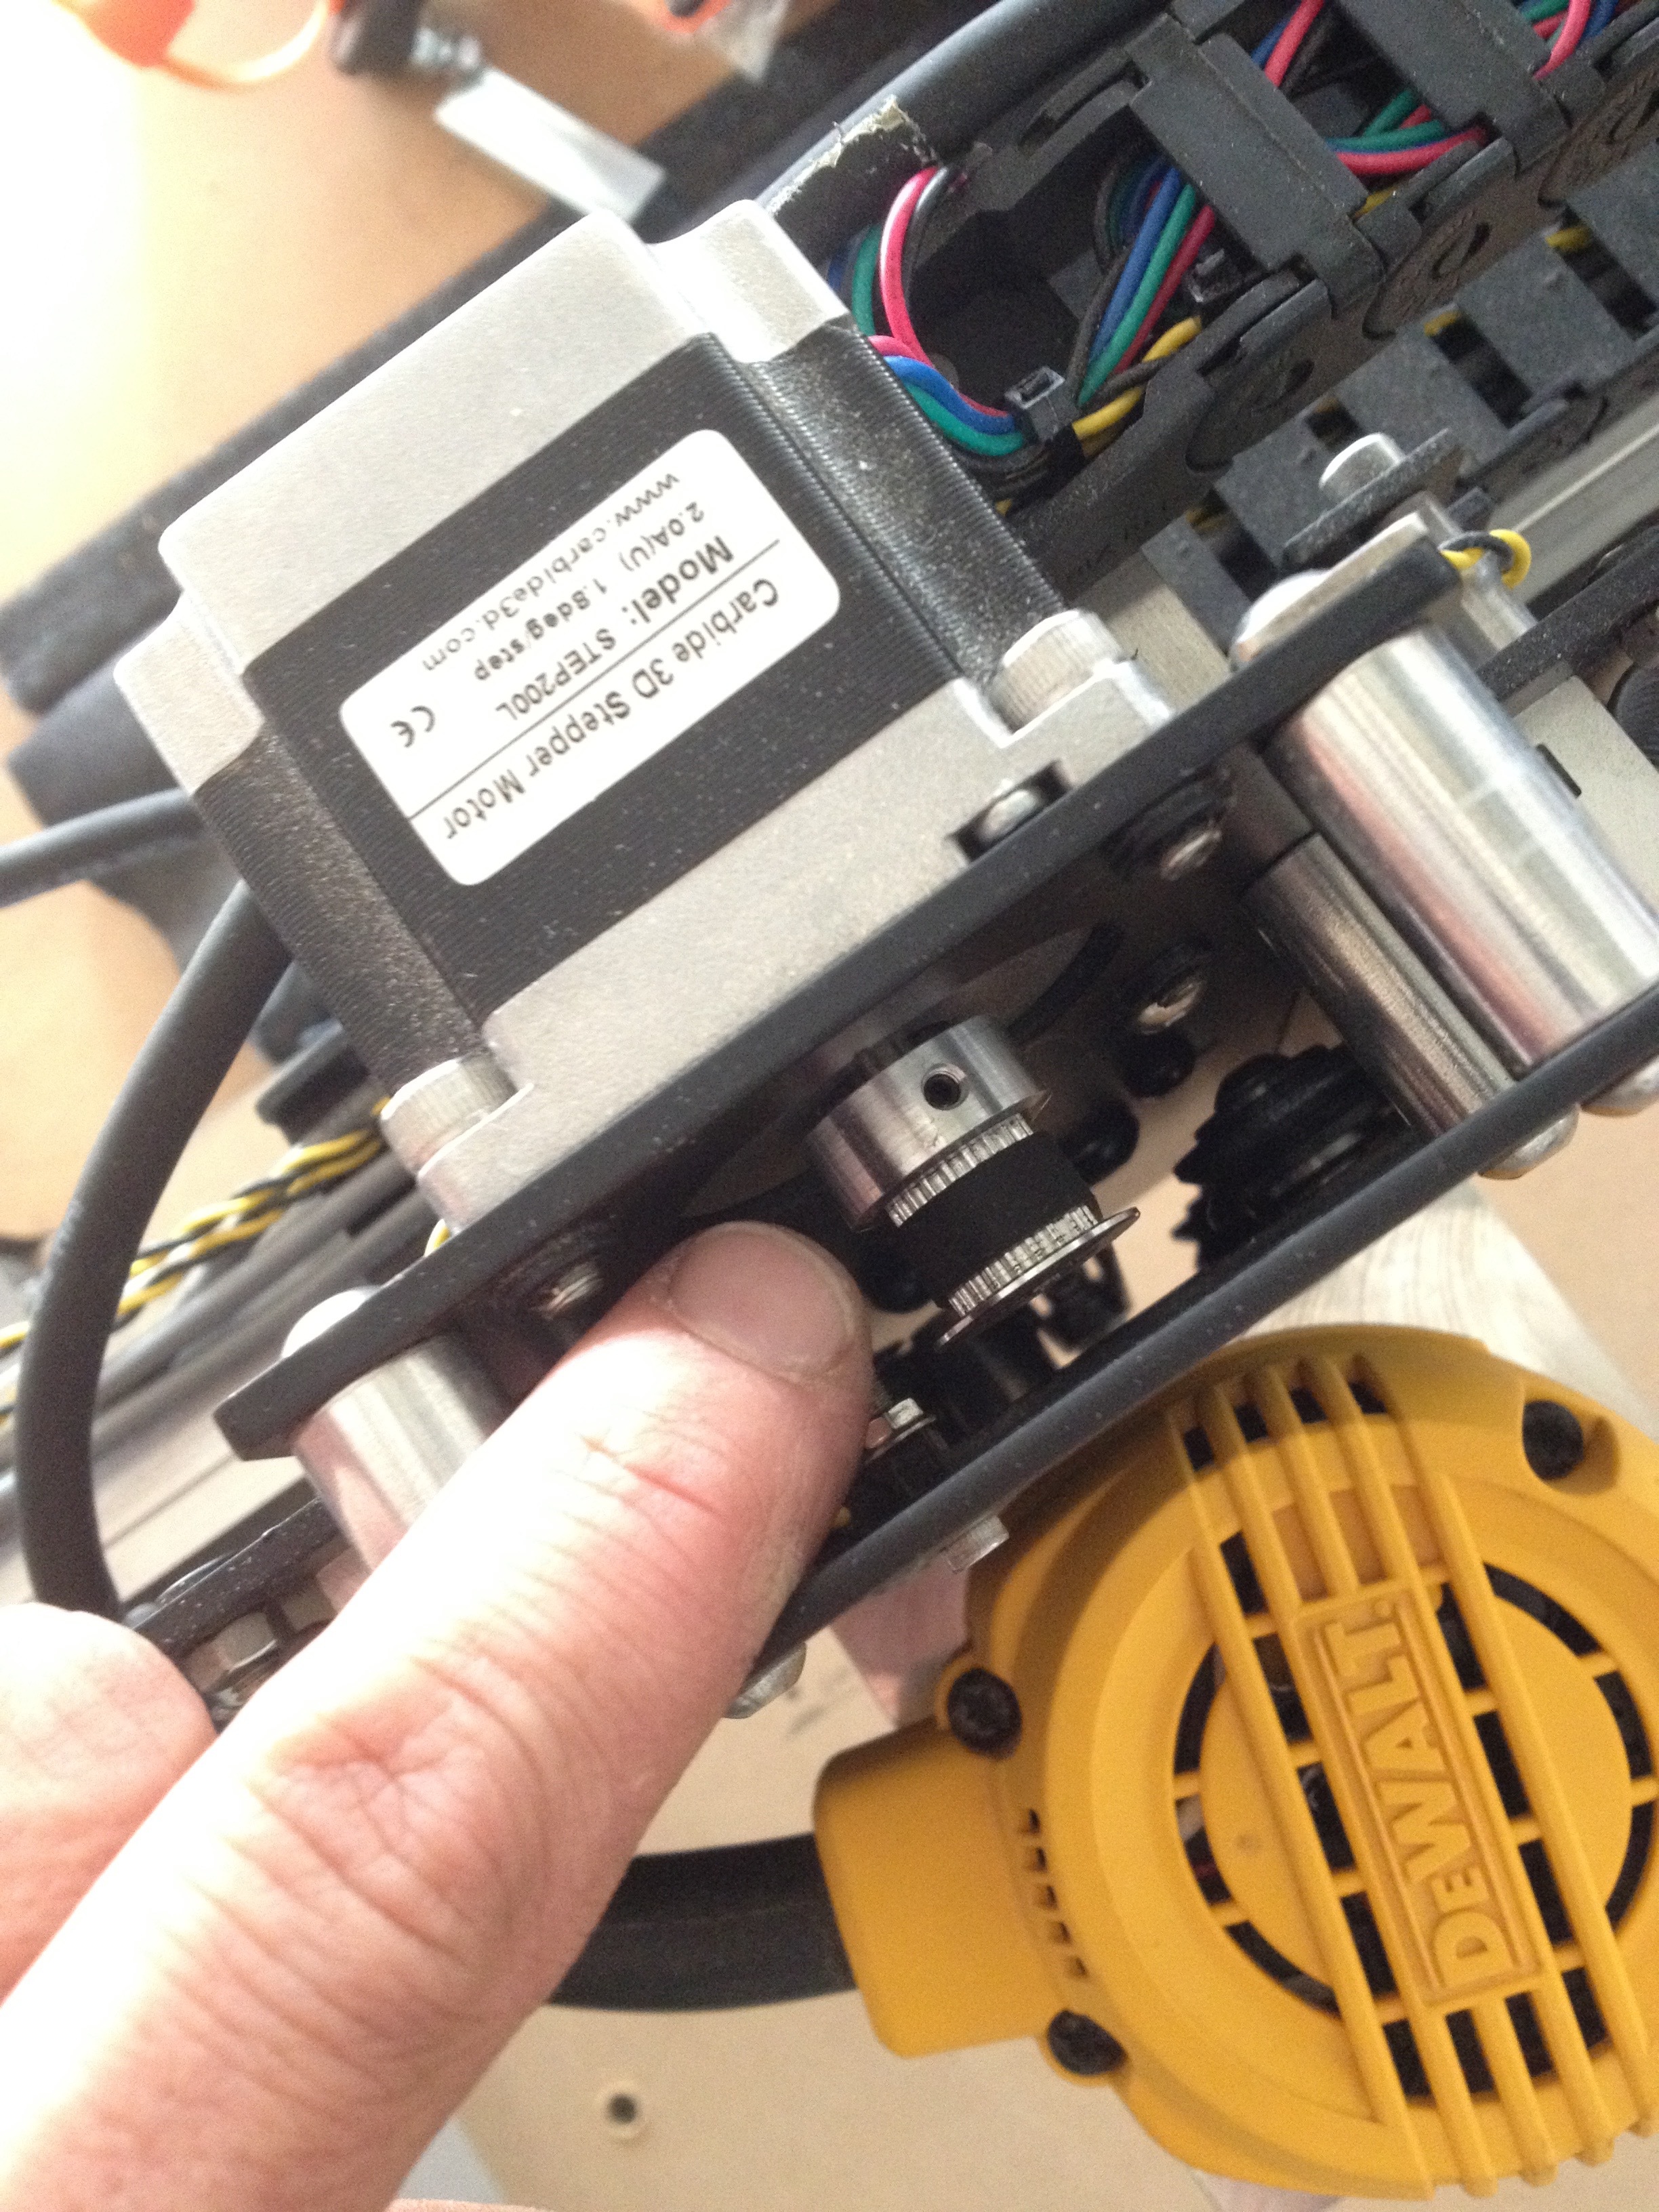
Thanks William, you put me on the right track for things to check. It wasn’t the Z belt tensions but it was the small hex set screws inside the belt sprocket that were not fully tight. I was able to check that by Jogging -Z and seeing the shaft move inside the pulley sprocket. I tighten the 2 hex set screws as much as I could but bent the soft metal from the hex key. I will have to purchase hardened black hex key for this operation to be as tight as possible. Does anyone know the Allen key size for those set screws?
I believe the set screws have a hole for a 3mm hex wrench. You don’t need to severely over-tighten these, though. Your machine should have shipped with a tube of thread lock. This is the perfect spot to apply it. Once the thread lock is on and dry, the set screw will not come loose due to vibration.