Wood is not very stiff even in a torsion box configuration. At least not when 0.020" is significant. Just a few lbs load change from one leg to another will twist a wooden torsion box enough to throw the table flatness out enough to mess with shallow v carving of large pieces. I built a torsion box onto mine. If I wanted to make it mobile I would have made the frame out of steel or made the torsion box much thicker… like all the way to the floor.
For the smallest size SO3 and maybe even the XL it may not flex enough to notice aftet moving the machine from one place to another. However, I believe it will twist the XXL more than 0.010", even on a 5" tall torsion box.
If you put a dial indicator on the router or x axis beam then press on the center of a xxl machine, even with steel supports and two layers of MDF it will deflect over 0.030" with just a light push from your hand. It will deflect over 1/16" with just moderate force. I put shims under my xxl base cross support beams to minimize that deflection.
I’m basing my comment on that and that wood is about 1/20th as stiff as steel.
Keeping a machine flat and true is difficult even when it’s on a fixed table. That’s probably why Will suggests bolting it down. Wood expands, contracts and twists with changing temperature and moisture levels so a wooden base is a compromise between accuracy and cost. Making it mobile is a one step further trade between accuracy and convenience.
It will be fine for some types of uses. It’s something to think about though.
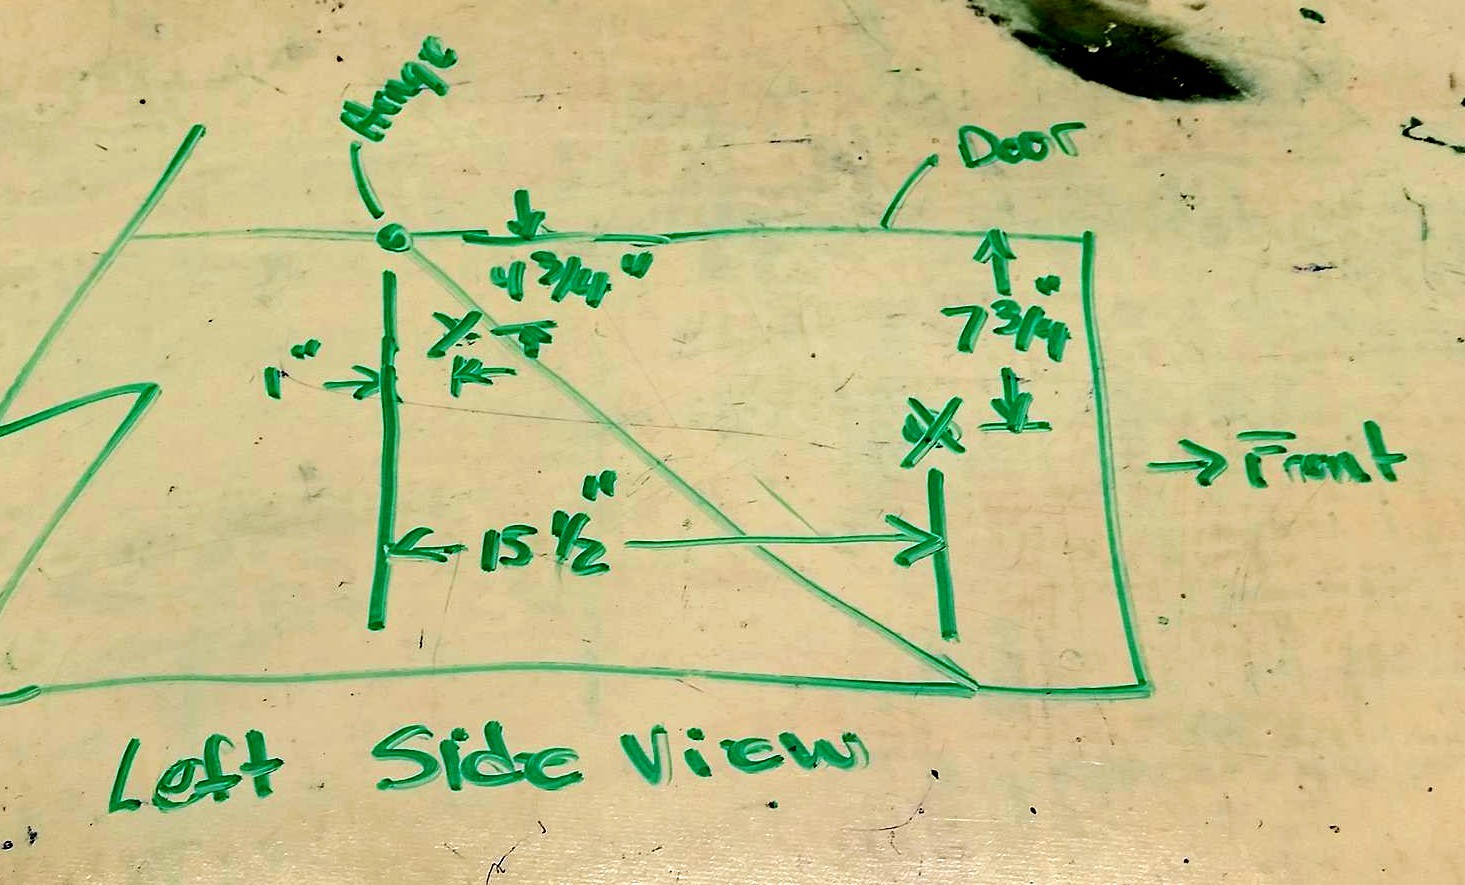
Tony, do you have the mounting locations from the hinge pivot points for the gas Springs?
Does your access door require latches to keep it closed? I tried a pair of 60# Springs on my enclosure but it would take about 20# of weight to get the door to close. Thinking of trying 50# Springs.
Side view
I used a strong neodymium magnet mounted in a block of wood at the center bottom front then screwed a piece of tube steel to the bottom center of the door. The magnet is about 3/4" diameter and a half inch long or so, so it provides 15 to 20 lbs force to hold the door shut. You can find strong magnets on EBAY for a reasonable price. I think most home centers will have magnets encased in steel sleeves which focuses the magnetic field in one direction and makes them easy to mount. With that type of magnet you can get 20 to 40 lbs holding force without spending more than $10 or so.
I’ll measure the spring mount points and post them later. I mounted the spring mounts on blocks then I just tried various mounting locations until I got what I wanted. Every door will have a different CG, weight and torque so its likely that my mounting locations will be different than yours. I used thick plastic panels (because that’s what I had laying around) so that made my door heavier than some others I’ve seen here.
Tony - with mounting all your electronics on the outside of the case, were you able to do that with the stock length wires? Or did you use extensions and if so from where? Seems all my wires just barely make it to the side of the left rail as is, let along out to a case another ~8" out…
Make it a couple inches wider to allow more room to work when wiring
Make it about 6 inches taller to allow more options for routing the dust collection hose
Make it about a foot deeper so I could cut stock to the full forward extent of the cut area without having to open the door
I would consider ditching the stock base and hard mounting the y rails to the torsion box or to a large aluminum plate.
Use stronger gas springs. Mine work well until the shop gets colder. When its cold they won’t hold the door up without a prop stick.
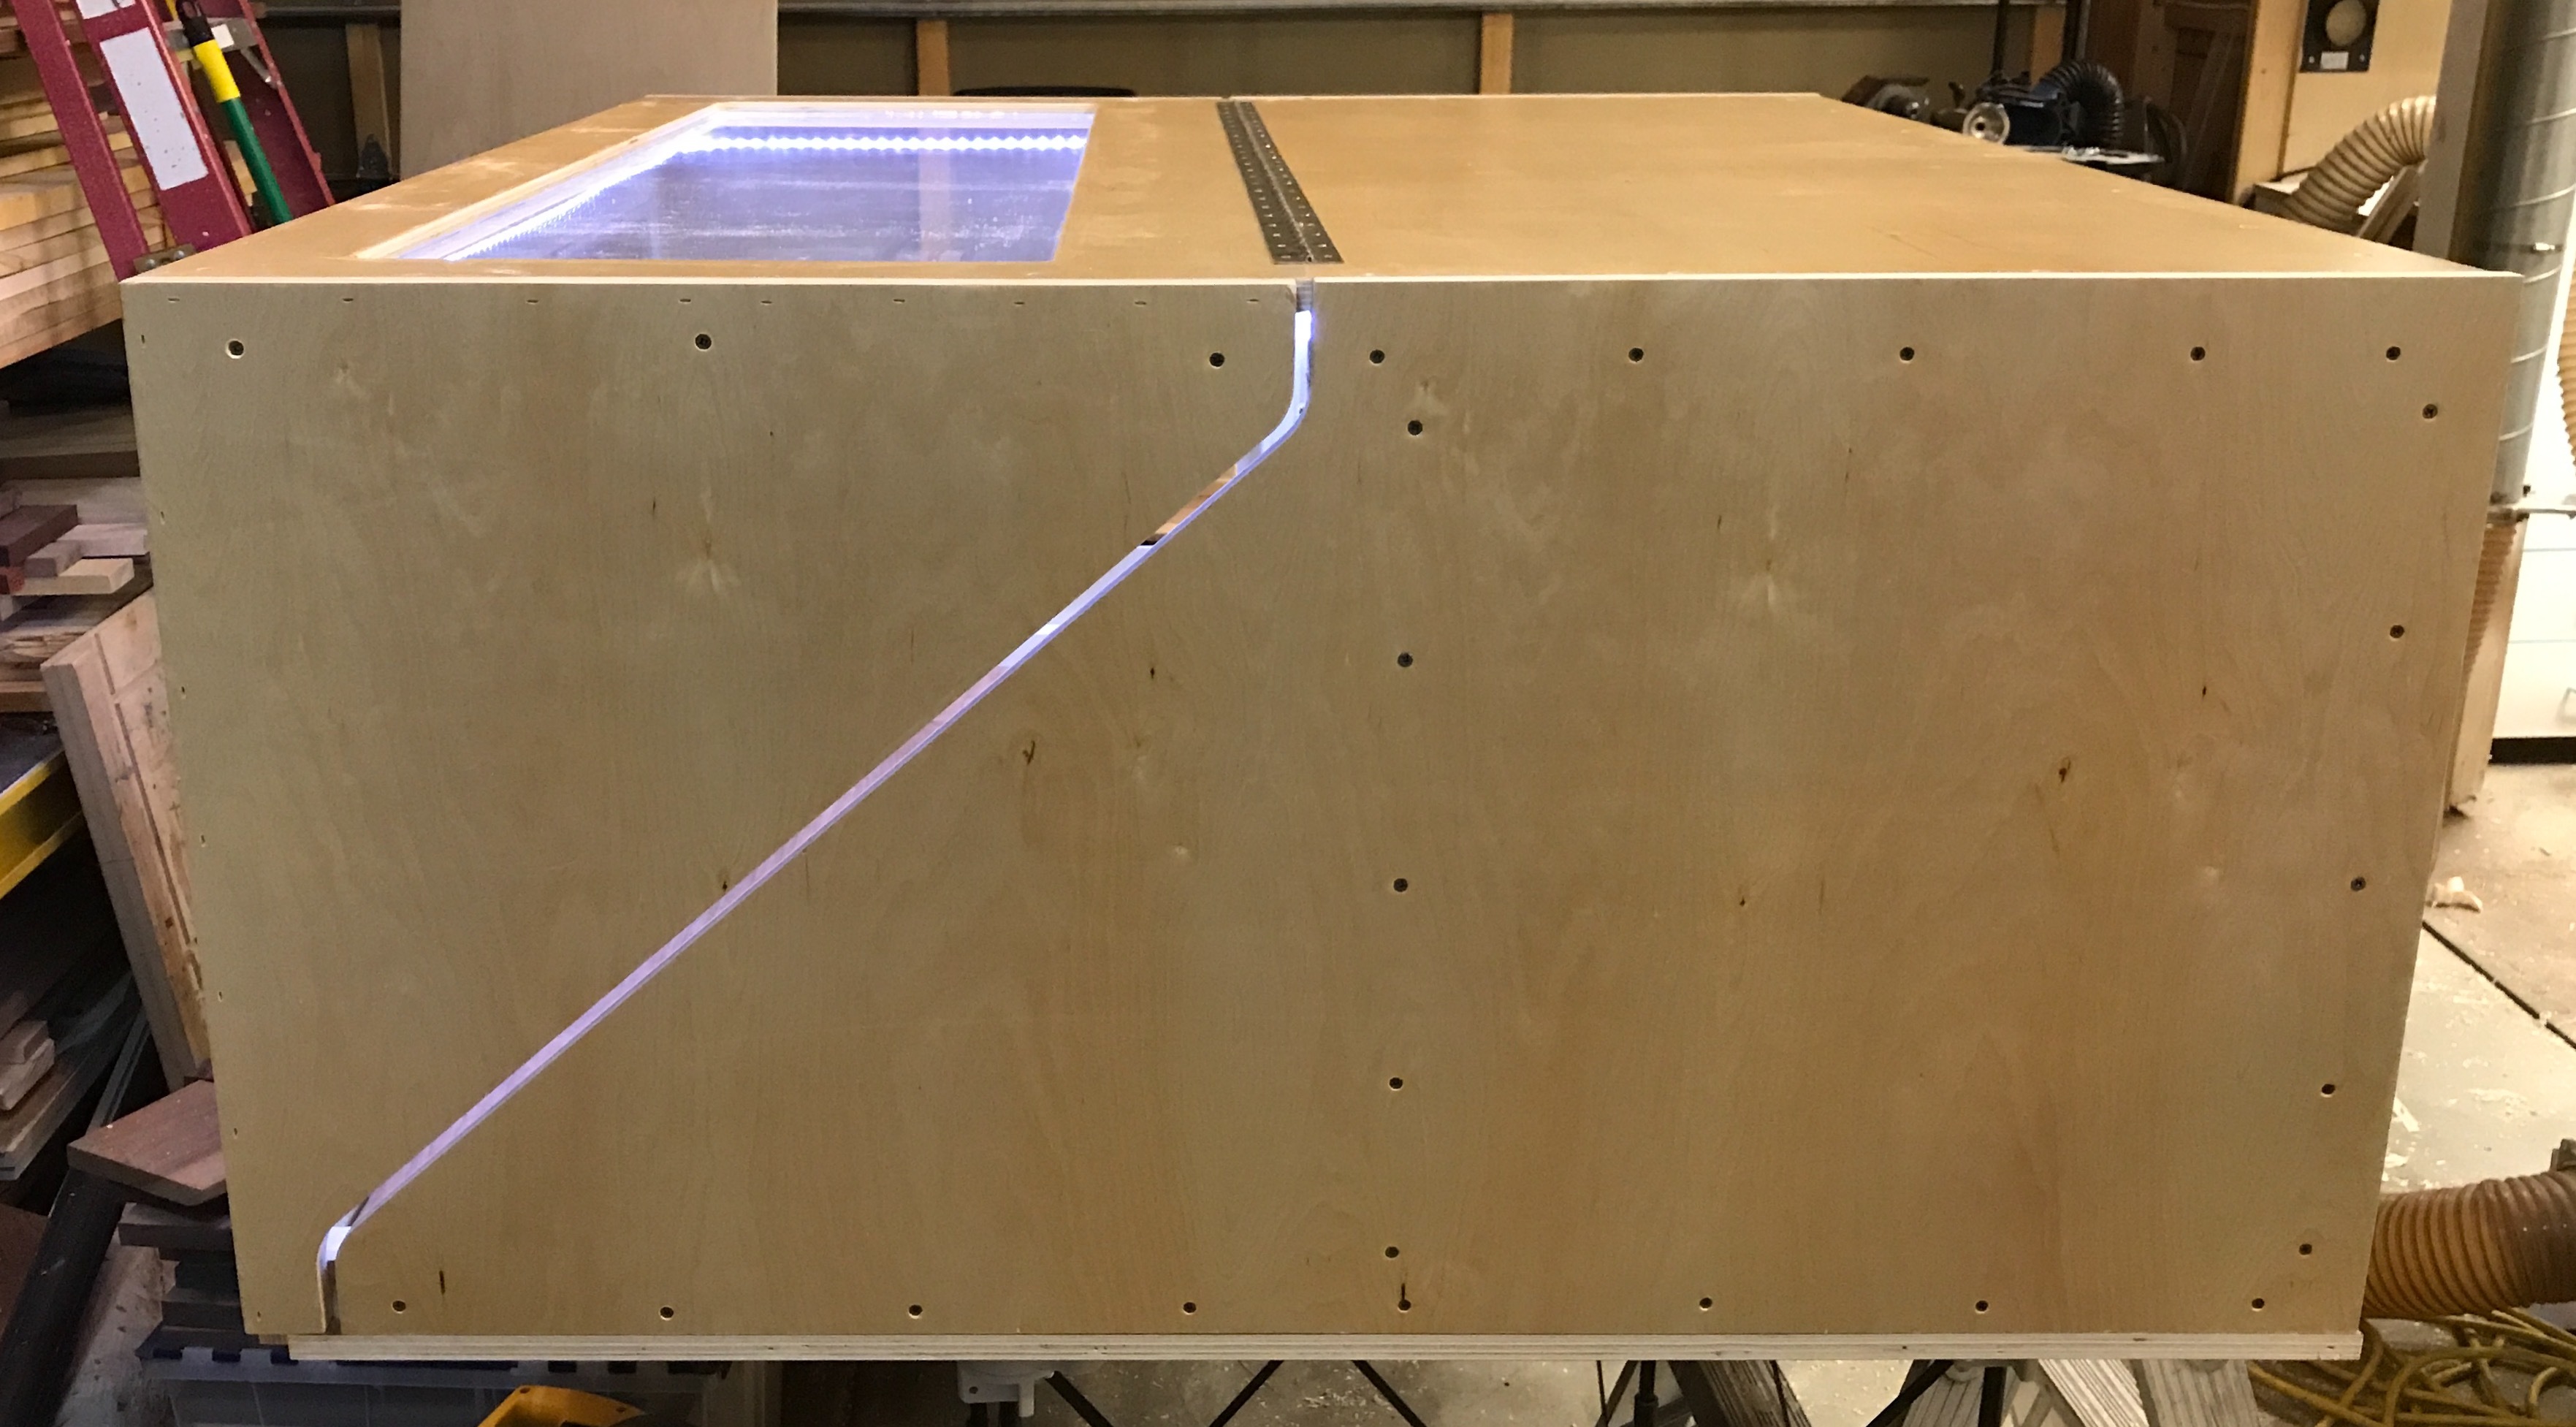
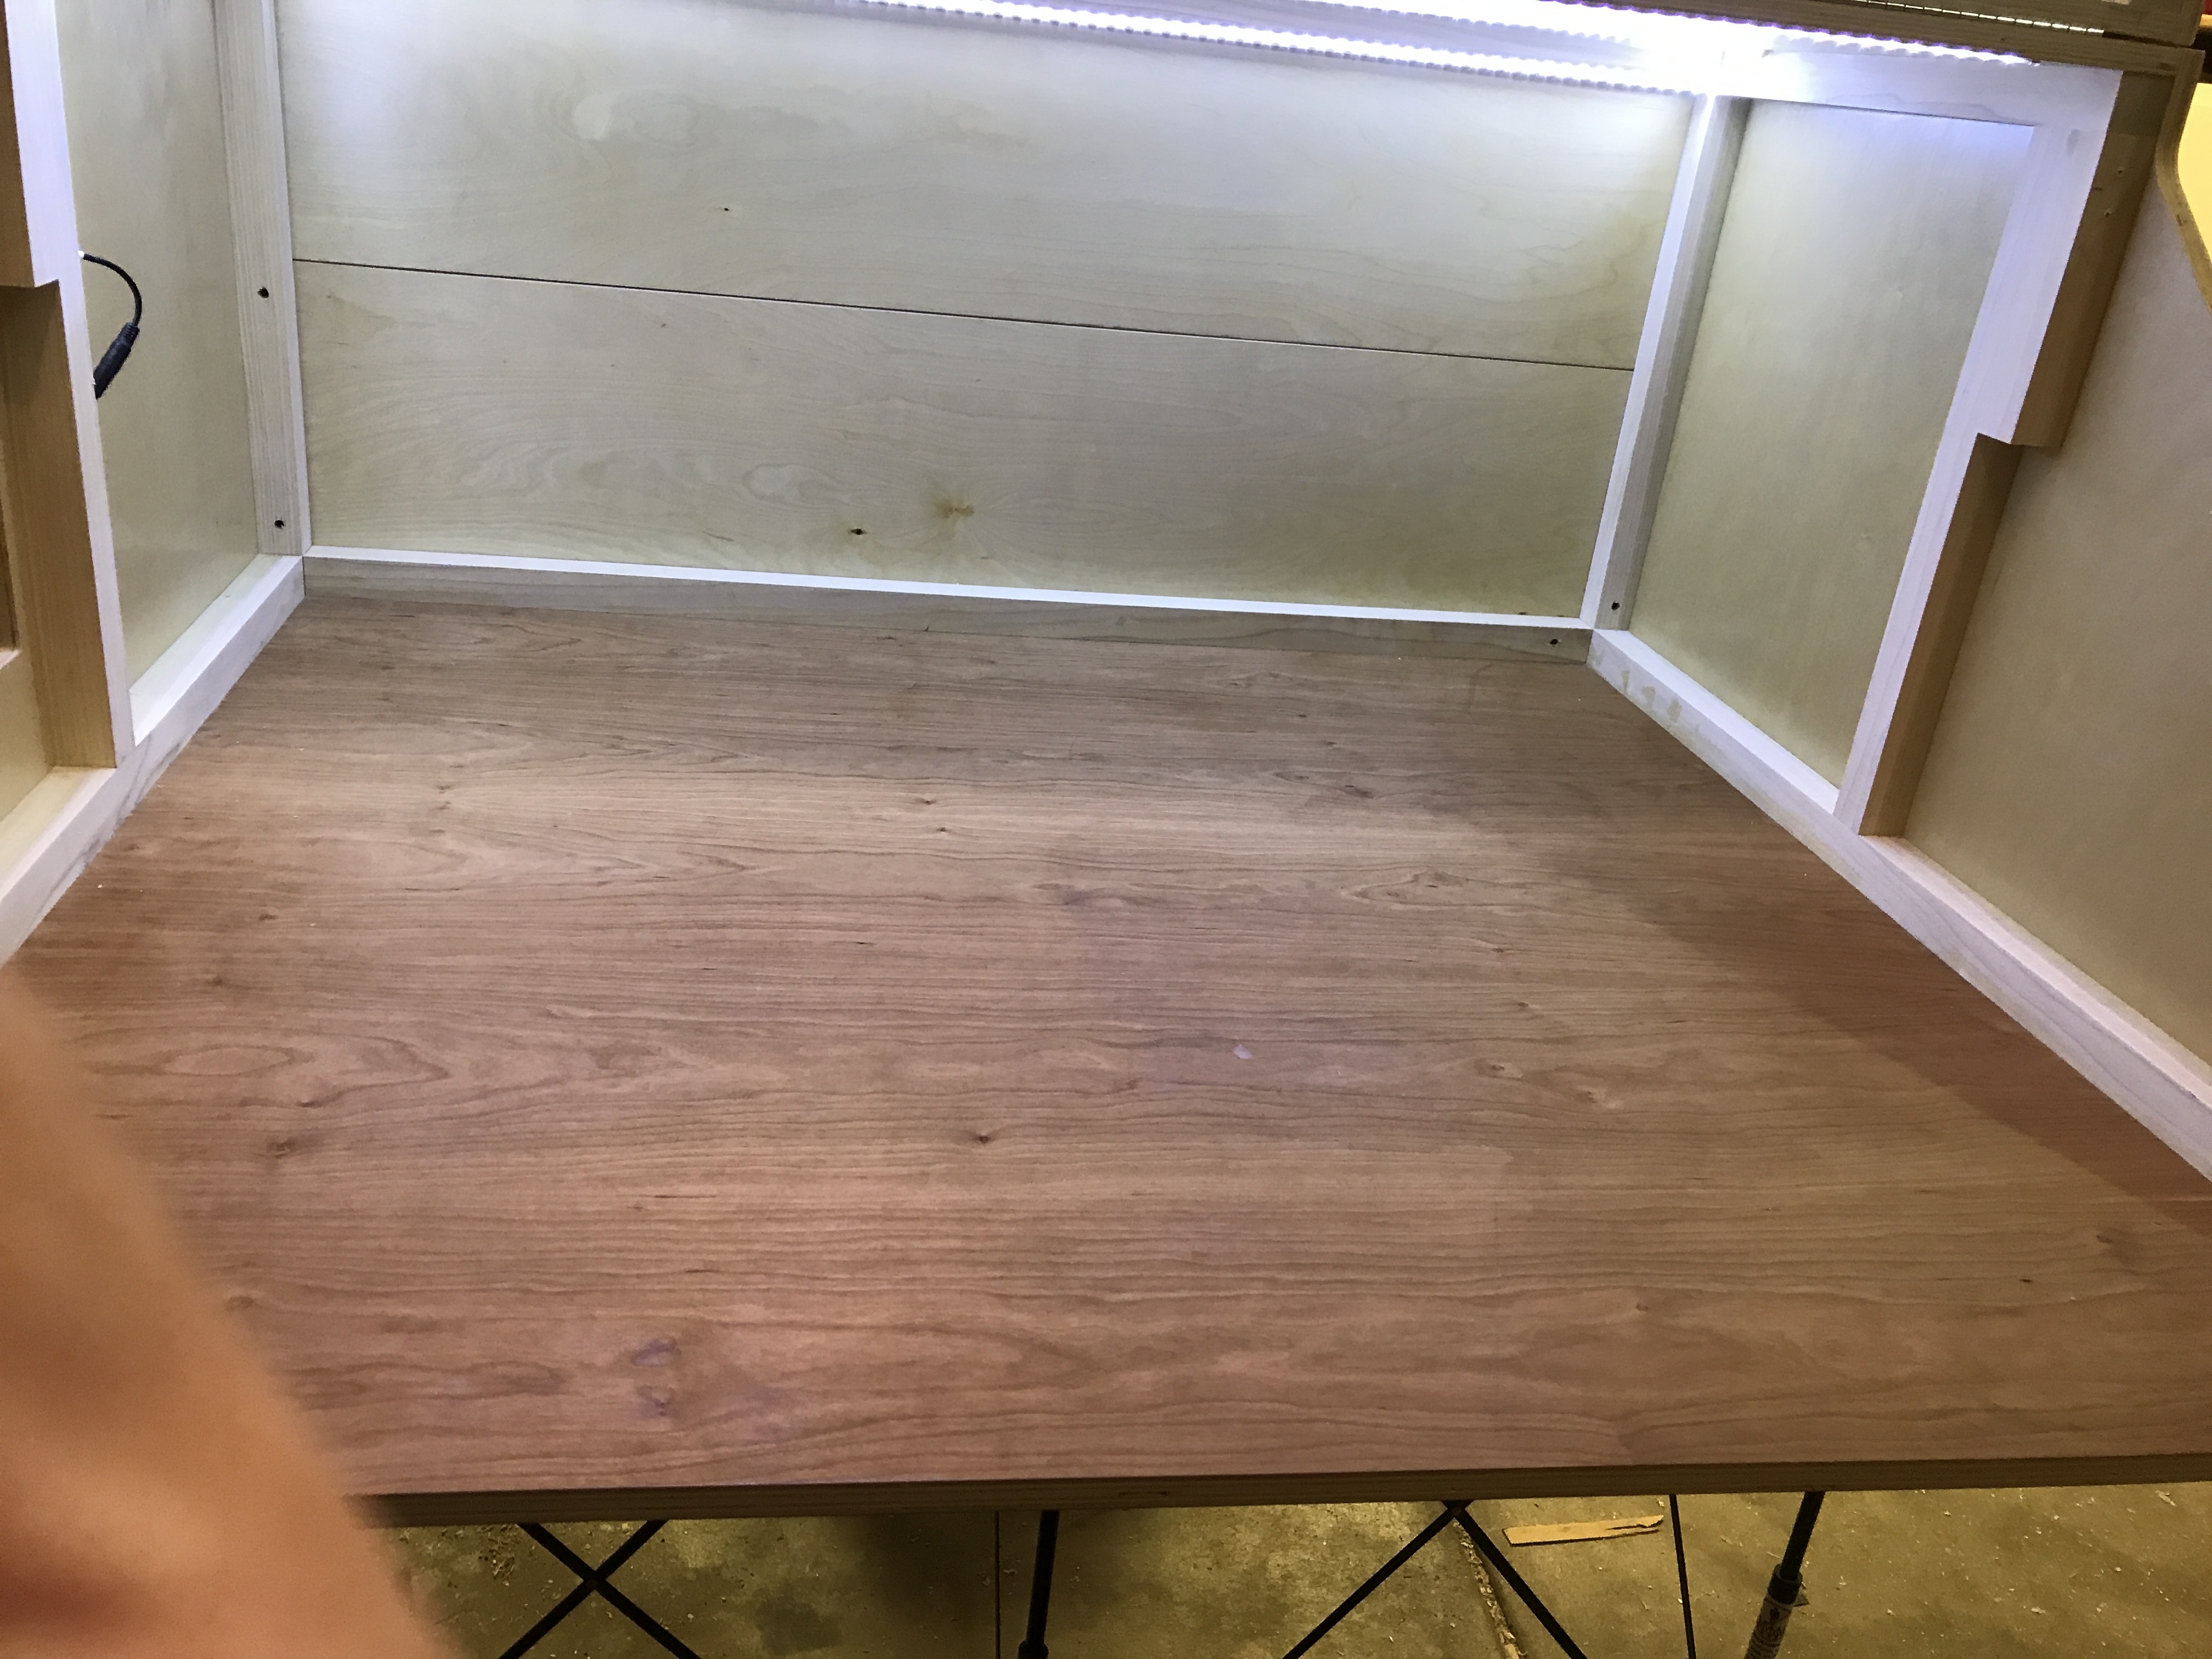
Add some lighting inside. I painted my enclosure an off white color which helped a lot. Having lights inside would just be a nice luxury but not needed with the large windows.
I probably would NOT modify the router to put the speed control on the control panel. Its not really needed since I rarely change cutting speed mid job and if I do it would be easy enough to pause the job and adjust the router speed.
Can’t agree with Tony enough here: Go HIGH on the enclosure. I too ignored this, made mine low, now I want to change up my spindle and dust collection and nothing fits.
I have to say going extra this much on all 3 axis is a lot of wood and the enclosure becomes rather bulky. I know it’s about trade offs and the main reason I’m doing this is safety, followed by dust collection and noise. But it makes me wonder if there’s a better way.
I’d say measure to the top of your Z axis, then add at least 6 inches to that as a starting point. And yea, the enclosures get massive I’ve got an XXL and its basically 5’^3. You could always use a dust boot and ear-plugs instead :-/
Increasing the vertical height doesn’t take up useable shop space as much as increasing length and width. I based my original design on not having to get an extra sheet of plywood but I mentioned in the original thread that I would have made it a bit larger if I made another one. Especially in the z direction for the reasons Adam noted.
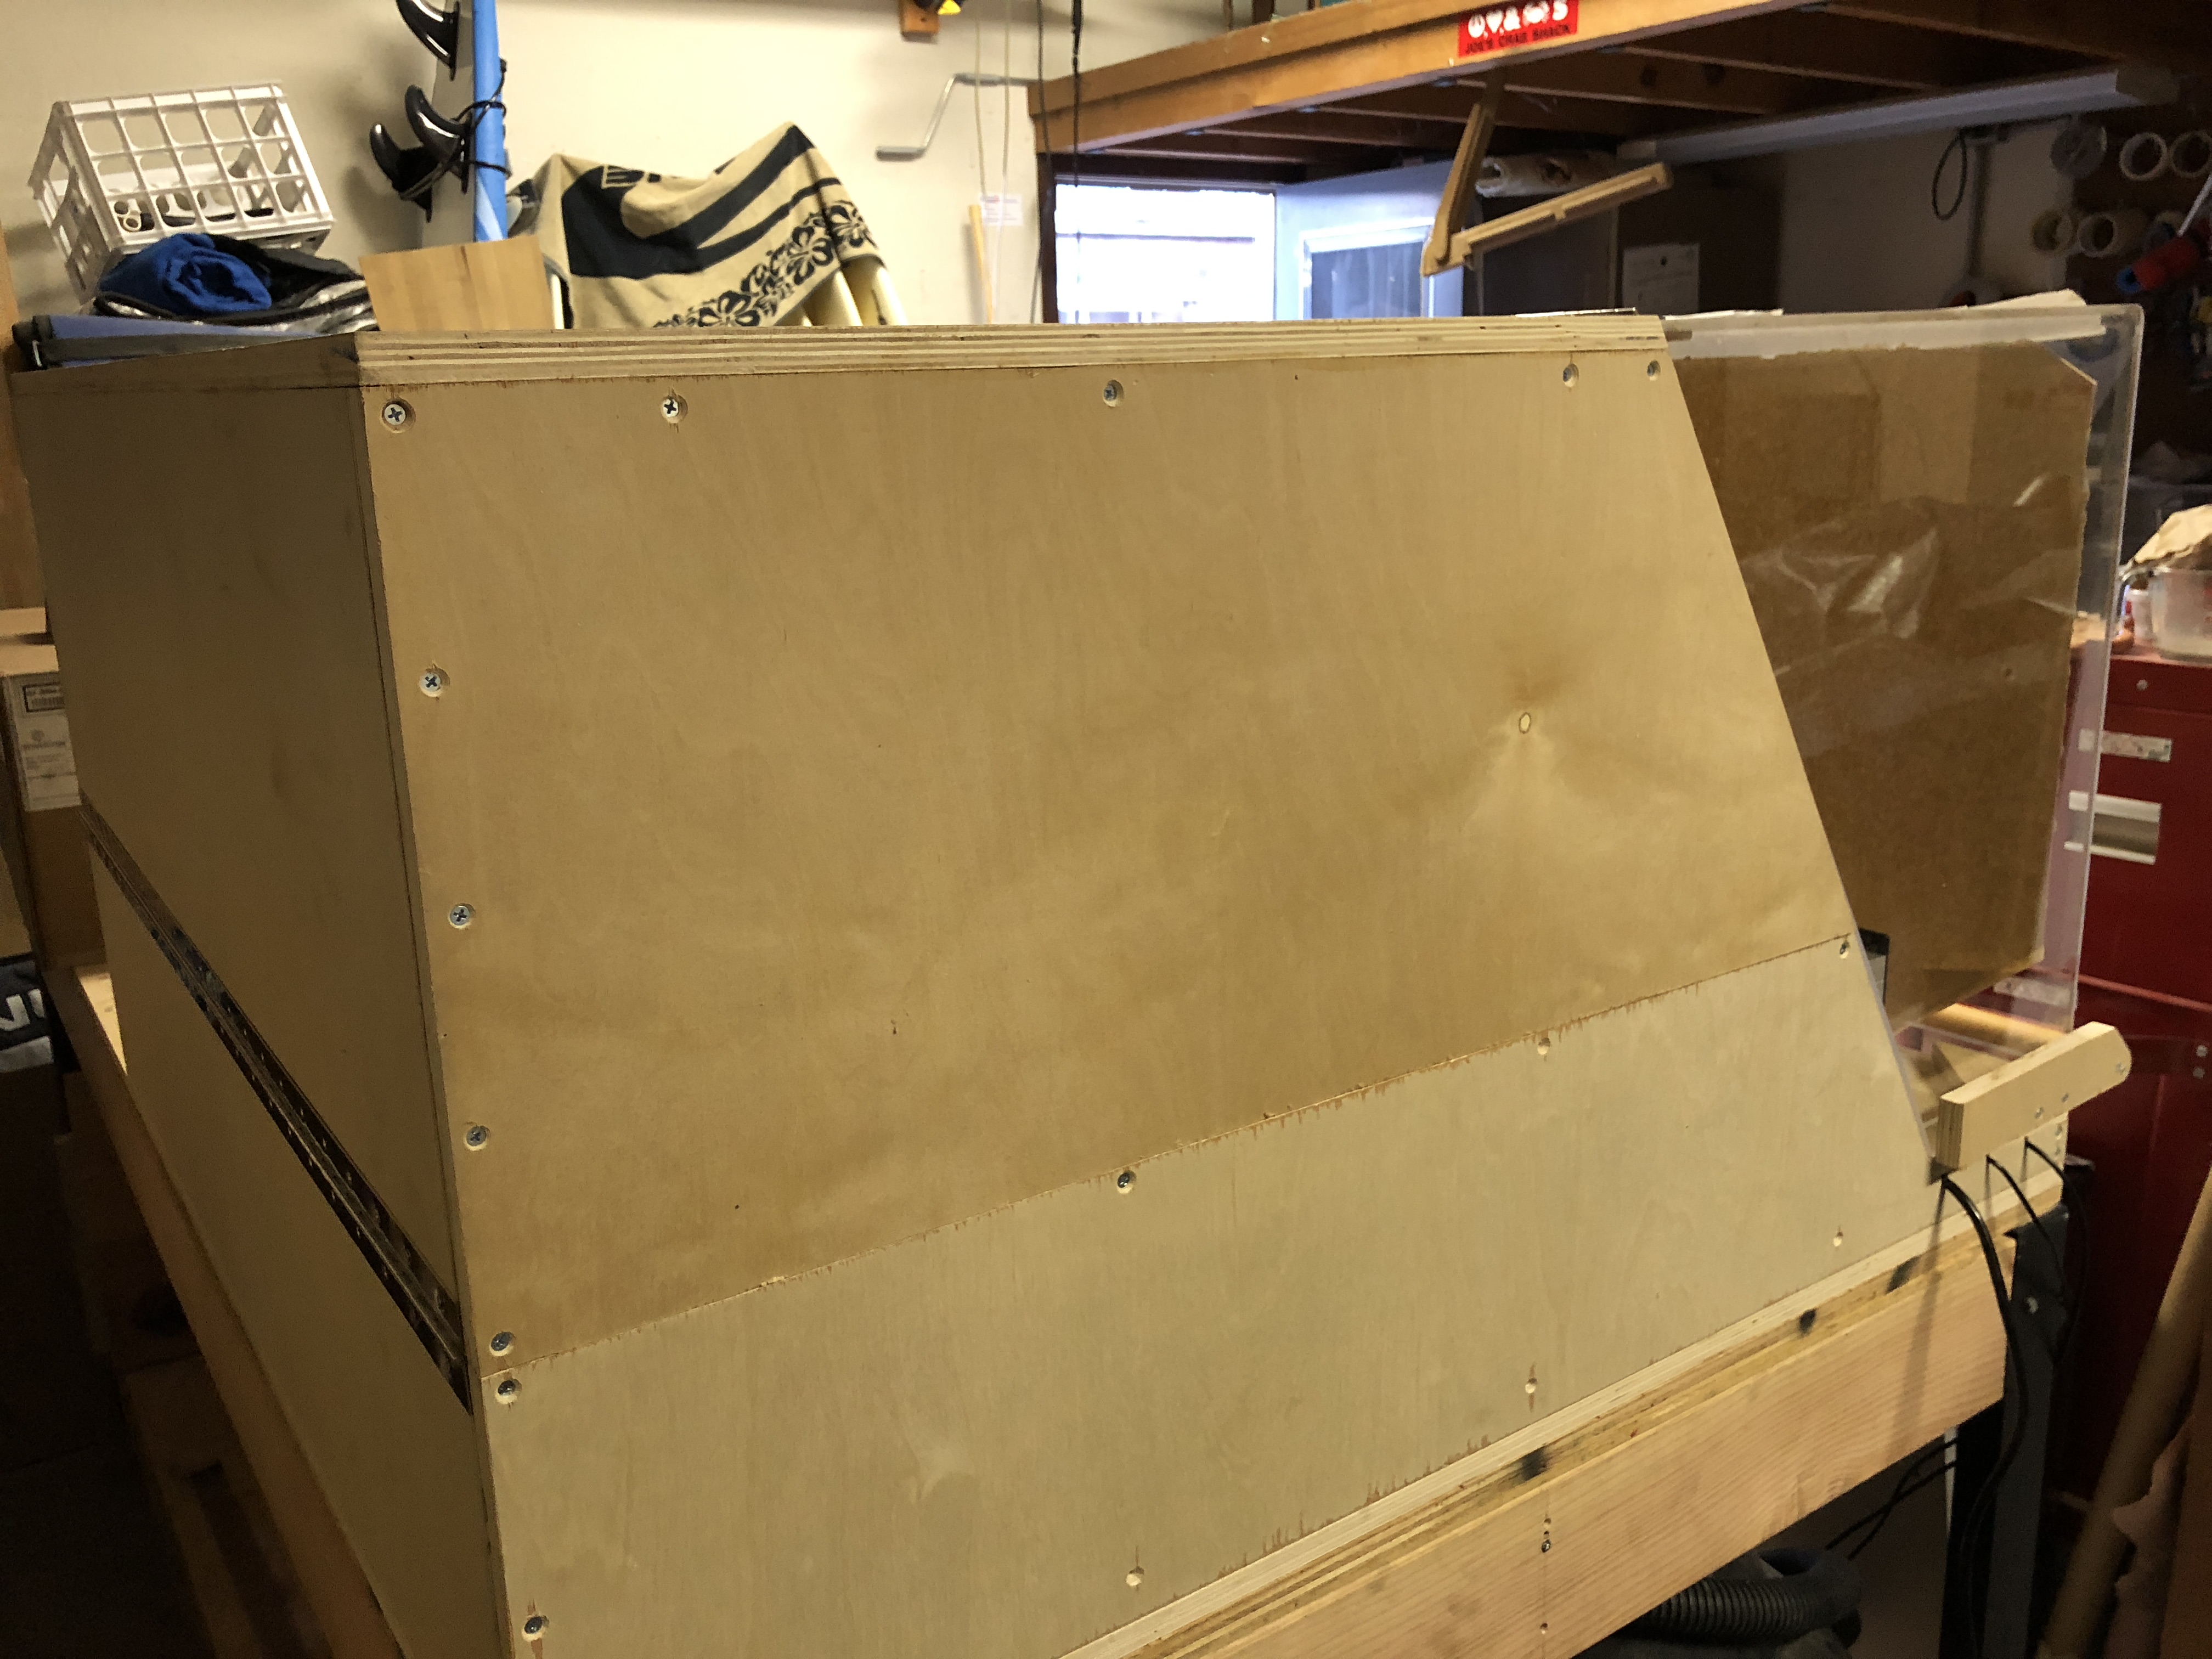
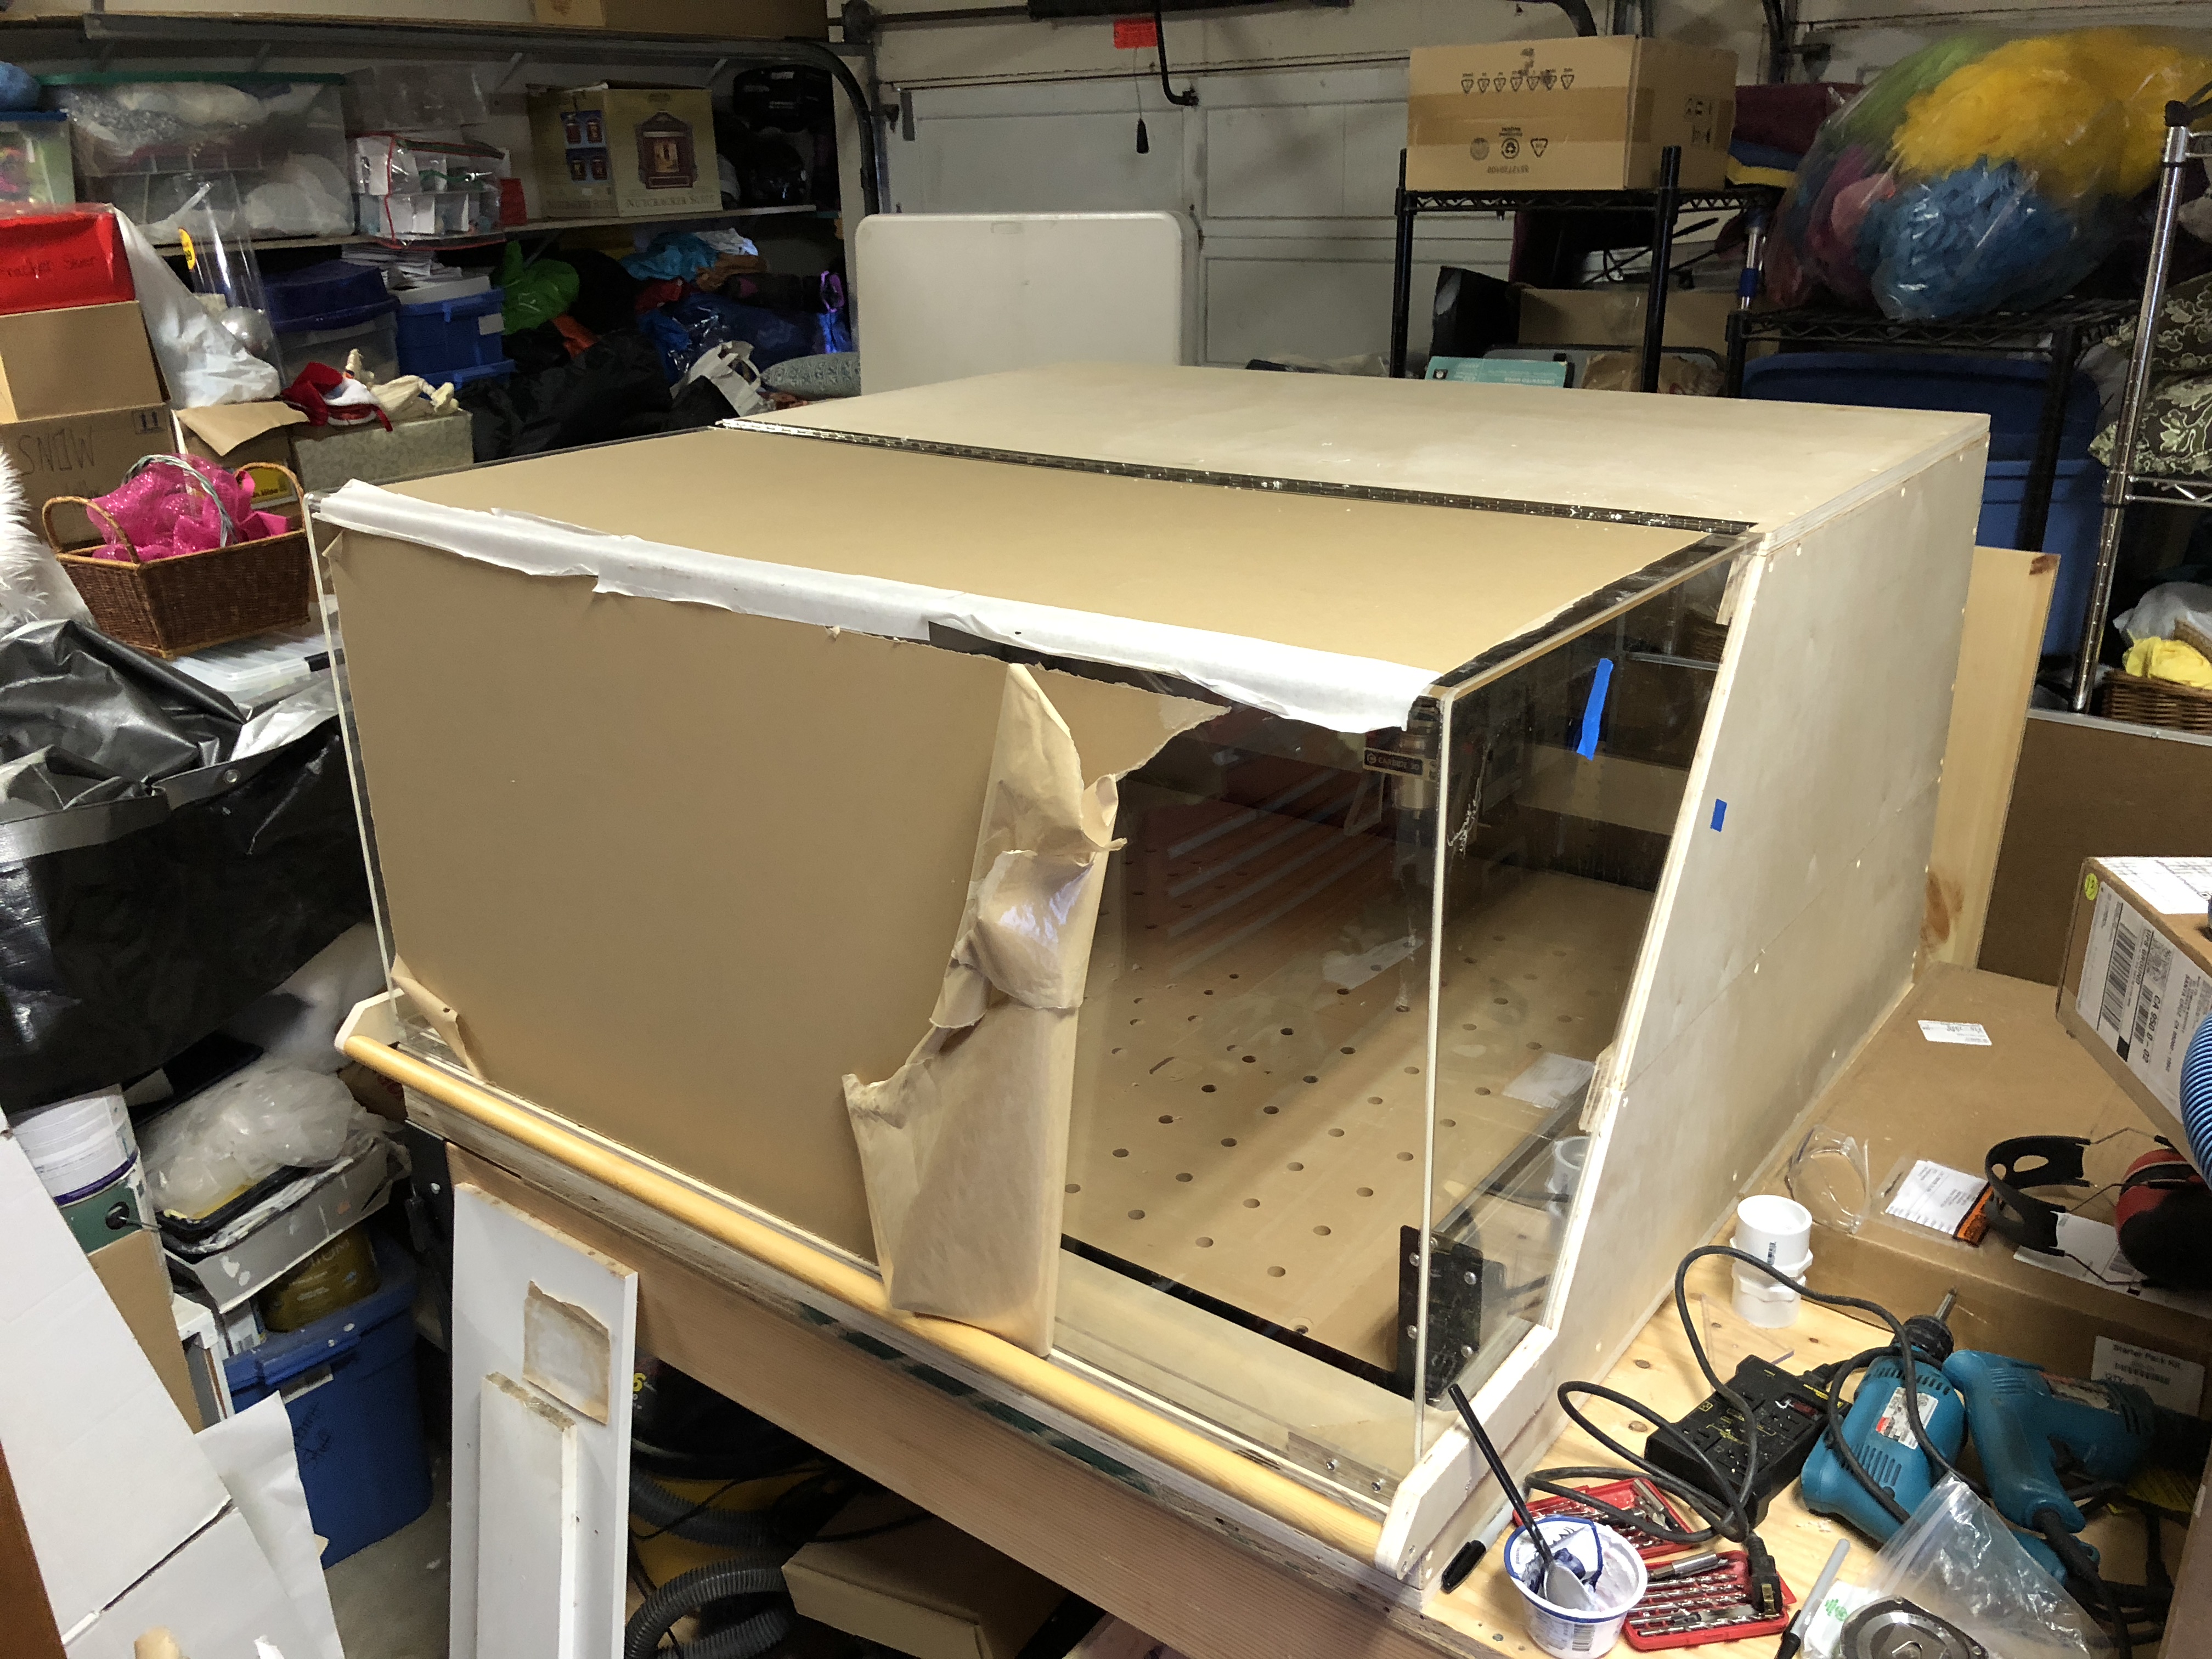
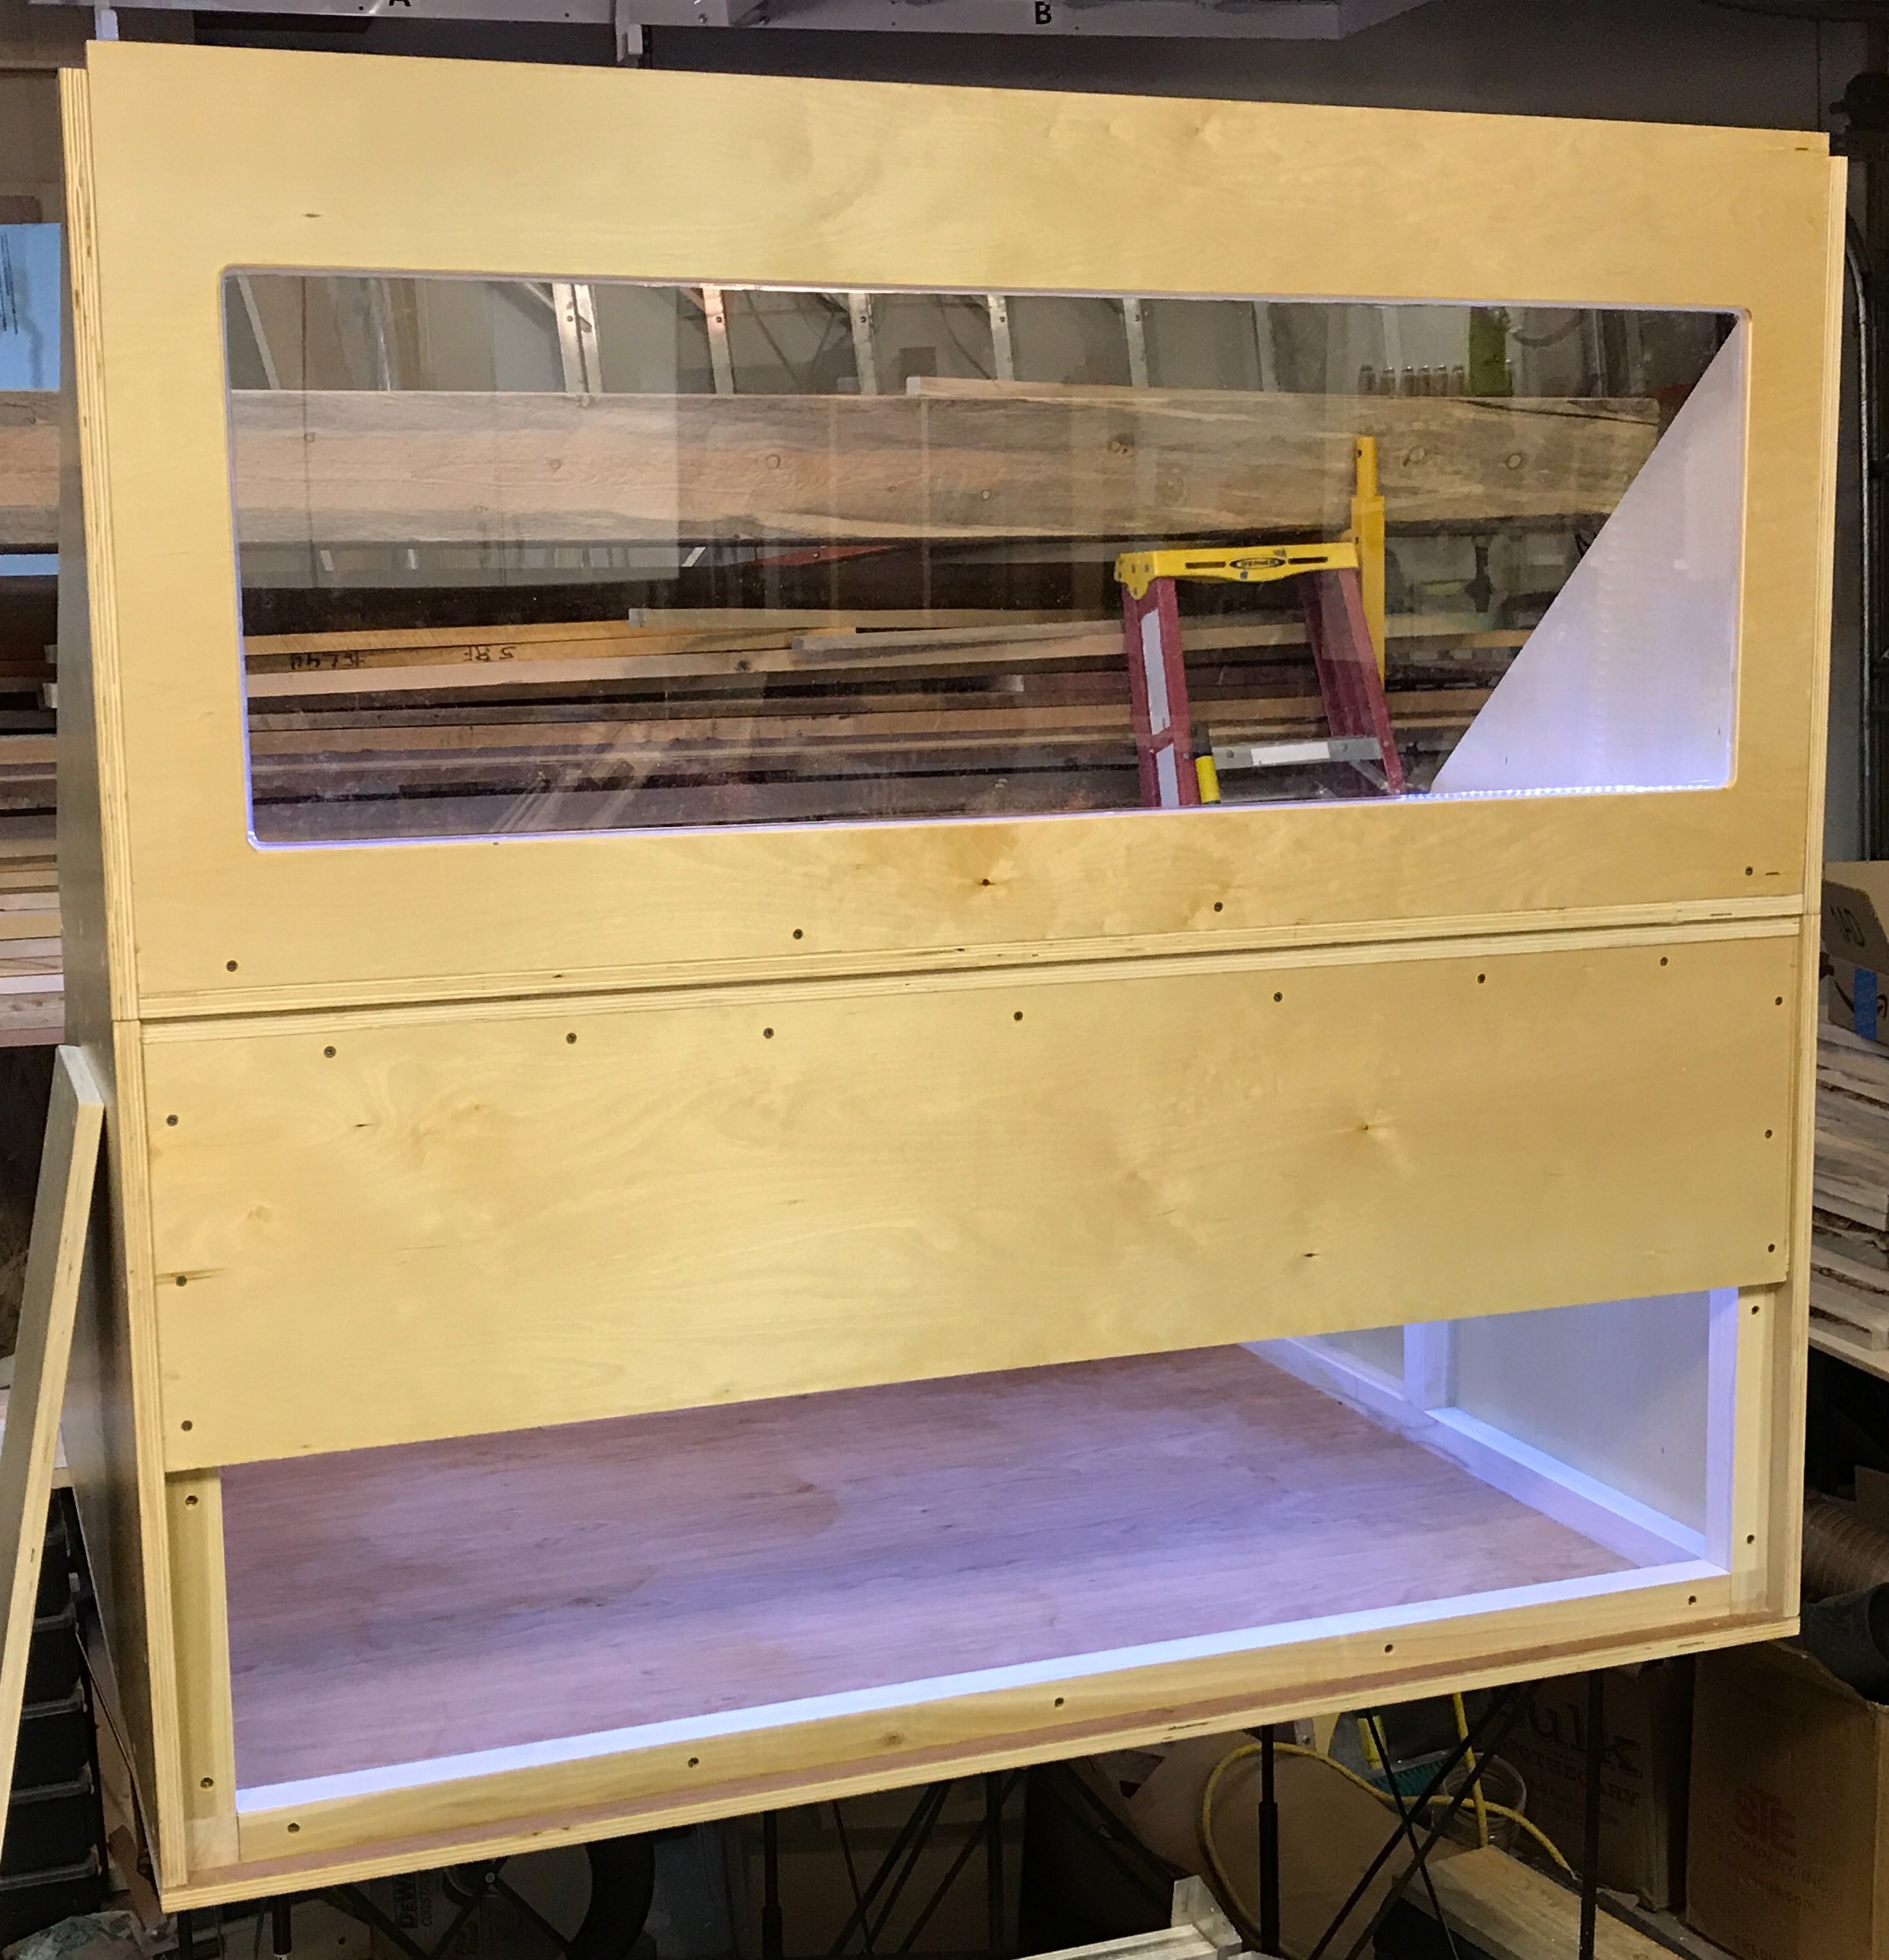
Definately build the box first then cut the window openings next then cut out the door. I used a guided circular saw then finished the ends of the cuts and tje rounds with a jig saw. I used a guided router to cut the rabbet for the acrylic window recesses and I solvent bonded the two acrylic panels where yhey nutt together using acrylic cement (weld-on brand acrylic solvent or methylene chloride)
 I’ve got an XXL and its basically 5’^3. You could always use a dust boot and ear-plugs instead :-/