Can’t agree with Tony enough here: Go HIGH on the enclosure. I too ignored this, made mine low, now I want to change up my spindle and dust collection and nothing fits.
What height do you recommend? I have an XL btw.
I have to say going extra this much on all 3 axis is a lot of wood and the enclosure becomes rather bulky. I know it’s about trade offs and the main reason I’m doing this is safety, followed by dust collection and noise. But it makes me wonder if there’s a better way.
I’d say measure to the top of your Z axis, then add at least 6 inches to that as a starting point. And yea, the enclosures get massive  I’ve got an XXL and its basically 5’^3. You could always use a dust boot and ear-plugs instead :-/
Increasing the vertical height doesn’t take up useable shop space as much as increasing length and width. I based my original design on not having to get an extra sheet of plywood but I mentioned in the original thread that I would have made it a bit larger if I made another one. Especially in the z direction for the reasons Adam noted.
Hey Tony!
Just curious - you suggest cutting the panels and assembling and then cutting the door off.
What did you use to cut the door off? Jigsaw with guides?
Thanks!
Definately build the box first then cut the window openings next then cut out the door. I used a guided circular saw then finished the ends of the cuts and tje rounds with a jig saw. I used a guided router to cut the rabbet for the acrylic window recesses and I solvent bonded the two acrylic panels where yhey nutt together using acrylic cement (weld-on brand acrylic solvent or methylene chloride)
1 Like
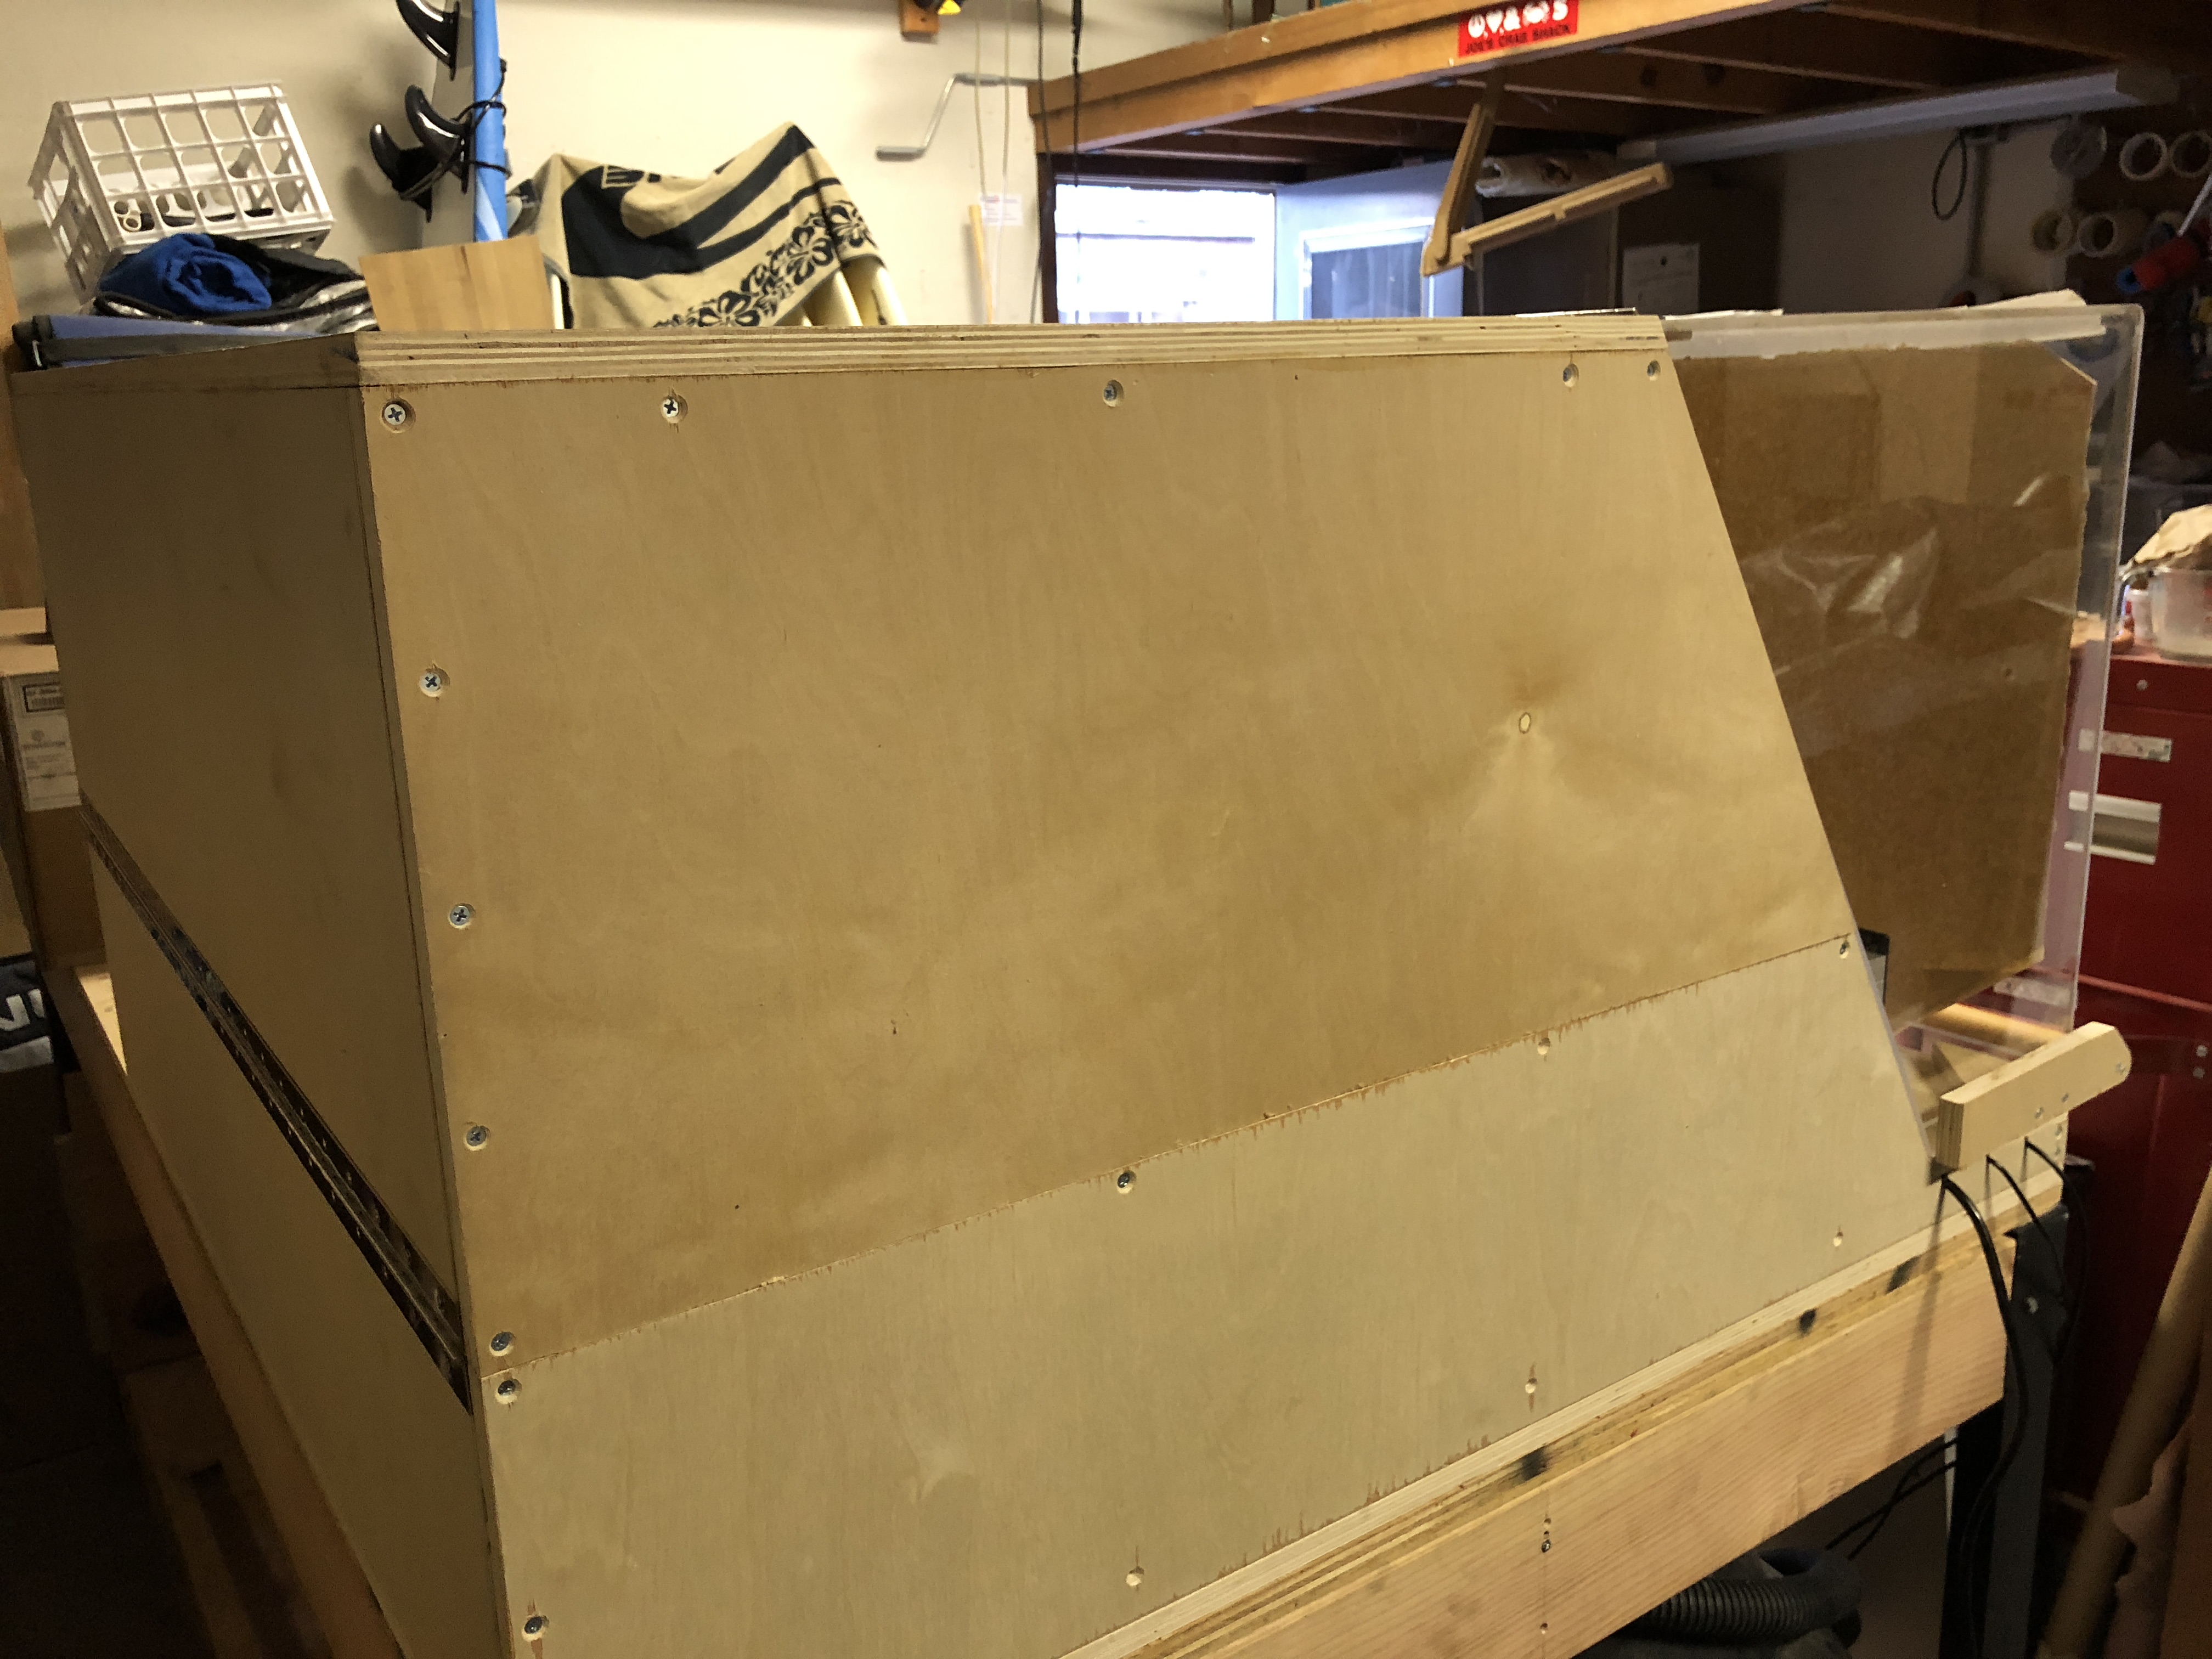
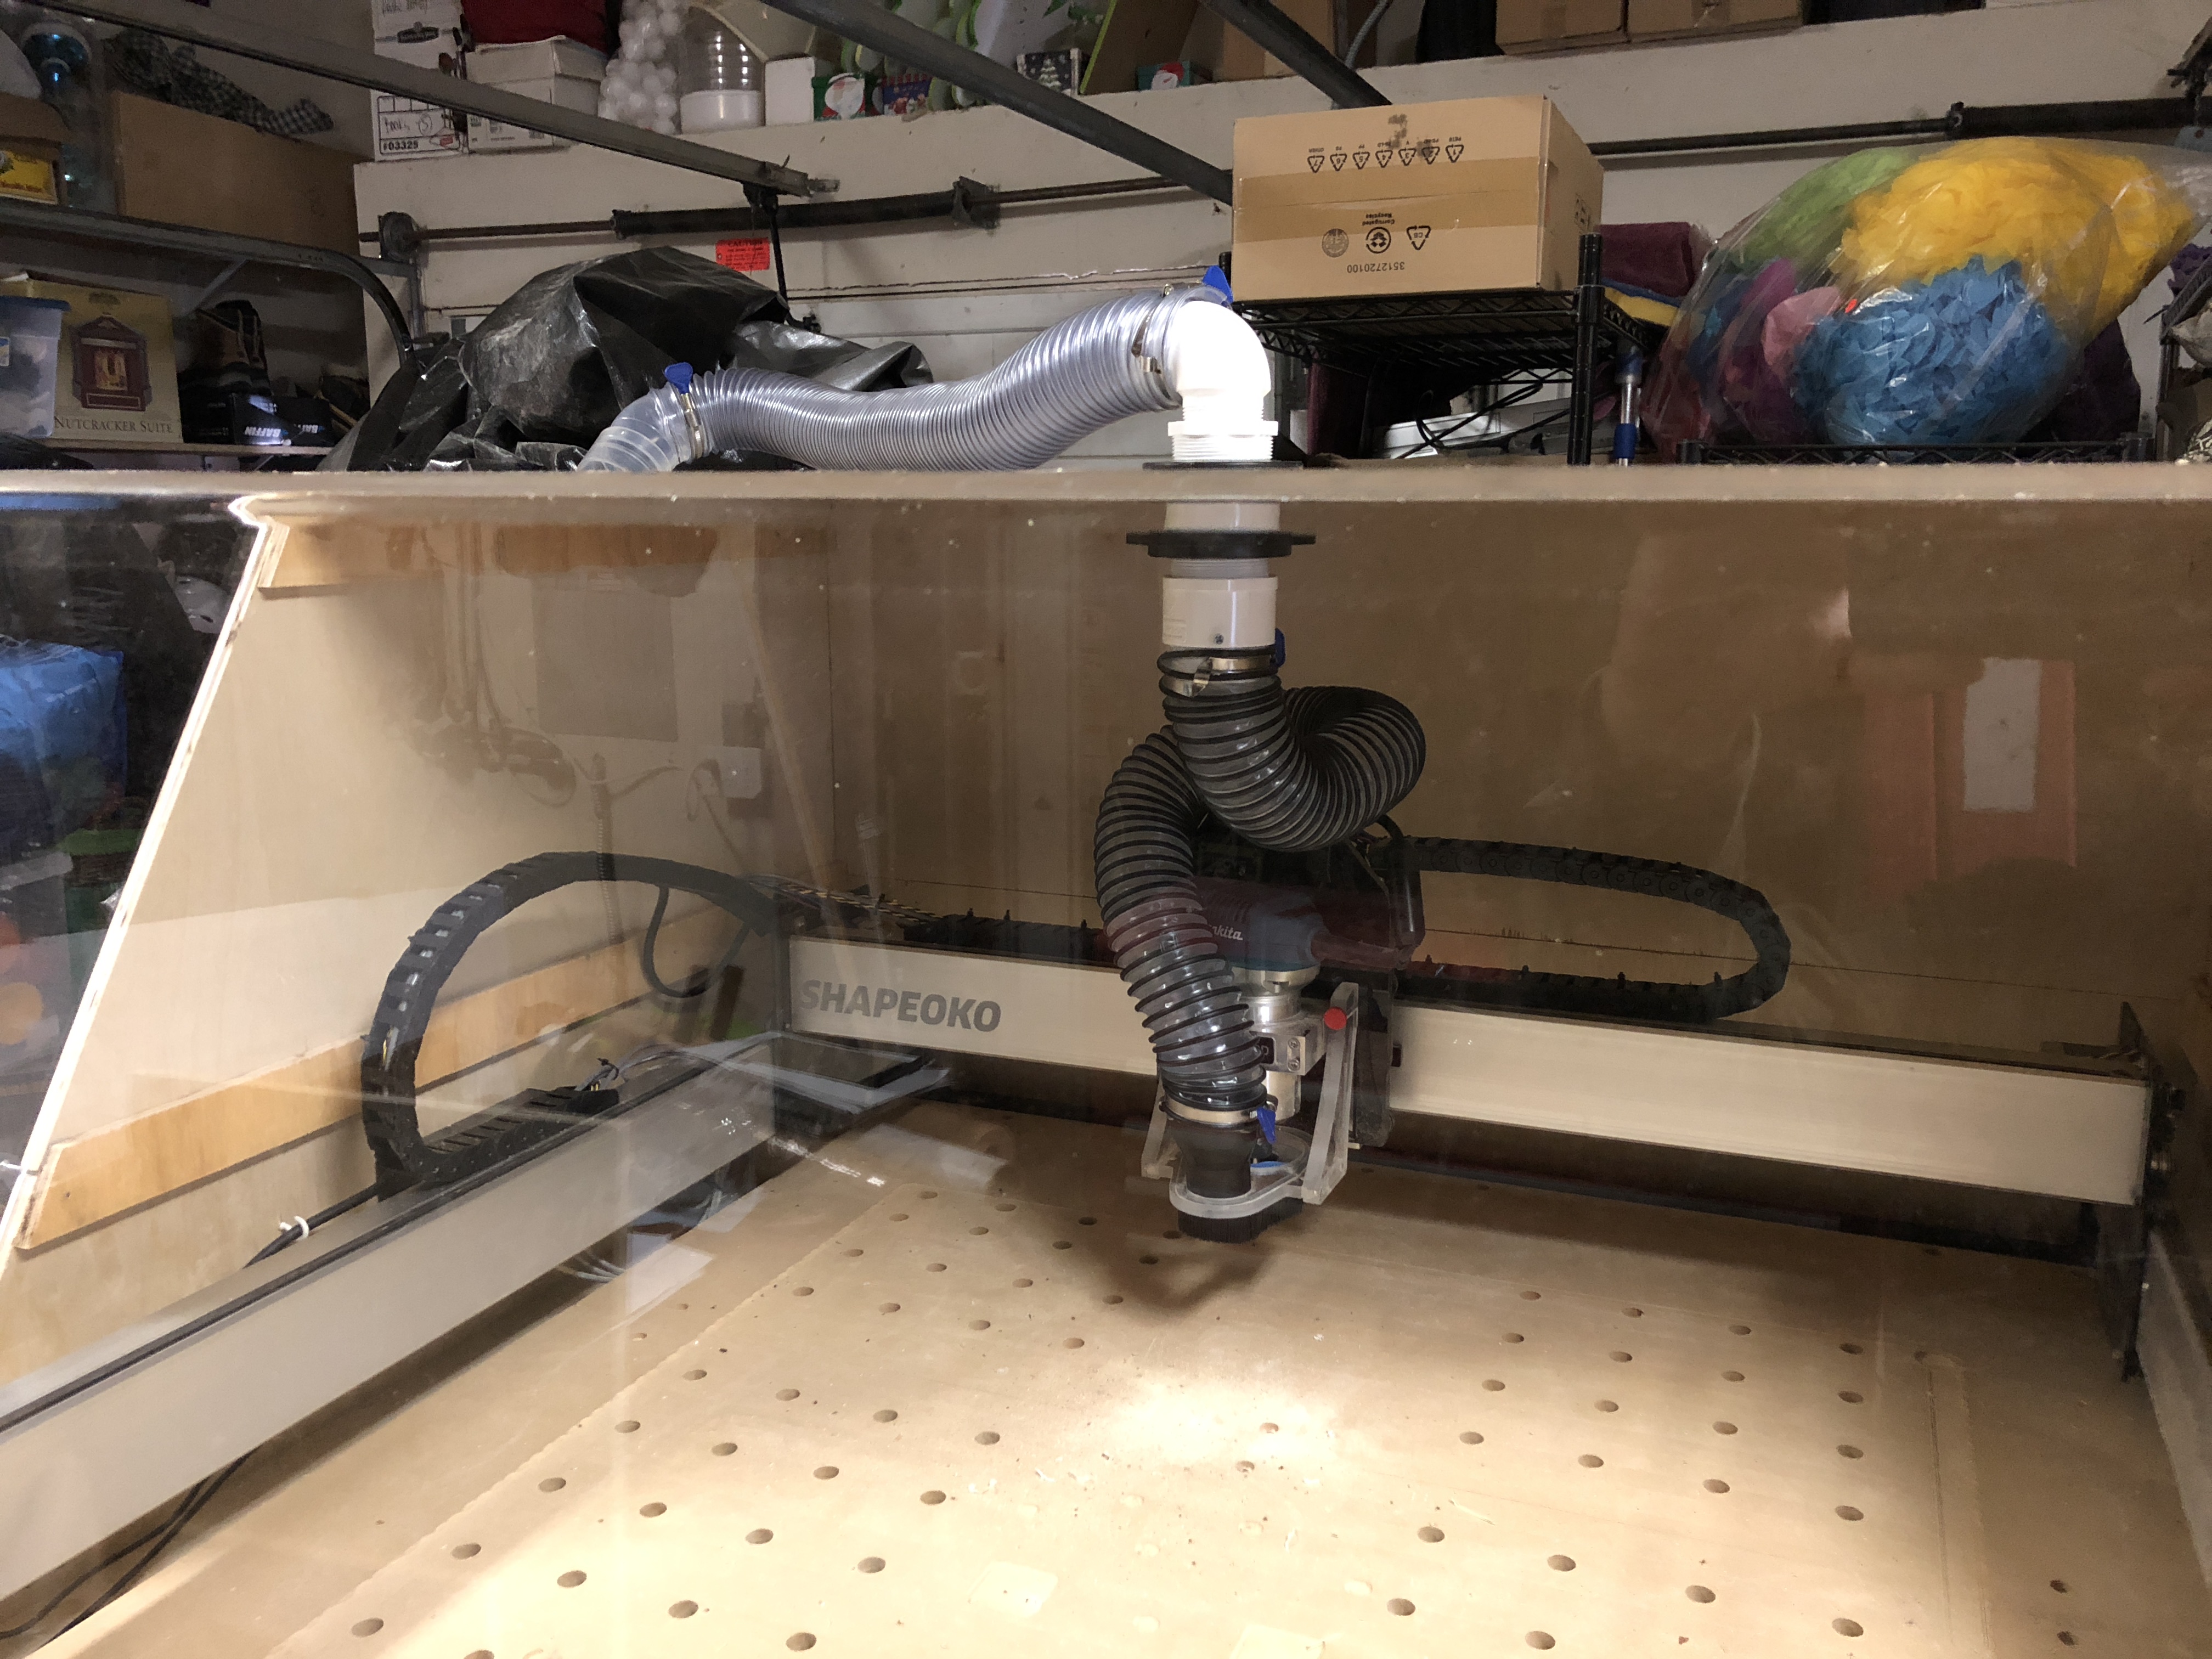
So far I have the SO3 enclosed.
Next up will be dust collection and then electrical, and gas springs for the front.
7 Likes
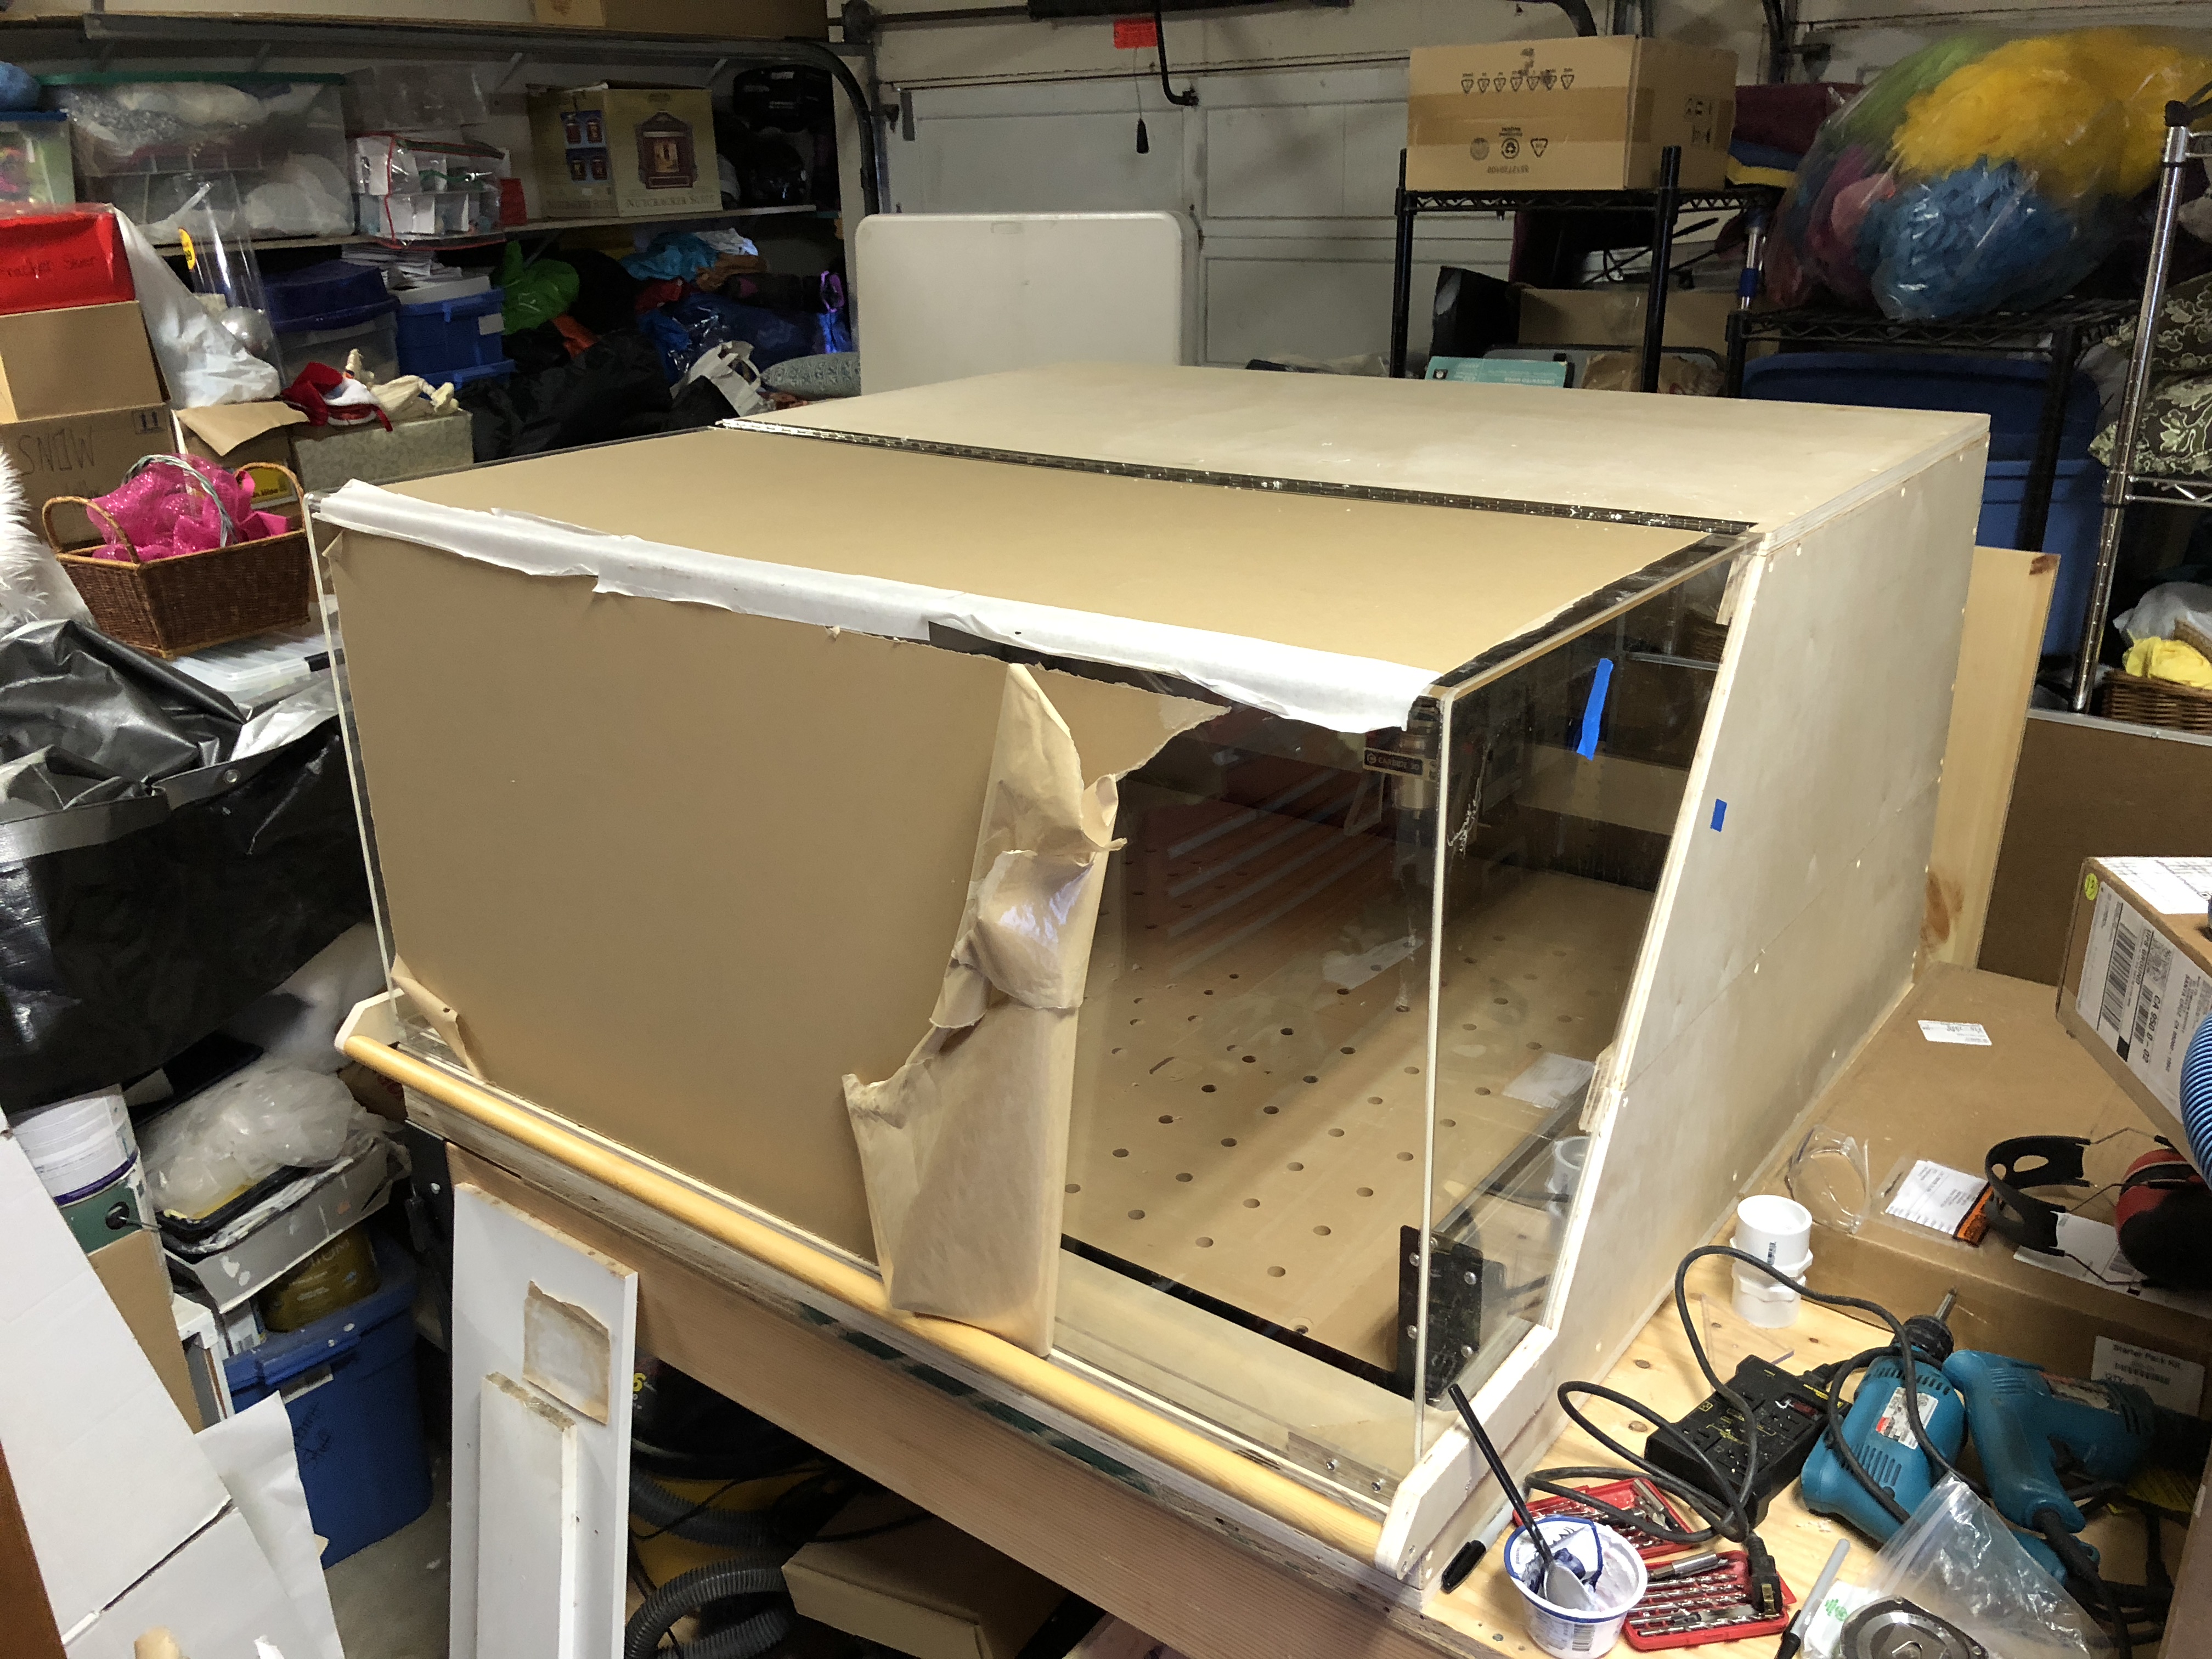
I love the fully plastic door. Is that acrylic or polycarbonate?
A little tip… you can round or chamfer the sharp edges with a router then MAP gas flame polish or vapor polish them to make them clear again.
It looks like you can hinge the entire top 2/3rds out of the way also. Am I seeing that right?
You should post some more details and a video. You’ve added some nice innovations that I’m sure others would love to see.
All acrylic. That part was custom made at a local supply and fabrication store. It looks like a “hole in the wall”, but they are very knowledgeable and good people.
And they did break and flame polish most of the edges, the ones that i might touch, but left the machine facing edges more or less rough. It was the last question they asked. That’s why I go back to them often.
Yes, you are seeing correctly, the top 2/3s could be opened with the front window-door. I will need some gas springs for that though, it is quite hard to open the whole thing with one arm. I am also improving the seal by creating a tongue and groove feature at the 2/3s separation.
I just realized the other day that it might be helpful to add a small door to easily access the electronics? My jigsaw is not very good, so I’m hesitant to cut that opening at the moment, that and it is vertical surface.
I’m just trying to understand the design. If I want the door to open and have it stay open, then should the gas springs be mounted offset from the vertical line below the hinge (fulcrum? sorry, not a mechanical designer or engineer).
I have 2 gas springs that are probably overkill, and need to install them. They are rated at 40 lbs each. The door does not weigh 40 lbs. Should I gas springs rated for 15-20 lbs then? I would like the 10mm ball ends. Where to buy them?
Thanks!
This looks pretty cool! I’ve been tempted to build an enclosure for quite some time but have never gotten around to it. I really like the acrylic front. Nice work!
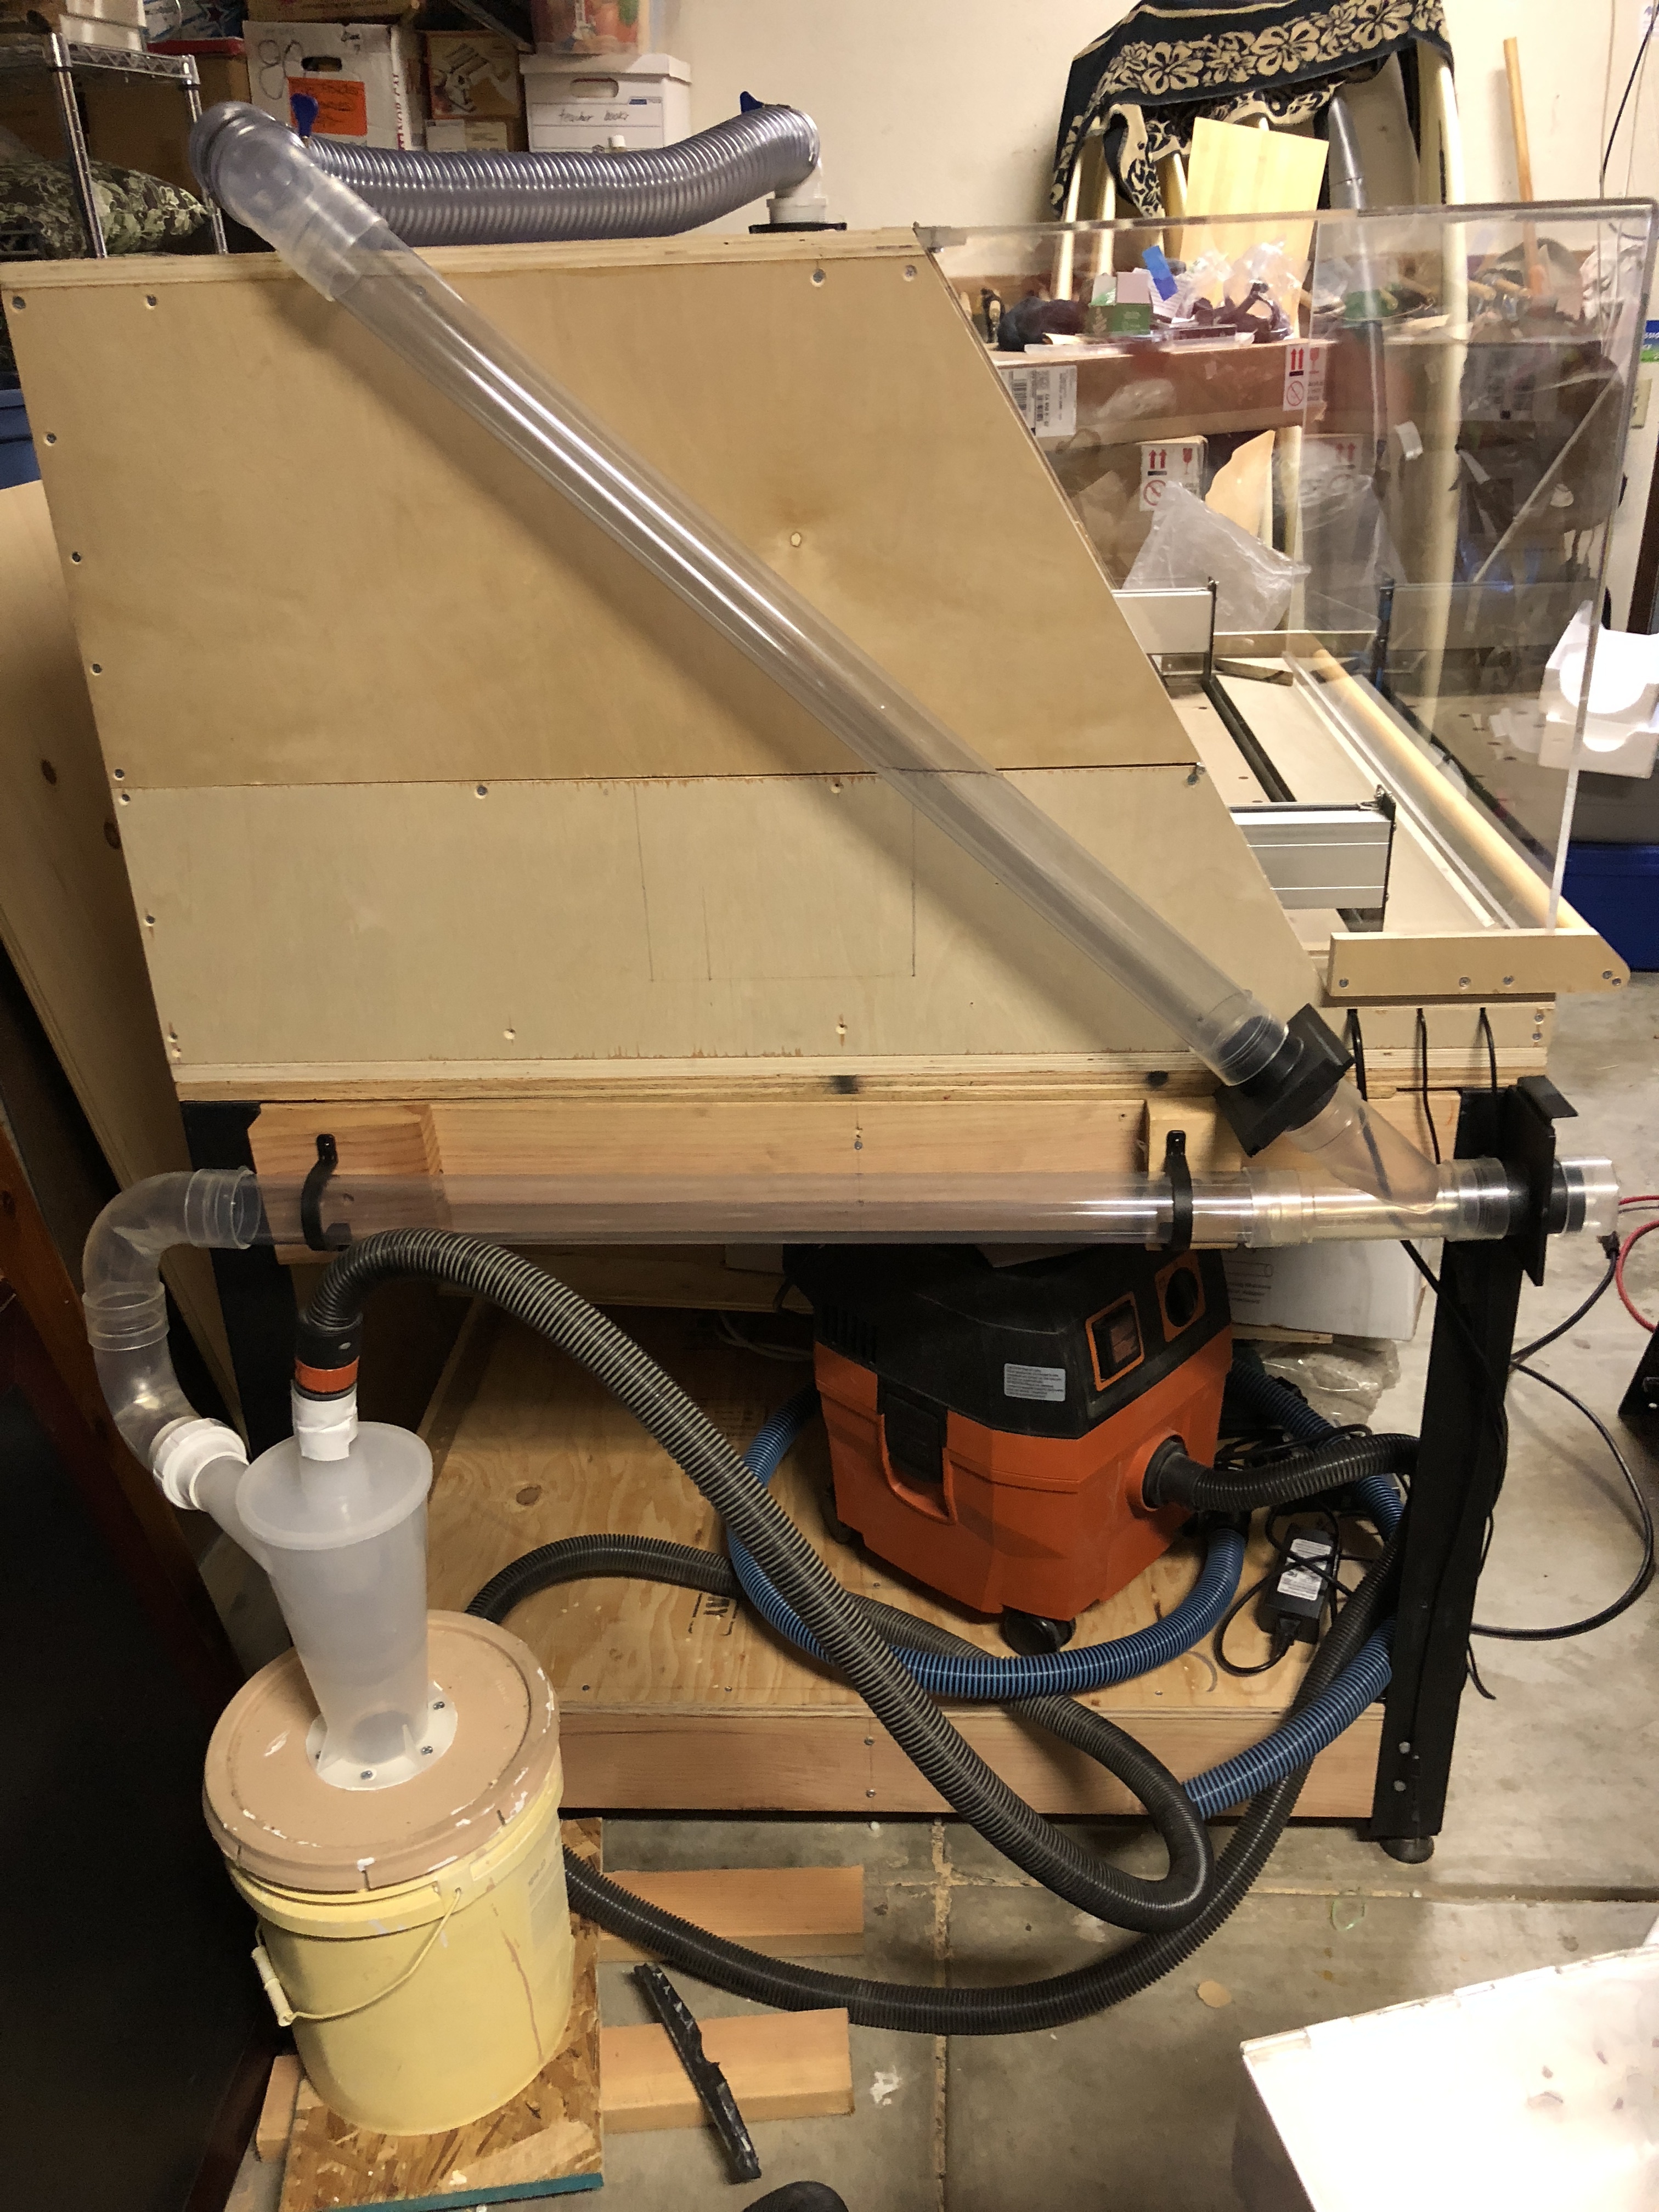
One thing I noticed on your dust collection. The “Y” connection at the front will kill a fair amount of airflow. The bottom line of “Y” should always face the direction of airflow, yours is exactly opposite. Air doesn’t like to make sharp bends. Even “T” unions, 90 degree bends and the ripples in most flex hose are restrictive to a point. Pretend you’re driving a car through a giant version of your system, anywhere you have to slow down to make a turn will do the same with air…not for the same reason, air obviously doesn’t think or apply brakes, but the result is the same. I am no expert, but I just setup my dust collection system in my shop and did a ton of research(this was for whole shop dust collection, not my SO3). The straighter, smoother and shorter you can make it all the better. Minimum bends, minimum flex hose, minimum unions and hose size changes. I really like your clear tubing, kinda wish I hadn’t cheaped out and used PVC. Really cool!!!
Dan
Good points! I haven’t glued or taped anything together yet, so I can make some changes.
1 Like
I also like the clear tubing; nice touch!
I am guessing I am not seeing the whole solution, but with the dust collection in place, how will you open the enclosure? As I understand it, the whole lid lifts up, with the hinge location in the back. However, the clear tubing that runs on a 45 degree angle, along the side of your enclosure, into the tubing affixed to the table doesn’t look to have any flex. Does it disconnect when you open the lid?
Thanks for the compliment on the material selection. It is a kit that comes with a bunch of parts, about $100.
The translucent acrylic door opens separately using a piano hinge across the top edge.
The upper 2/3s of the enclosure has its own hinge at the rear of the enclosure. I will need a separate handle to open the entire top, but that will need to wait.
Tem - How does that enclosure work for noise reduction, or is that not really a concern of yours?
I don’t know about sound reduction yet. I do have some padding/insulation materials sitting around the garage, so if it is an issue I could staple some sheets inside. As it is, the vacuum seems much louder than the router on the materials that I have cut so far, wood and MDF (hence the need for an enclosure).