Squaring Shapeoko 3 With Photos

I have followed the instructions to the letter and assume it is simple minor adjustments needed, however I am wondering if anyone has advice on which adjustments correct this best.

The Gantry is flush when pulled to the front of the machine on one side and has about a 1/4" gap on the other. When I push the gantry to the rear the same gap exist but on opposite side rail. See photo of the front flush on one side and the gap on the opposite side for reference.

Thanks so much for the assistance in advance. I did try loosening all bolts pulling gantry to the front and tightening as per the instructions with little success it seems to go back to this gap when i take pressure off.

1 Like

Hereā€™s what Iā€™ve been sending out from the support e-mails: Glad youā€™re making progress!

Being off by 1/16" on an XXL or the long axis of an XL is about 1/10 of a degree ā€” weā€™re talking very small adjustments. Things which have worked for folks, depending on the specifics of where their machine is out:

  • clear the powder coat out of the holes
  • drill out / enlarge the holes to allow for adjustment of the plates
  • shim the ends of the extrusion
  • file / machine then ends of the extrusion flat

Thereā€™s some discussion of this, and a number of links at: https://www.shapeoko.com/wiki/index.php/Calibration_and_Squaring_the_Machine

That said, if you can get this to occur at the back left corner of the machine it wonā€™t interfere with homing, and so long as:

  • the bed is level
  • the extrusions are level to the bed
  • the Y-axis extrusions are parallel to each other
  • the X-axis extrusion is square to the Y-axis
  • the Z-axis is plumb and square

the machine will run true to itself and cut squarely (given the proper toolpaths and feeds and speeds).

4 Likes

TBH, Iā€™ve got the exact same gap (maybe a strong 1/8") on my XXL. I thought about drilling out one of the plates and correcting it butā€¦ I canā€™t see it manifest in any issues in my work. Iā€™ve done some some pretty large vCarve inlays, which are super sensitive to an untuned machine and theyā€™ve all come out perfectly. Soā€¦ Iā€™m letting it be. Just $.02

5 Likes

I had exactly the same thing, about 3mm of gap on one side when the gantry was pulled fully forward. I couldnā€™t measure any problems this caused, but just shimmed one side of the gantry with a piece of plastic from a milk jug. The sides now both hit the stops at exactly the same point, and the extrusions are as close to perpendicular as I can measure.

3 Likes

@stutaylo - Where did you put the shim in order to ā€˜fixā€™ the strike points?

Apologies, Iā€™m away for work, and donā€™t have any photos. Basically mine was out of square because the ends of the gantry extrusion were not cut perfectly square.

I put an engineering square between the gantry extrusion and the other two extrusions to see if one side was less perpendicular than the other, the end that was worse I shimmed between the end of th extrusion and the end plate to get perpendicular.

Will try and chase some photos up to explain better, Iā€™m sure there are others here who have posted photos of their shimming as I have

2 Likes

I had a gap at the right end of my XL too. Didnā€™t even think about the squareness of the ends of the extrusions. If I ever come up with a reason to take this thing apart Iā€™ll have to check that out. So far it seems to be working well enough for what Iā€™m doing.

I wonder if Carbide 3D is doing some quality checks now to make sure the extrusions are square before packing them up.

I had same problem with my xl upgrade. I used paper to shim between extrusions and plates. I was able to get it nearly perfect.

1 Like

I also had the gap. I used foil folded over several times to make long narrow shims. I placed them between the ends of the xrails and the plates. Specifically running vertical at the front of the right side and the rear of the left side rail. I think with the foil I have it ended up being about 4 layers thick. It sounds like a lot but once itā€™s tightened down and compressed itā€™s paper thin. It took several attempts to get it just right since you donā€™t know if you have enough or too much till everything is tightened. I used a piece at both ends to even out the gap without having a pulling action on one side.

5 Likes

Hey Scott, I had the exact same issue, and believe I have fixed the issue(SOLVED). Here is my post from here - re-posted below. Hope this helps.

Same Problem (kinda solved) (so far). Gantry had a 1/16" gap on one side. Fortunately the gap was on the left on the front (when gantry full forward), and on the right in the back (gantry full aft). So skewed like a parallelogramā€¦ Tried everything, until nowā€¦ I think I got it.

Nowā€¦ (Here is my approach)(worked so far)
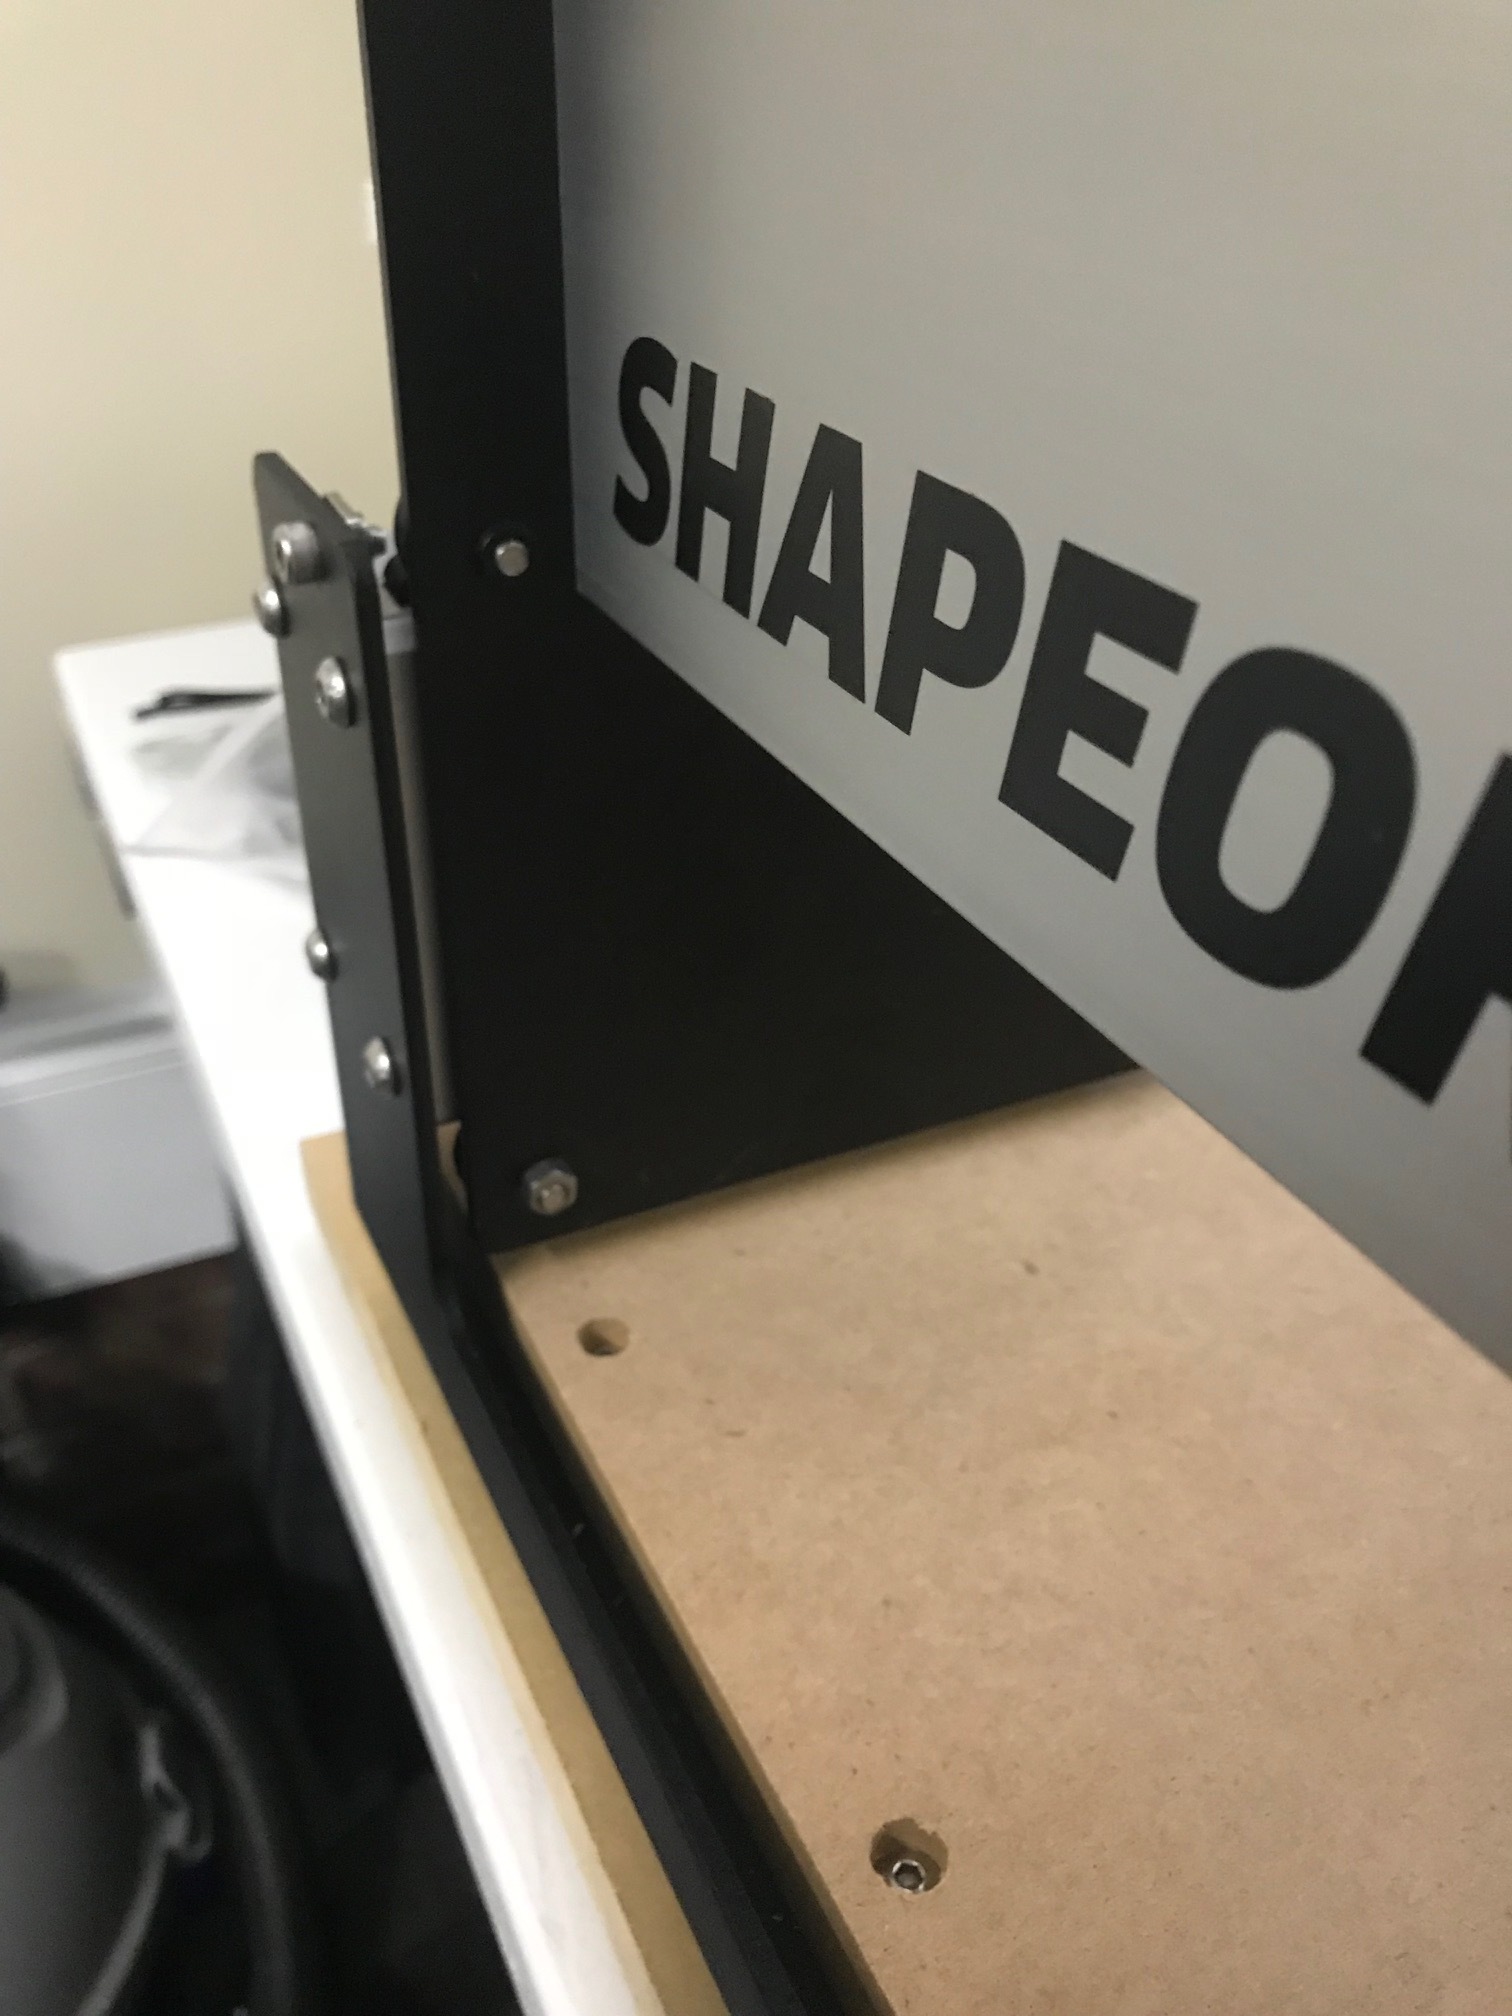
Took most of the Shapeoko 3 apart.
Loosened ā€œALL BOLTSā€ (Thatā€™s the wasteboard, Y Rail, X Rail, allā€¦)
-Found a large piece of glass for the Shapeoko 3 to rest on (level surface).
-Replaced all bolts with longer bolts, washers, spring washers, and nuts to allow easy tightening (I tighten nut, not bolt. Like a stud) (this is not necessary. But I do recommend the spring washers).
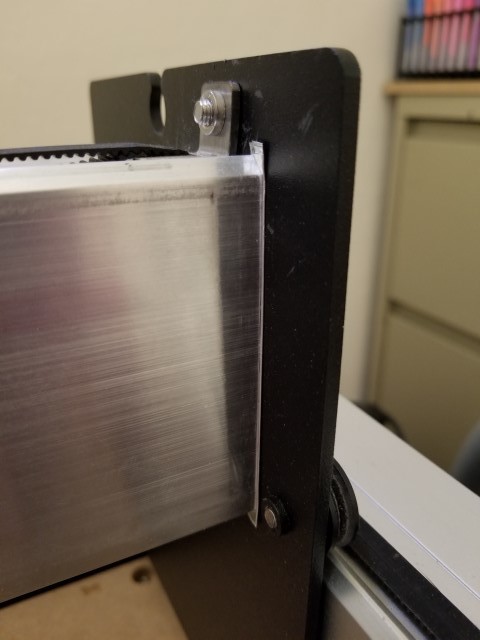
-Big step hereā€¦ LOOSEN THE V PULLEYS! (8 V-pulleys allow the gantry to slide fwd and aft) (loosen them all) .

Slide the Gantry all the way forward.
-Look for a gap
-If there is a gap ā€¦ Big step hereā€¦ Pick up the front of the Shapeoko 3 by the frame :wink: twist the frame base left or right to fix the gap (imagine you are straightening a parallelogram). Check the gap. Continue to adjust the main frame left or right from the front lowest points.
-Once gaps are resolved, tighten the front main rails only ( the 8 bolts facing you). While holding the gantry forward touching the forward frame - Tighten one bolt on the left, then the opposite one on the right. Then left, then rightā€¦ Till all 8 are snug.
-Tighten X-Rail bolts (left and right) (8 bolts) one on the left, then opposite one on the right, back and forth, while keeping the gantry tight against the forward frame.
-Tighten the aft main rail bolts (8 bolts). left, right, one at a time swapping sidesā€¦
-NOW tighten the V-pulleysā€¦
Just to clarify - Tighten in this order (1 fwd Mains, then 2 Gantry, then 3 rear Mains):

3-------3 aft main rails 4 bolts a side (8 total).
I I
I I
2-------2 gantry, 4 each side (8 total).
1-------1 fwd main rails 4 bolts a side (8 total).

Slide gantry aft. Check for gap. I did not have a gap, so I donā€™t have any suggestions if you do.

Now, I am going to reassemble the Shapeoko 3. Once assembled, I will repeat these steps.

NOTE: If you cannot fix the gap with the above steps, try rotating the X-rail upside down (they are mirrored). look for the gap. If that doesnā€™t work, try flipping the main rails upside down, maybe swap sidesā€¦ Look for gap.

I will post when complete with final resultsā€¦

4 Likes

How might you know when this is affecting your work? For instance I made the Myers wood shop wasteborard, cam clamps, and fence. While trying to do a 50 star union the stars at the bottom right corner of the work piece are closer to the bottom edge of the work piece the the bottom left star is from the bottom edge. Now the columns of stars traveling in the Y plane seem to be square with my workpiece. But the rows of stars traveling in the x plane are skewed like the parallelogram. I thought maybe my fence was not a full 90Ā° So I took my end mill and surfaced both Y and X inside faces of the fence so they would be true with the spindle. Set another union up for carving and got the same in un-square set of stars. My work pieces are square. And my design in Create is square as well.

When assembling my unit I had the same issue as above. Front left had a 1/16ā€ gap while front right was fully touching the front plate and opposite in the back as described above. I didnā€™t fully get that gap fixed and continued on in assembly my xxl.

Will work through this guide to get my machine more squared.

But am I on the right track with what Iā€™m seeking in my Union carvings?

Short version, yes, the machine is out of square, and thatā€™s exactly what youā€™ll see. The easy way to see whatā€™s going on is to cut a smallish (3-4 inch) square, and measure it. Youā€™ll be able to see quickly whatā€™s going on using a good square and a pair of calipers.

2 Likes

Just measured corner to corner on base and am 1/16ā€ off square. Same measurement off on the left side when gantry is pulled all the way forward. Iā€™m going to loosen up my mdf panels on the base and adjust it to square if I can. Then Iā€™ll move forward with some other things and then do as you suggested for a test! Thanks

Just to add, I have the exact same issue. Shapeoko 3 (small sized). Pulled forward, off by 1/4" on the left, pushed back, off by 1/4" on the right.

I just got it last night and I havenā€™t had time to complete the assembly yet. Iā€™ll give all the great responses here a try and see if I can get it knocked out.

Is the cause because the ends of the X rail are not square (enough)?

Ideally you would be able to address this by loosening all the bolts, then gradually tightening them systematically, passing over any bolt which caused things to go out of square and later coming back to it.

If that doesnā€™t work, let us know at support@carbide3d.com

This topic was automatically closed after 5 days. New replies are no longer allowed.