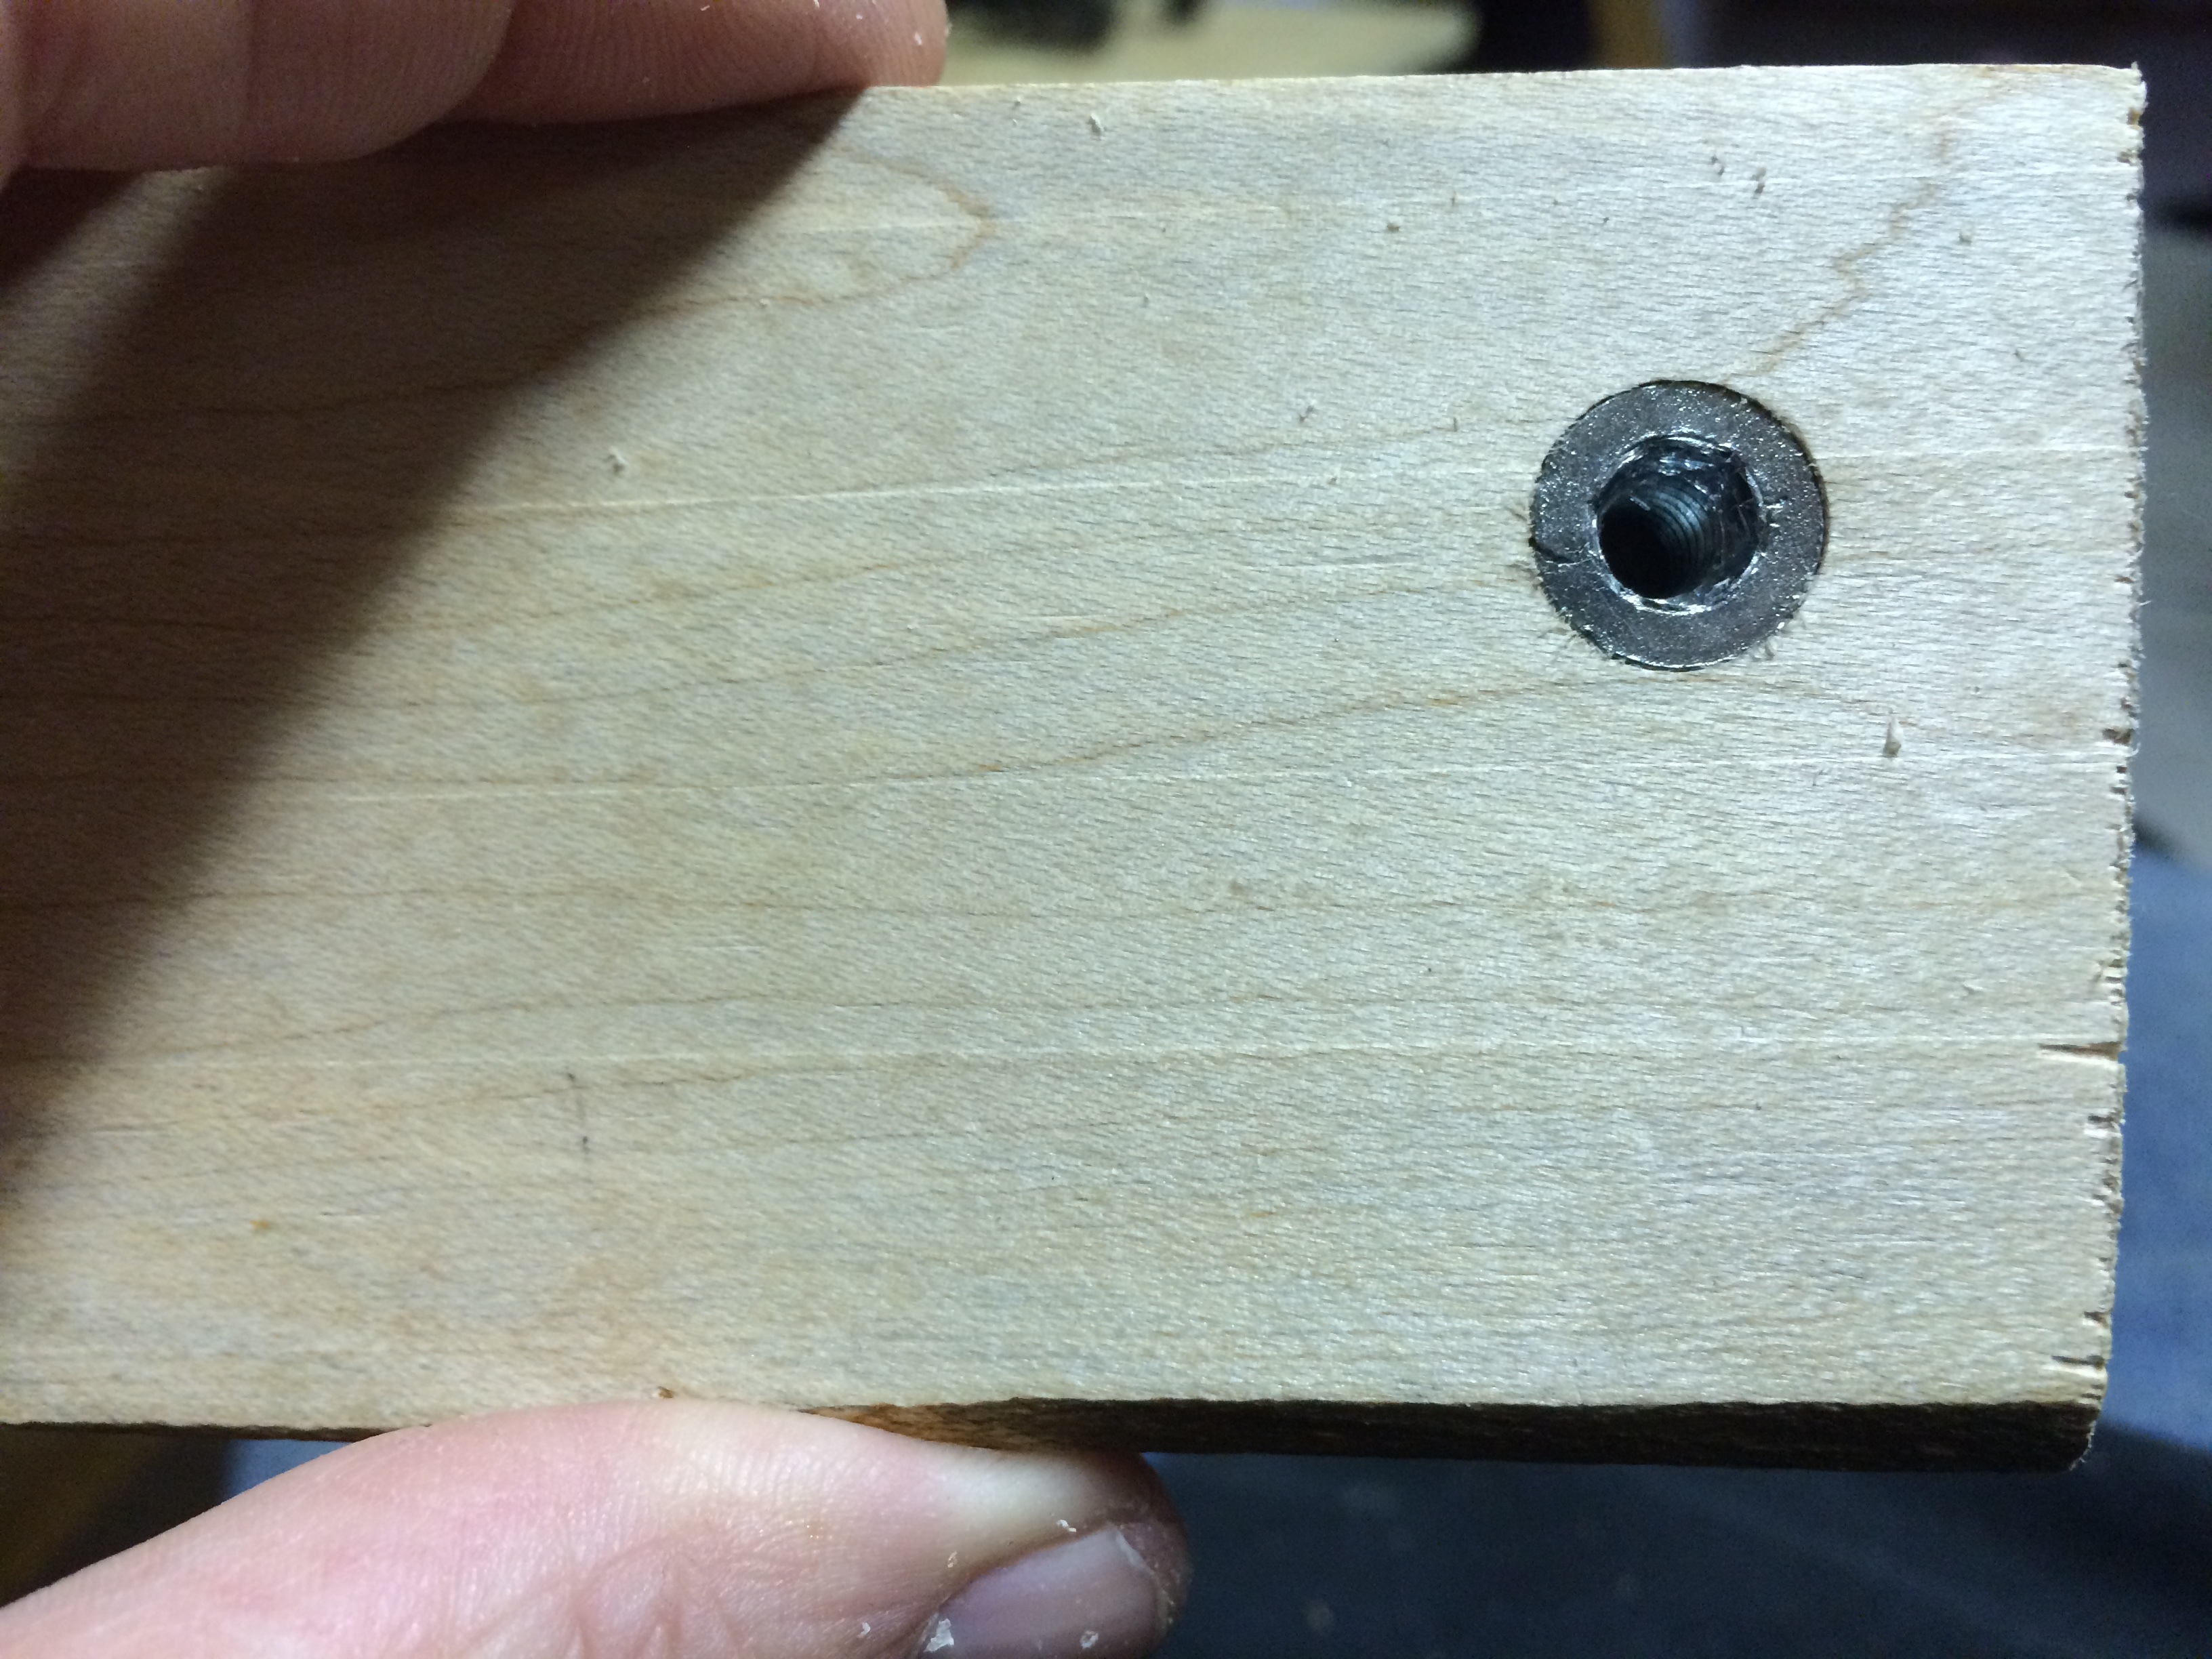
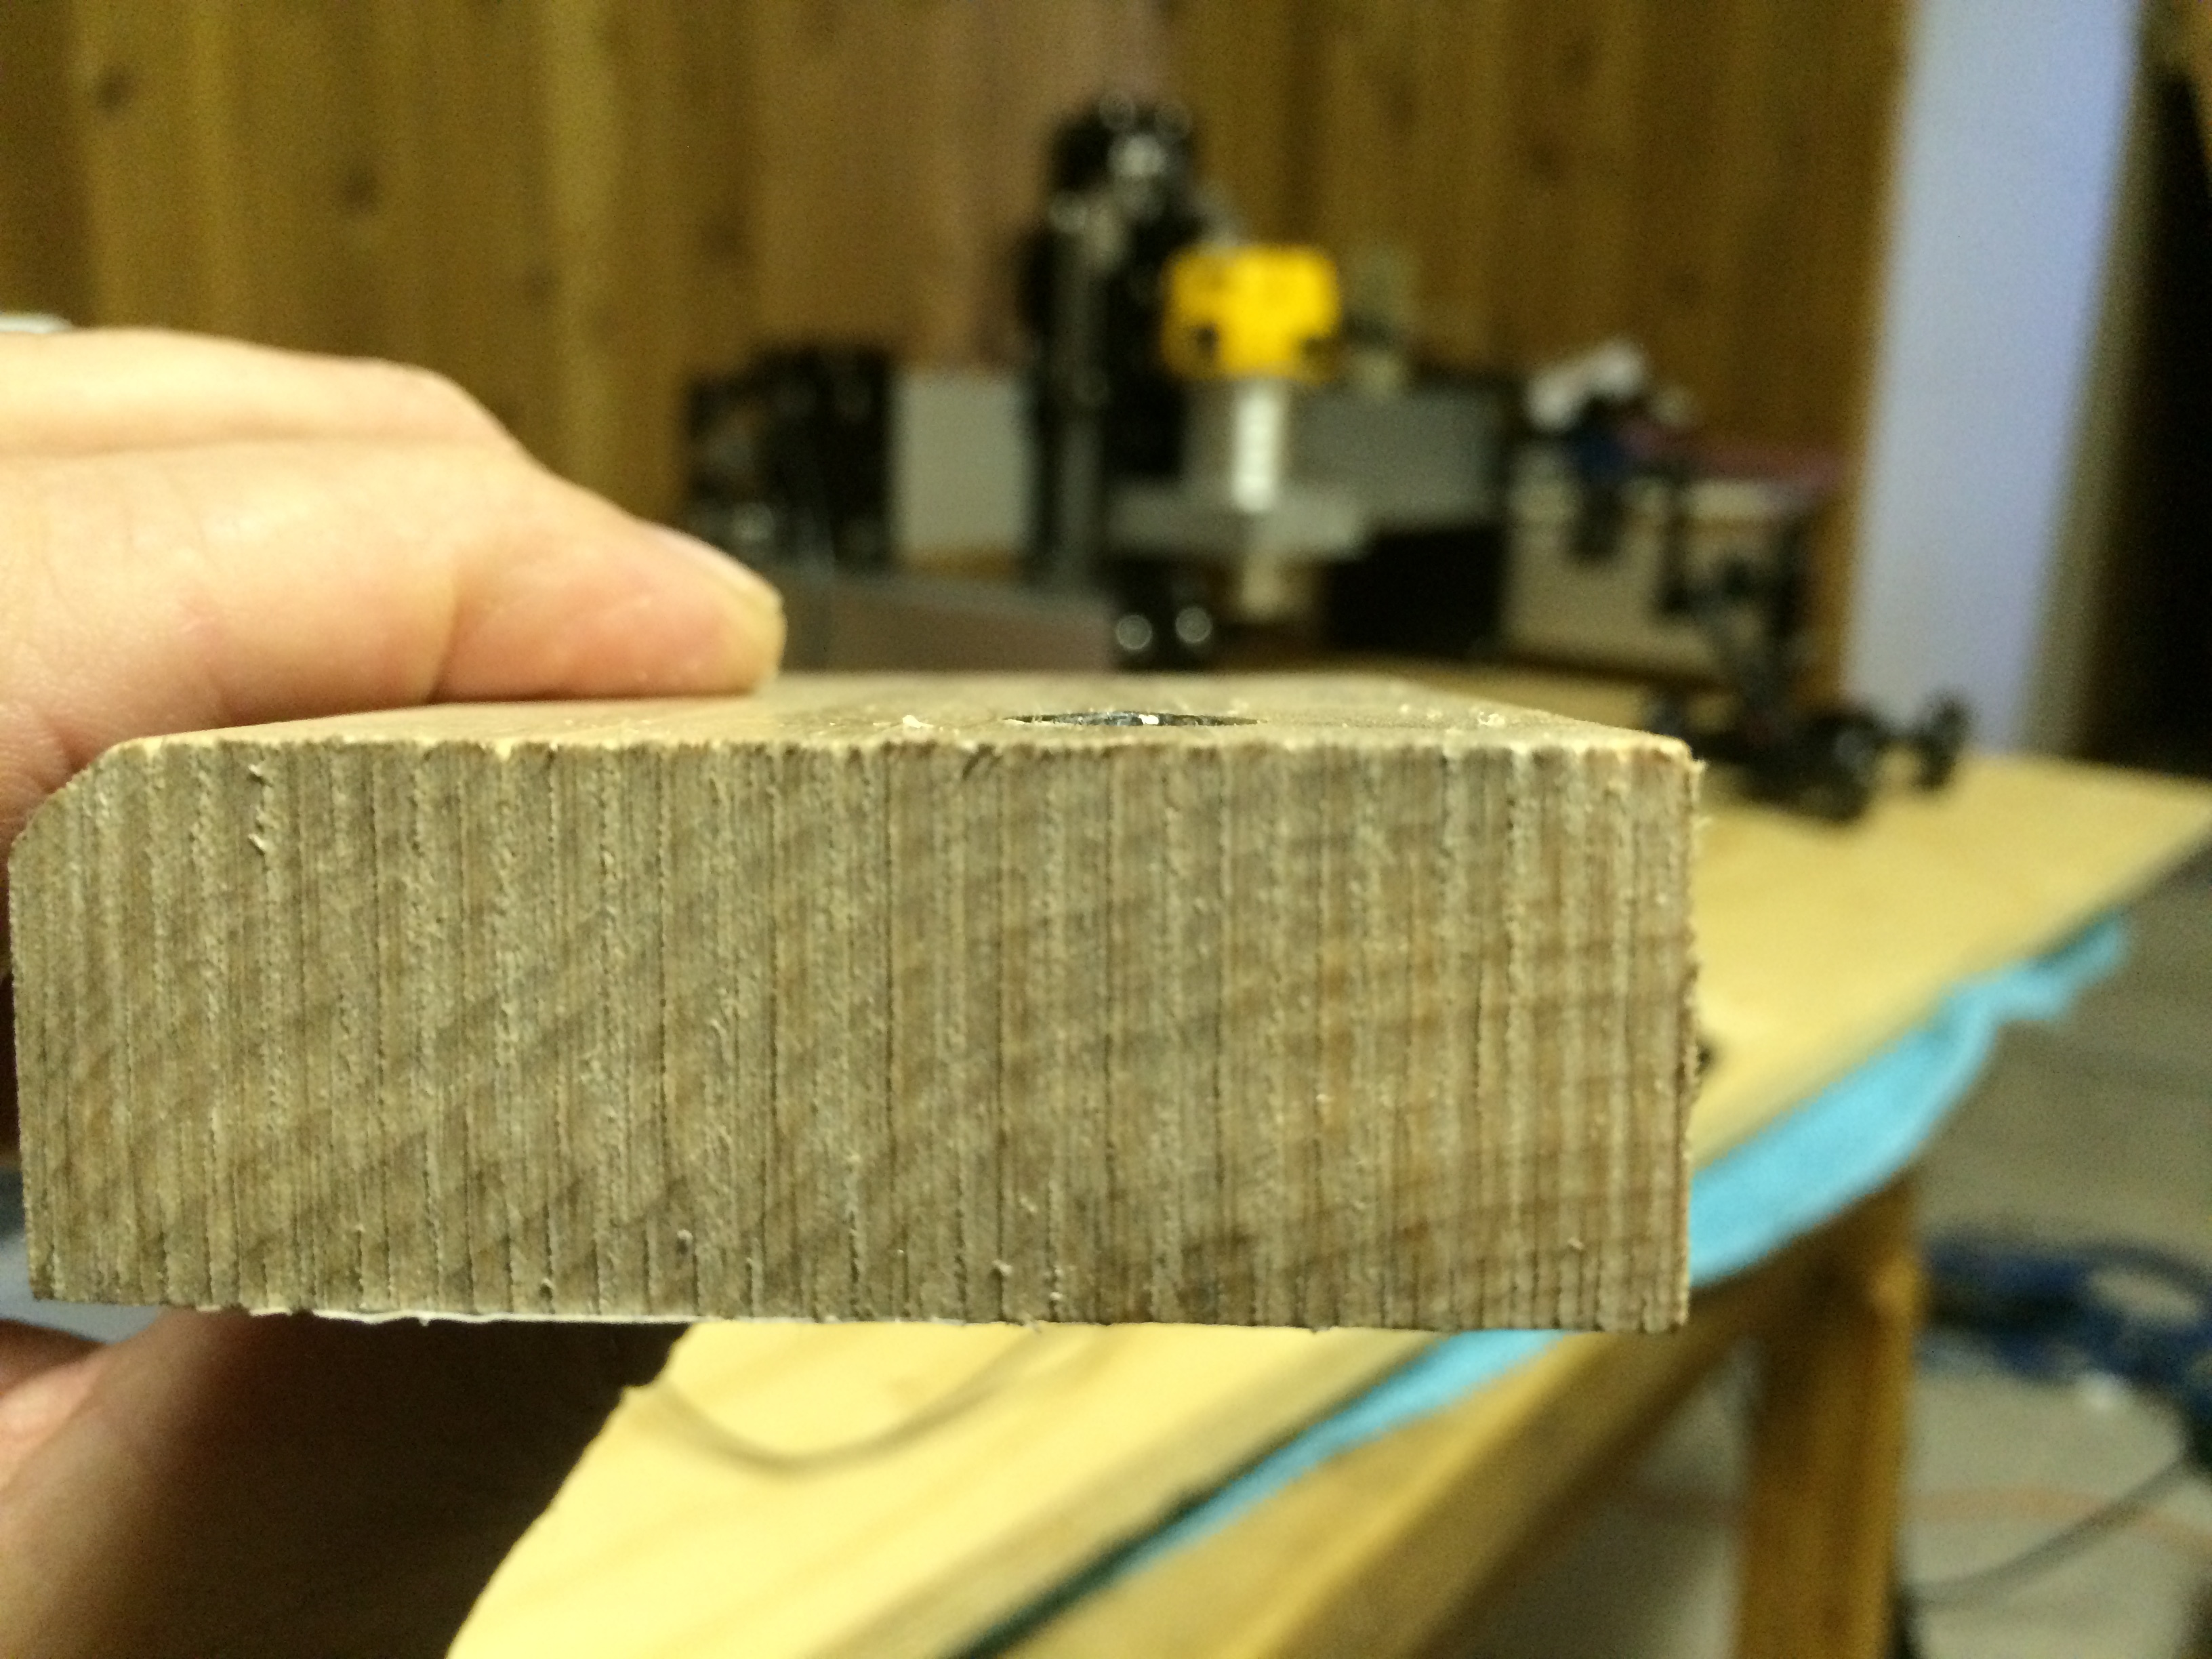
Hello! Is it ever an exciting day today. After such a long time for various reasons, I have been able to successfully drill a hole with a stepped recess for threaded inserts. This was a test, before I do that to my mdf waste board. I am very happy with the results as the threaded insert fits perfectly. I will try to upload a video and some pictures.
That turned out great!
excellent work!
are you manually centering the spindle and machining one at a time…
…or have you created an entire grid, all of which to be milled automatically?
@kevCarrico, I have another post that shows a picture of the inserts I have been able drill and install to that point. I have since finished. I will have to post an updated pic to show the success.
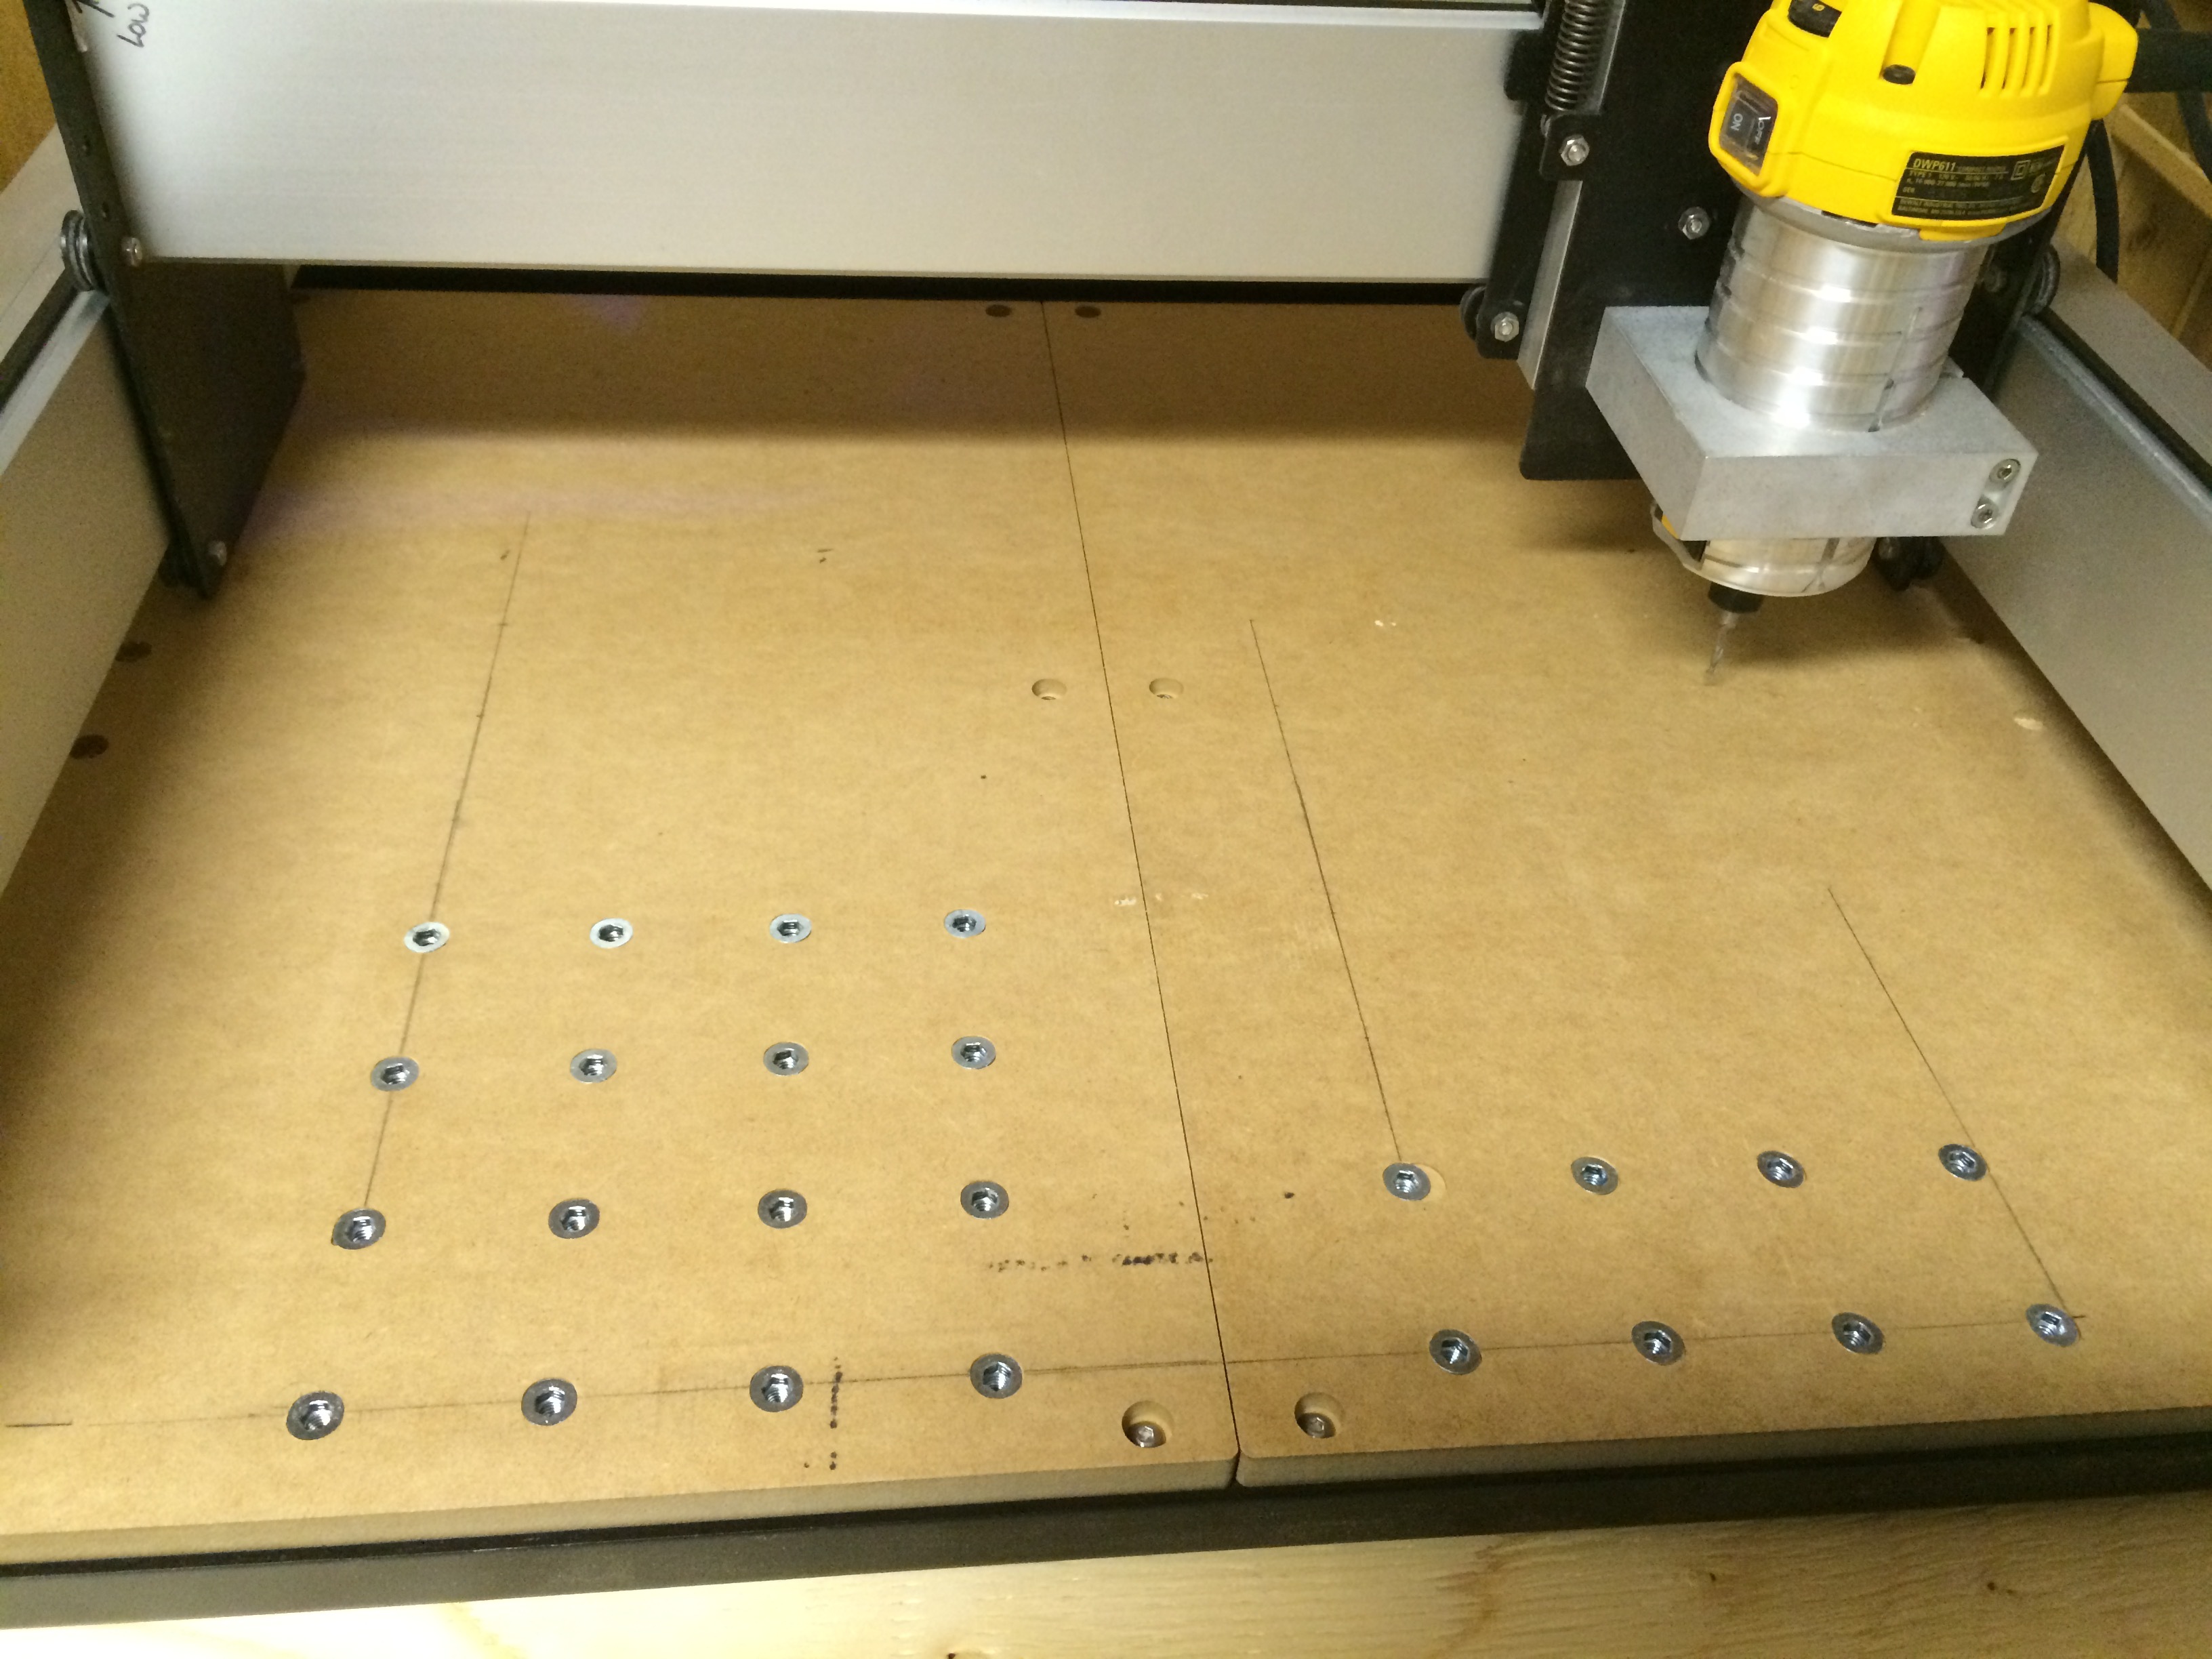
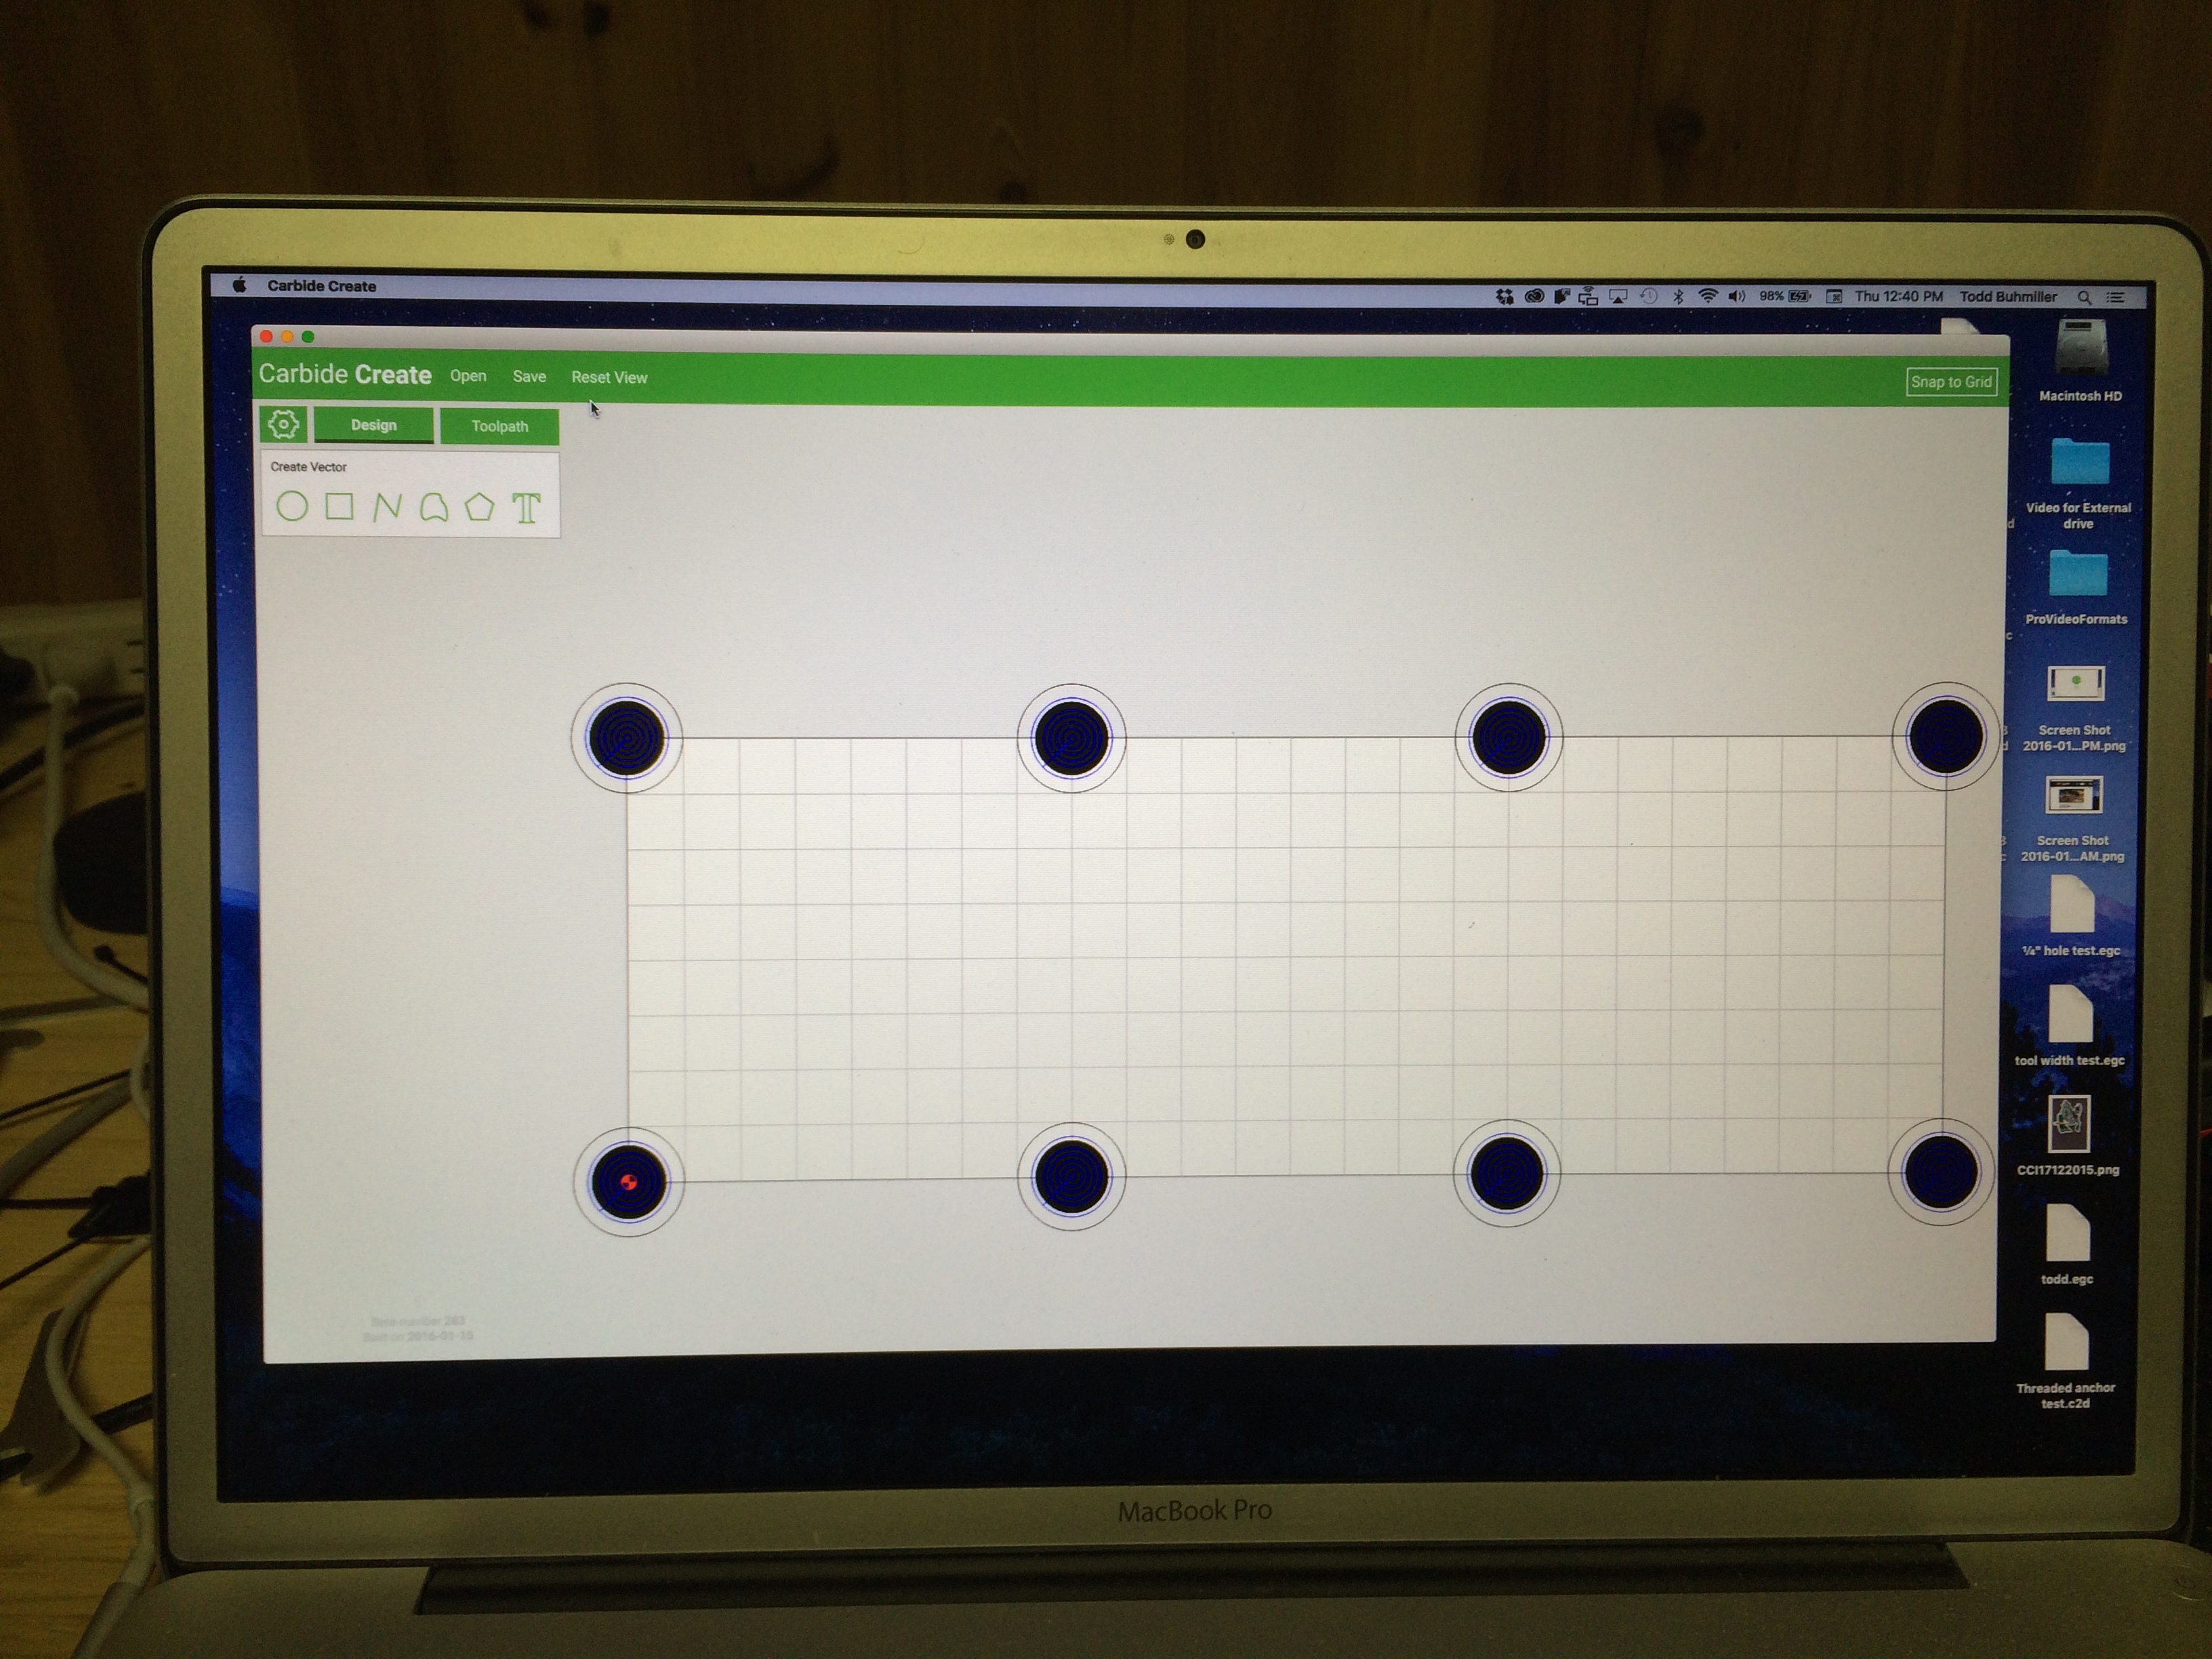
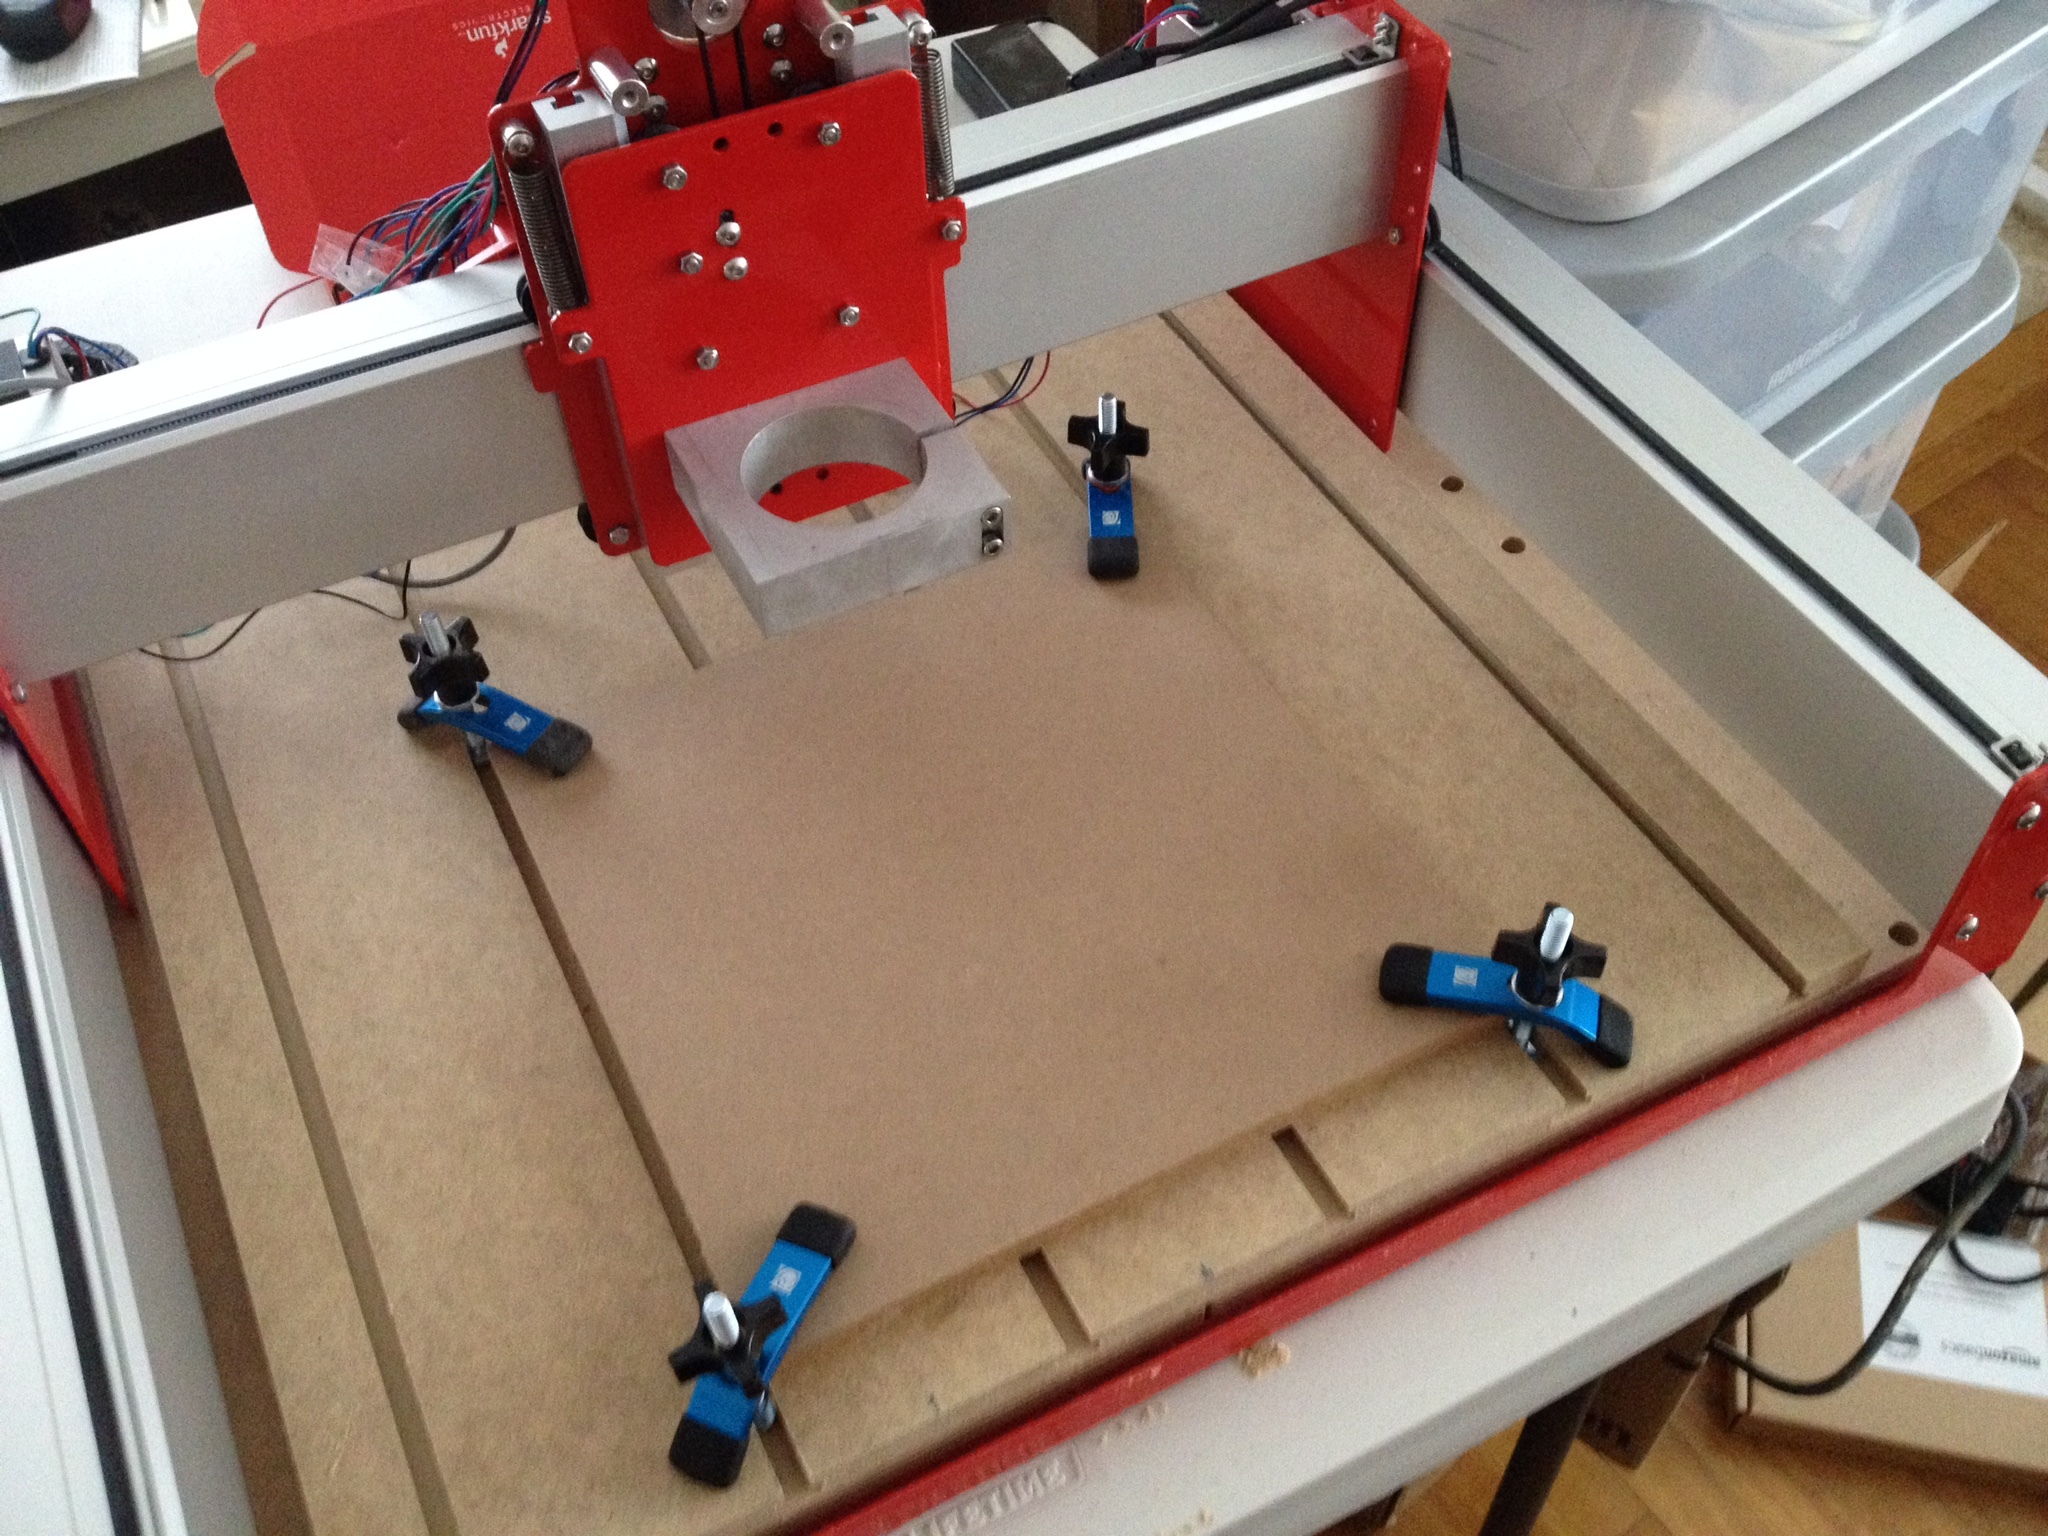
I have the inserts on 2" centers. In Carbide Create, my wood is 2" tall and 6" wide.
I have the tool path center on the lower left corner of the wood. My very first hole is also on the very corner of the wood as well. The next hole is 2" to the right, on the edge of the wood, then next one is 2" to the right of that and the last hole is 2" to the right of that and on the lower right corner. The second row is spaced out the same.
Then when I go and drill them, I center the end mill right above where I want the first hole drilled. Then it drills 8. I then center the end mill over the next spot and do another eight.
I do 8 at a time and it is really slick. I will post the two pictures I mentioned as a response to this and it will be easier to see what I did.
Todd
this is fantastic — thank you for sharing!!
Your welcome! One thing I forgot to mention was, you need to map out the are that your SO3 can reach with the bit. I didn’t want to remove my spoil boards to get threaded inserts close to the “y” rails.
I moved the router to the extreme ends to see where they where. Then I put an X in each corner. Then I drew a line from each X to create a box that indicates the edge that the bit can reach. Then I just looked to see where to place them and then drew a line and marked an X and then centered my bit on that.
I hope that makes sense. If not ask me and I can take some close up pictures.
Todd
1 Like
so you put your inserts / clamping system into the factory-supplied wasteboard — and didn’t make a spoilboard?
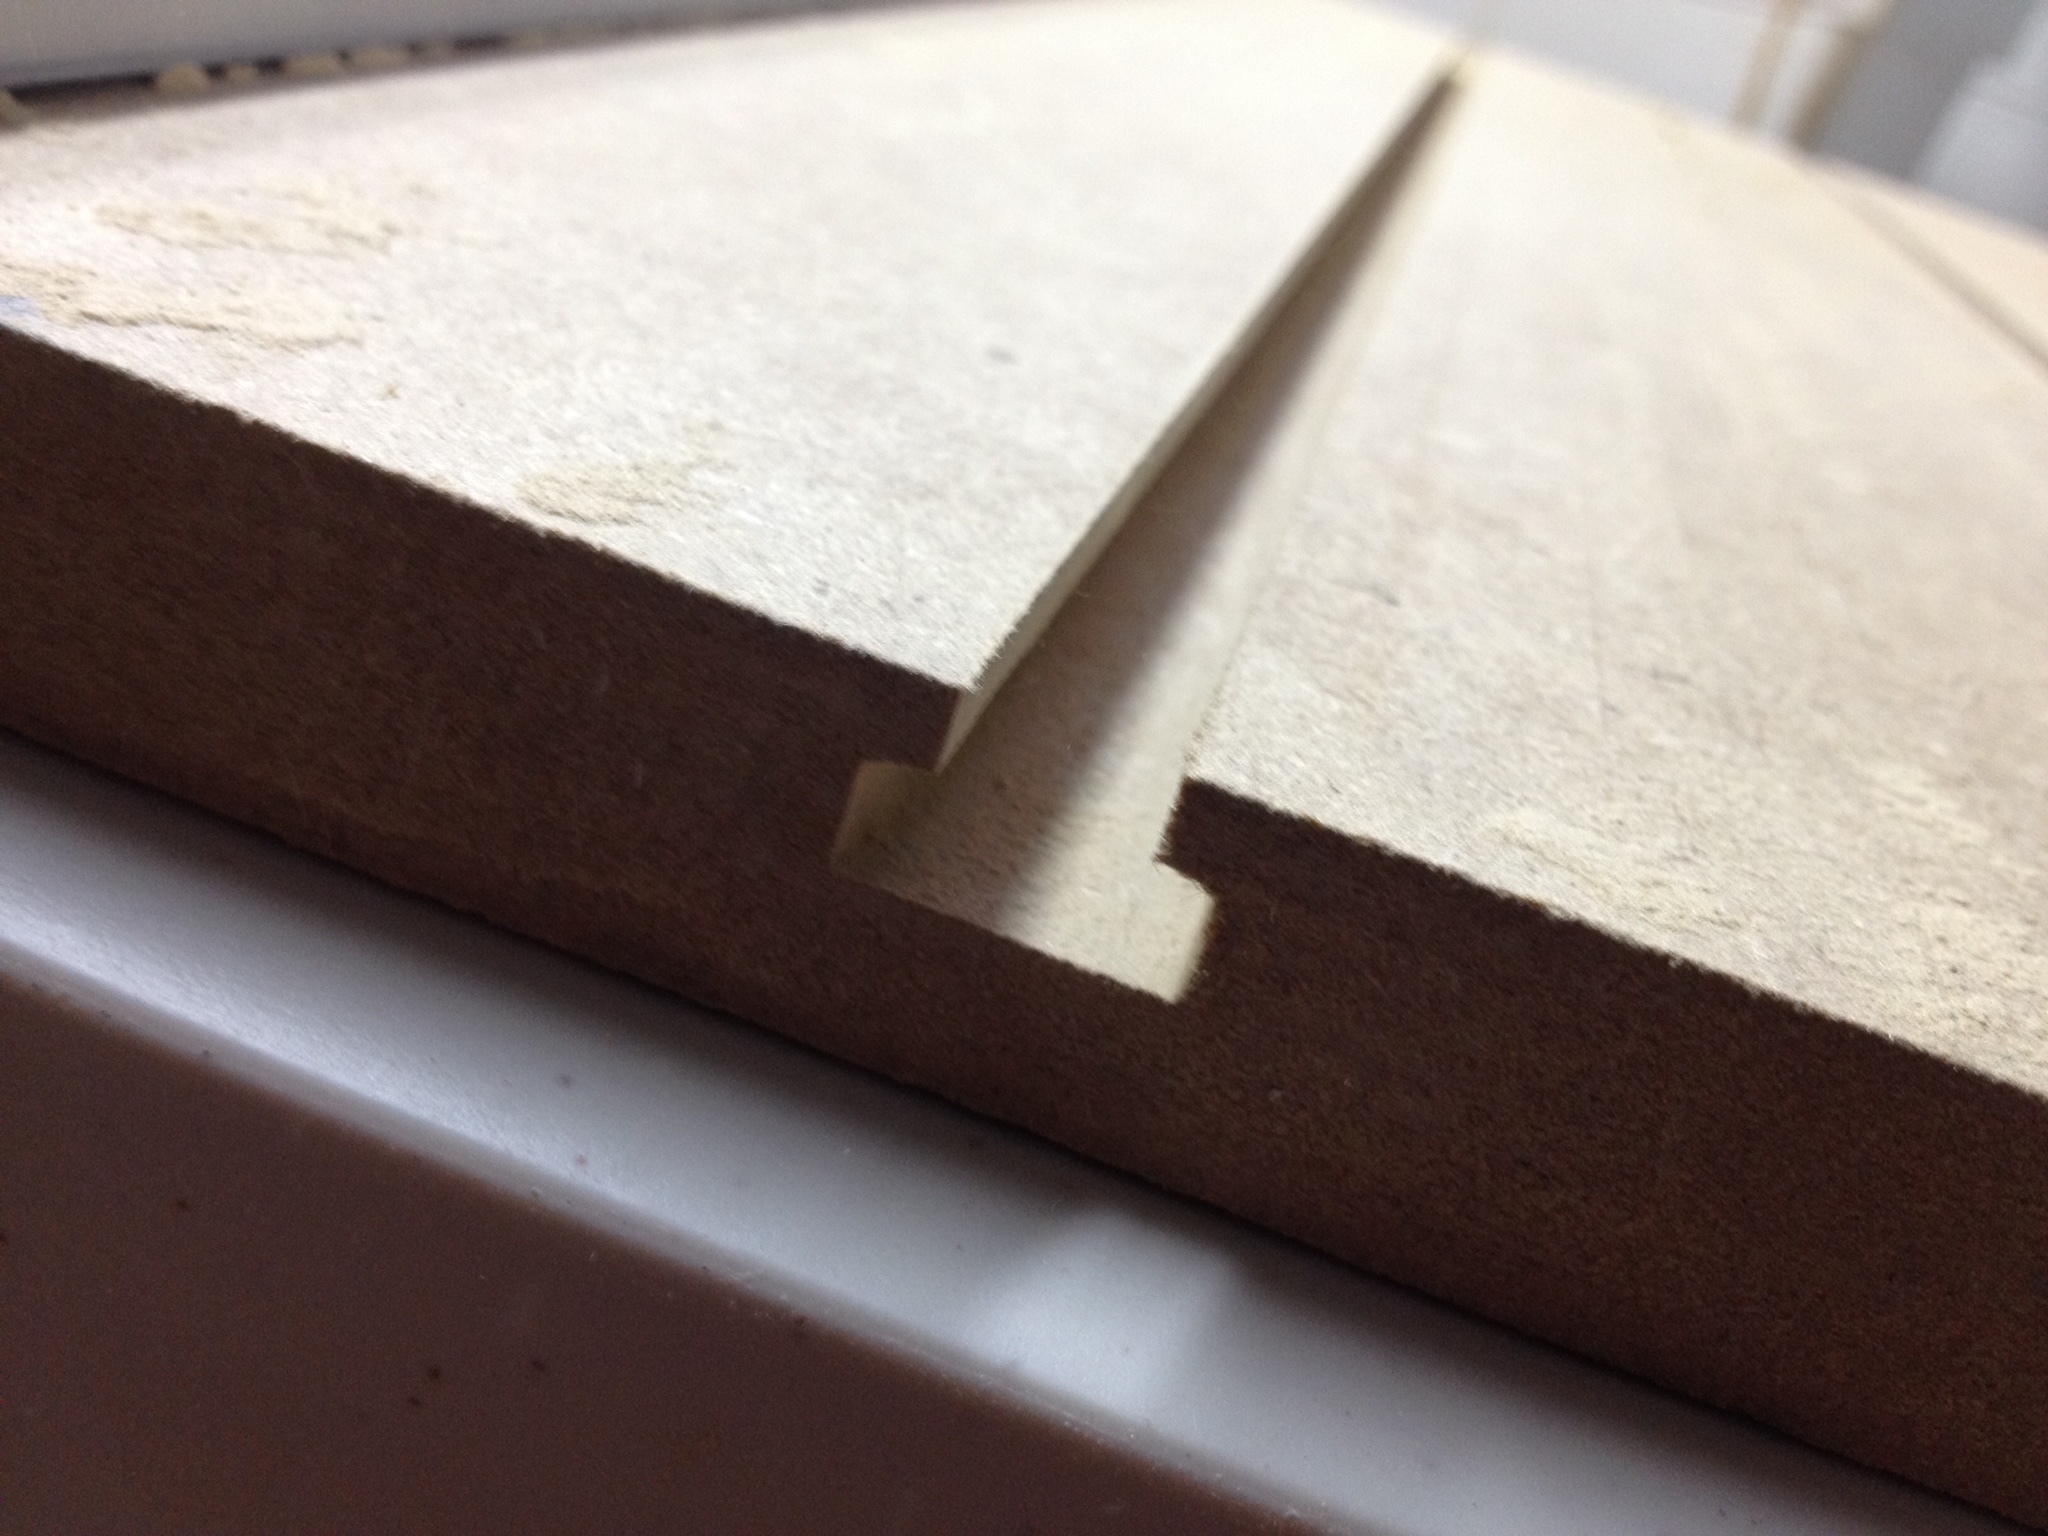
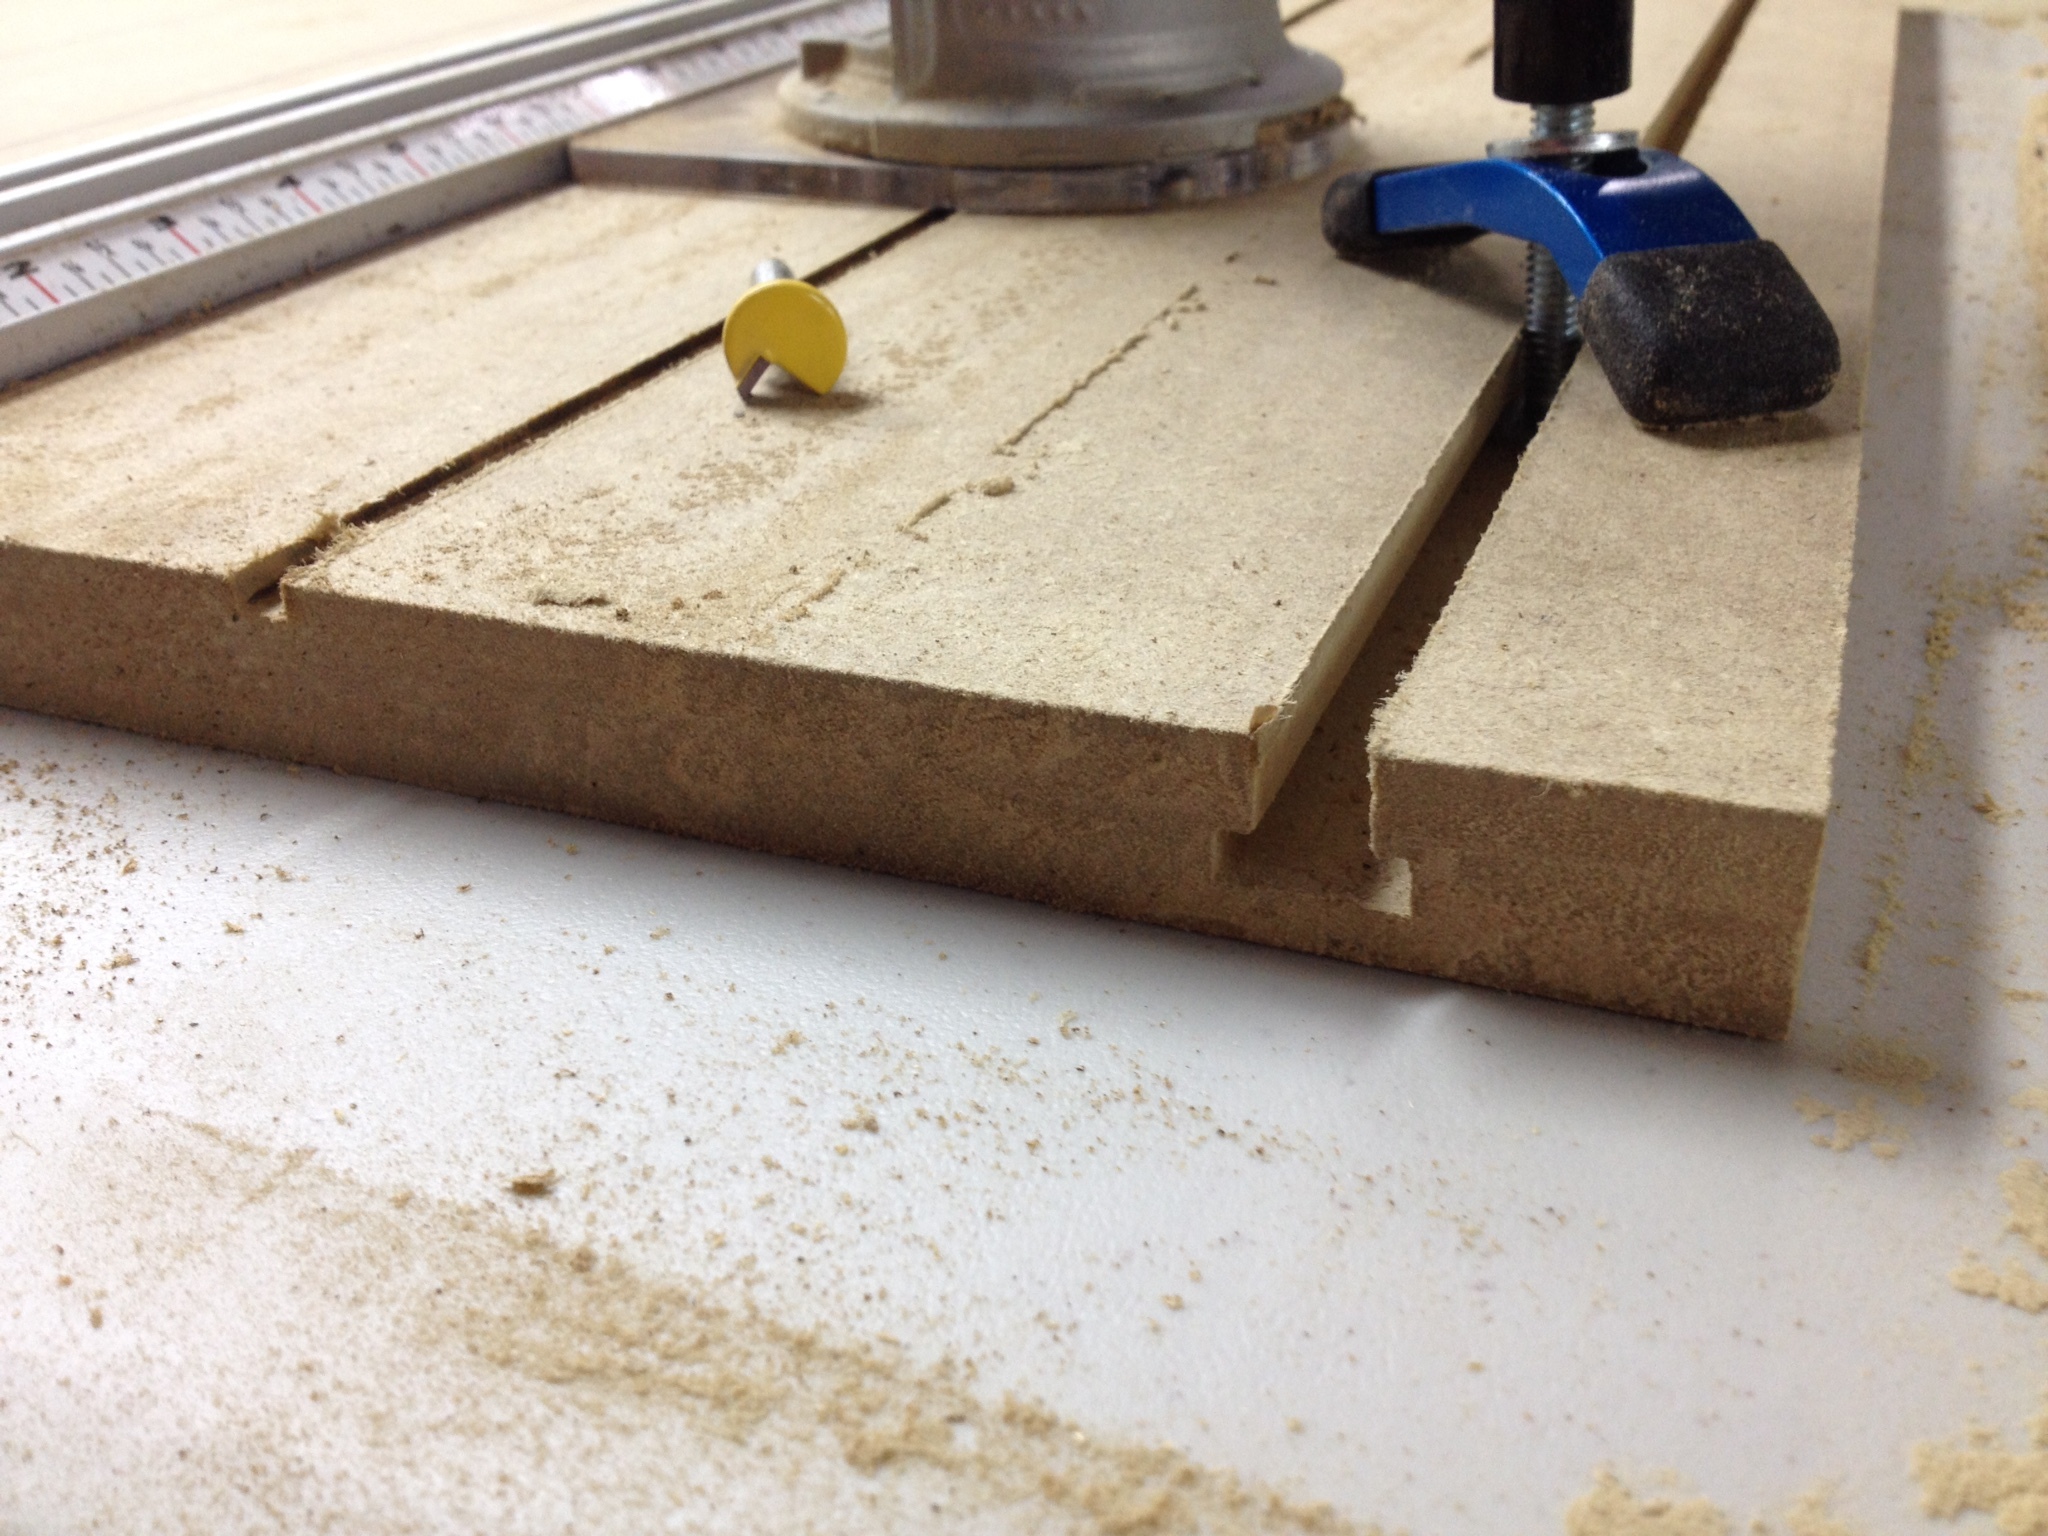
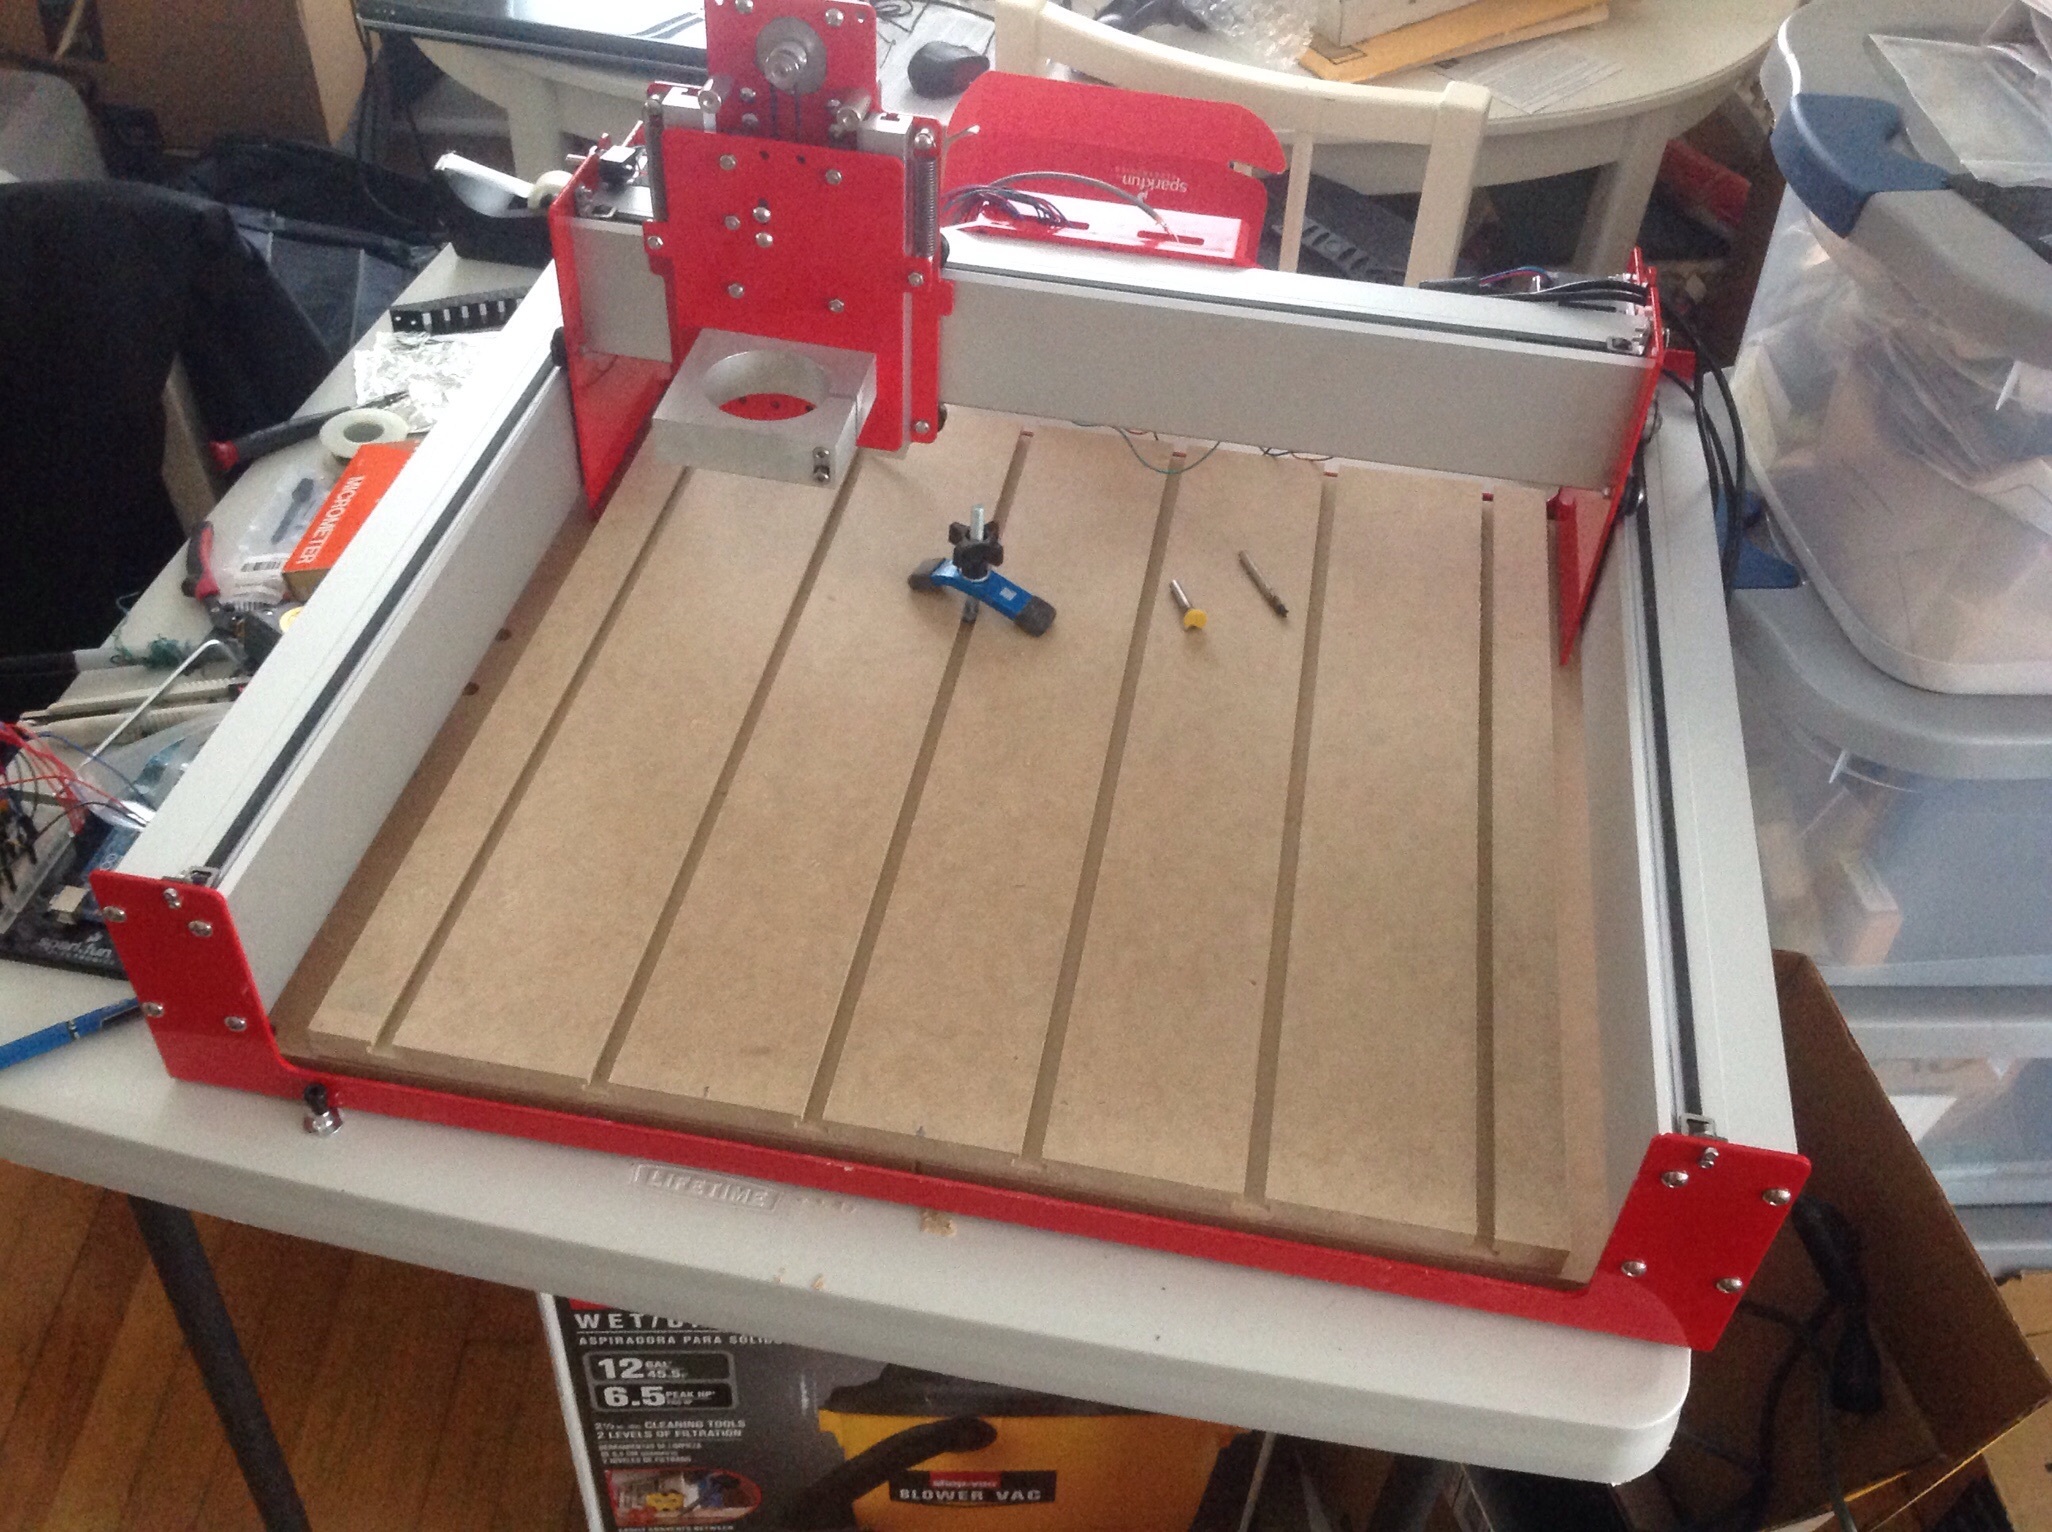
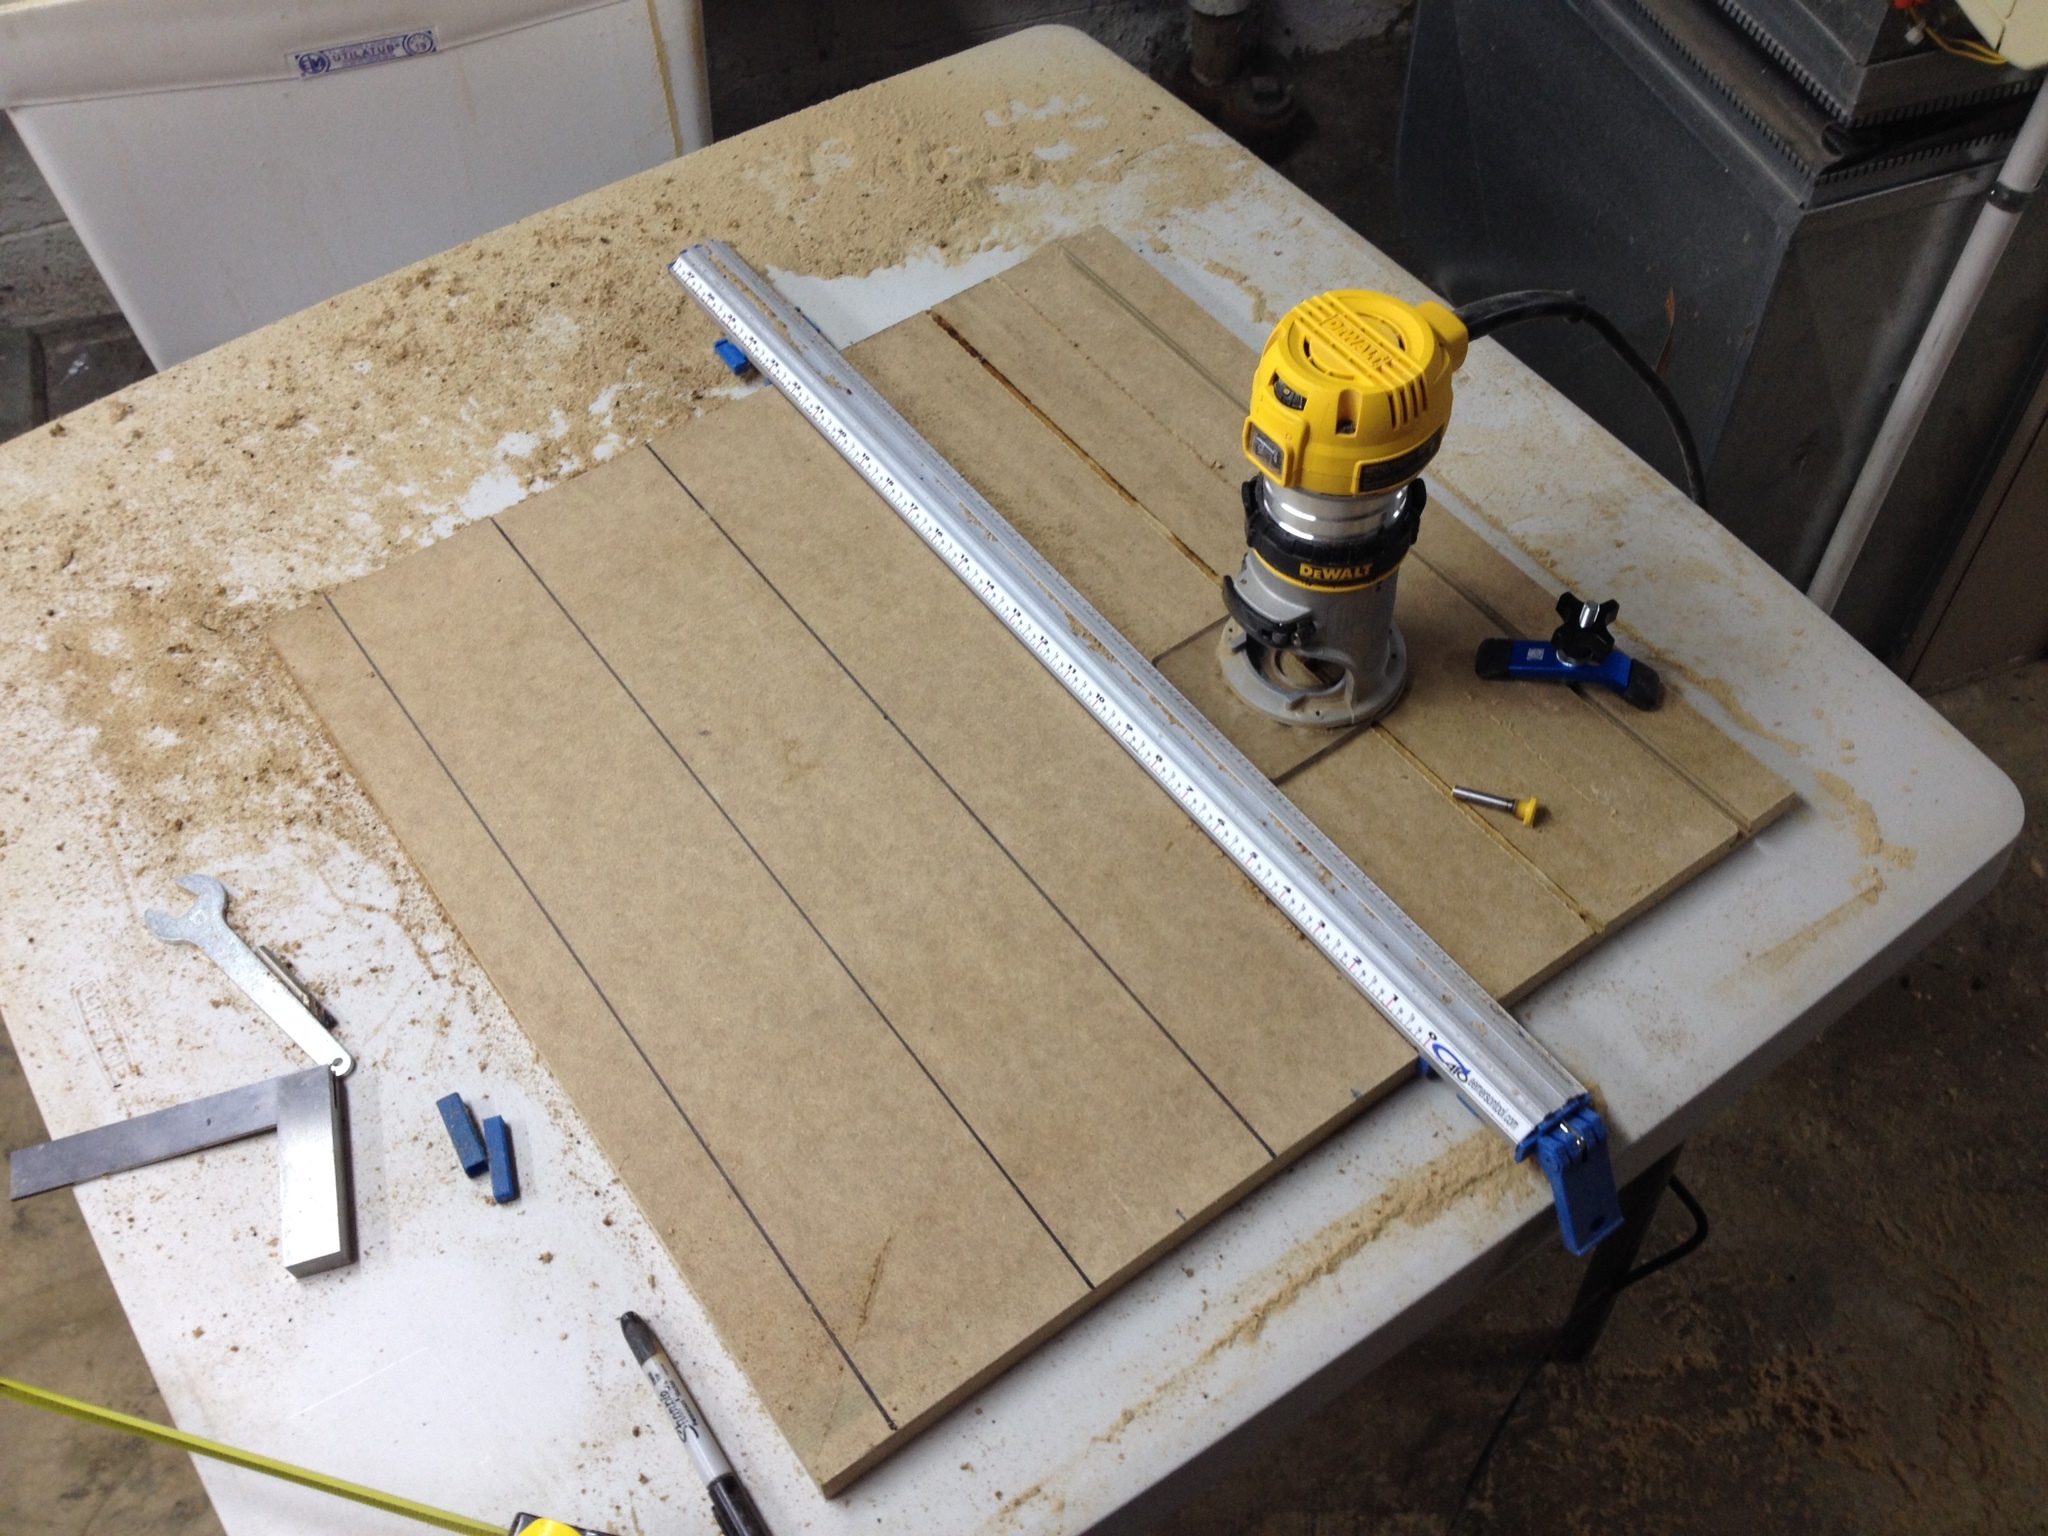
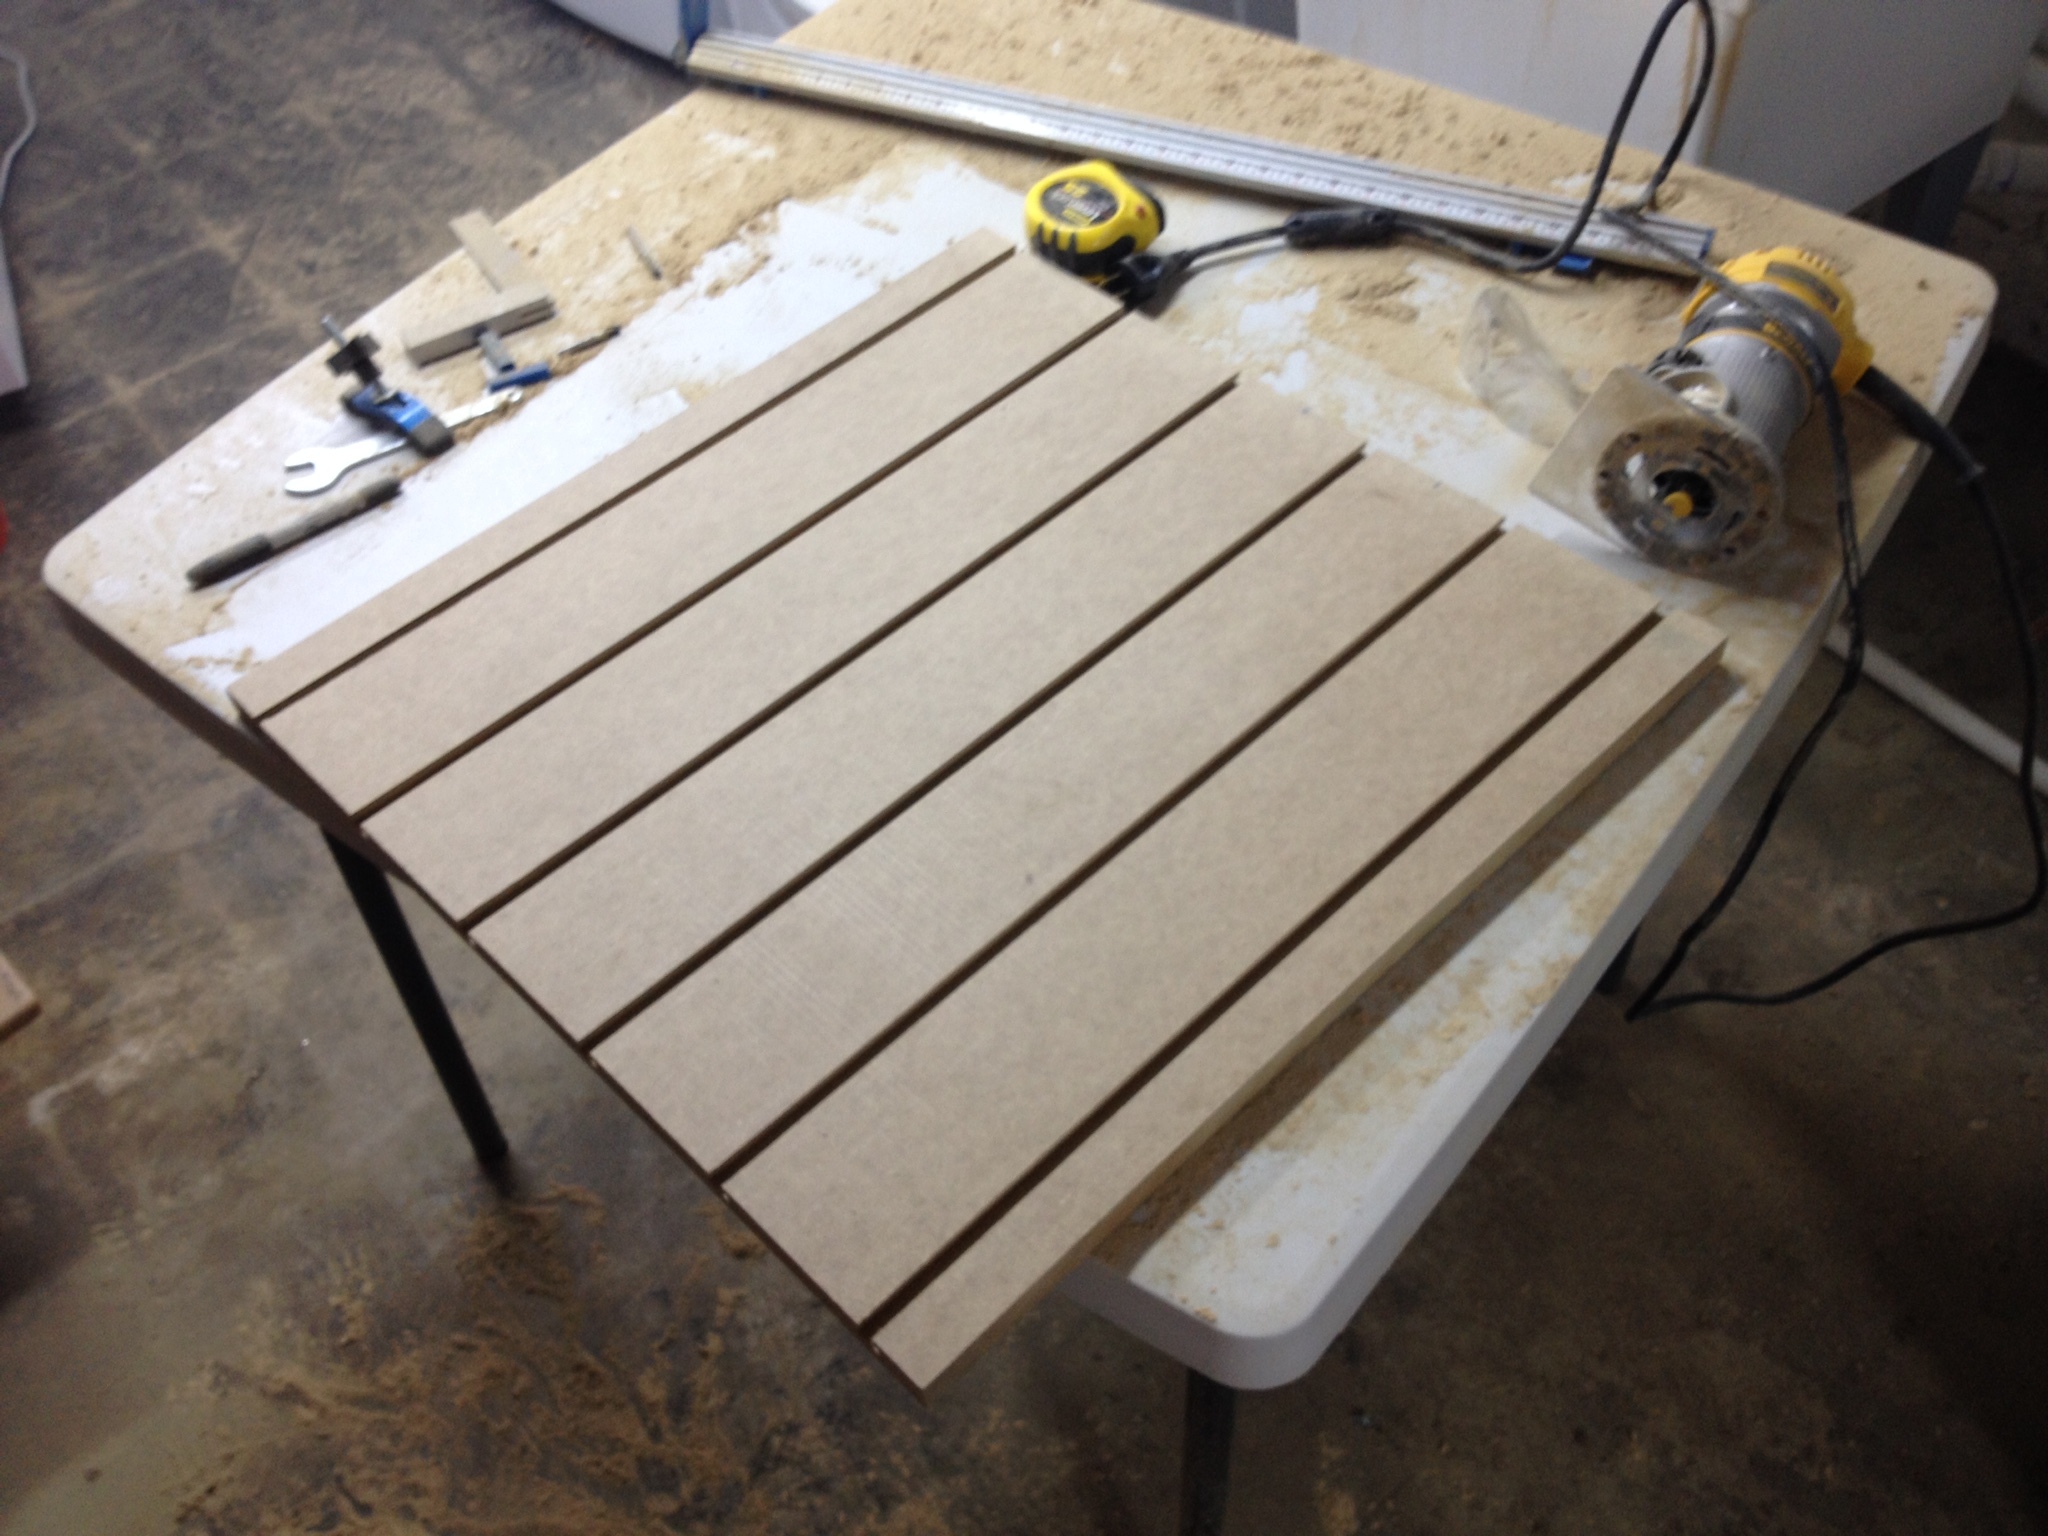
i really didn’t want to weaken my base/wasteboard, so i added a t-slot MDF spoilboard to it.
yes! i am a SparkFun SO3 user and very proud of it:
1 Like
i had the clamps, carbide t-slot bit, etc. from my wood shop – but i am giving-up 3/4" Z depth compared to you?
also, t-slots in MDF are not very strong; i may replace them with aluminum t-slot extrusions.
“spoilboard” and “wasteboard” are two different things, no?
no worries, so far just having great fun!!
1 Like
@kevCarrico I like the simplicity of your MDF spoilboard. Was thinking of doing something similar with HDPE. How do you fix it to the stock base?
I did an HDPE Wasteboard w/ T-nut workholding and used nylon nuts to hold it in place: http://www.shapeoko.com/forum/viewtopic.php?f=35&t=6045&p=48138
@WillAdams I’m sorry if I missed it in that thread…How did you attach the HDPE to the MDF? Also, do you know of an official drawing of the SO3 wasteboard? I was thinking of replacing mine with HDPE.
I used nylon screws in countersunk holes into T-nuts.
Parts drawings are listed at: http://www.shapeoko.com/wiki/index.php/Shapeoko_3#Drawings
