I’ve had the suckit dust boot installed for a few weeks now. It functions exactly as it should, love not having piles of dust everywhere. My only problem is I seem to be wasting more stock since I can’t zero in the corner of the workpiece because of my clamps. I need to leave several inches on either side for the shoe.
How do you all fight this? I’ve thought about raising the boot above the clamp height but seems like it would impair function of the boot. I have paused the job several times when I know the clamp will be in the way and changed location, but that’s kind of a pain as well. I would appreciate your thoughts!
I have that issue as well. If I have a piece that is tight on space, I use low profile clamping (nylon bolt and washer) into wasteboard threaded inserts rather than using my regular clamps.
I used double-sided tape for almost everything these days. Below is the stuff i use and I believe Winston Moy is who recommended it. Also remember the movement your trying to stop is mostly side to side so the down pressure is less important. I have rigged up wedges to hold pieces in place many times.
Nitto (Permacel) P-02 Double Coated Kraft Paper Tape: 1 in. x 36 yds.
I’m not sure what does/doesn’t qualify as low profile but yeah I just let the brush go over the clamp. I’m not there but I’d say my 3d printed clamps are maybe 1/4" over the material, possibly 1/2" with a bolt.
I ran into the exact same existential question: made myself some nice clamps, but then without really realizing it I have now ended up in a position where I hardly use them anymore, for that reason. Maybe not a big deal on larger XL/XXL machines where one can easily choose to use a stock larger than necessary for clearance, but on my SO3 I keep wanting to use the max working area and clamps are in the way, always.
I am now using either double-sided tape (whenever I use profile cuts and need to parts to stay in place after the cut), or blue painter tape on all four sides of the stock (surprisingly efficient to hold down stock, for wood working at least), or a combination of both.
Now I long for a vacuum table to get rid of the hassle of setup up/cleaning the tape.
If the clamps are tall you could consider running it with the boot lifted off the workpiece. Nowhere near as effective but you’d still have a vacuum close to the source.
I may have to go back to taping my thinner stock. Dan, I may try raising the boot, just to see how bad it is. Will, I like your idea but my wasteboard already has threaded inserts, don’t really want to drill more holes. I suppose I could use a secondary wasteboard… How thin can you make aluminum clamps and still have them be useful?
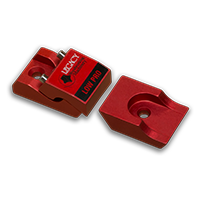
I purchased these clamps from Legacy Woodworking Machinery. They work great and are super strong as well as low profile. They are expensive but as a one time purchase with the benefits they provide, I believe they are worth it to me. One of the better upgrades to my maching in my opinion.
Here is a link where you can purchase them if you are so inclined.
Here is a thread where I details my stand and t-track:
The method I use for clamping (some fender washers, a flat-head screw) will provide a very low-profile method to clamp your material.
Works best w/ t-track but can be used w/ threaded inserts so long as you’re flexible with your workpiece dimensions (the workpiece should end as close to the edge of your threaded insert as possible).
I put a strip of blue painters tape on my material then a squiggle of super glue down the length then another piece of blue painters tape back side down so the sticky side of the tape is out then press the whole thing down to the spoilboard. If I’m doing a length of 3 inch tall material I usually just use one strip of tape (two if you count the opposing side for the bottom). If usually will leave no more than a 2 inch length of material exposed so if I have a 6 inch tall piece of stock I use two length of the painters tape. I usually position close enough to the front of the frame of the Shapeoko so that I can align the material against a 123 block on either side of it. I rest a brick on the material for about 10 minutes, then zero and run the job. When I’m done I use a spatula to pry up the material and tape. I’ve yet to have anything come loose and unless I’m cutting very small parts I don’t need tabs in my profile cut.
Simple solution, don’t use clamps that are so tall. You can make your own, or find a set. SuckIt’s coming out with their own soon, if you stalk their Instagram…
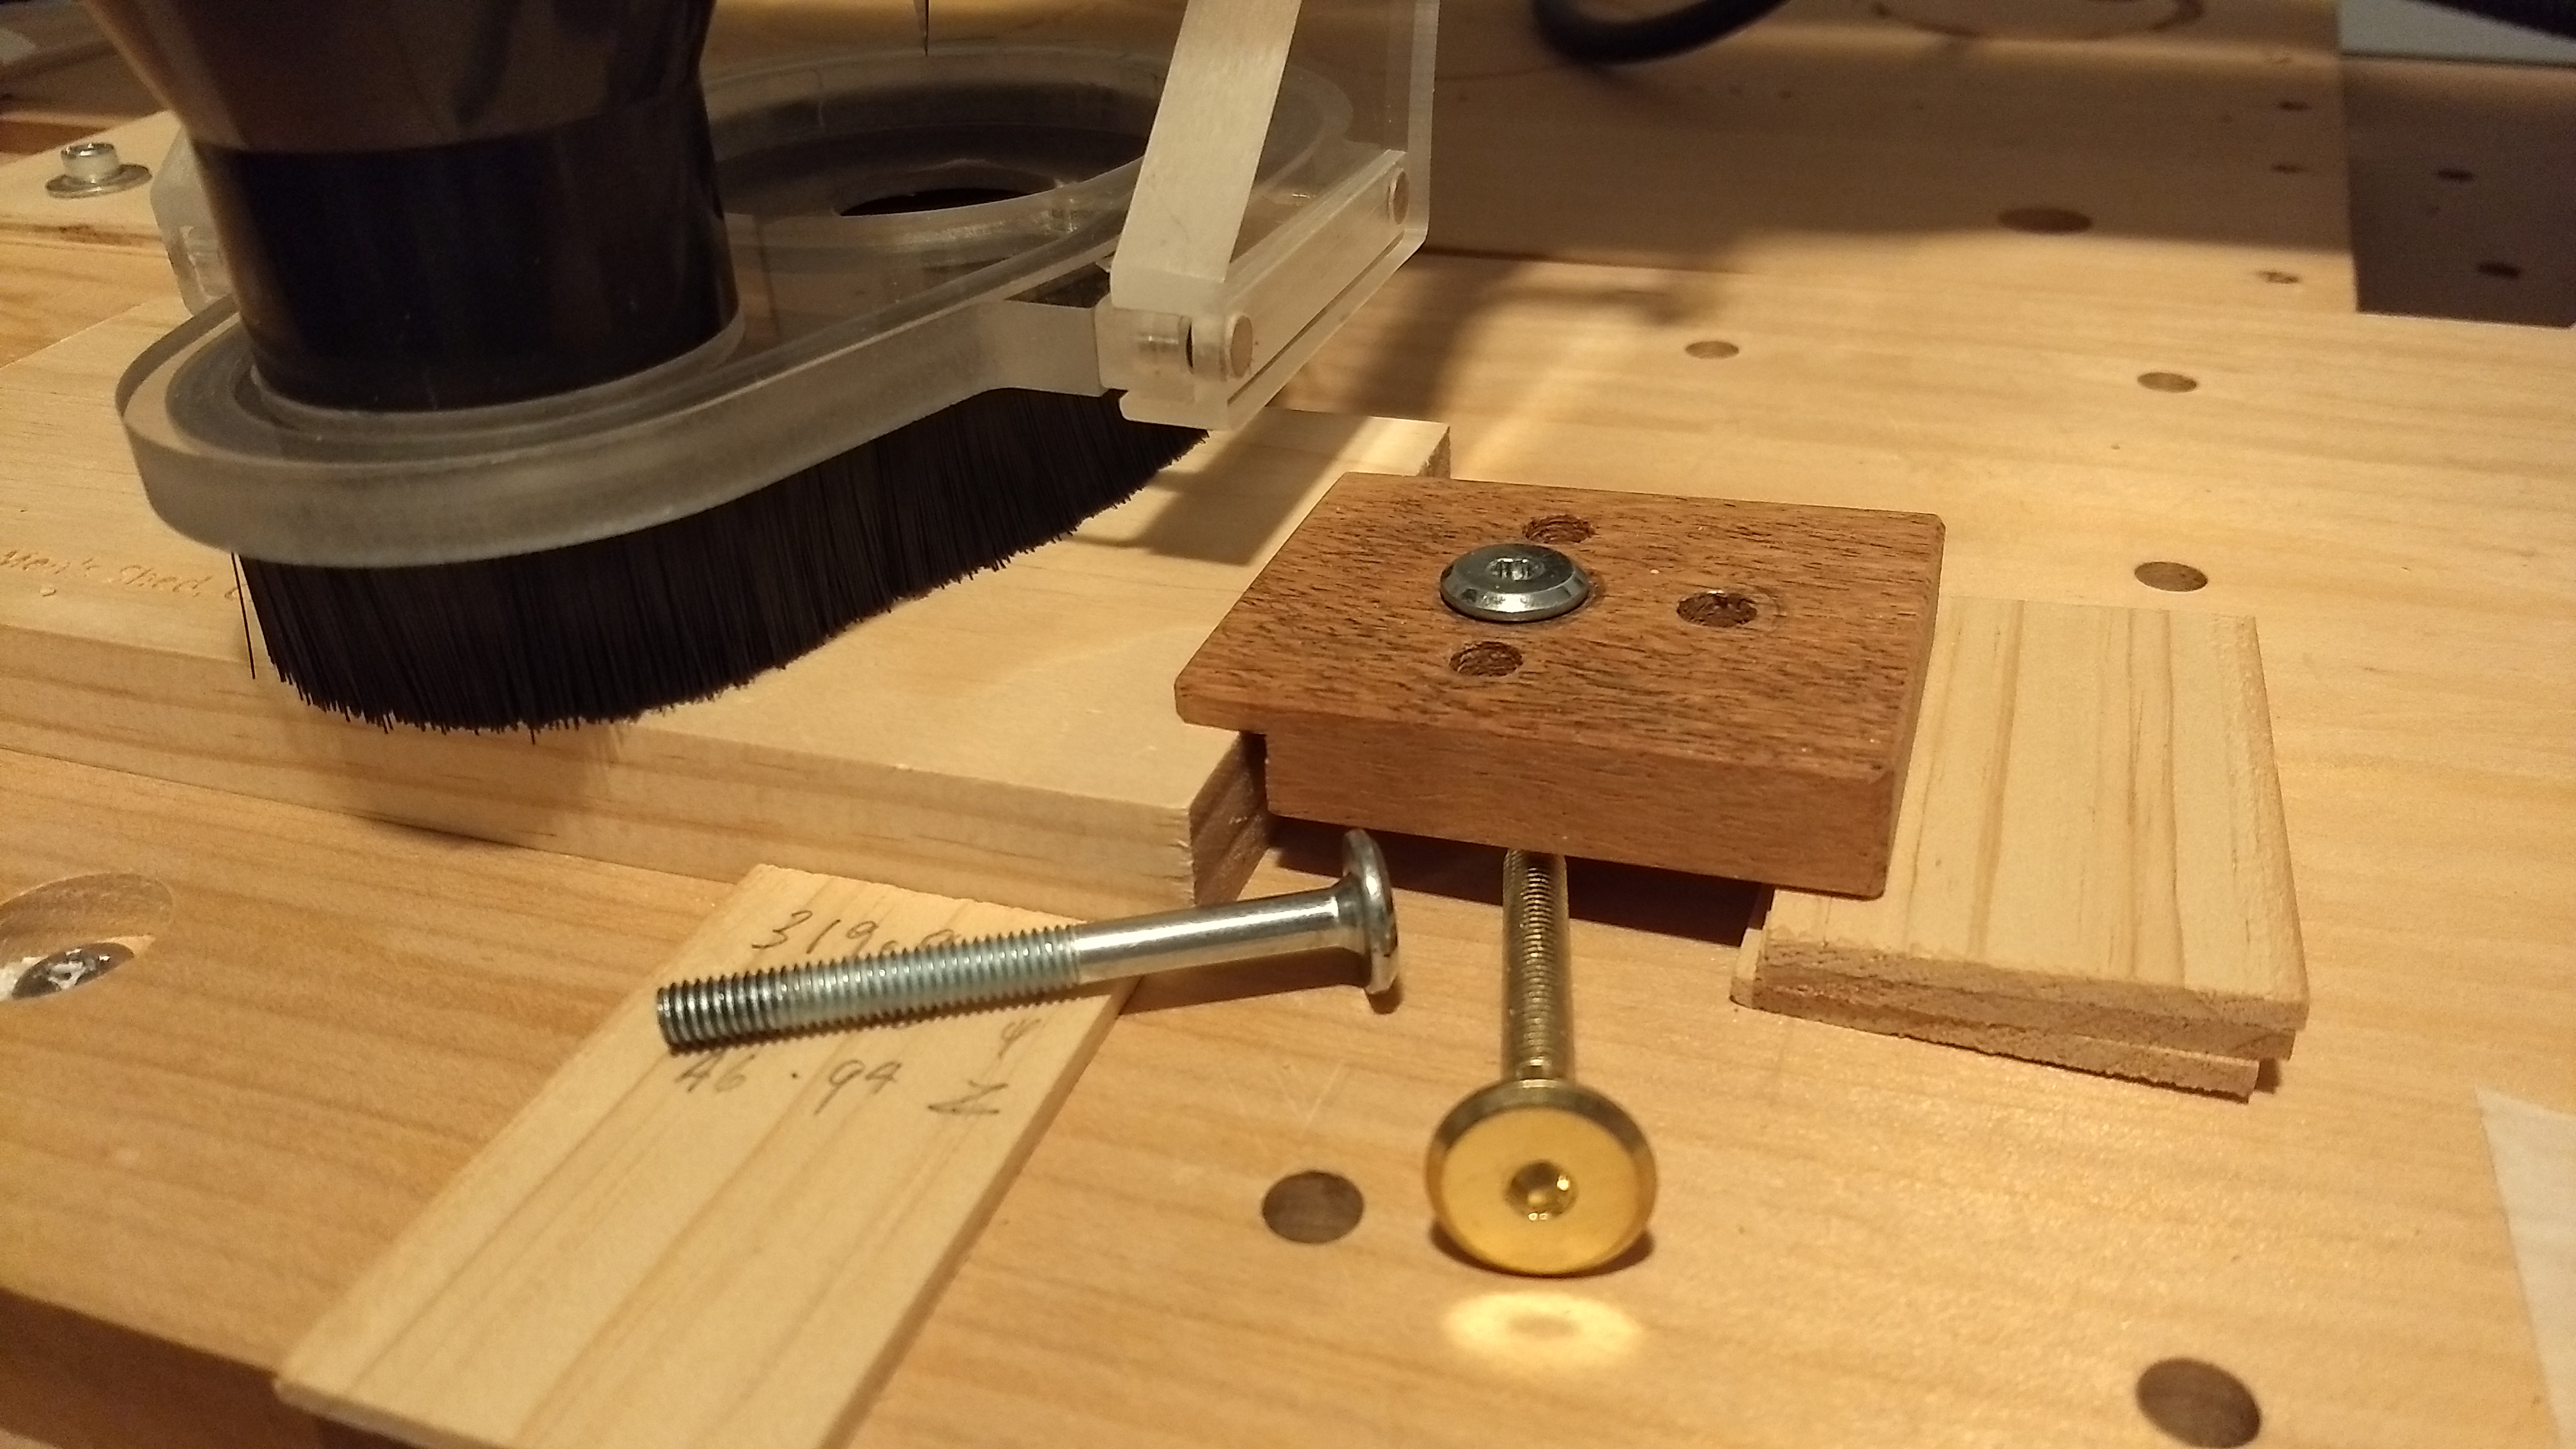
Here is my solution to the problem. In the foreground are the low profile 6mm bolts I use with my Suckit. In Australia they go under the name of Connector Bolts and are used in assembling furniture. They are available in a range of lengths. The Suckit rides right over the setup.
Generally though for one-off jobs i use the masking tape/cyanoacrylic glue trick. For production runs I use the clamps and bolts as in the pix.
Great suggestions, thanks all. Low profile clamps seem to be the way to go, plus or minus tape if necessary. Winston, thanks for the tip about the upcoming suckit clamps, they look pretty sweet.
This style tape I originally saw mention in one of Winston Moy’s videos and I’ll say I find it has a really good ‘stick’ while still being easy to remove, and the tape itself is quite thin. The masking tape and glue trick is neat but if you’re doing this stuff regularly I know for me it’d get old.
I have been using a combination: pieces of double-sided tape only under areas where the cutter does not go through (I really don’t like my endmill to cut through the glue layer of the tape), and tabs where/when the shape/surface of the cutout piece does not allow this.
![20171105_192451[1]](https://community.carbide3d.com/uploads/default/original/2X/2/240b244741e477fa6ad2501f1836f61fdc8a2653.jpg)