I typically like to work from center as well. Is it possible to use the probe in the bottom left corner and the top right corner to get minX,Y and maxX,Y? Then you can calc the exact middle of your work piece? That would be awesome for engraving.
It would be even better if this was just a built in probing sequence so I don’t have to do any math.
I can’t comment on the final software and it’s capability, so IDK. The version of CM408 I have only let’s me probe in the + direction as shown in the video.
Also I guess it is technically true that you lose a little potential Z travel by using a touch plate. That won’t be a practical issue until I get some 3.5 inch long endmills .
In the past, I have had a few setups where I only had less than a 1/4" to the limit switch, so yes there are times where this touch probe would not work, but at least for me, those would be very rare.
Can I ask what the intended method of connecting the probe will be?. I’m assuming that the Shaepoko is simpler that the Nomad 883. The will need to be some sort of connection to the probing in the board, right?.
On a side note, commenting on the strategy of where to take the measurements from, I think that a simple design alteration would give you the best of both worlds. The bottom left corner seems to be the easiest as far as keeping the exact position without having to hold it because it would butt agains the stock piece. This could extend the probing area outside the machinable area. If the bottom left corner being measured could be recessed inward from the edge butting against the stock we would have a measure position inside the stock being used and still retain accurate positioning. Simple, no?.
Yes I guess the reduced Z travel could be a limitation for some kinds of projects. You also have to add on how far up the macro retracts the spindle after probing, on top of the thickness of the plate itself: none of that Z travel is usable for cutting, though it is true in general that retract height isn’t usable for cutting.
I suppose understanding the Z limitations imposed by the probing process is worthwhile, including whether the software lets you fine tune things when it gets tight.
It helps a lot though that you can raise and lower the spindle in the mount on Shapeoko, so (at least for me) it would most likely only come into play when doing really deep cuts (I think). That’s been my own experience using a touch plate so far, at any rate: that is, it hasn’t really been an issue on the XXL because in practice I can’t really use the full three plus inches of travel for the kinds of projects I do on that machine. But I can see how some heavily ‘3D’ projects might be constrained.
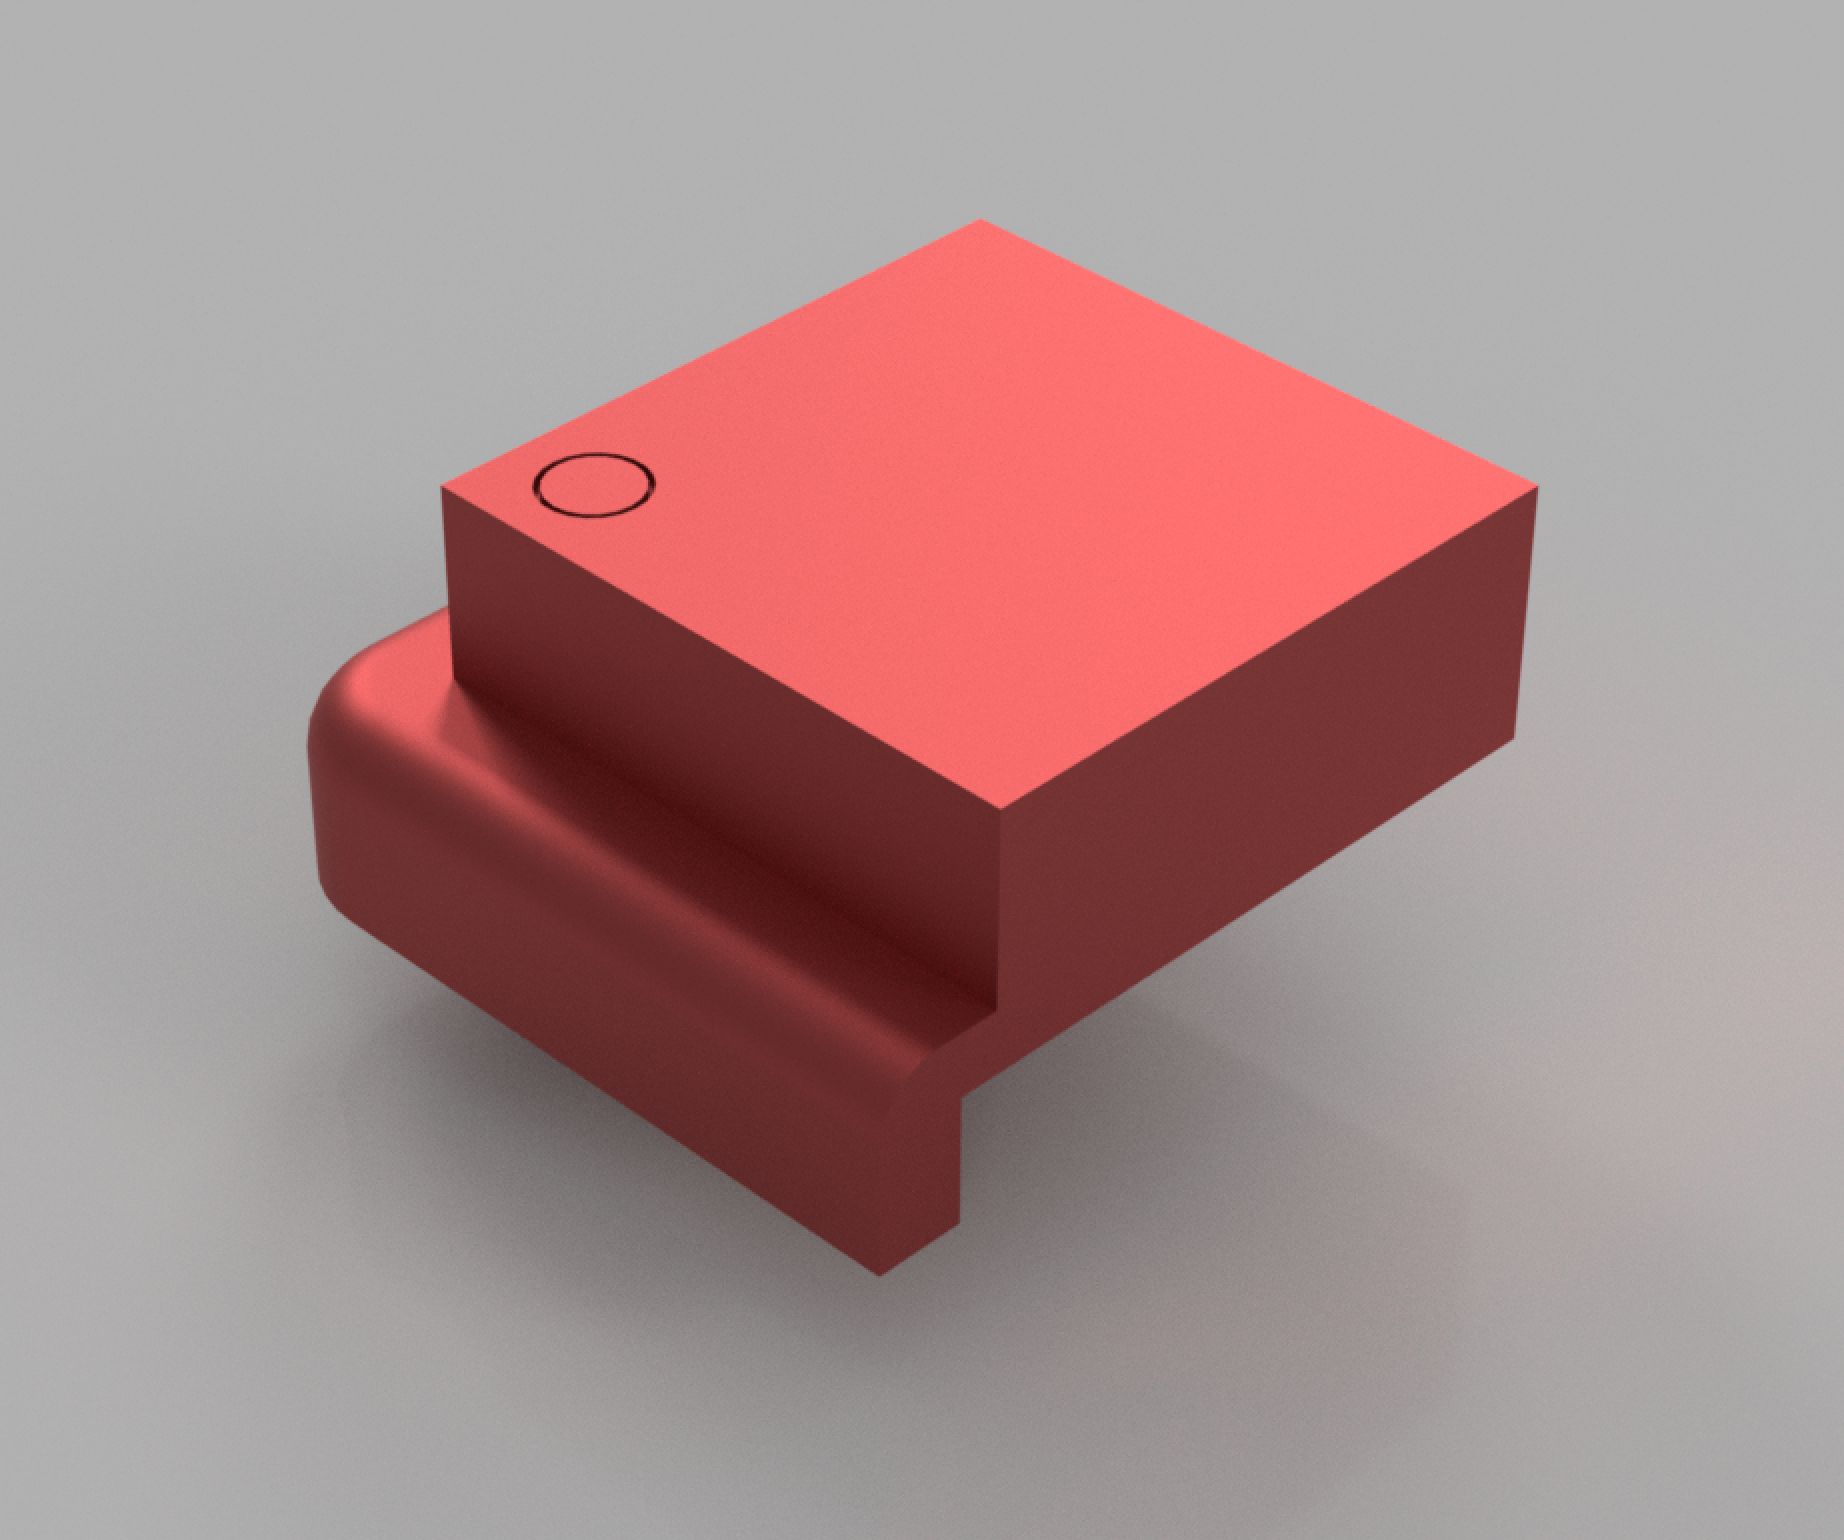
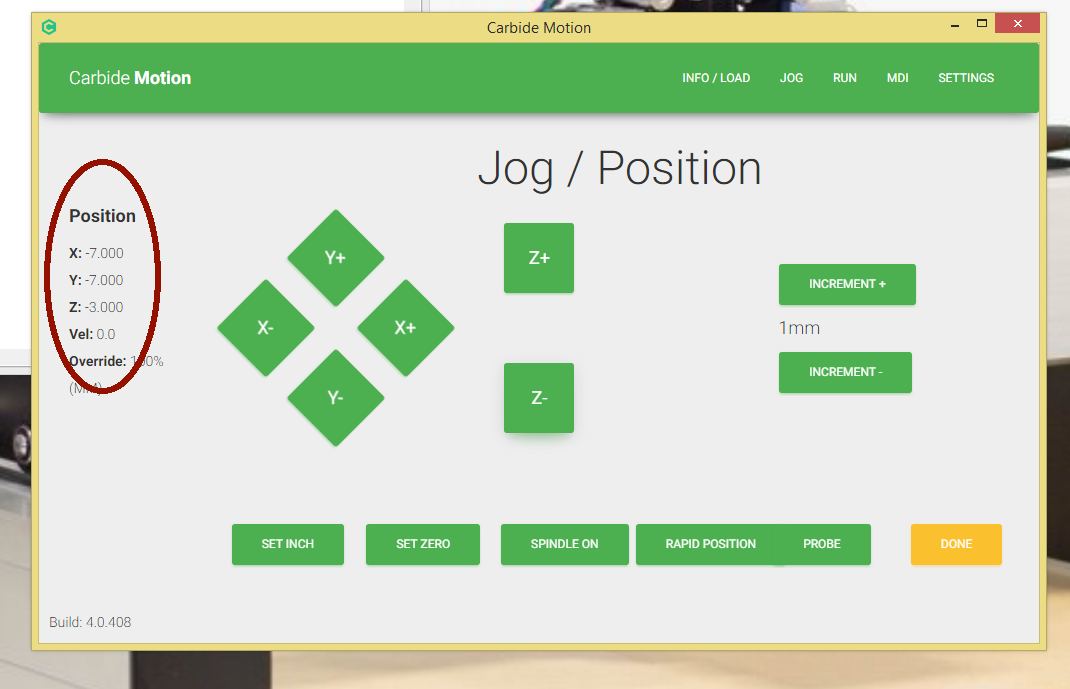
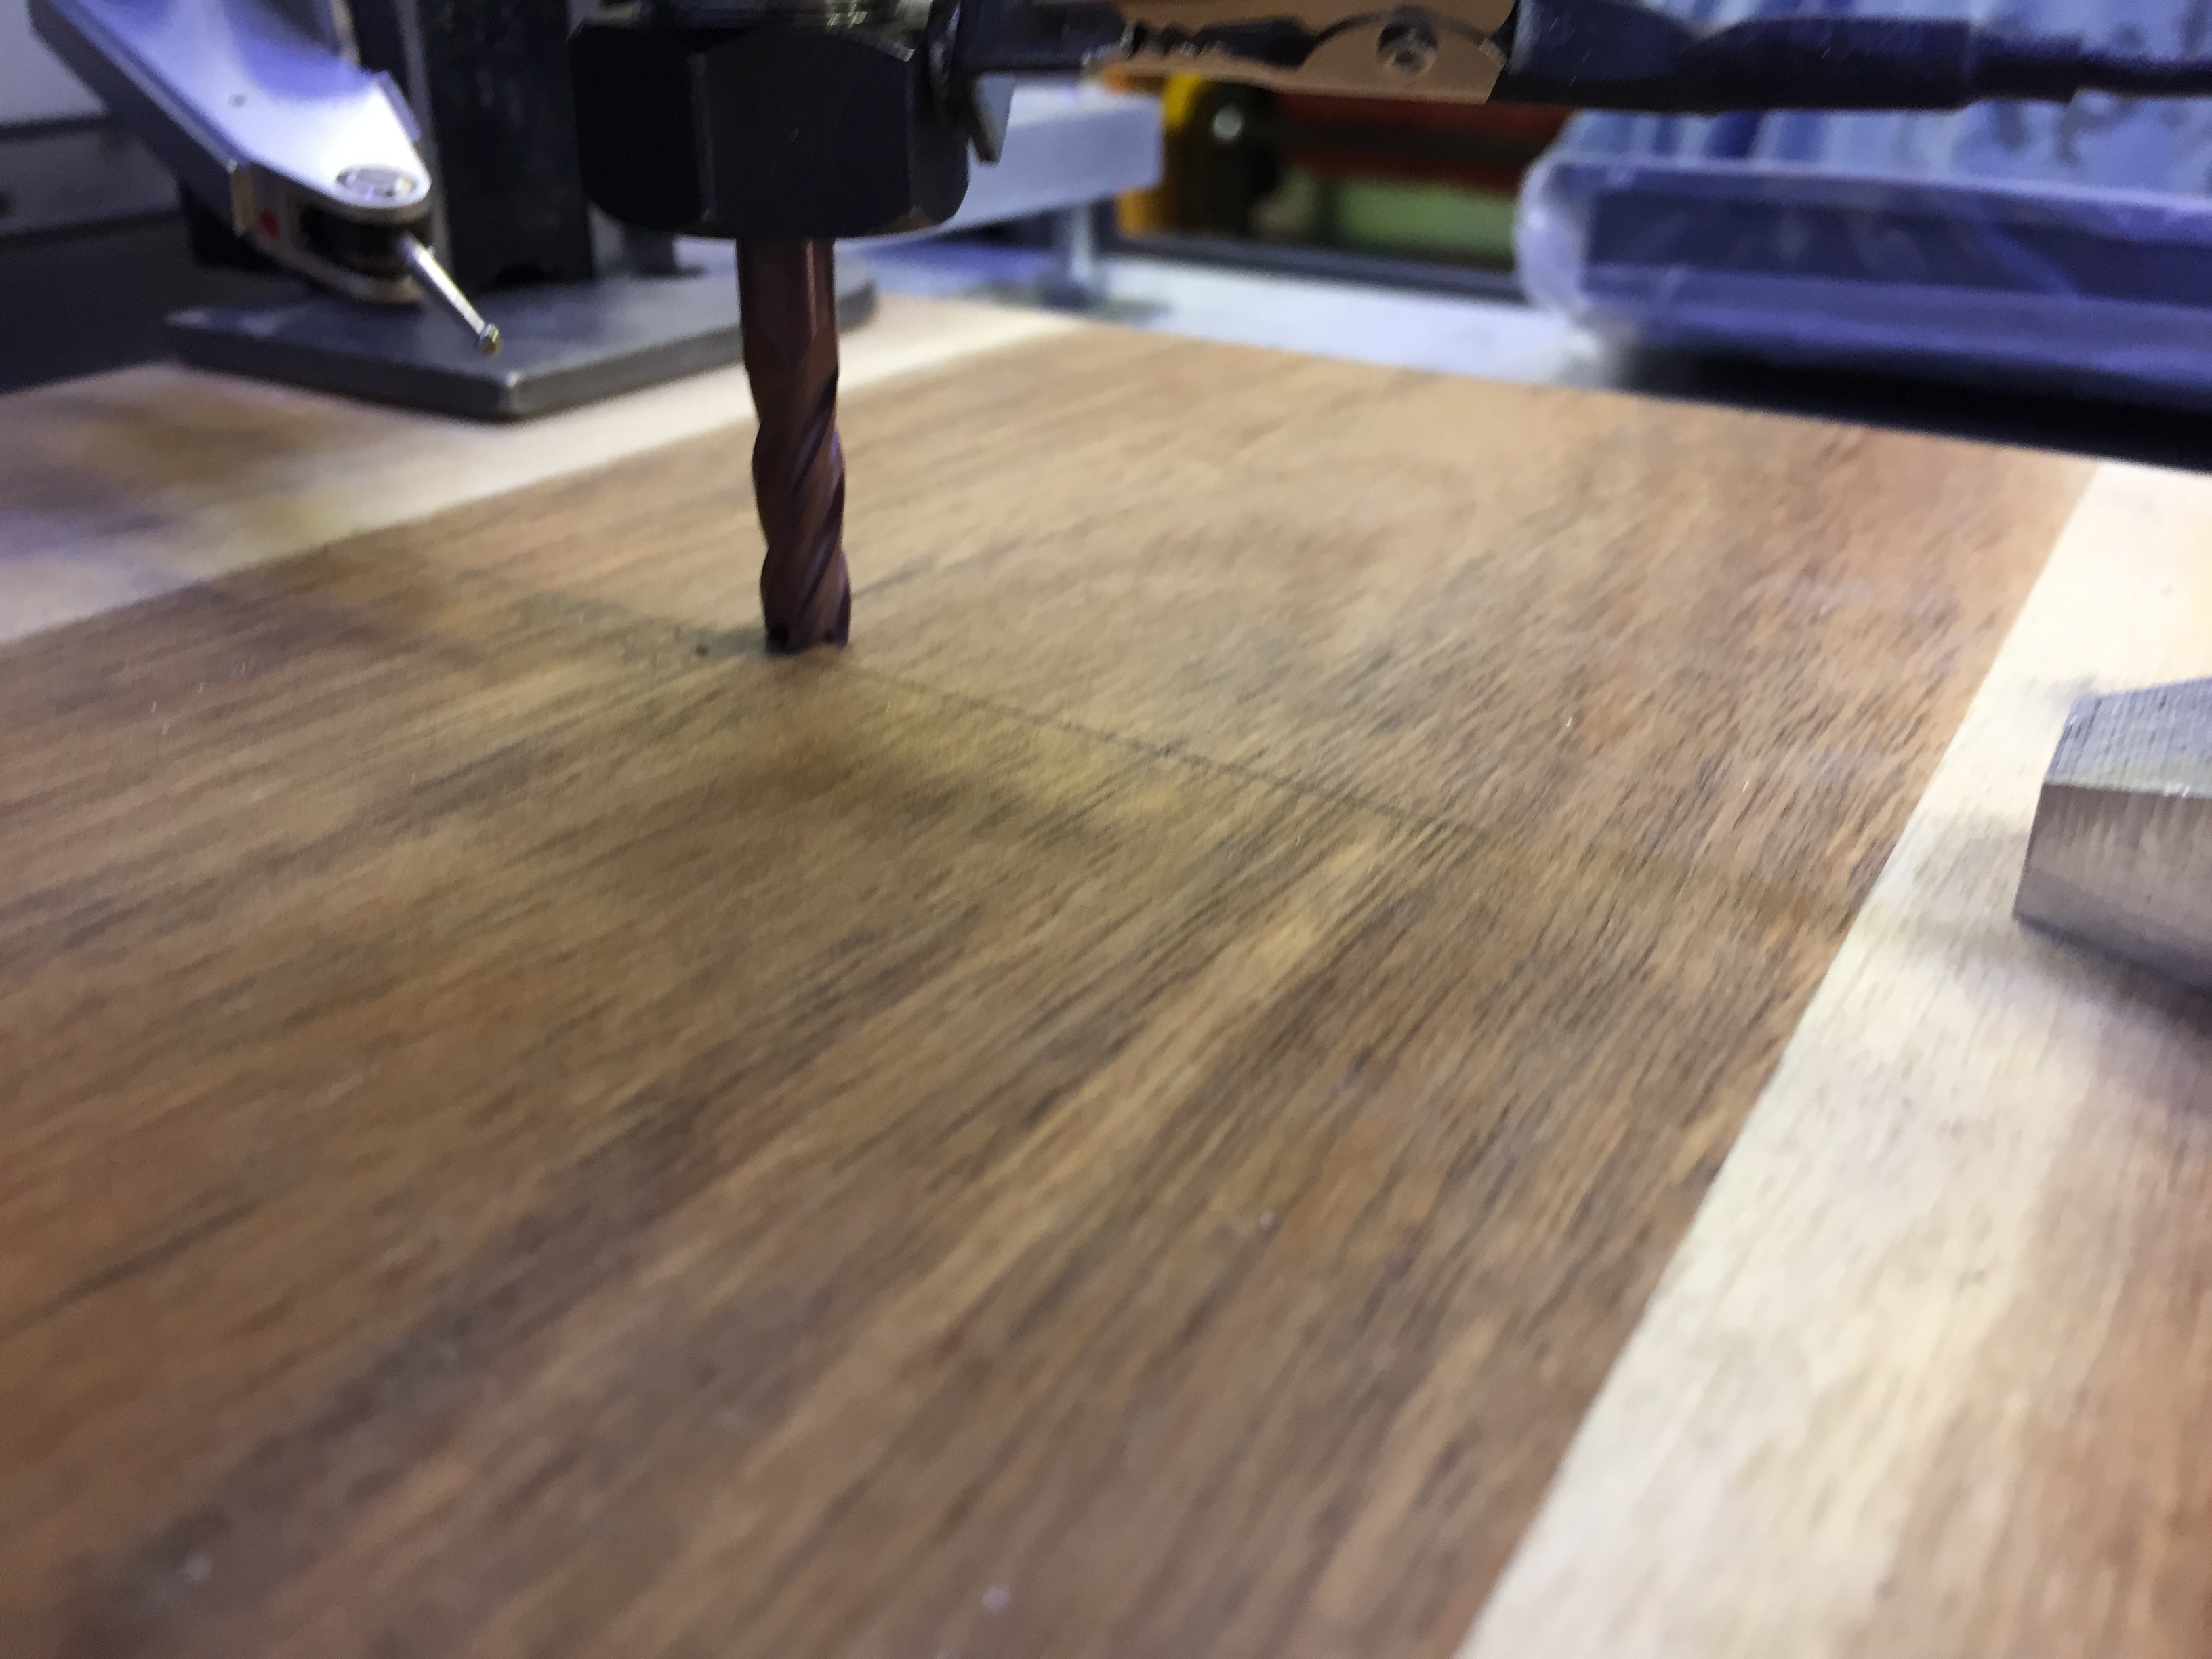
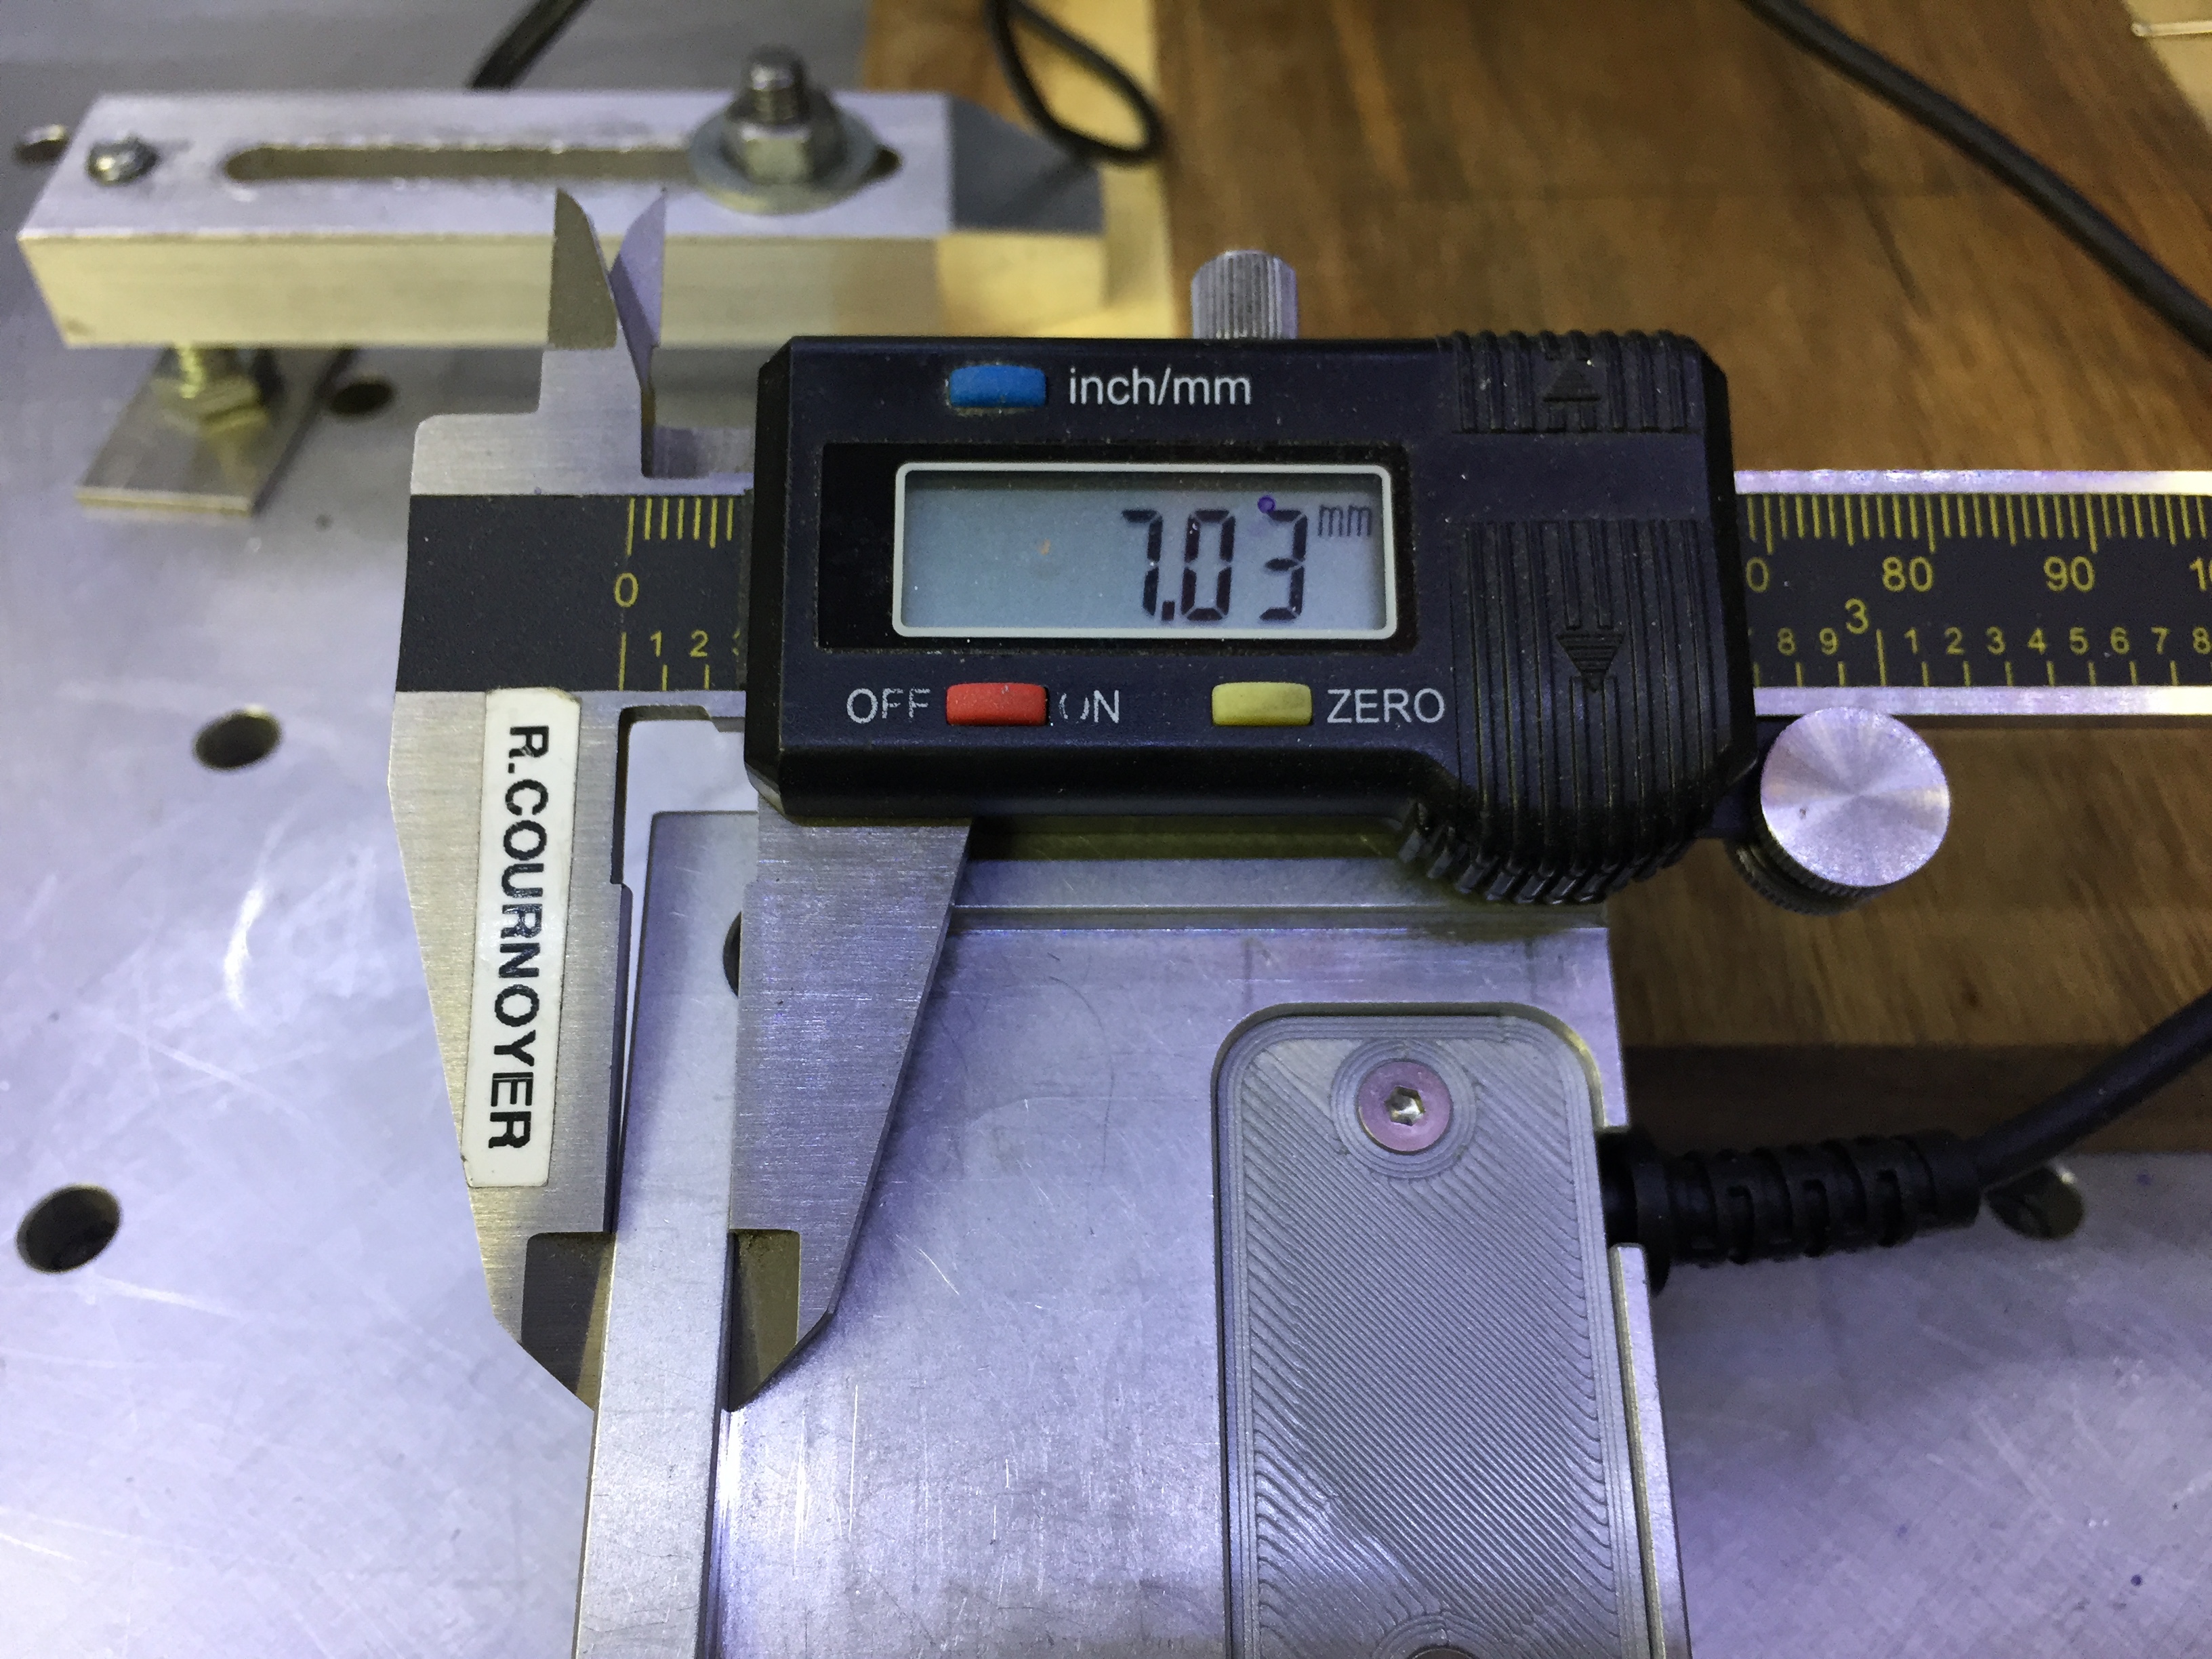
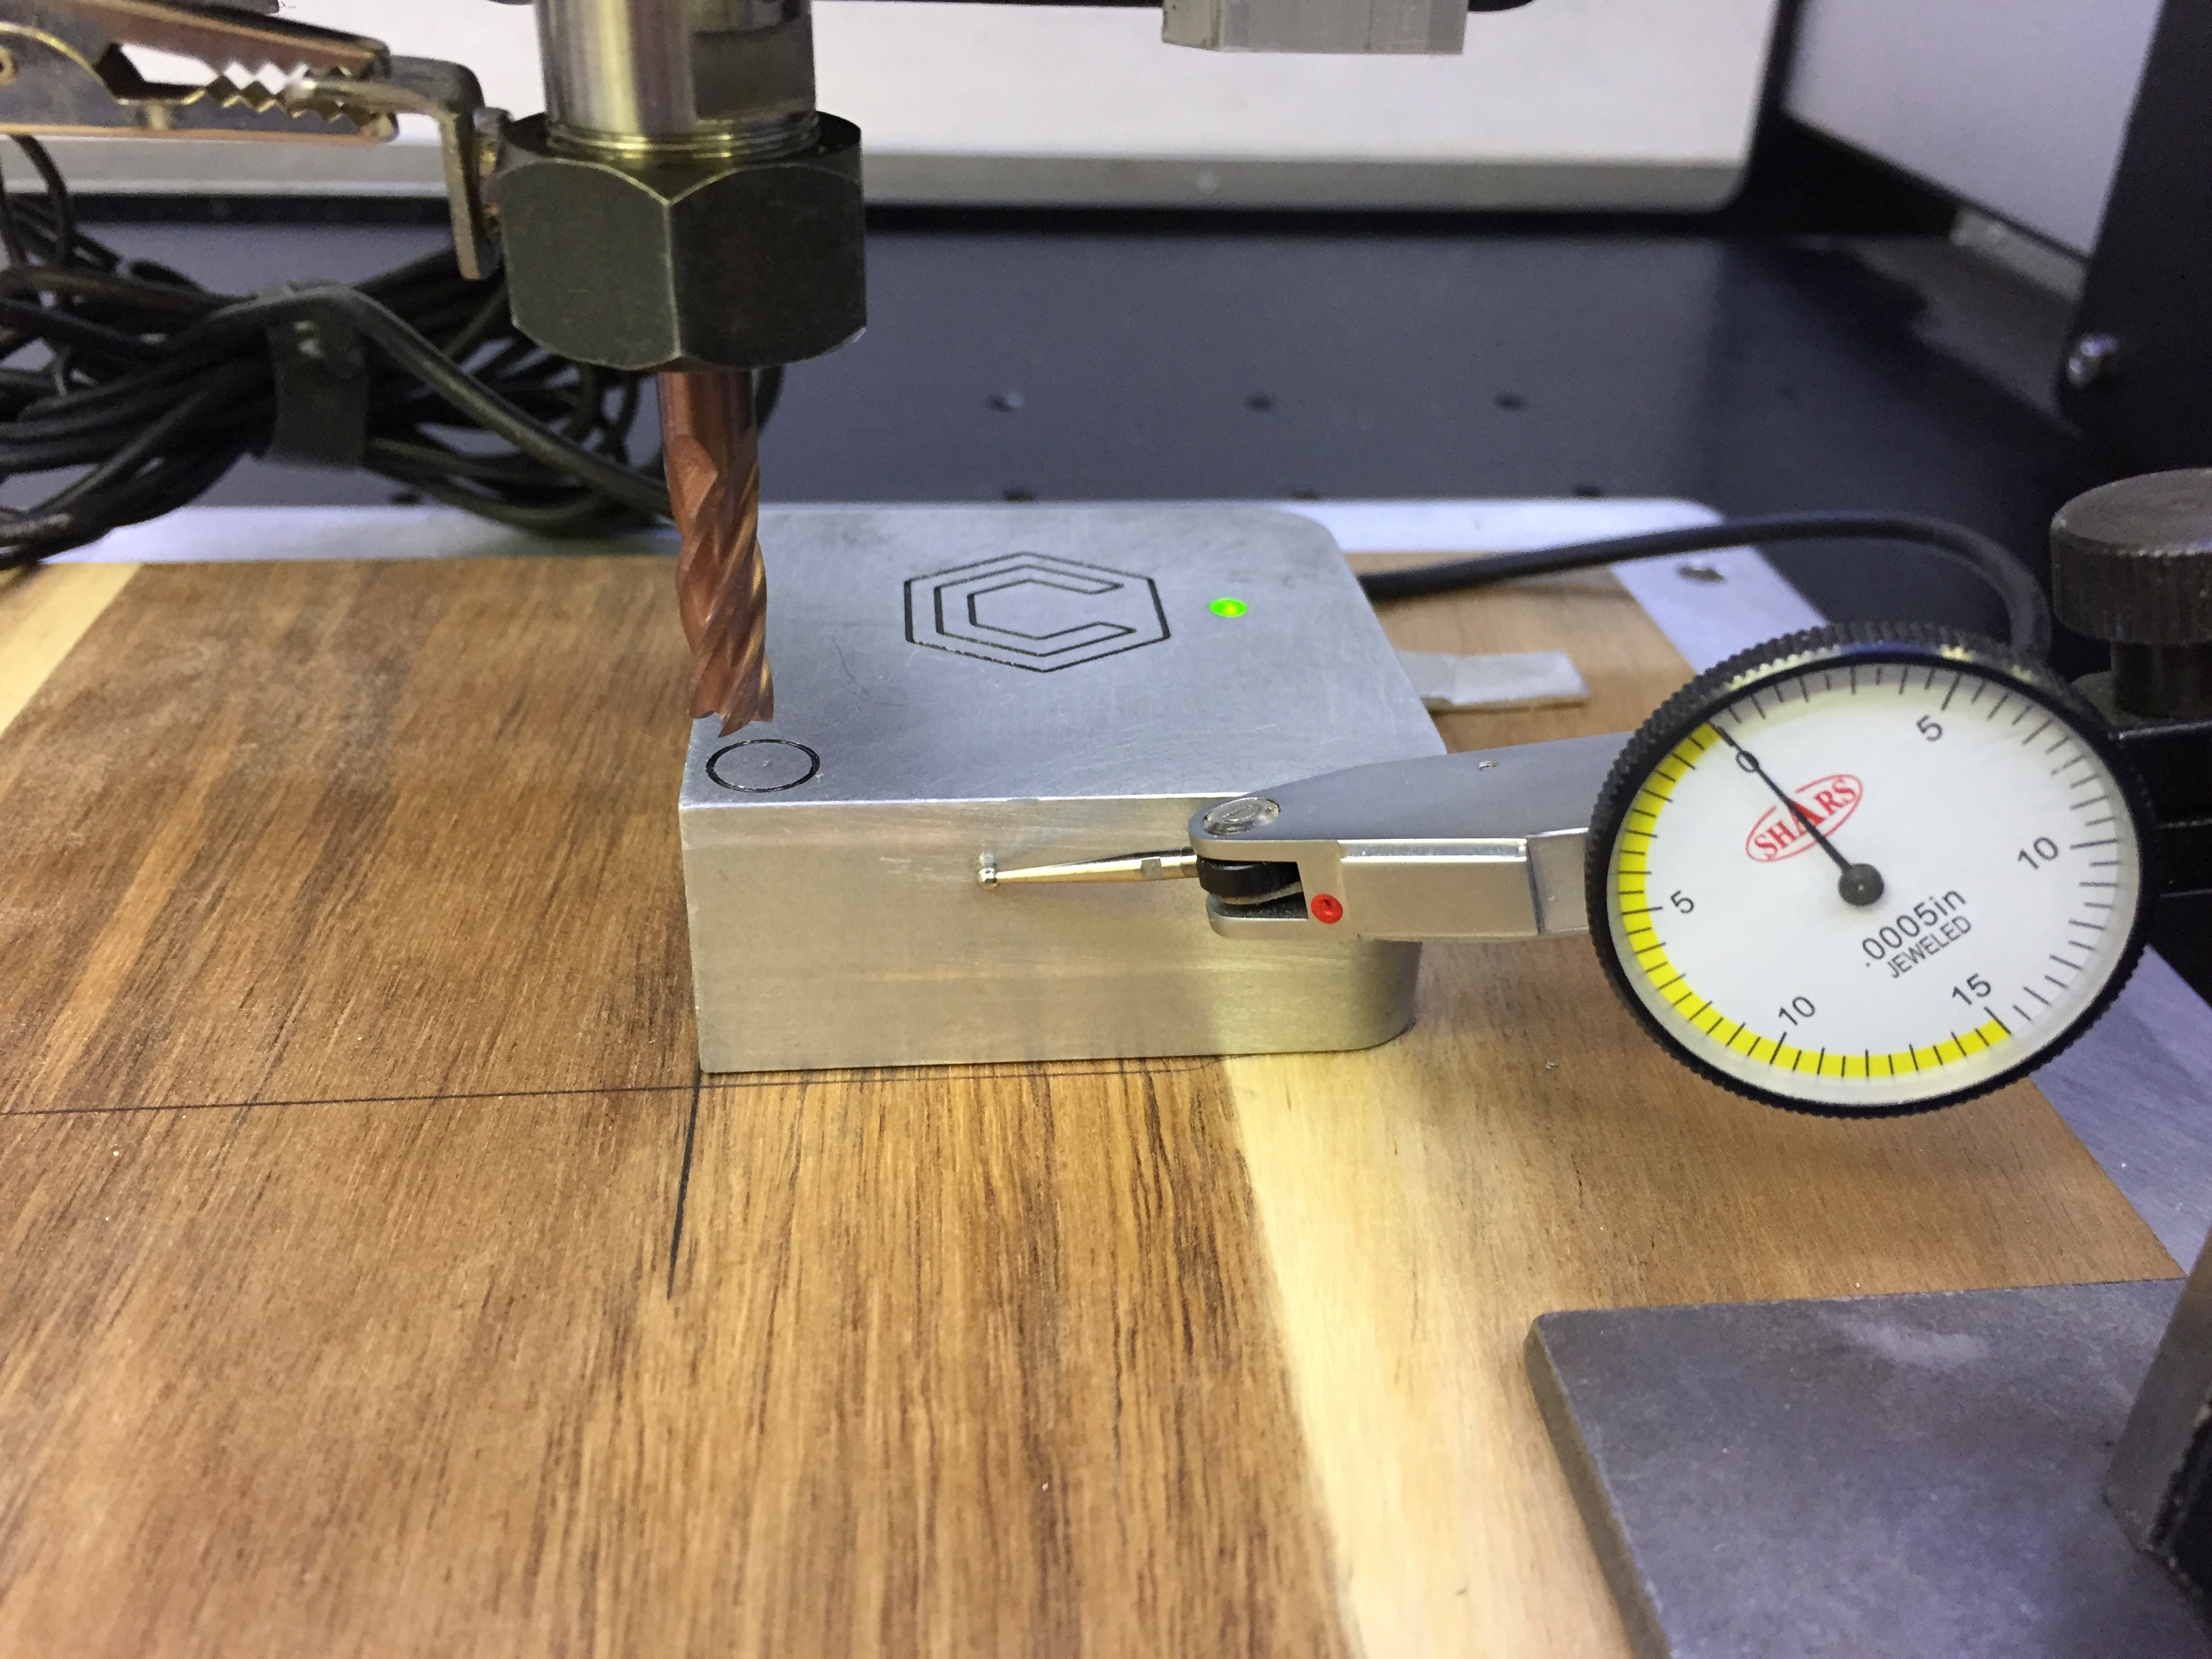
I placed the touch probe on a piece of wood (At a pencil cross hair, see photo), and ran the macro. It worked very well, but please remember that the macro moves the probe to an X0/Y0 which is the inside cutout. The sides measure 7mm, and the depth is 3mm. This means you will need to then move the cutter Y-7mm and X-7mm, and Z -3mm to place the cutter to the crosshair. Clear?
funny angle:
Seems like this will be a little hard to use unless you’re extra careful about how its aligned. With the right probe strategy (two points on each side), could detect it’s skewed and still locate the corner properly.

 .
.