My cousin is getting married and asked me for some things for the wedding. One thing she asked for was a welcome sign to display during the outdoor ceremony, at the reception, and then to hang in her house after. She left the design up to me.
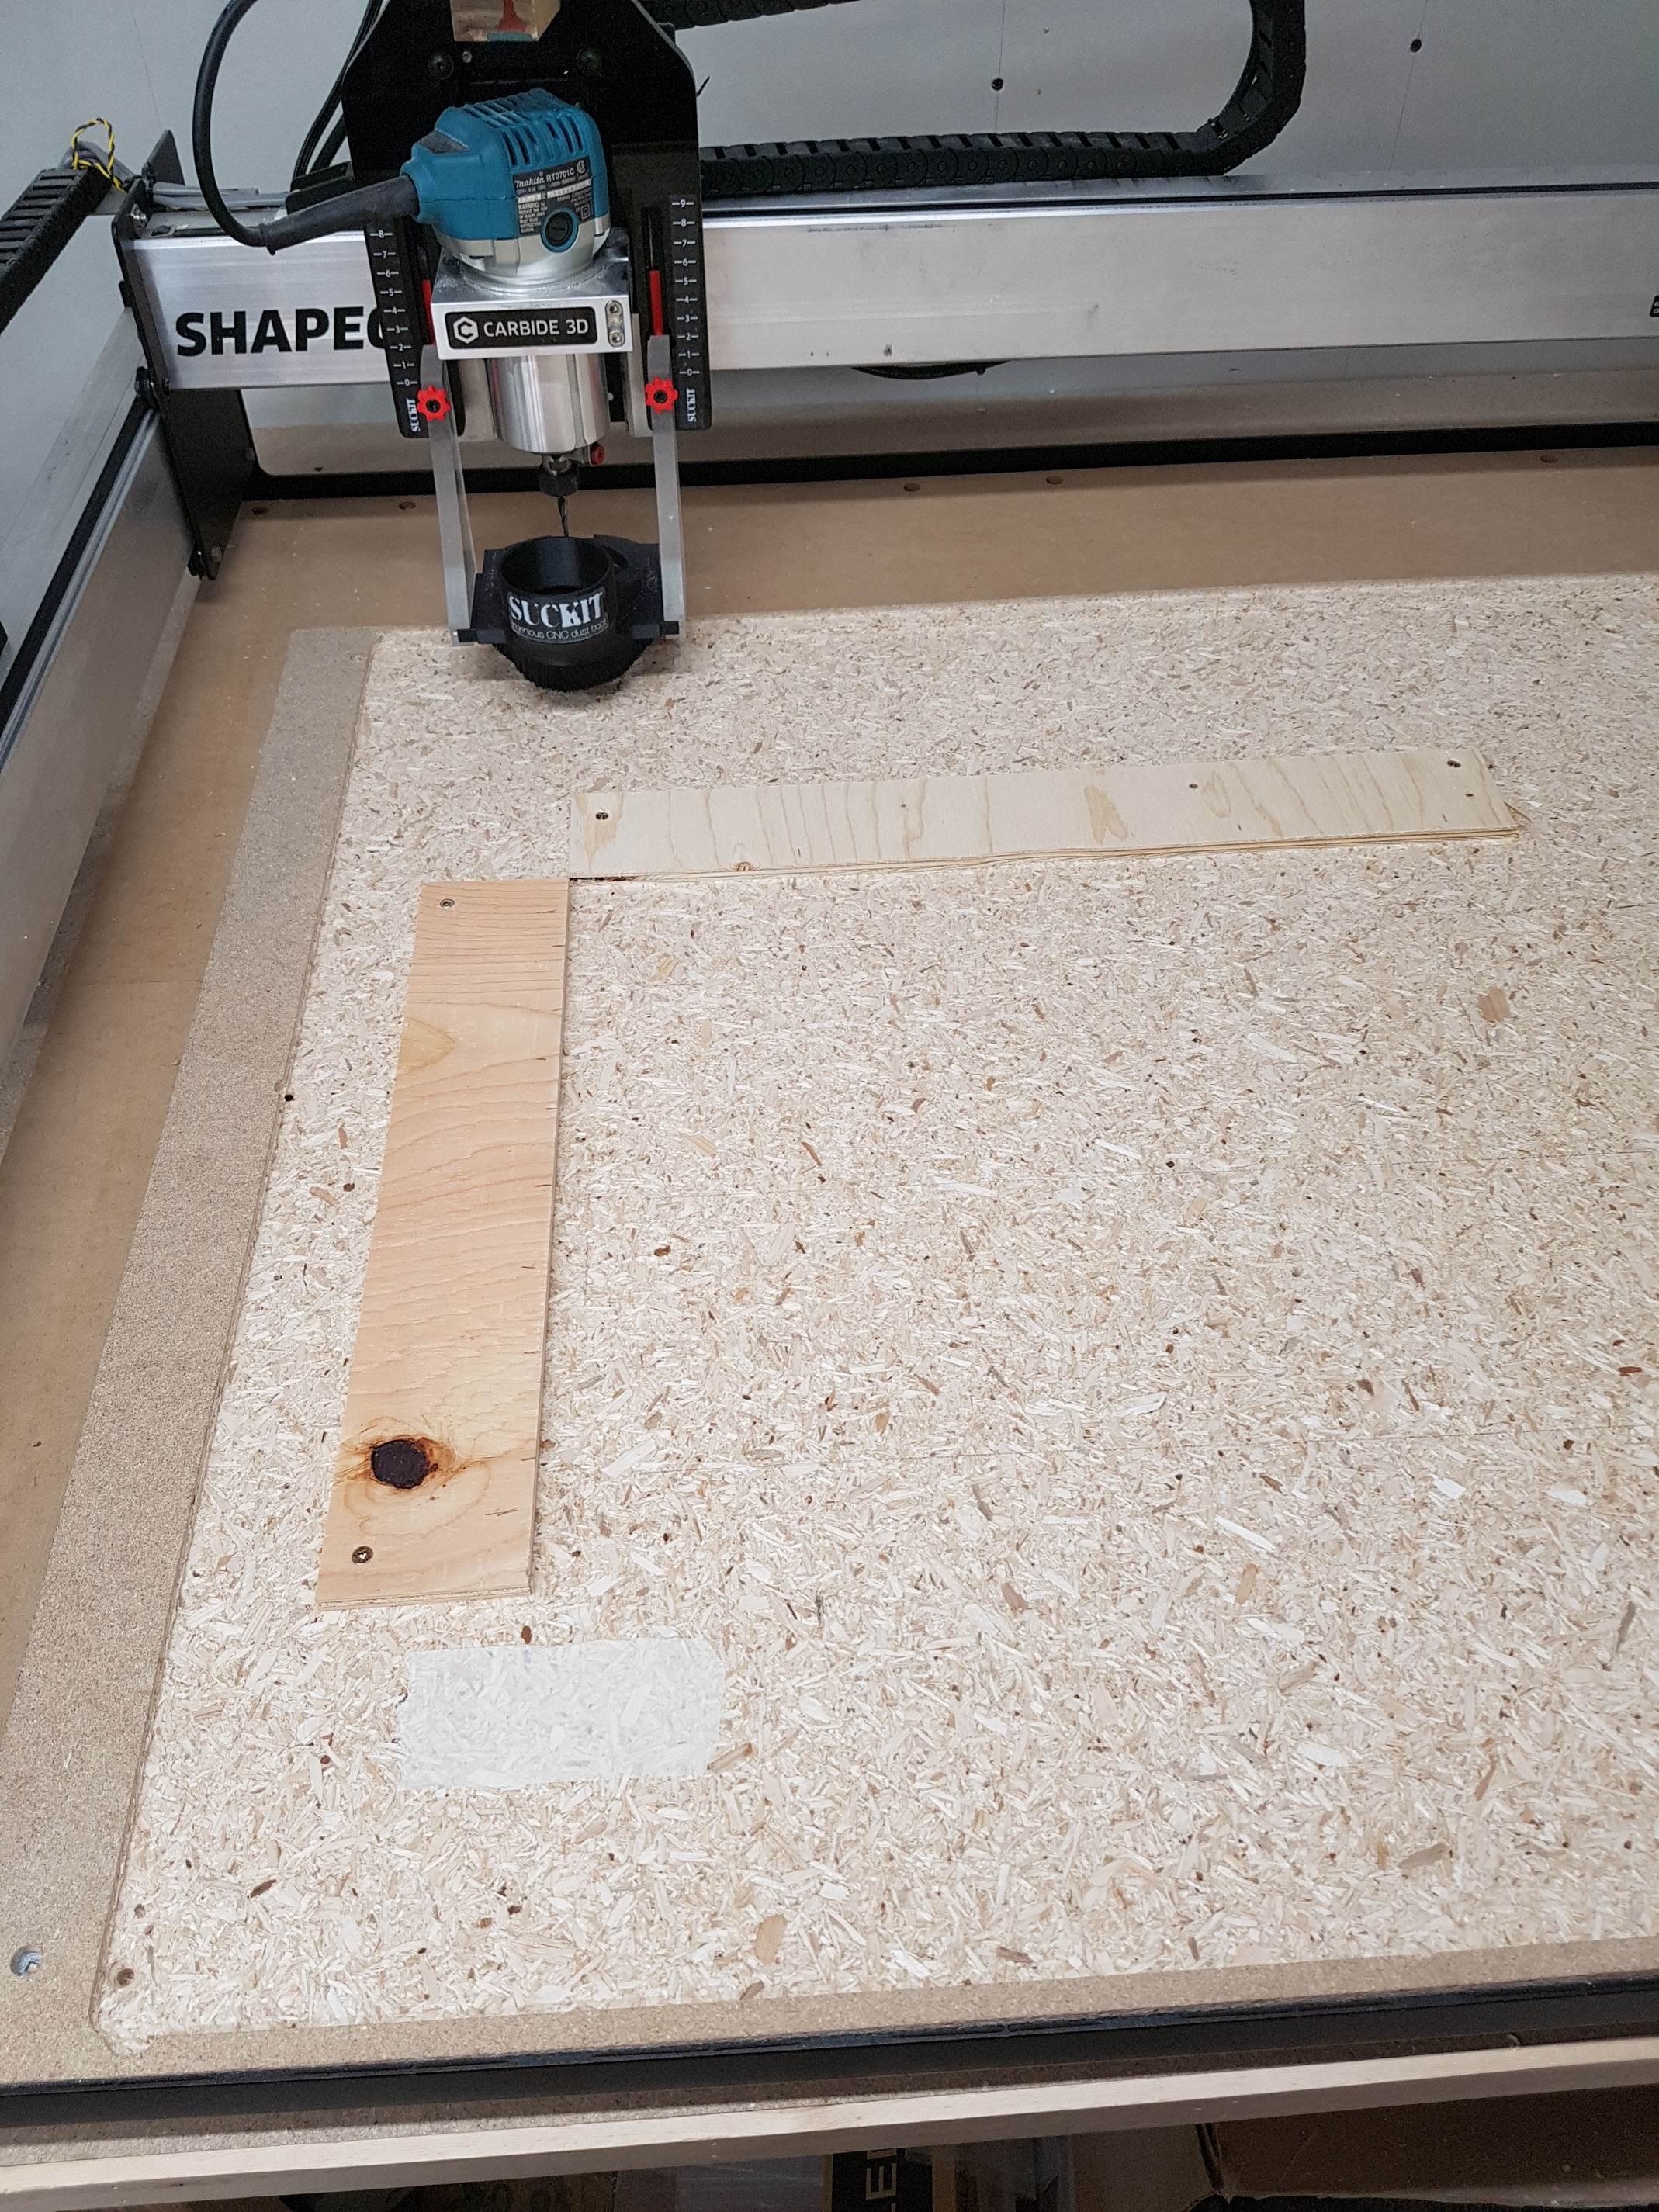
After coming up with a design I liked, step one was cutting it out. I knew I would have to stain/poly it part way through the cut, so I set up a plywood reference on the table and cut the edges off with a 1/4" endmill to ensure it was perfectly square to the machine.
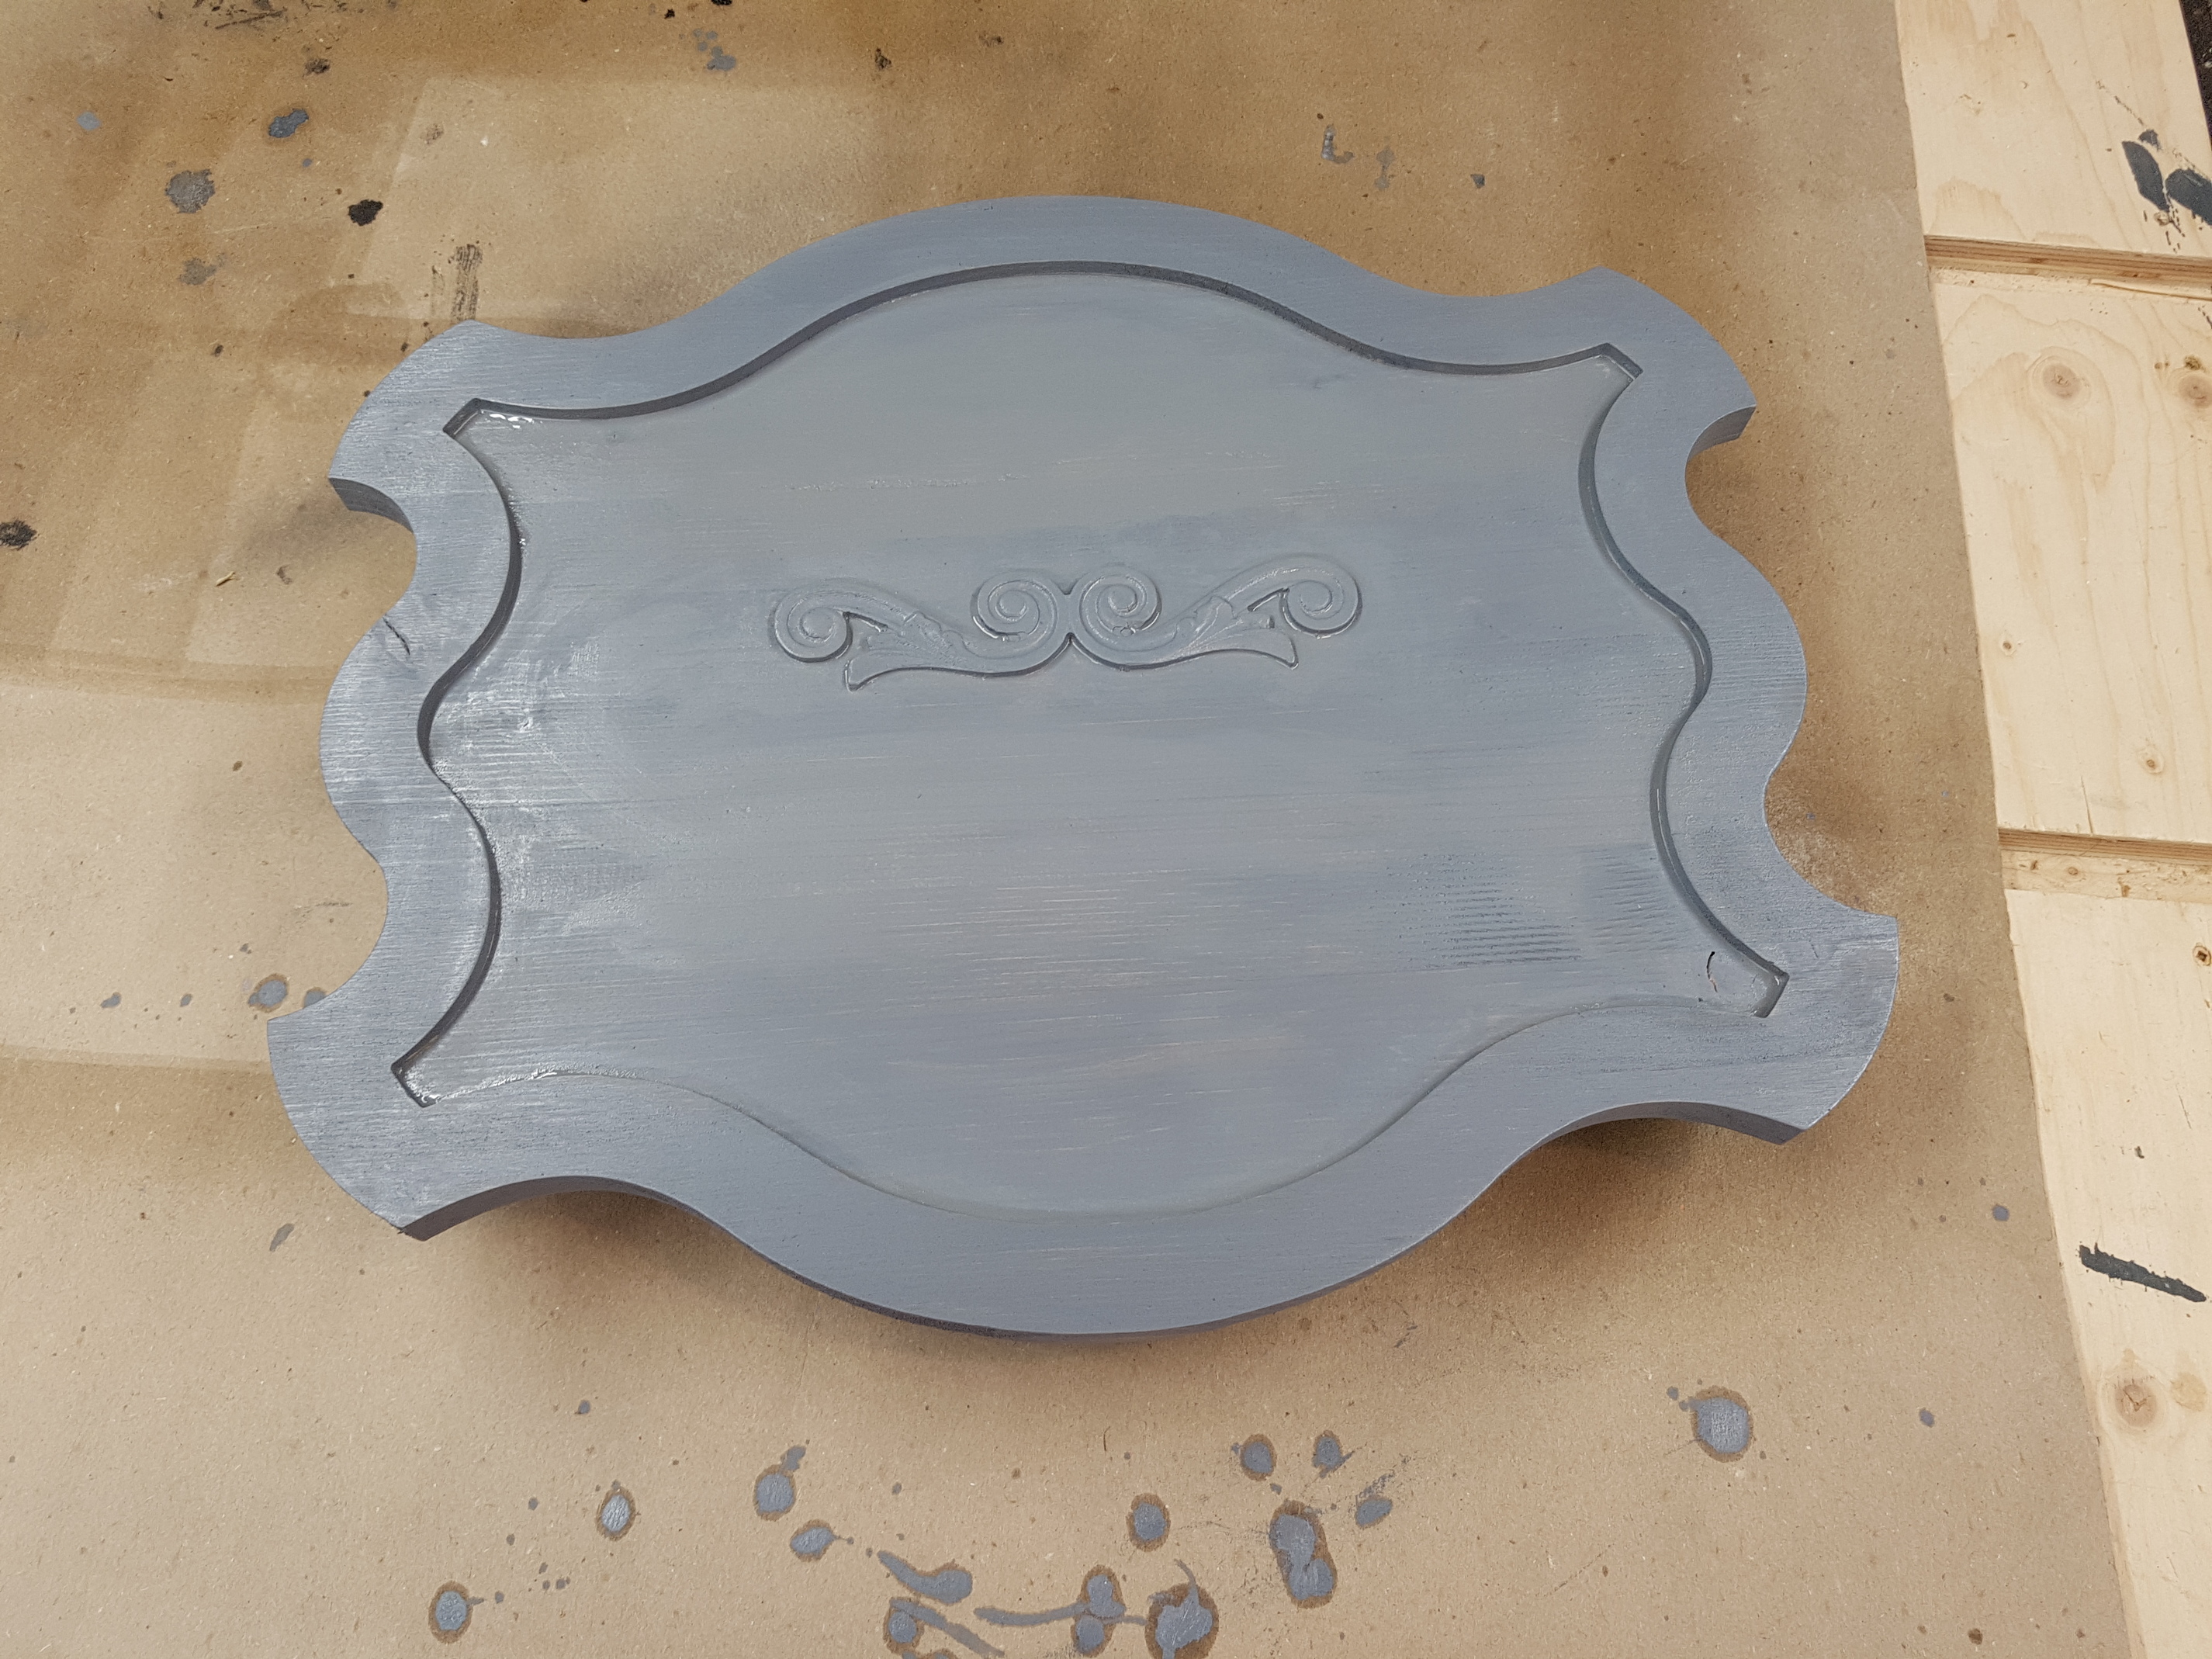
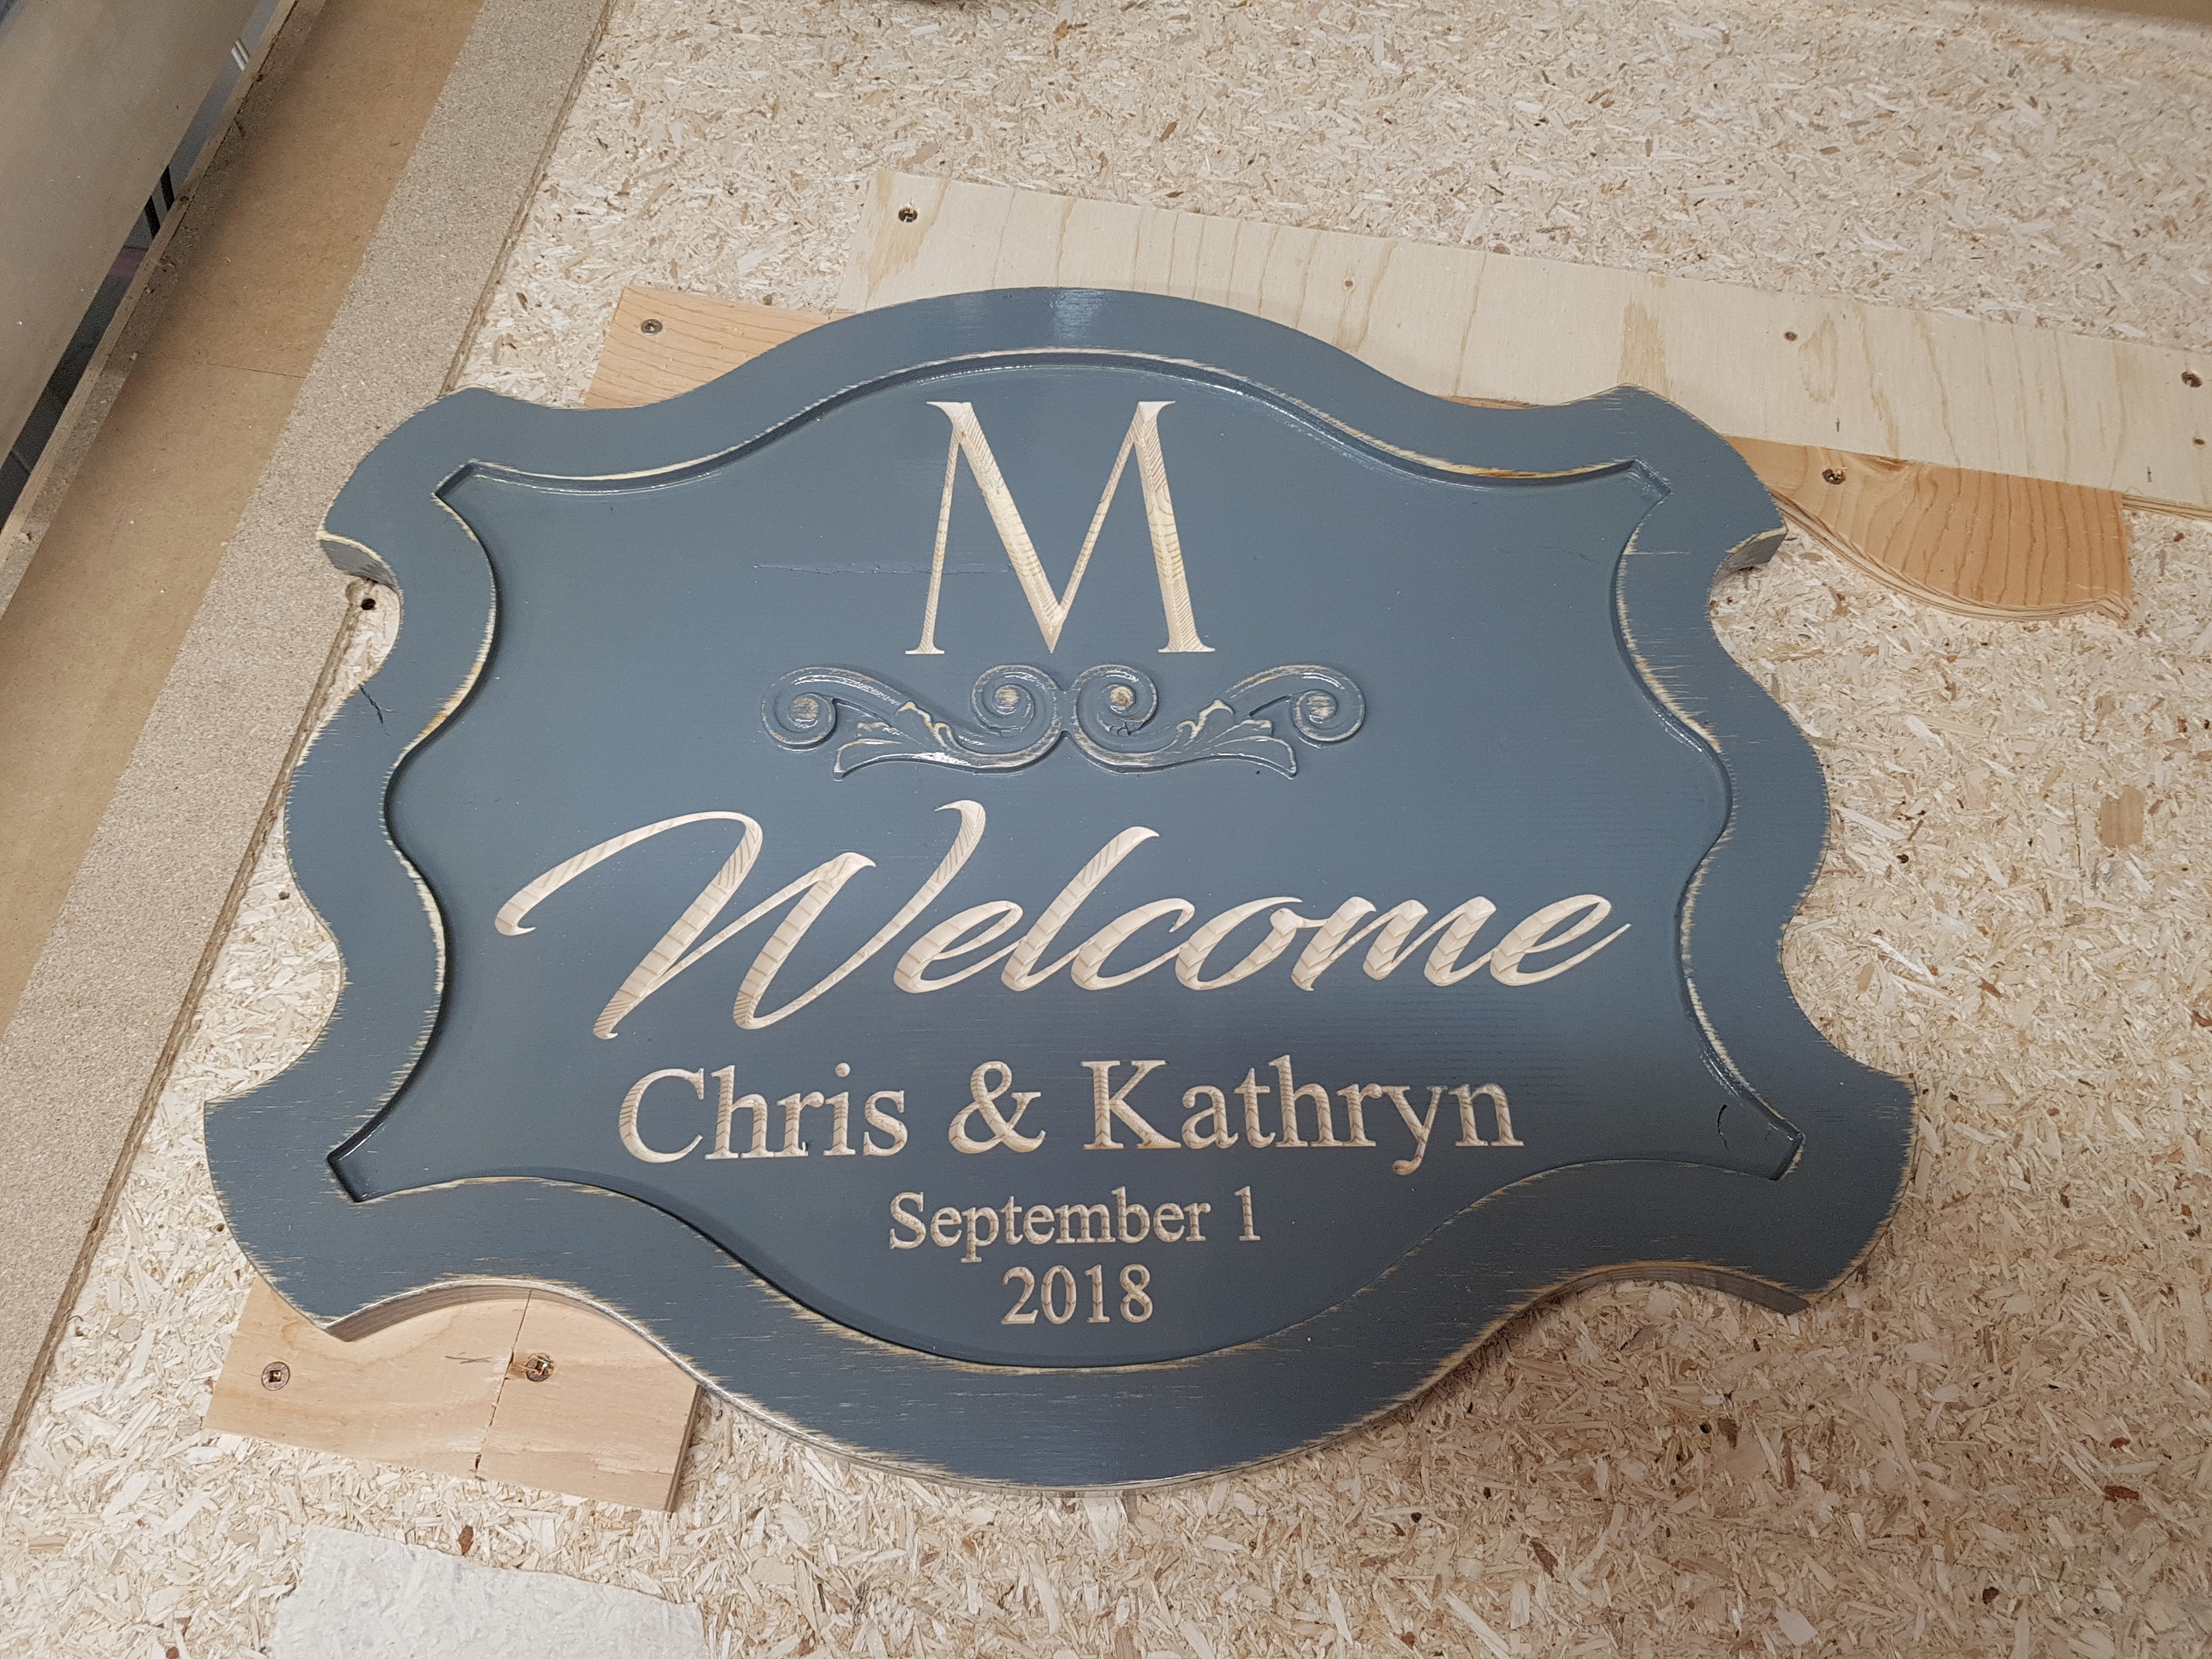
Next, I placed my material and cut out the main design. The reason for all this effort was that the text is in the bottom of a pocket, so I couldn’t pre-finish the material before milling.
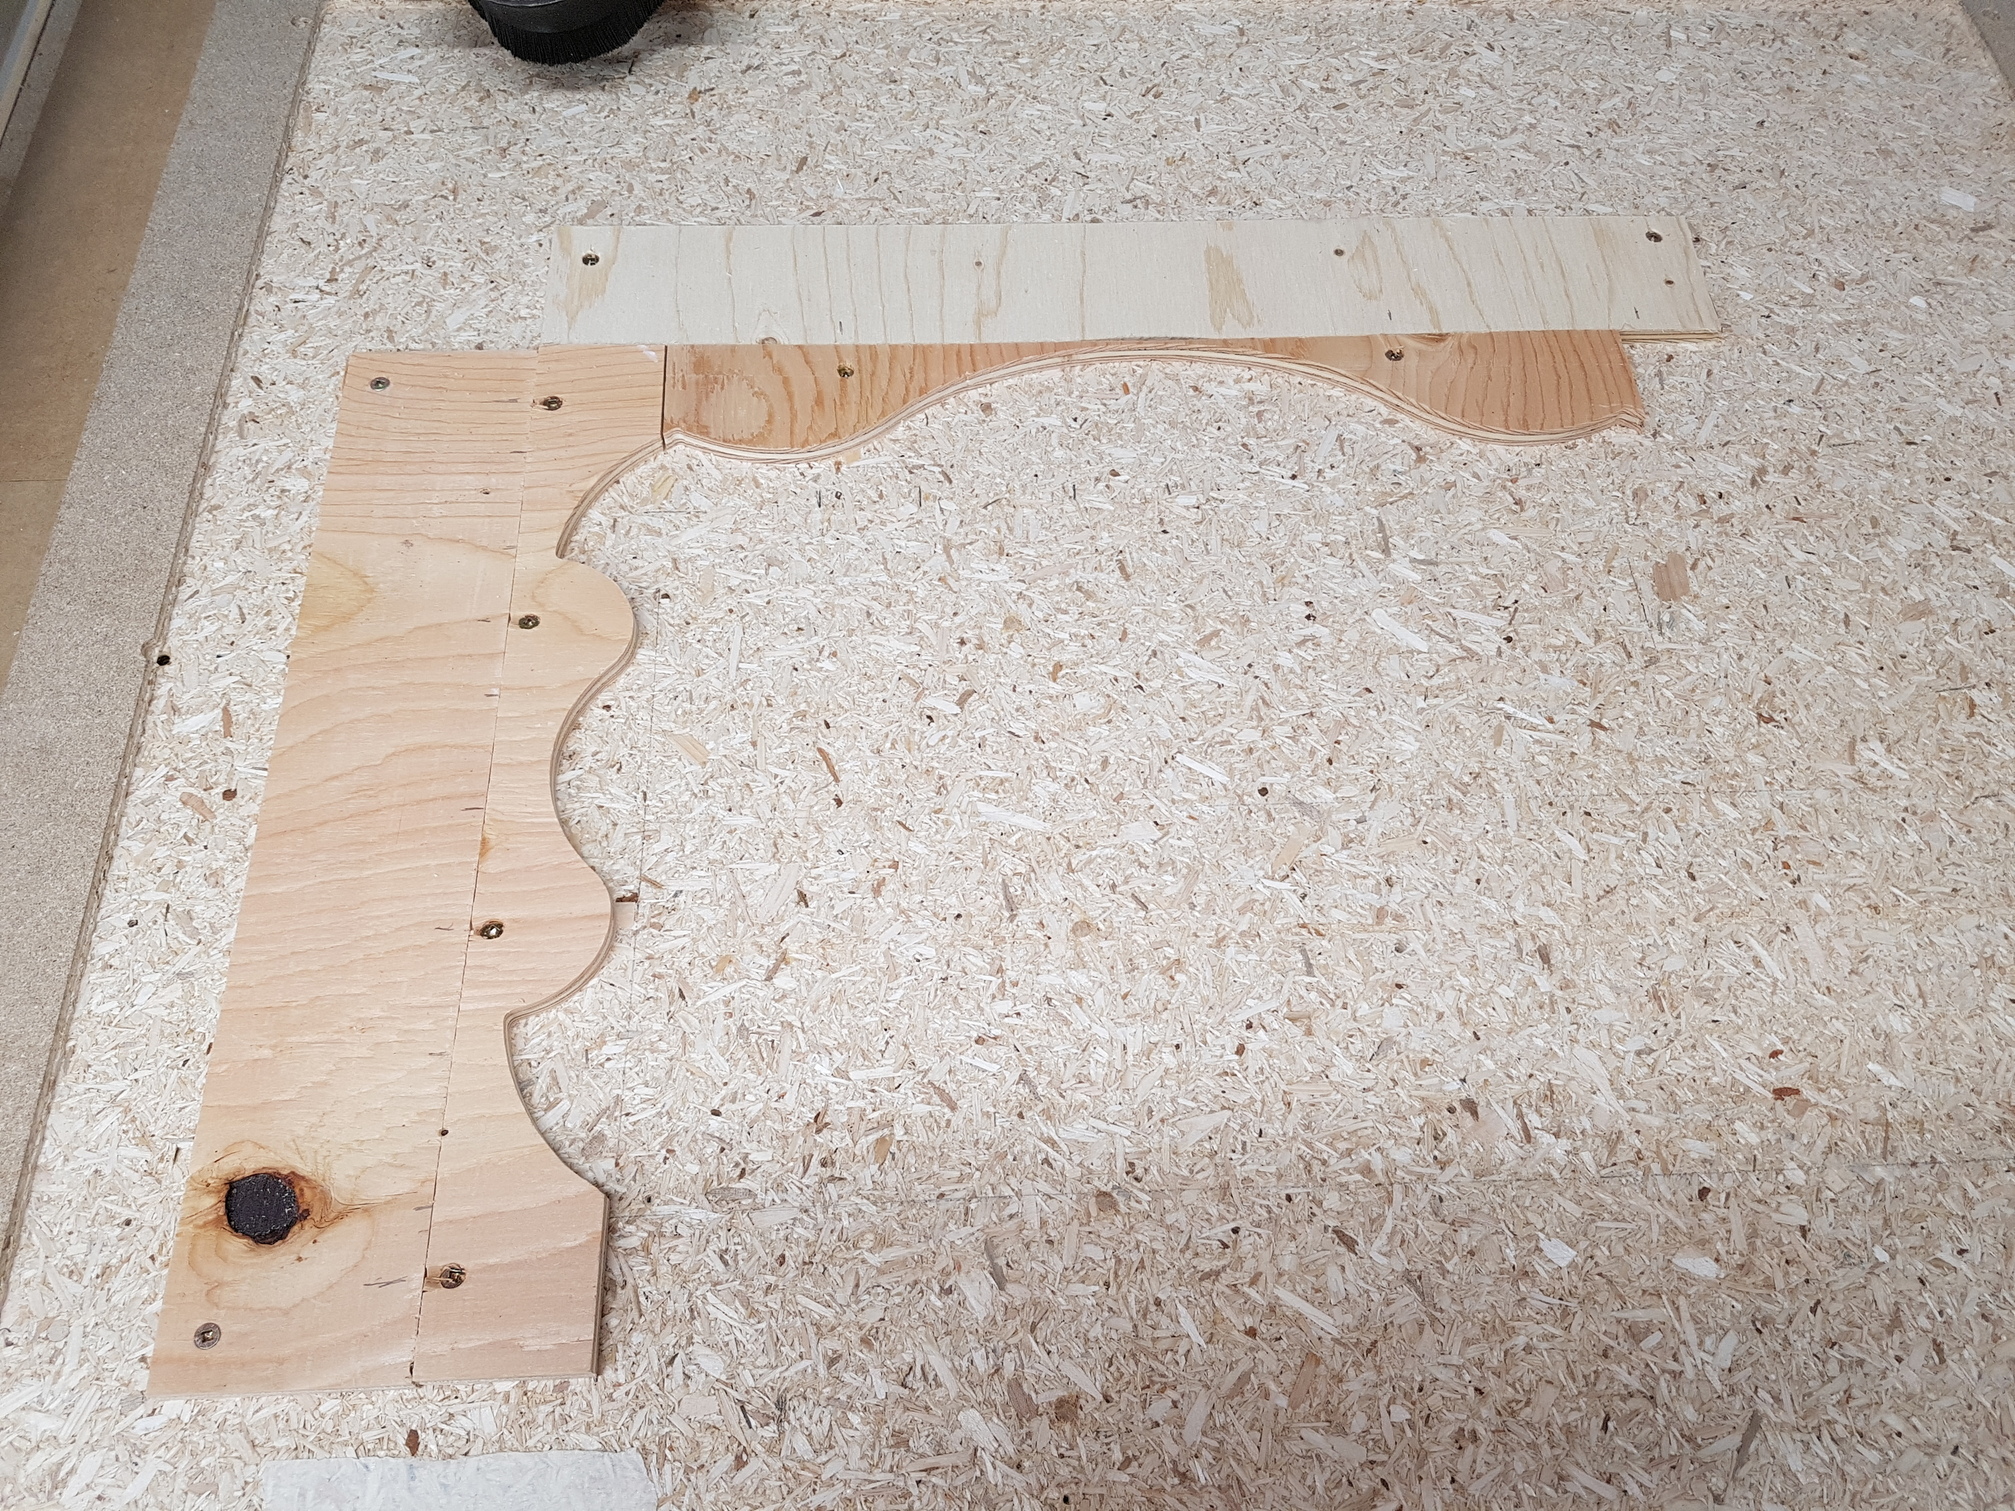
For the second operation, did you just re cut the profile of the sign onto your wasteboard? It looks like it worked well, especially if you’re doing multiples of something
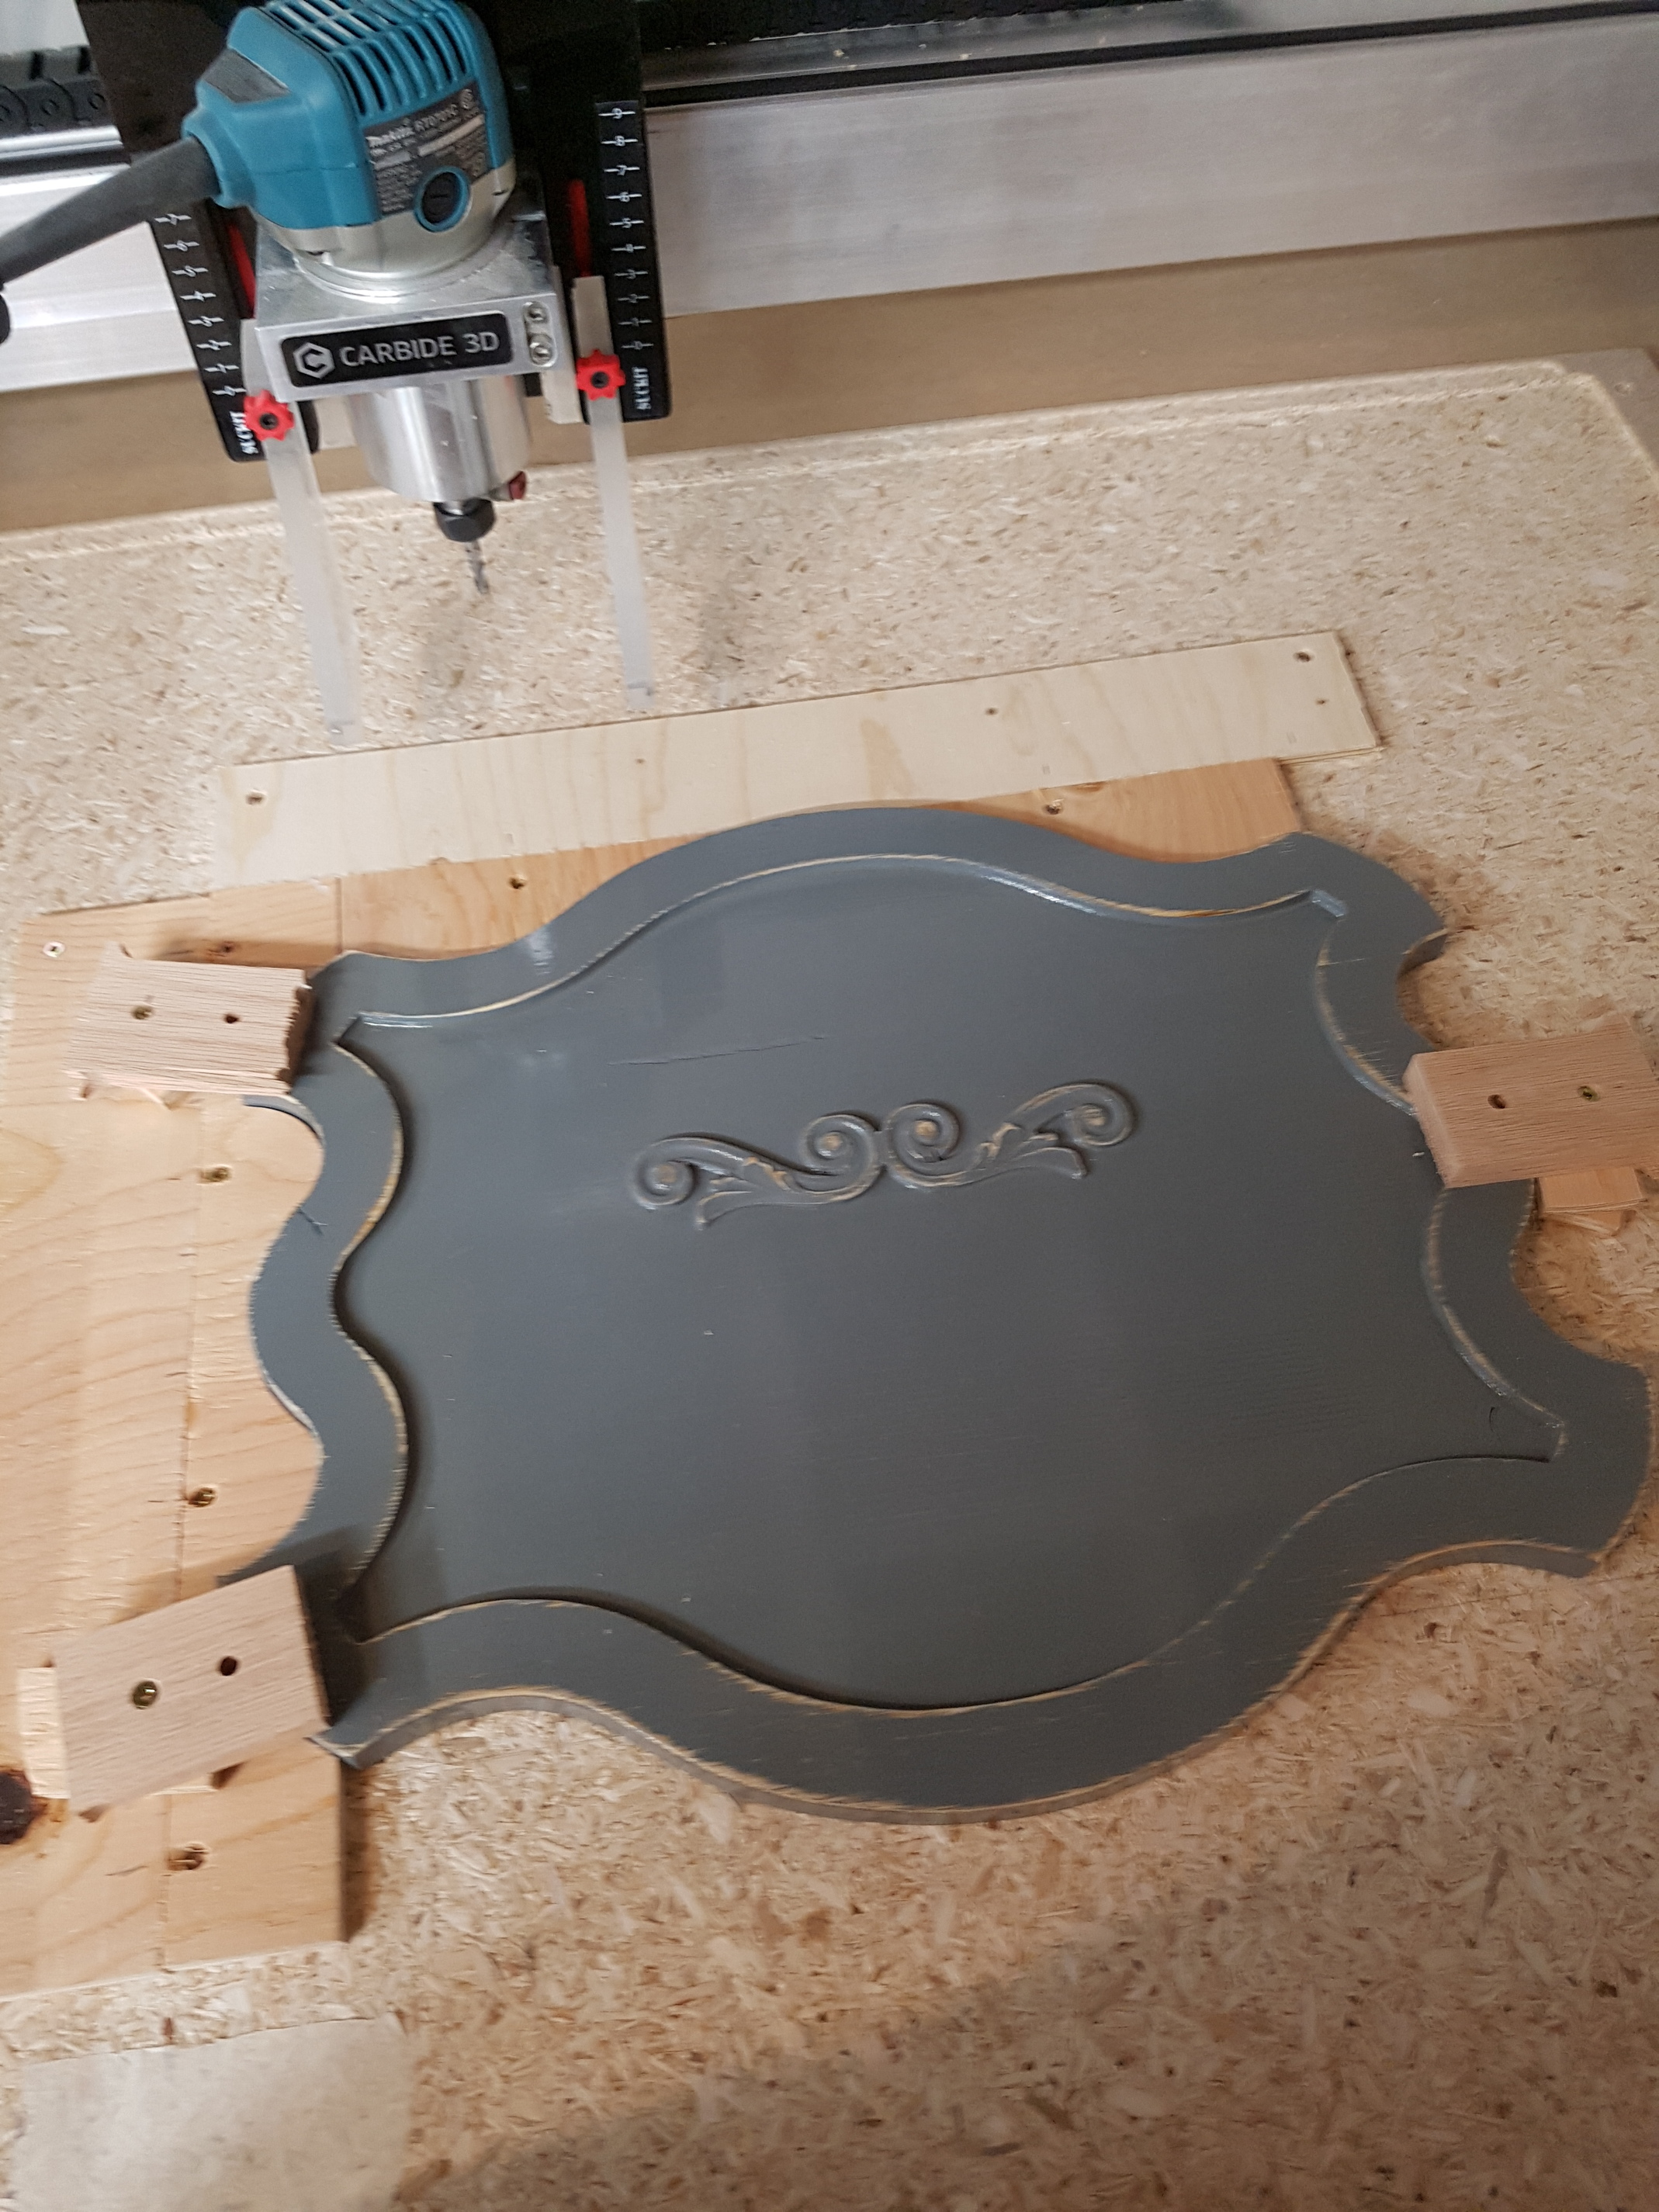
When I cut the sign, I did an outside profile cut along the vector, when I needed to cut the work holding template I used the same vector (with some dogbones in the corners) to cut an inside profile. I was very concerned with having the zero for all three jobs (initial cutout, template cutout, and final v-carve) in exactly the same place, but I realized after it didn’t matter. As long as the Zero was the same for the template and the v-carve, it would all be centered.
I’m really pleased with how it came out, and now that I have the process I can use it for other things. For example, inlays. Let’s say I want to do a product with a contrasting inlay. I can do any shape I want, then remove them from the machine, and apply stain/paint or finish. Then some scrap wood on the wasteboard, cut the outside profile and place my item in the holding jig and run an inlay toolpath. If I seal the wood with poly or shellac before cutting it again, I can even then stain/paint the inlay wood without it affecting the original material. It really opens some possibilities for fancy products. In this way, I can produce some really striking color contrasts without having to get really expensive wood with the colors I want. I’ll just have to be very careful bringing the inlay wood flush with the original wood. At least, that’s the theory. Hopefully try something this week.