Is anyone interested in participating in a weekend project series?
I think it would be fun opportunity to skill share by posting a project file or challenge and we can learn together as we go along.
As a test, I will be starting with a Knife Handle Project using Carbide Create.
If anyone wants to document and share a process using a different CAD program (Onshape, Fusion 360, Rhino, etc.) that would be awesome!
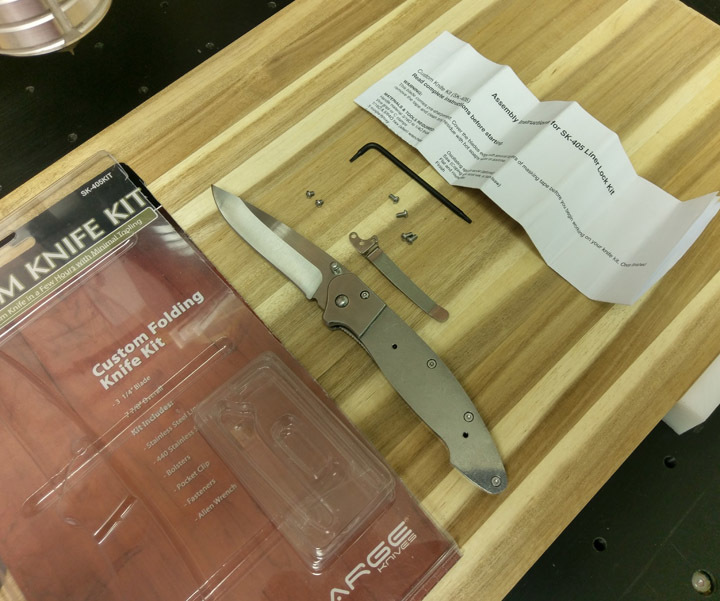
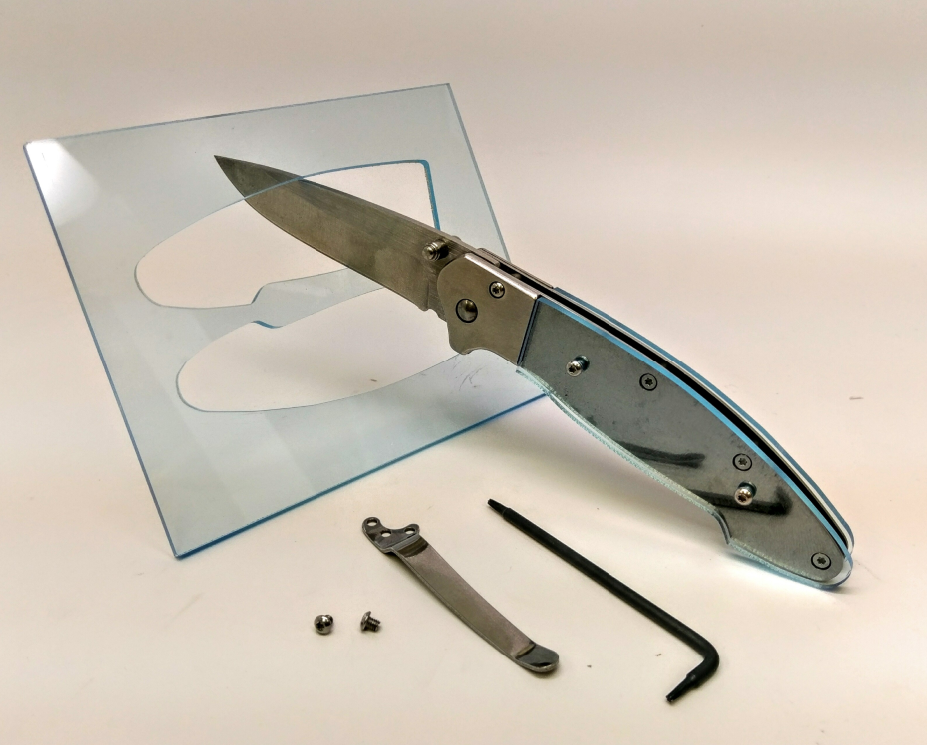
My base for this project will be a Folding knife kit from Amazon (and Ive seen it carried at Rockler as well)
If you have a knife you want to replace the handles on, this would be a great time.
I’m definitely in for weekend projects! Knife making isn’t that interesting to me presently, though, so I’ll catch the next one. I made your X-Mas ornament last year, and that was great fun.
@ApolloCrowe I’m definitely interested in this exact type thing. I’m hoping to design a custom bamboo handle for my CRKT Shizuka Noh Ken in Fusion360 and document the process. I ordered 3 sets of cutters from the Carbide store which I hope to receive in time to machine it. GAME ON!!!
<img src="/uploads/default/original/2X/4/47ce6419938e72b19fc5510ae34736afb0c21e9a.jpg" width=“320” height="70!>
@rderstadt G10 - nice choice.
The material will be what I have on hand- I know I have some hardwood and plan to use some brass for an inlay as well.
I will start with some tests in acrylic to prove the design first.
My kit arrives tomorrow!
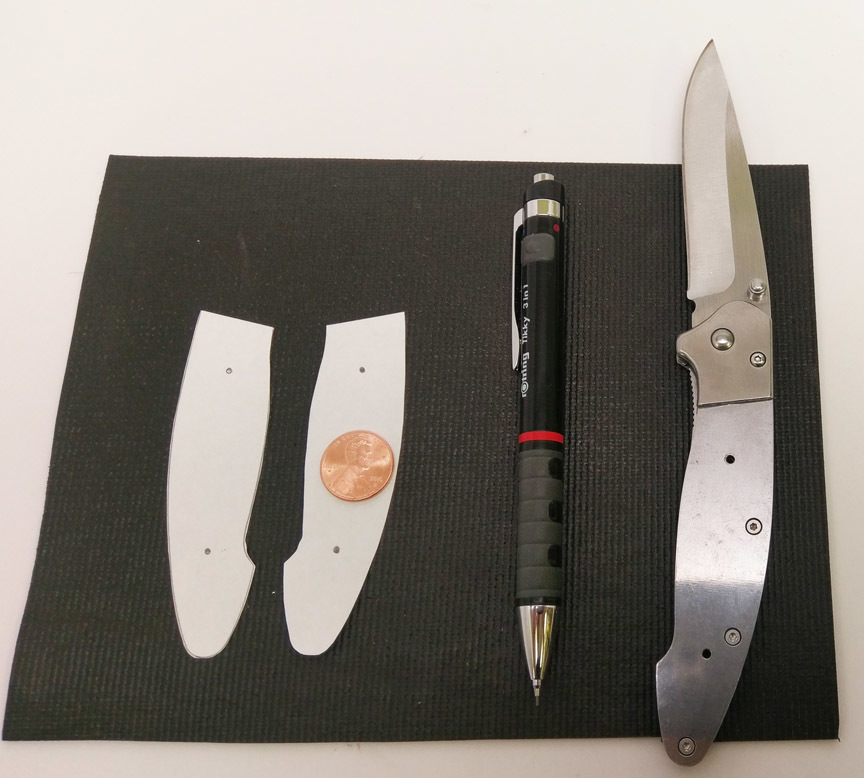
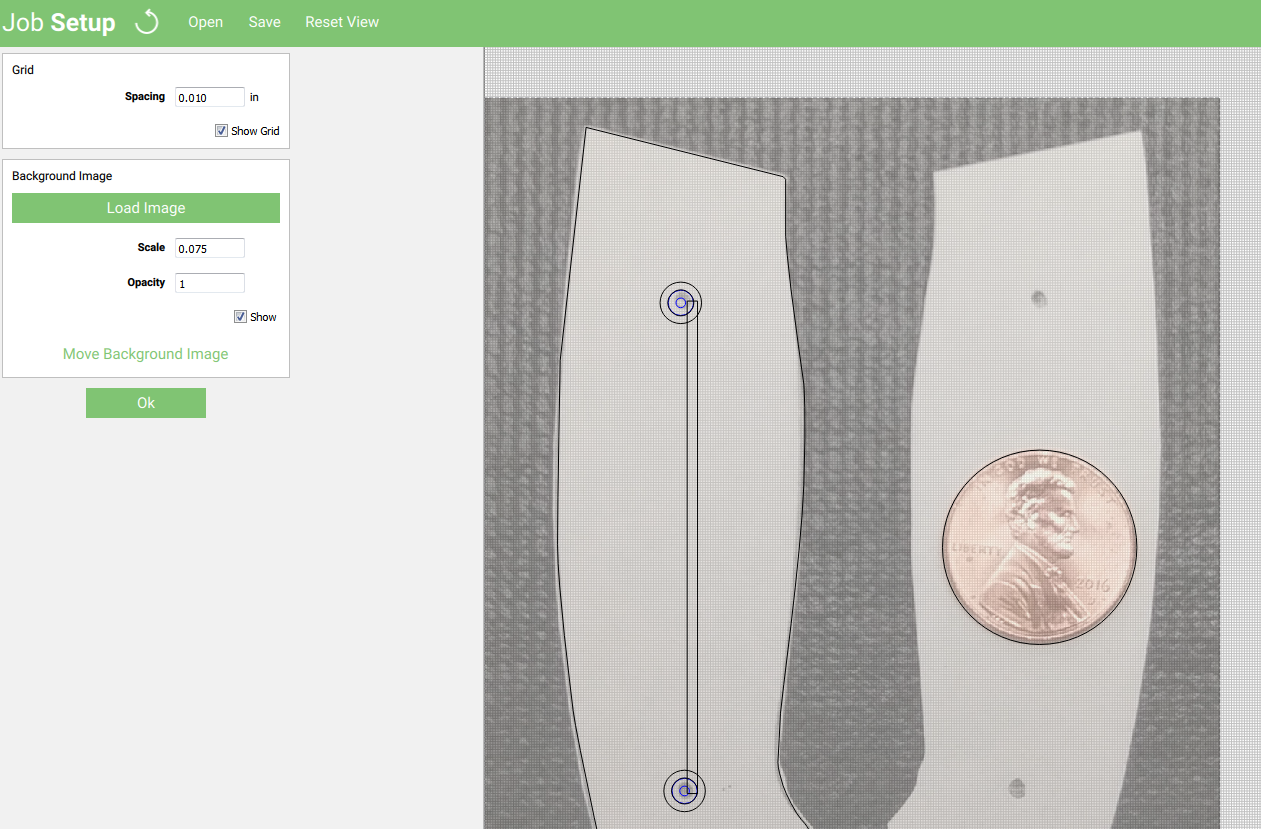
Almost ready to get the Knife “Scale” project into Carbide Create, First I need a clean tracing of the Handle and something for Scale.
A Penny happens to be .75" in diameter so Im going to use that dimension in Carbide Create to scale my background image map to.
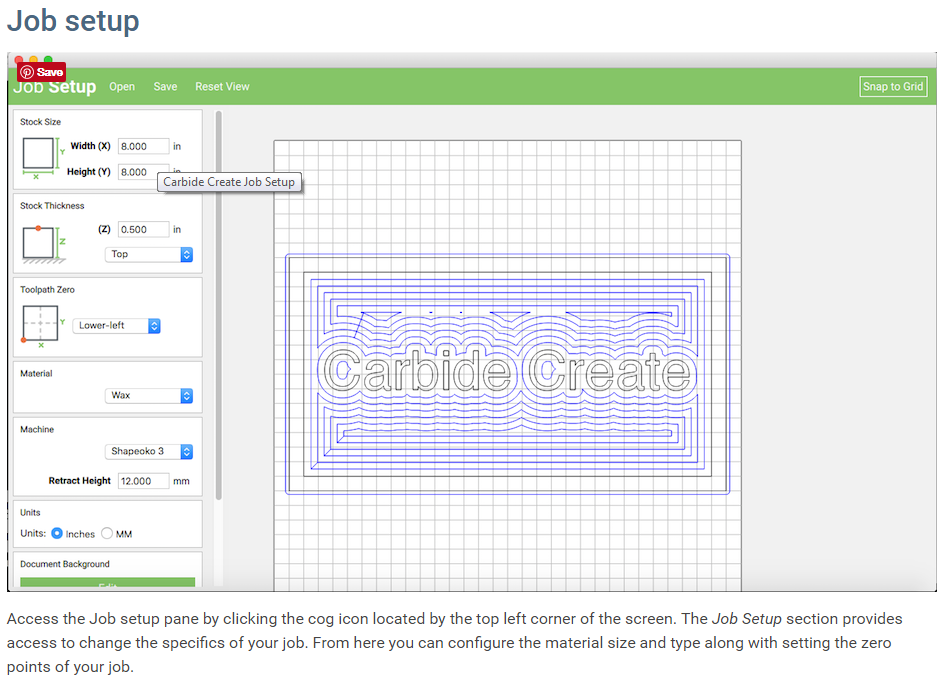
To place the knife scale image click the Document Background on the Job Setup pane in Carbide Create.
This is where Grid Spacing can be adjusted, as well as placing, scaling, and adjusting a background image for tracing.
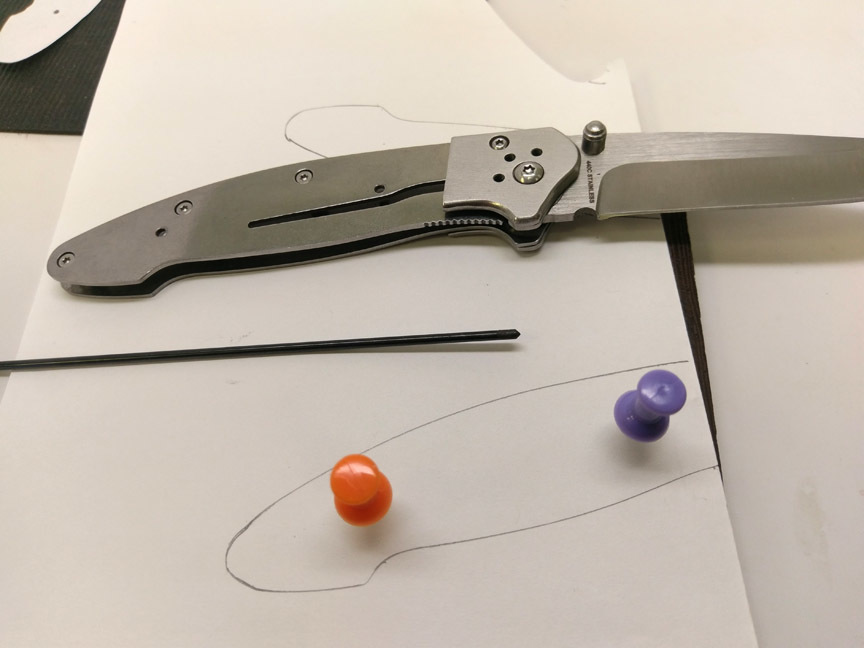
I drew a circle with a .375" Radius to match to the .75" diameter Penny in my background image and scale the image until it matched. I also measured the scale mounting holes in the knife at 1.9" center to center, and double checked my scale with a 1.9" tall rectangle.
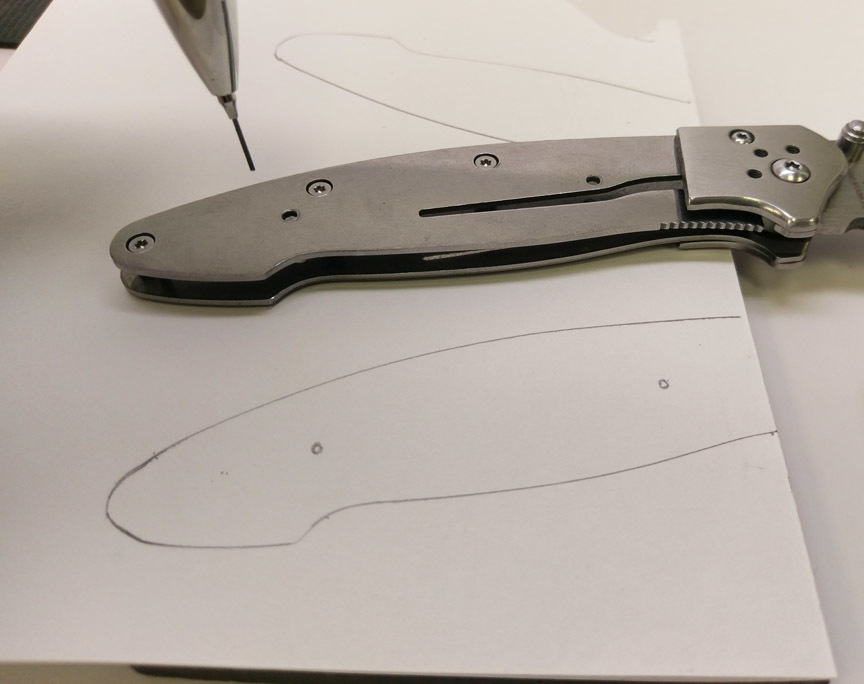
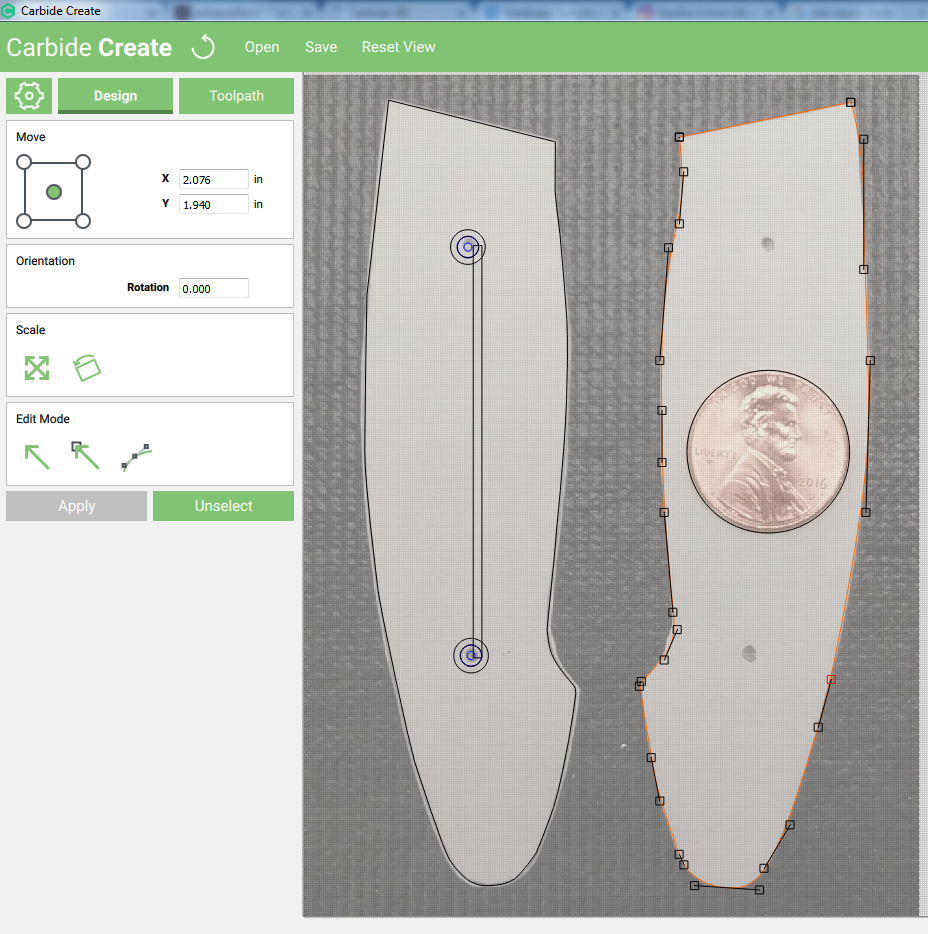
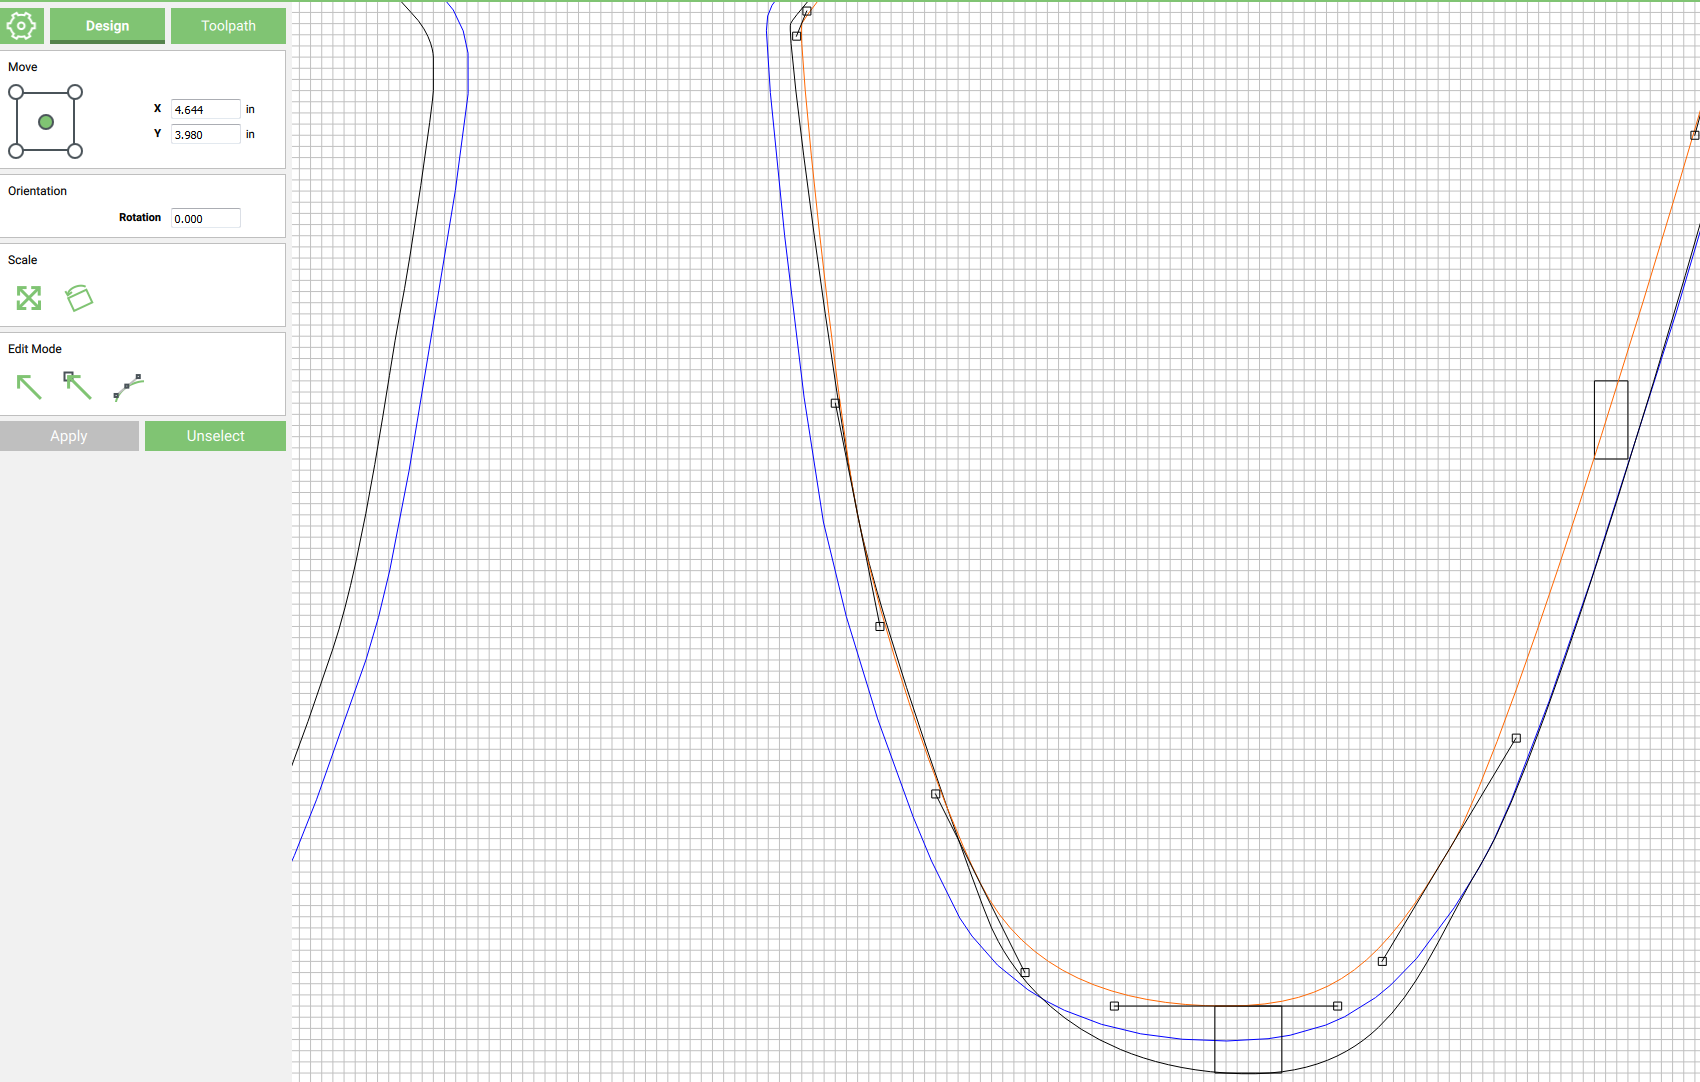
Next we need to draw a closed curve around the handles.
Couple tips here:
1-To get your curve to be closed- zoom in and make sure to end the line on the same grid intersection that you started on.
2- I found using as few control points as possible will create the smoothest tracing when doing the final adjusting of the Nodes with handles.
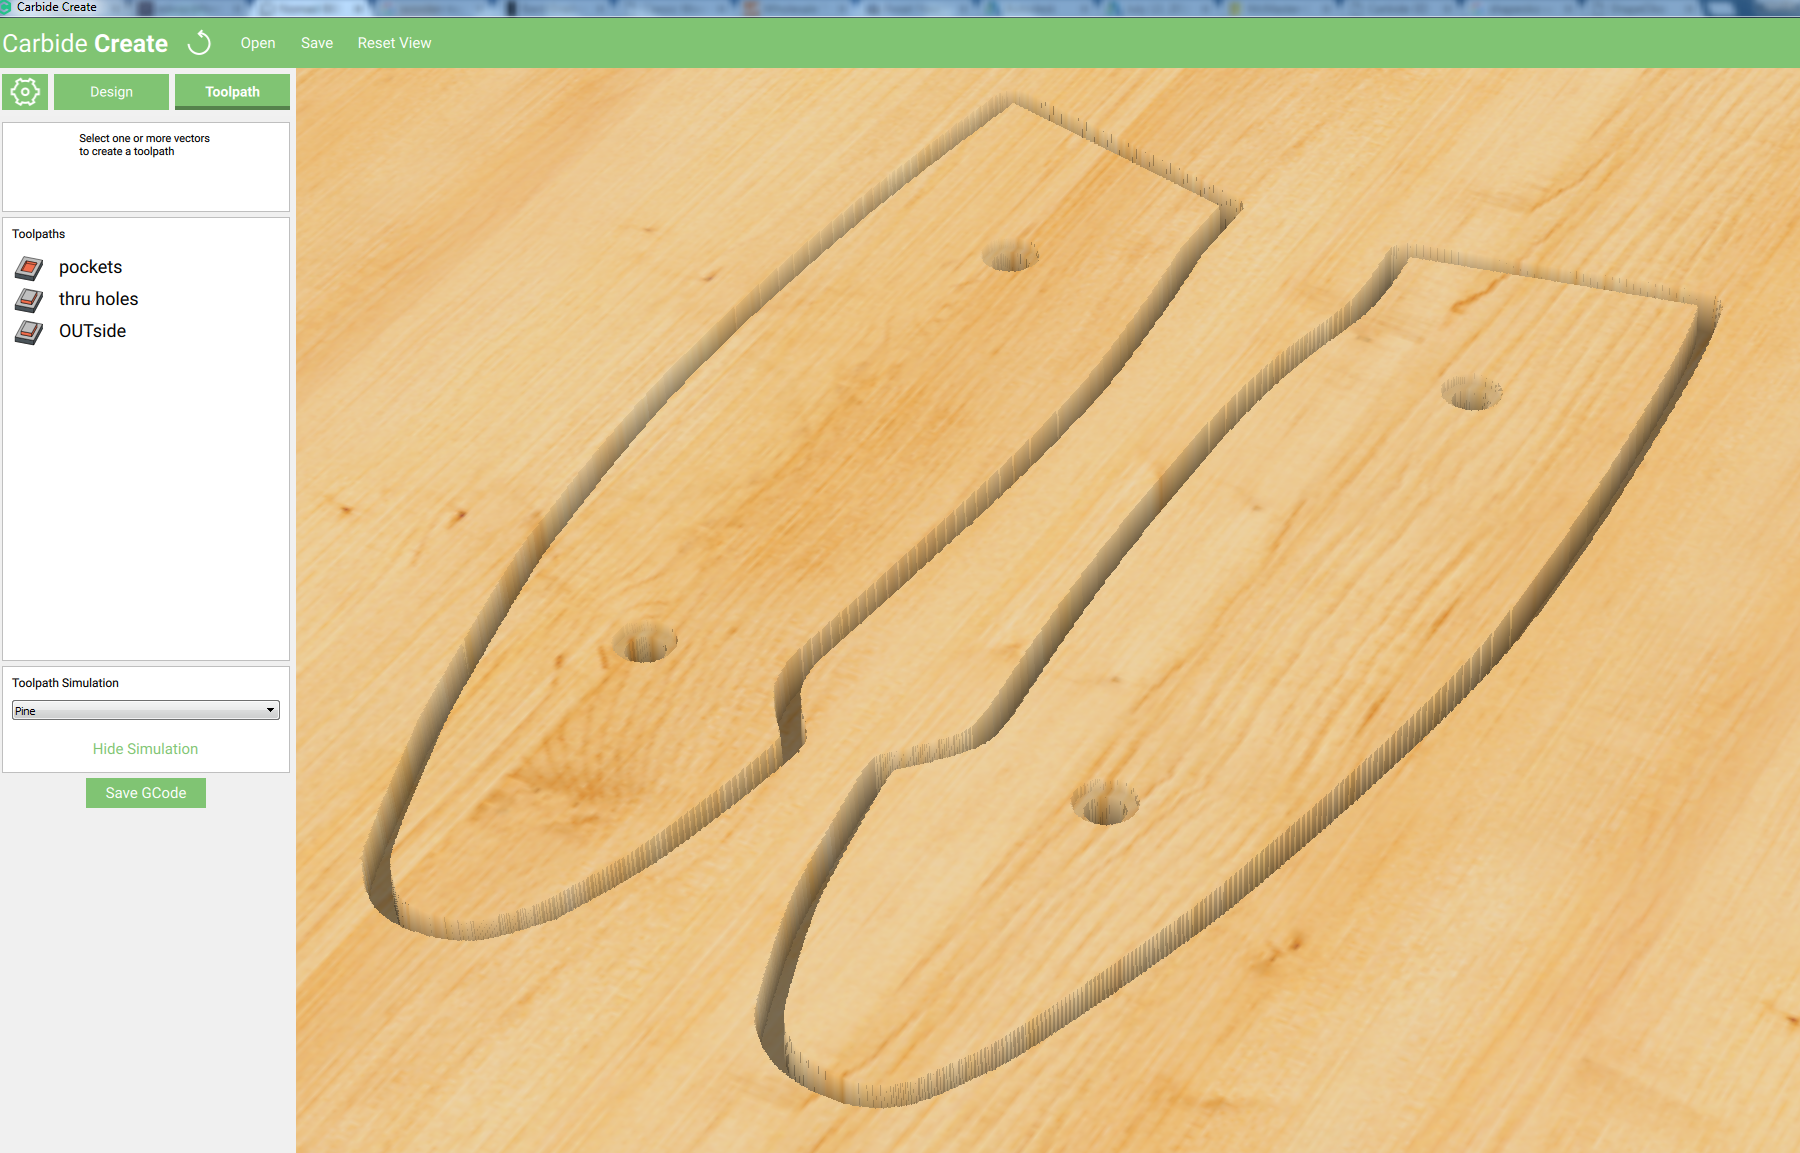
Next Step will be to select a tool and material to cut a first test for fit.
I will be using a 1/16th square endmill and 1/8th acrylic.
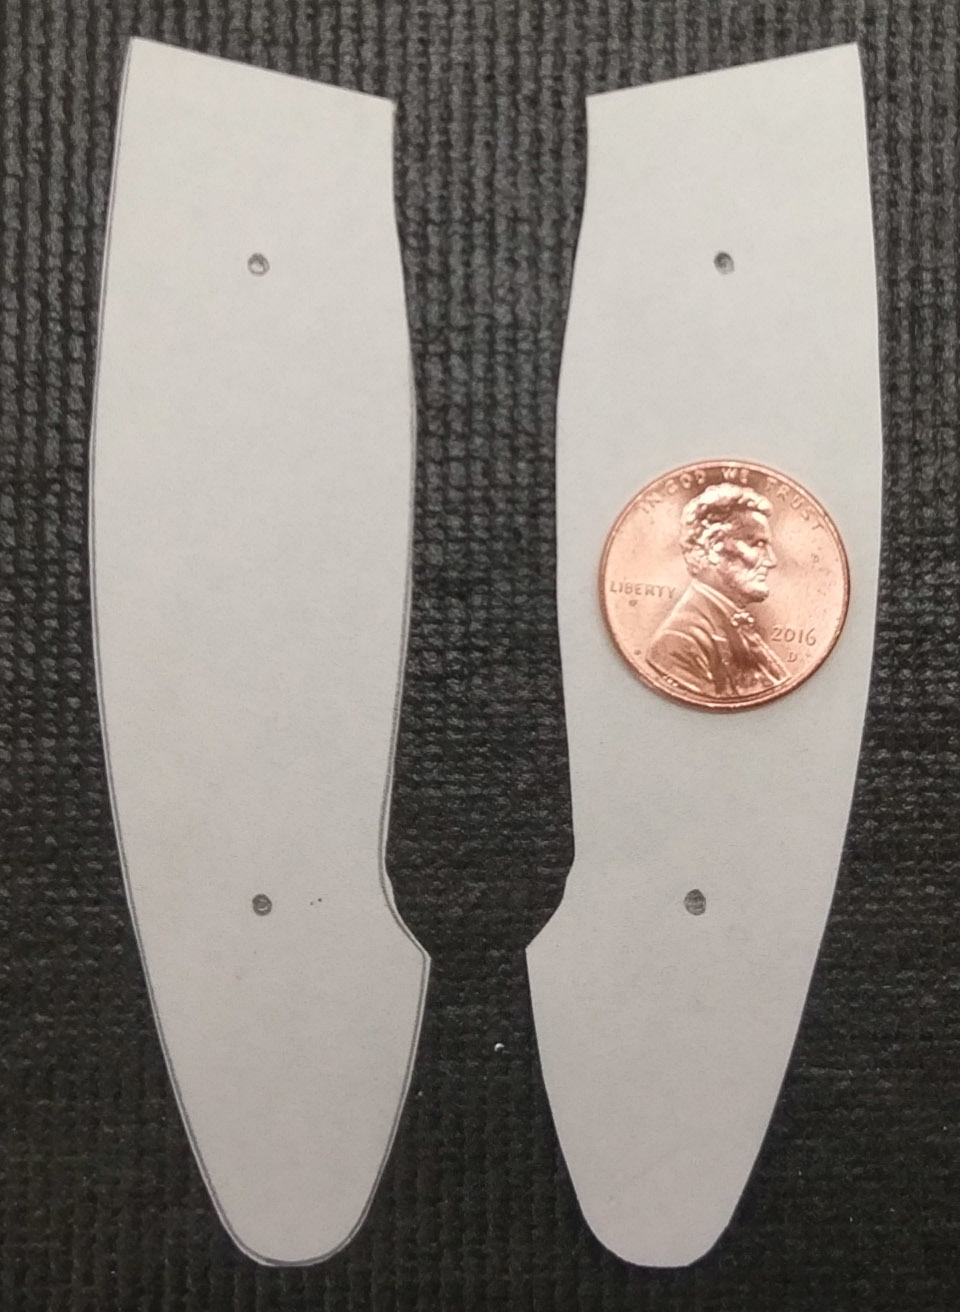
Heres the First test in Blue acrylic, the fit was really close, close enough to prove the penny for scale method, but using graph paper and perspective correction would be a more correct approach to this tracing step of the process.
Using clear acrylic for the first test made it easier to see what areas of the design needed to be modified.
I’ve stuck an object on a scanner with a reference (like a 6" metal ruler) and then pulled that scan into CAD and worked from there. That can work well if the object sits flat.
@ApolloCrowe - I would like to do two layers for the scales, so there is a thin line of color (from the first layer of G-10). I’ve been debating on the best approach:
Option A) Model each part individually, then sandwich them together.
Option B). Glue them up as if making a traditional handle, then routing one side, then the other…treating it as one large block.
Seems like (B) is riskier, but might yield better results.
First I would test the design and run a first cut in some scrap with either option.
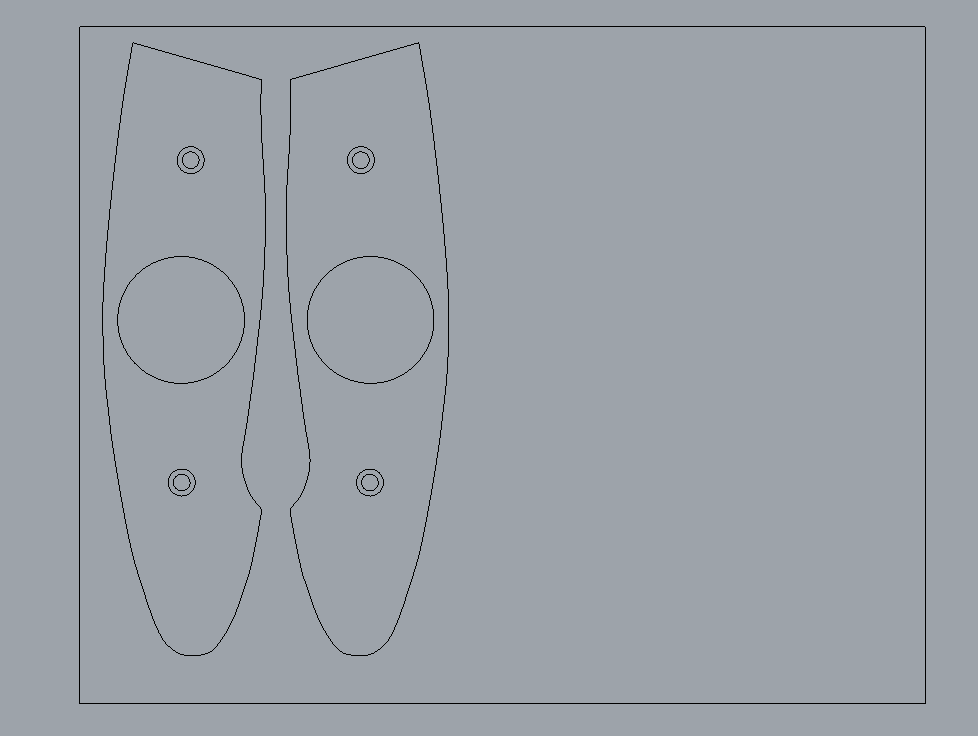
FYI- You can get 2 sets of scales from a 5" x 4" x .125" sheet of acrylic.
I prefer fasteners over adhesives, but I have a feeling option B) glue up would be best if your doing a 3d contoured design.
Can you post a screen shot of your design?
I have attached the Carbide Create file and a DXF file as well.
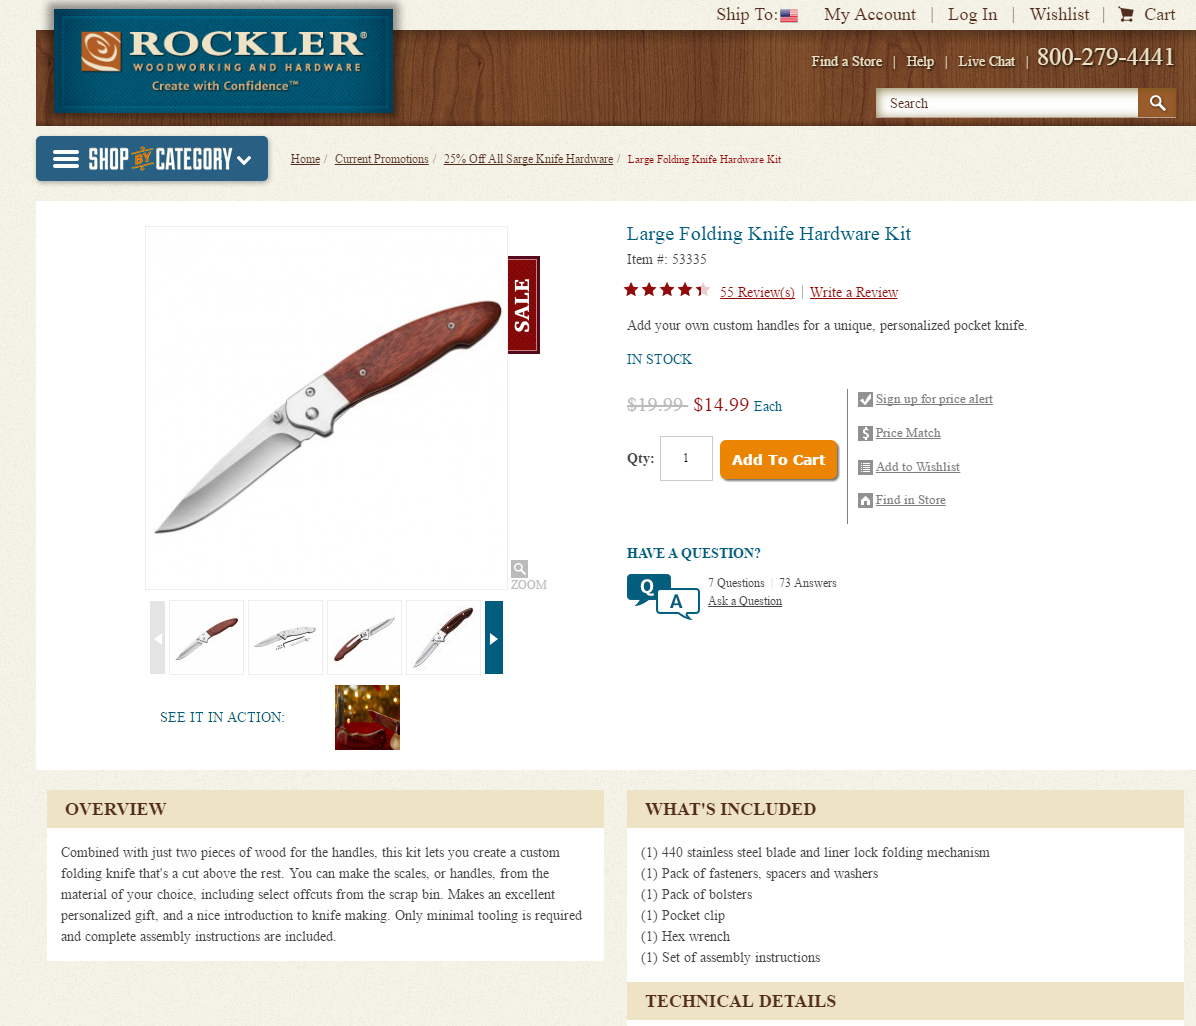
If anyone is interested in a Knife Project- Rockler is having a Sale on Knife Kits through Sept. 2nd.
They have several designs to chose from, the Large Folding Knife (SK-405KIT) is the model used in this tutorial.
Curious if anyone has tried this and used fasteners to hold the scales down. If not, what did you use to successfully secure them? I am working on a similar project and am having issues with getting the right type of hold-down.