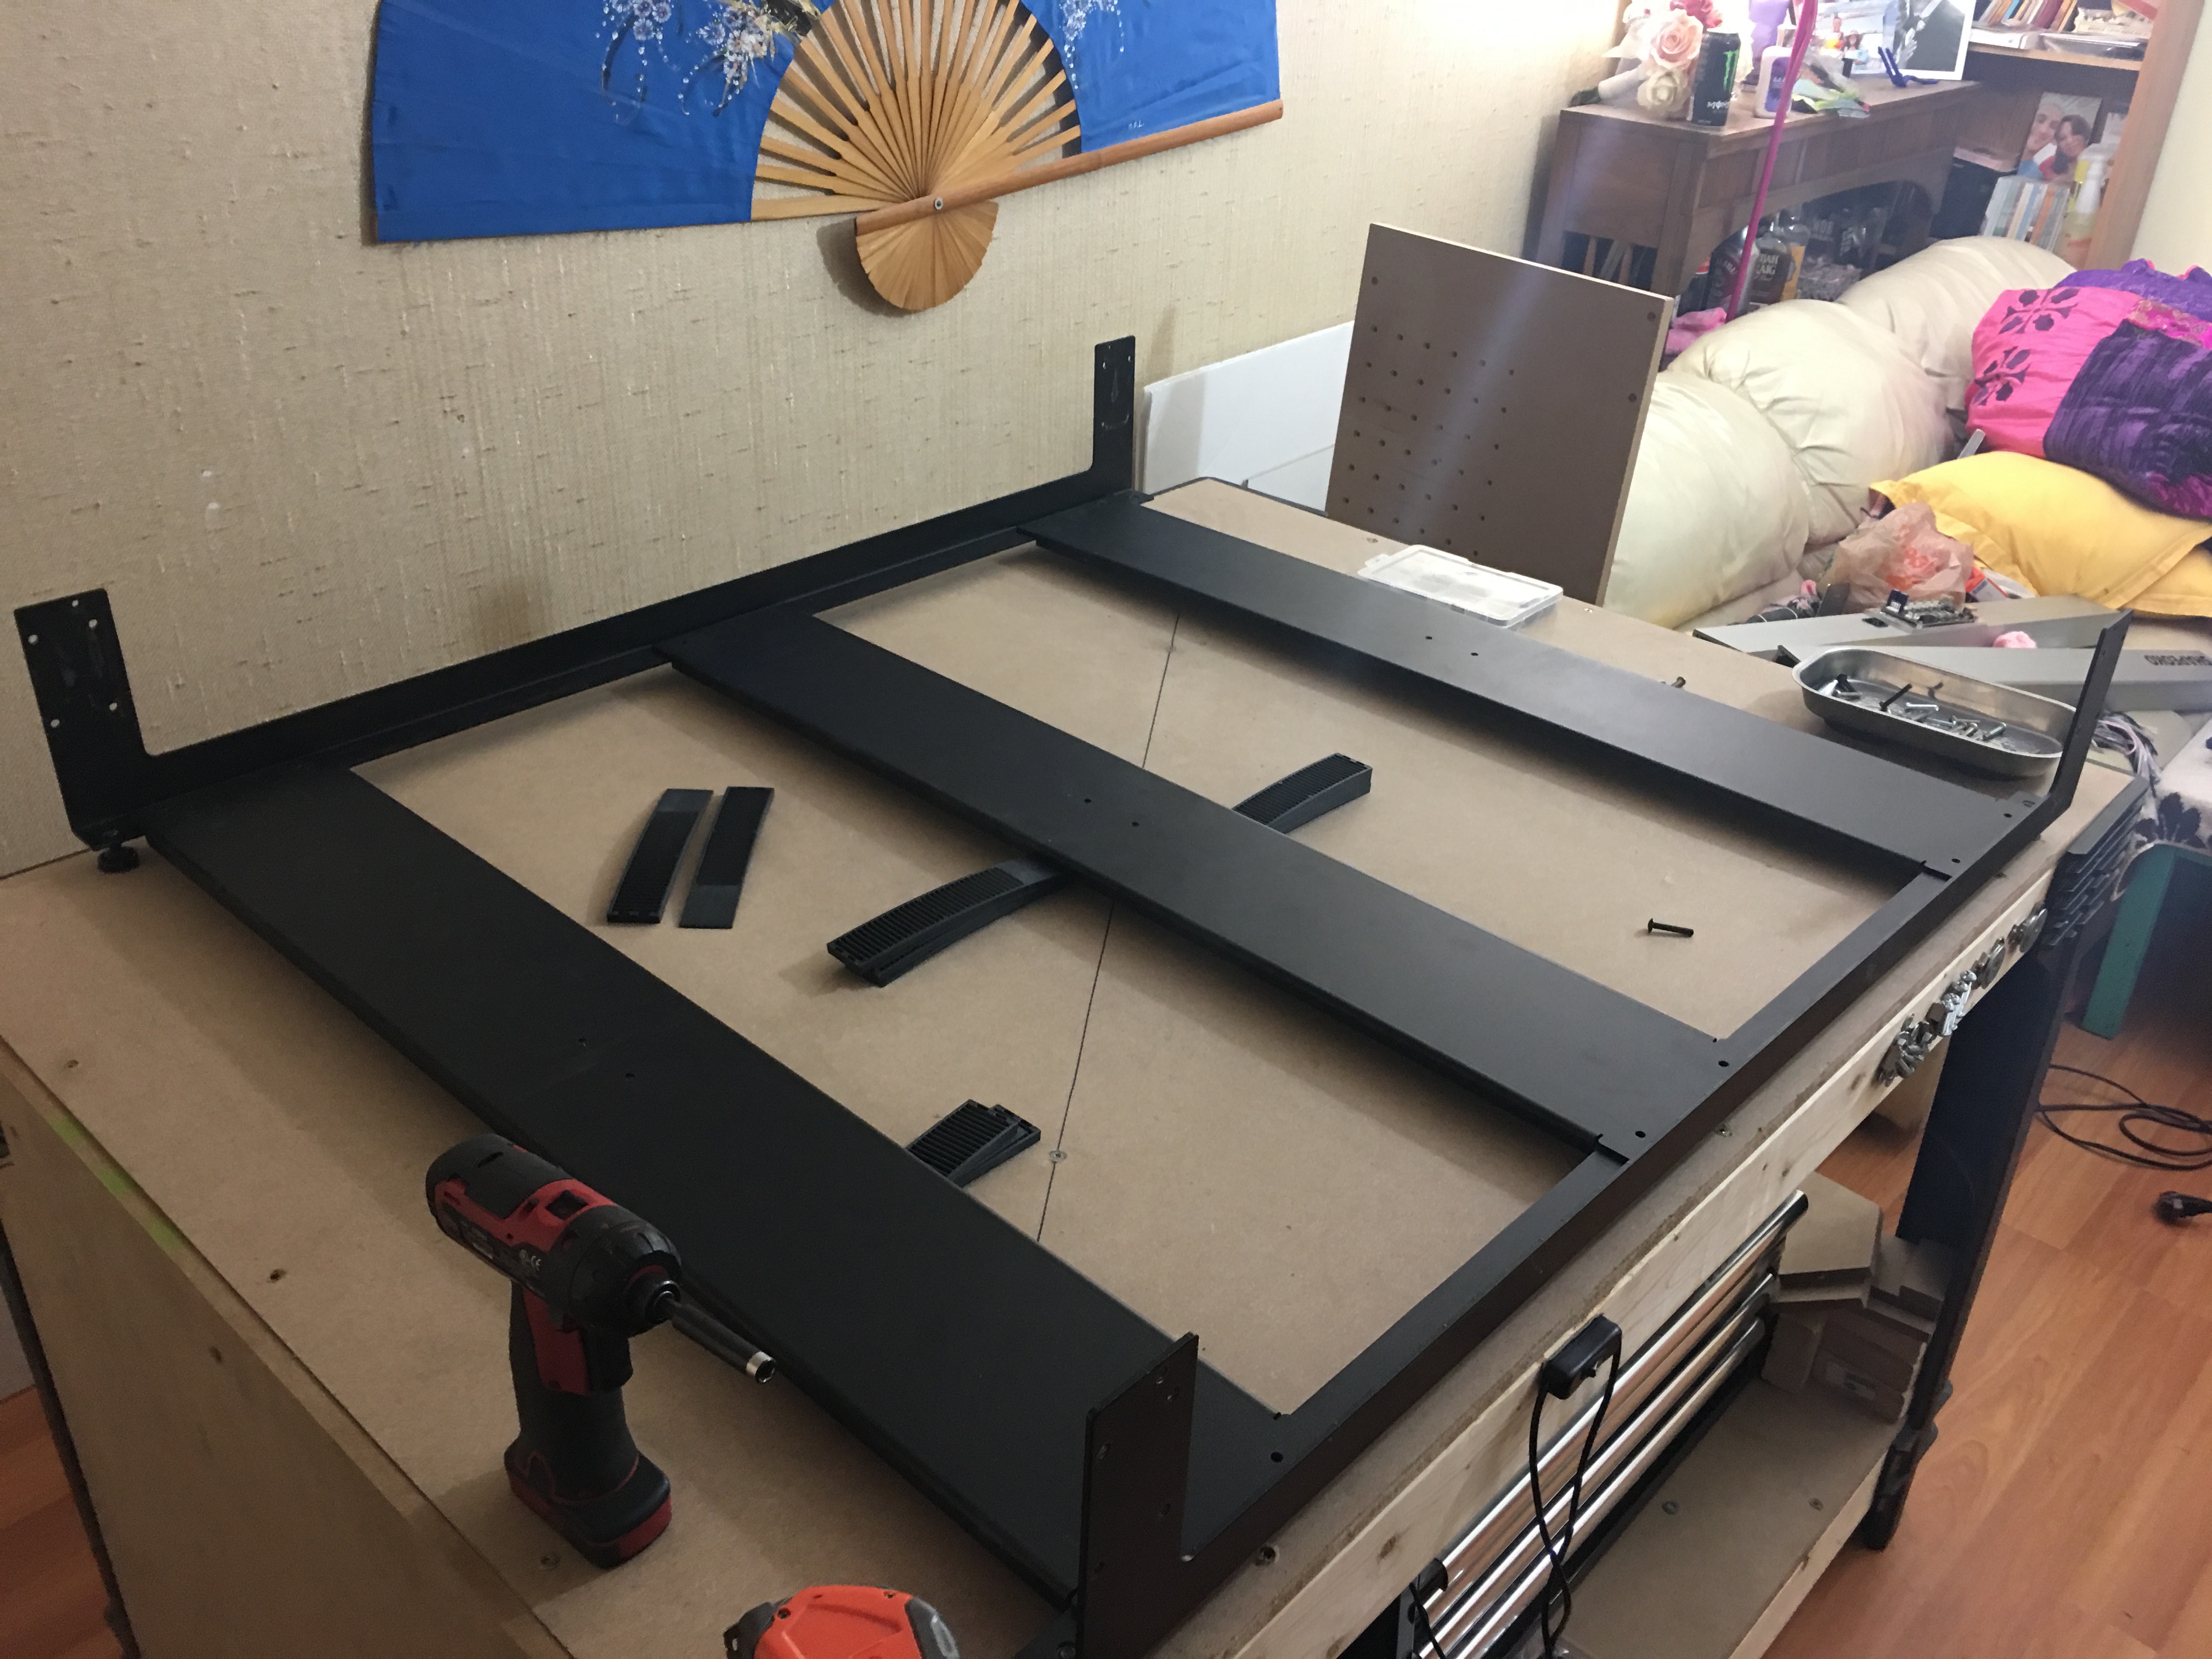
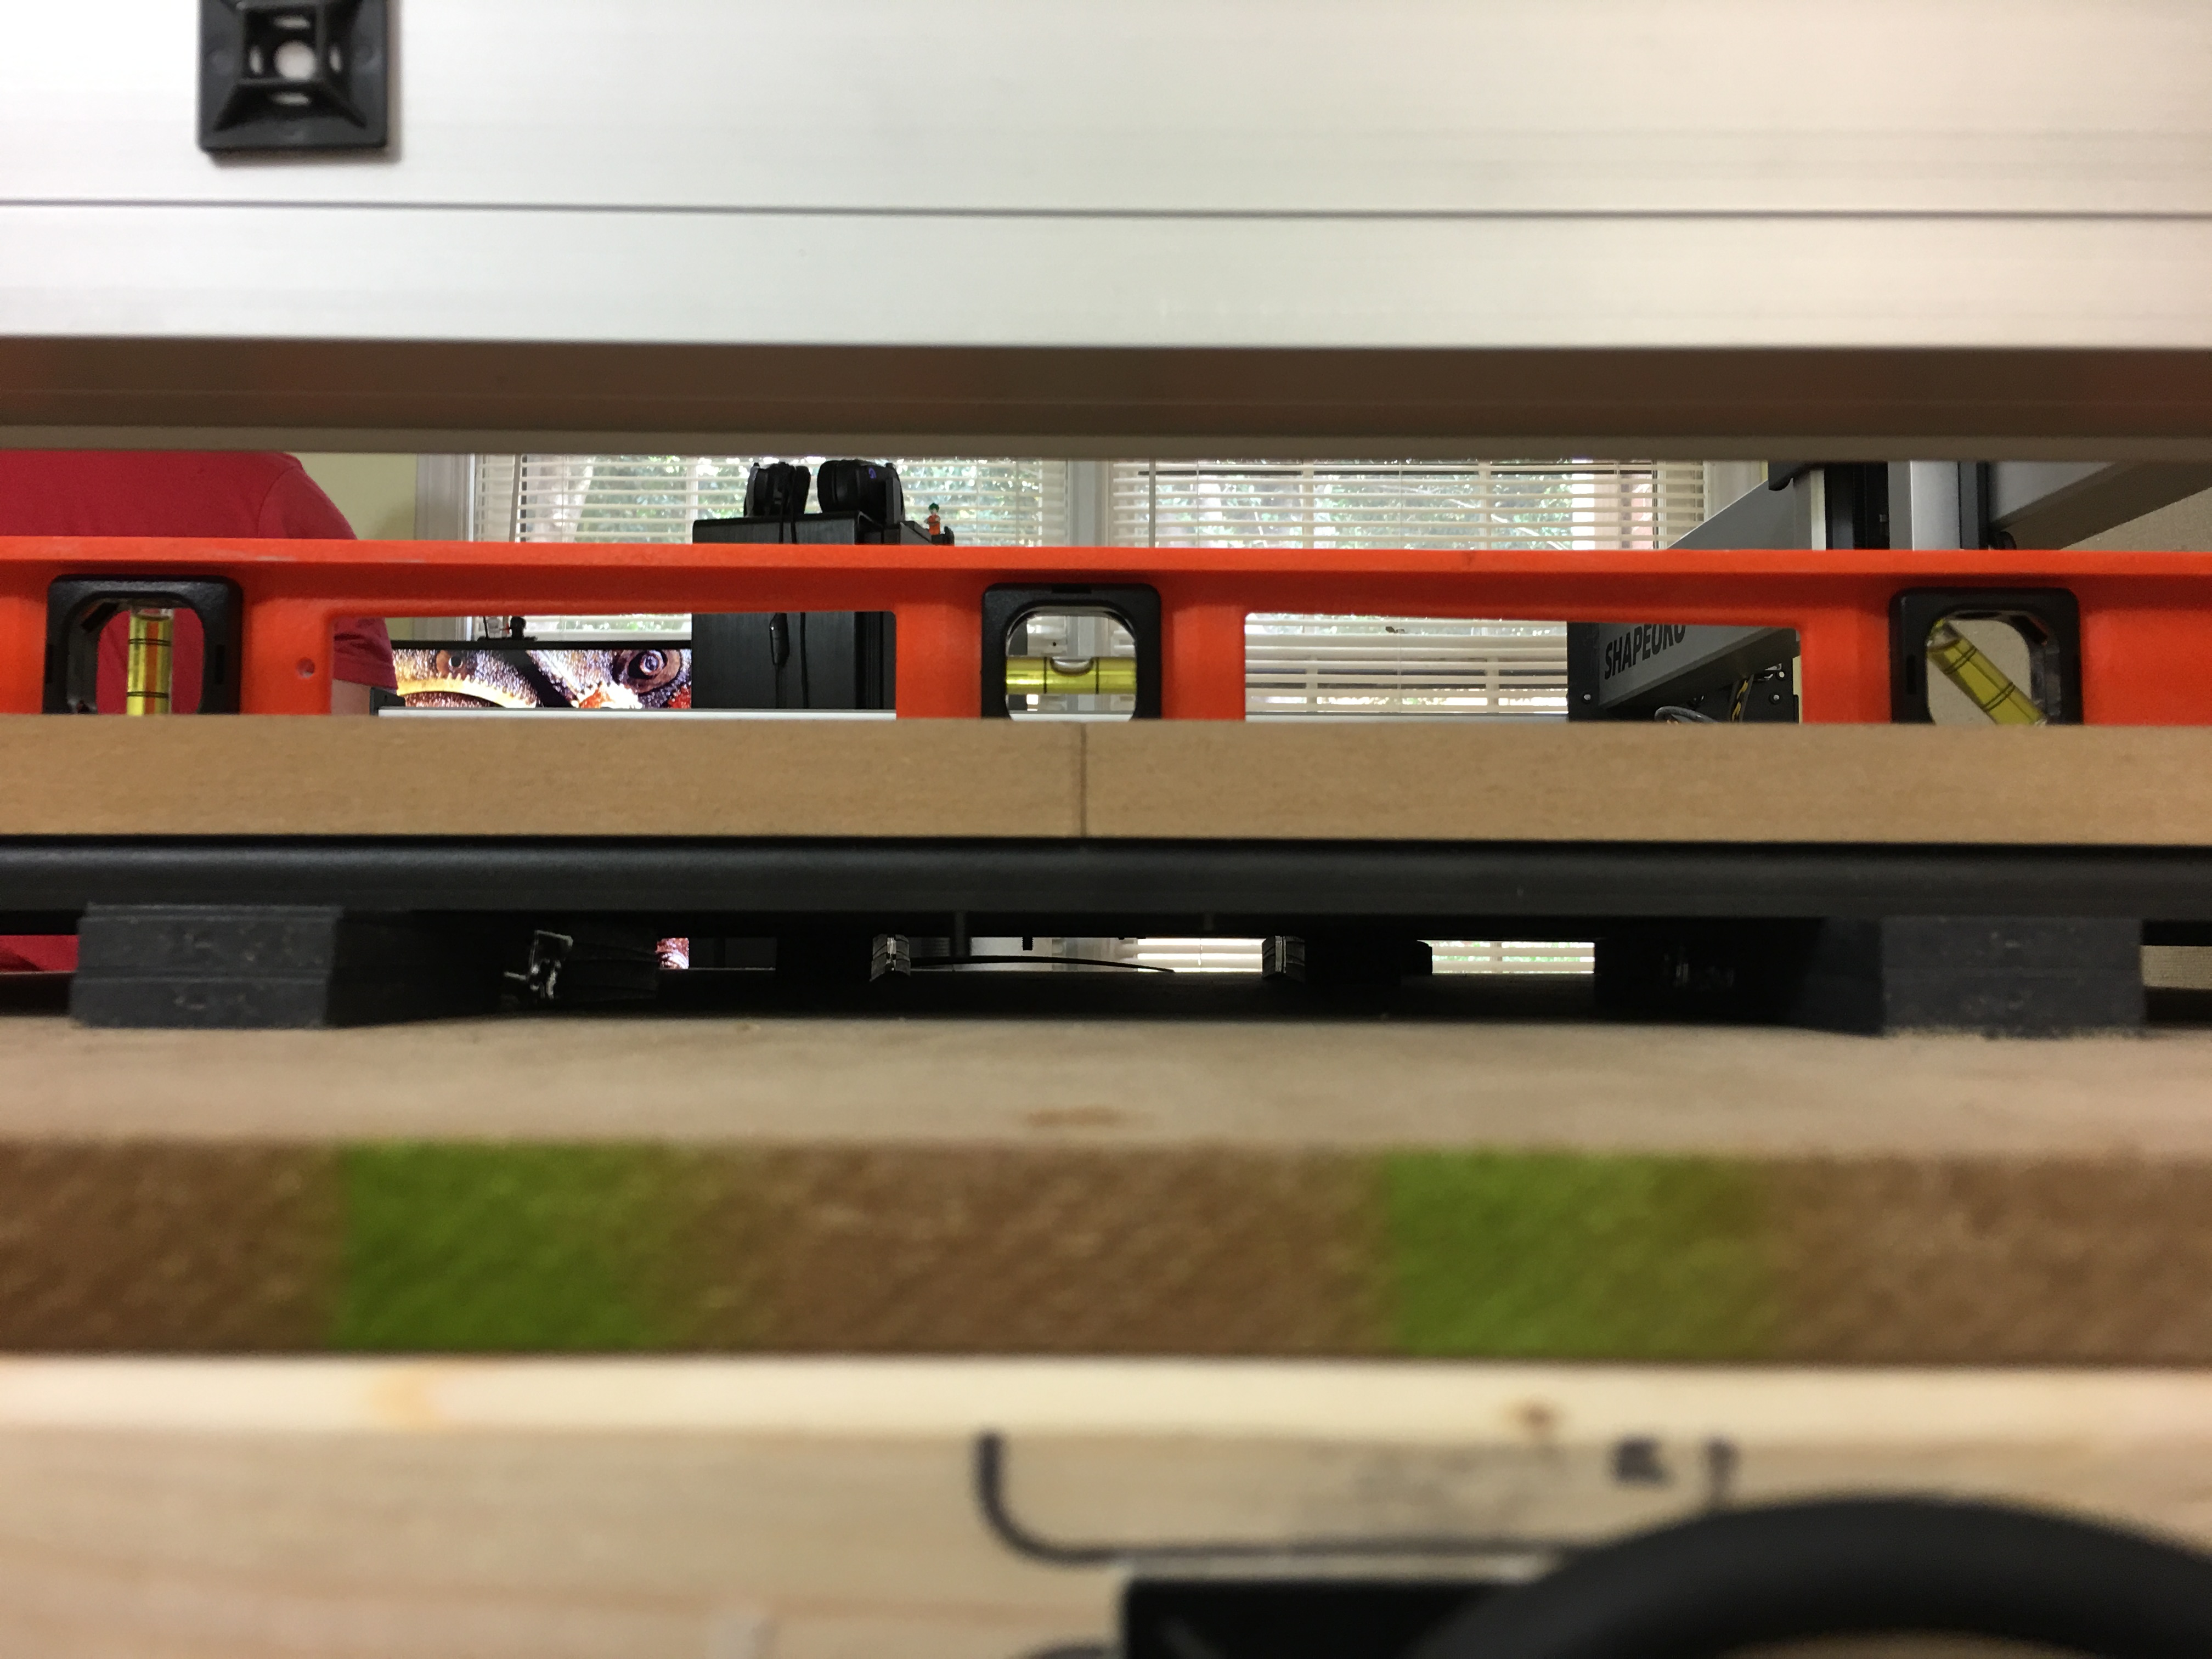
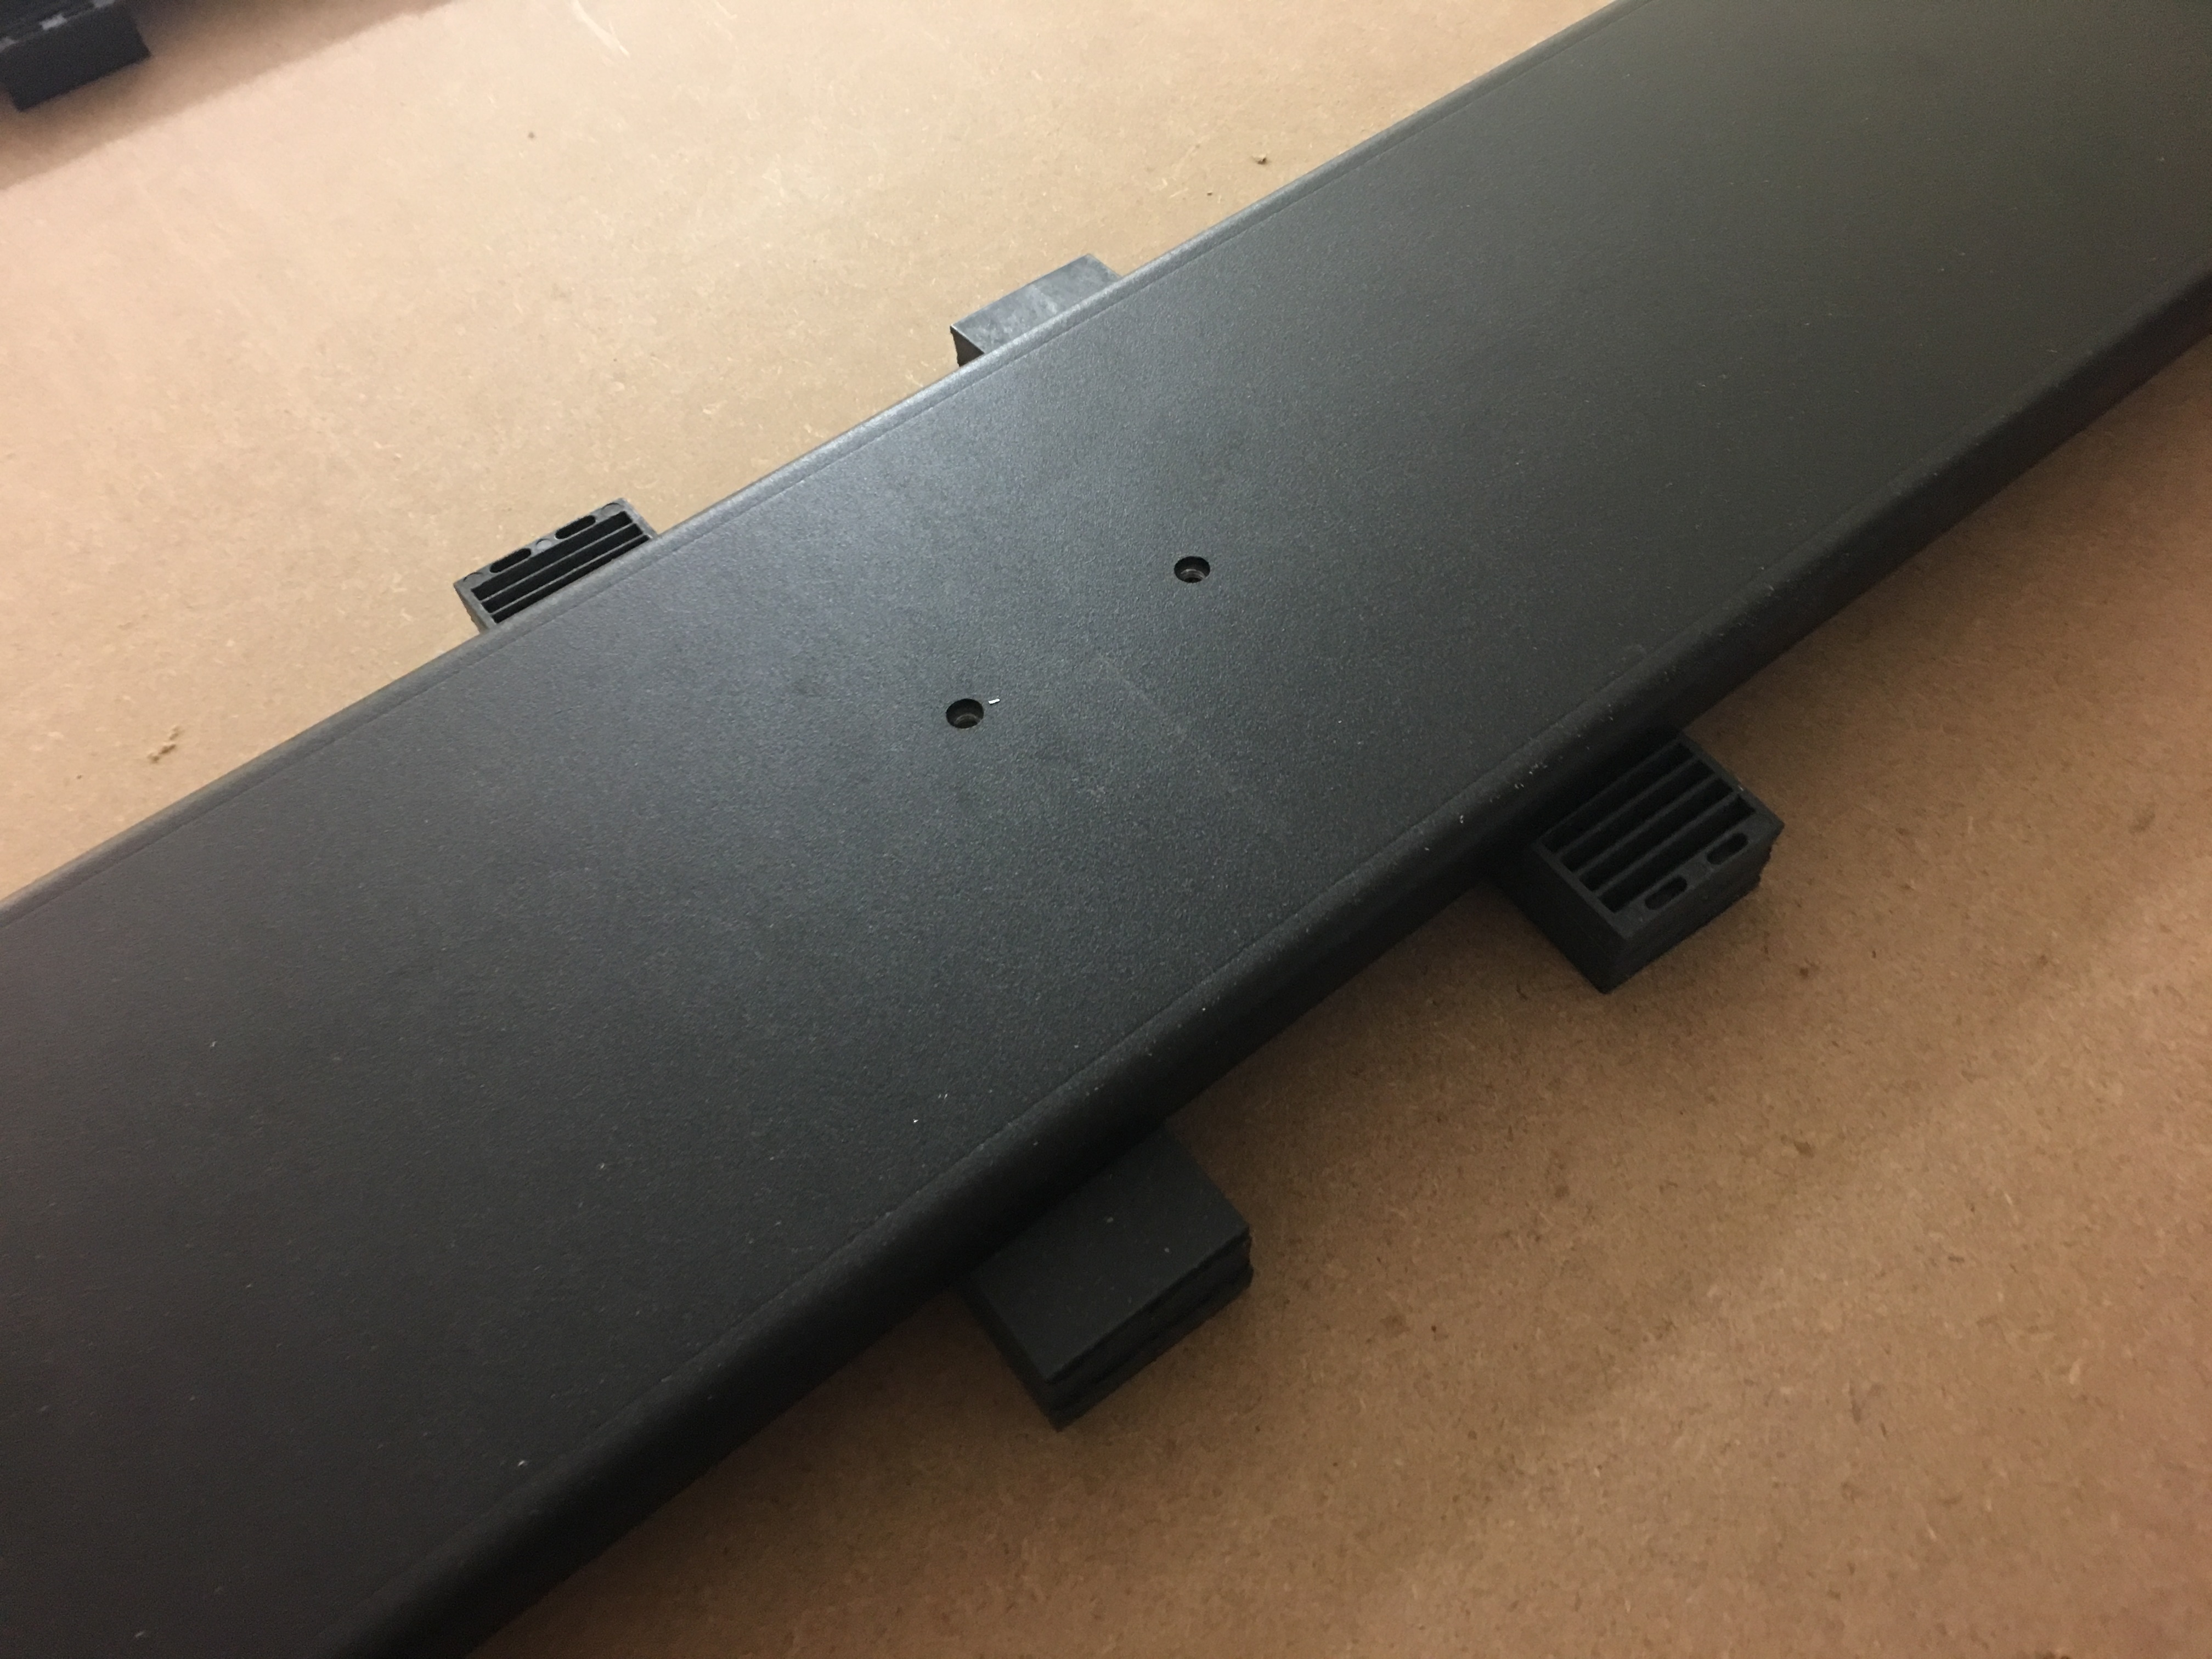
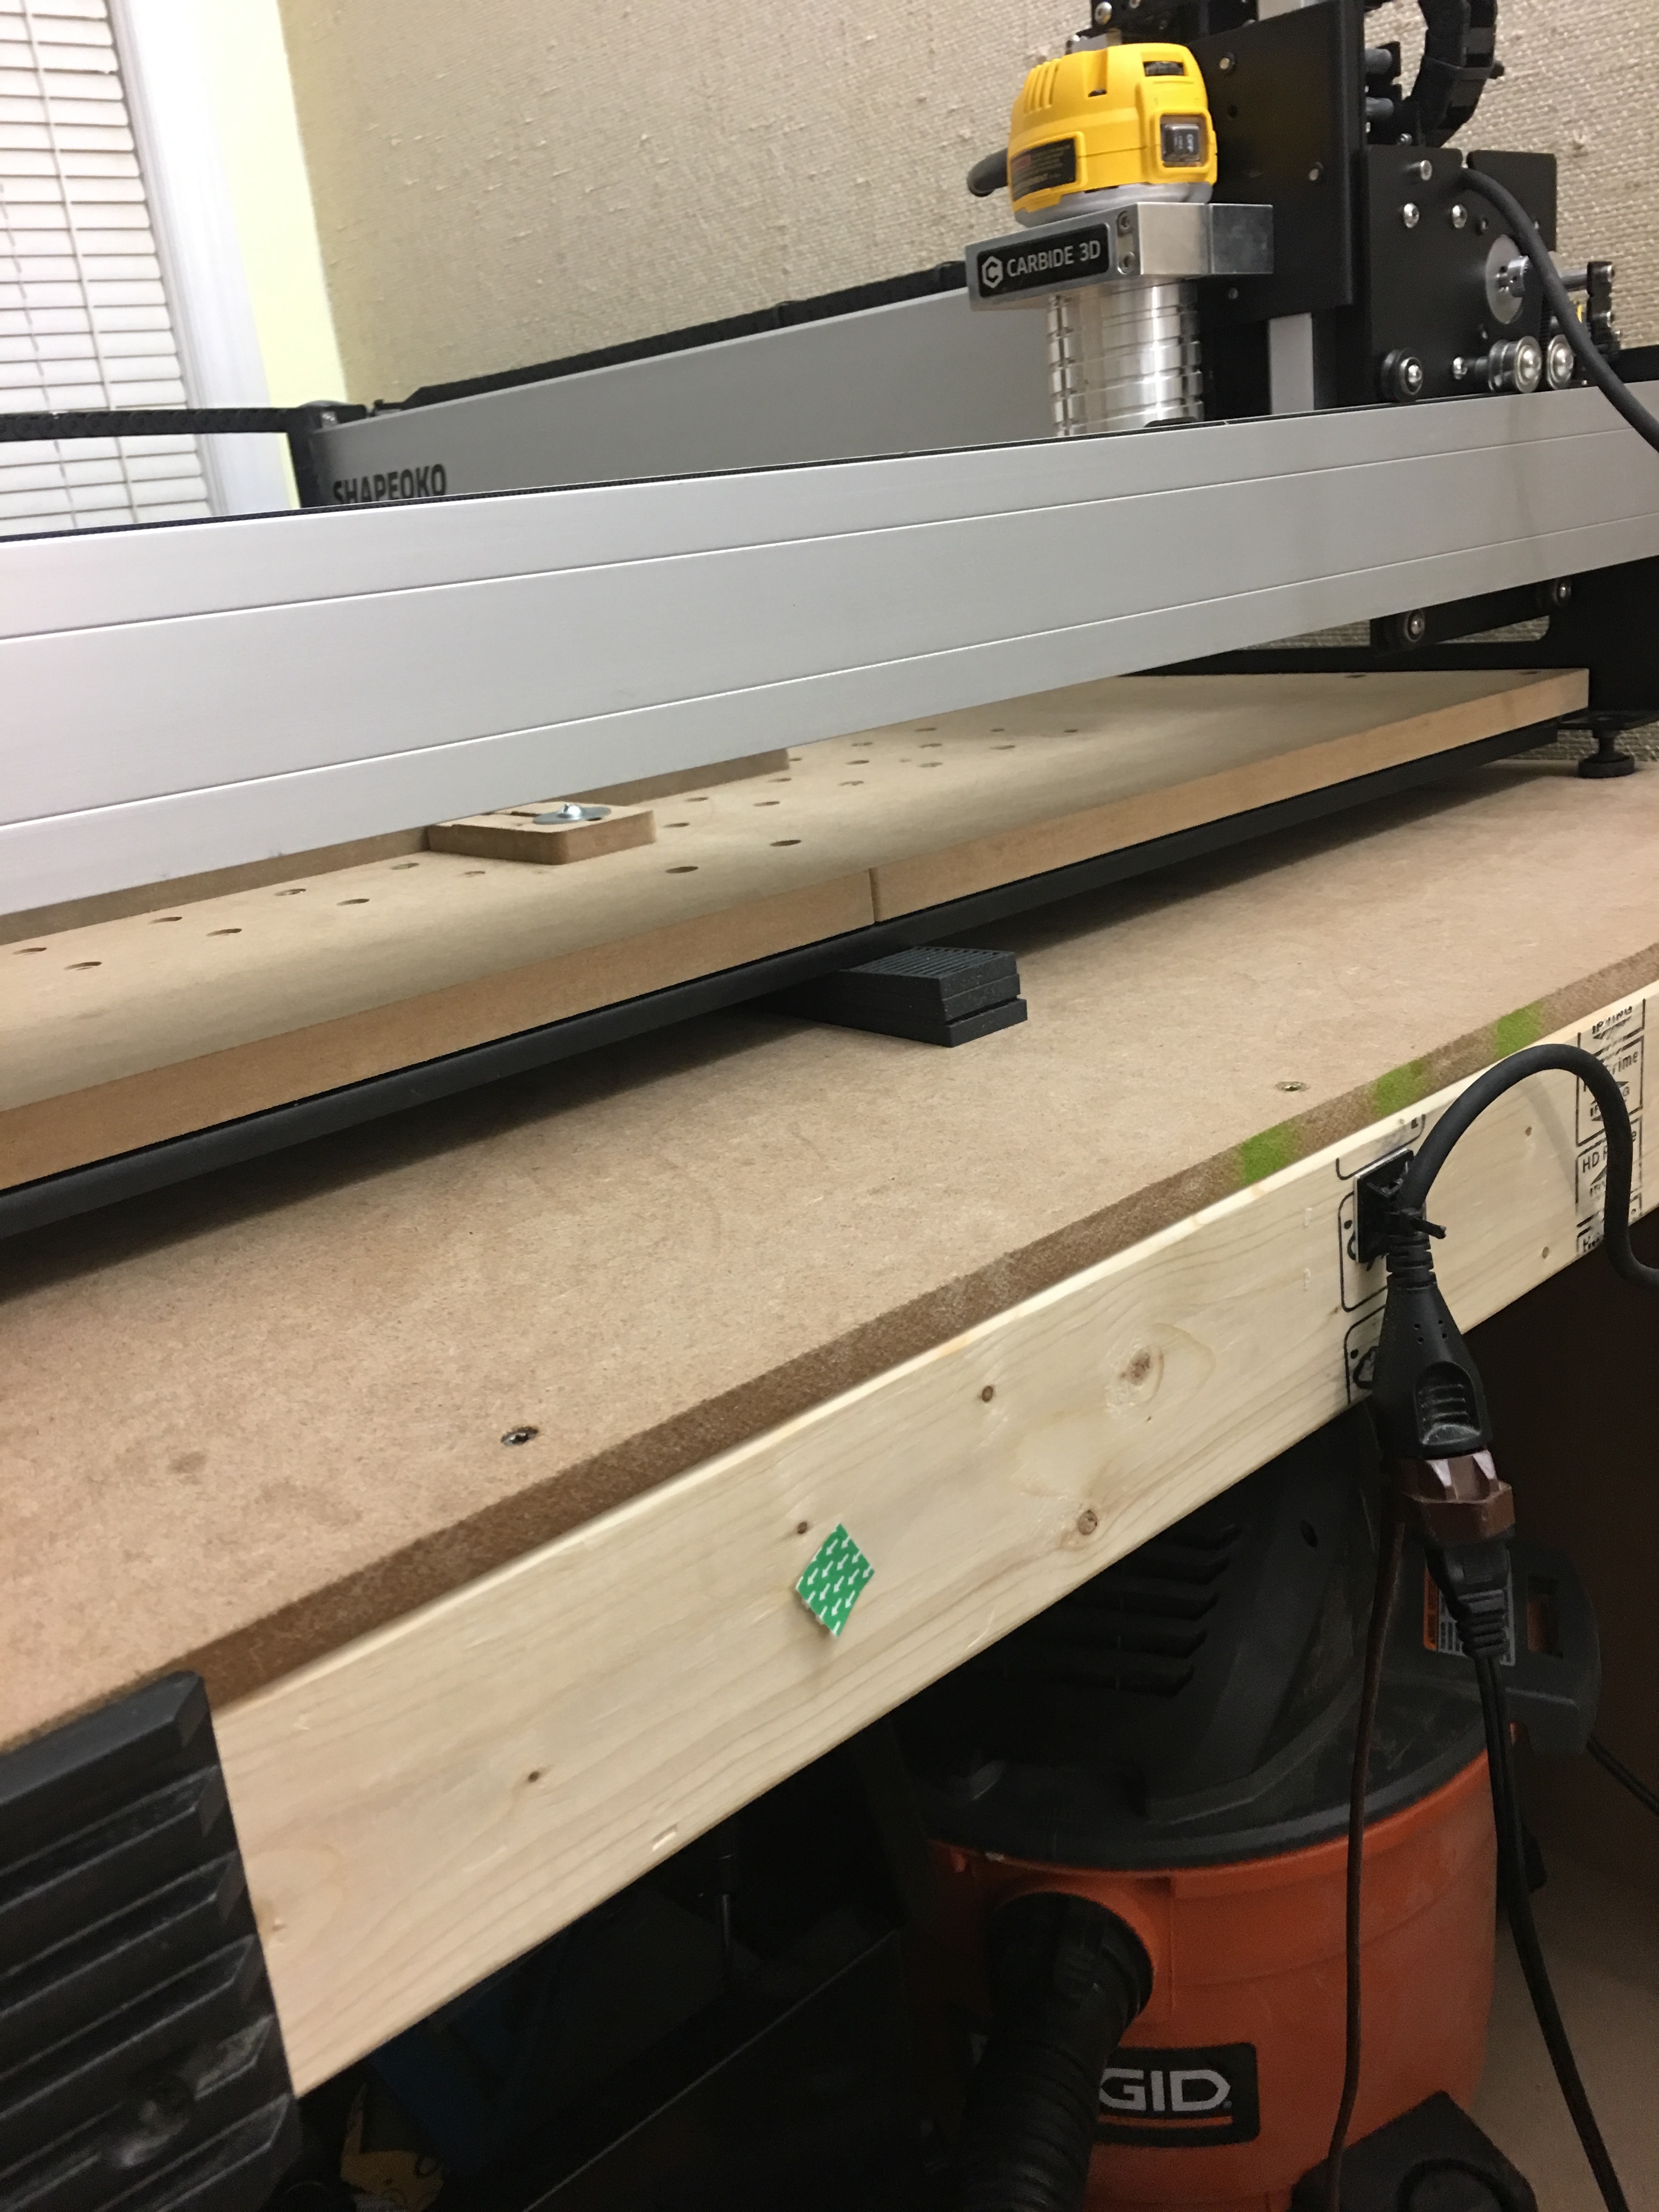
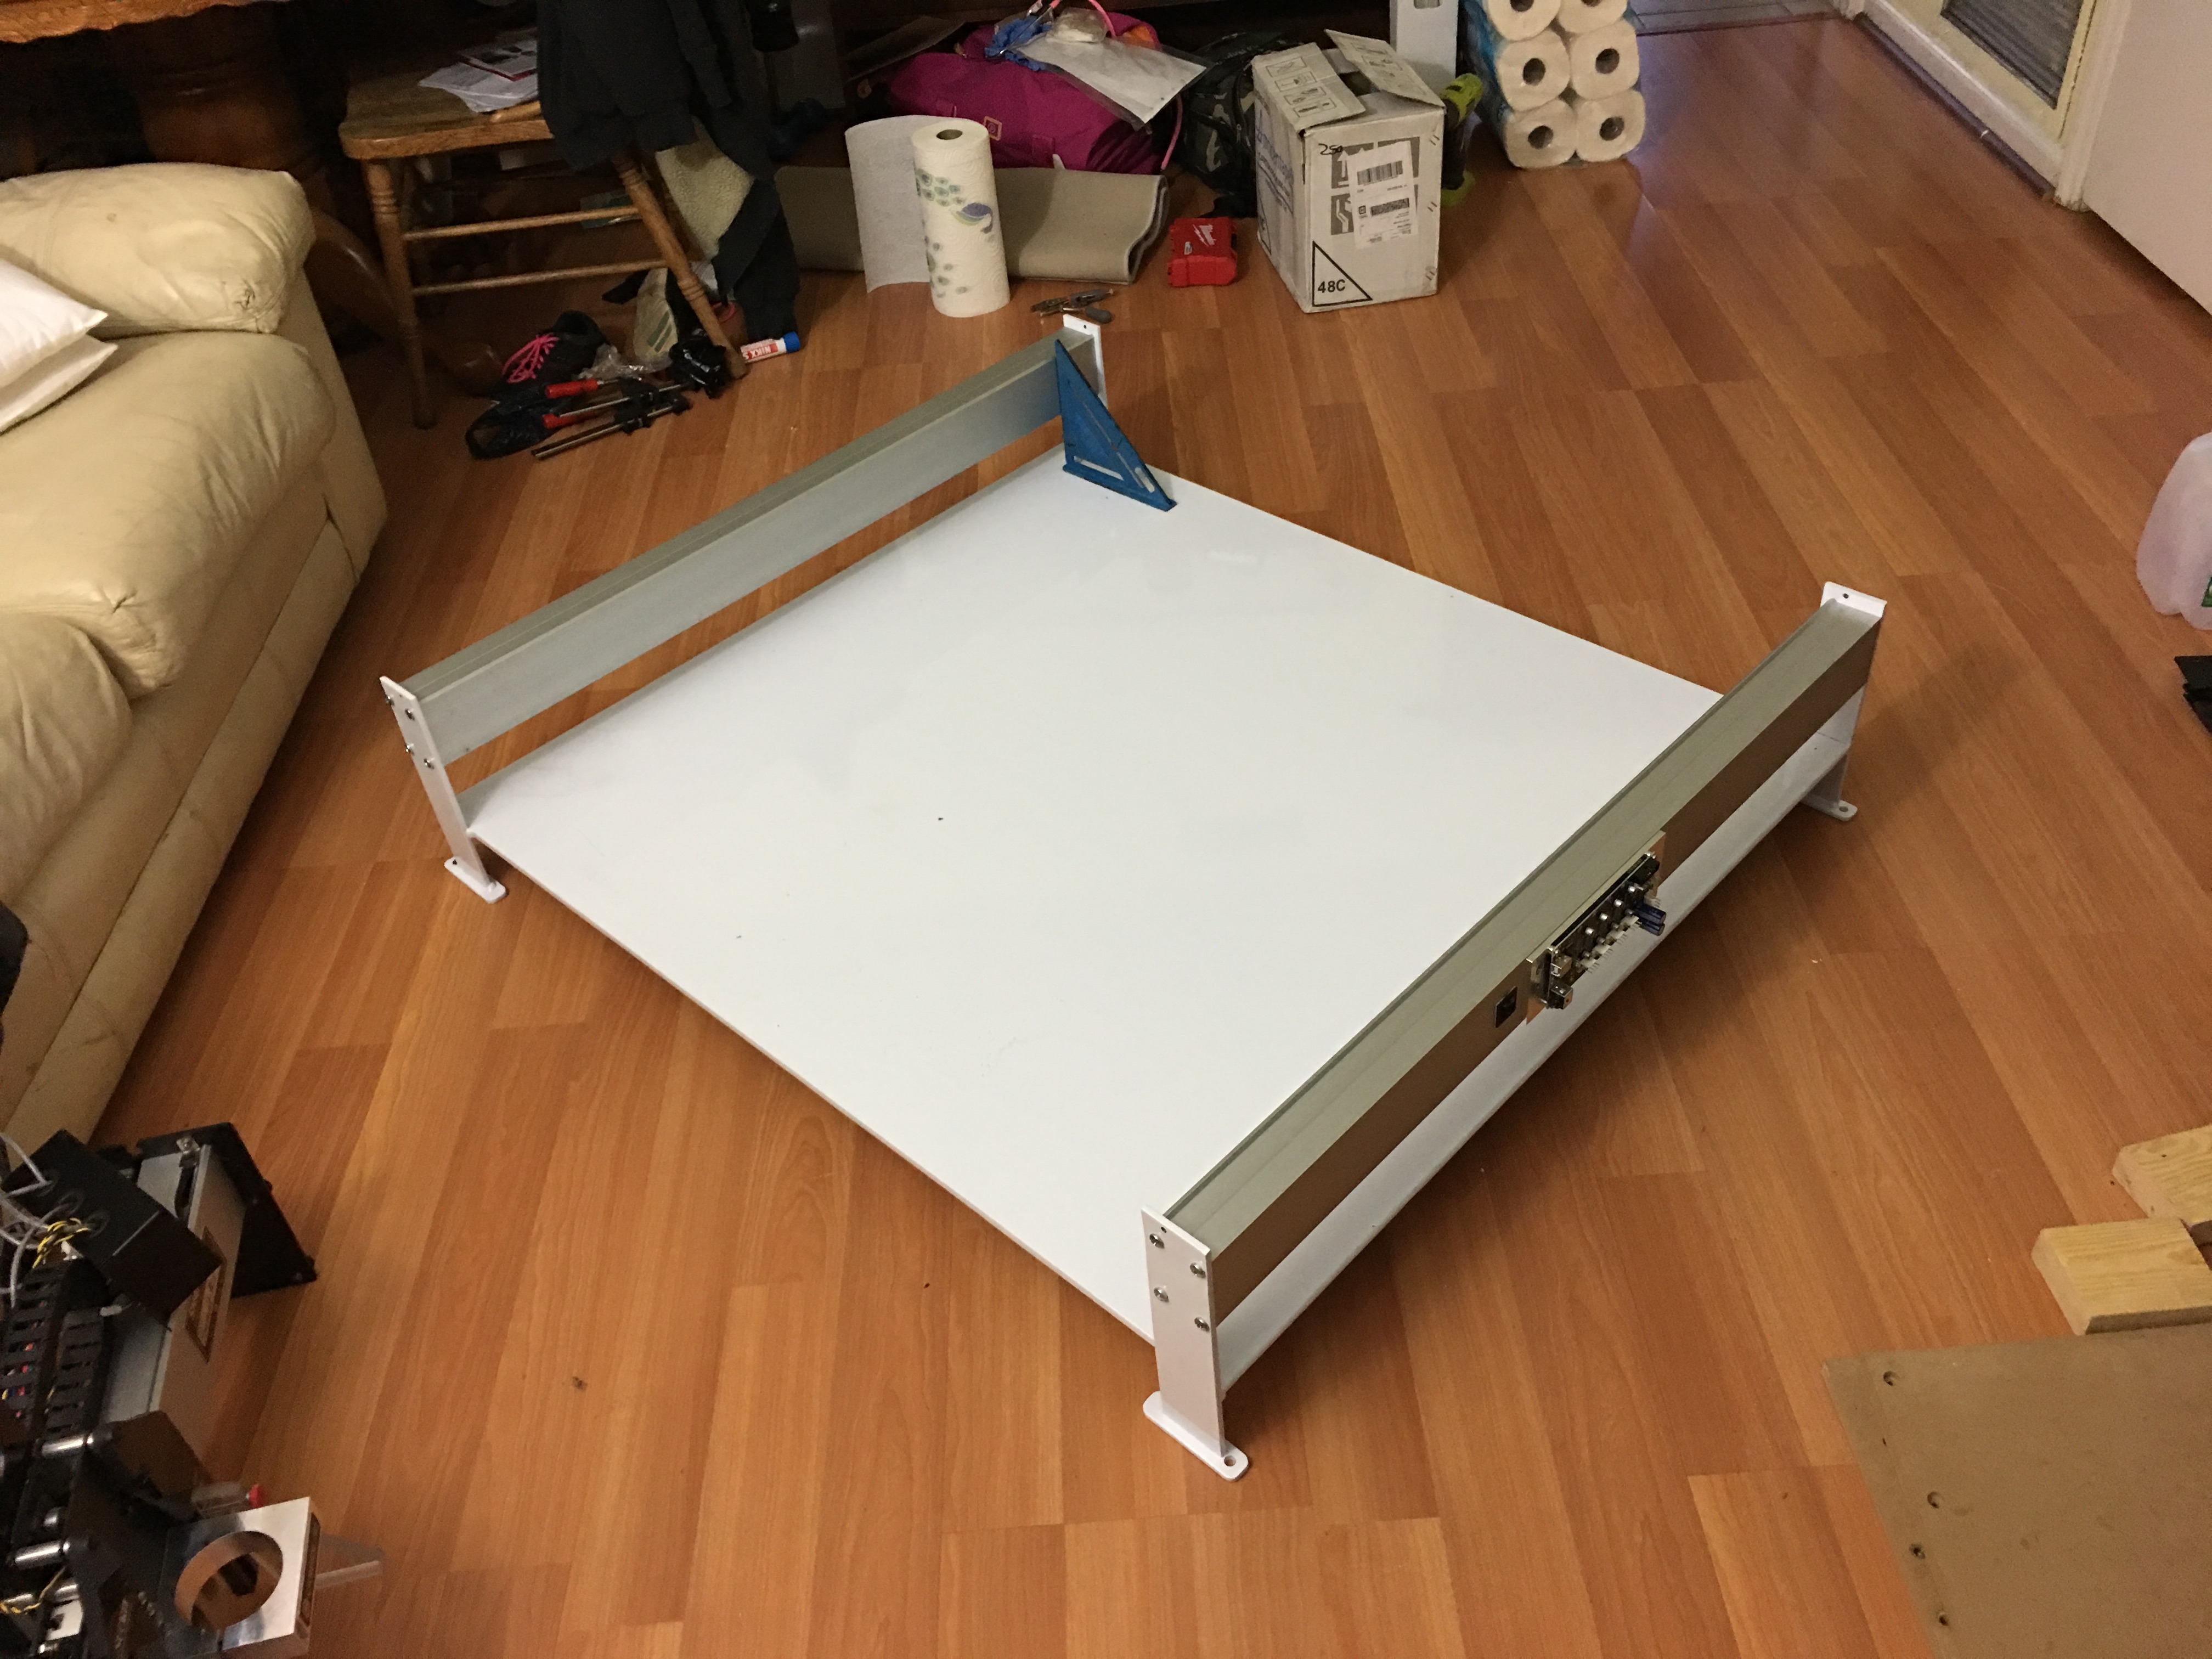
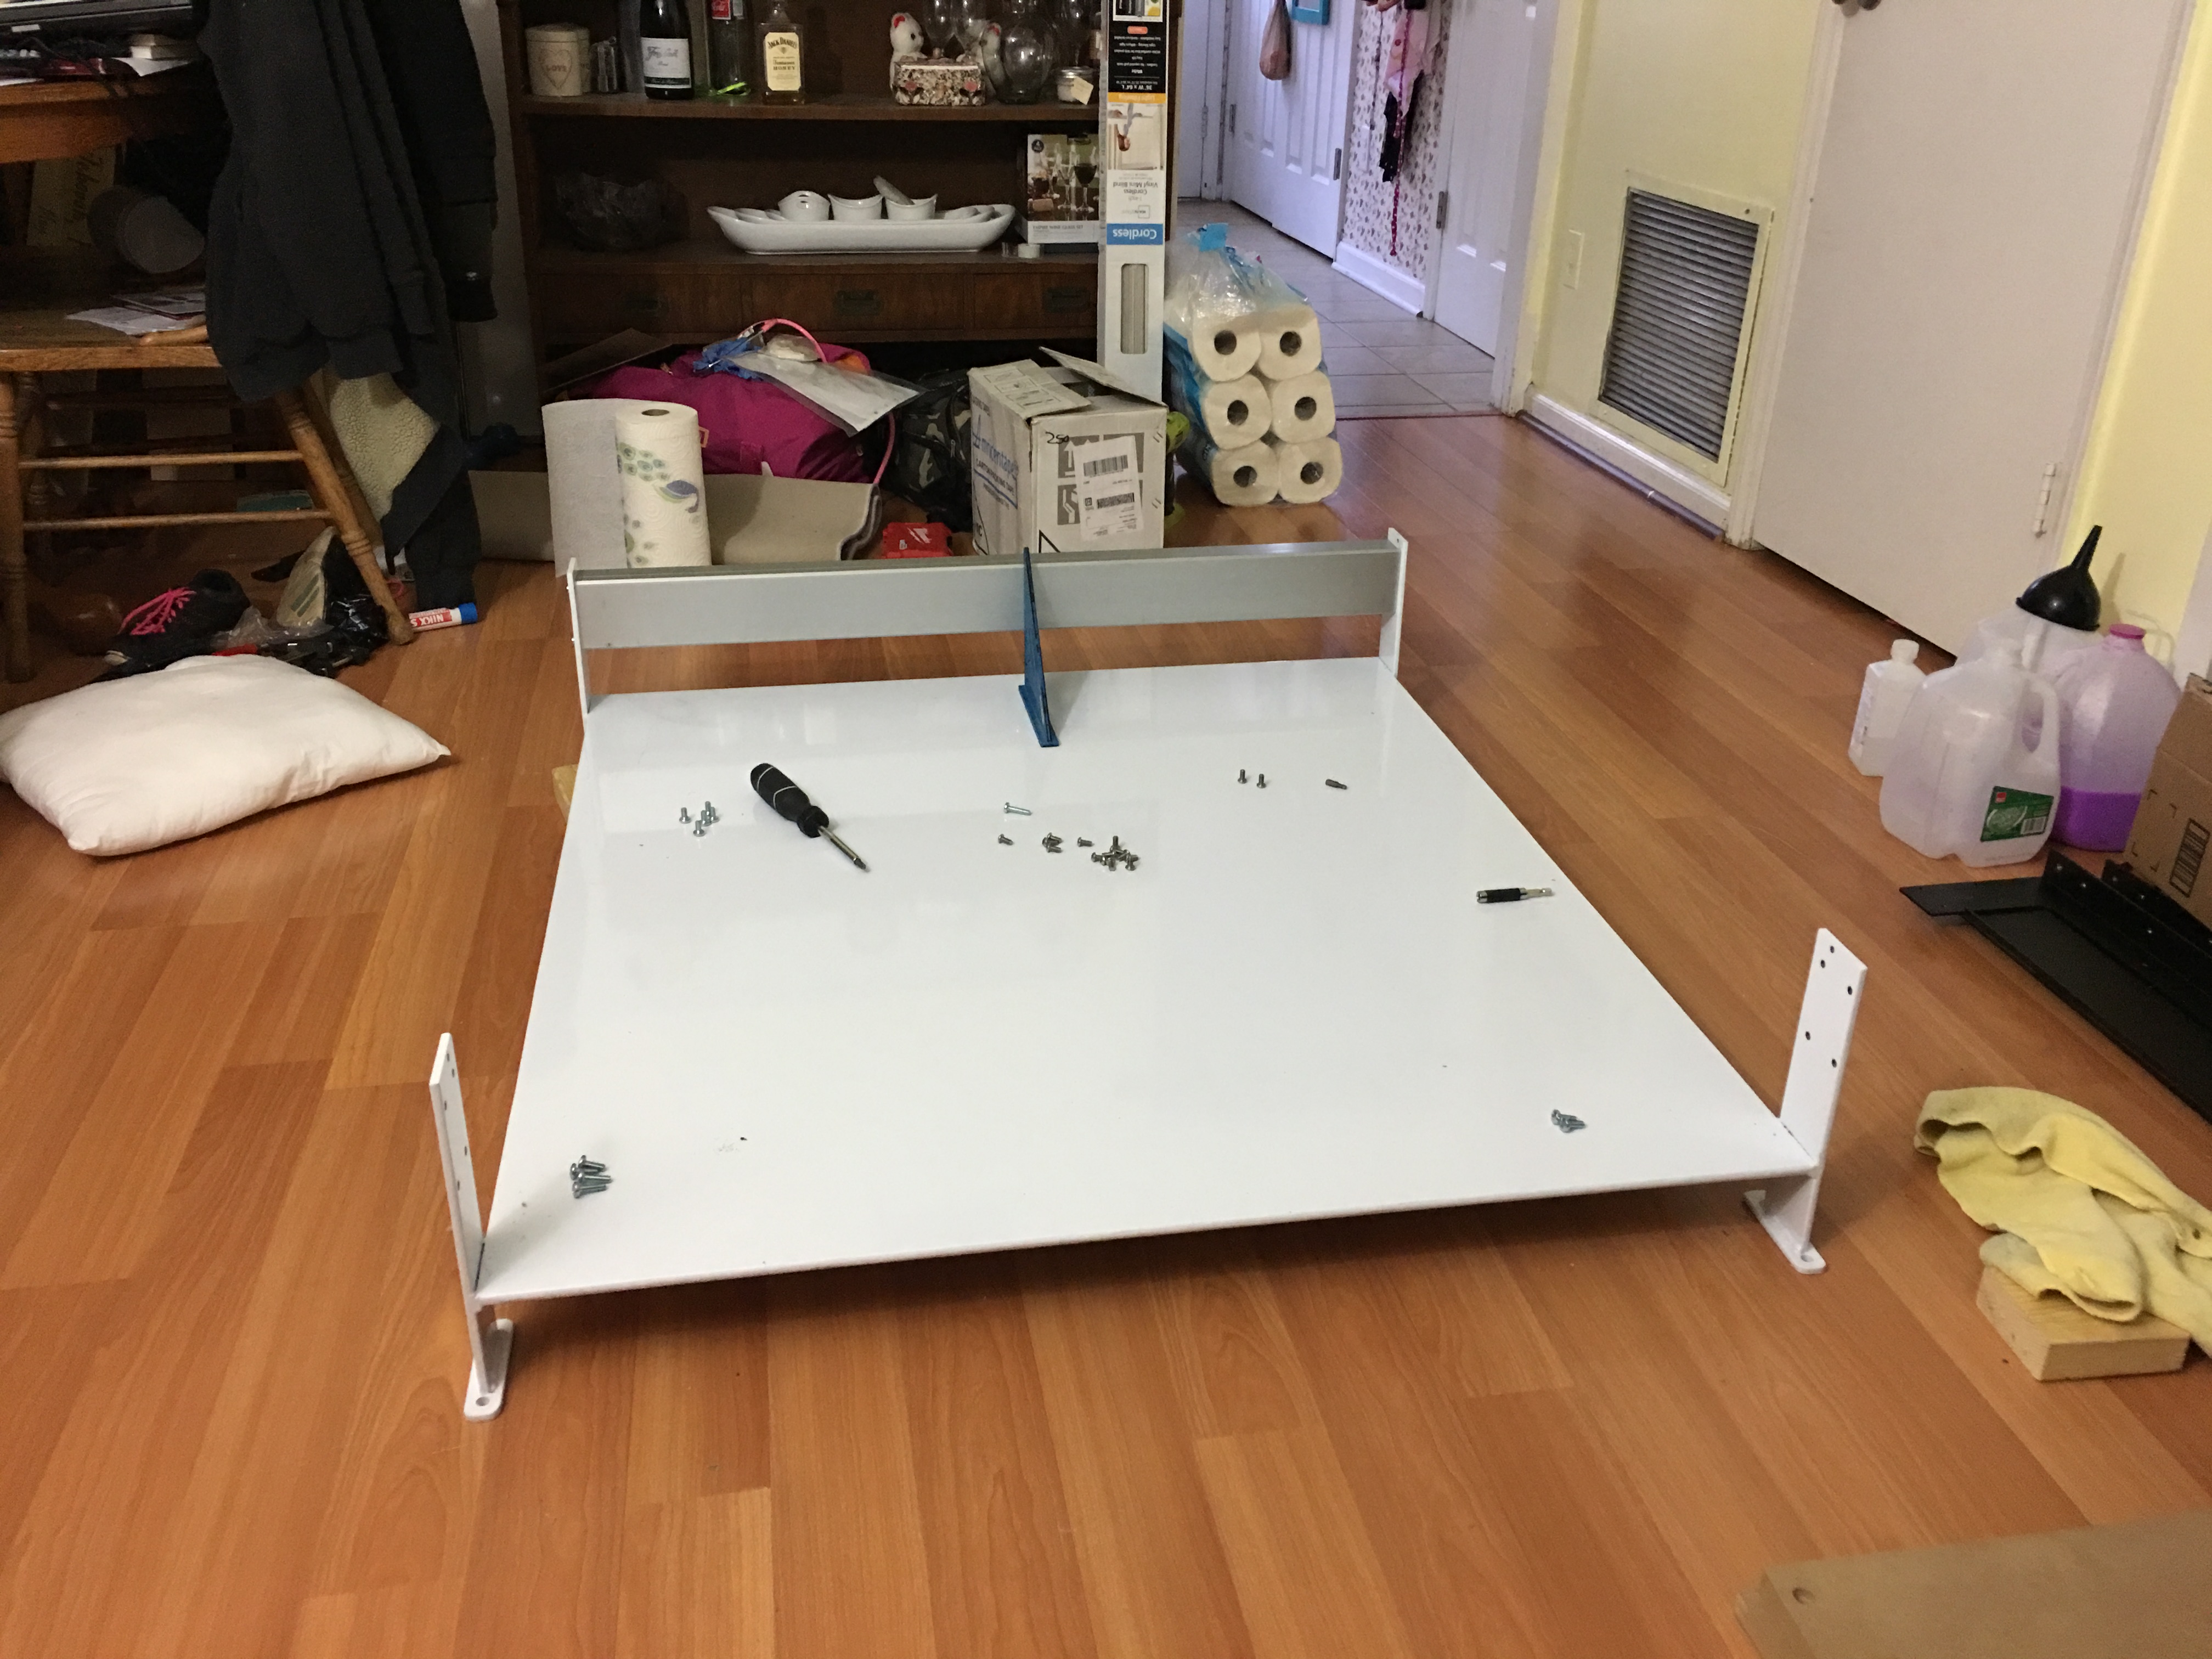
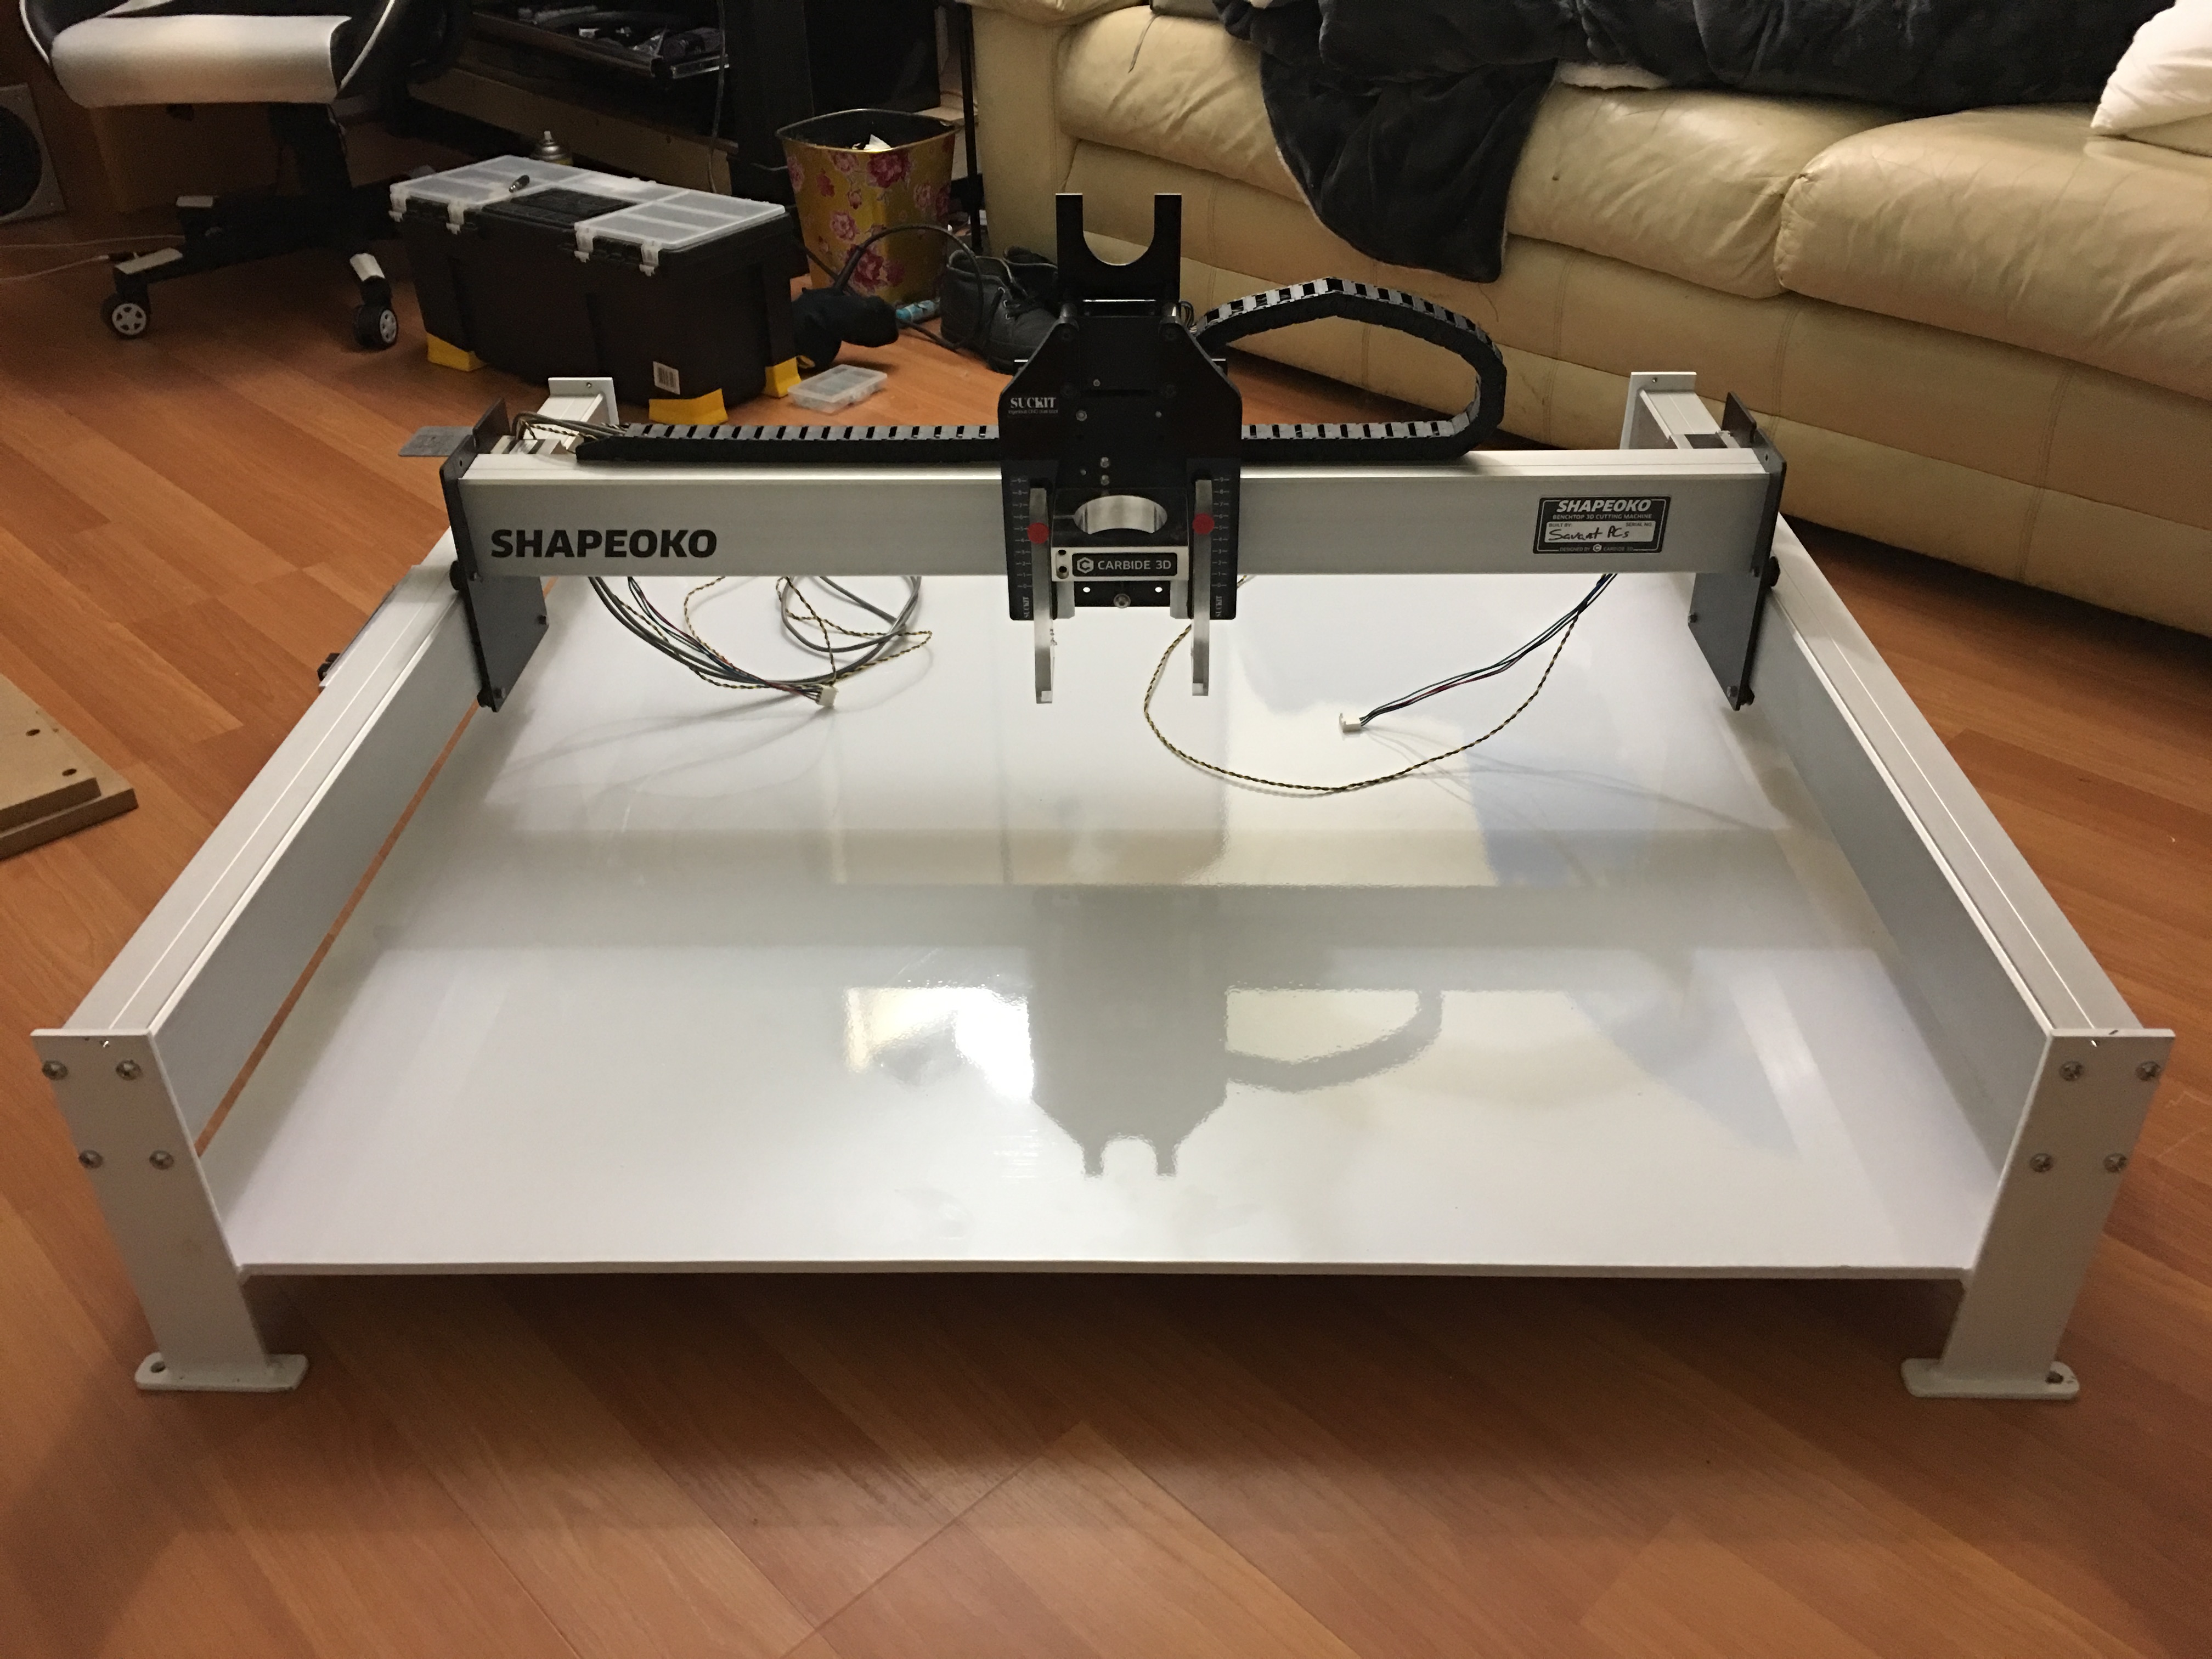
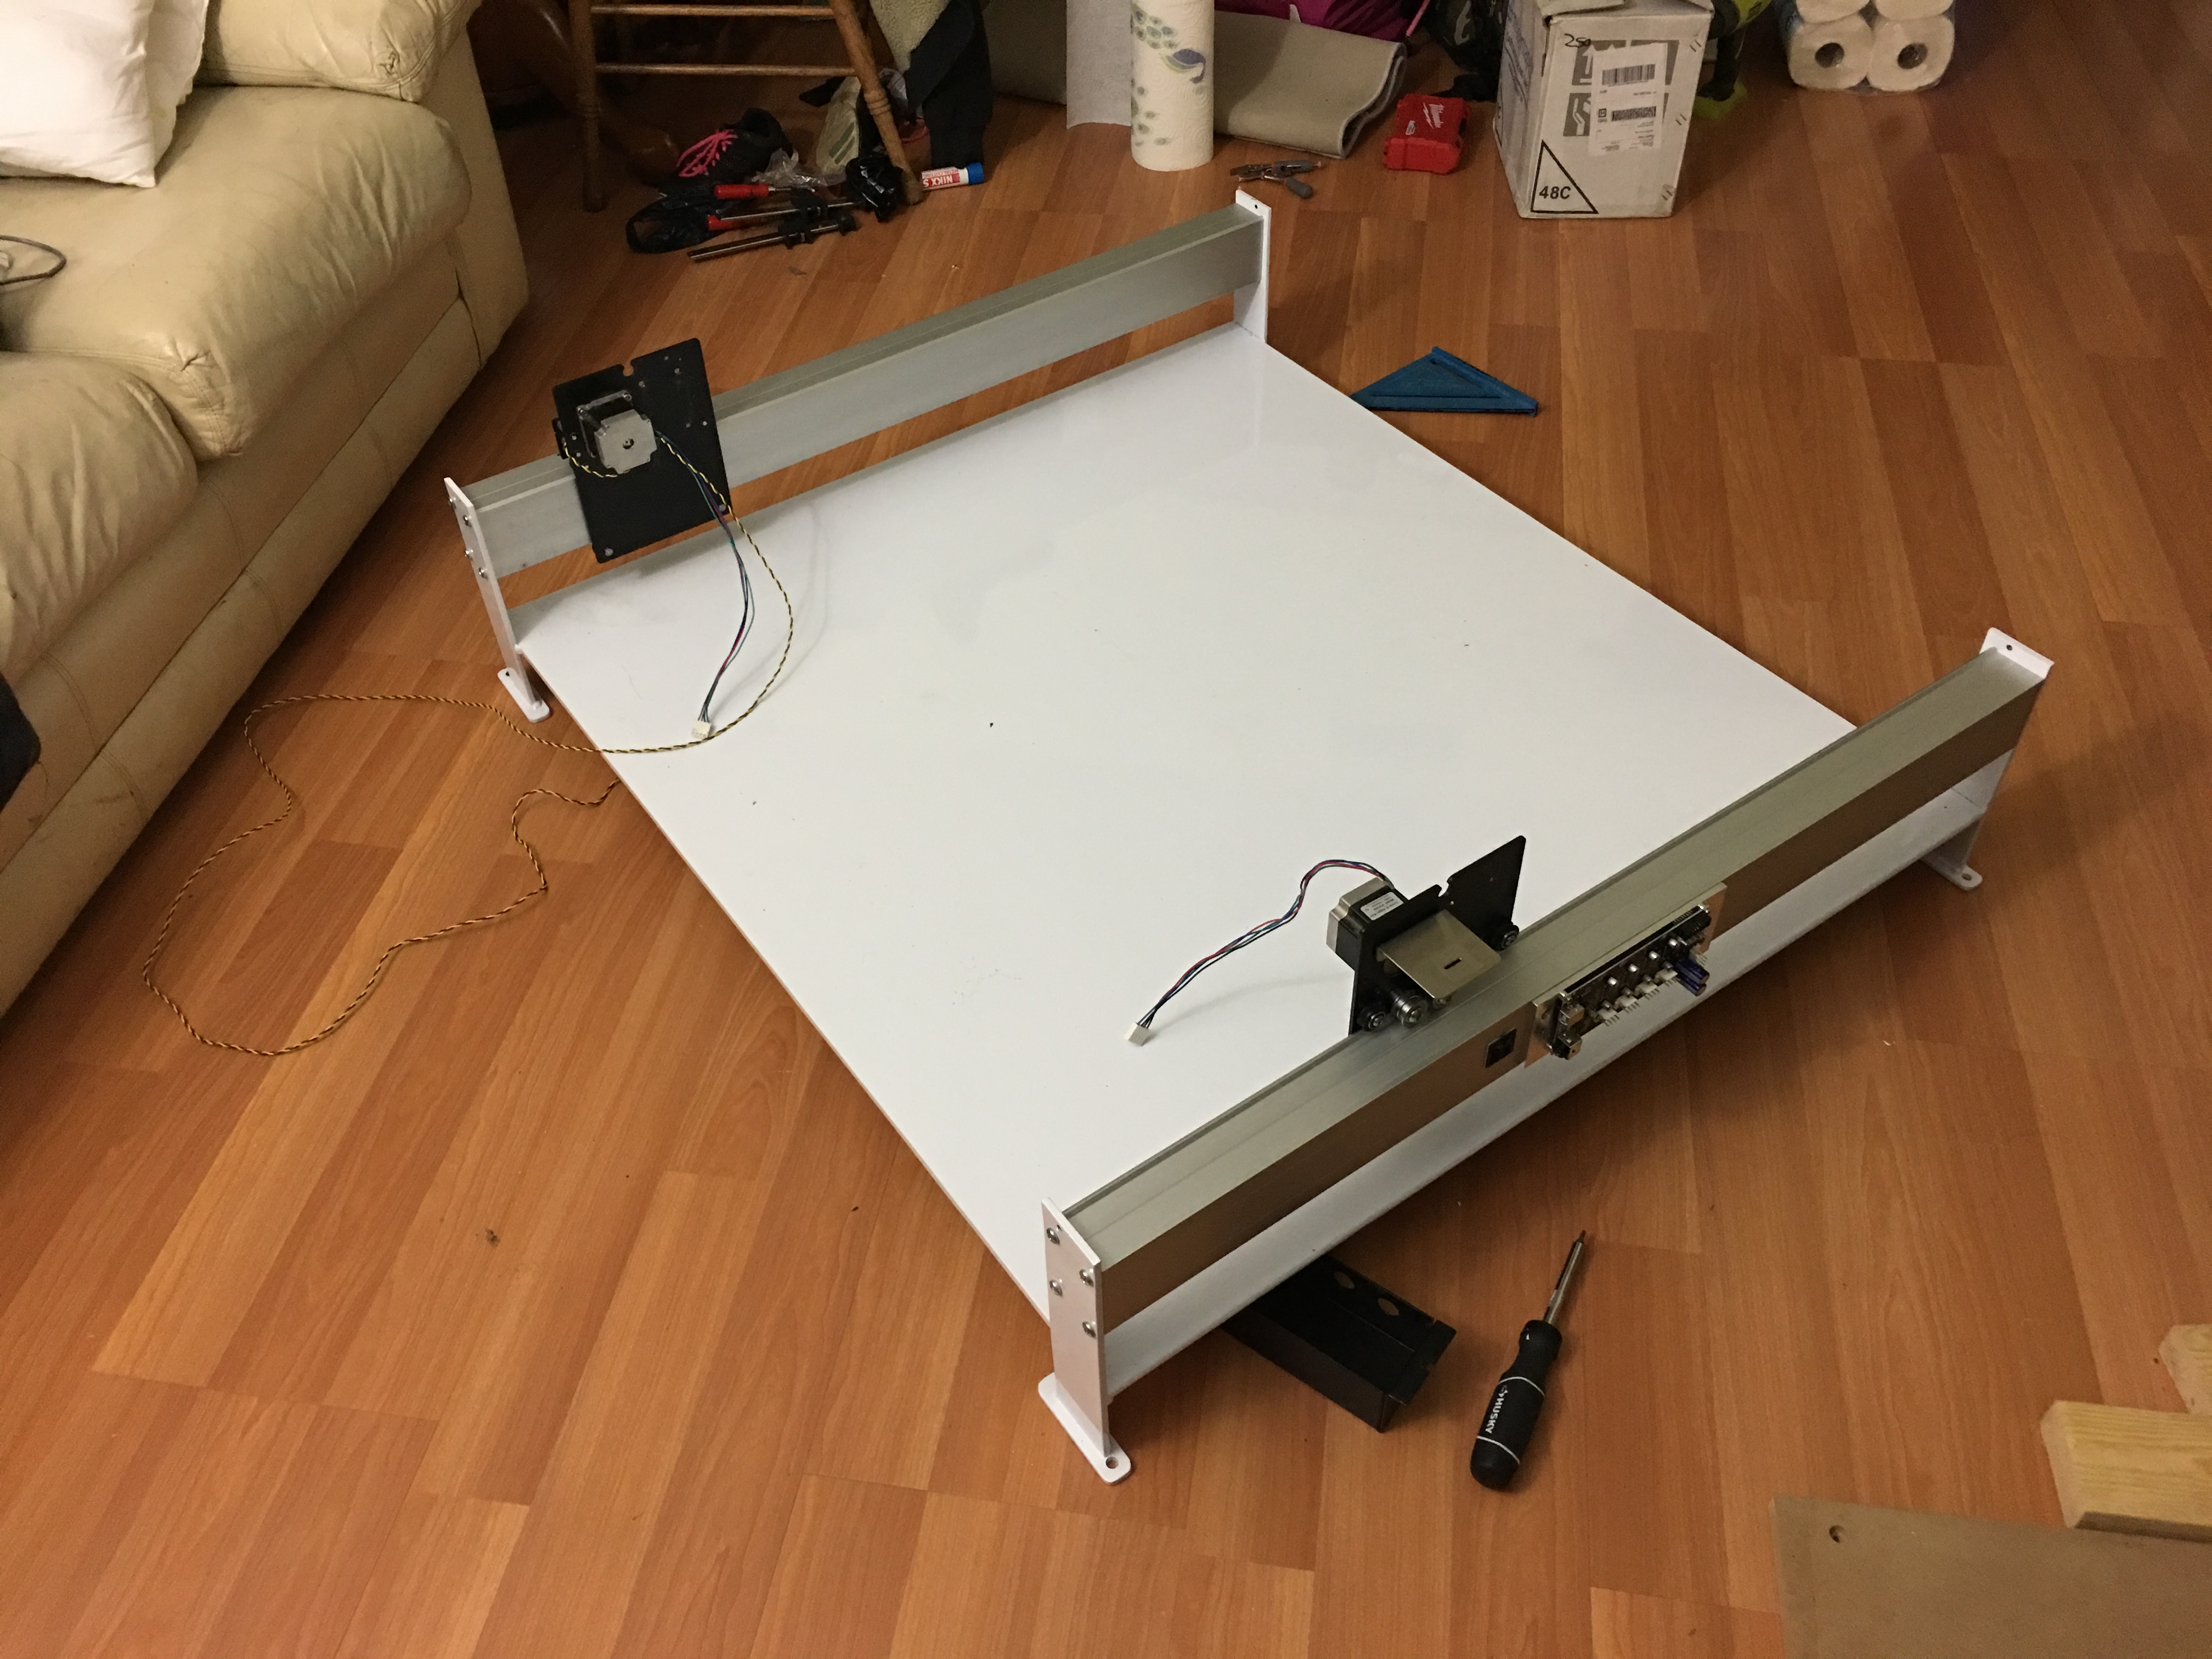
If you move your router to the middle of the waste board halves, lower the Z till it almost touches, then give the waste board a firm press down, you will see the gap between the end mill and waste board open up without much pressure. On mine I could see it in the cuts I was making, the flex towards the center was making cuts towards the front deeper than in the center. What I did was replaced the two piece MDF waste board with one piece of MDF, then I took the leveling feet off completely and rested the whole thing on a rubber matt. After that I shimmed up any spaces in the front and back of the end plates with some thin MDF shims, and trammed it flat. The way the leveling feet support the ends in combination with the 2 piece waste board and no support in the middle is what causes the deflection/sag. The end plate angles are more robust than the shallower folds of the cross brace sheet metal simply because of their geometry, and a non solid waste board, you get sag. I thought about about adding some sort of leveling feet to the middle, but in the end it was simpler to just remove them completely and let my bench support it all of the way around.
I did the same thing as Dan and it works great. The rubber mat I used was the cheap floor rubber mats you can buy at Harbor Freight for like 7 bucks or so.
Agreed and considered when designing it. I wanted it to be a bit taller already to allow for it as I will more than likely be putting 3/4" MDF on top of it to allow for threaded inserts. However, this goes around I may try HDPE instead as I know moisture won’t cause it to swell or warp through time.
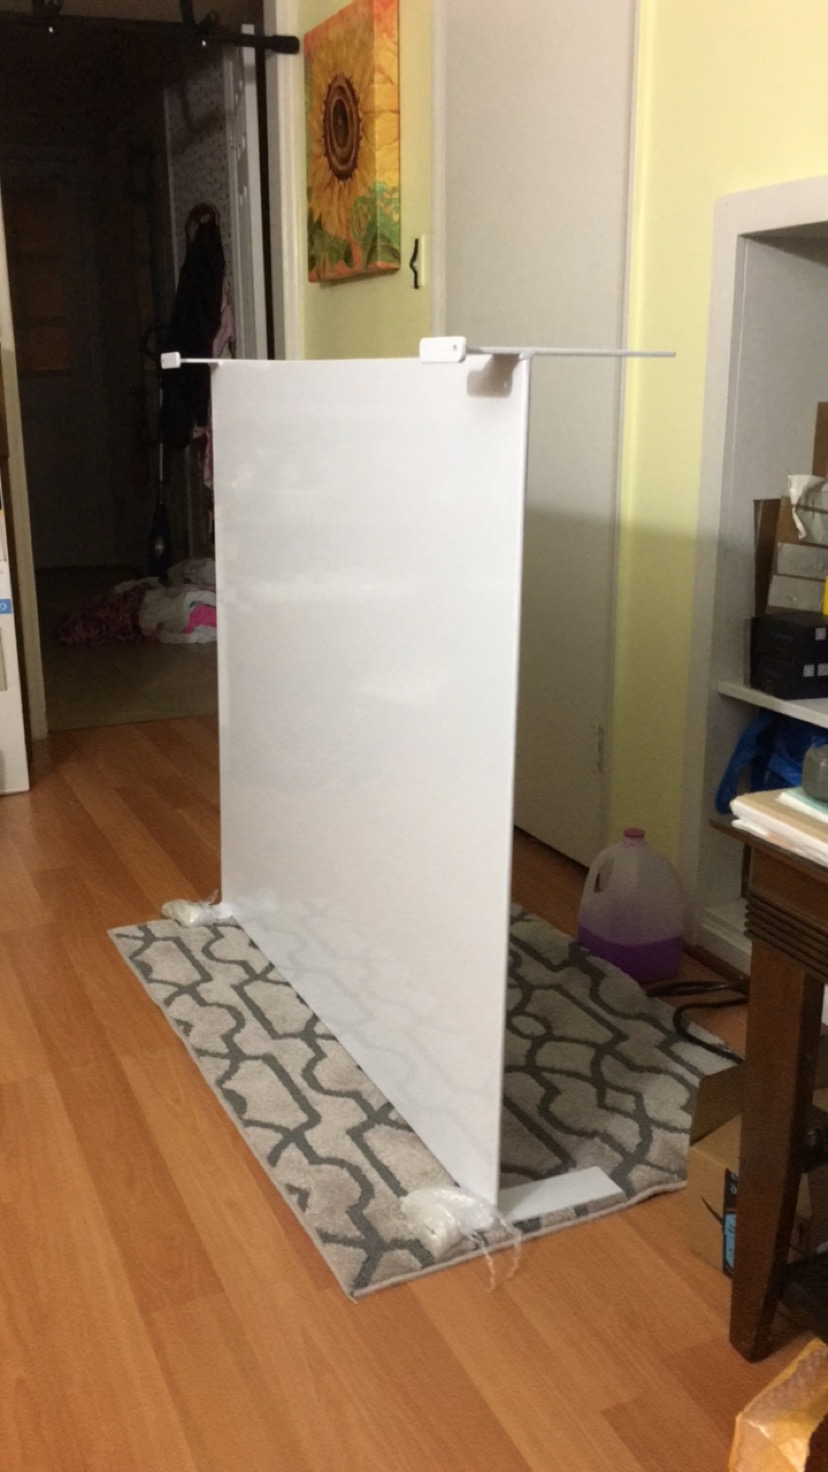
I definitely can! I have videos and pictures of how much this thing sways. It really is a bad design for building a base frame for such a large device. Unfortunately it wont let me post the video file I have but I would be happy to share DM’s on instagram (savant_pcs)
I also did something similar with composite shims from Home Depot but with the amount of precision I need for my jobs to be repeatable I just cant have that level of instability anymore:
SEE!!! And that doesn’t even appear to be the XXL model. When I did that I was getting a much bigger drop.
Aso to answer one question the feet on the design I am getting made are going to be 9" tall. The gap underneath the Iron wasteboard will be 2" leaving 6.625" to work with on top. That will be ~1.25" more room on top that I currently see with the standard setup. Then I will more than likely get a .75" sheet of HDPE and put the threaded inserts into that.
Losing the sag inducing leveling feet is step one on your way to overall accuracy improvement. Squaring, spindle tramming, waste board leveling, and fine-tuning of your calibration will net you with a pretty darn accurate machine.
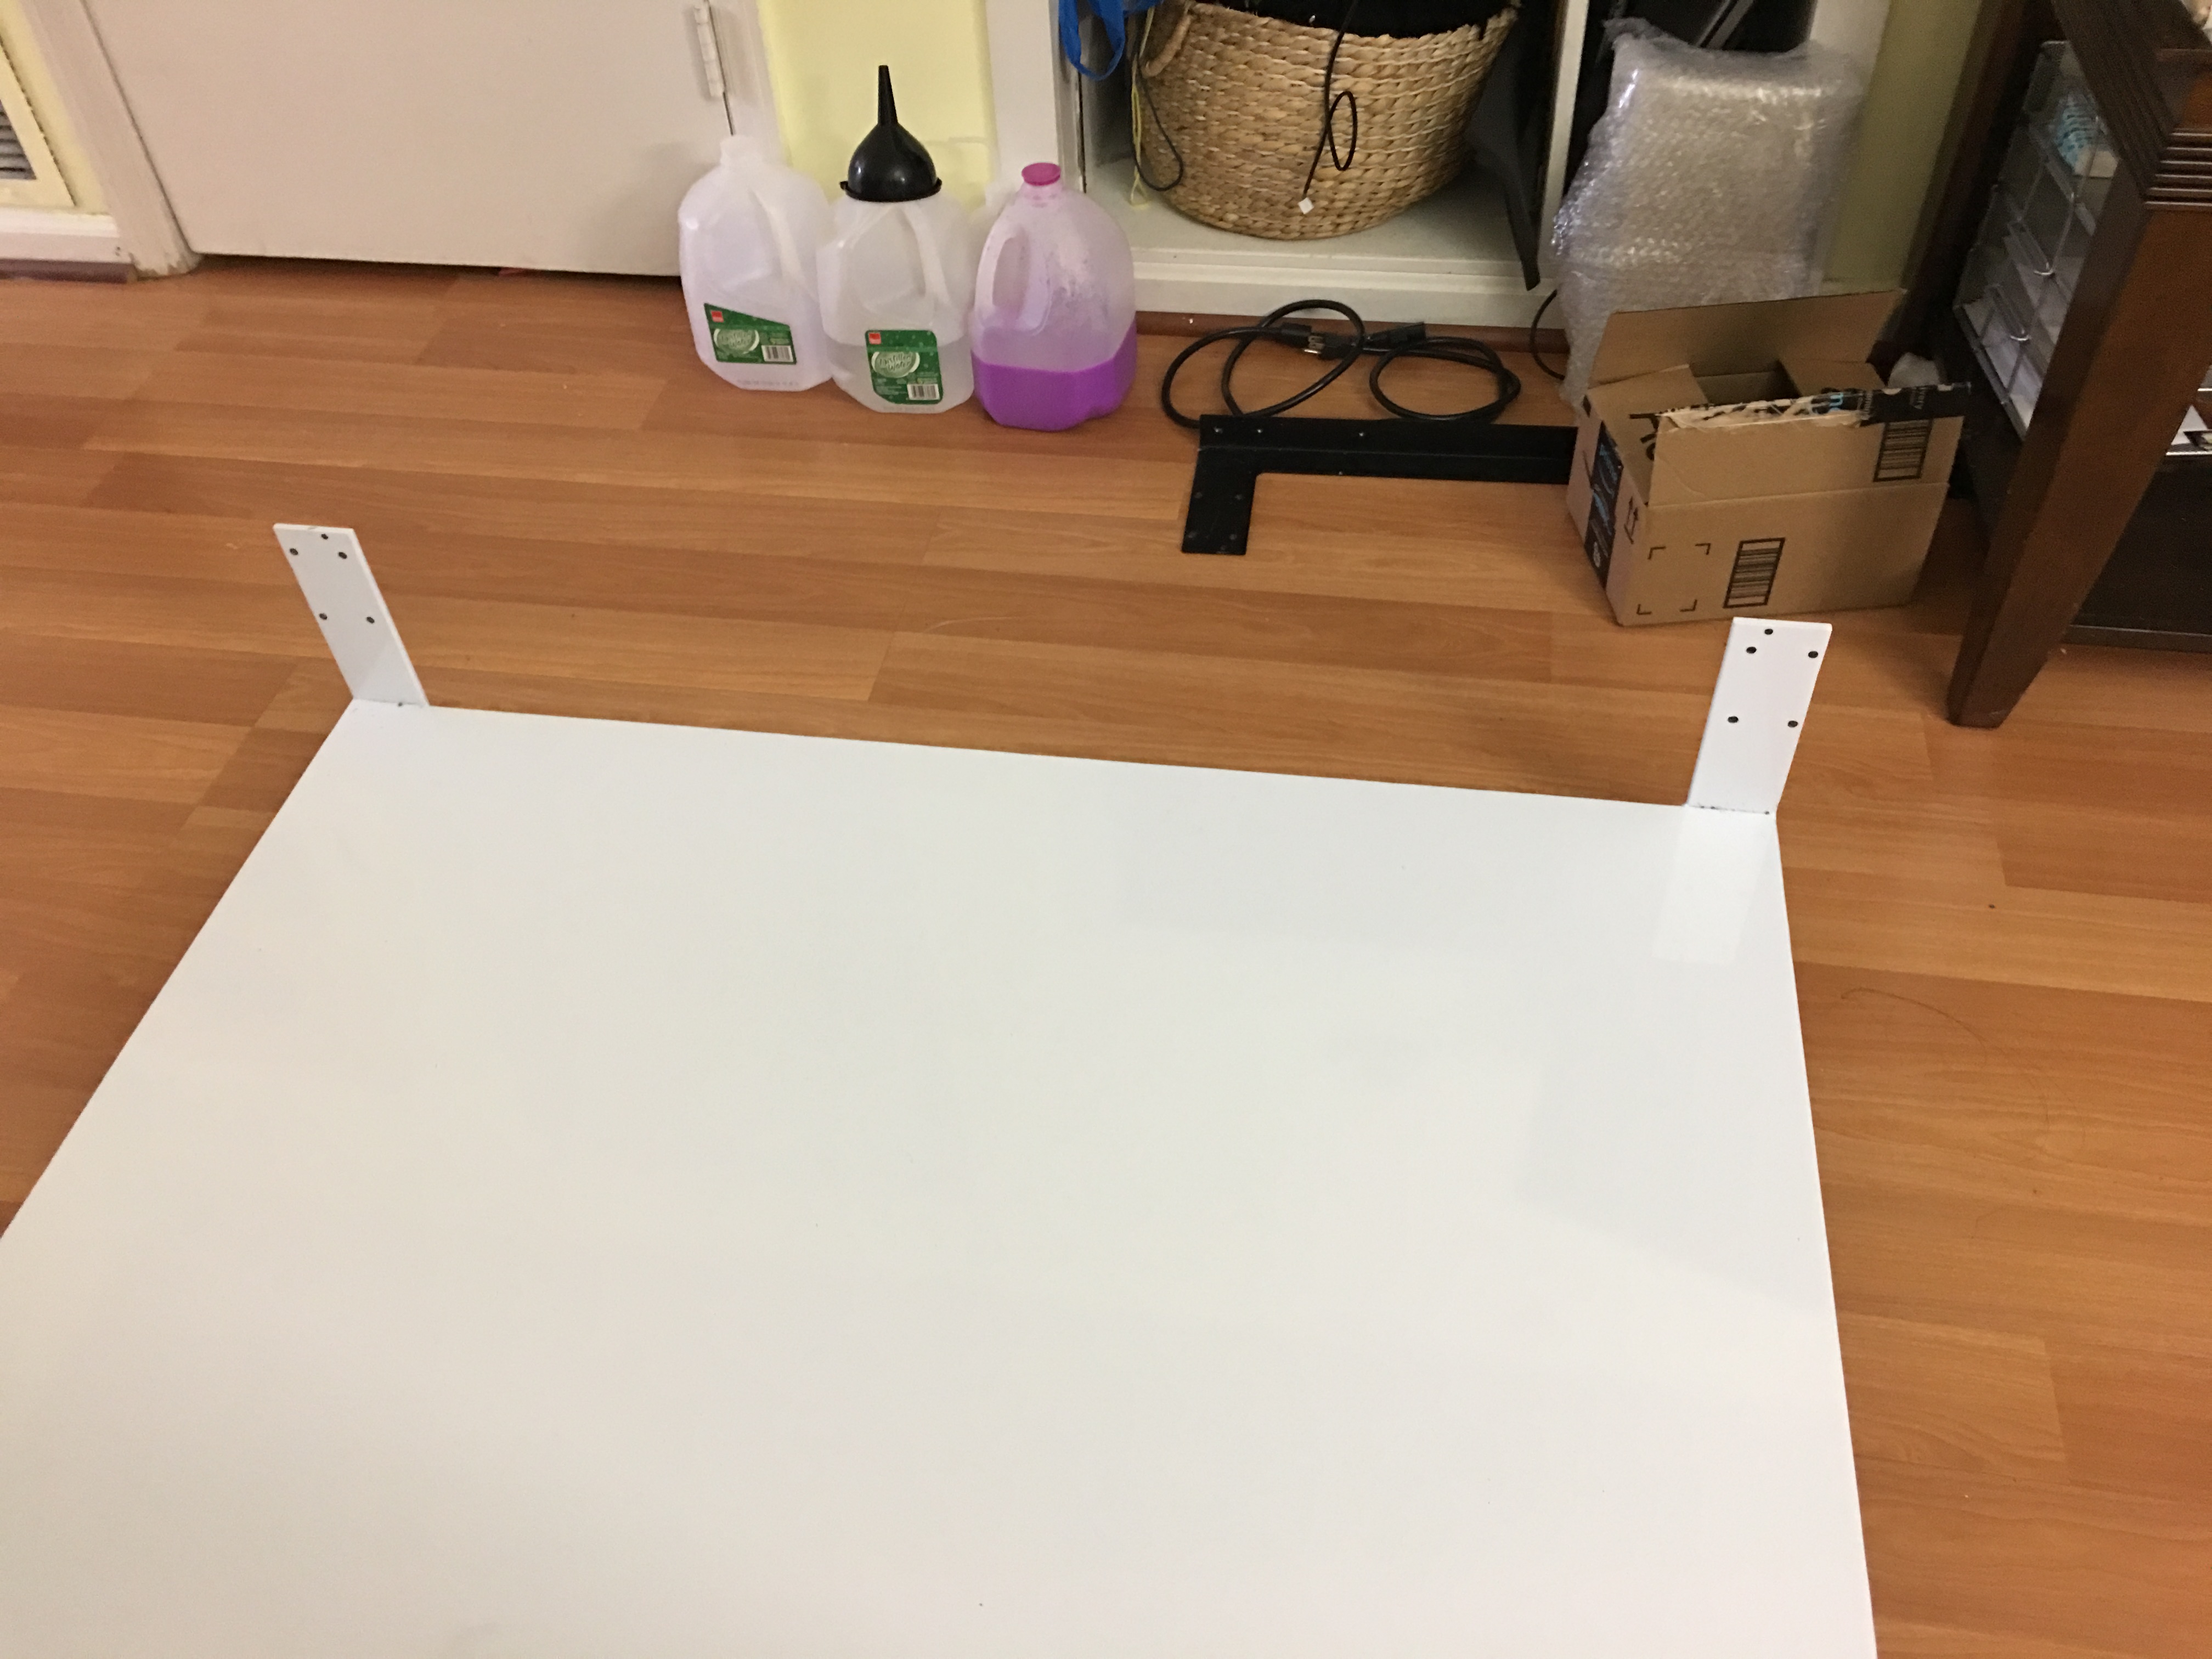
There is a local fab shop I been going to that I get my products powder coated at. I told them about my design and they were able to build it for me. The base is 3/8" plate steel, legs are 1/4" plate steel. I wasn’t going to powder coat but he wanted it done :D.
Cost? Where is this shop located? Would they consider doing similar for an SO3 XXL?
Thanks!
(EDIT: thats across the country from me, I can’t imagine the shipping costs… I will need to look locally).
Definitely look locally. Believe it or not I still dont have a price on this. The guy wanted to barter so I made something that was more than I could handle so I am guessing we just broke even I dont know.