XXL cutting area

So I finally finished putting my XXL together, then found my mistakes, fixed them, and got a successful World print. Impressed myself for only making one mistake - installed the Z plate upside down.

I had two errors in the machine itself - the limit switch wiring harnesses should have been marked X,Y,Z, but instead were X,Y and another Y. Easy enough to figure out, just traced back the harness, but made for a minute of head scratching. Also ran into an issue with the limit switch on the Y side hitting the drag chain and causing the chain to not sit square on the rail. The spacers were 1" long, so I cut 1/4" off them and that fixed the issue. Not complaining, but just noting it to the Carbide team for QC.

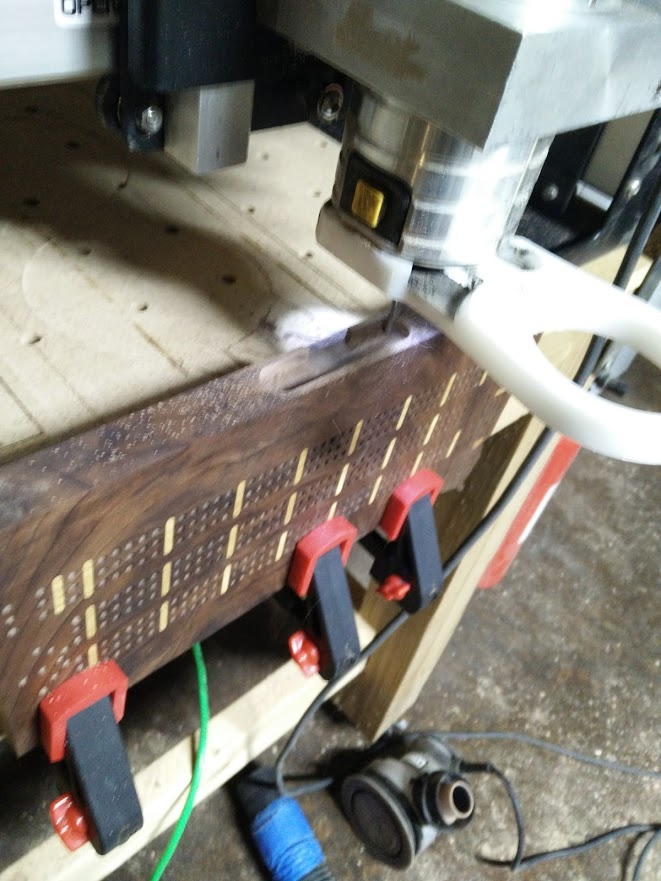
The one issue I do have is the cutting area. I understand the size of the area is approx. 33" x 33", but never really gave it much thought until I started drawing some reference marks on the waste board and wondered where I was missing about 2" of cutting space. I then realized that you would have to hang your work piece over the front frame in order to get the full 33" depth of cut. And no matter what you would either need to have a secondary waste board or some kind of spacer to raise your work to a point where your material can over hang the frame to get the full size cut area. So I went to the main Carbide site and found no information on this. I did find a reference about this on the forums, and then a little information on the wiki.

Now don’t get me wrong, I’m really enjoying the XXL, slowly learning how to use the programs, etc. But, IMO, I find it a little deceptive that in spending $1800 I don’t get all the information. No where on the building documentation, no where on the sales info, no where on the official Carbide site is this information given. And before some one jumps in and says “go to the wiki”, that is not an answer. You shouldn’t have to go to a secondary site, written by others, to get information on the limits of a machine before you make the purchase. Obviously, the machines have been sold like this for quite sometime, and maybe I’m just being a whining little girl about it, but I think there needs to be more information given on the Carbide site about what is needed to get the maximum from your new purchase.

So, for everyone that has made a secondary waste board, did you make it about 30.5" deep by about 32.5" wide so you could tram it completely? I’m assuming that this will work so I can level it all the way around.

Overall, I’m very impressed with the XXL so far. As a complete newbie to the world of CNC, it was easy to build and get the test runs up and going. Now to attempt all the projects the family is asking for.

5 Likes

I felt the same way about my first CNC router. Over the years I’ve learned they’re all specified the same way and nobody mentions the degree of overhang.

You will appreciate the overhang down the road. I have used it on multiple occasions to cut something tall by clamping it to the front of the machine and utilizing the overhang.

3 Likes

Two things that may be of interest on the Y axis:

You can achieve an ‘unlimited’ effective Y travel by using what is called “tiling”. I’ve cut workpieces a full four feet long with this technique, and you could certainly do longer.

The front overhang turns out to be quite useful. See here: Carving on the edge

My secondary waste board is small enough to surface the whole thing. I have unevenly spaced t-track in between different width planks of MDF which sit a bit higher than the t-track.

But you’ll find lots of wasteboard and workholding examples around the forums.

3 Likes

Hey I know exactly how you feel, it is much worse on the original sized machine. It is a kind of false advertising, but at the same time not. Utilization can happen, I say that because you can do some pretty cool stuff like this:

Which is why I went to the XXL it is going to cut many dovetails for me.

4 Likes

To answer the (I think) original question: I intentionally undersized my waste board to the proximate 30x31 you mentioned. Did it so I could flatten the whole show. I also then ran a (careful) .5" perimeter pass around the front and side edges to give a nice quick 90 degree reference when attaching stock.
I haven’t done any so large as to make this a problem, yet. Keep in mind that you can still cut clear over the size of the wasteboard with tiling (as others have mentioned)

1 Like

SO… has anyone every worked up a document to help new users understand how to properly set up the boards if they want to achieve the full capacity the machine is capable of? I just searched all over the available documents and I can’t find anything that addresses this.

If you want a full supported cutting area to match the published specifications, just get a piece of MDF at least 34" x 34", cut a slot in it which aligns it to match the cutting area and screw it down.

I placed a secone piece of MDF 39"x39" on my SO3… what I am currently confused about is the apparent overhang that is required to take advantage of the full cutting capacity of the machine… there is still no mention of this anywhere in the documents provided on the Carbide Website? @WillAdams

Yeah, that’s always been something of a hidden feature / accidental omission.

It is mentioned on the wiki: https://www.shapeoko.com/wiki/index.php/Shapeoko_3#Overview

and we’re working on updating the website now (I’m not quite full-time now, but I did get more hours, and working on the website is one of three things I’ve been tasked with) so based on what the rest of the team decides, we’ll hopefully be able to work out some better statement on this.

1 Like

That is good news Will! I can tell you that my biggest frustration with my SO3 all stems from information that is not organized or just not posted except buried in a wiki someplace. It’s very frustrating to a new user. Thanks for your efforts!