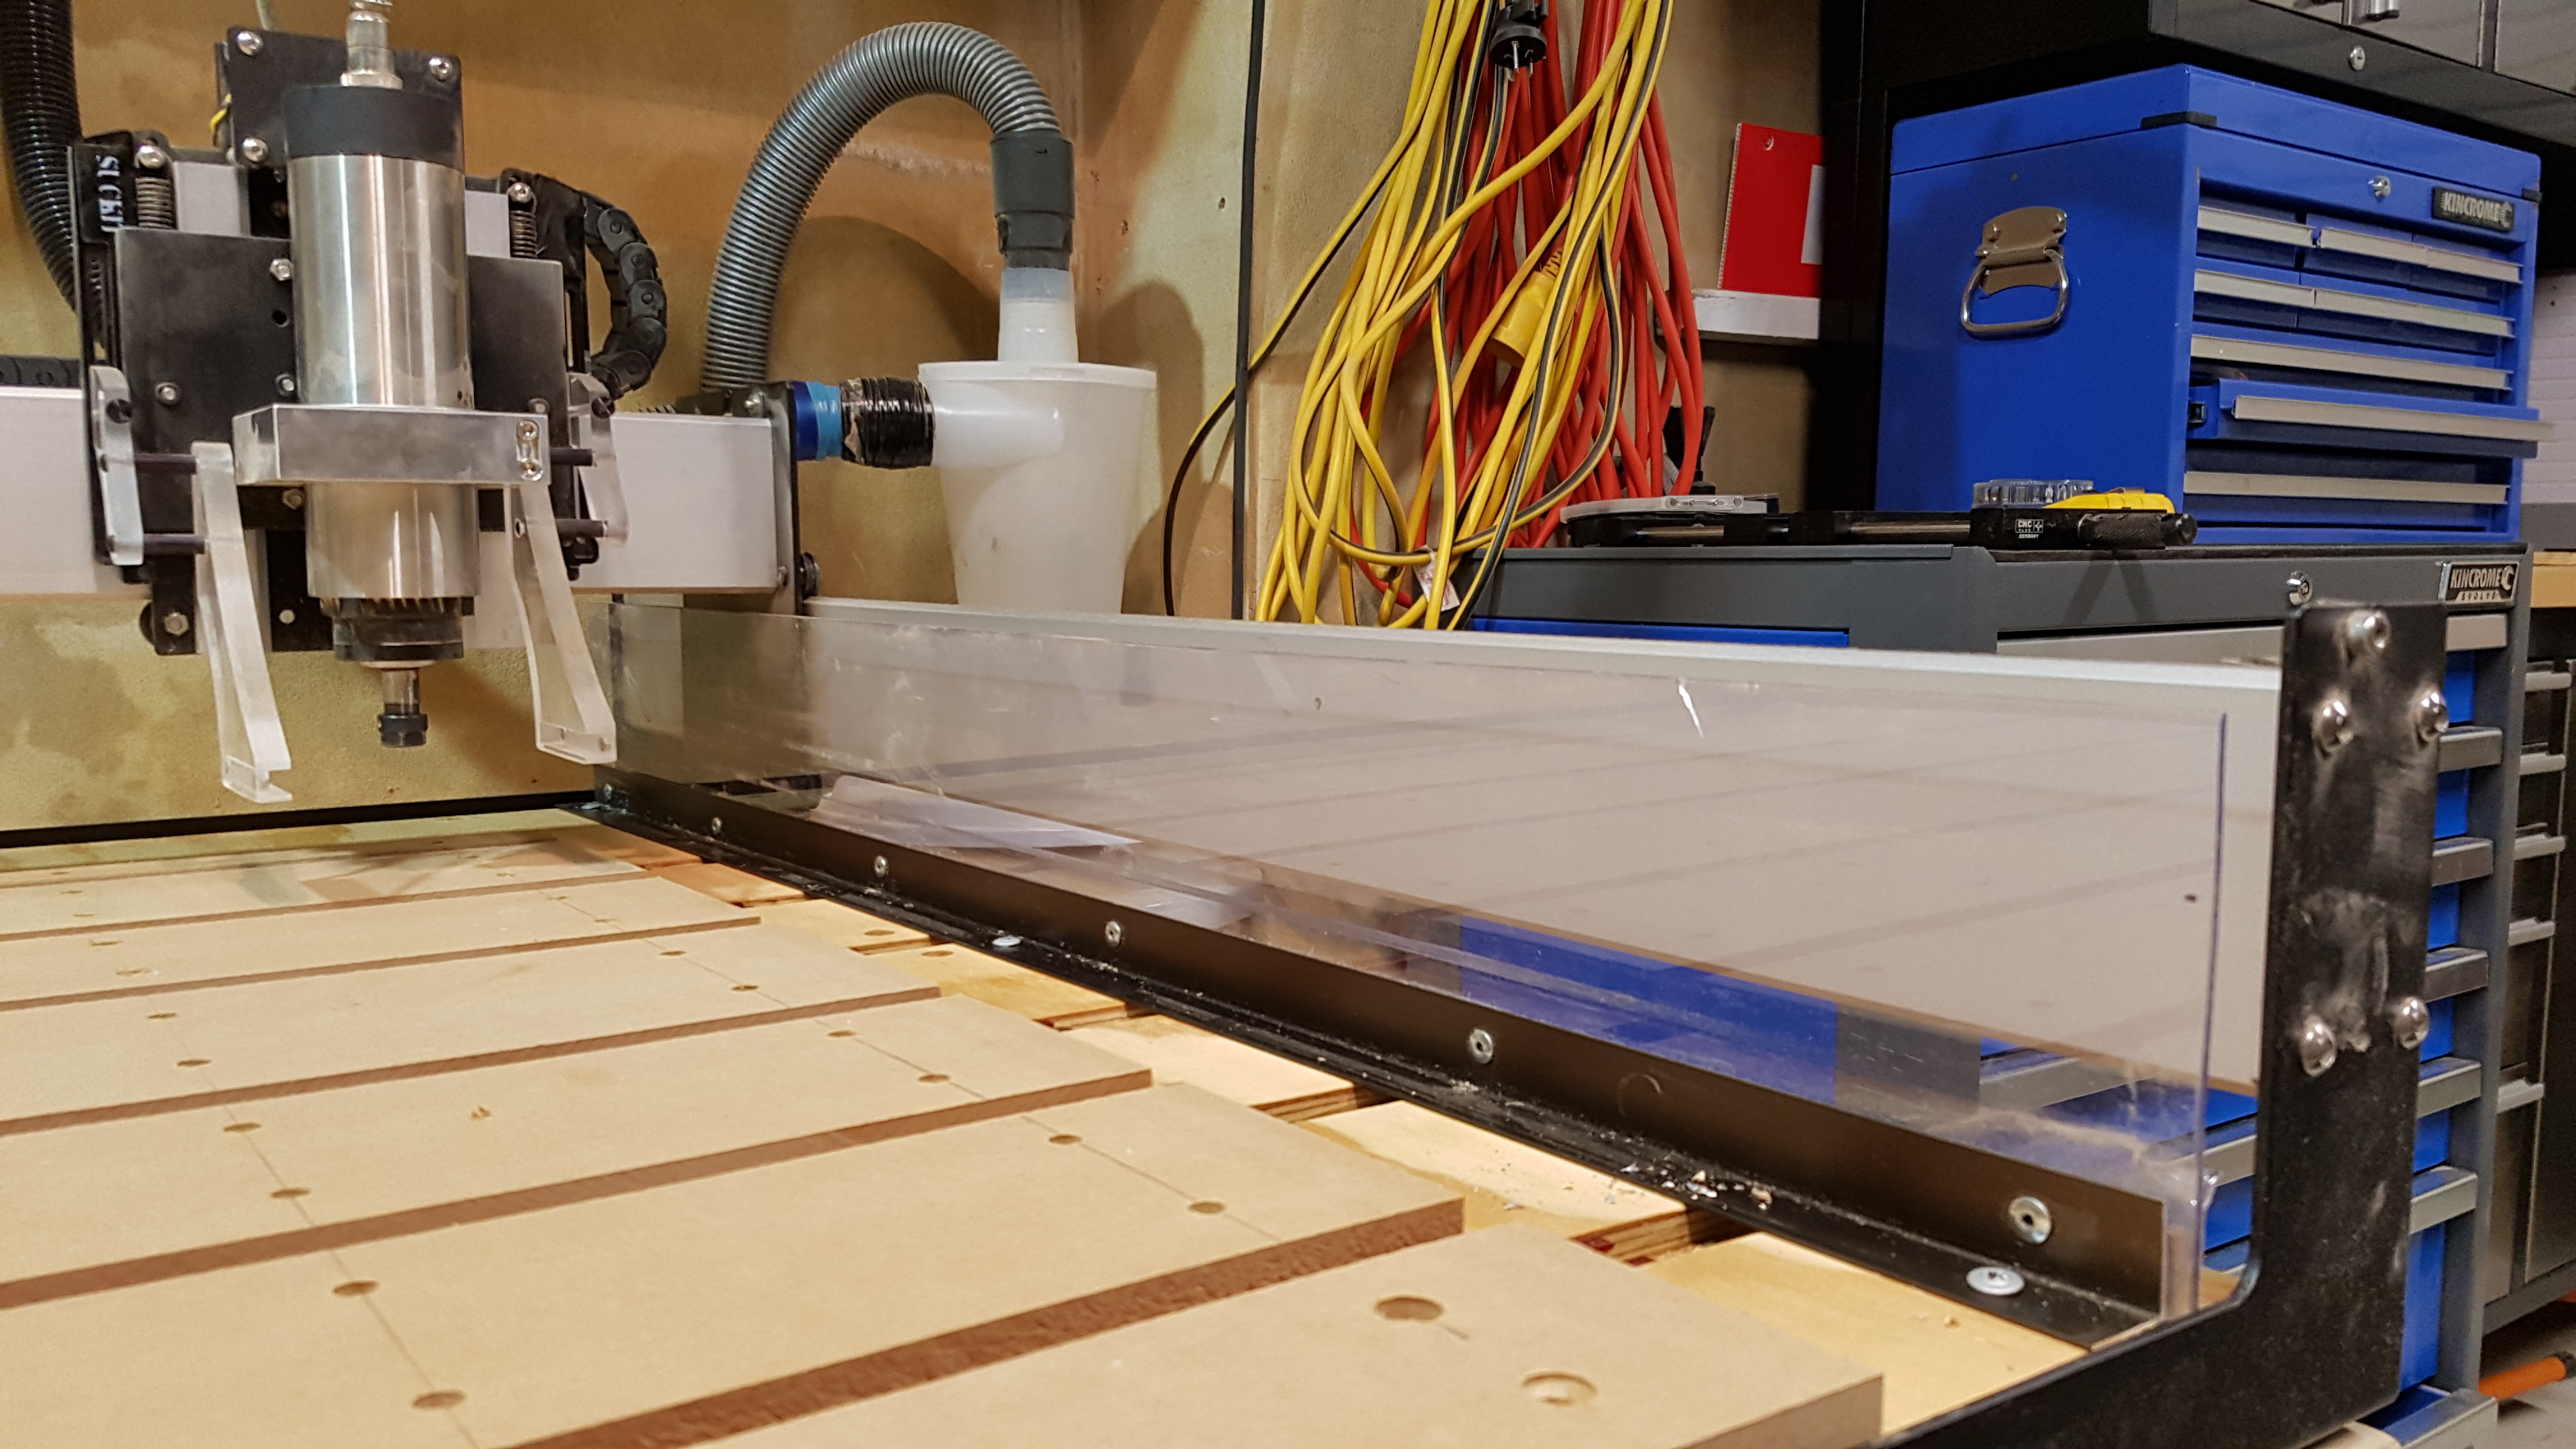
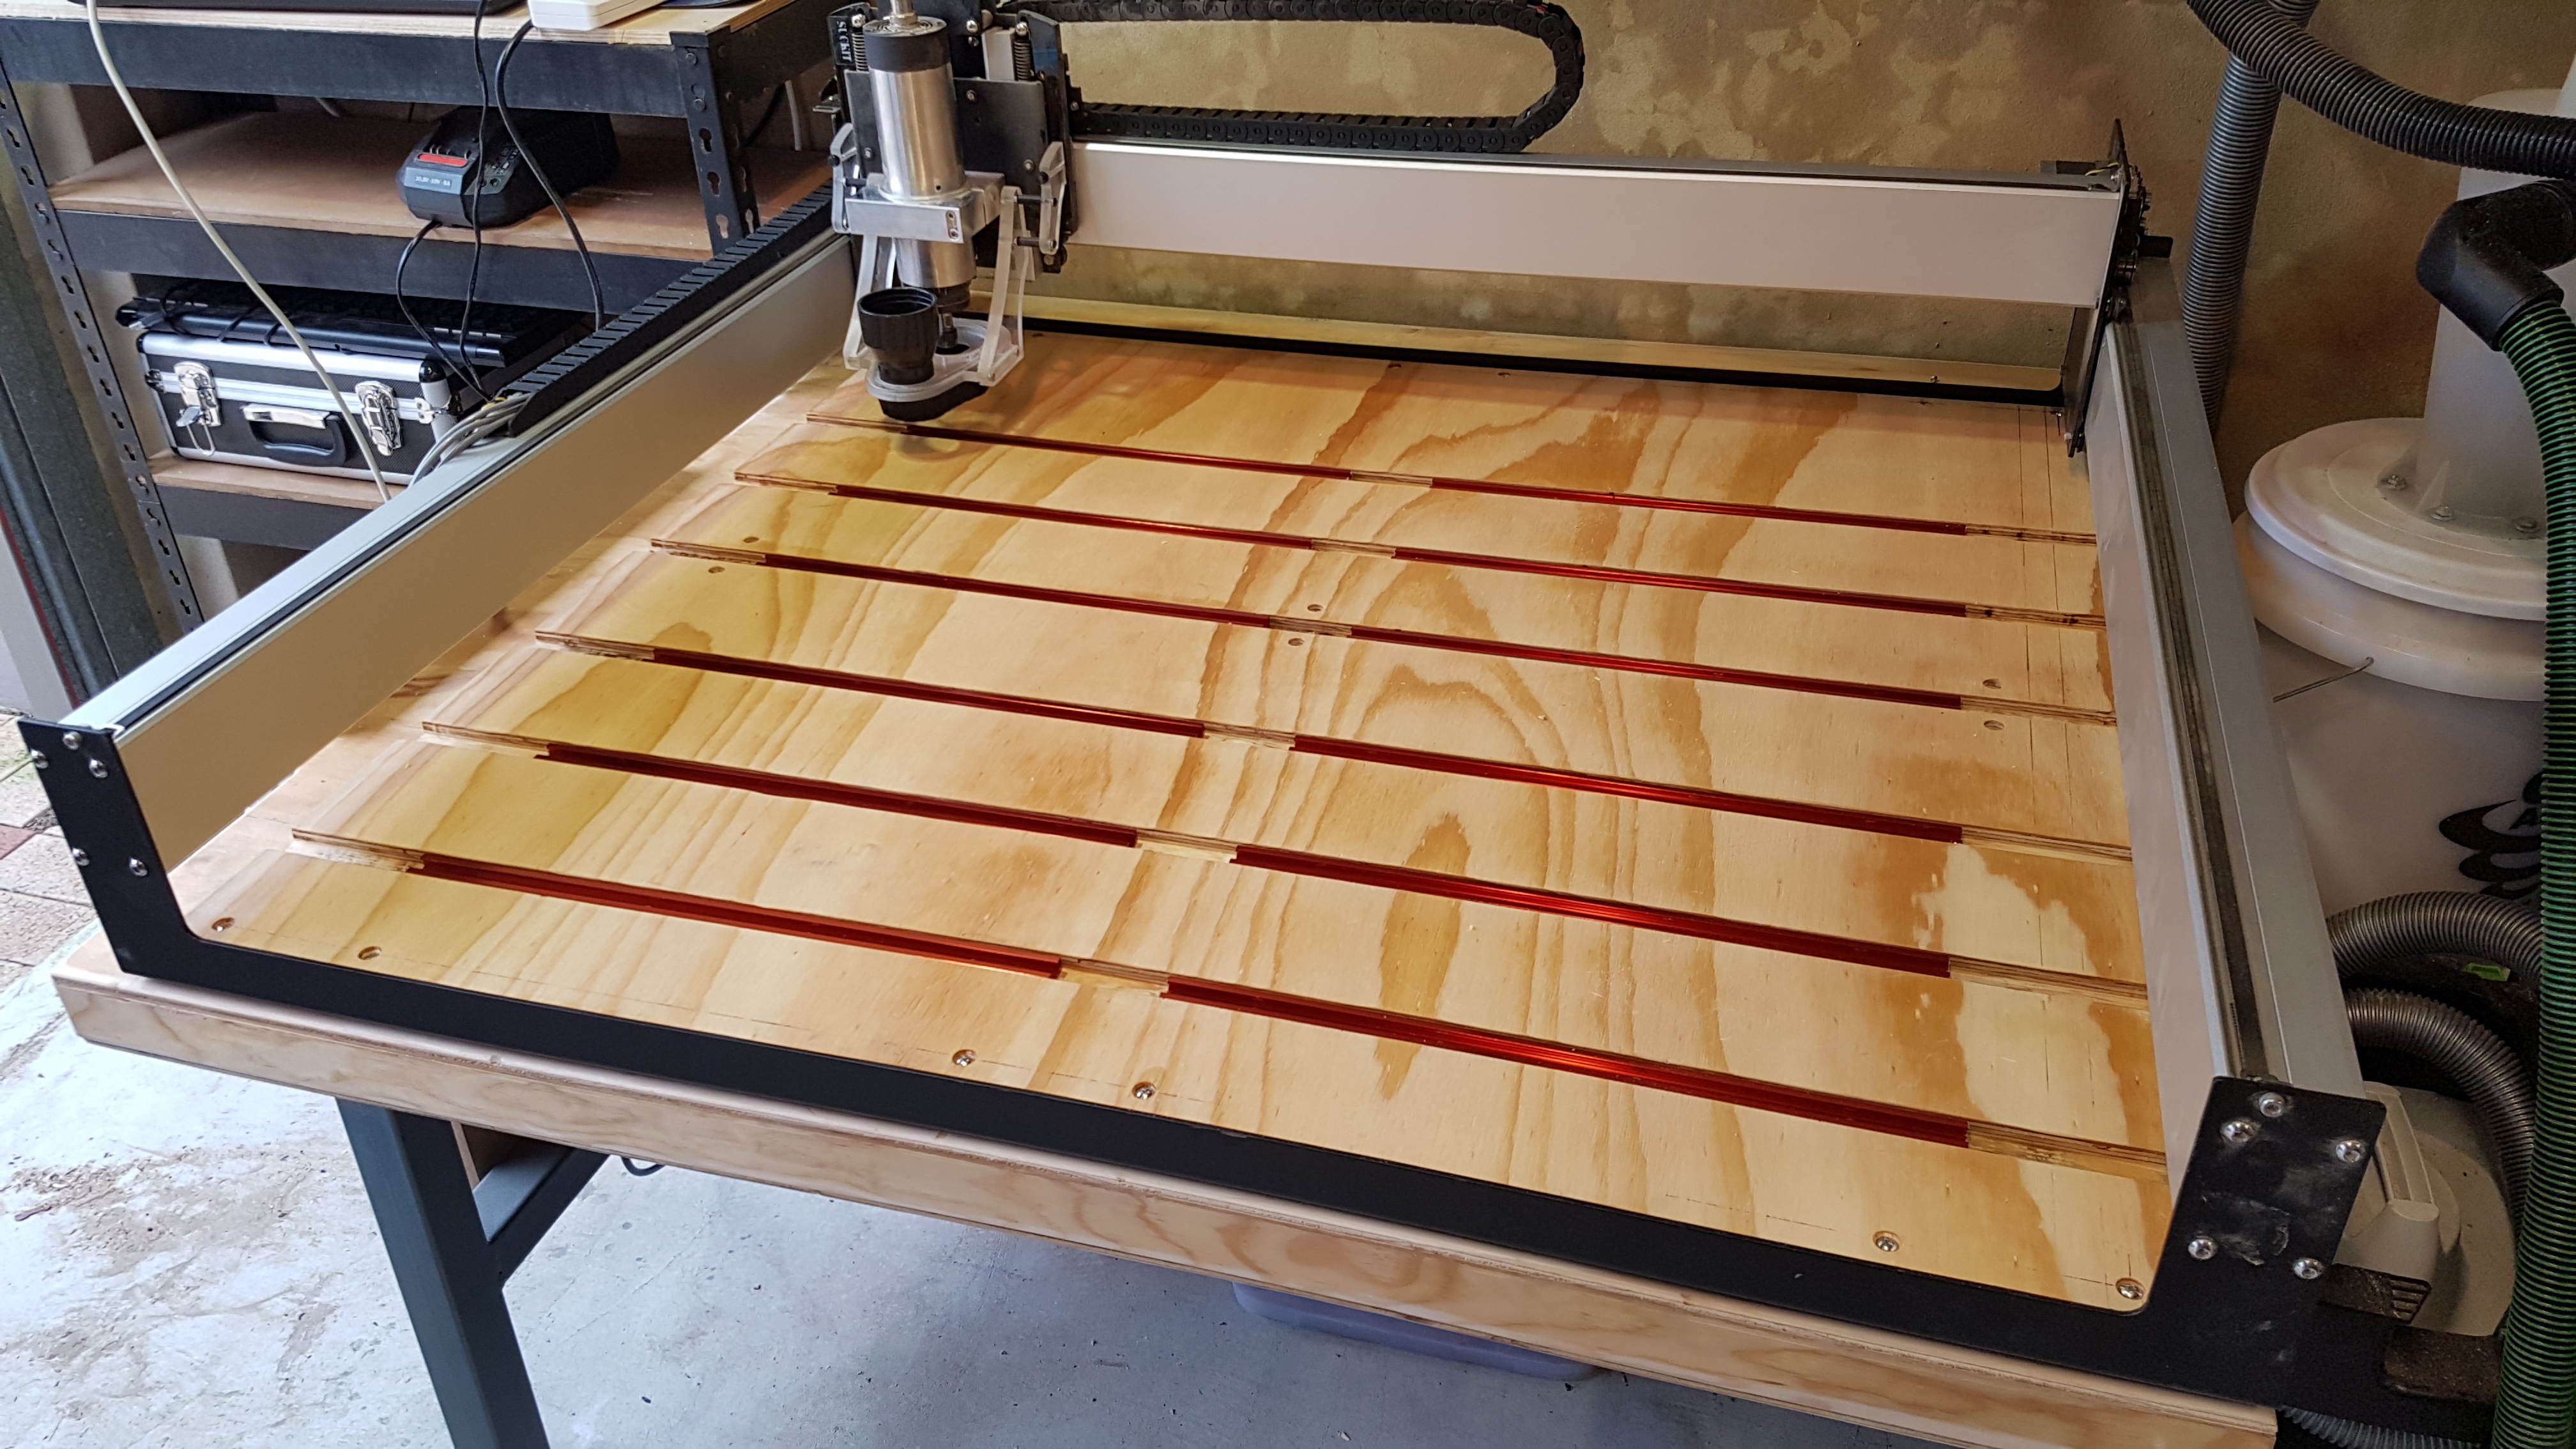
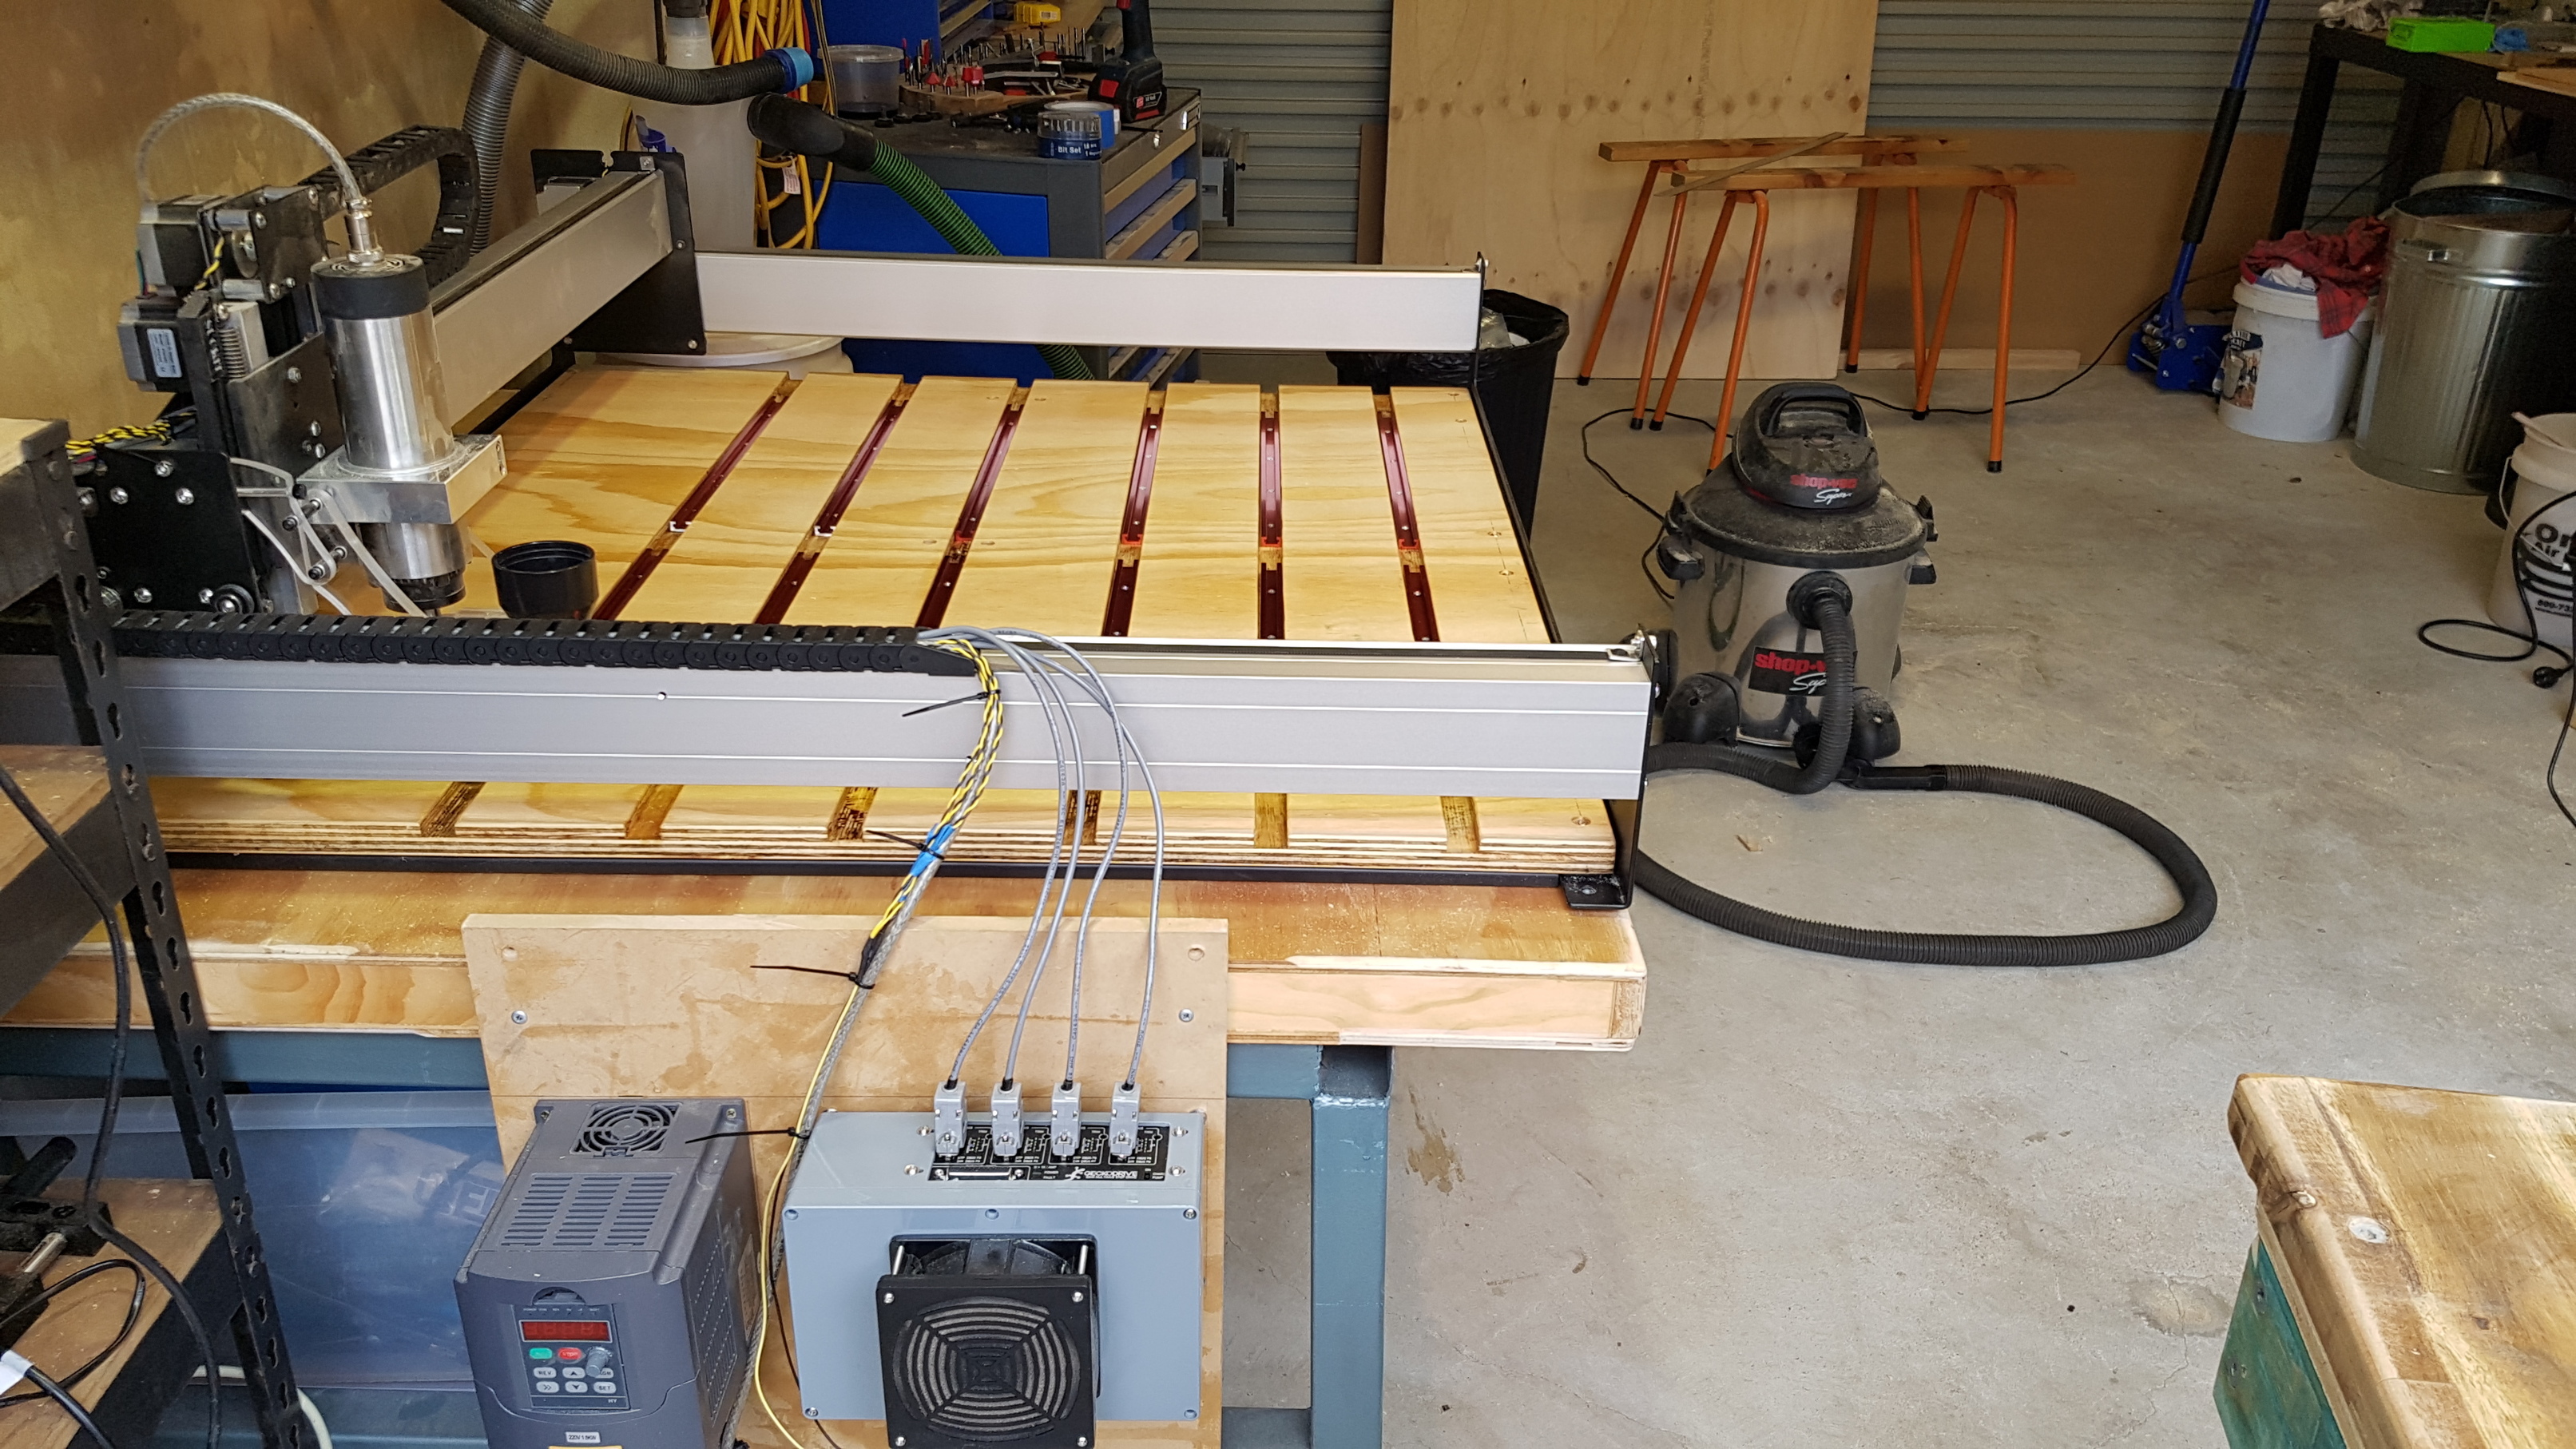
I spent the day replacing the original MDF base on my XXL with 1" plywood, with some T-Track laid into it. I will cut some 3/4" MDF sacrificial boards to sit on top of the ply between the tracks.
I was having a lot of trouble with flex in the original base too, so have removed the screw-in feet, and the machine is now sitting on the long supports that sit under the base board. I will screw the board into the torsion box that I have the machine sitting on, to ensure there is no movement at all. I was getting around 0.8mm of flex before…
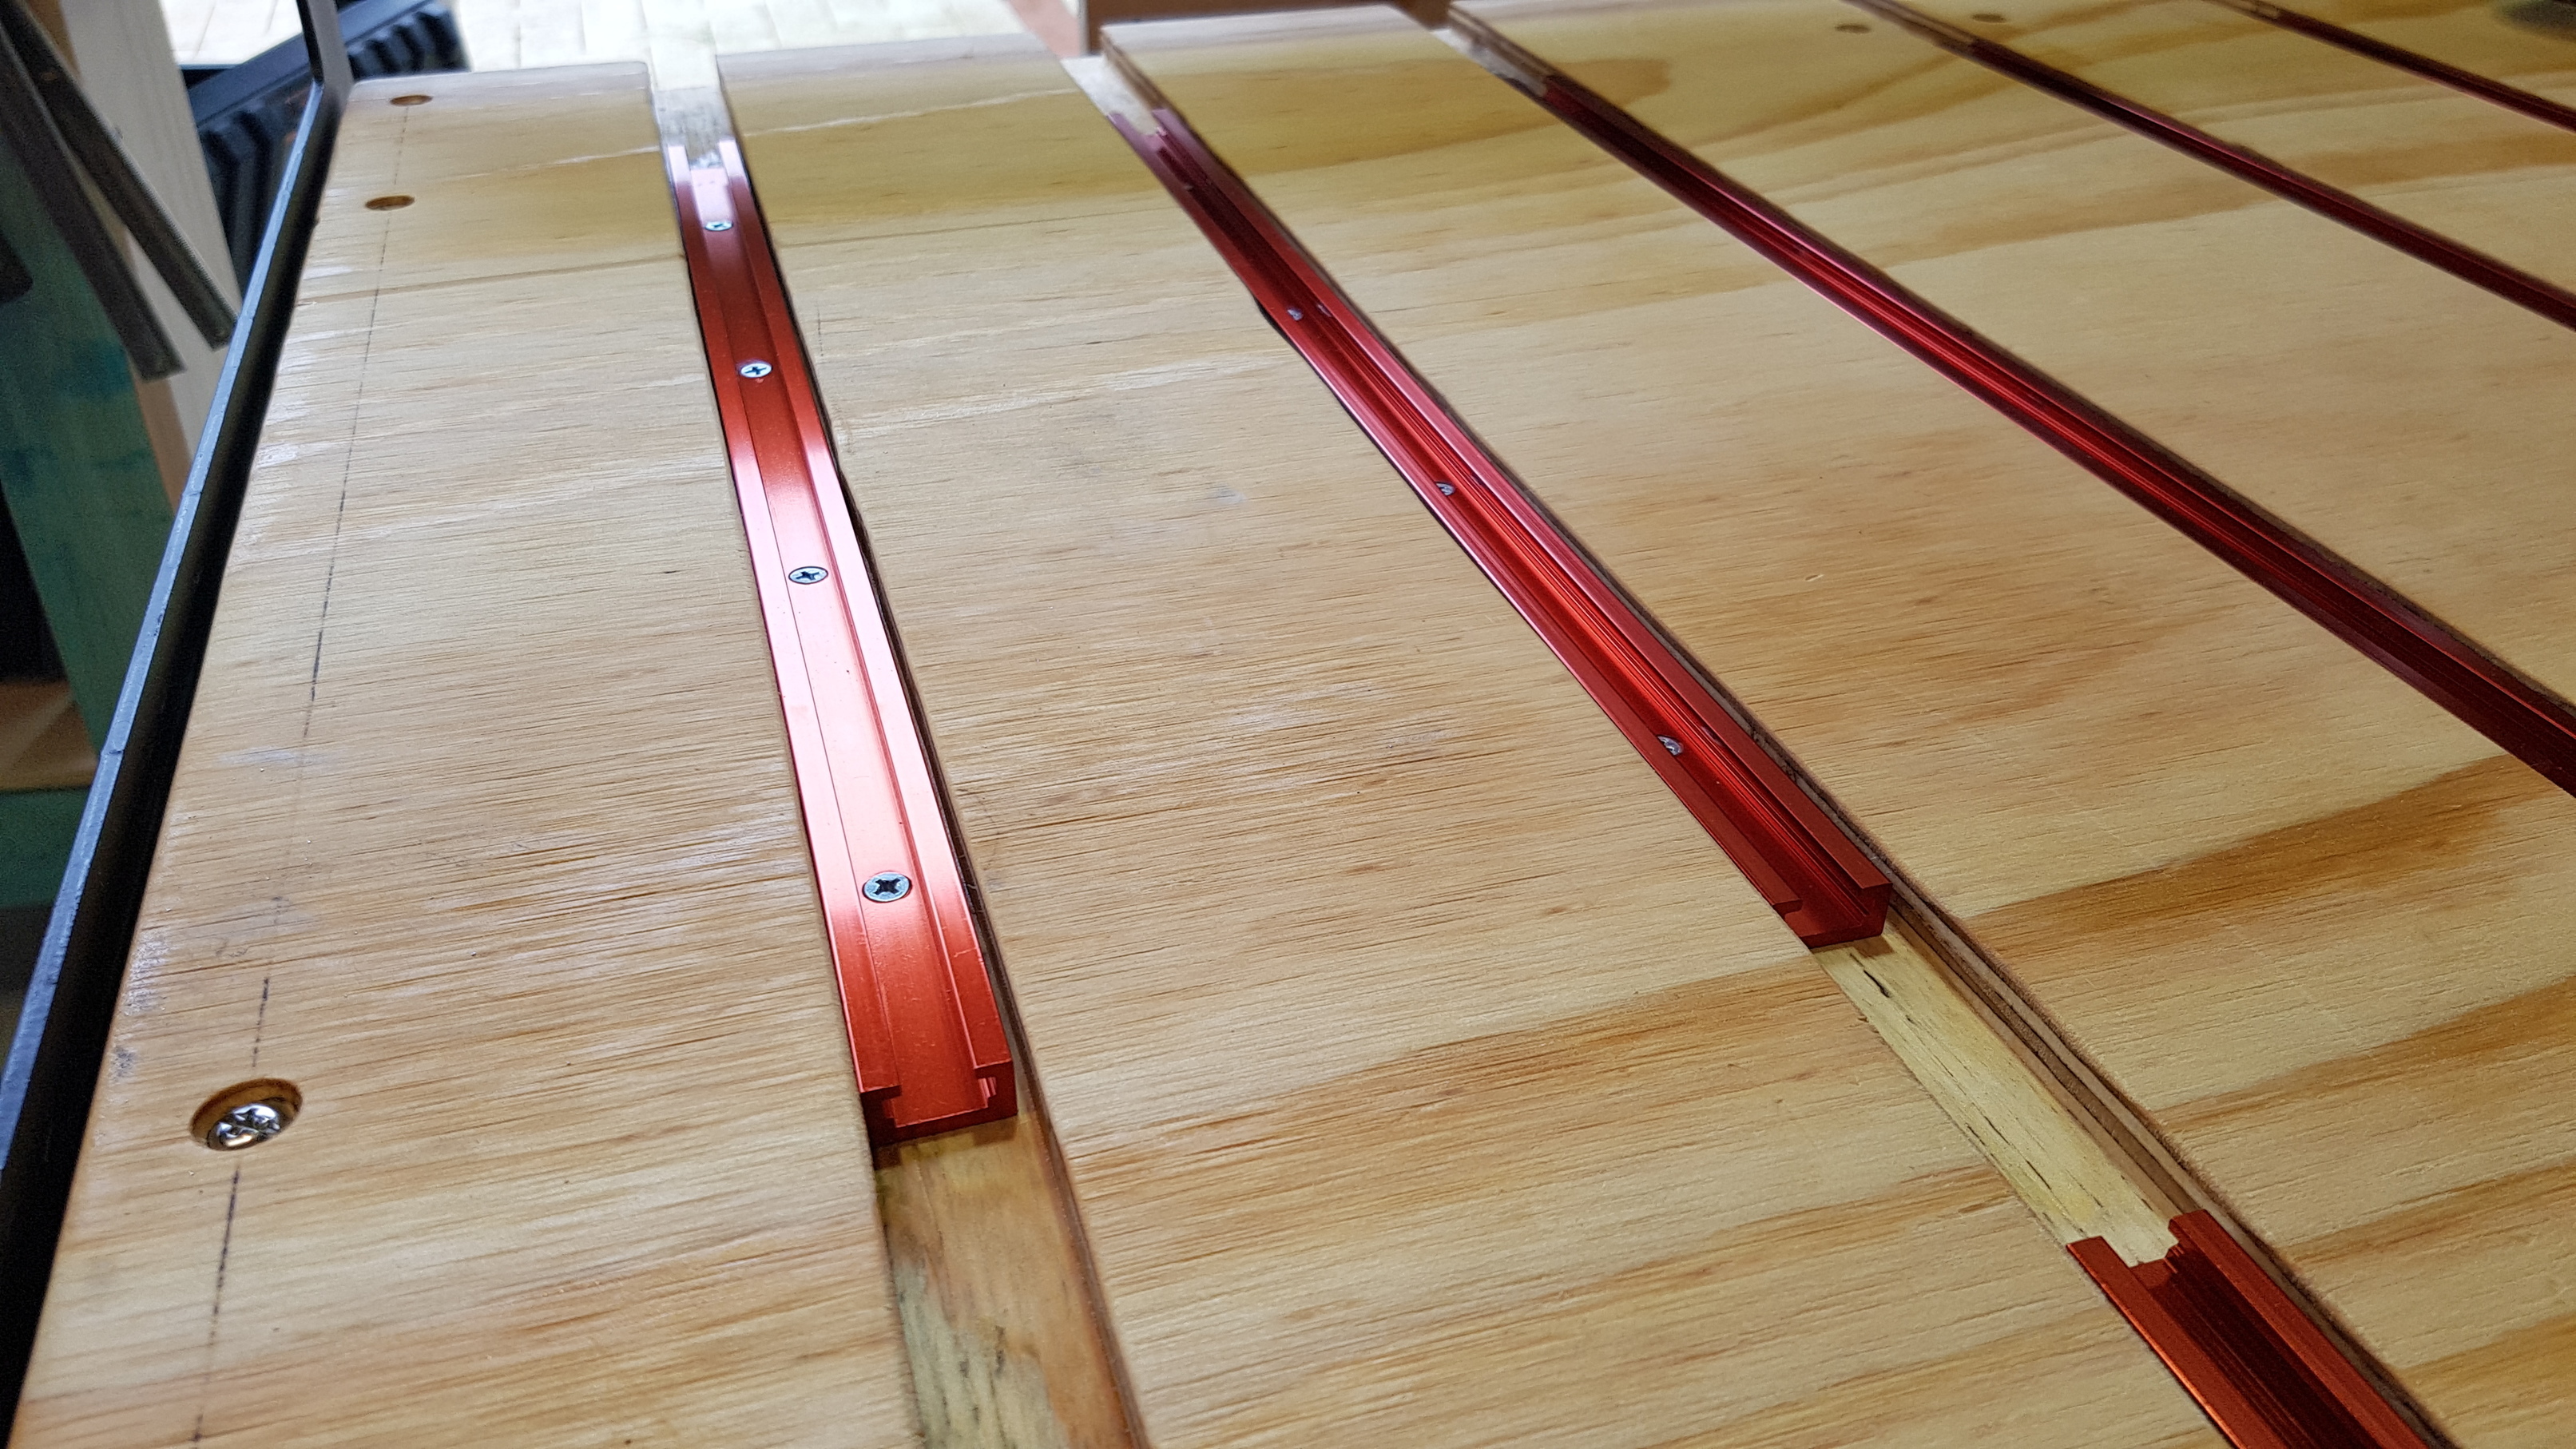
There were only 4 t-tracks available locally, so I’ve made do with them by cutting them into smaller pieces, it should work for 95% of what I need to hold down. I routed slots so they sit just below the surface, this means if I need to cut something quite thick I can remove the MDF and still be able to hold the timber down.
Comments welcome! anyone know if plywood will be more stable than MDF? I believe it’s less susceptible to moisture, but I have given it a few coats of lacquer to be sure.
I don’t think plywood is quite as flat or quite as consistent a thickness as MDF, or quite as stable. But it is very close and there can be a whole lot of advantage to the durability of plywood.
You can use a dial indicator mounted to your carriage and test the thickness variation across your table.
I thought that might be the case, I have found the MDF has slightly expanded in the year or so I’ve been using my SO3, maybe I could have put a few more coats of lacquer on it from the start.
I haven’t actually set the Dial Indicator up on the new base, the original MDF varied around 0.5 to 1mm from the factory, add to that the flex and it didn’t make for a particularly solid or accurate bed.
I think I would like to end up with either HDPE or Aluminium as a base, but I can’t source either of those locally without paying a fortune!
Looks Great! Nice job, the mdf sacrificial waste board will reflect whatever surface variations you have in the plywood which when you surface the mdf you will eliminate, IMO. I slid a piece of tempered hardboard (pegboard is the same if easier to find than the hardboard) under the base board between the front and back supports[quote=“stutaylo, post:1, topic:5913”]
and the machine is now sitting on the long supports that sit under the base board.
[/quote]
so that the plywood has no gap between it and the torsion box top, because the plywood is on top of the supports and the supports are on top of the torsion box resulting in a gap the thickness of the supports. Hope this helps, but I like it a lot, nice job.
Thanks Jude, I looked at a few options, from rectangle steel tubing under the bed to screwing the actual frame to the torsion box and removing the supports all together, I really want to make it as rigid as I can, there is room for improvement there I’m just not sure how to achieve it without making any irreversible changes to the frame. Maybe this is good enough for what I need to do, I’m always trying to improve!
One other thing to consider, moving the machine for upgrading or maintenance. I did not bolt the machine down because of that, my spot it sits in is crowded and I need to mover it out some to access. Also if it’s in an enclosure, how to access it from all sides. Just some more thoughts, good luck, Jude
I’ve got 3 Rockler 48" tracks that I’ve been consternating on how to cut and arrange on a surfaced wasteboard implementation. Thanks for sharing pics and your example. What are your rail and spacing dimensions?
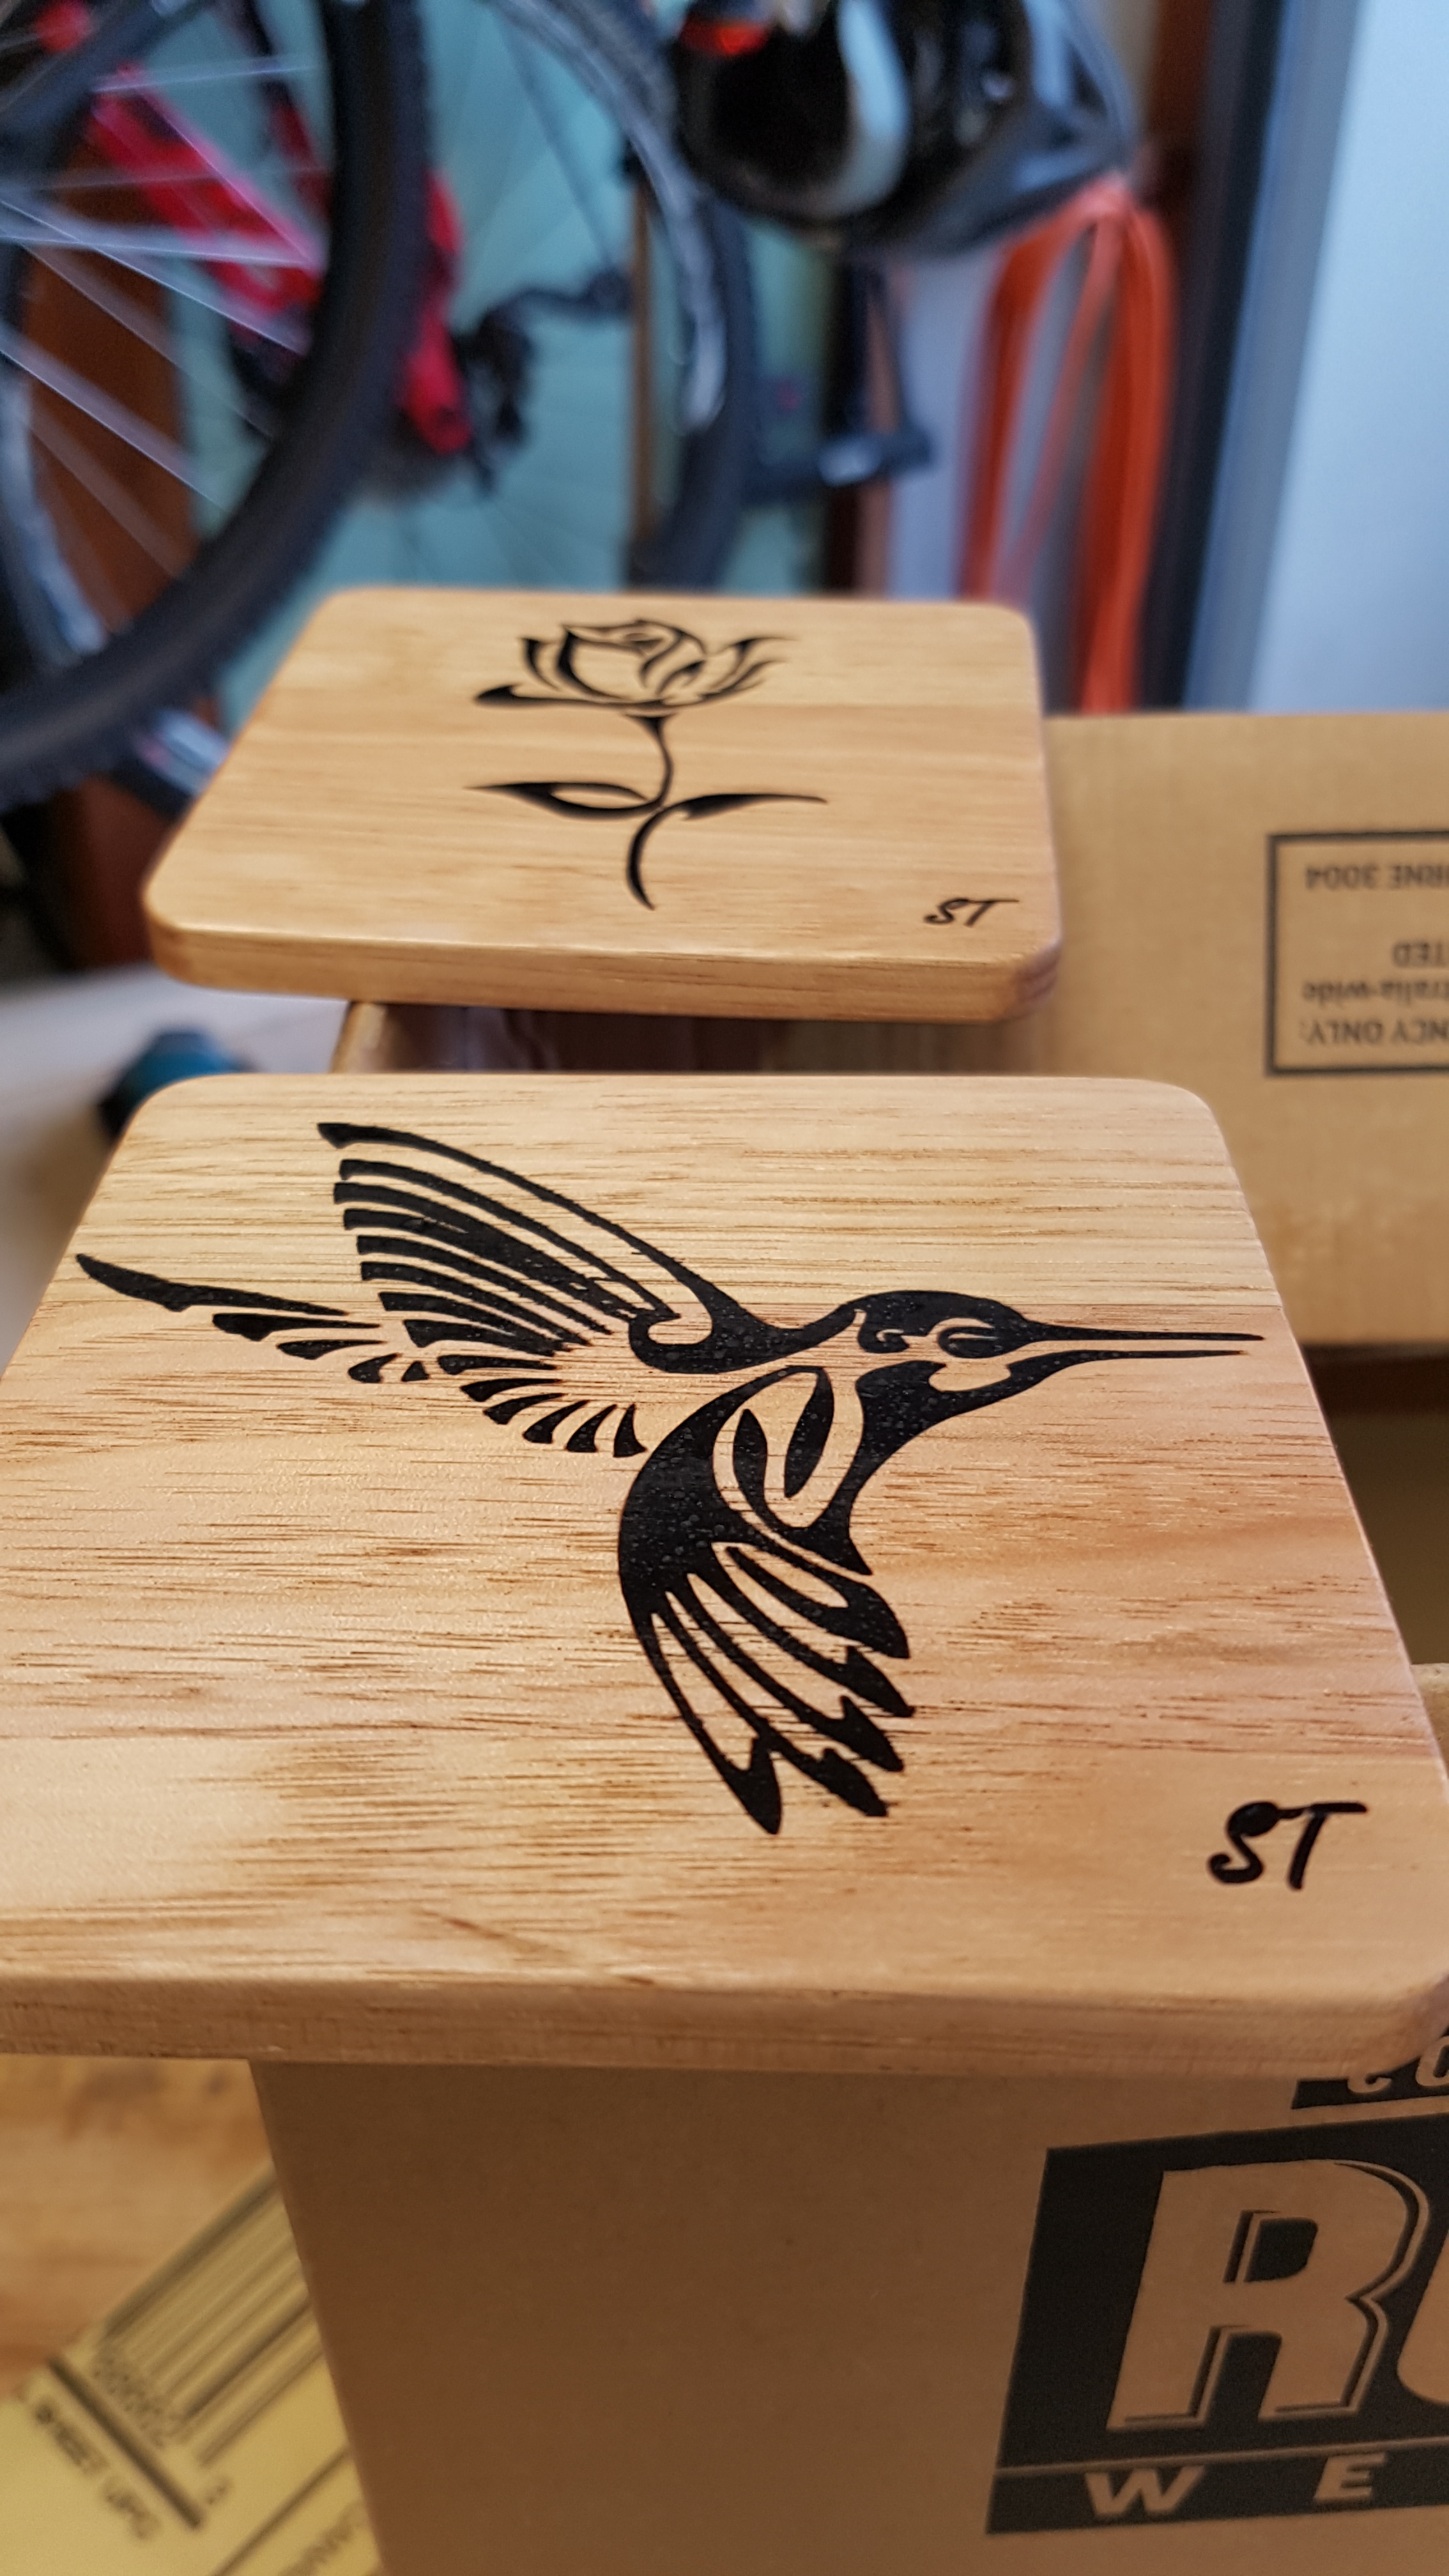
Also, what are your techniques for resin application? I love the results and I’d like to learn your secrets.
You could use 80/20 aluminum extrusions for base stiffeners. A little pricey depending on the source, but very
straight and rigid depending on the size.
Good deal, similar to what I did on my regular So3, but I used plastic and integrated it into the machine frame design to get some extra Z-height to work with.
For your next version, try finding “boat board” HDPE instead of using a wood product for the t-track base—totally dimensionally stable and no lacquering required
@grumpa - a very good point, I have left it just sitting on the torsion box at this stage, I’m fortunate in that I have a bit of space, though not a huge amount. I’ll test the flex in the base and go from there I think.
@jimidi - Thanks! I still haven’t actually cut anything on it yet, but i just put down a few of my recent projects and measured it up from there. My tracks are 19mm (3/4") wide, spaced 110mm (4.3") apart. They are 9.5mm(0.4") deep, and I routered the slots so they sit just below the surface of the ply. I cut them into lengths of 400mm(15.7") Look forward to seeing your setup!
@TOOLZ - I have looked at 8020, and steel box section, I will have to put some more thought into it as I want to be able to return the machine to it’s stock setup if I ever sell it. And thankyou! the inlays are very popular with the Girlfriend, they came out very sharp, but I didn’t heat the resin as it set and I ended up with a few bubbles, so the next round will be better!
@jdg3 - Thank you and well spotted! I had a lot of trouble with disconnects on my machine with the CM boards, the C3D guys were awesome but I think the power setup in my (rental) house is about as bad as it gets, we just couldn’t fix the problem! So I bought a G540 and power supply, and have been problem free since - Running under LinuxCNC. I’ve made adaptors so when I move house or a new board comes out I can plug straight in. The spindle control is just awesome!
@UnionNine - Thats a great tip thankyou, I wish I had seen that before I did the board, I probably would have used that! I looked at regular HDPE which was hundreds for the 3x3ish size, the board board is much cheaper… next time!
I have installed the MDF sacrificial board now, and my acrylic guards up the sides to keep the mess off the floor and out of the V-Wheels time to tram it and start making stuff again!
Like you I am in Australia. I have an XL and about 6 weeks ago ordered unseen a sheet of 20mm HDPE (cost about 150 AUD). To say I was disappointed is an understatement, presently the stuff is cupped to about 12mm deep on the long axis. This material is really stiff and I am sure if I bolt it onto the Shapeoko it will deform the steel rails.
When I brought it home I plonked it against the garage wall and left it there in disgust. However I am sure it was then much more cupped than the present 12mm. Perhaps in time it will straighten and the cupping was caused by the way it was stored by the supplier. One can only hope.
HDPE is a thermomplastic. It might be possible to place the sheet on a flat, planar surface, heat it up and then press down on the top of it with equal pressure across that top surface, and for some amount of time, in order to flatten it?? It could be that the plastic is just going back to its natural form and trying to coax it would be a waste of time? I honestly don’t know, it’s just an idea…
Some people have been able to get HDPE flat by placing it on a flat surface outside in direct sunlight. If the plastic is a lighter color, you could try covering it with dark plastic garbage bags.
But google “flattening HDPE plastic” for more information.
Ah what a shame, that is disappointing. If you know anyone at a big machine shop maybe you could get it milled flat?
My current plan is to replace the base with hot-rolled steel or aluminium with the t-slot bolted to it, then have a sheet of HDPE the size of the work area bolted to the base, then even if it’s cupped I can machine it flat with the SO3.
I’m trying to work out if there would be any issue with having say, 10mm mild steel plate as the base, I know it’s heavy, but that’s generally a good thing with routers. it won’t flex at all compared to the mdf.
It’s also a lot cheaper than aluminium…
Not a lot of luck in looking for flattening HDPE, heat was the only suggestion I could find. Perhaps I’ll leave it in the hot summer sun come December (I live Down Under) as you suggest Phil.
stutaylo
If you know anyone at a big machine shop maybe you could get it milled flat?
Trouble is Stuart it is cupped 12mm and it is only 20mm thick - doesn’t leave much.
I’m trying to work out if there would be any issue with having say, 10mm mild steel plate as the base, I know it’s heavy, but that’s generally a good thing with routers. it won’t flex at all compared to the mdf.
What guarantees are there that the steel sheet will be flat? I like the idea though.
Good point. Milling it flat wouldn’t leave you with much at all.
You really need to get it hot enough to be soft then sandwich it between two flat surfaces as it cools.
I have a few bits of 12mm steel plate that are too small for a base, but they are flat to within 0.5mm, if I can get something that flat, then I can shim the end plates square, then the HDPE on top will be trammed flat.
I think I’m going to go for that once I get home from work (I work in northern WA, live in NSW) if I can’t get steel plate flat enough I will cost some aluminium tooling plate against having the steel Milled flat on both sides and go with the cheaper option
I had HDPE for my base (waste) board and after I milled it flat with less than 0.3 mm removed it just warped worse after a couple weeks, over all I milled it flat 3 times and it finally looked like a potato chip. I had it screwed down all around and in 4 rows in the middle and it still warped after surfacing. I switched to pvc board but that now appears to be more like foam board, very soft in the inside. I will not surface the PVC as I am planning to use a hardboard waste board which I can surface and discard when it warps. I will surface a scrap piece of PVC to test it for warping but I need to recover from hurricane irma first before I can get my shop back up and running. Since pvc is so hard to get down there maybe using the hdpe without surfacing and a hardboard waste board on top will work for you. I did use contact cement to glue 2 layers of hdpe together successfully. the glue will probable never dry (no air) but it sure seems to be stock solid so maybe consider 2 layers of hdpe to resist it’s urge to warp after surfacing. One more thought, how about pouring a thick layer of fiberglass resin for a base, you can thread it and surface it, if my pvc base fails at some point than I will replace it with a poured resin base in the future. Hoping to help, Jude
Having a flat surface, whether for base or waste board, is a perennial topic of discussion. I think you @grumpa poured some concrete for a base. Anybody know of other pourable materials that harden suitably? It would seem that something pourable should be quite flat barring surface changes while drying. So far I’ve seen mentioned concrete and now pourable fiberglass. Don’t know anything about it but maybe epoxy (can it be thick enough?). Anything else?


 and well spotted! I had a lot of trouble with disconnects on my machine with the CM boards, the C3D guys were awesome but I think the power setup in my (rental) house is about as bad as it gets, we just couldn’t fix the problem! So I bought a G540 and power supply, and have been problem free since - Running under LinuxCNC. I’ve made adaptors so when I move house or a new board comes out I can plug straight in. The spindle control is just awesome!