I have found that there is aways going to be some misalignment with the Shapeoko no matter how careful. I use the Carbide 3D Touch Probe and a threaded table. I use Fusion 360 and Carbide Motion.
Two problems I’ve encountered are.
When using a 2-flute end mill the origin may be off due to the rotation of the tool during the probing.
You can be tricked up if the actual stock is not exactly the same as the stock in the CAM file. Always check this.
When I need to be very accurate, I make a test cut with a duplicate tool path, but input enough “stock to leave” to allow for resetting the XYZ axis if necessary. I then check the dimensions of the test cut with callipers against the stock dimensions. For example (if the cut is centred in the stock). Check if the hole edges are equal to the edges, if so then things are aligned. If the front side of the hole to front edge is .040 thicker than the back side of the hole to back edge, then I move the Y axis by 0.020 and zero it. Same thing for X and Z if necessary.
Yes, I normally use .250 brass round bar stock when practical. I was just pointing out the possibility for error with a two-flute end mill. If I have that end mill in the chuck and don’t wish to change it, I’ll rotate the end mill manually during the probing sequence to ensure the full diameter is read. Nevertheless, I still find that I need to do the test cut and caliper method above, then reset the XYZ for the best results.
ok… I’m crossing my fingers but I’ve done roughing passes on both sides of a largish (11x11x1.5) mask and they have lined up perfectly. I’m doing the first finishing pass now and the second finishing pass to follow. The changes I’ve made so far are to zero on the center line in the X and Y axis instead of X and Y on the left side of the stock, mid line and I tore down the machine and put it back together making sure everything was tight and square along the way. Still using meshcam and selecting two sided . So far it’s looking good, but the job takes a few days between the 4 passes so I won’t know for certain until tomorrow evening.
I think I know what is happening now, but I still don’t know why. If I have to rehome X and Y (say for example I have to spread a job out over a couple of days and need to power off at night) Y is sometimes 1mm off of the known good value of the threaded table. I have the carbide 3d end stops and I verified the electrical connections and the mechanical ones are all fine, so I’m assuming I have a bad switch that needs to be replaced. That also gets me nearly to the 2mm off if you add the .35mm between the bolt and hole, the flip op and the 1mm of the axis being off.
Thanks again everyone for all the help, I’ll update here if I can figure out WTH is going on with that switch, but in the meantime I have the threaded table to help me indicate when I’m off.
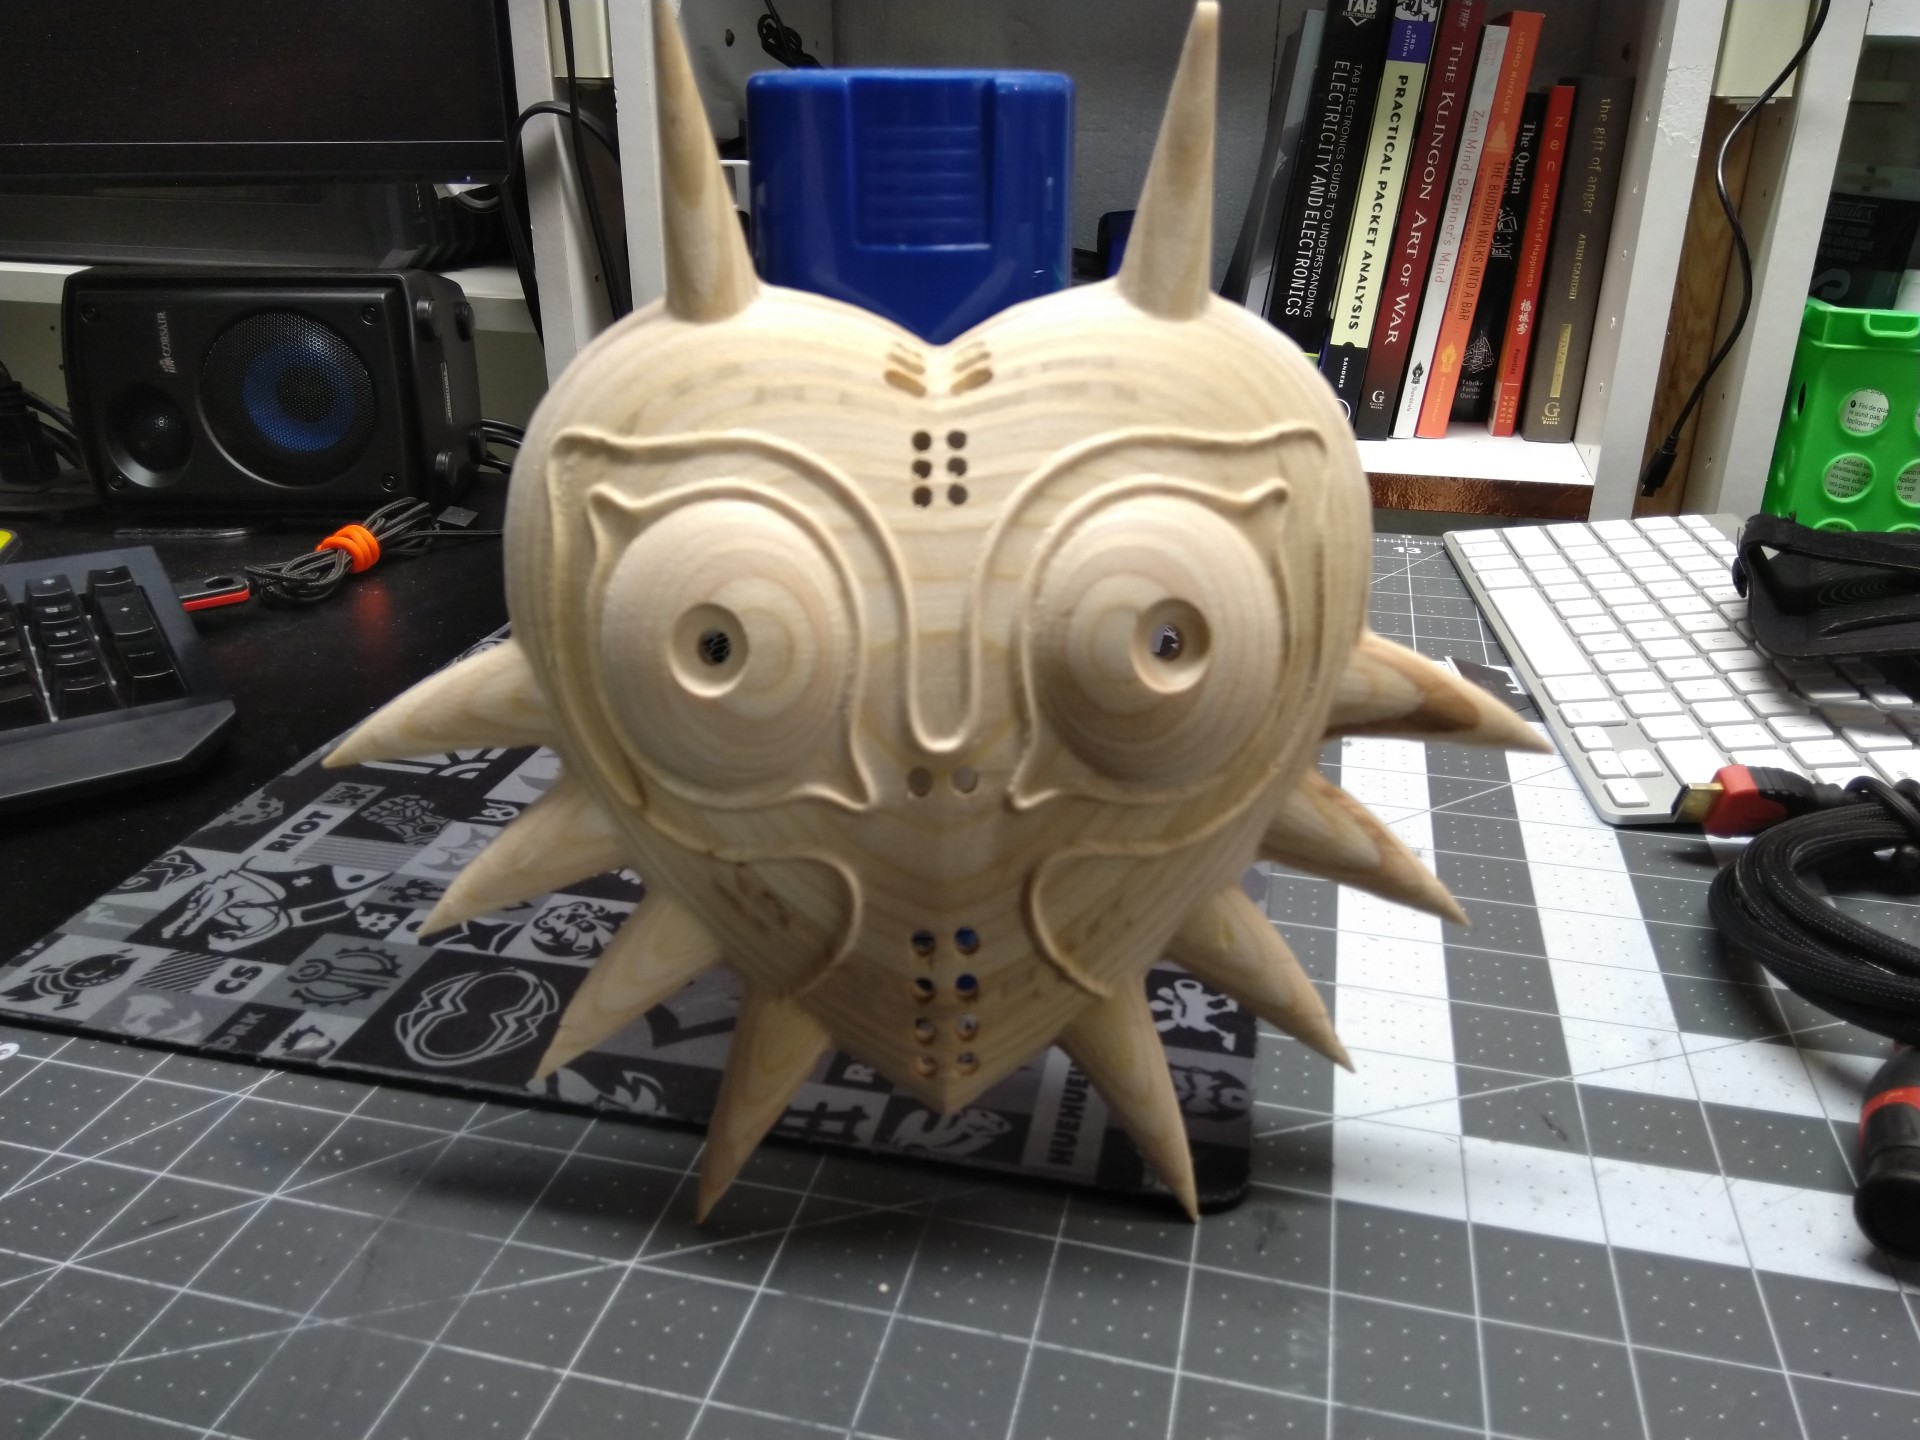
Here is one of the masks I’ve been working on. This one is scaled down so I could test it faster. overall it turned out pretty well with just a little skin I had to sand off. the bottom holes are out of round because that is where I discovered the 1mm homing issue, but once i corrected that it was good to go.
If I’m not mistaken, after you power off the machine has no idea where it is until you home it right? CarbideMotion and CNCJS won’t even allow me to do anything until after a homing cycle on first power on. I suppose I can override the lock and tell it to move anyways. Am I missing something?
I -think- it assumes you were where you were (oof. bad sentence.) They all cause you to do the home because there’s no way to guarantee that - the steppers will move freely without power. If you can avoid moving them, the machine zero, current position, and work zero should all be the same. You’re right though, it does require checking. This is the way I remember it, but I could easily be wrong.
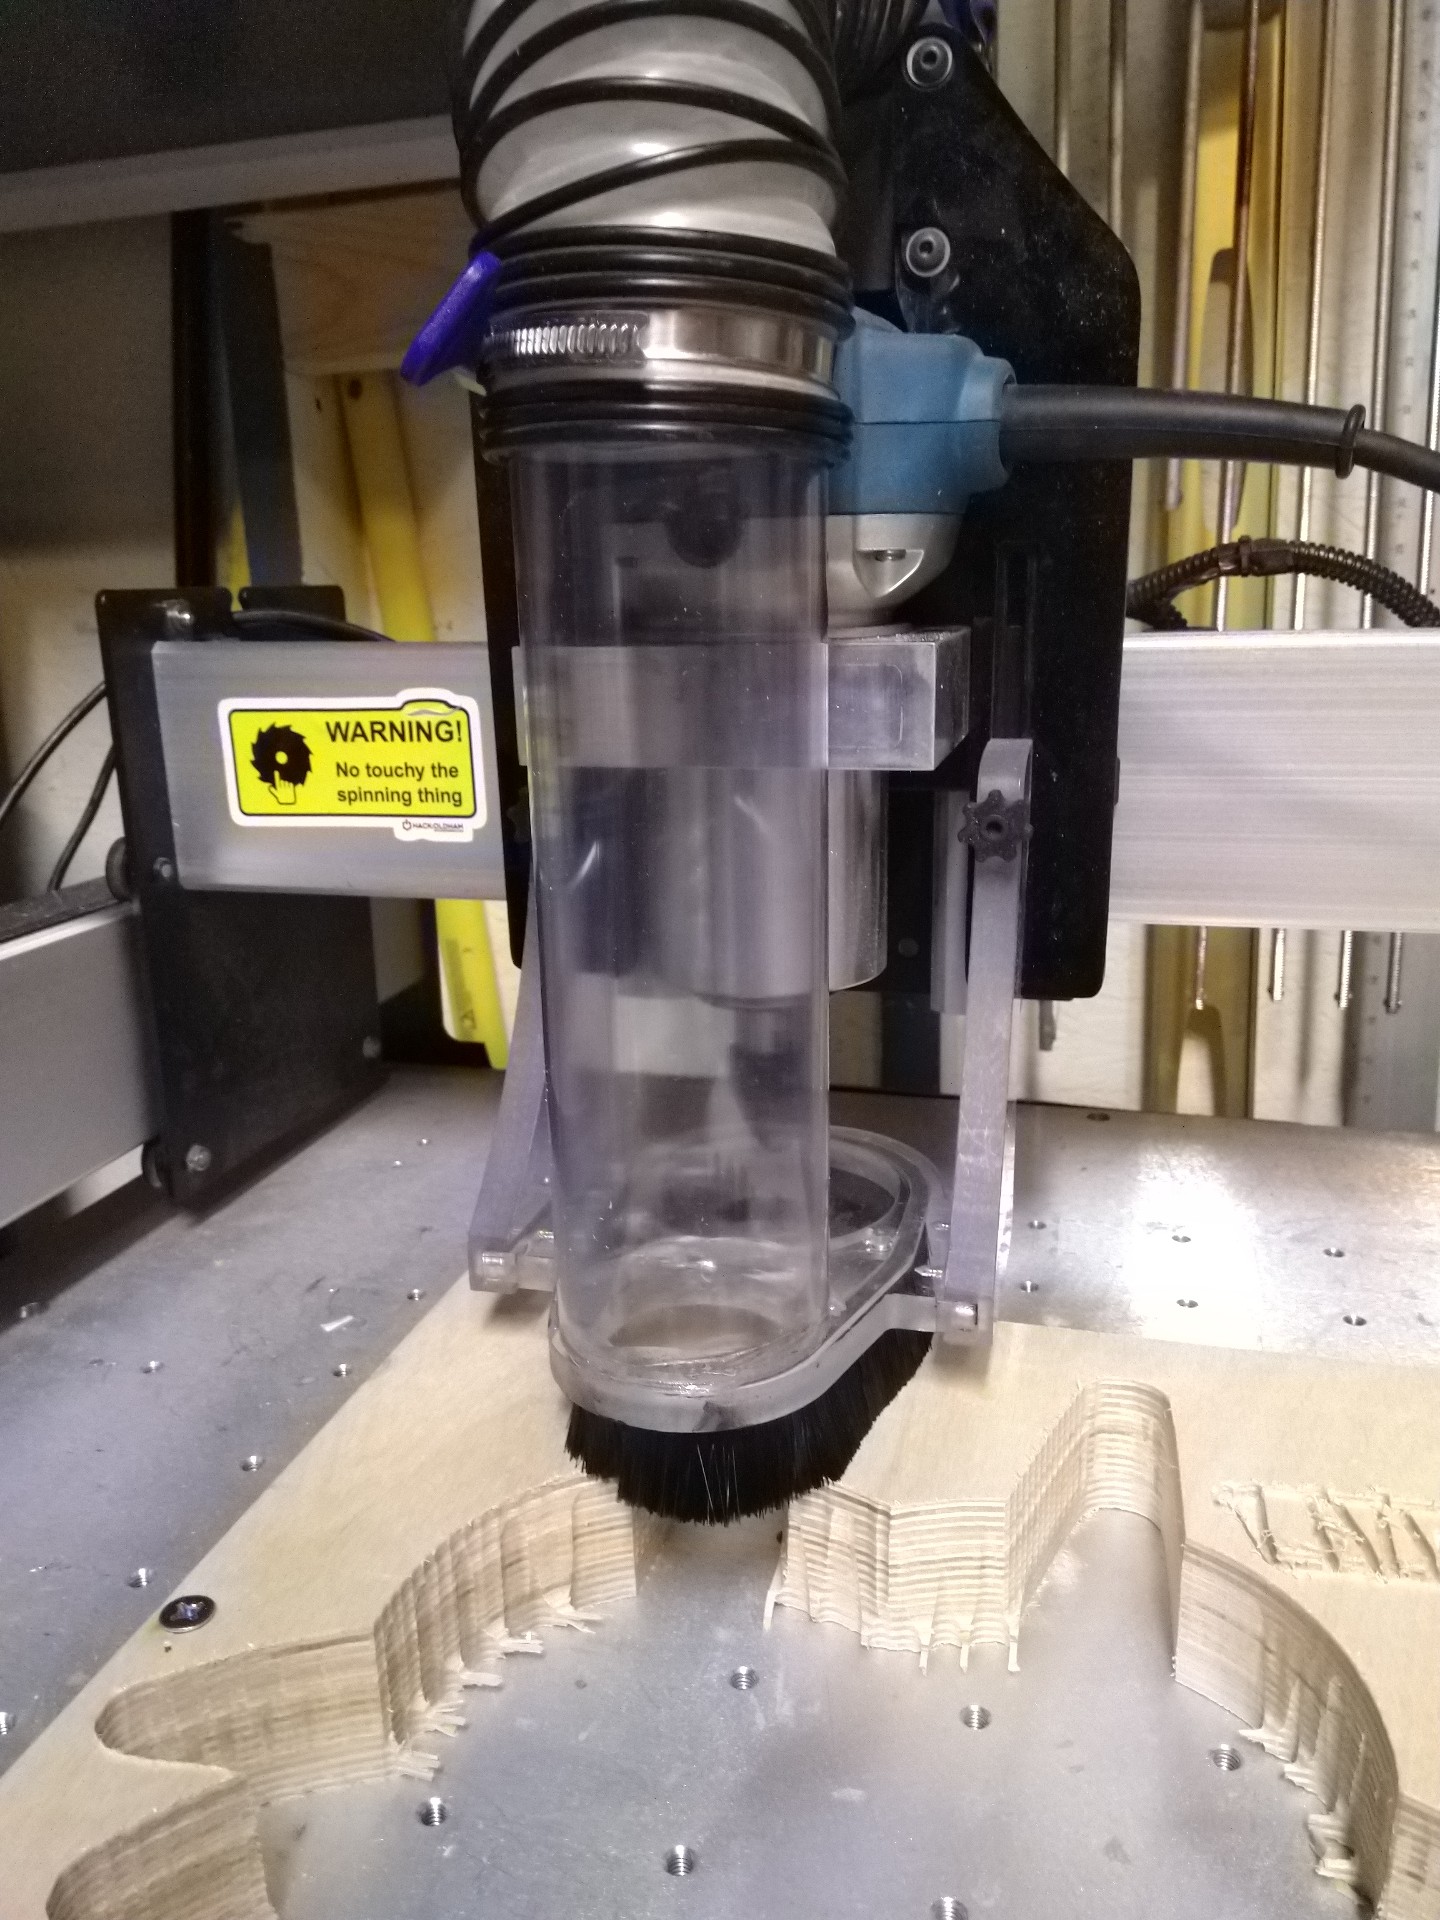
nope, didn’t make it into the shop. well no, that’s not true. I made it into the shop and then had my trusty suck-it boot fail so I spent most of the day fixing it up (it broke at the hose connection). On the plus side, I was able to fix it with some clear tubing so now I can watch all of those chips go sailing up off the machine. Free entertainment!
This is correct. The machine assumes it’s at machine zero if you don’t home. Your switches shouldn’t give 1mm in variation. Could a switch be loose/moving?
we ended up getting a snow storm, so my machine is sitting in the garage waiting for it to stop. I suspect i have a bad switch, the mechanical mountings are all fine. I ordered one from mcmaster.
Please note that the machines are warrantied (six months for a Shapeoko, 18 for a Nomad) and if you’re under warranty, just drop us a line at support@carbide3d.com and we’ll send you a replacement.