2-flute carbide router bit. Wanting to make some some 1/4" deep scallops in a project.
Survey of the Carbide3D 3-flute feeds and speeds chart, the Shapeoko wiki materials page, and a CNC Cookbook page has surface speeds for MDF of ~1100 SFM, 1036 SFM, and 1500 SFM.
With a 3/4" bit at 10,000 rpm (slowest my Makita will go), that’s ~1964 SFM. Since I’m only going 1/4" deep, I won’t hit the full diameter, but instead about 0.707". Which works out to a surface speed of ~1851 SFM. I saw Winston using a 3/4" bowl bit in his walnut catch-all tray video, so I’m assuming the extra surface speed is not a big deal (unless the differences between walnut and MDF are somehow going to screw things up, such as the resin in the MDF).
This page from GDP Tooling recommends a 0.025" chipload for MDF with cutters 1/2" and larger:
Dumping 10k rpm, 2 flutes, and 0.025" chipload into my chipload spreadsheet yeilds a feedrate of 500 IPM (over 8 IPS)! From what I read / calculated, the max speed of the Shapeoko is just under 200 IPM (over 3 IPS) based on Grbl settings. Don’t think I’ll be trying that kind of feed either.
Can someone recommend a less ridonculous chipload for this size cutter on the Shapeoko? 1/4" cutters have chiploads in the 0.0016 to 0.0017" range for MDF on the Shapeoko. If I plug in that chipload for the 3/4" cutter, feed comes out to a much more reasonable-sounding 33 IPM. Doubling the chipload to 0.0033" doubles the feedrate to 66 IPM.
I’m tempted to start with the 33 IPM. Can anyone chime in on practical experience with 3/4" cutters in MDF on the Shapeoko?
15 hp spindle and max cutting feed of 800 IPM. I got to see one of its cousins (a GR-512) at a semi-local vendor years ago. It was quite impressive. We were having some large aluminum tooling plates machined there.
Yep, second that, the Shapeoko will make nasty noises if you run those feedrates.
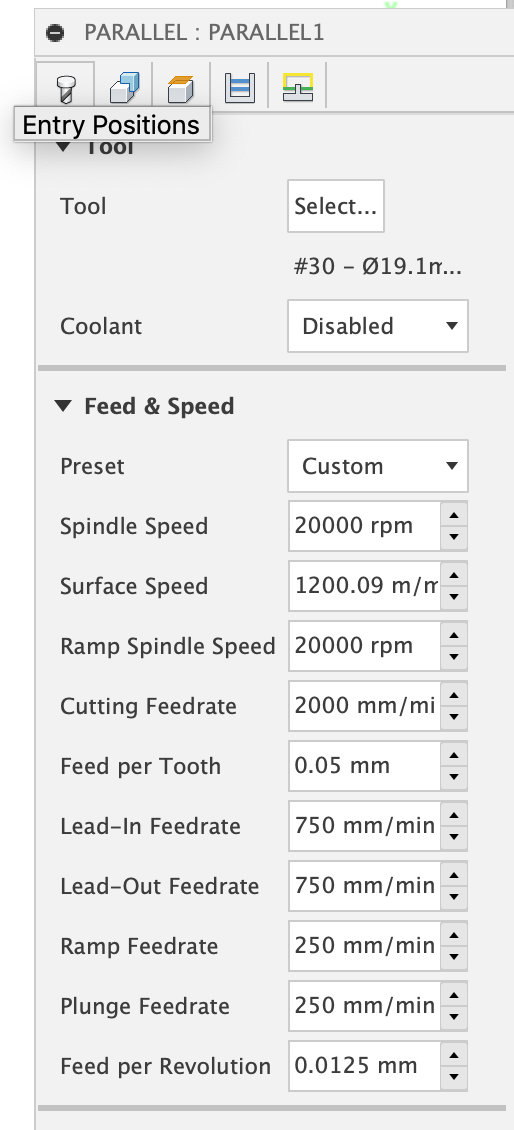
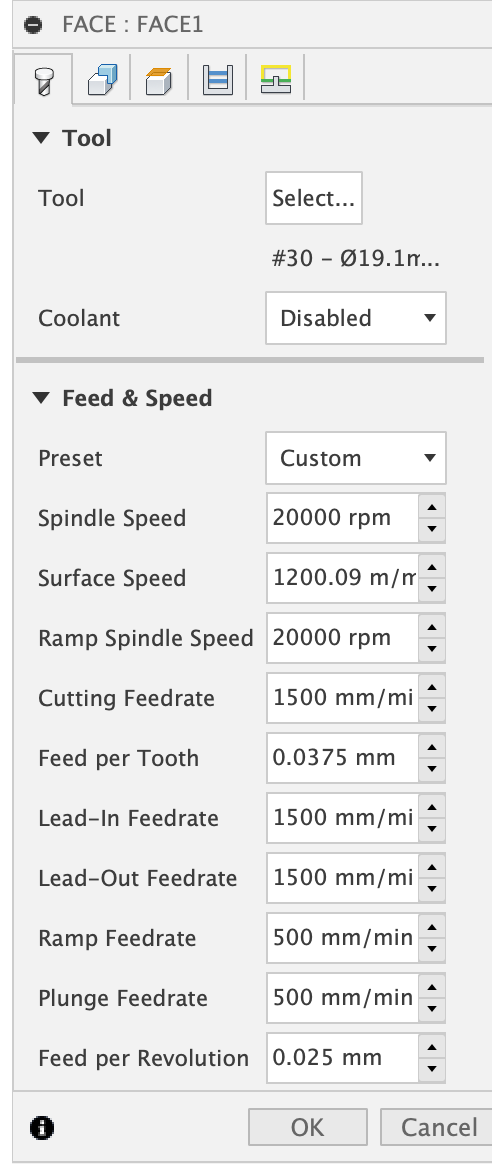
I use a 19.1mm flat cutter for surfacing stock, when running this cutter I send it fast through the stock with a shallow DoC and the machine sounds happy, these feeds are MDF with about 1mm of DoC
You don’t want the cutter hanging around recutting and getting things hot. I’d suggest starting with whatever max RPM the cutter is rated for, 1500mm/min (60 imperial inches) feed rate and 2mm Doc (0.05" or 0.1"), listen to the cut and then progressively increase the Depth of Cut until the machine doesn’t sound happy any more or the cut quality starts to deteriorate.
Beware, these bit cutters at high speed fling the chips a long way, straight through the dust boot is not uncommon, so expect a messy workshop
Your 19.1 mm cutter is very close to 3/4" at ~0.752". Your surface speed is about 3,937 SFM at 20,000 rpm, which is significantly higher than recommendations that I found for MDF.
A chipload of 0.05 mm (~0.002") sounds reasonable, as does 2 mm (~0.079) DOC. Winston’s video on MDF feeds and speeds recommends 0.060" [~1.5 mm] DOC for 1/8" and 1/4" tools. I was planning to do the 0.250" deep troughs in my project in 4 Z levels of 0.0625" each.
I’ve worked with MDF with traditional woodworking tools before and definitely agree on the dust/chip issue. The circular saw is especially notorious for being a mess-maker. With a speed of 6,200 rpm and a 7.25" blade diameter [184.15 mm], it’s running at a surface speed of ~11,768 SFM [~3,587 m/min]. Which makes your 3,937 SFM [1,200 m/min] surface speed seem fairly tame now.
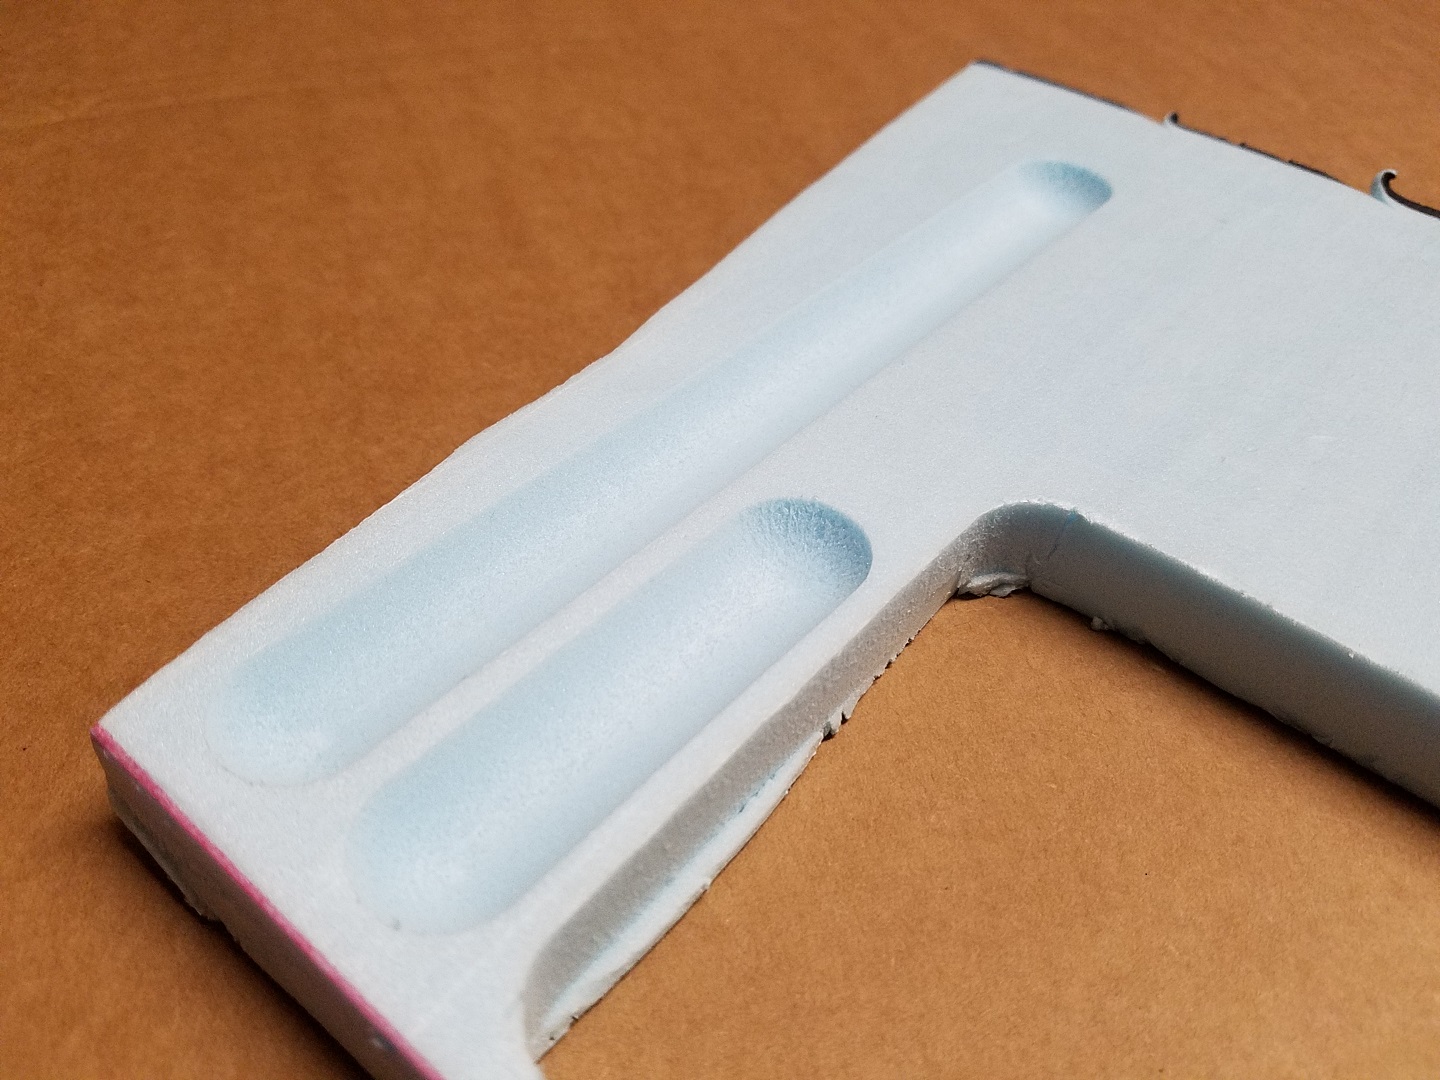
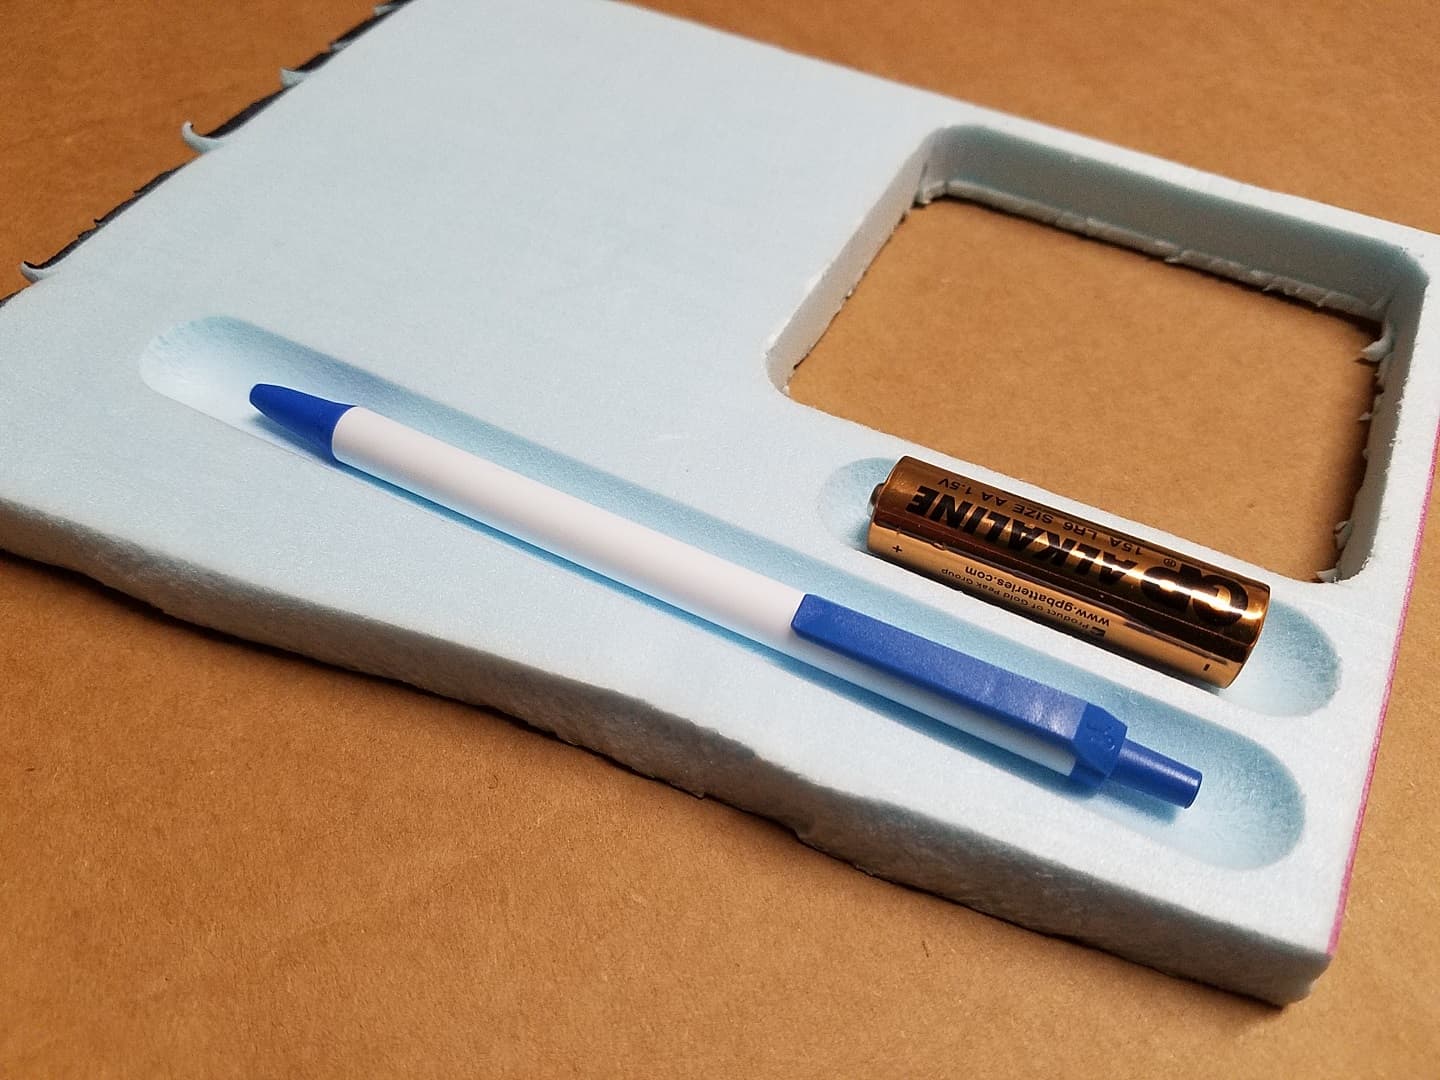
I need to get my dust collection / containment up to snuff before I start cutting MDF, but today I ran a couple test cuts in blue extruded polystyrene foam with the 3/4" ball bit. The short cut was done in 4 Z levels and the longer one at full 1/4" depth. I am pretty tickled with the way the polystyrene foam cuts on the machine and will surely be using it to do some lost-foam aluminum casting in the future.
Wow - that pocket in the fixture looks great! Like a factory surface.
Can you share what you’ve done in the way of belt tensioning?
Your feed and plunge rates work out to ~60 and ~20 ipm for those of us on the other side of the pond. 0.5 mm is ~0.020". What spindle speed is this running?
In addition to @jepho’s (future) input, here’s a thread describing a process to set belt tension in a “scientific” way
The “belt tone” method boils down to downloading the Gates app on your phone, move the gantry to one side, insert a 1/4" dowel under the middle of the belt, pluck it, adjust tension until reading ~100 to 120Hz
What’s important beyond absolute belt tension value is to ensure equal tension on the left and right Y belts.
I also started with slower RPMs in wood but certain people here kept urging me to turn up the RPM and send it…
It’s mostly about limiting cutting forces to be suitable for the rigidity of the machine so taking more cuts per second works out getting more material removed before hitting the machine limits, even if it might be a bit faster than recommended for the cutter.
I had no idea ebony was available at that sort of price, I assumed you needed to be Pablo Escobar to afford any reasonable amount.
As for belt tension, there’s an updated table in this post
The simple summary is that I did not find any reason to believe that there was any reduction in backlash or vibration with higher belt tensions once the minimum working tension is achieved. I was not able to get the rating data for the Shapeoko steppers but pretty much all of the steppers in this size range have a load limit which is pretty close to the minimum tension, after that the shafts will eventually work harden and fracture.
The minimum (and maximum) tension is set by the stepper max torque, both sides of the belt need to stay in tension, that’s about 18lbs which comes out around 80N.
So far I’ve only been published by the European Commission and Wiley on the subject of data centers but I’ll be sure to let you know if I talk Wiley into a book on hobby CNC mechanics
Indeed, and counter-intuitive is when work gets interesting I didn’t have a good argument either way when I started measuring and building up the simplified model.
Basically the excess tension forces on each side of the moving axis balance out to zero as the belt pulls between the anchor points. If this wasn’t the case the stepper motor would have rather a hard job moving the axis at all. Things don’t improve with extra tension because the belt forces increase linearly with extension, there’s no rising rate until you’re well beyond the forces a Shapeoko belt clip or stepper can handle and the belts wouldn’t last long either.
If we were trying to hold the axis up with the belt as well then more overall tension would help, but we’re not, the axis wheels or rails do that and we’re only interested in the extra force required to deflect this point on the belt.
I’m also somewhat weak on metallurgy but we have seen quite a few people on the forum here have snapped motor shafts after cranking on the belt tension. It’s a wearout type failure as it happens as the shaft flexes under belt forces with rotation of the stepper.
The stepper motor manufacturers specifically warn about excess shaft radial loads and this failure mode so, yes, I think more belt tension = faster stepper death both in shaft failure and bearing failure modes.
So, yes, as you say, the least belt tension required to react motor forces and that seems to be about 80-100N.
That awkward moment when you’re supposed to be at the more geeky end of the Shapeoko users spectrum, and folks out-geek you by a significant margin while discussing belt tension. C’mon, if it goes “twang” it’s probably fine, isn’t it ?
Jeff - thanks for the speed info. 18,000 rpm, 2 flutes, and 60 ipm works out to 1178 sfm [359 m/min] and 0.00167 in. [0.042 mm] chipload, both of which jive with my previous online research.
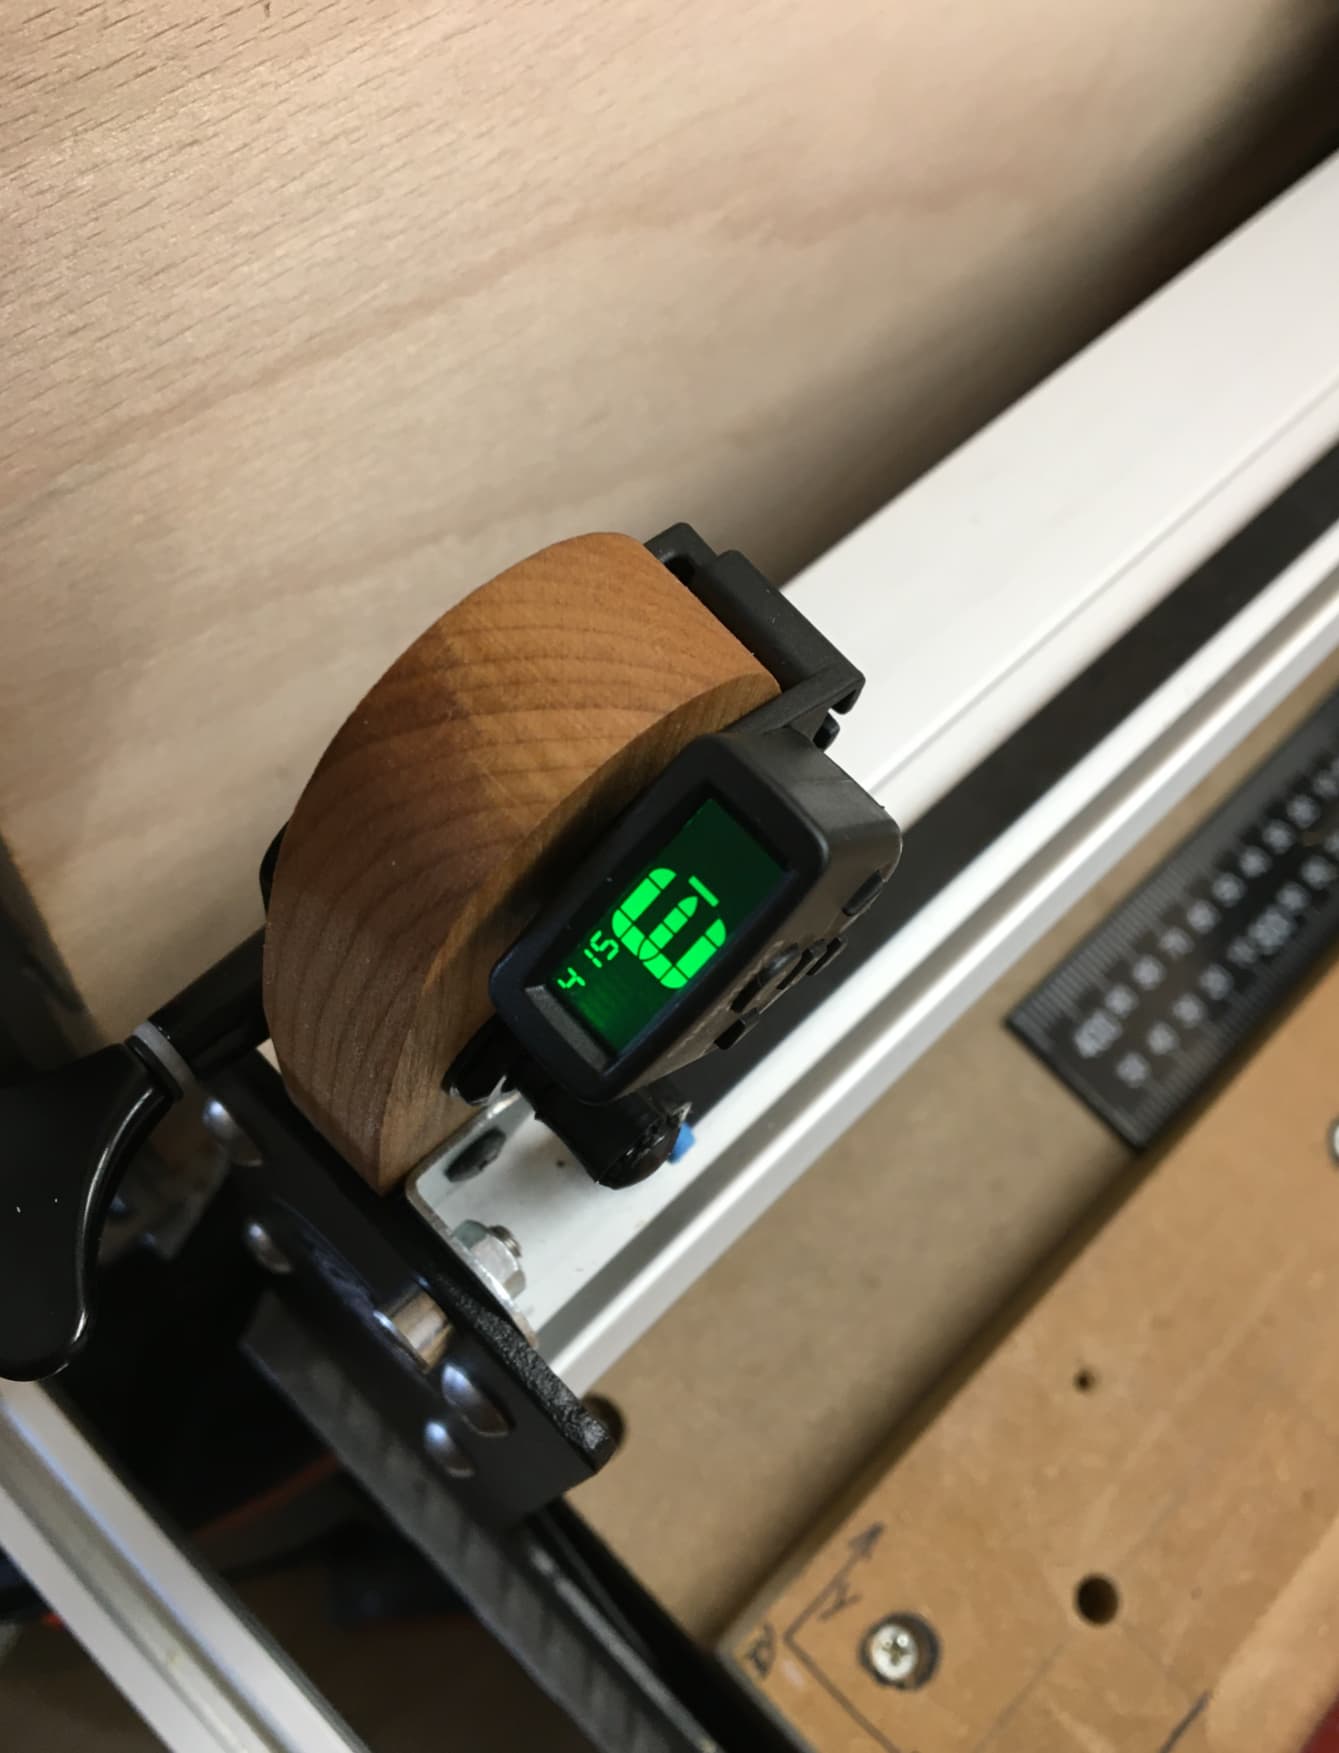
The belt tensioning theory / mods are an interesting topic. I will have to mess with at some point when I have time. I do have a decent Boss guitar tuner that may come in handy.
Lost foam casting will be a good fall/winter activity. Too hot out right now. I’ve been saving my decent-sized scrap / skeleton pieces of blue foam (where I’ve been experimenting with it on the machine) so they can become sprues.
Machine and workholding rigidity definitely make a big difference as you noted. I come from more of a metalworking background where things get cranked down on in vises, chucks, step clamps, or bolted into a fixture. It’s been interesting playing with foam that is only taped down with masking tape.
It looks like you’re doing a great job with your machine. Keep up the experimentation and tuning.
I haven’t done any casting in a while. I have a bunch of used oil saved up for the oil burner. And some Litex wall texture mix that I need to try using as coating on the foam (supposed to help the dry sand that it’s buried in from embedding in the surface of the casting). One fun thing you can do with lost foam is embed steel fasteners or other elements in it to make knobs, handwheels or pulleys with steel hubs, etc.
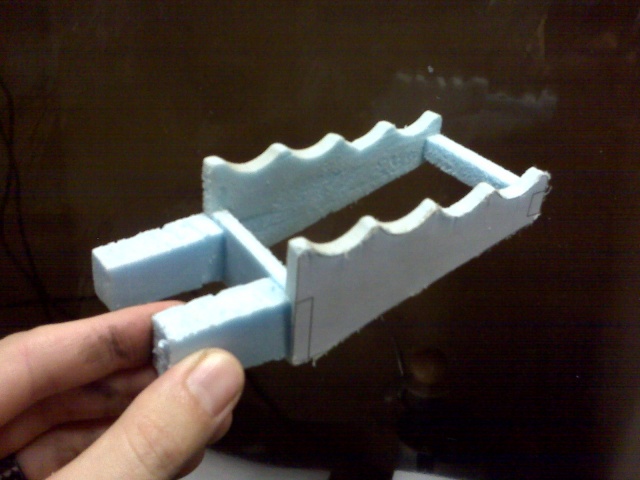
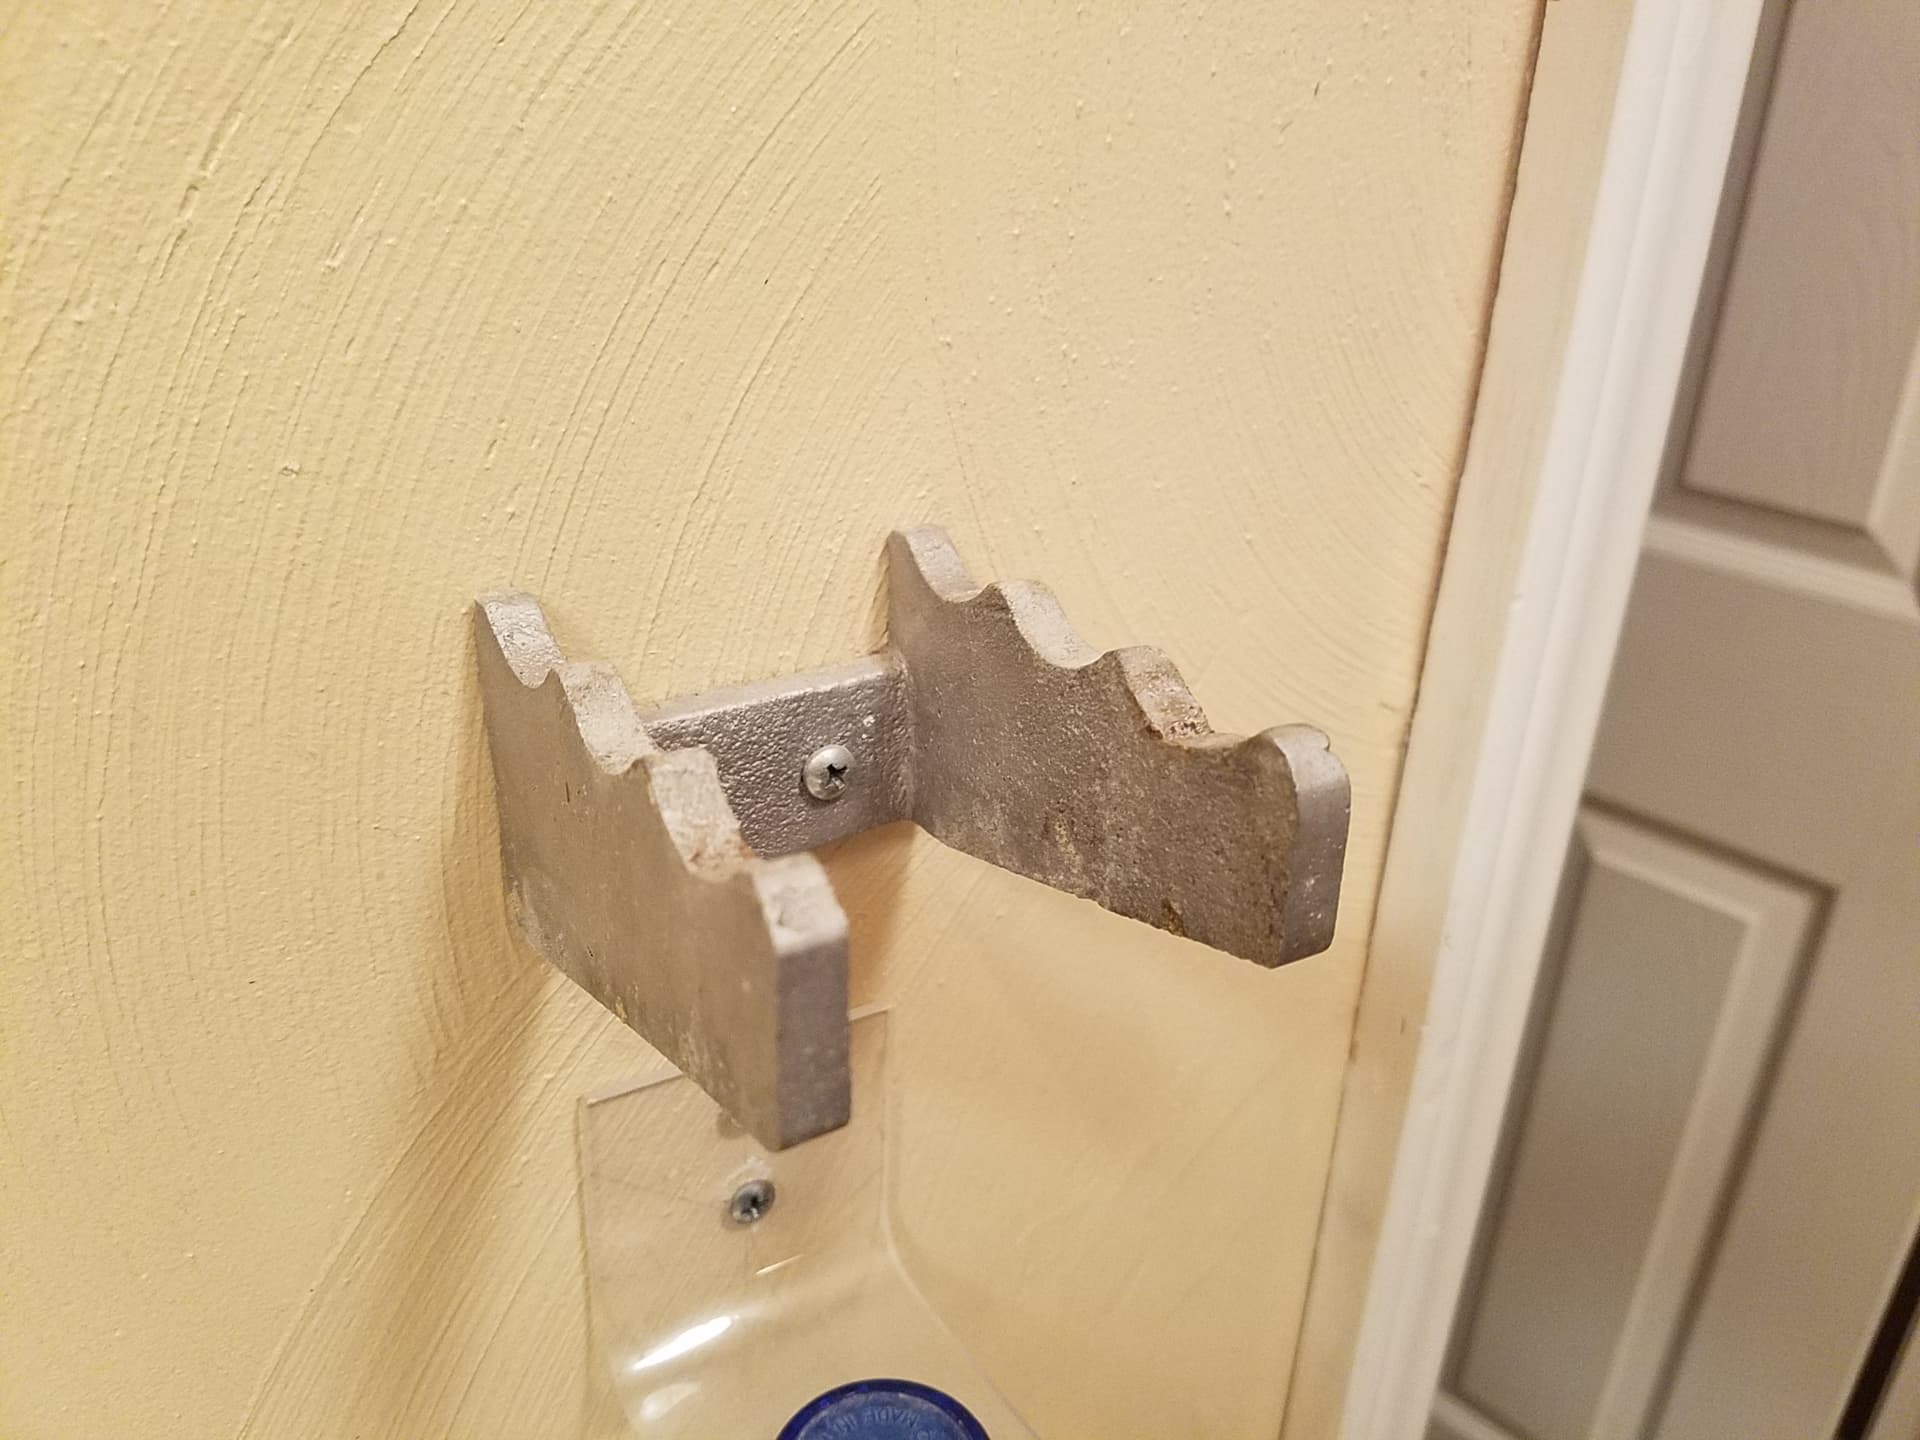
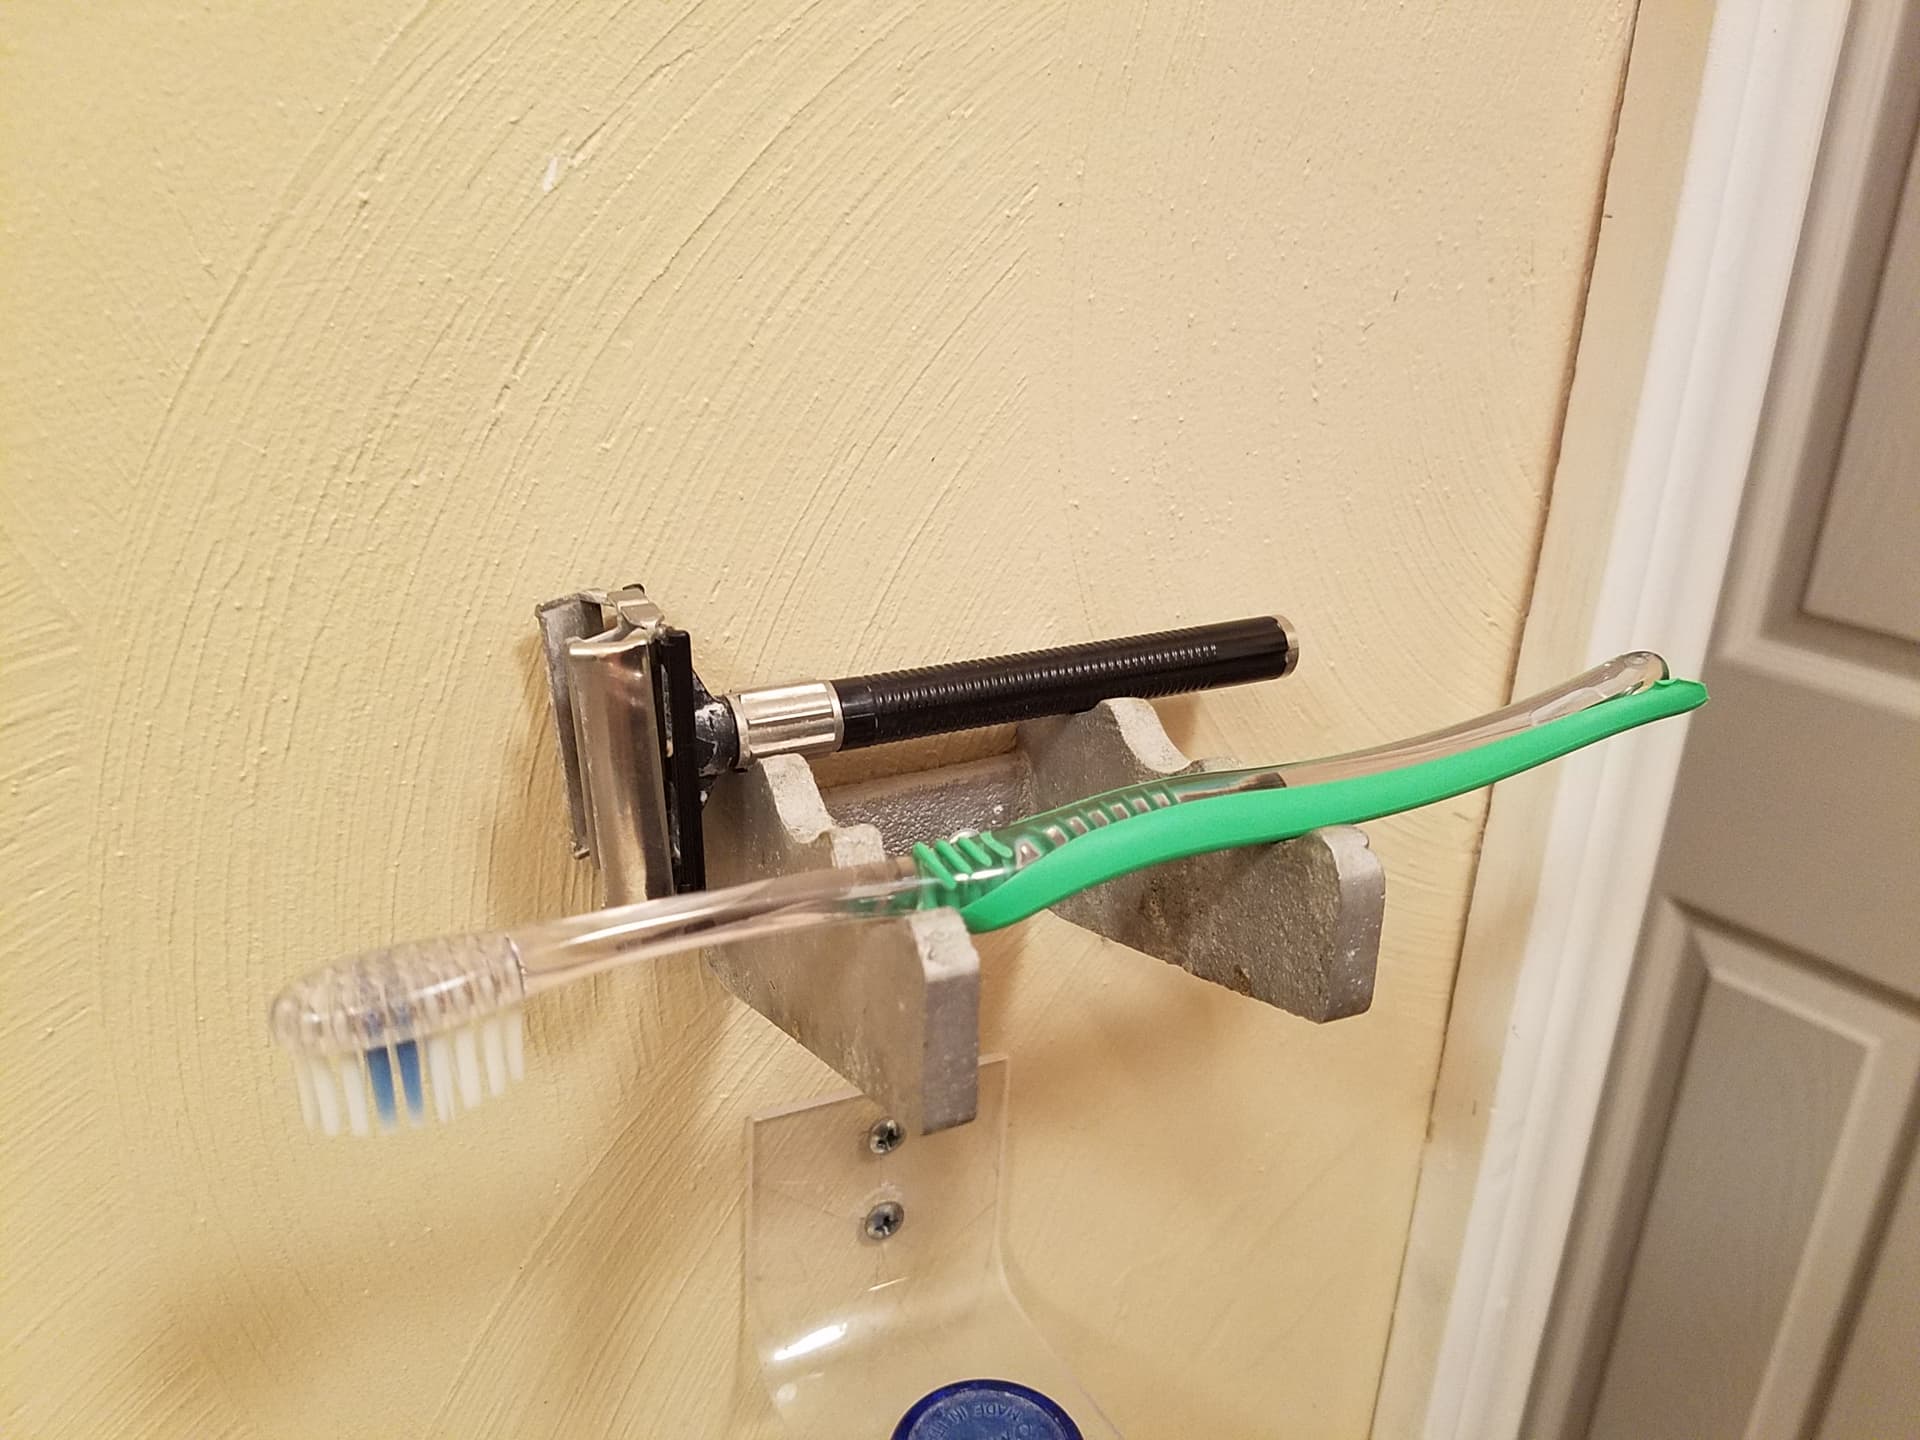
Mildly related, since it’s another design containing troughs, here’s a toothbrush holder I did in lost foam. Pattern was hand cut using a 1:1 dxf printed out and glued to the foam. It was supposed to be 4 troughs, but the end one didn’t fill, so I lopped it off. Need to take it back off the wall some day and smooth it out more and maybe powdercoat. Kinda like the blasted aluminum look, though.
Slightly more back on topic, I ordered a dust cyclone for my Shapeoko for MDF and other cutting. I have one on my blast cabinet (a converted 250-gallon oil tank) and thought about just moving that one back and forth, but for as cheap as they are, it’s not worth the hassle.