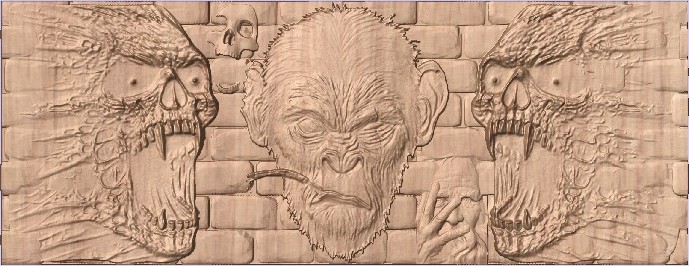
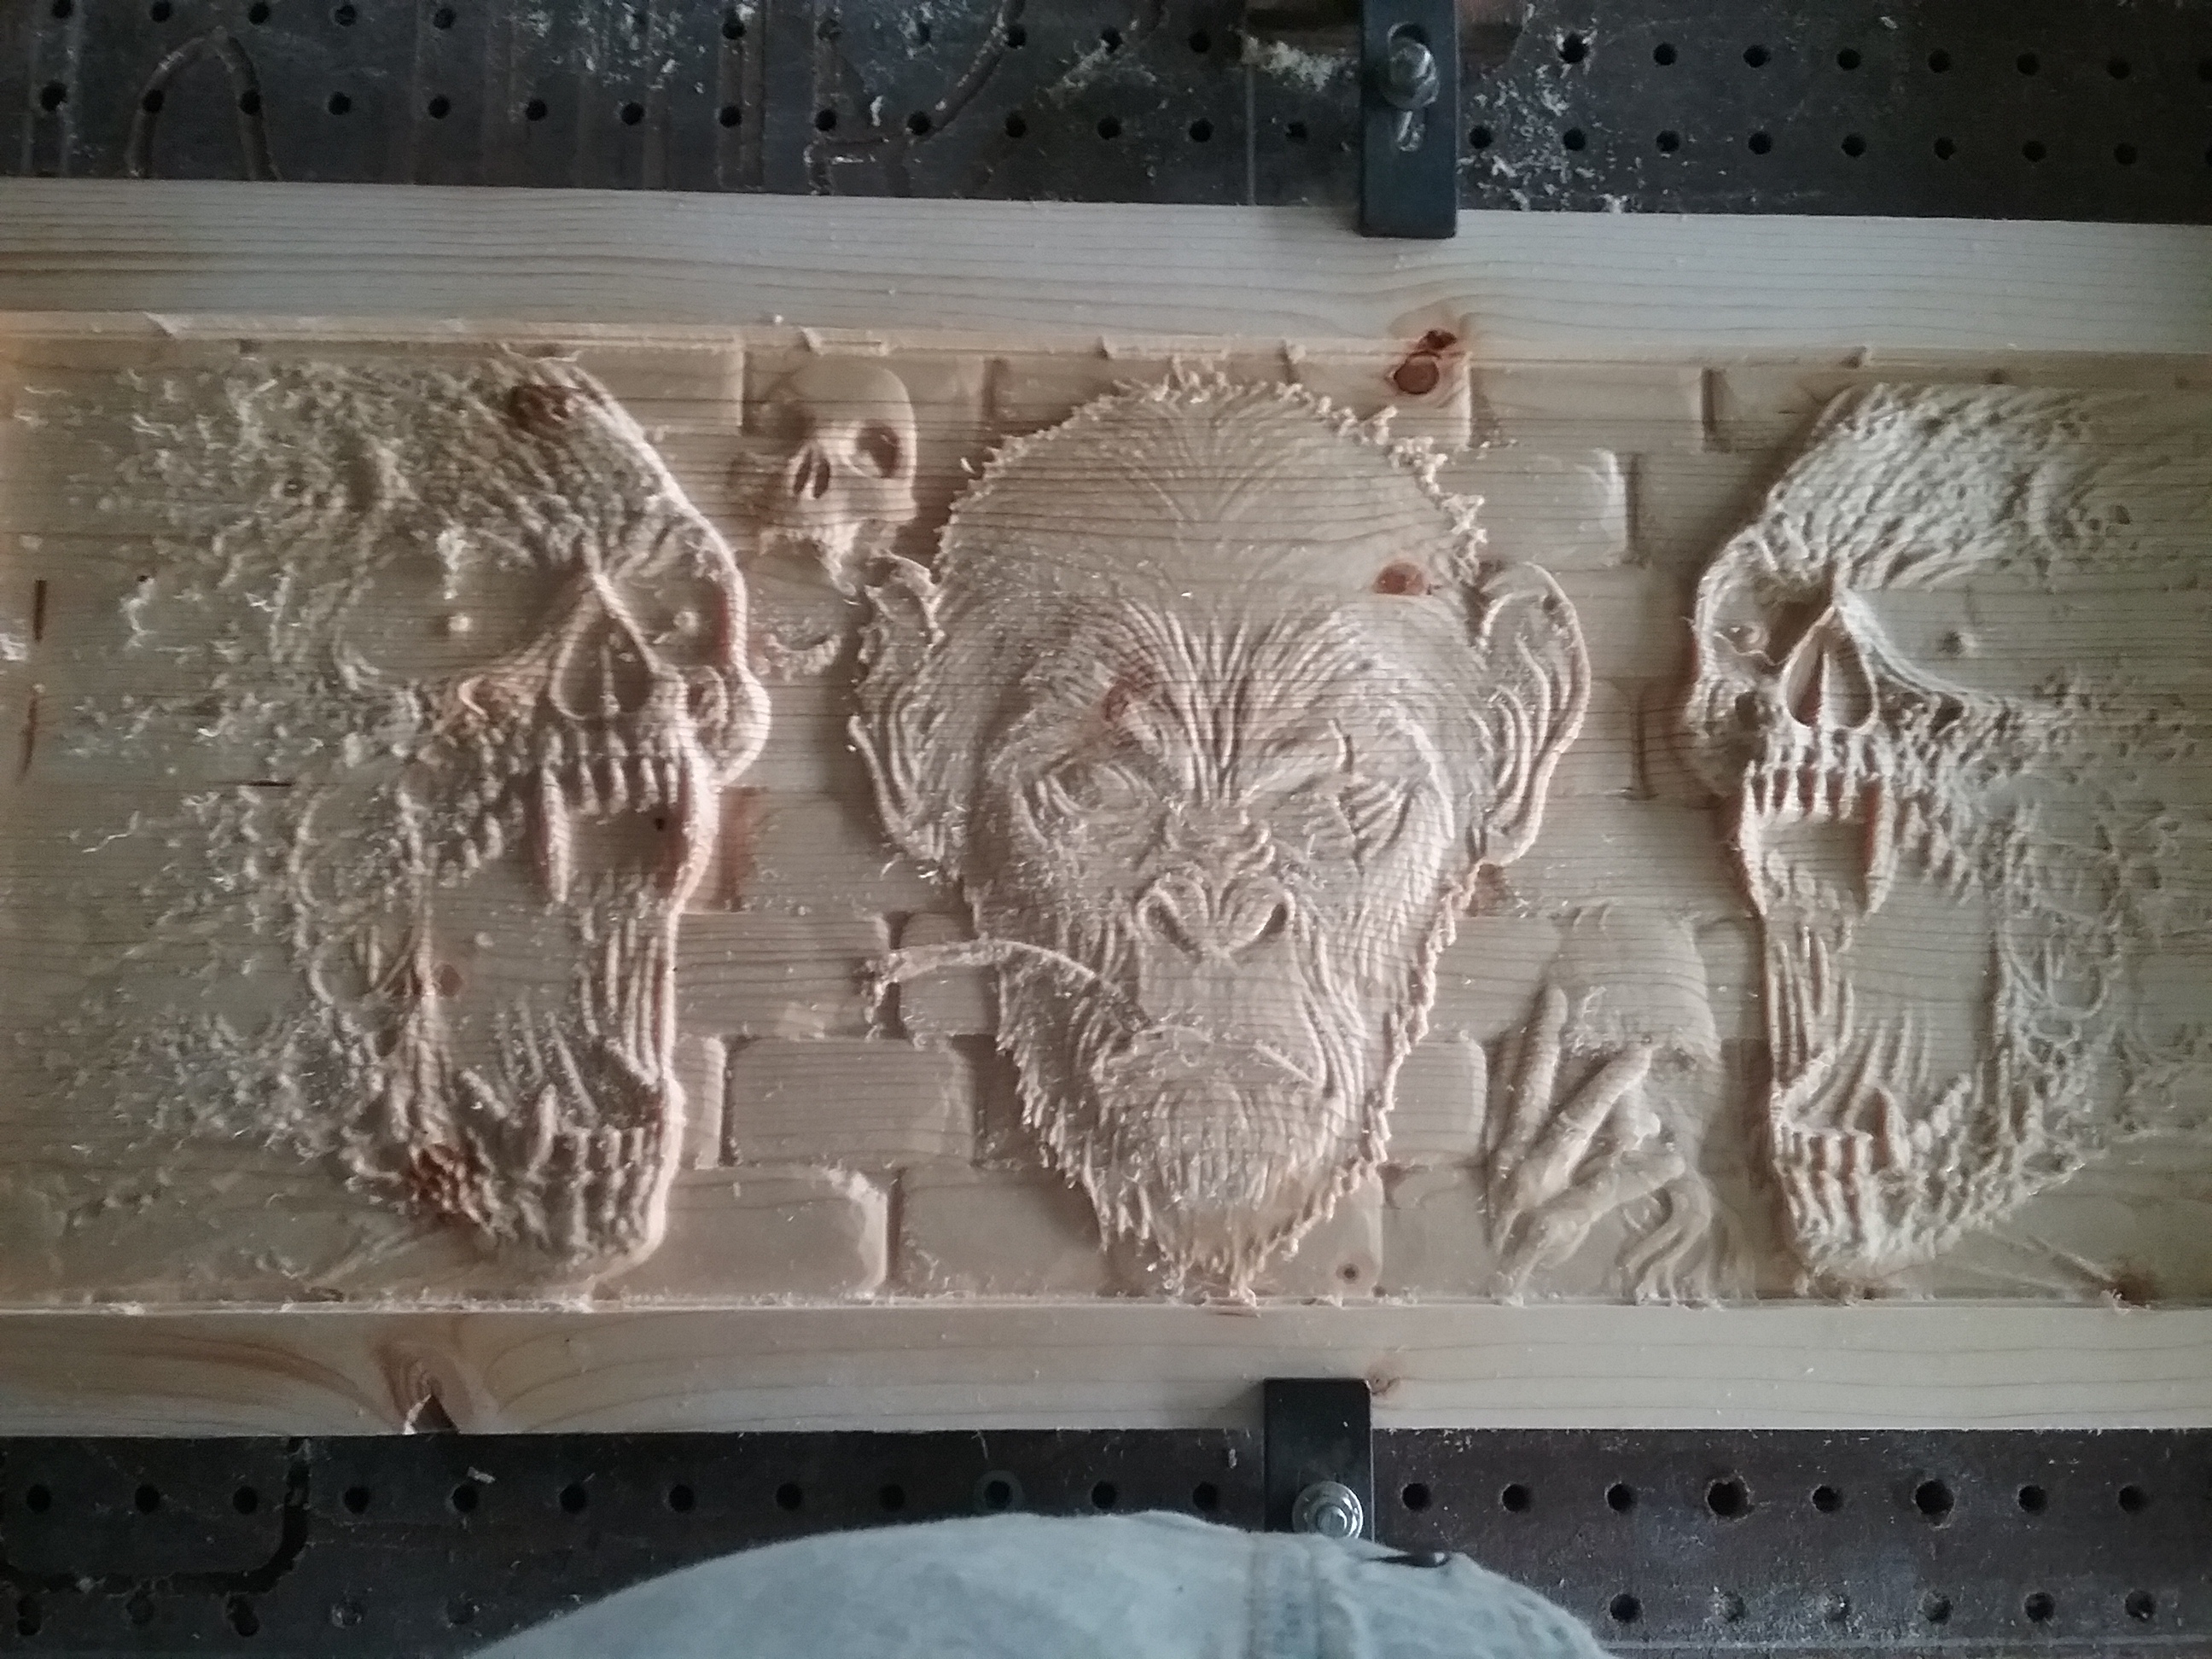
I made another 3D file and carved it out on the XXL.
Its 9-3/8" tall by 24-1/2" wide by 3/4" thick.
I use combinations of 3D software, and sources for files. I use thingyverse and other 3D printer sites for sources of FREE 3D objects of ALL kinds.
I use Vectric’s Aspire for my CAM, which I found to be a bargain, and easier to use compared to Artcam, at the time, about 3-4 years ago.
I recently bought some rock, and human bone, alpha brushes, that you would normally use in ZBrush, or Blender. $10 for 174 bones and 18 rocks.
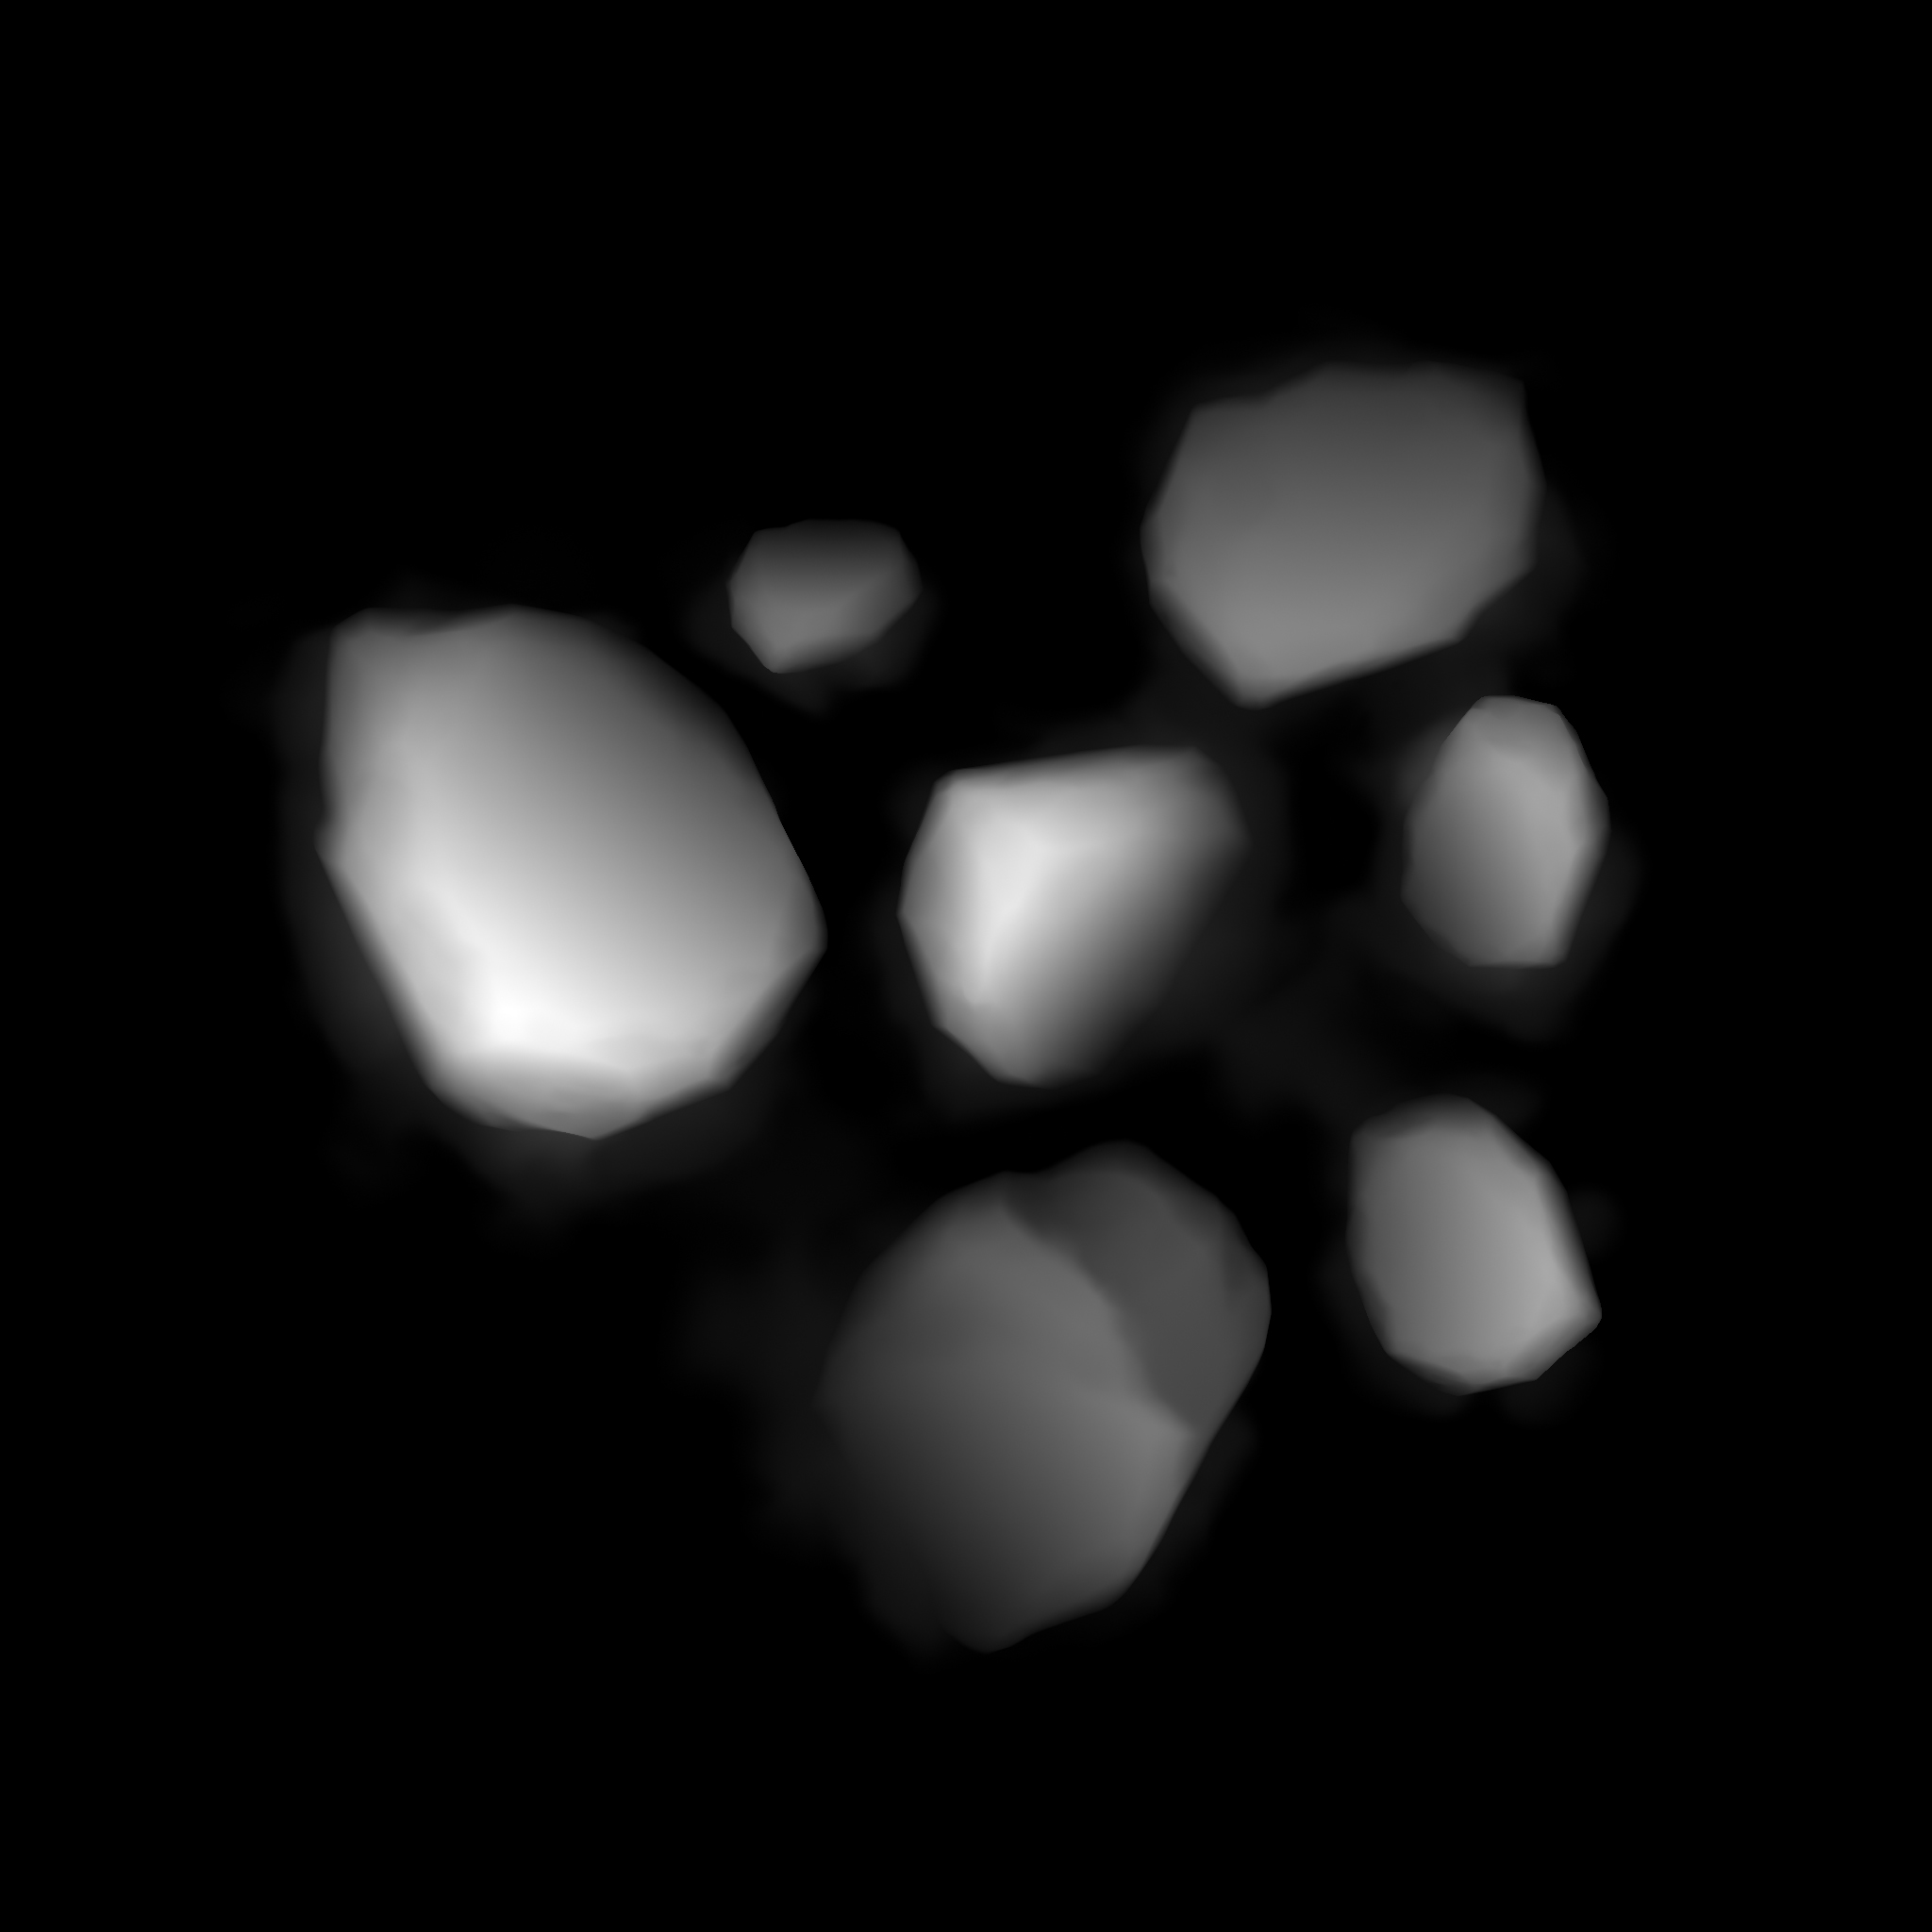
Alphas are grayscale pictures in different formats (I use .TIFF) such as .tif, .bmp, or even .jpeg, etc.
3D software reads these shades of white and black as height. White being high and black being low. I’ll include a photo below.
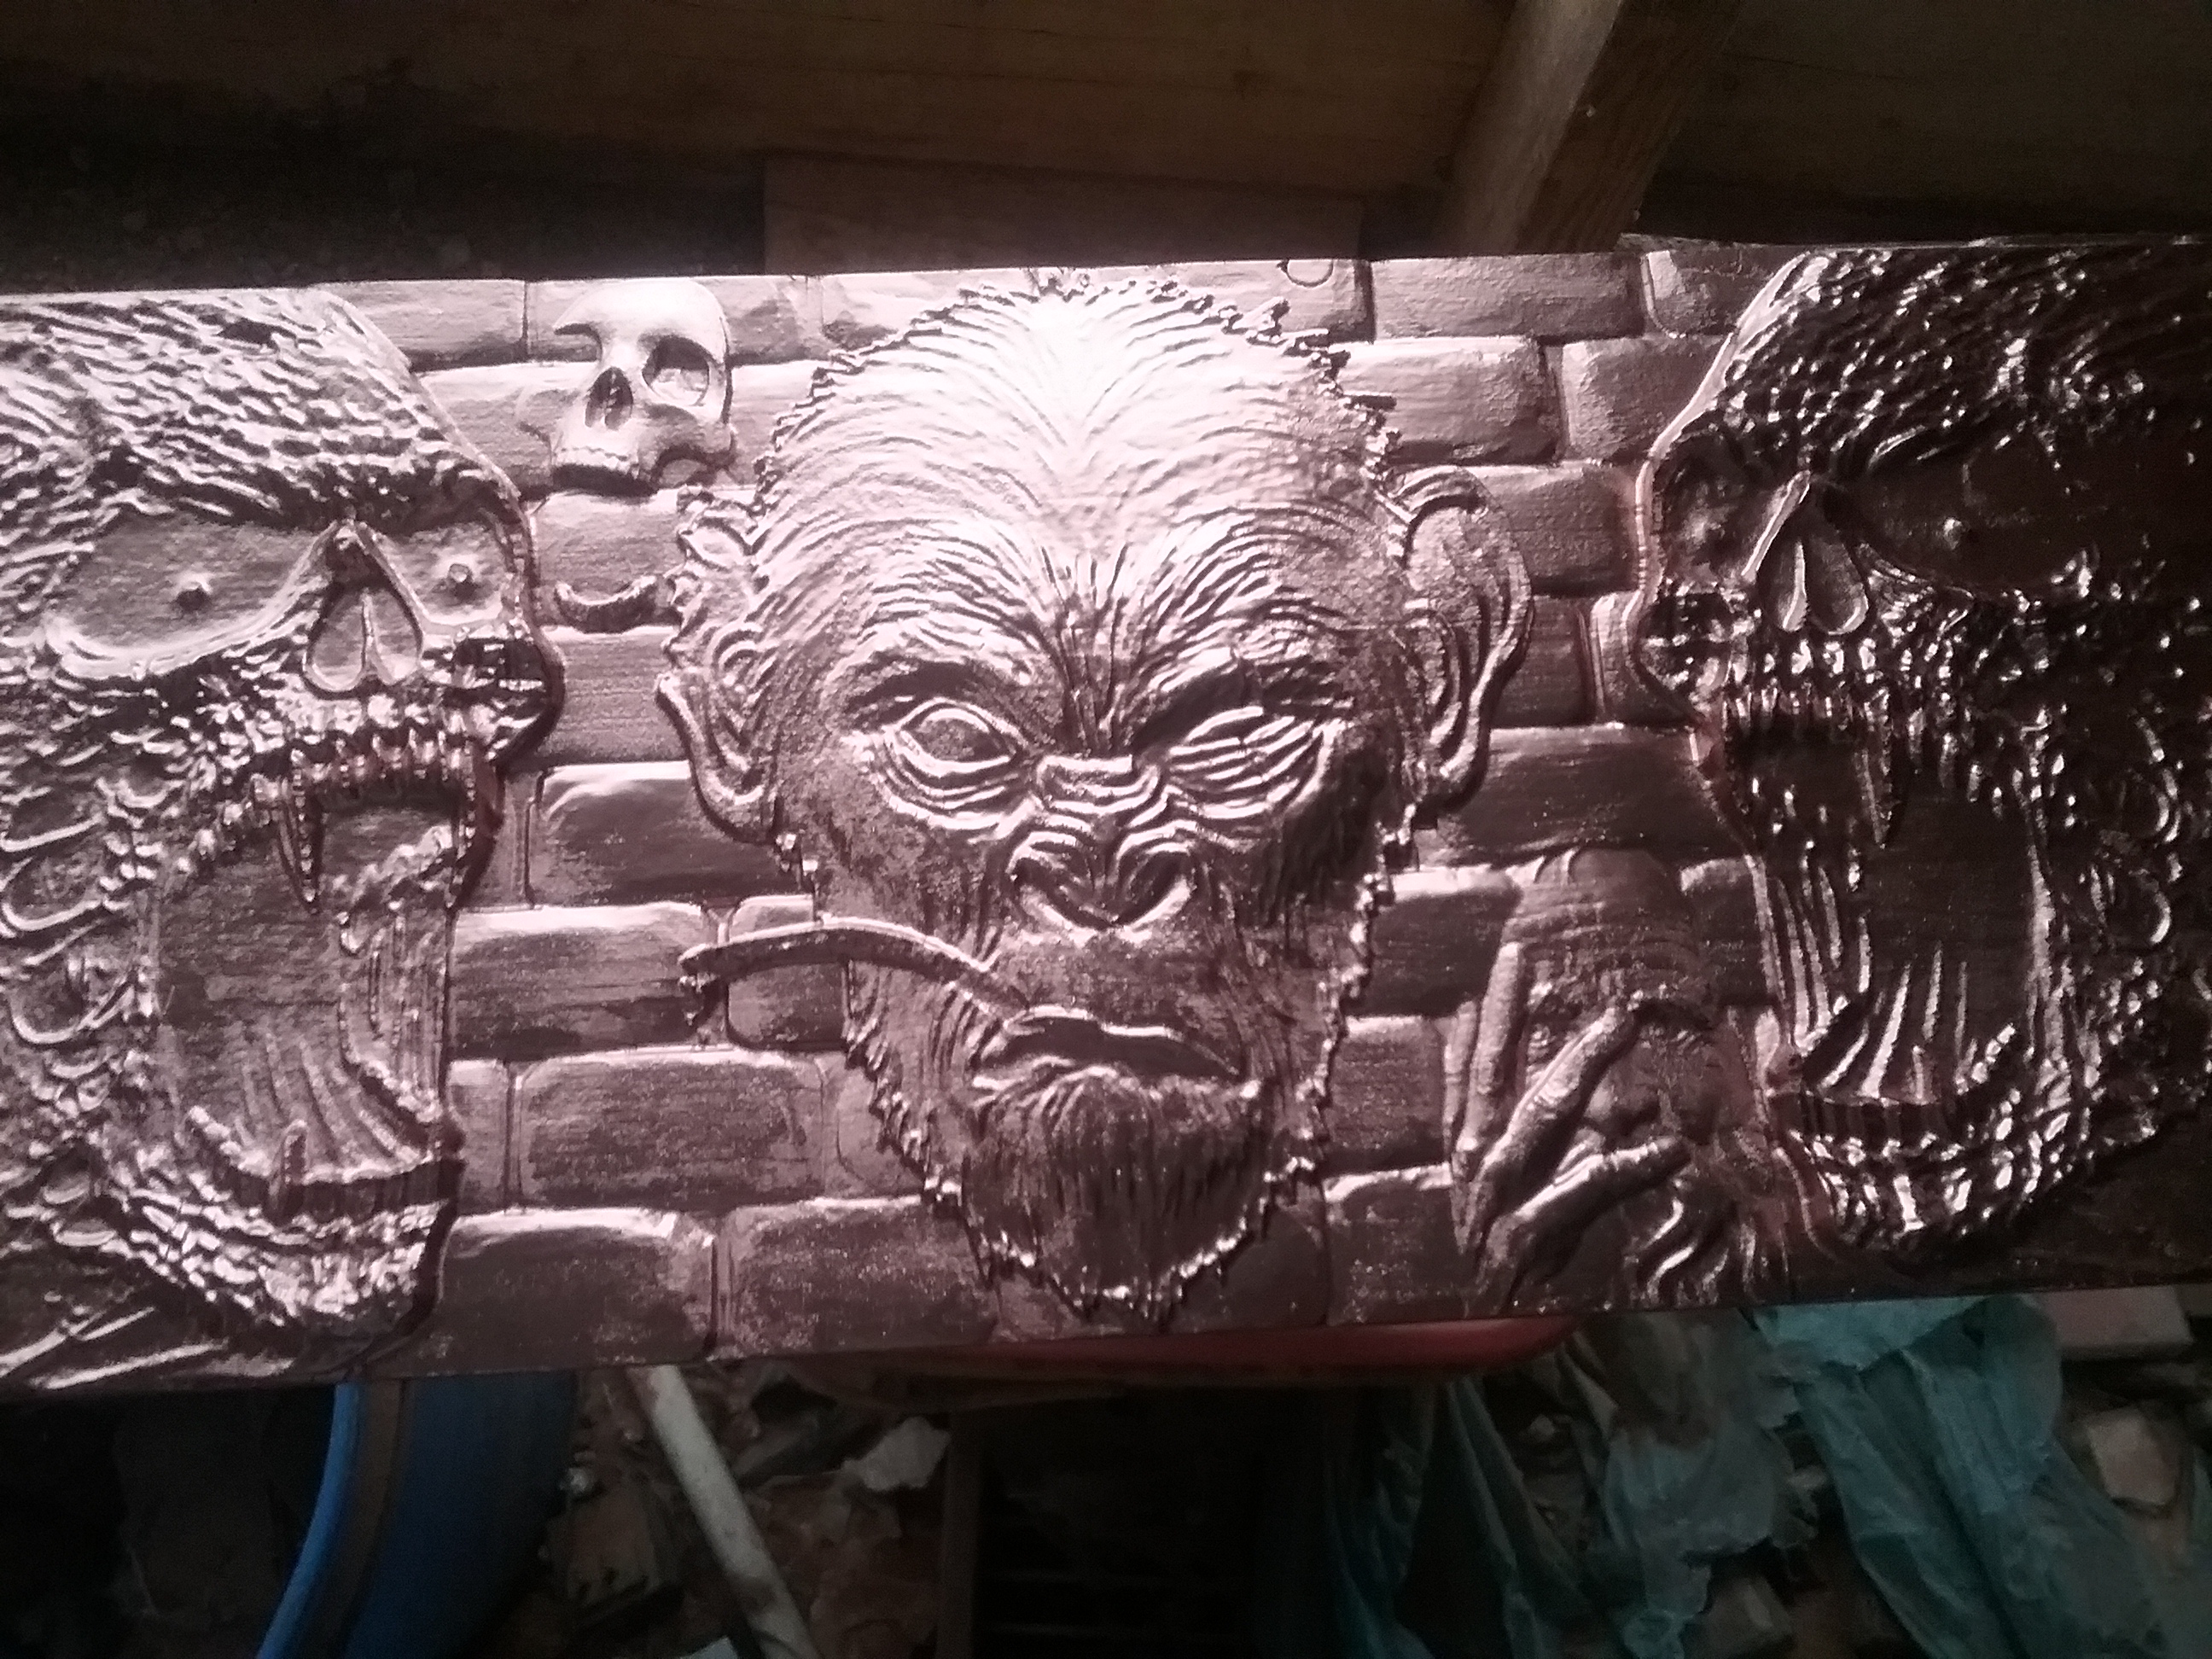
I made a textured toolpath of the Bricks using a brush by importing the Brush’s .tiff file into Aspire, then automatically drawing a vector using bitmap to vector trace button. I then create a 3D component from bitmap, and hit the button that clears the area OUTSIDE of vectors, so only the bricks are left, with no background.
I do this with any pictures, or 3d models that have a background around them.
I then used the “Create a textured toolpath” feature to cover the background with bricks.
The Smoking Monkey was a high quality photo from the web, and treated as above, but after I made it into a 3D component, I selected the vector outline, and just domed the whole thing 20%.
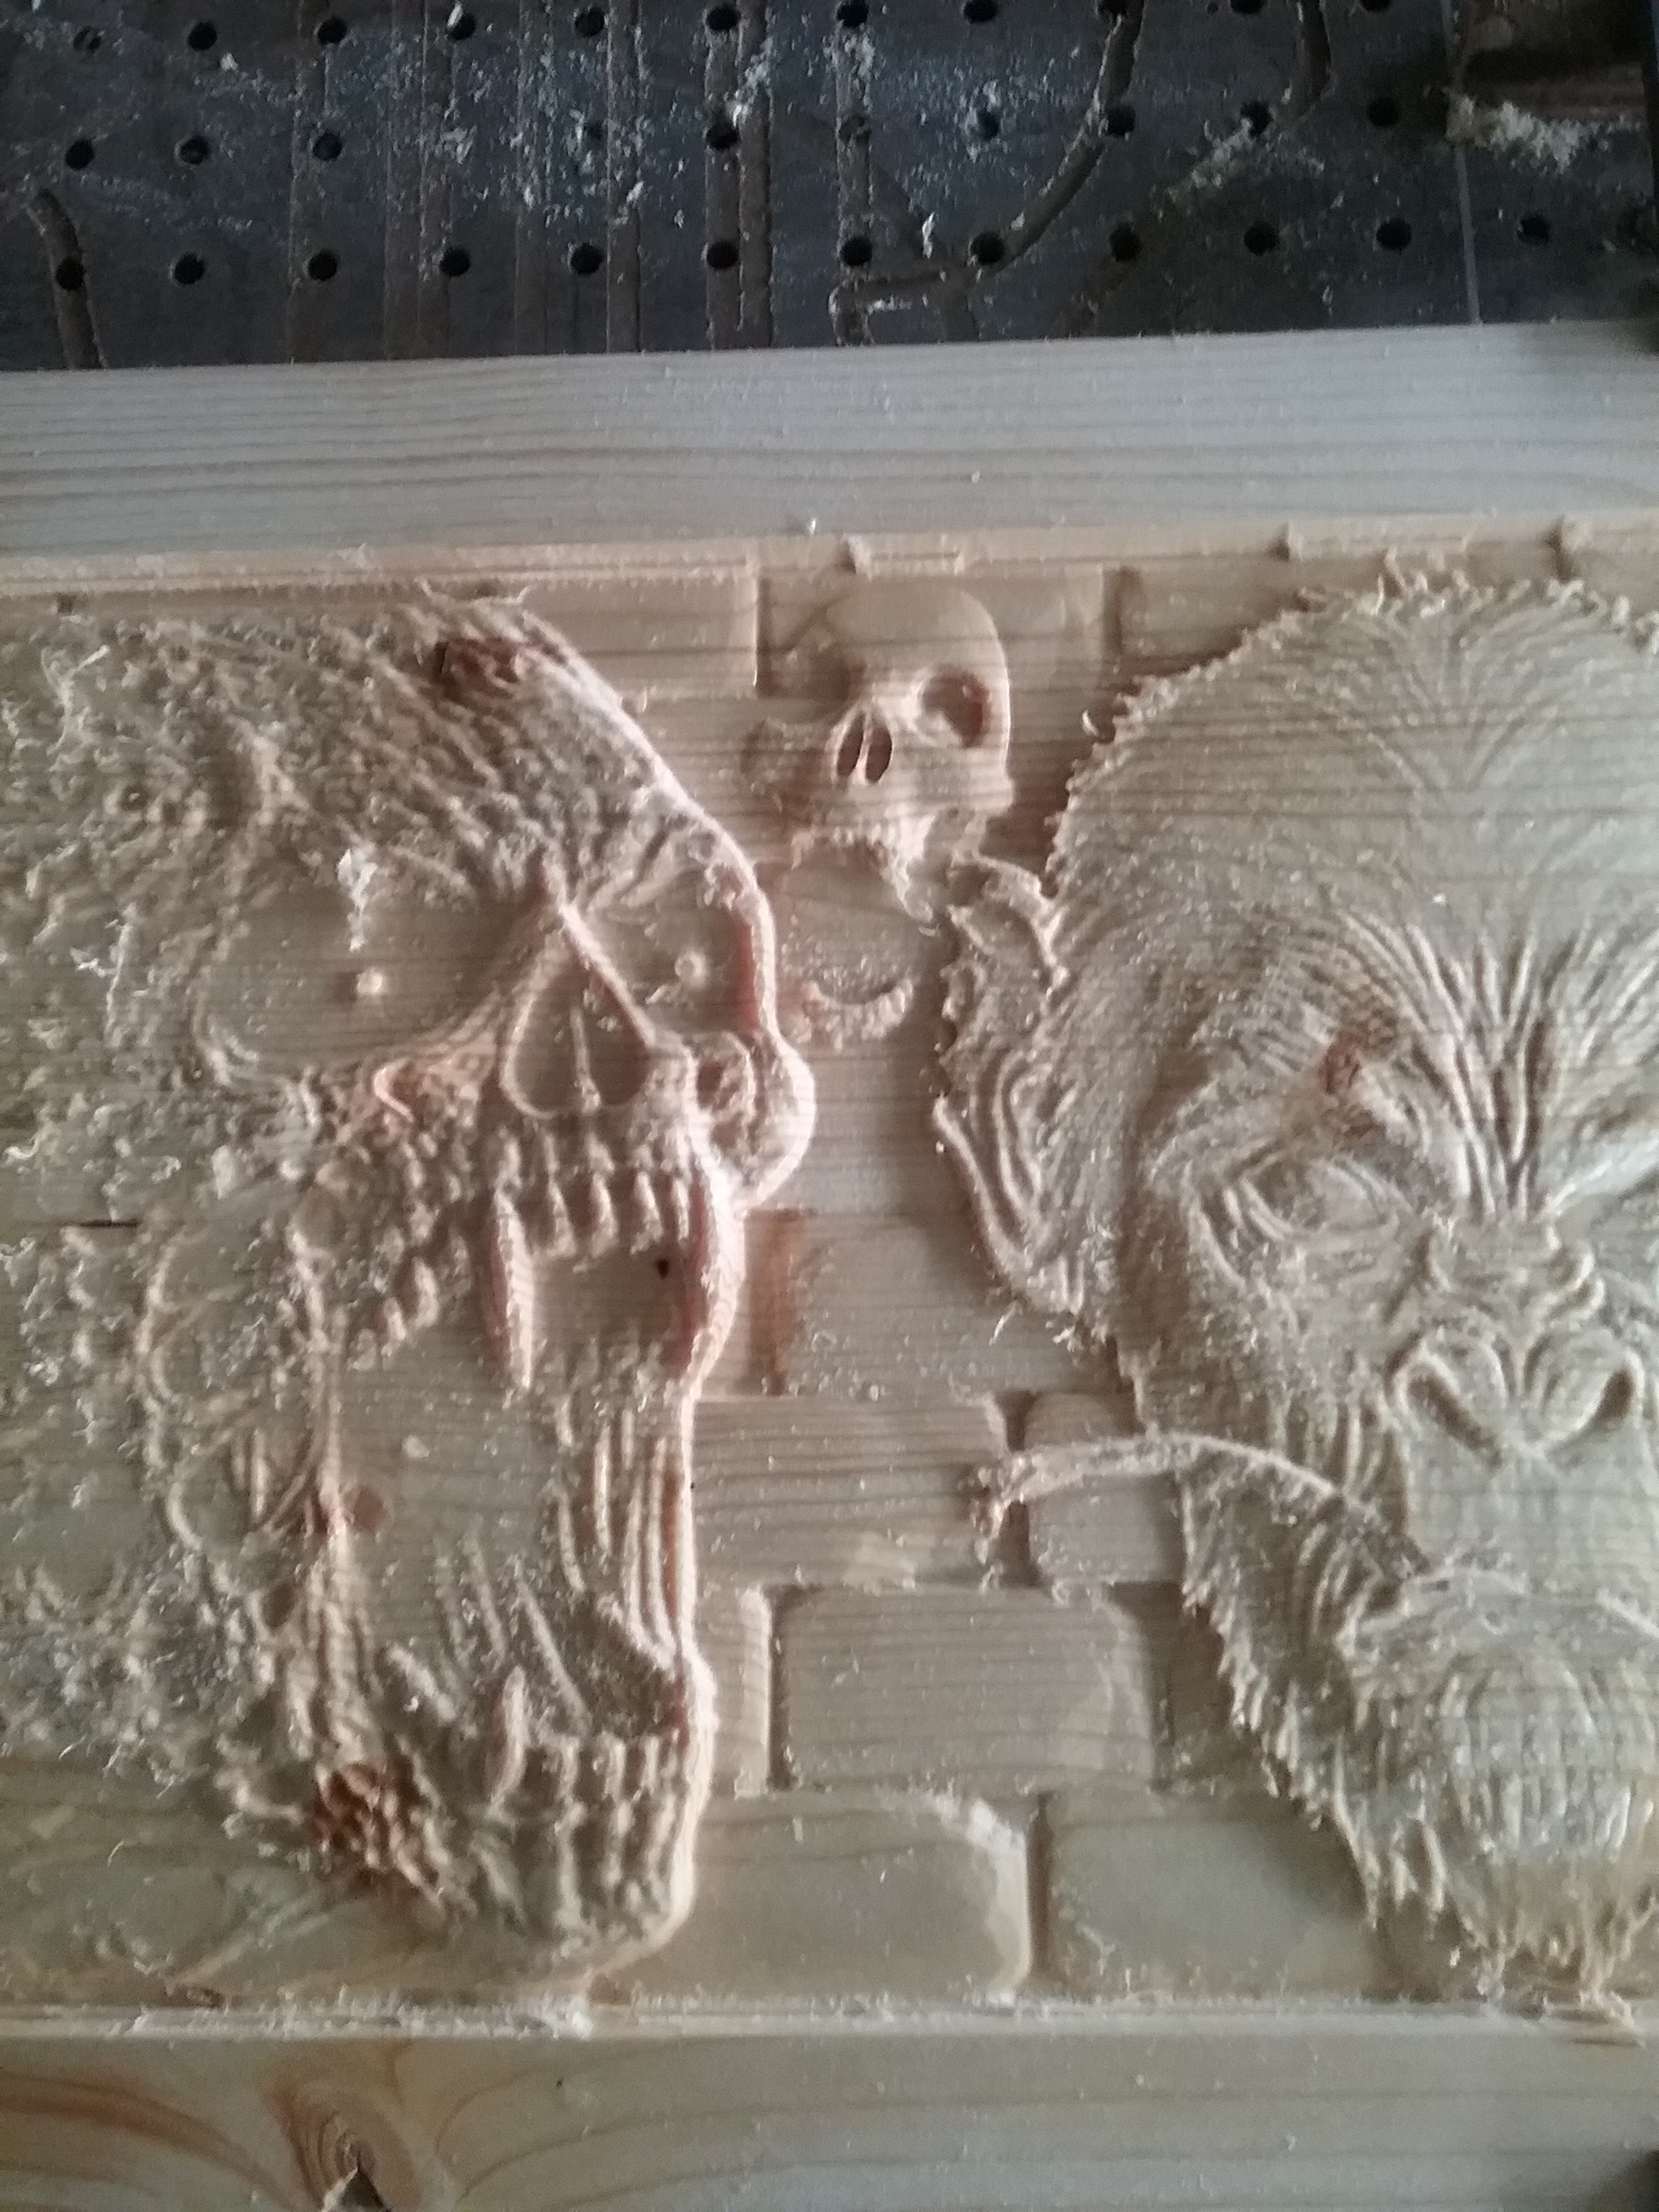
The two big snarling skulls on each side, started as one high quality photo, treated as above, but with no doming, and i forgot to mention that ALL the photos will get some degree of smoothing, with the smoothing button, or even the sculpt button, for special detail, like eyes, or inside mouths, and teeth.
Then the skull was faded from face to back of head, and finally it was mirrored and copied across the job center.
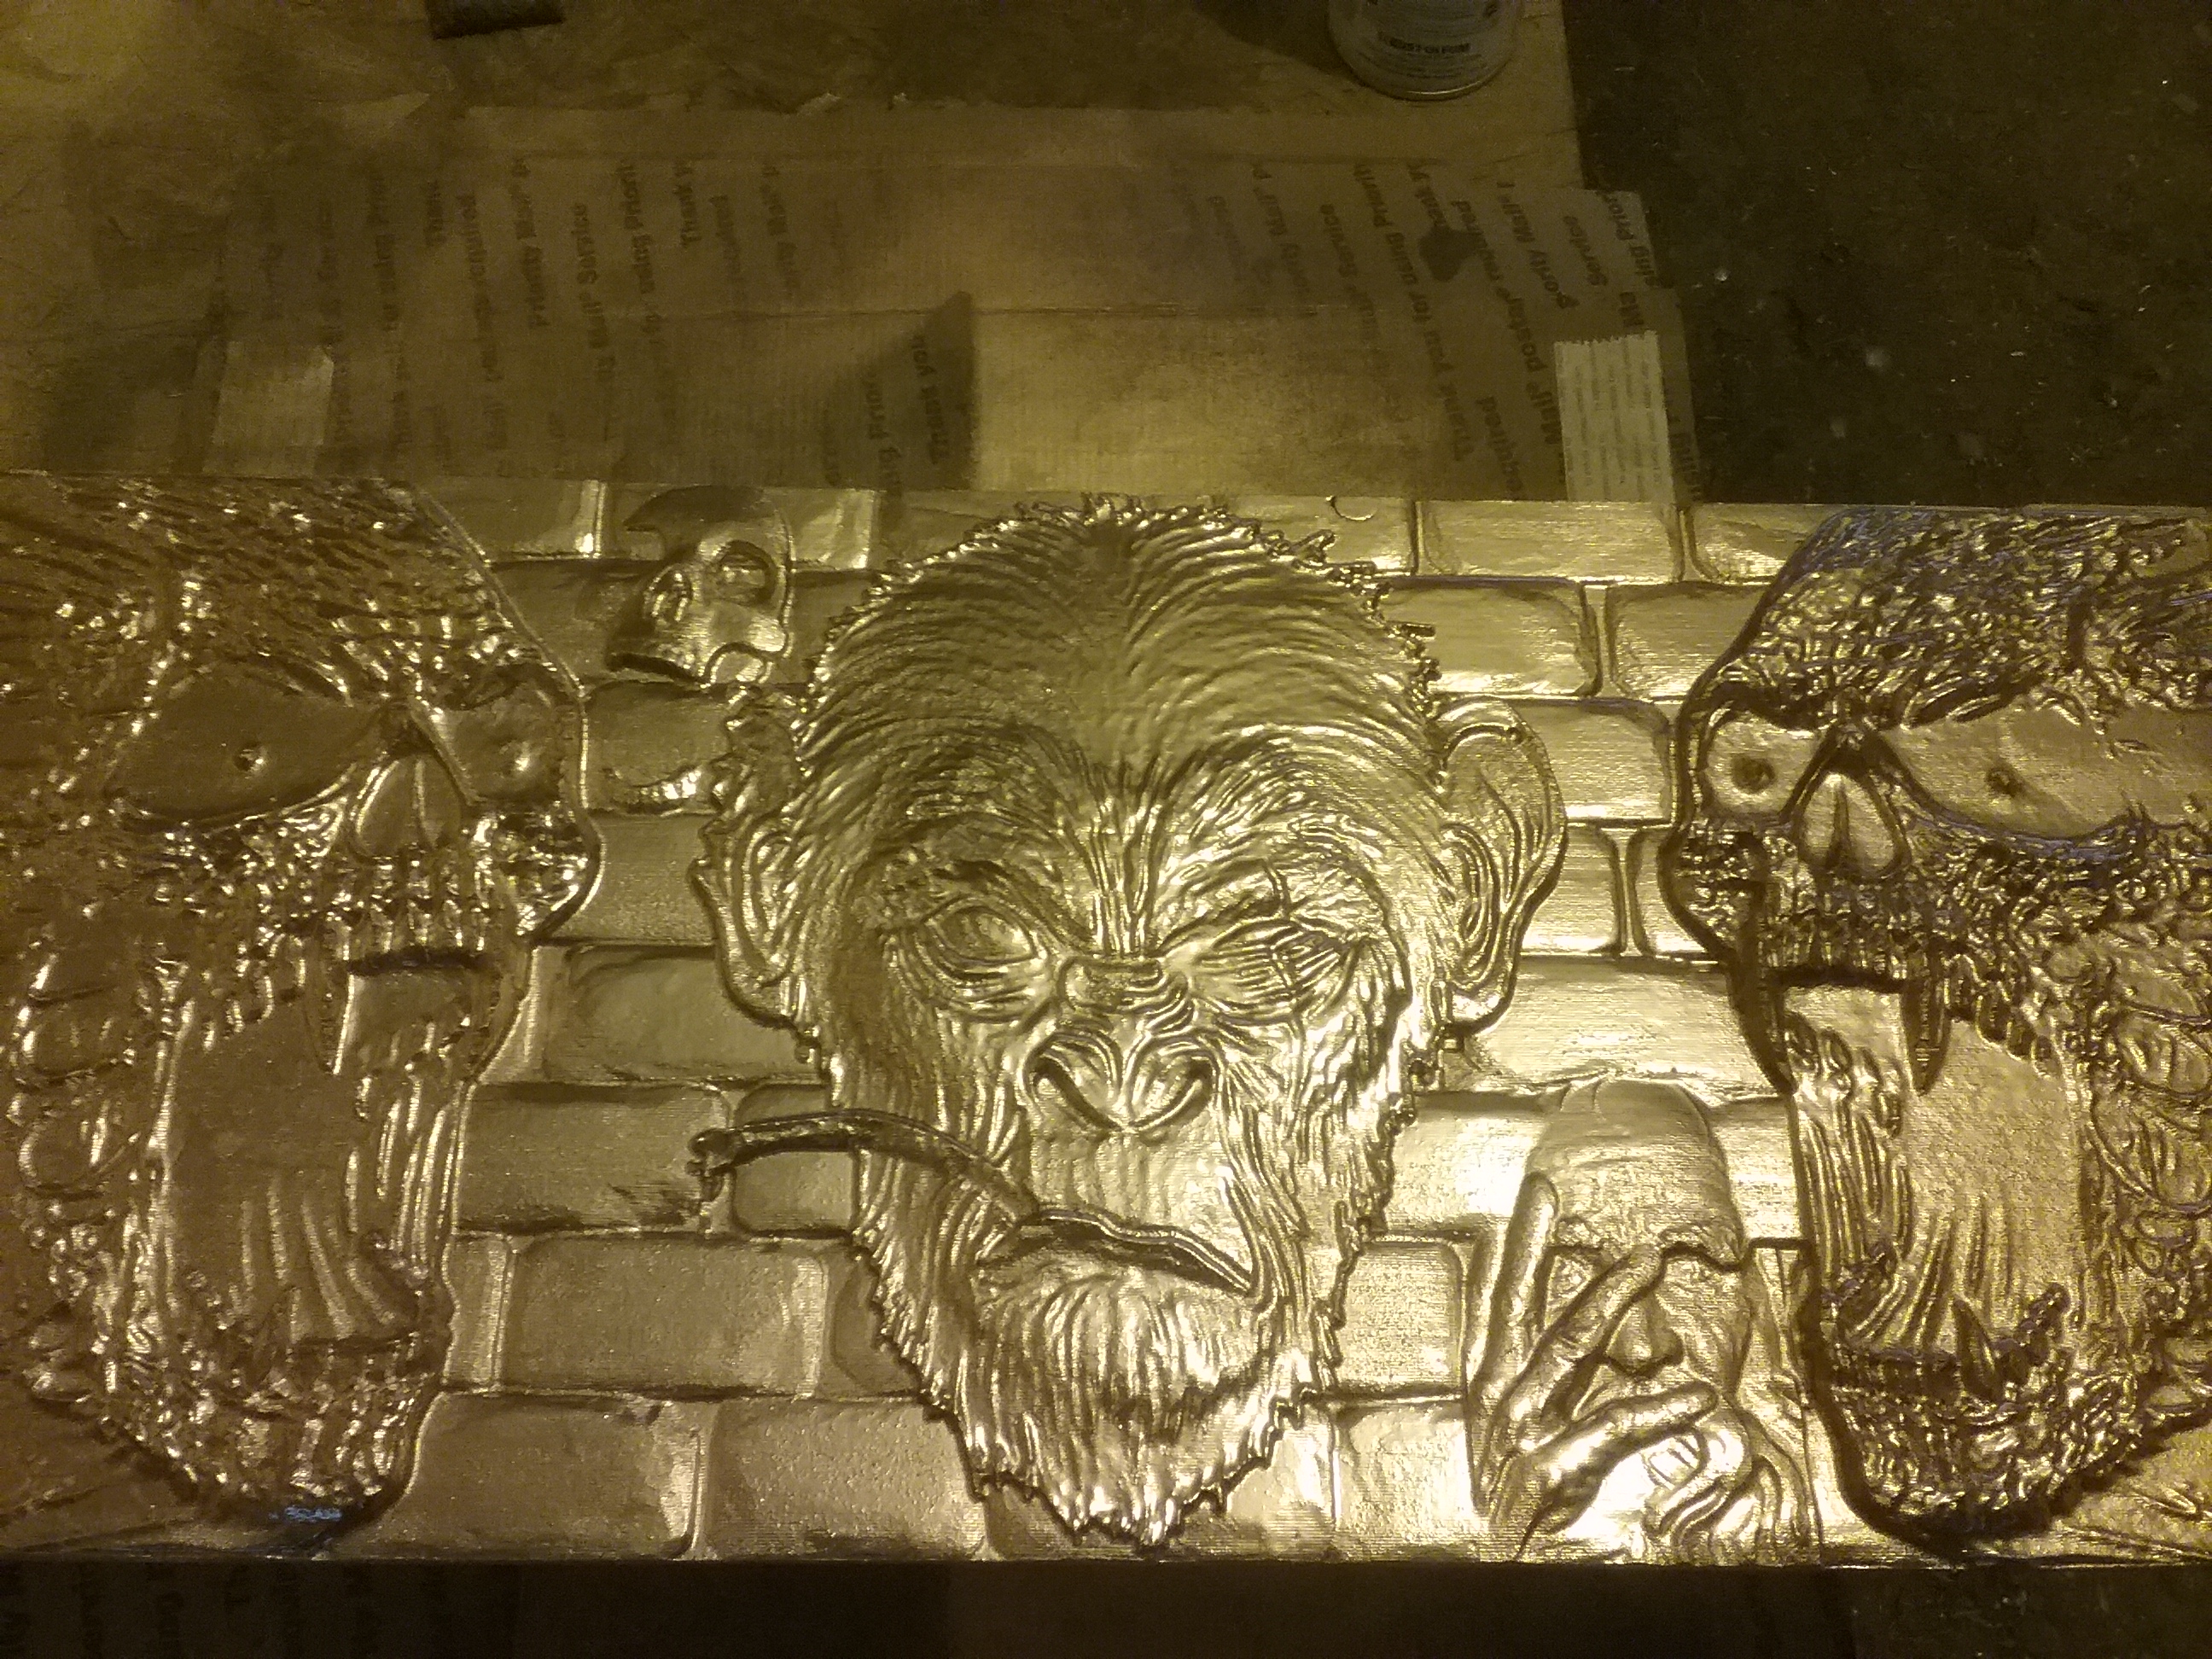
The skull at top, left of Monkey, is an example of an alpha brush, and at the bottom, right of Monkey, is the famous .STL file of the old mans face.
The speeds and feeds were meant for Oak, but I used a dull bit, and it was slowly pulling my router down, and losing steps, or gaining i guess, since it was going lower 
After about 30 minutes, I noticed it was running about 1/16" lower than it should have been, because it started making trenches beside spots that were supposed to be the same height.
Anyway I got a new bit and used the Spruce that I had.
This was roughed out with a carbide, 3 flute, 1/4" endmill.
Depth of cut - .125"
step over- 40%, or .1"
RPM- 17121
Feed/Plunge- 167/55 inches per minute.
Finished with a carbide, 2 flute, 1/8" ball endmill.
depth of cut- .02-.03
Step Over- 10%, or .0125"
RPM 27000
Feed/Plunge 180/90
Both bits were from Carbide 3D.
After the first finish, I sprayed it with fast drying polyurethane, then ran the finishing tool path a second time, .005" deeper to remove all the fuzzies without having to sand. It worked good.
I then painted it with Copper paint.
Designing and modeling on the fly, took about 4-5 hours.
Cut time:
Roughing was 35 minutes.
One finishing run was 2 hours and 15 minutes. Times two because of the “sanding” run, so total run time for the machine was a little over 5 hrs.
I love this router CNC stuff!
Here’s an example of a rock alpha

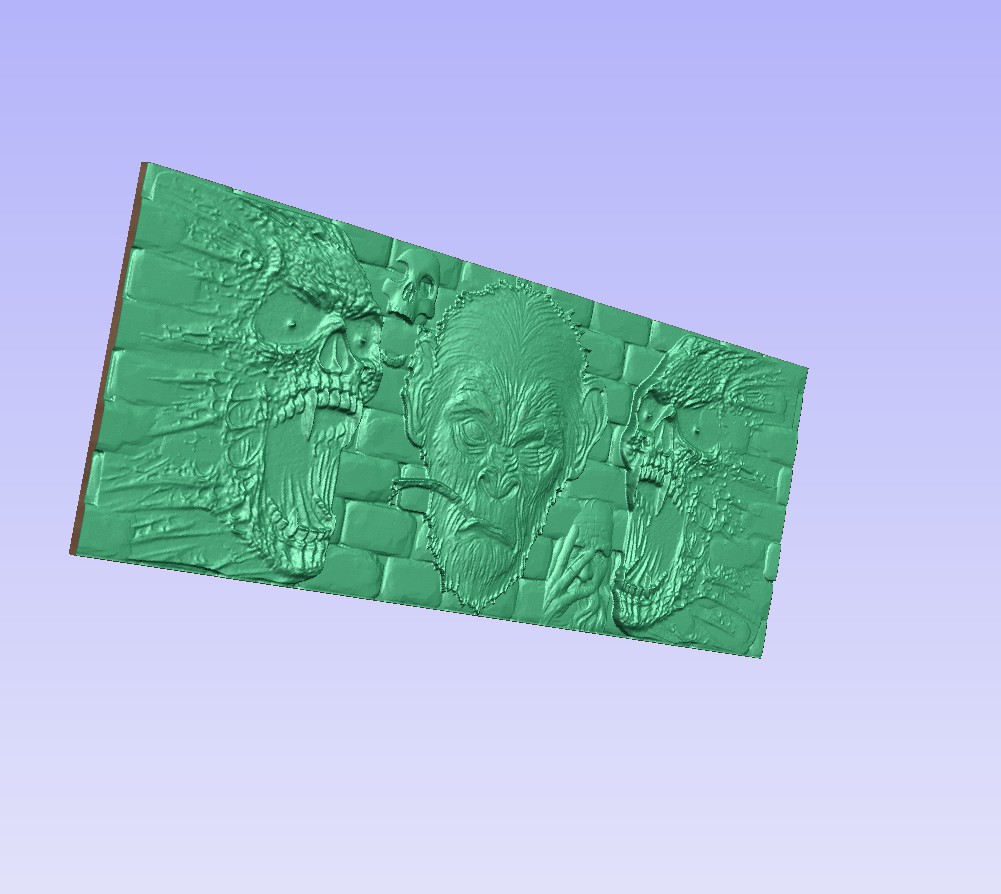
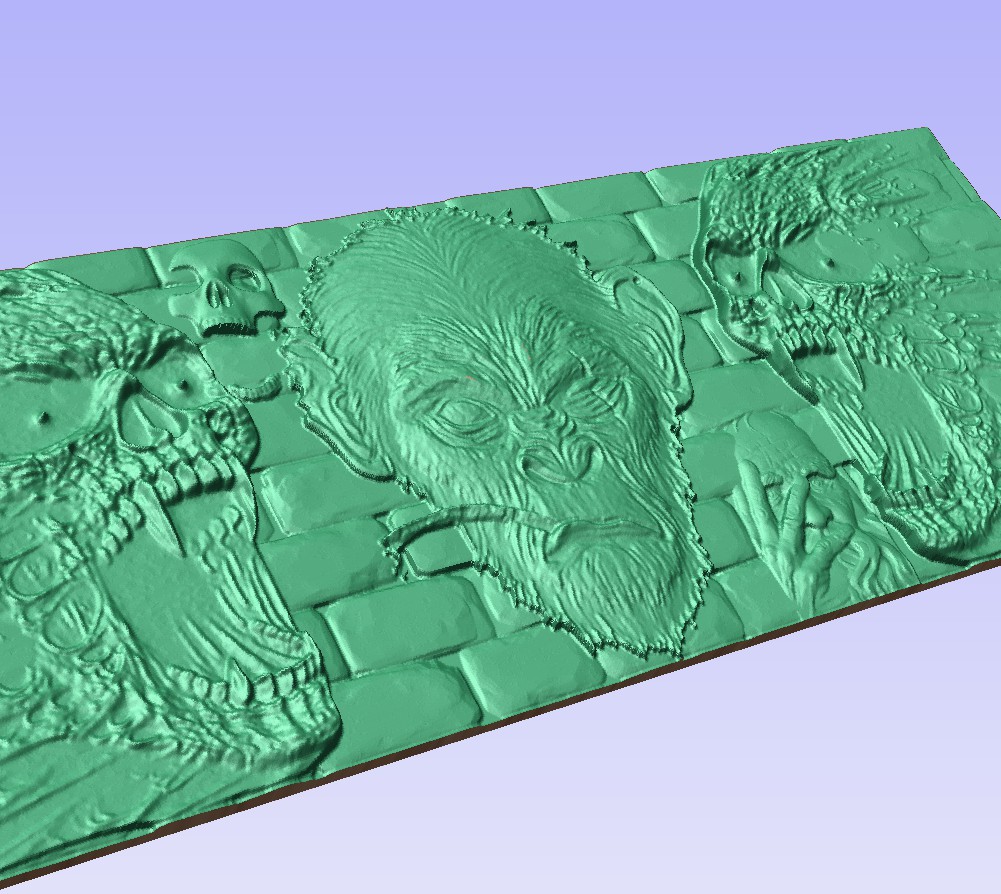
The simulation photos.