That’s a really nicely implemented example of the ‘light in from all the edges’ method of making acrylic light up nicely, tidy.
4 Likes
@Microwave_Monkey Is the black material Valcromat?
It is Forescolor mdf, essentially the same thing as Valchromat. I love the stuff . Super easy on cutters, holds detail and sands well, and it is immensely less irritating to my skin and airways than regular mdf. Still kinda finicky to finish, though.
4 Likes
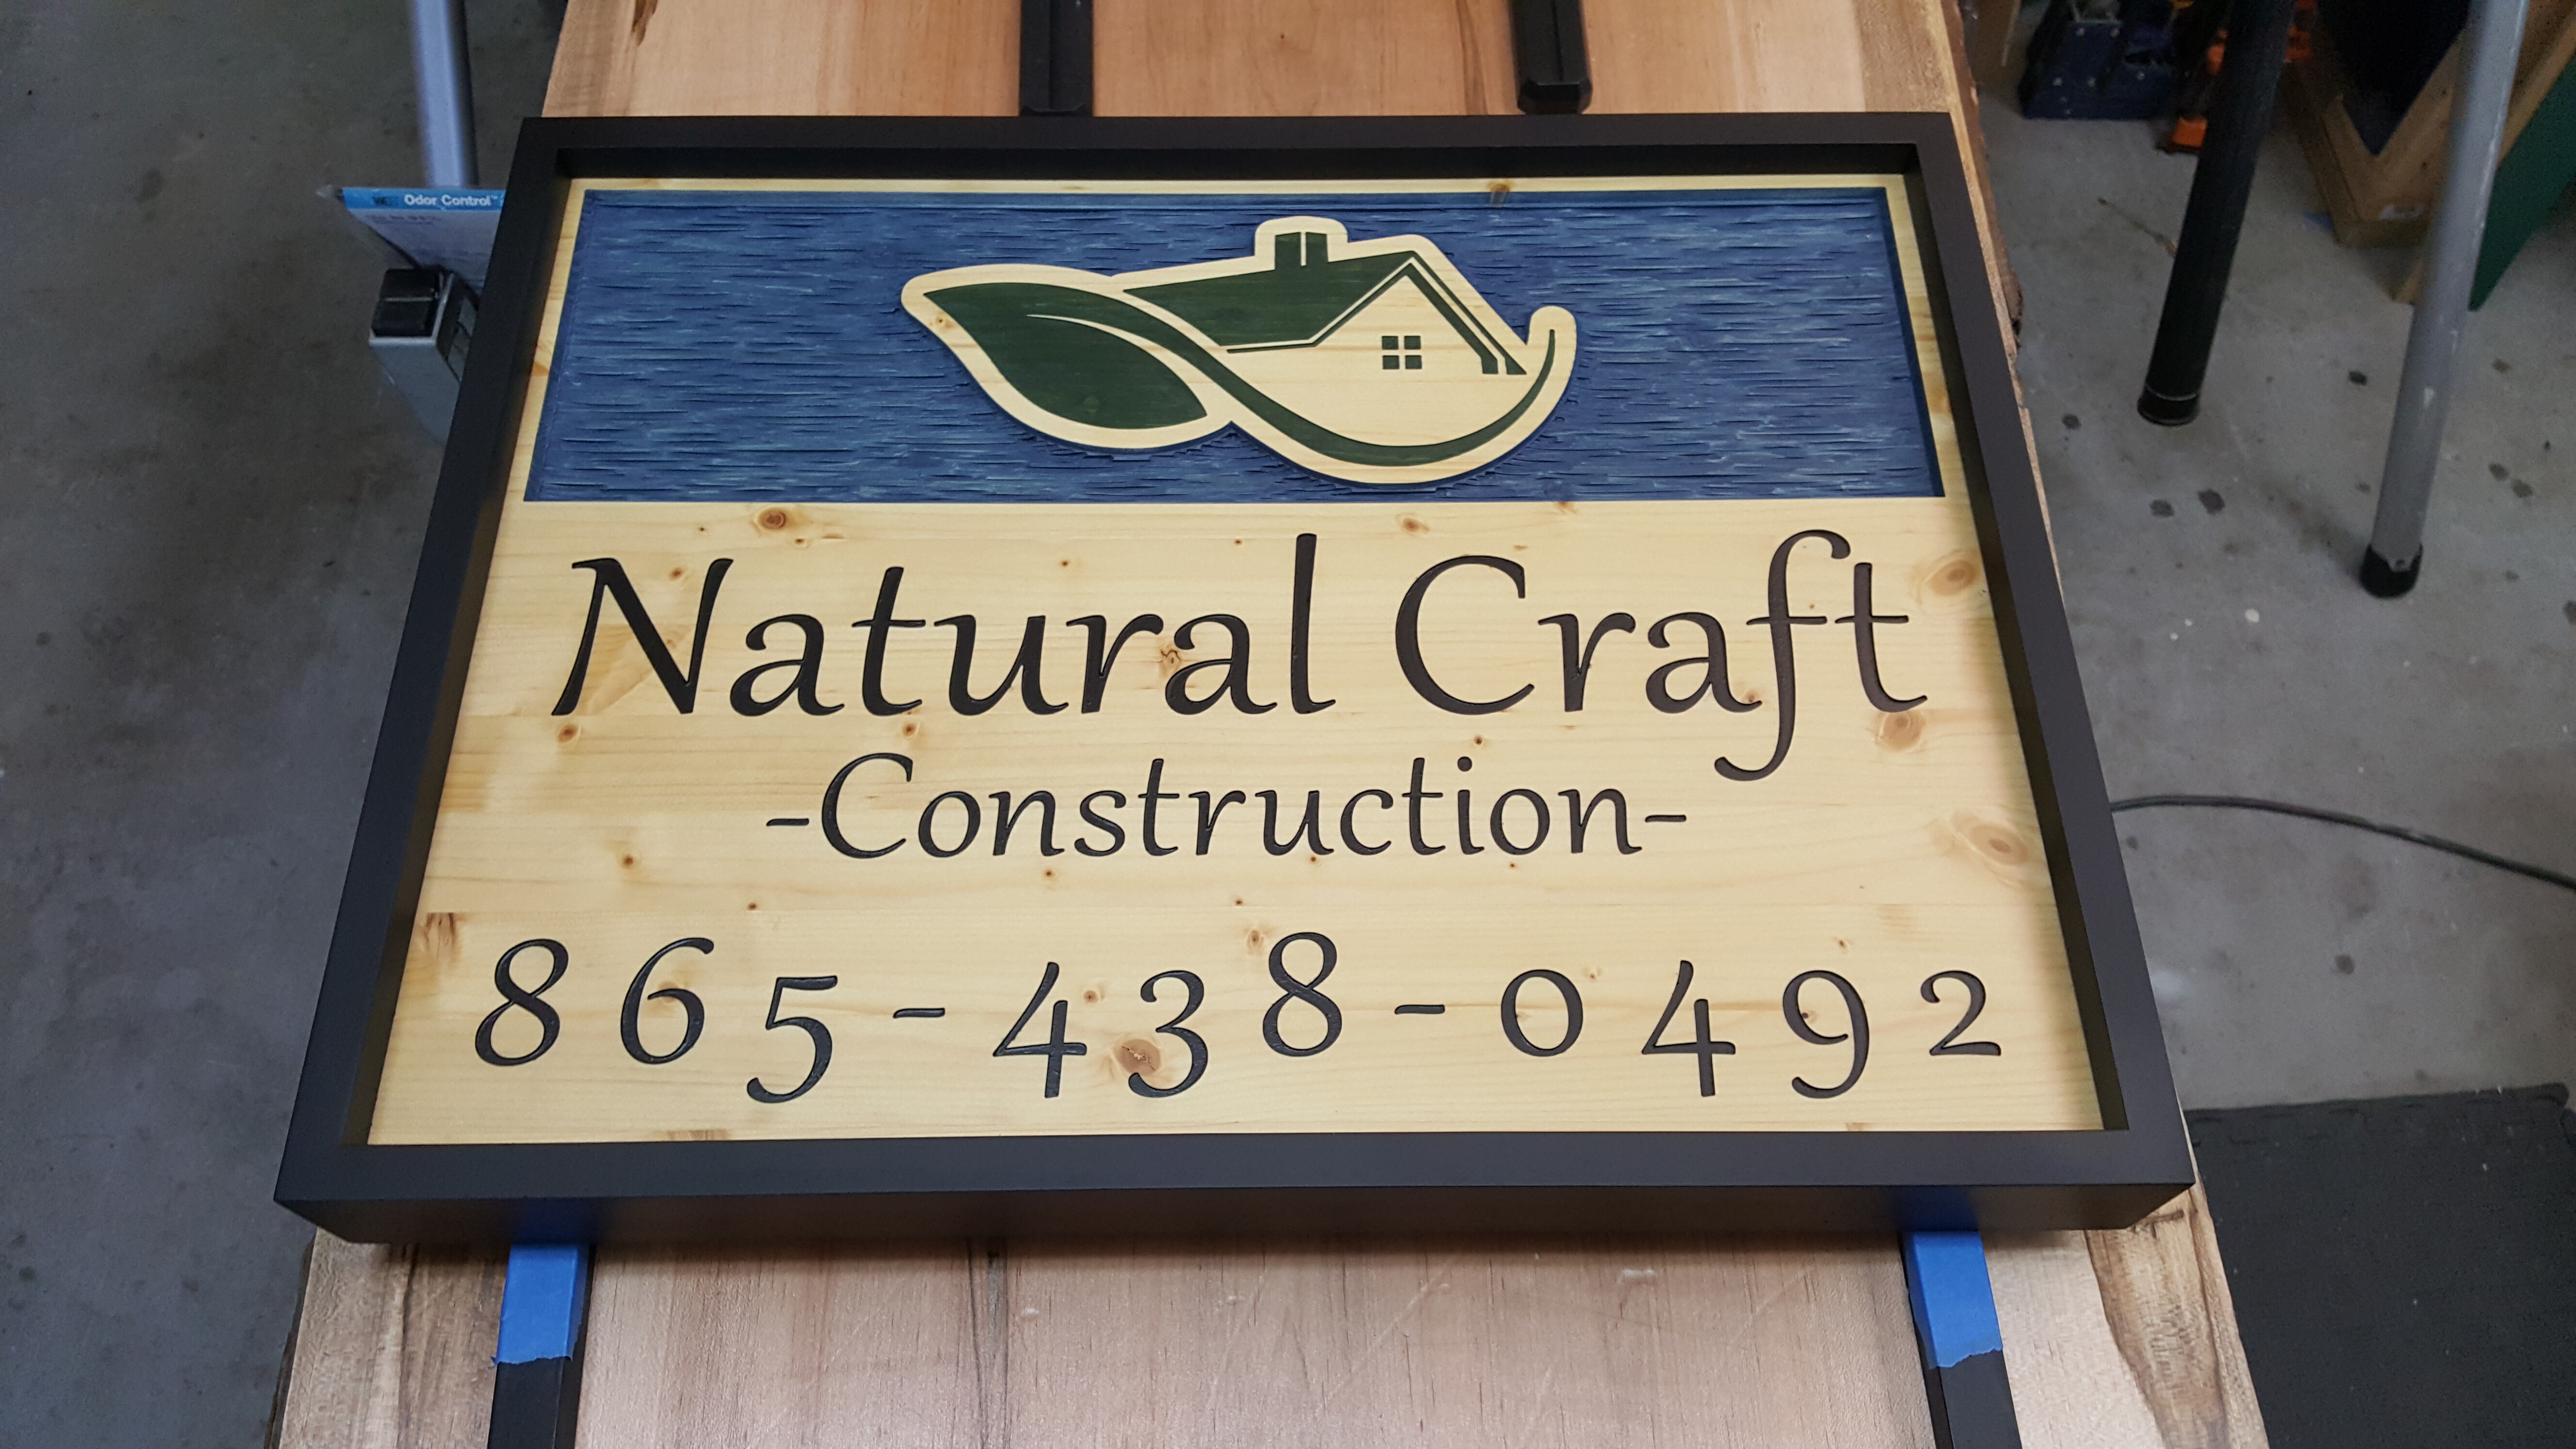
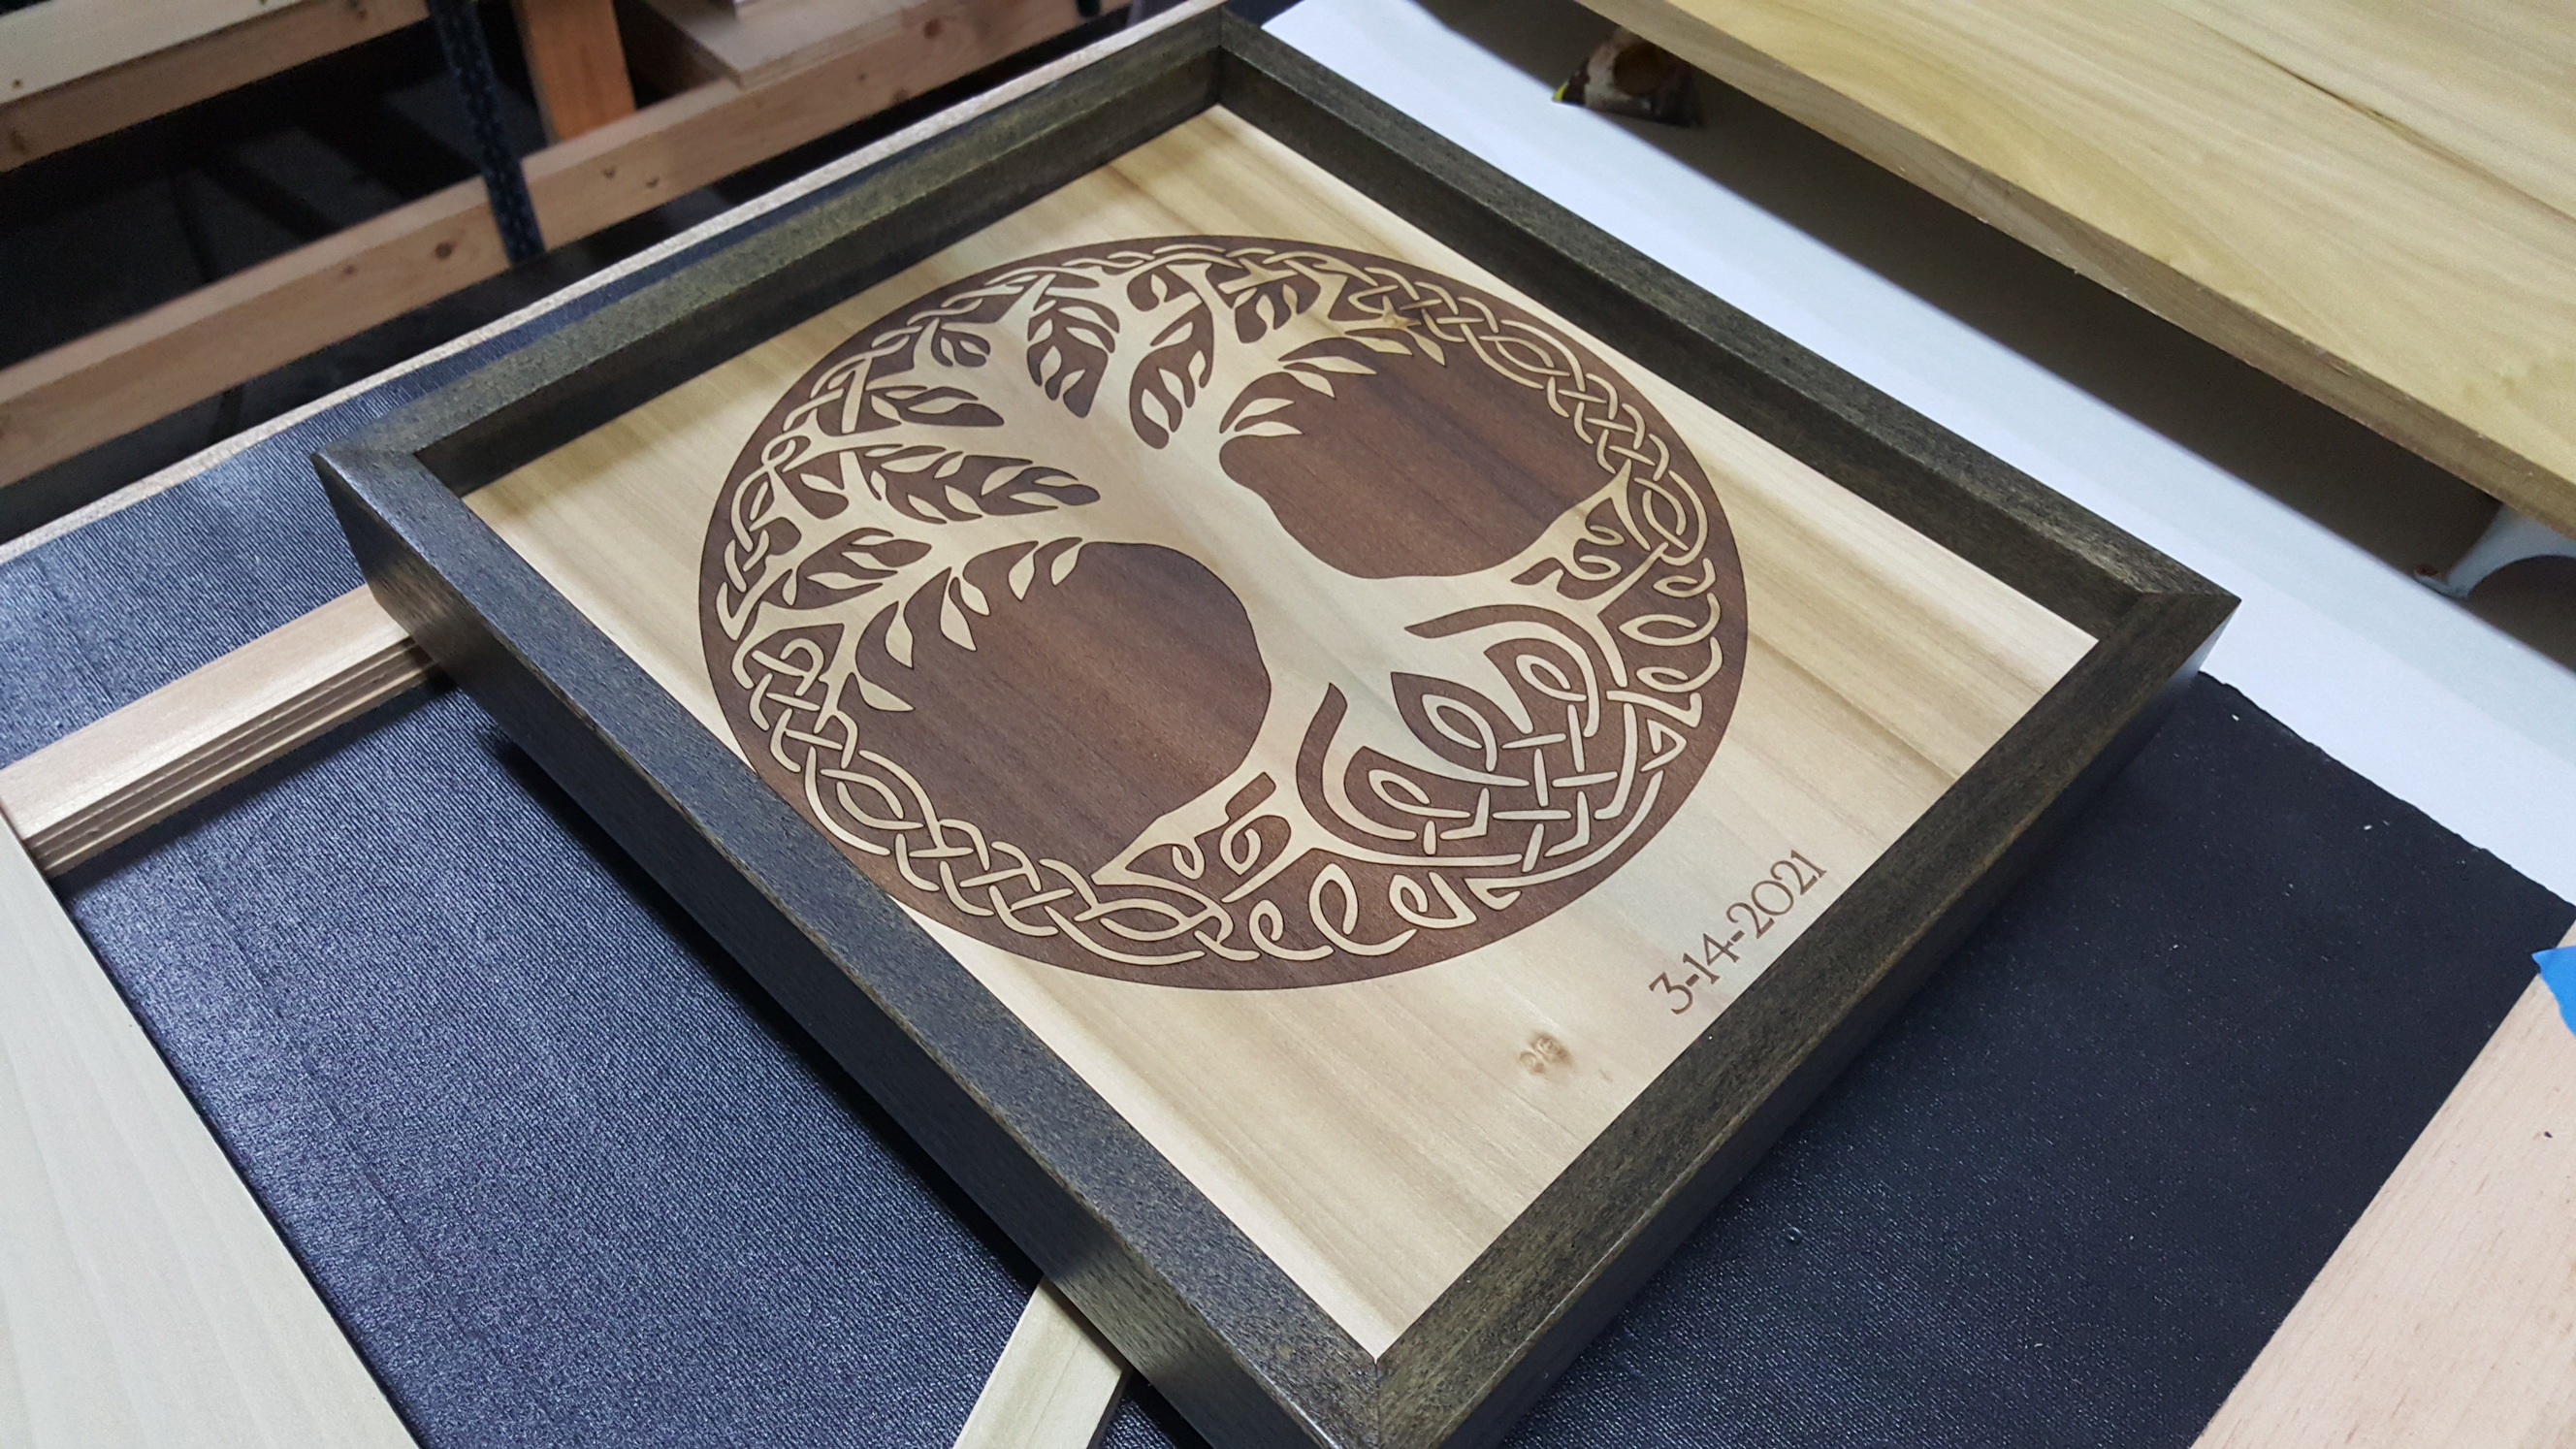
A little Advanced Vcarve action…
27" wide by 19" tall in the frames.
Used an Amana 45 degree bit for the vcarve portion and finished with TotalBoat Halcyon Clear Varnish.
(3 coats of gloss and 1 coat of satin)

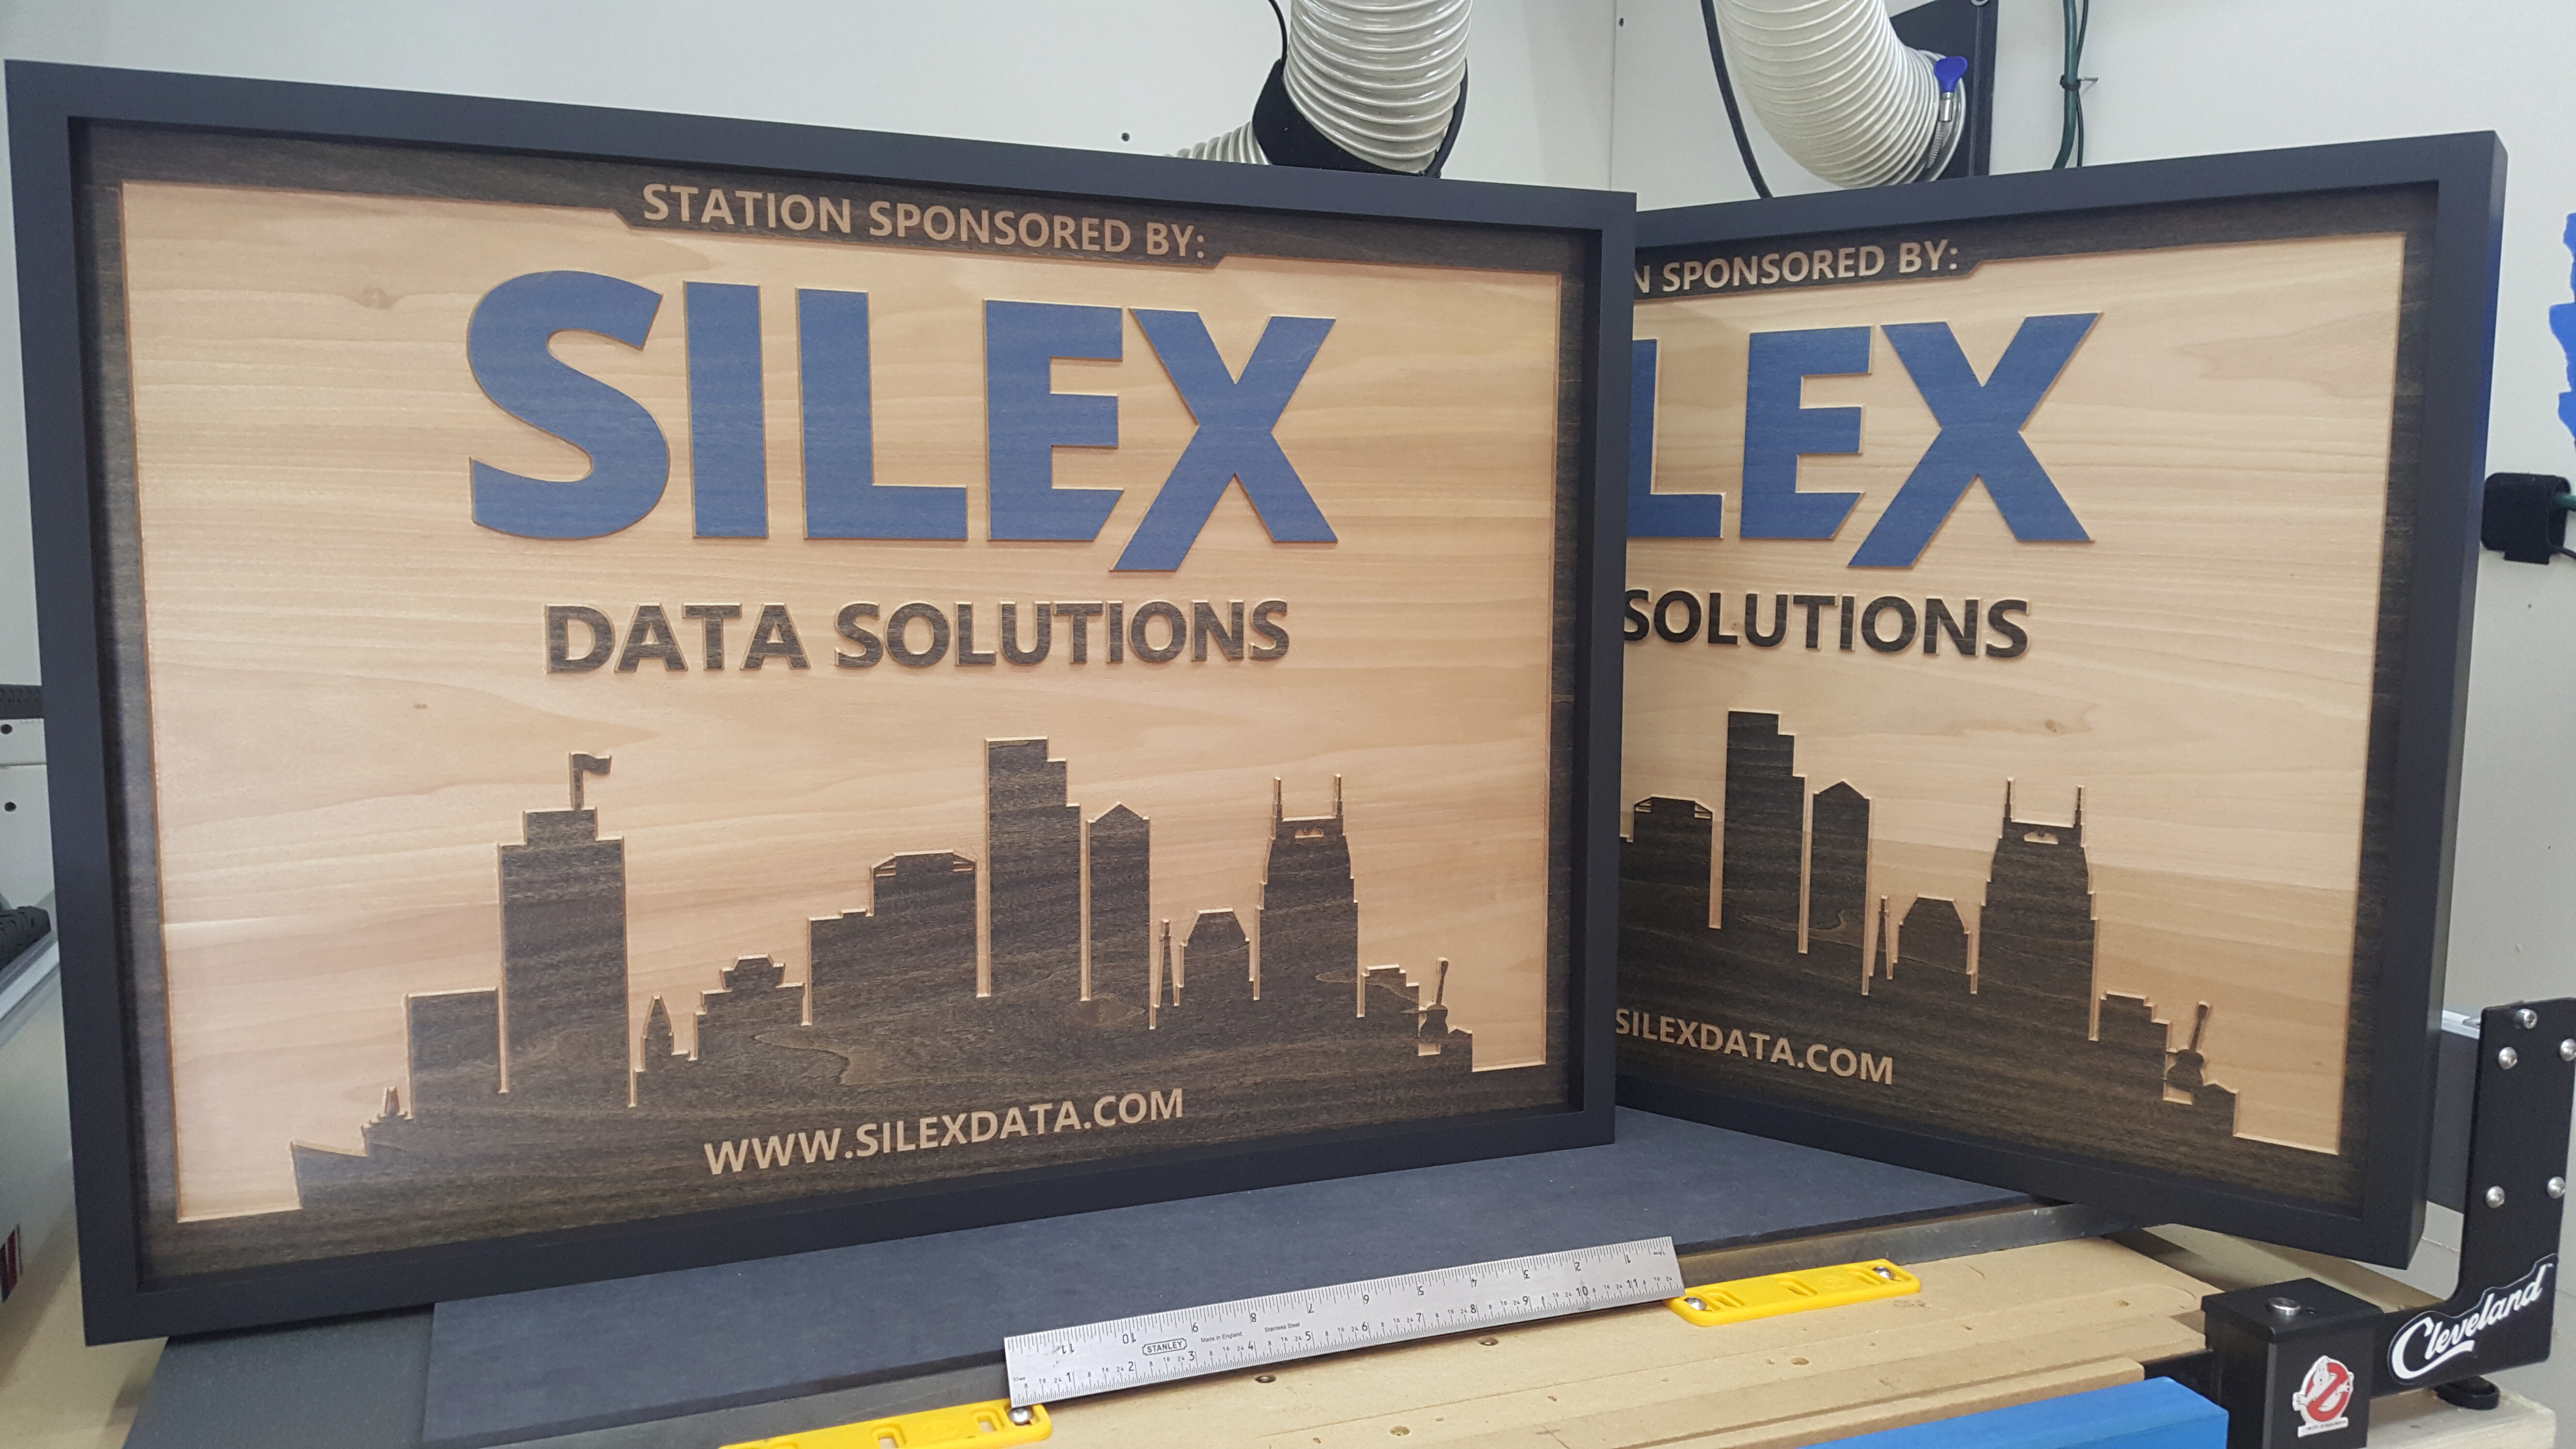


As always, everything was created using Carbide Create and Carbide Motion.
Until next time, fellow chippers!
17 Likes
Is that a single 3/4” sheet of plywood v carved down to a layer or is two pieces of plywood together?
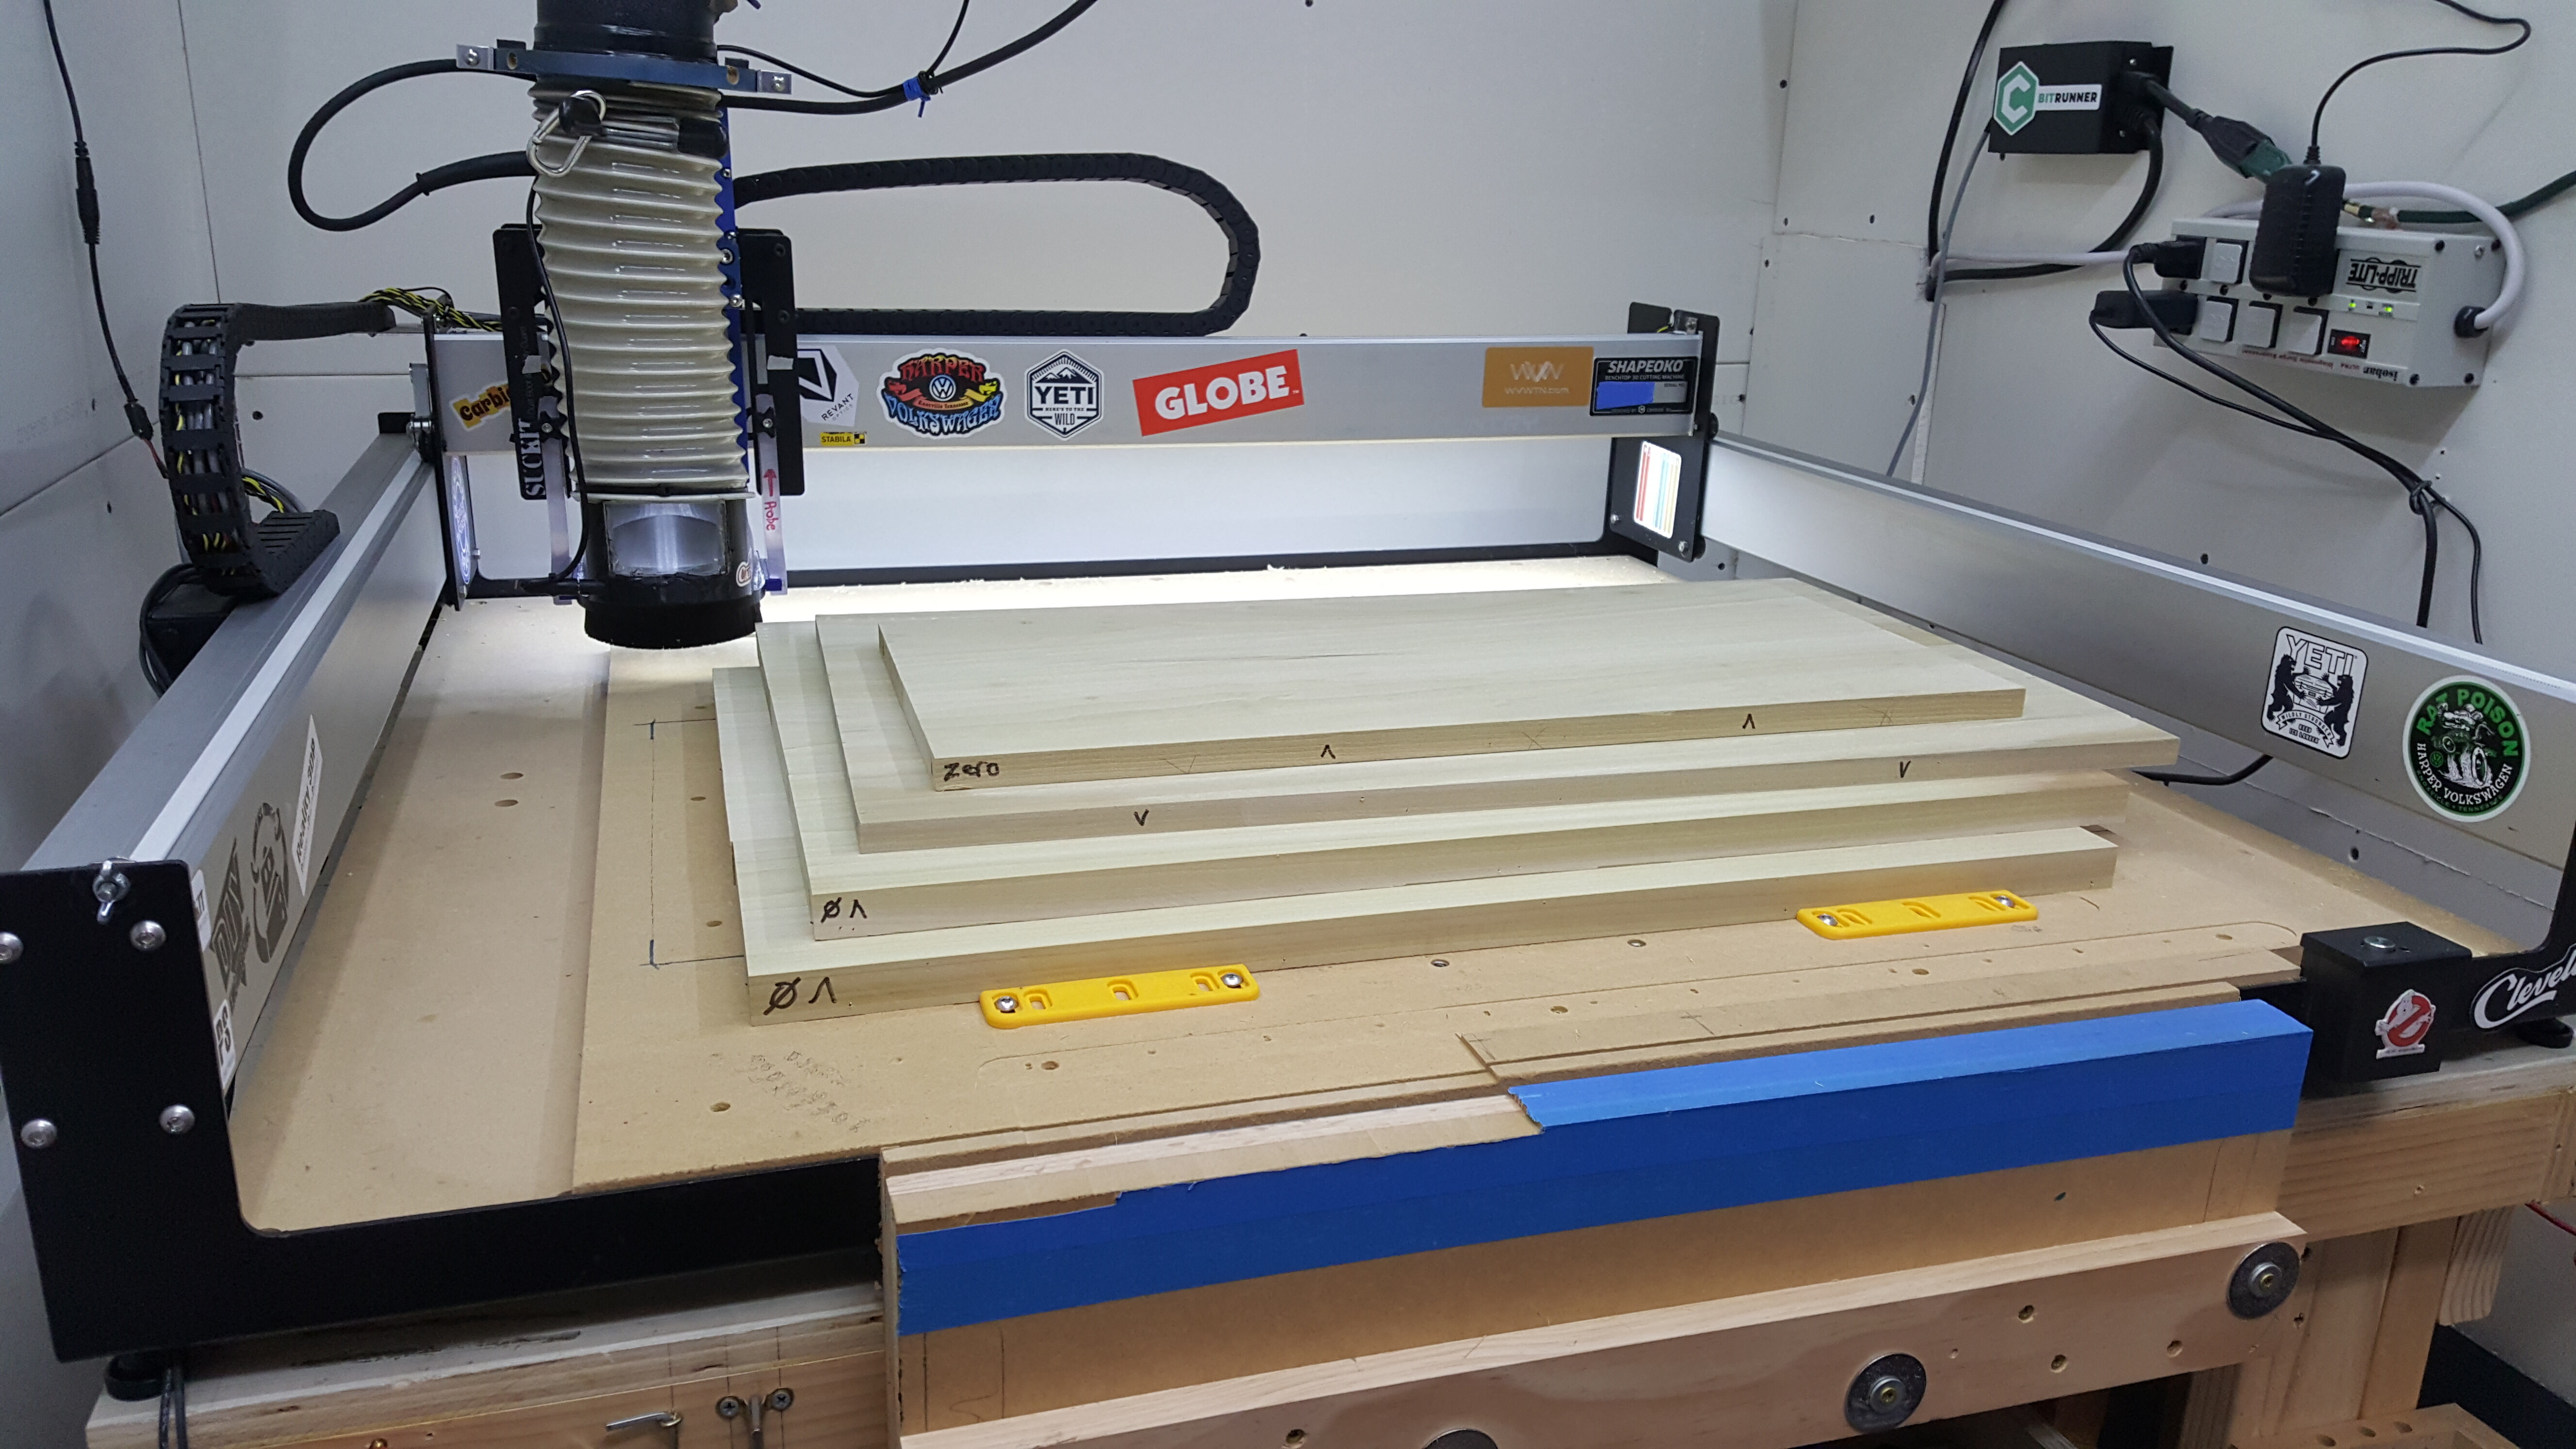
They are (roughly) 1" thick solid wood panels that I glued up. There is a spot right down the road from me that sells 5/4 thick “trim” stock that matches a lot of the stuff you will find in really old homes around here. I just grab a few lengths, cut and glue, and flatten on the Shapeoko.

7 Likes
Very nice. Love to see something made from materials other than plywood. In a lot of threads and FB groups everyone tries to make things out of plywood. I see more so this done to make things cheaper. Although some are because people don’t have access to equipment to make panels like this. Making things out of hard/softwood does carry a higher price tag but it’s also carries a higher quality in my eyes.
1 Like
80% to 90% of “the people” just really don’t care much about quality (the way we’re thinking about quality.) They are perfectly happy with throw-away stuff that’s priced with the Chinese model.
That’s what makes the “monkey’s” stuff stand out. *
EDIT: * Just to be perfectly clear, @Microwave_Monkey stuff is not even in the same Universe as the cheap stuff! ![]()
7 Likes
Thank you, Tex!
20 characters
Could you share the link to the no contact switch?
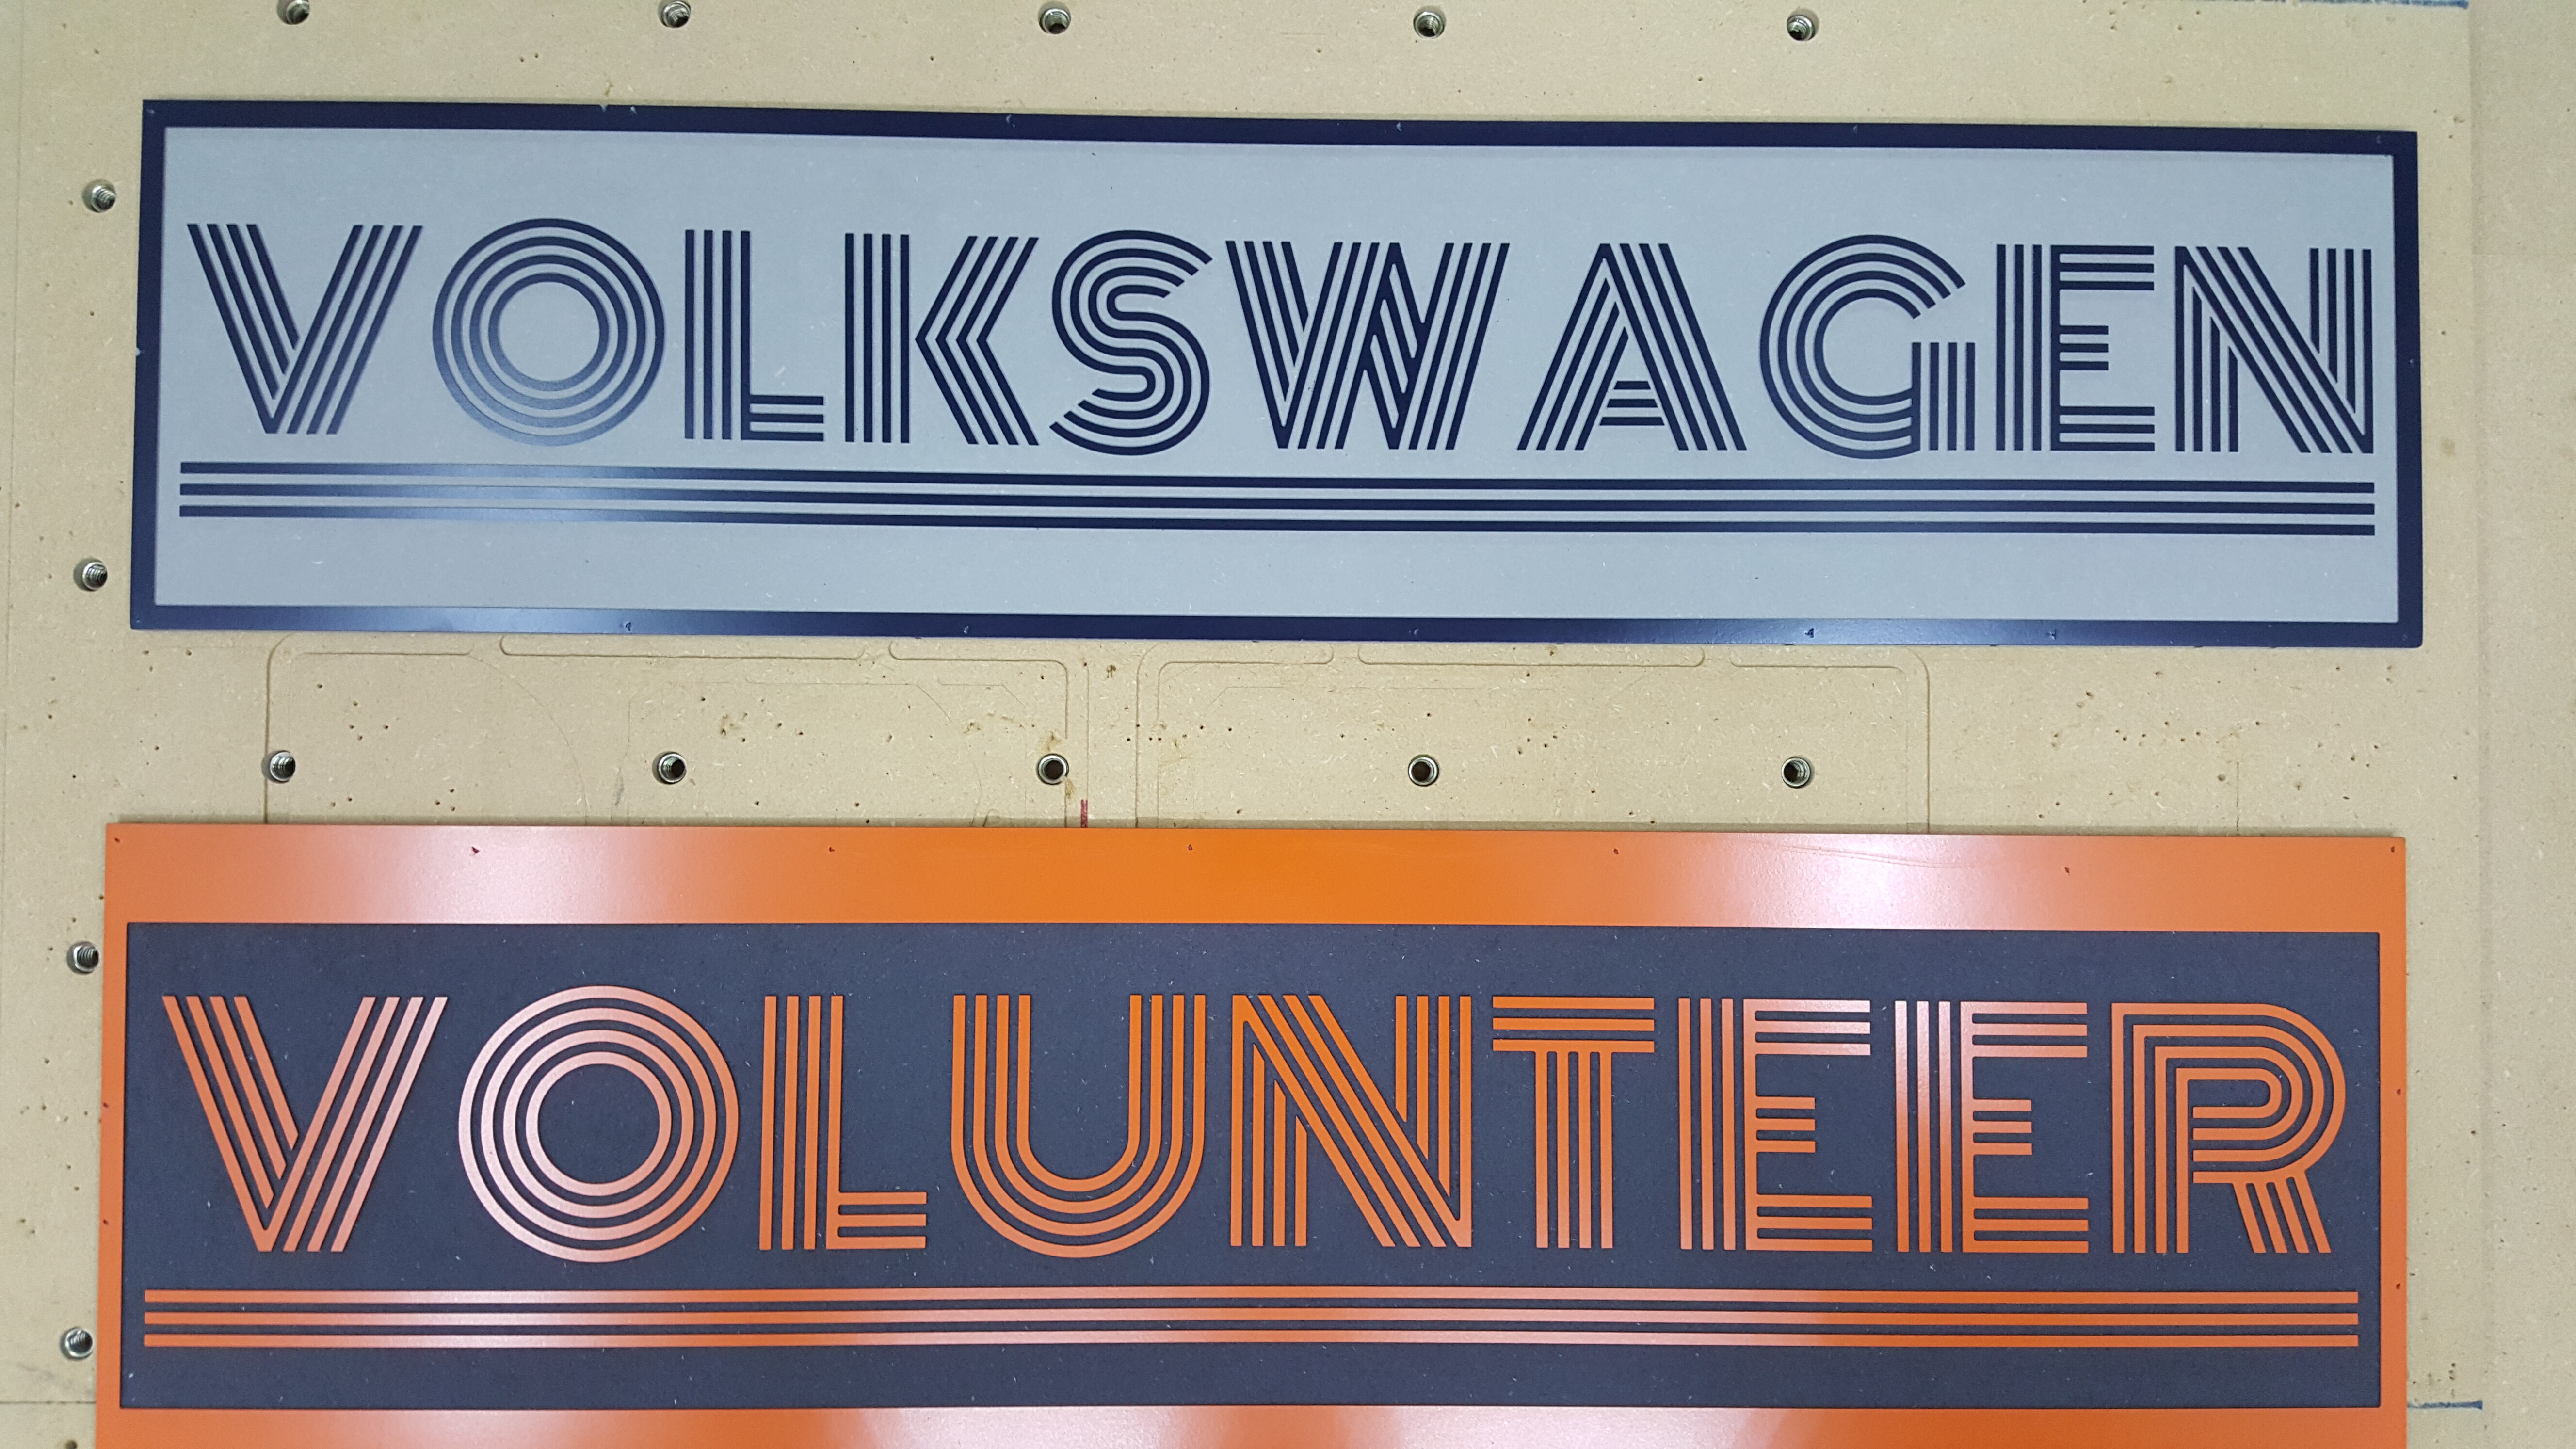
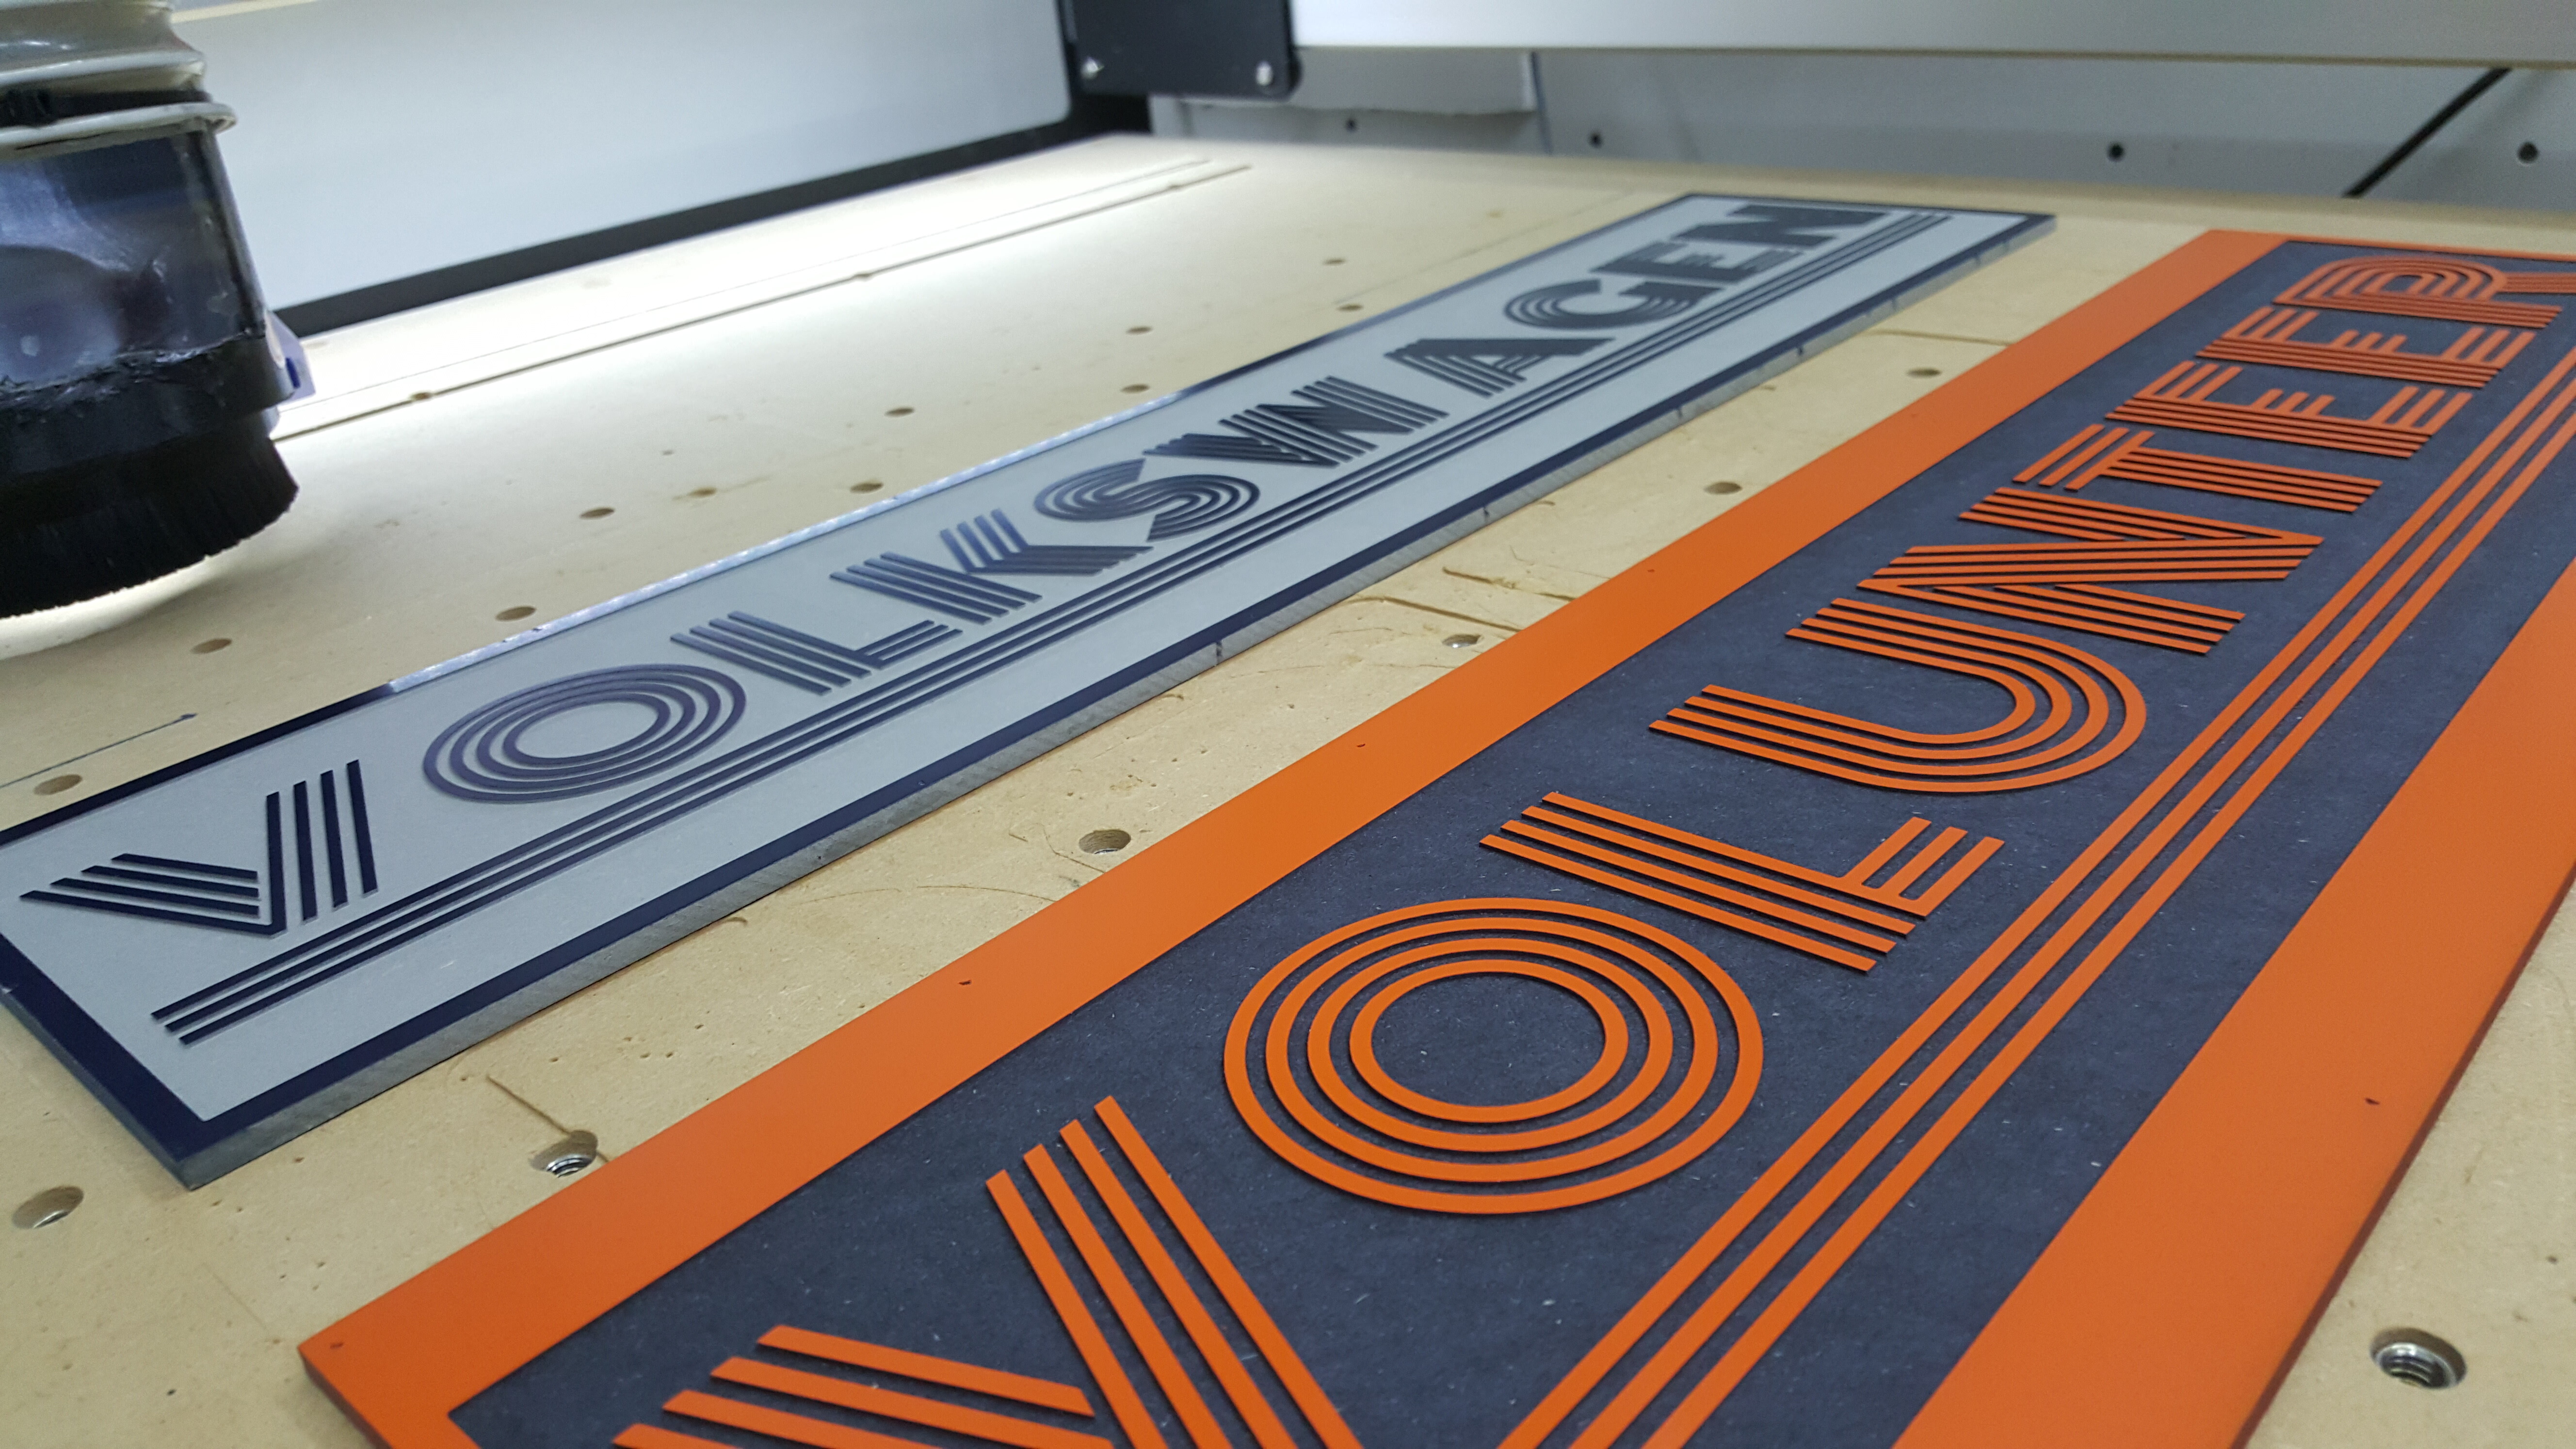
Excited to get this one out the door,
Designed in CC, 14" x 28" edge-glued panel cut on my XXL (Loving Advanced Vcarving!!). The shield logo and “scratch kitchen” lettering were engraved with an Ortur LM2 that I expanded the work envelope of (now ~15" x 22").
The smaller (7" x 23") info sign was cut on my XXl, as well. Oramask and black paint for the lettering.
Almost ready for finishing and framing…
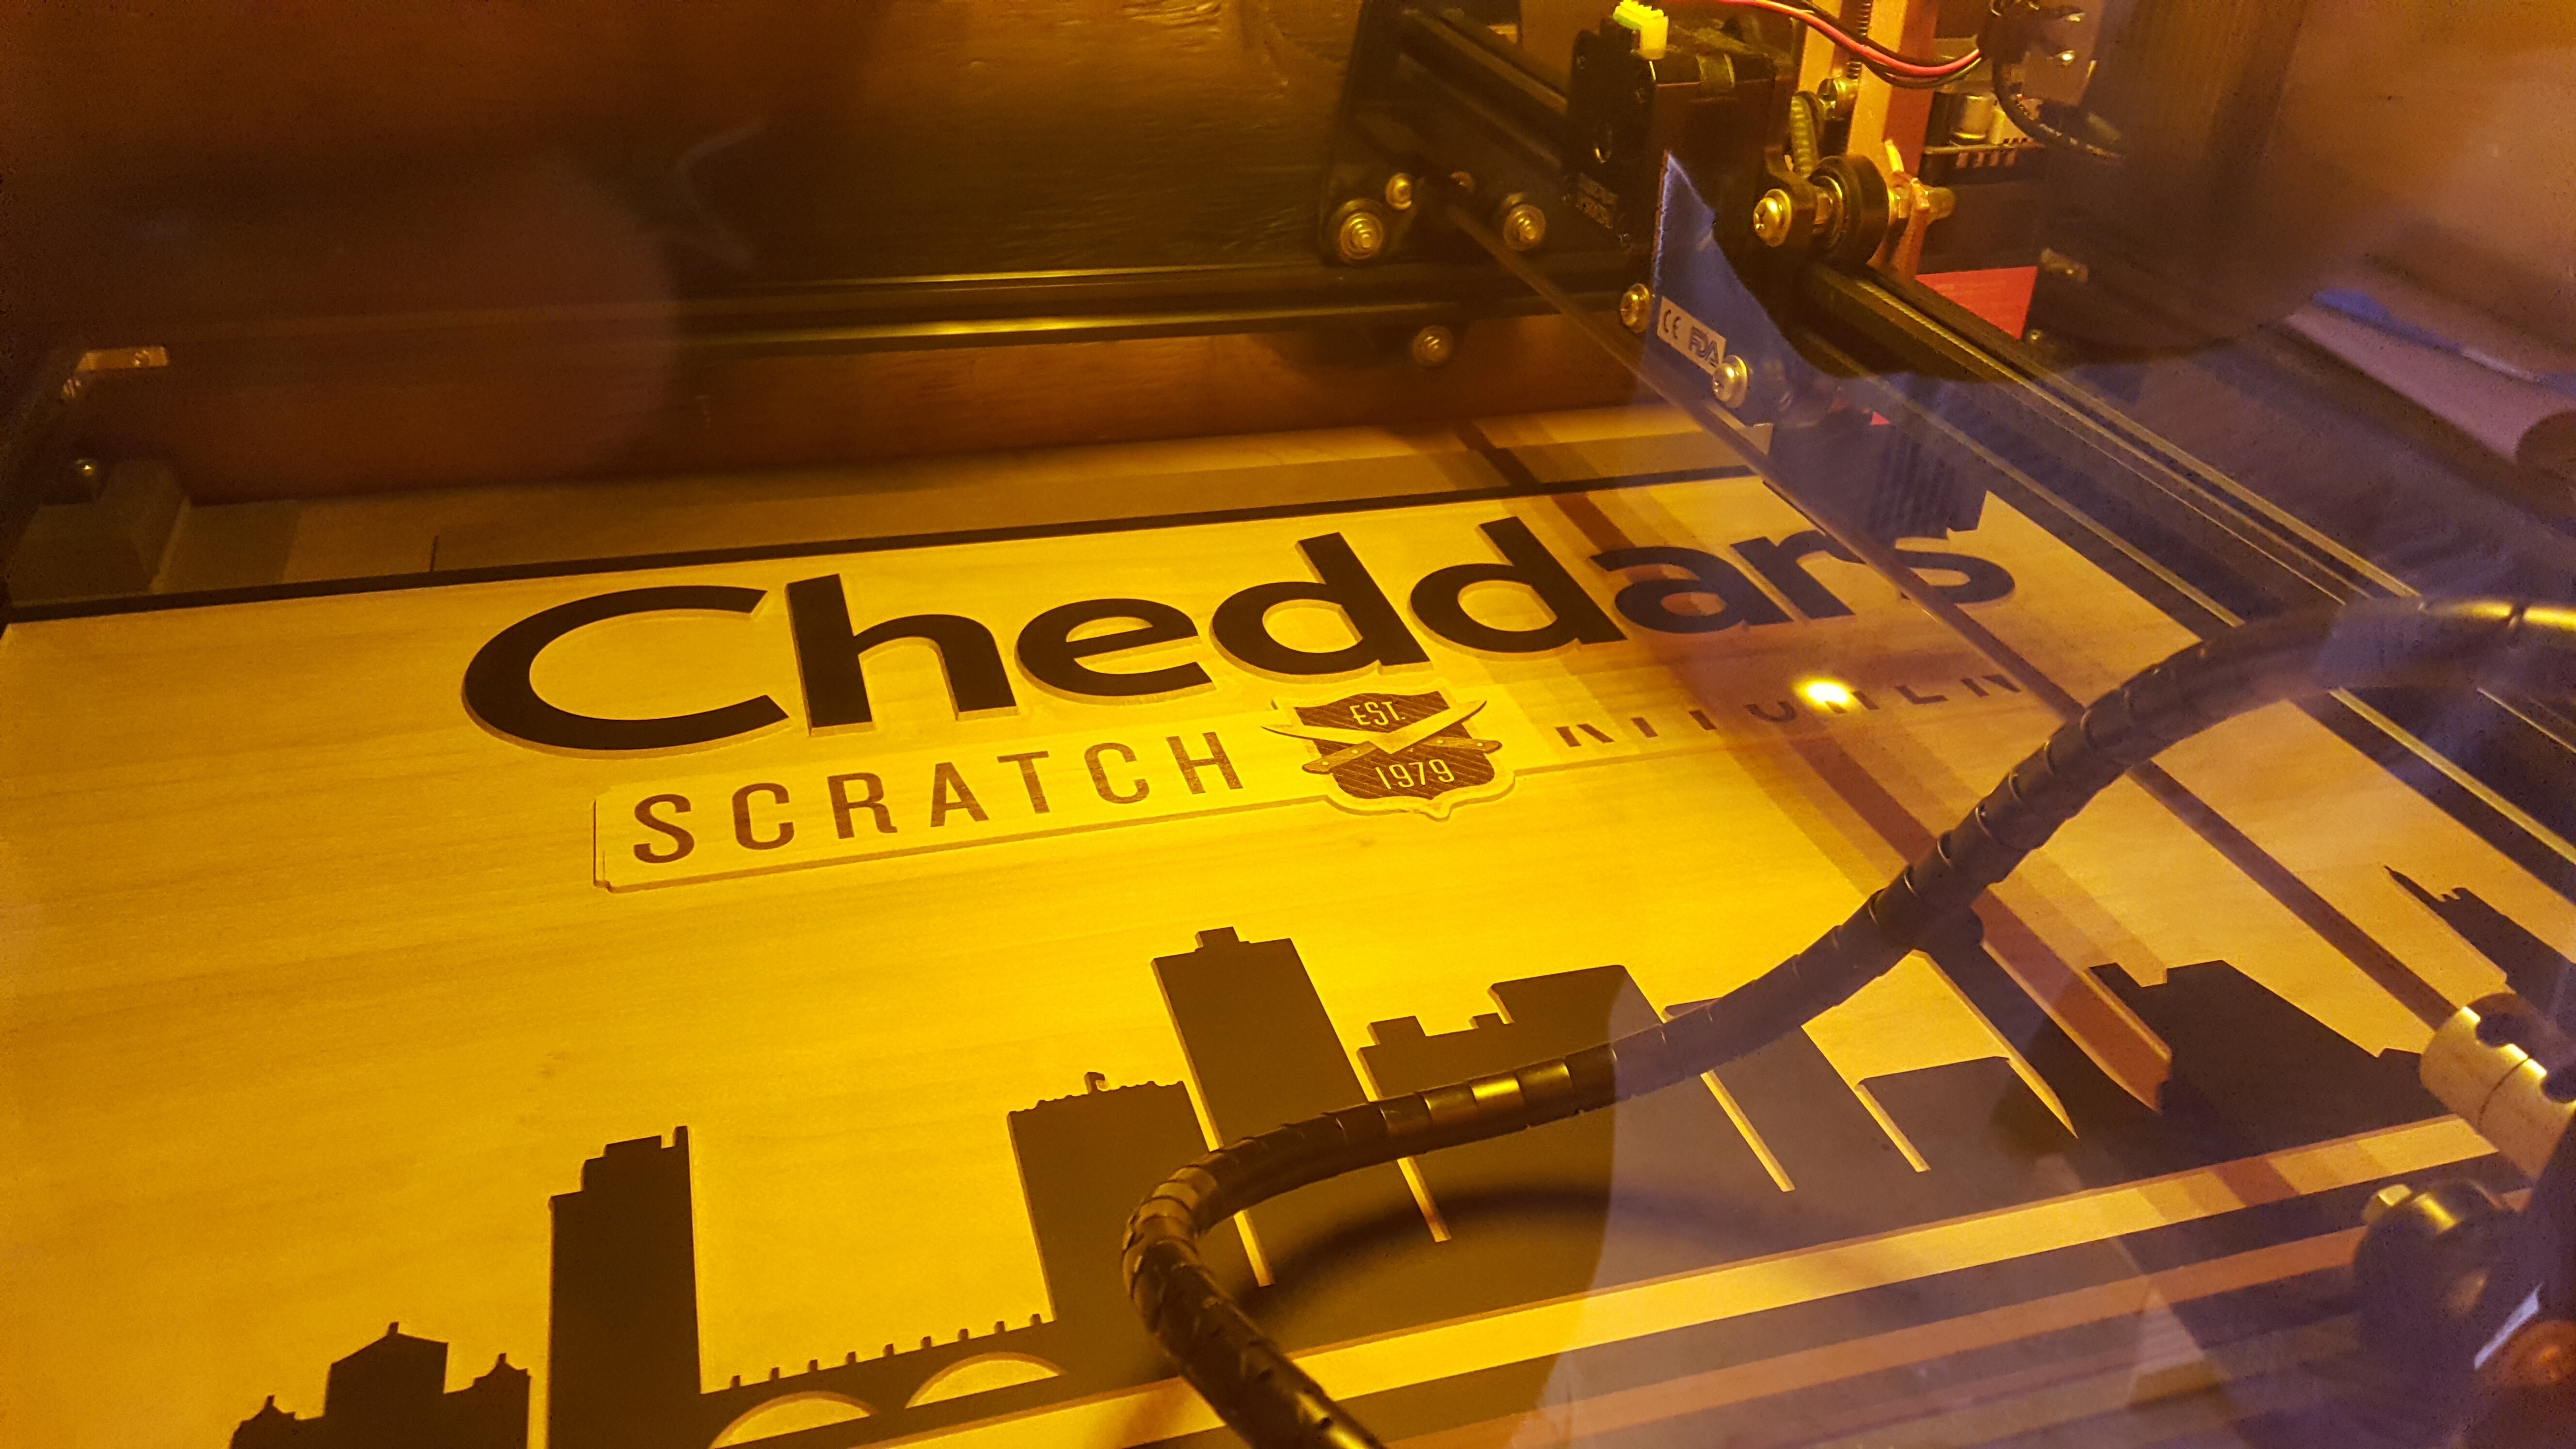
For those in the laser game, I am sure you noticed the large “halo” of unfocused laser light. To those who don’t know, you don’t want this to happen. Just a “happy accident” trying out a new laser lens that worked for this burn, but my laser is not nearly putting down the power it should be (probably damaging the diode every time I run it like this, also). I definitely need to upgrade my lens/setup. Maybe I should go for a J-tech or Endurance on my XXL…
Any of you guys have a recommendation for a laser and lens combo that is good for high detail stuff like shaded logos and photographs? More power means faster engravings, but I don’t want to lose out on detail and I won’t be cutting anything with it.

As always, there is more to come! Stay tuned…
7 Likes
Thank you for sharing, it’s great to see what folks are working on.
I’ve been using my pro for six months or so and prior to that, I was a Glowforge user. I am taking delivery of my Jtech laser this week.
One of the things I’m struggling with is making tight angles with a round mill. Looking at your work I see very crisp angles that are not rounded. How are you achieving this?
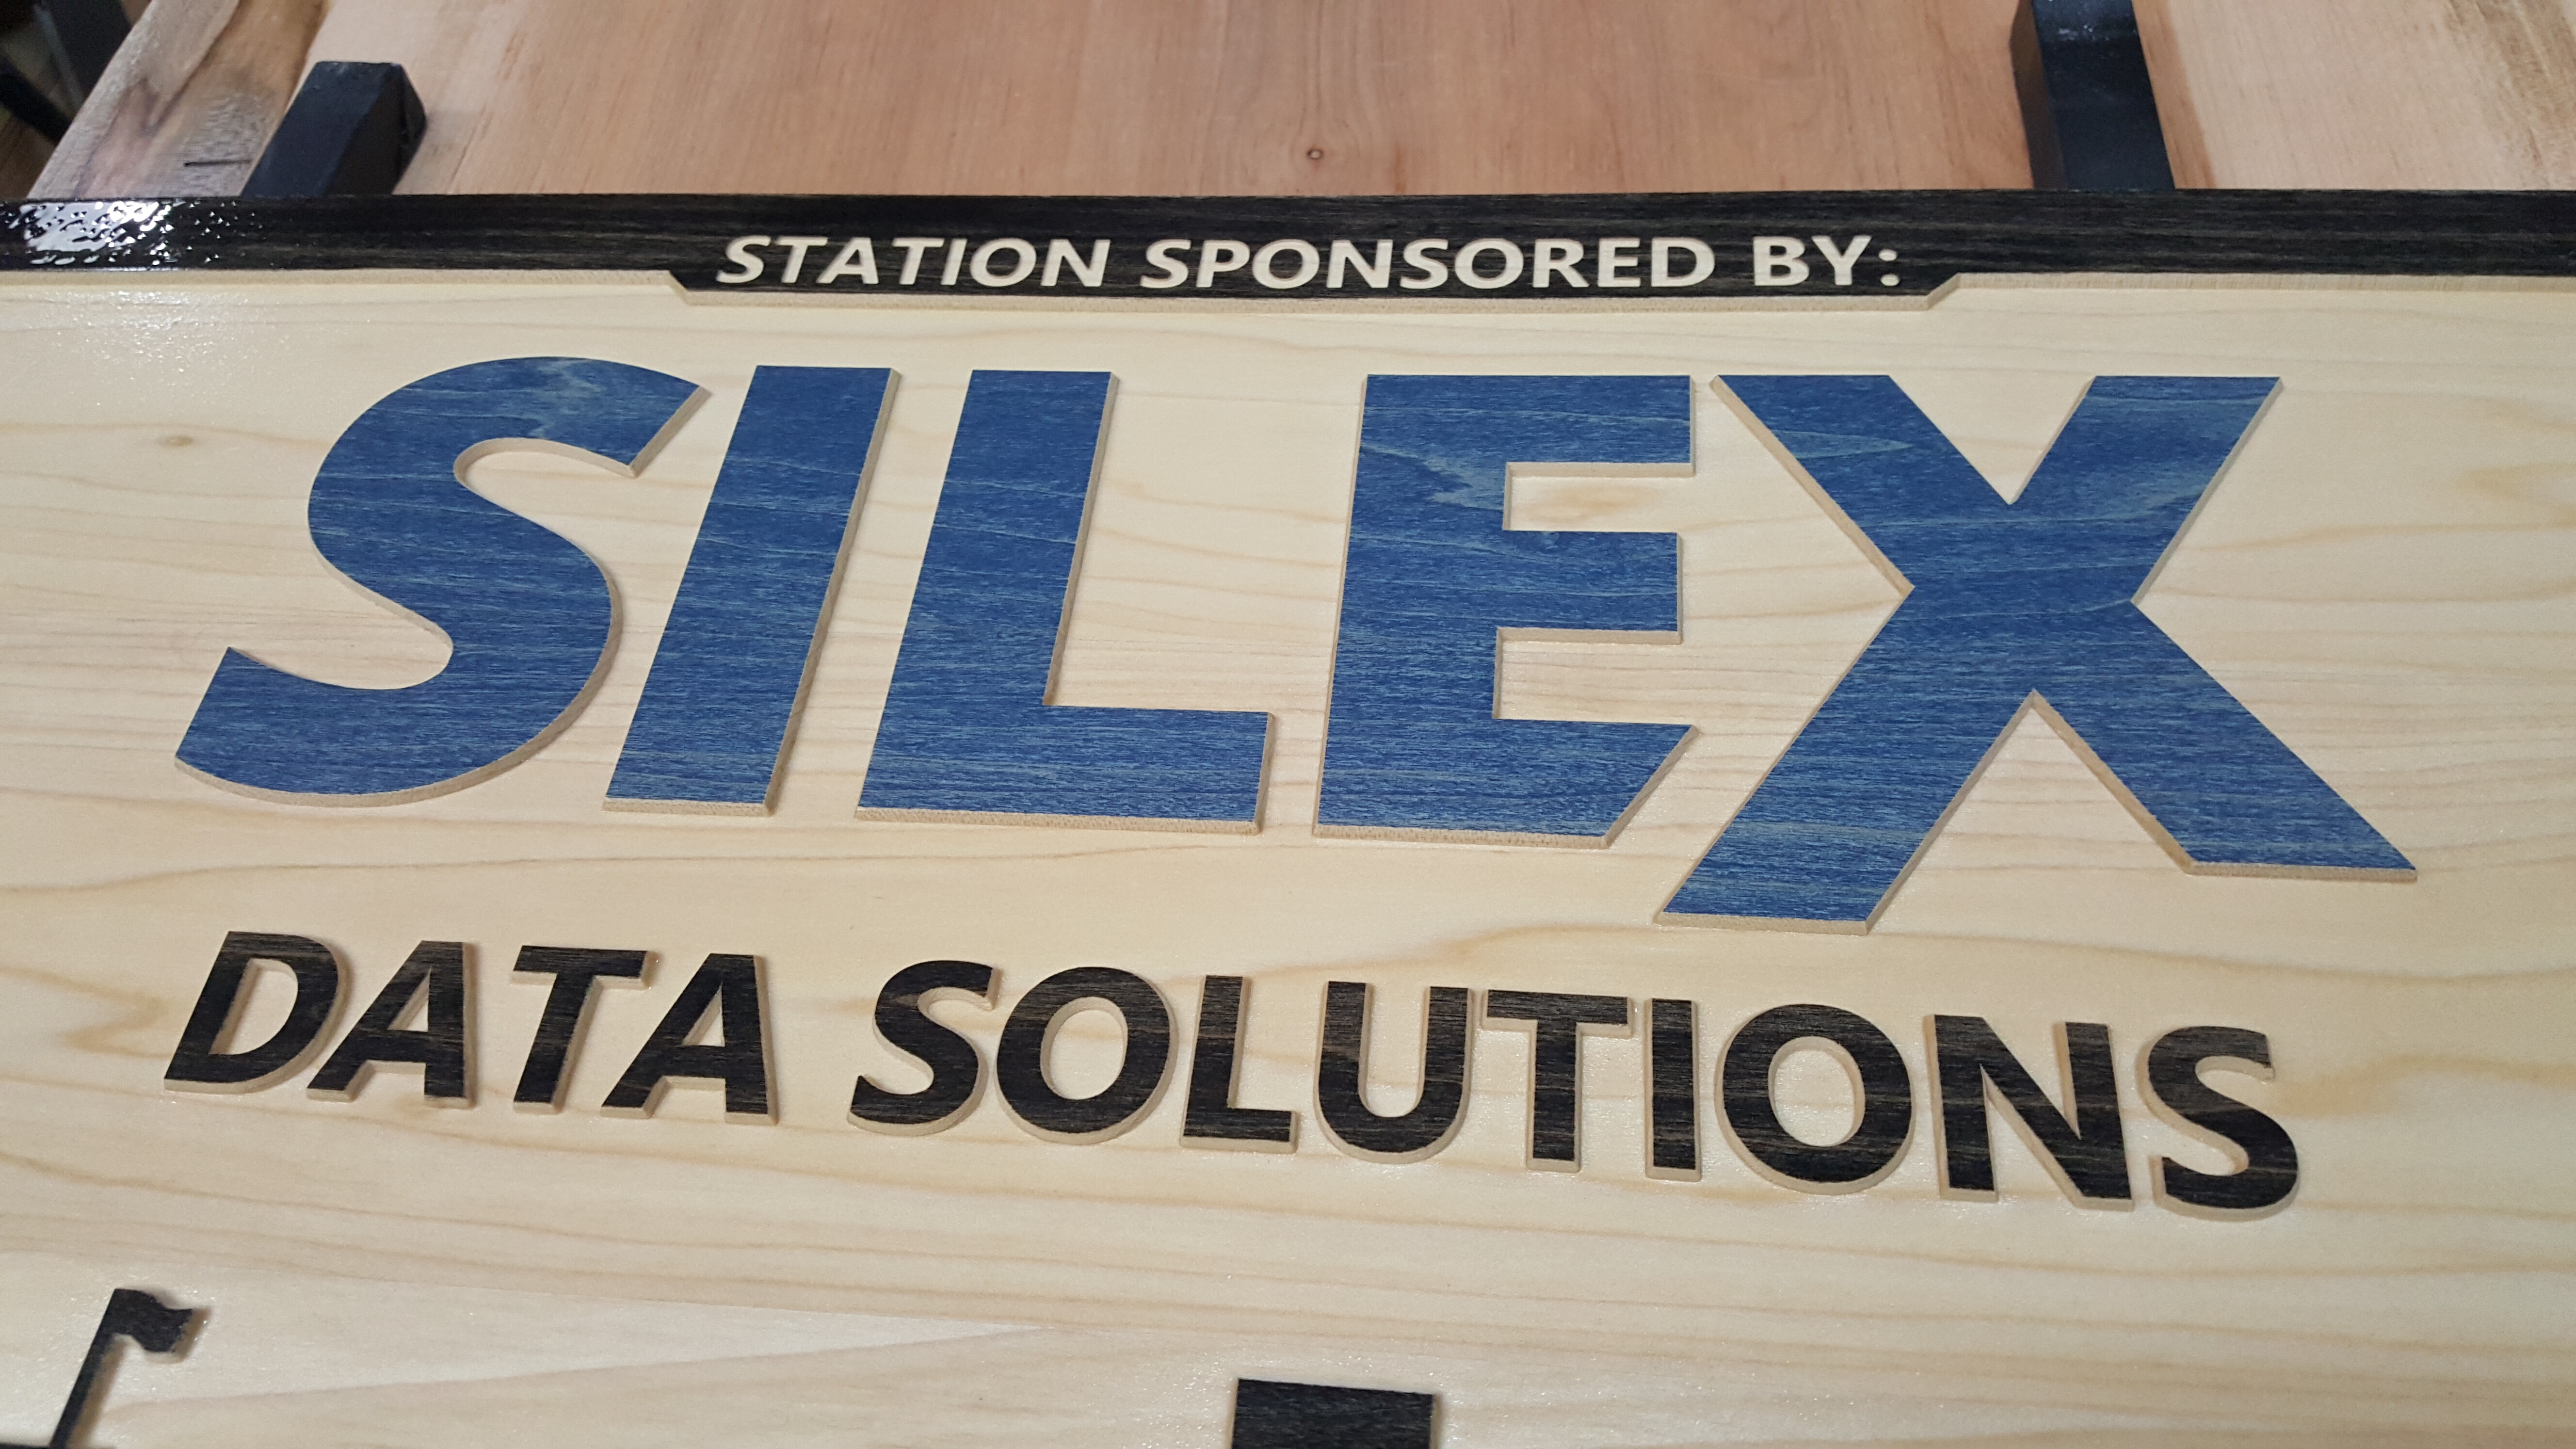
As an example, the E for your silex sign is really well constructed.
Thanks!
I used the Advanced Vcarve tool path available in Carbide Create.
Here is a great video by @wmoy, if you are not familiar: Advanced Vcarve
The sharp points are created by varying the height of a v shaped bit (in this case a 45 degree) as it travels thru the corners. Flat portion is handled by selecting the “Enable Area Pocket Tool” and selecting a flat end mill of your choice.
1 Like
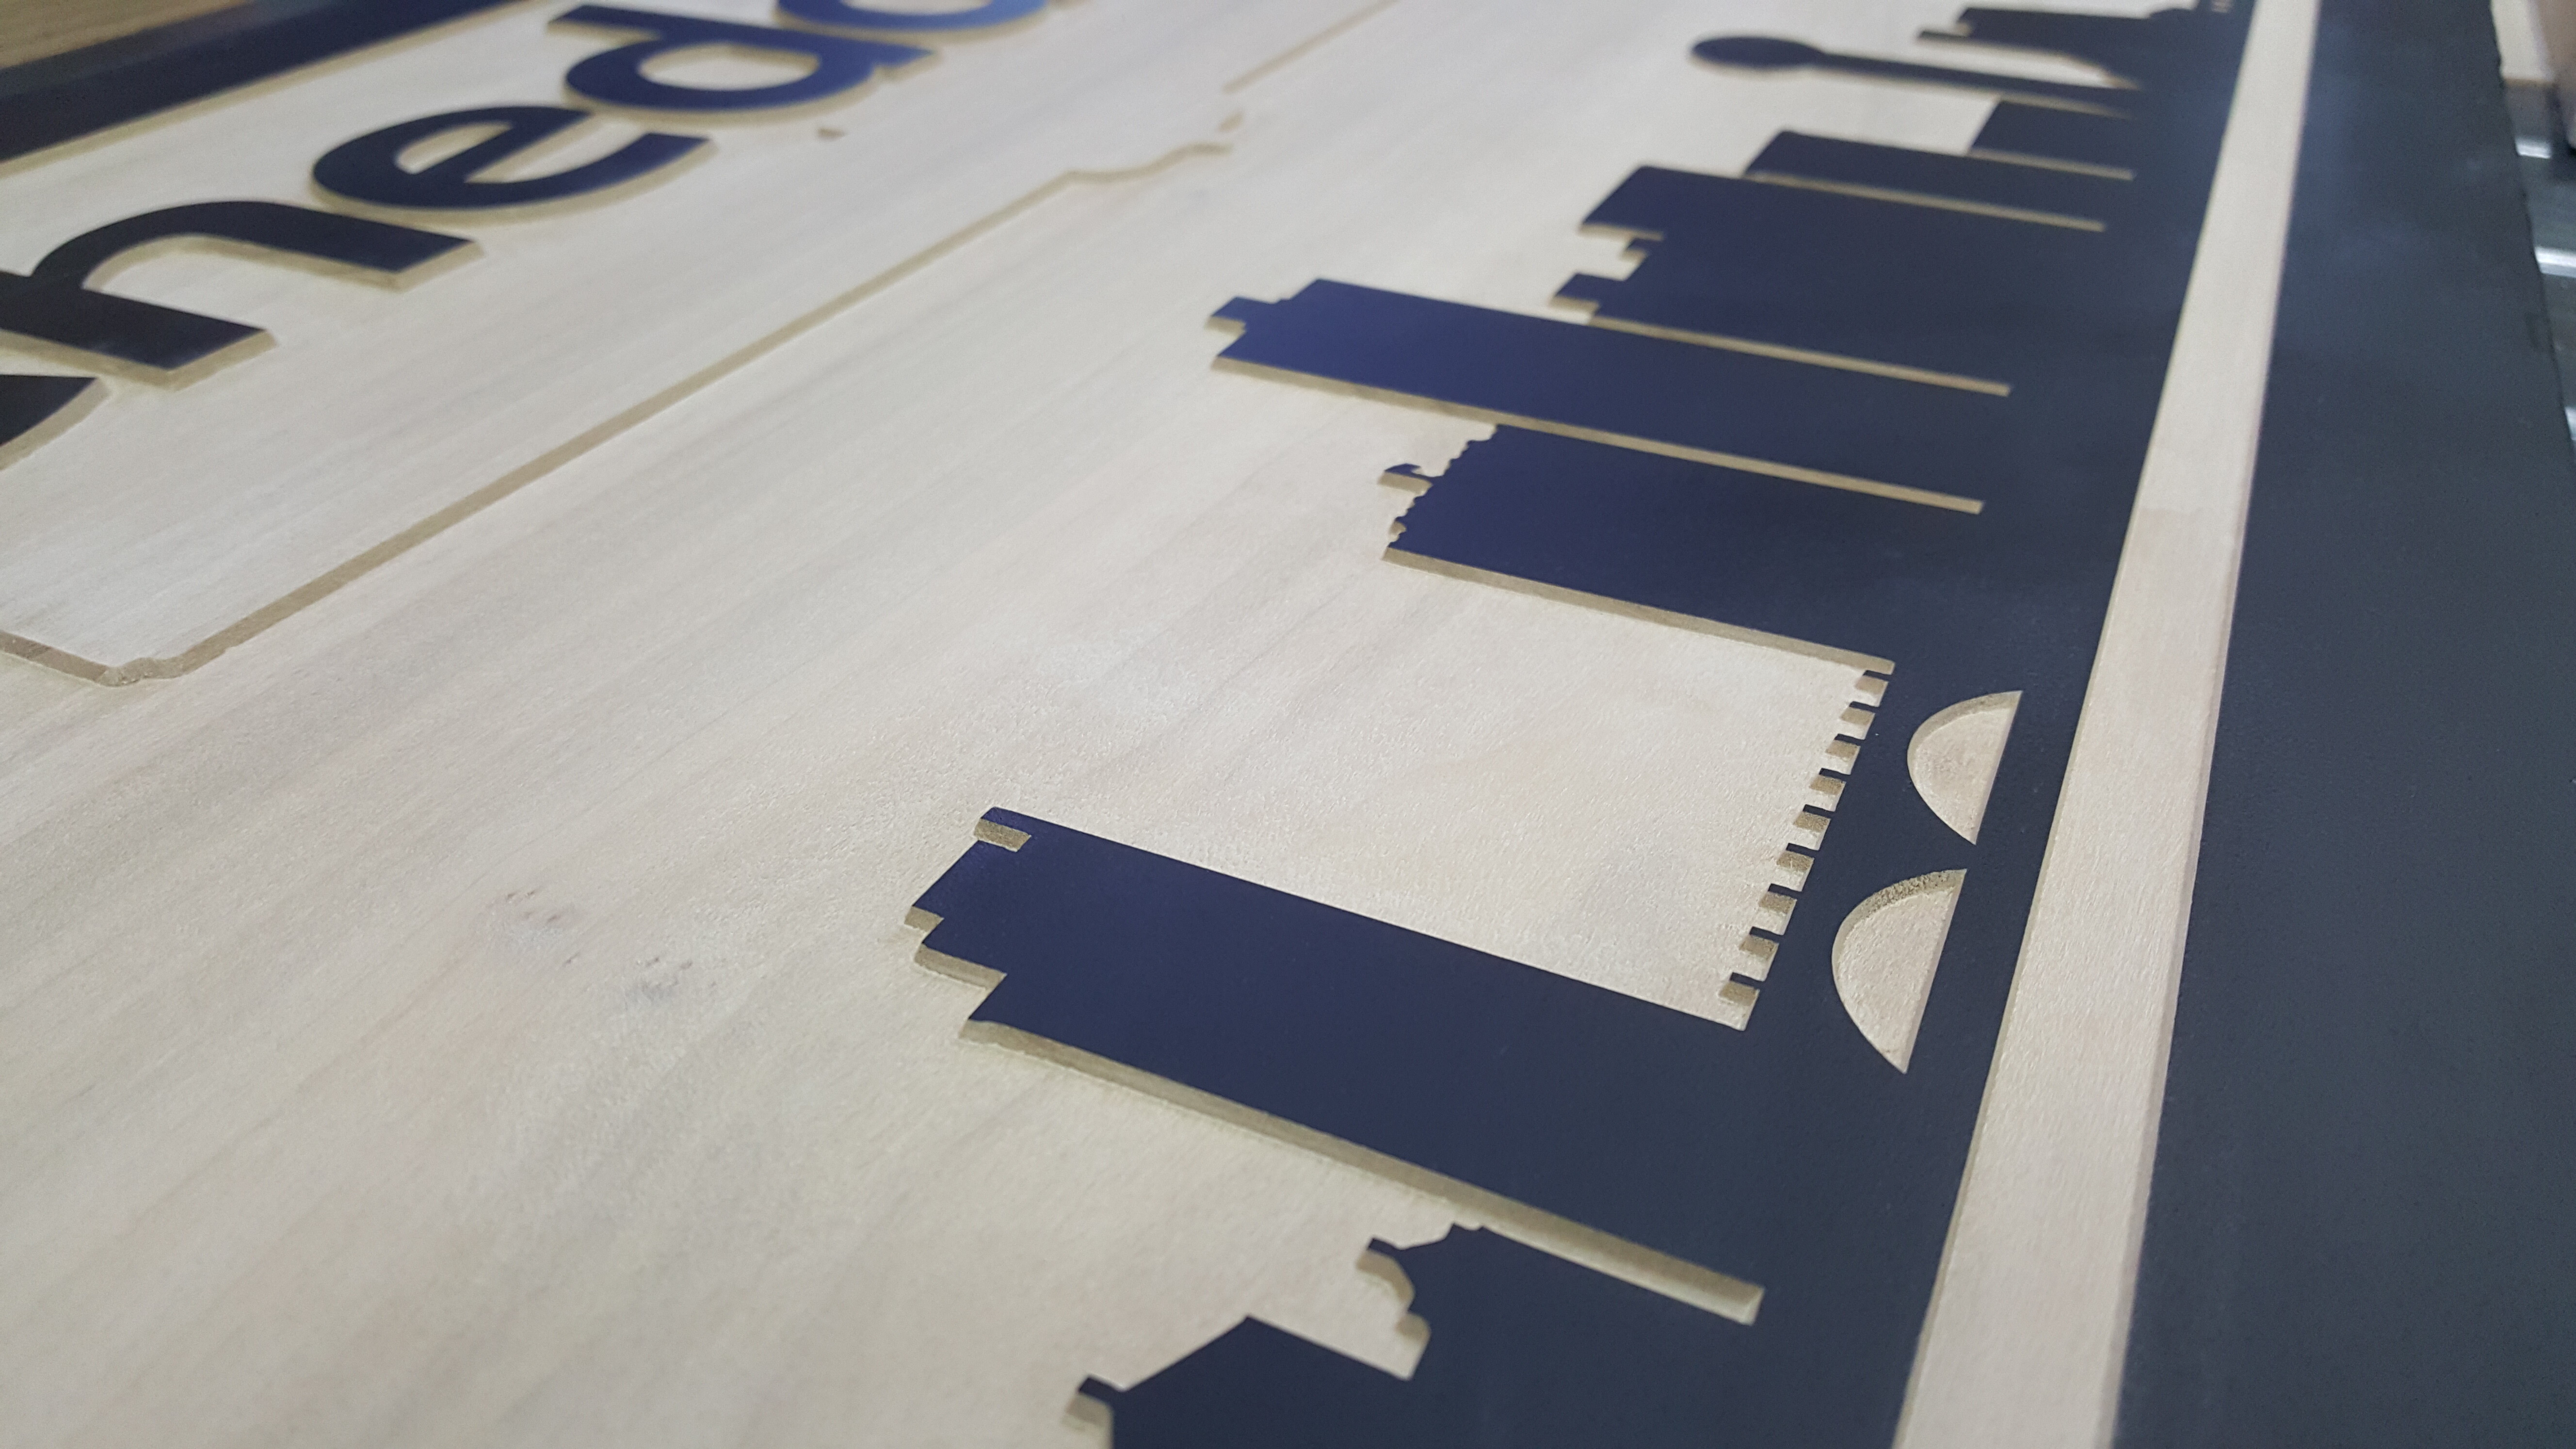
Appreciate the prompt response and info. I’ve done some work with advanced vcarve but not made anything as crisp as what you are getting. Unless it’s the photo playing a trick on me, most of the letter walls appear to be perpendicular.
More learning to do 
The almost perpendicular sidewalls are due to me using a 45 degree vbit as opposed to the more commonly seen 90 or 60 degree bits.
It has quickly become my favorite bit for this type of carve…
6 Likes

that came out very nice.
1 Like
Regularly updated, yeah… 
This monkey’s “shop time” has been intermittent over the last few months. Had to take a bit of time off to work on my house and deal with some of the other things life threw at me.
But here are some photos of some stuff I have done over the last little while that I haven’t posted yet:
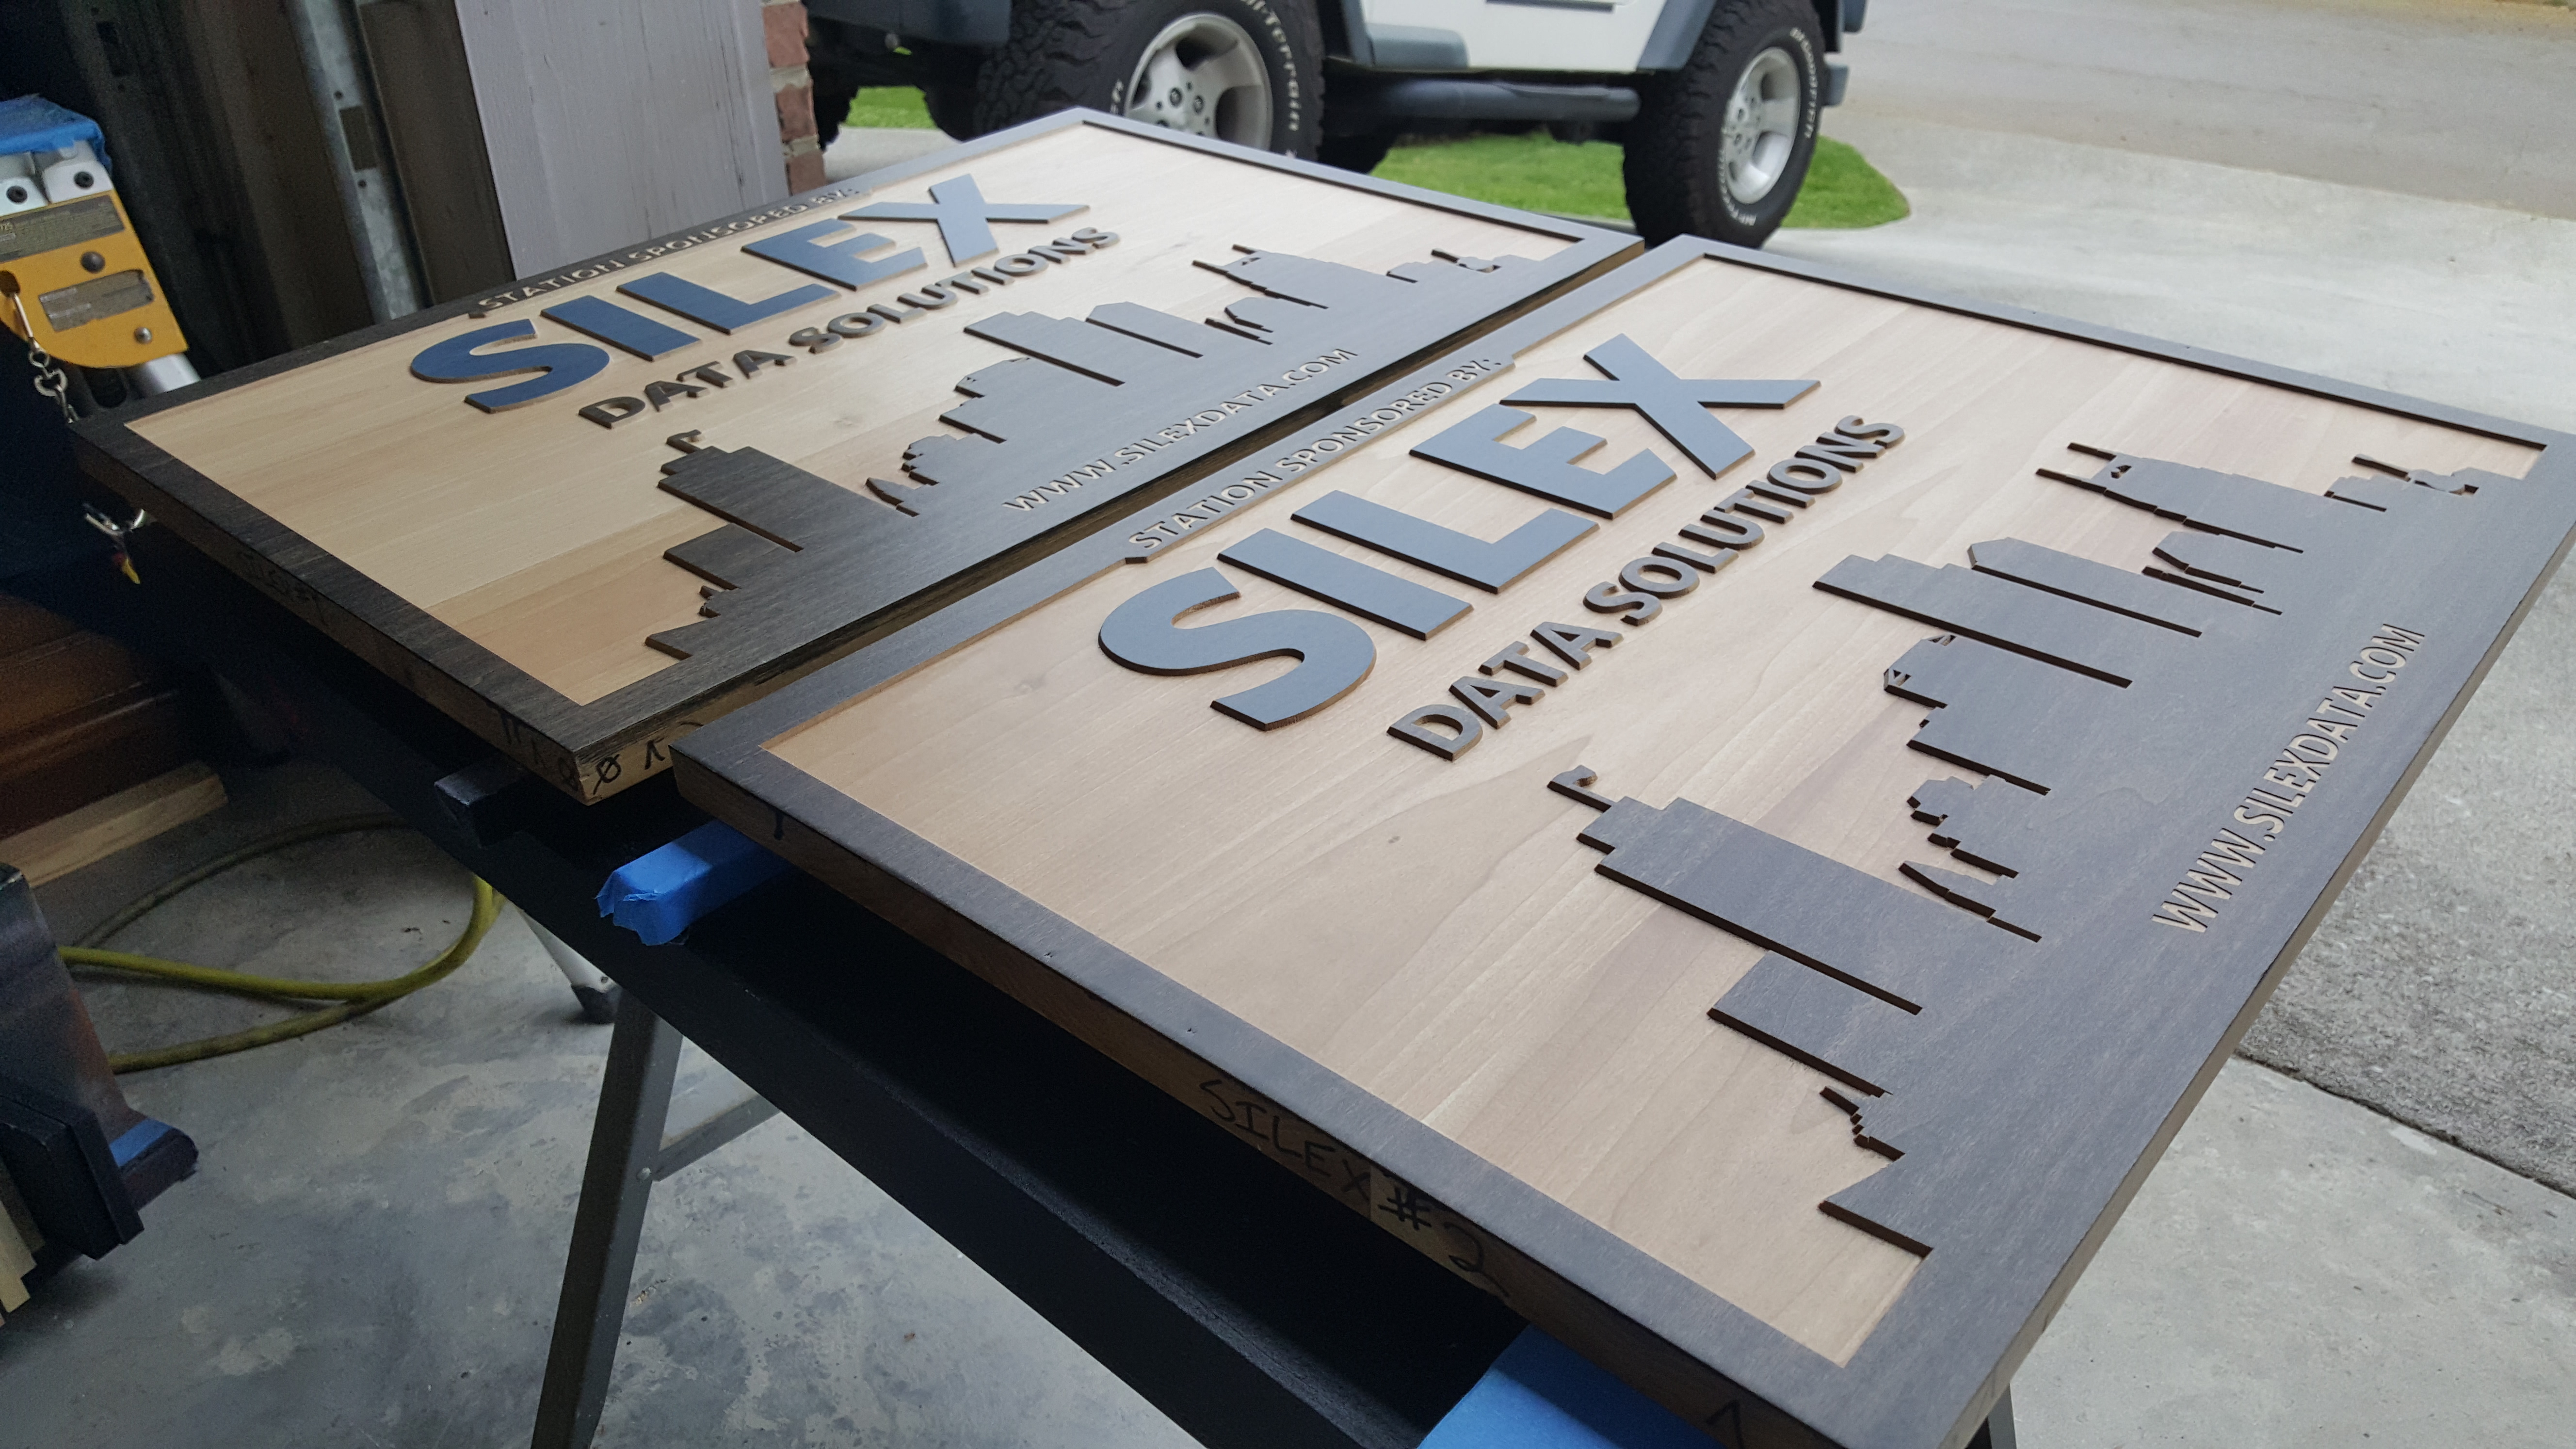
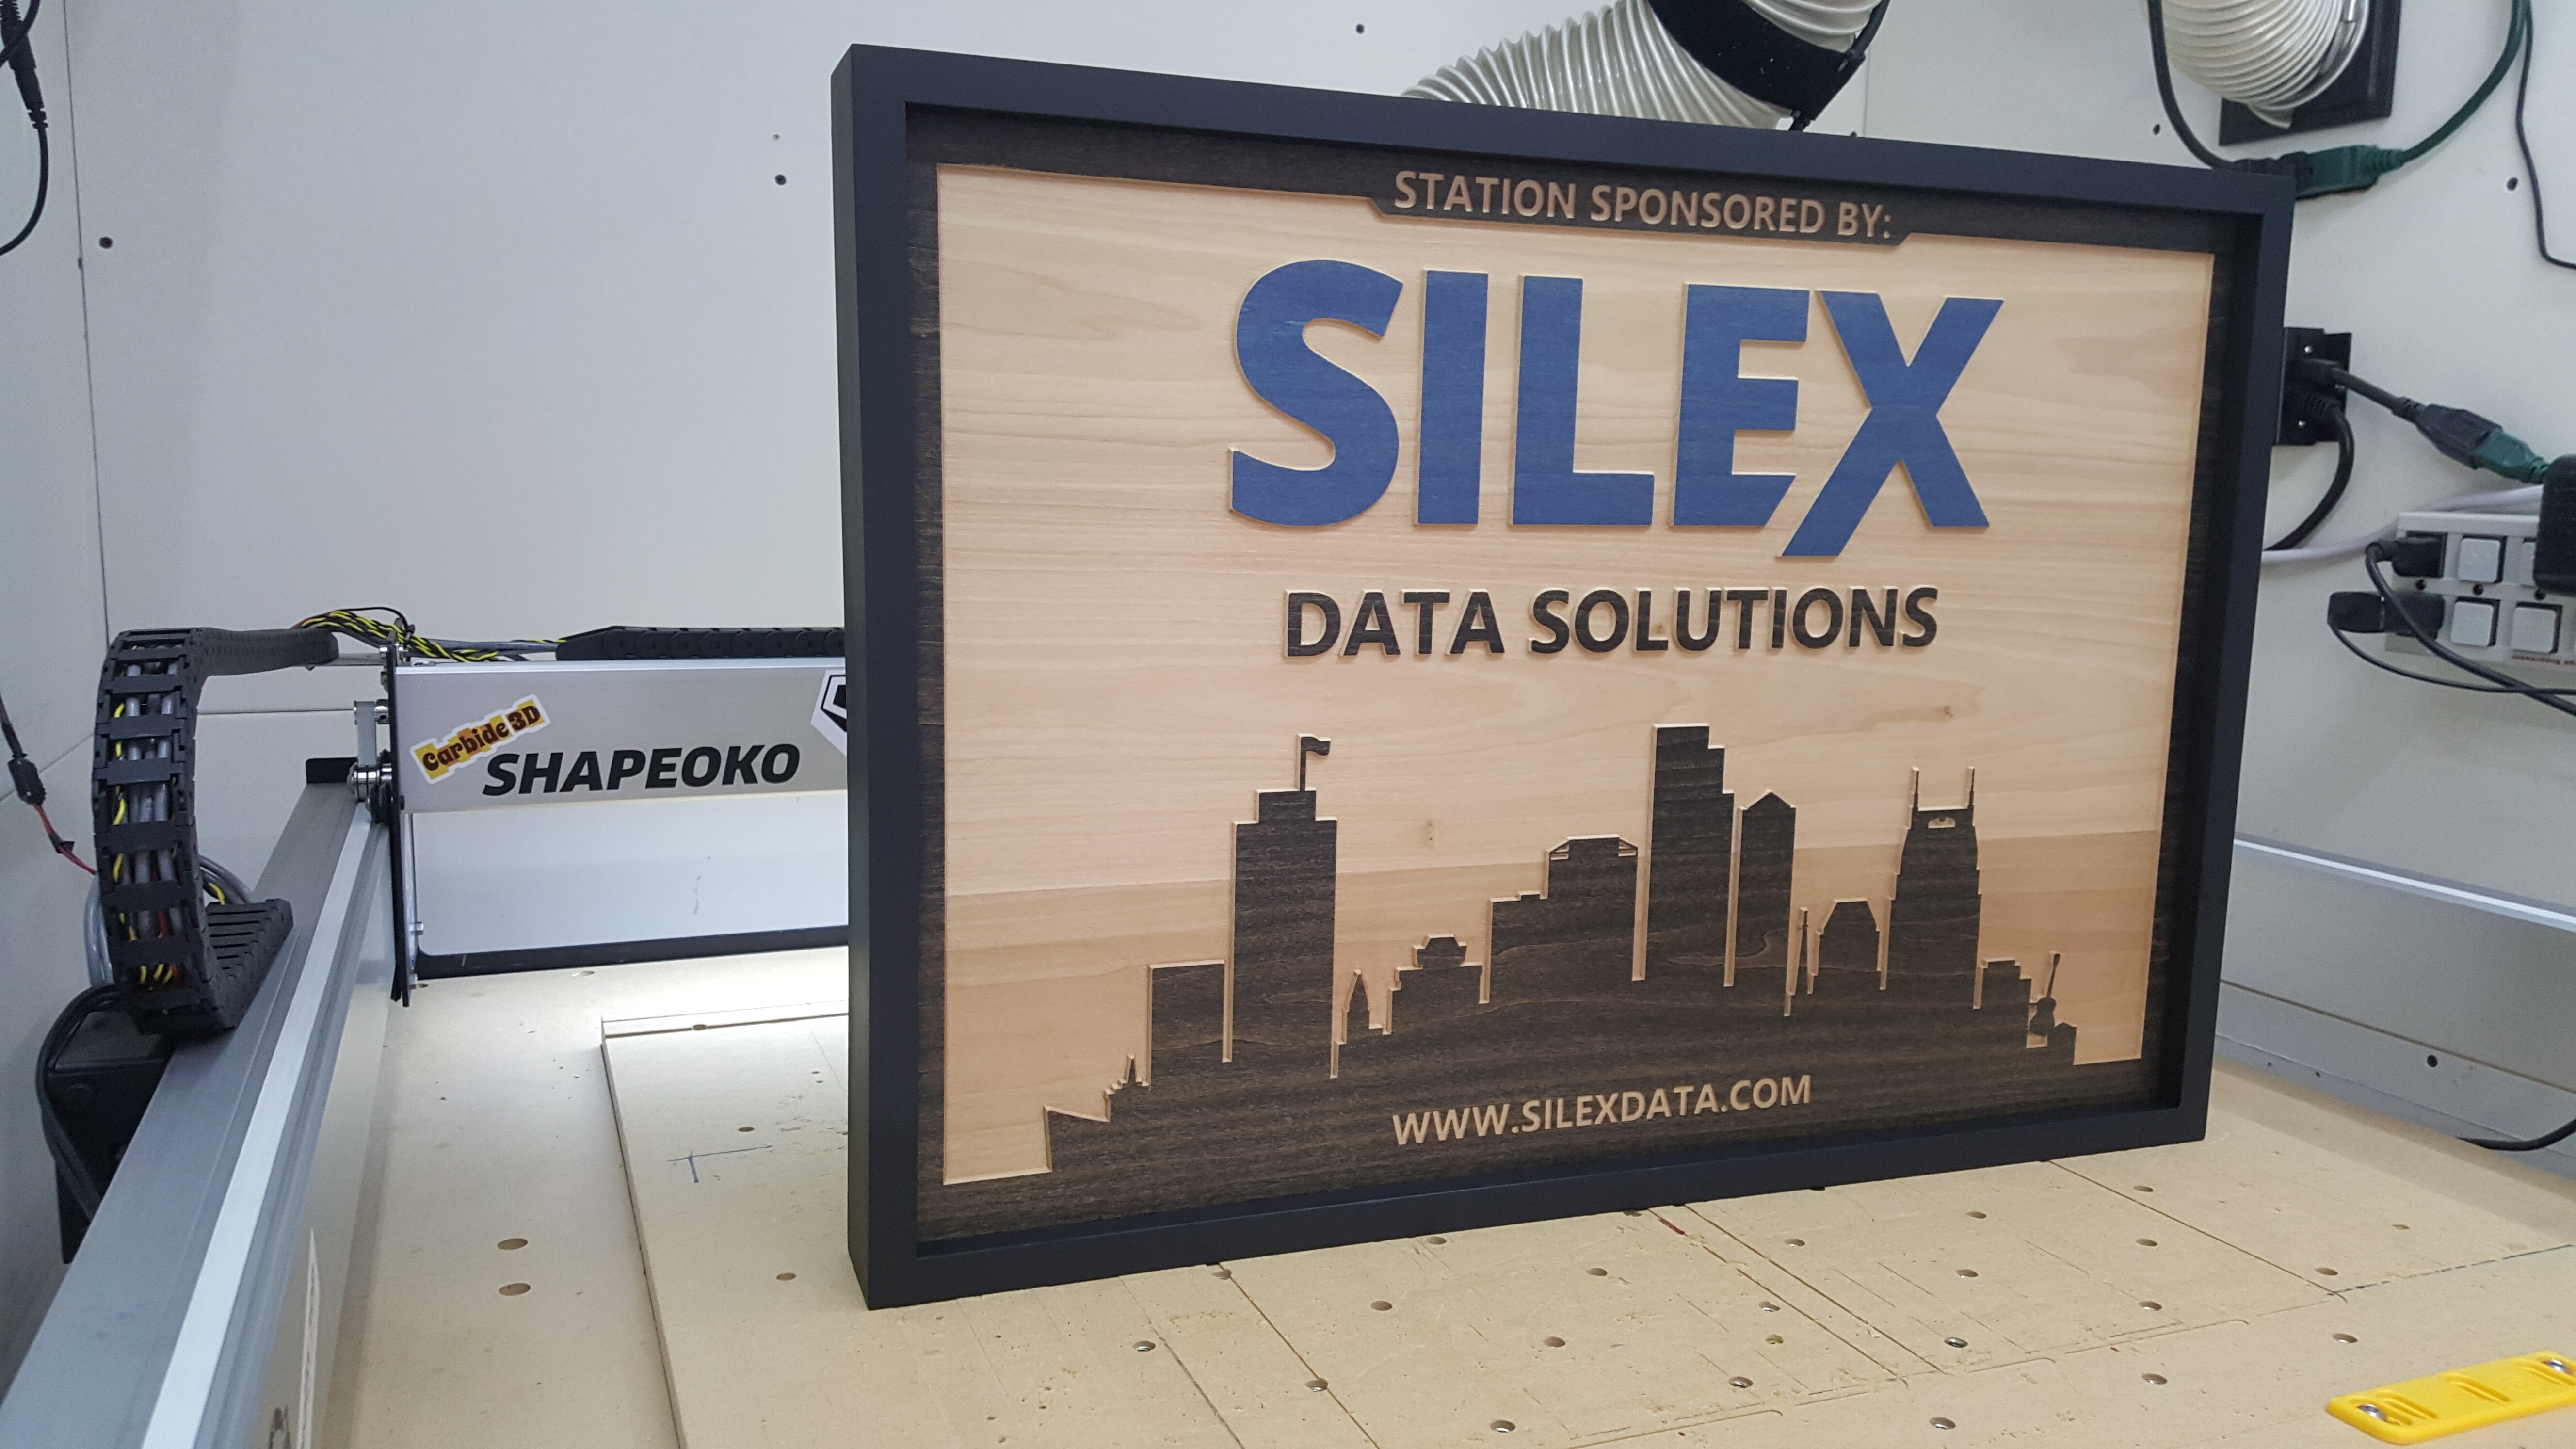
I received another request for two more signs from Silex:

I love how the blue stain really popped once the clear coat went on:
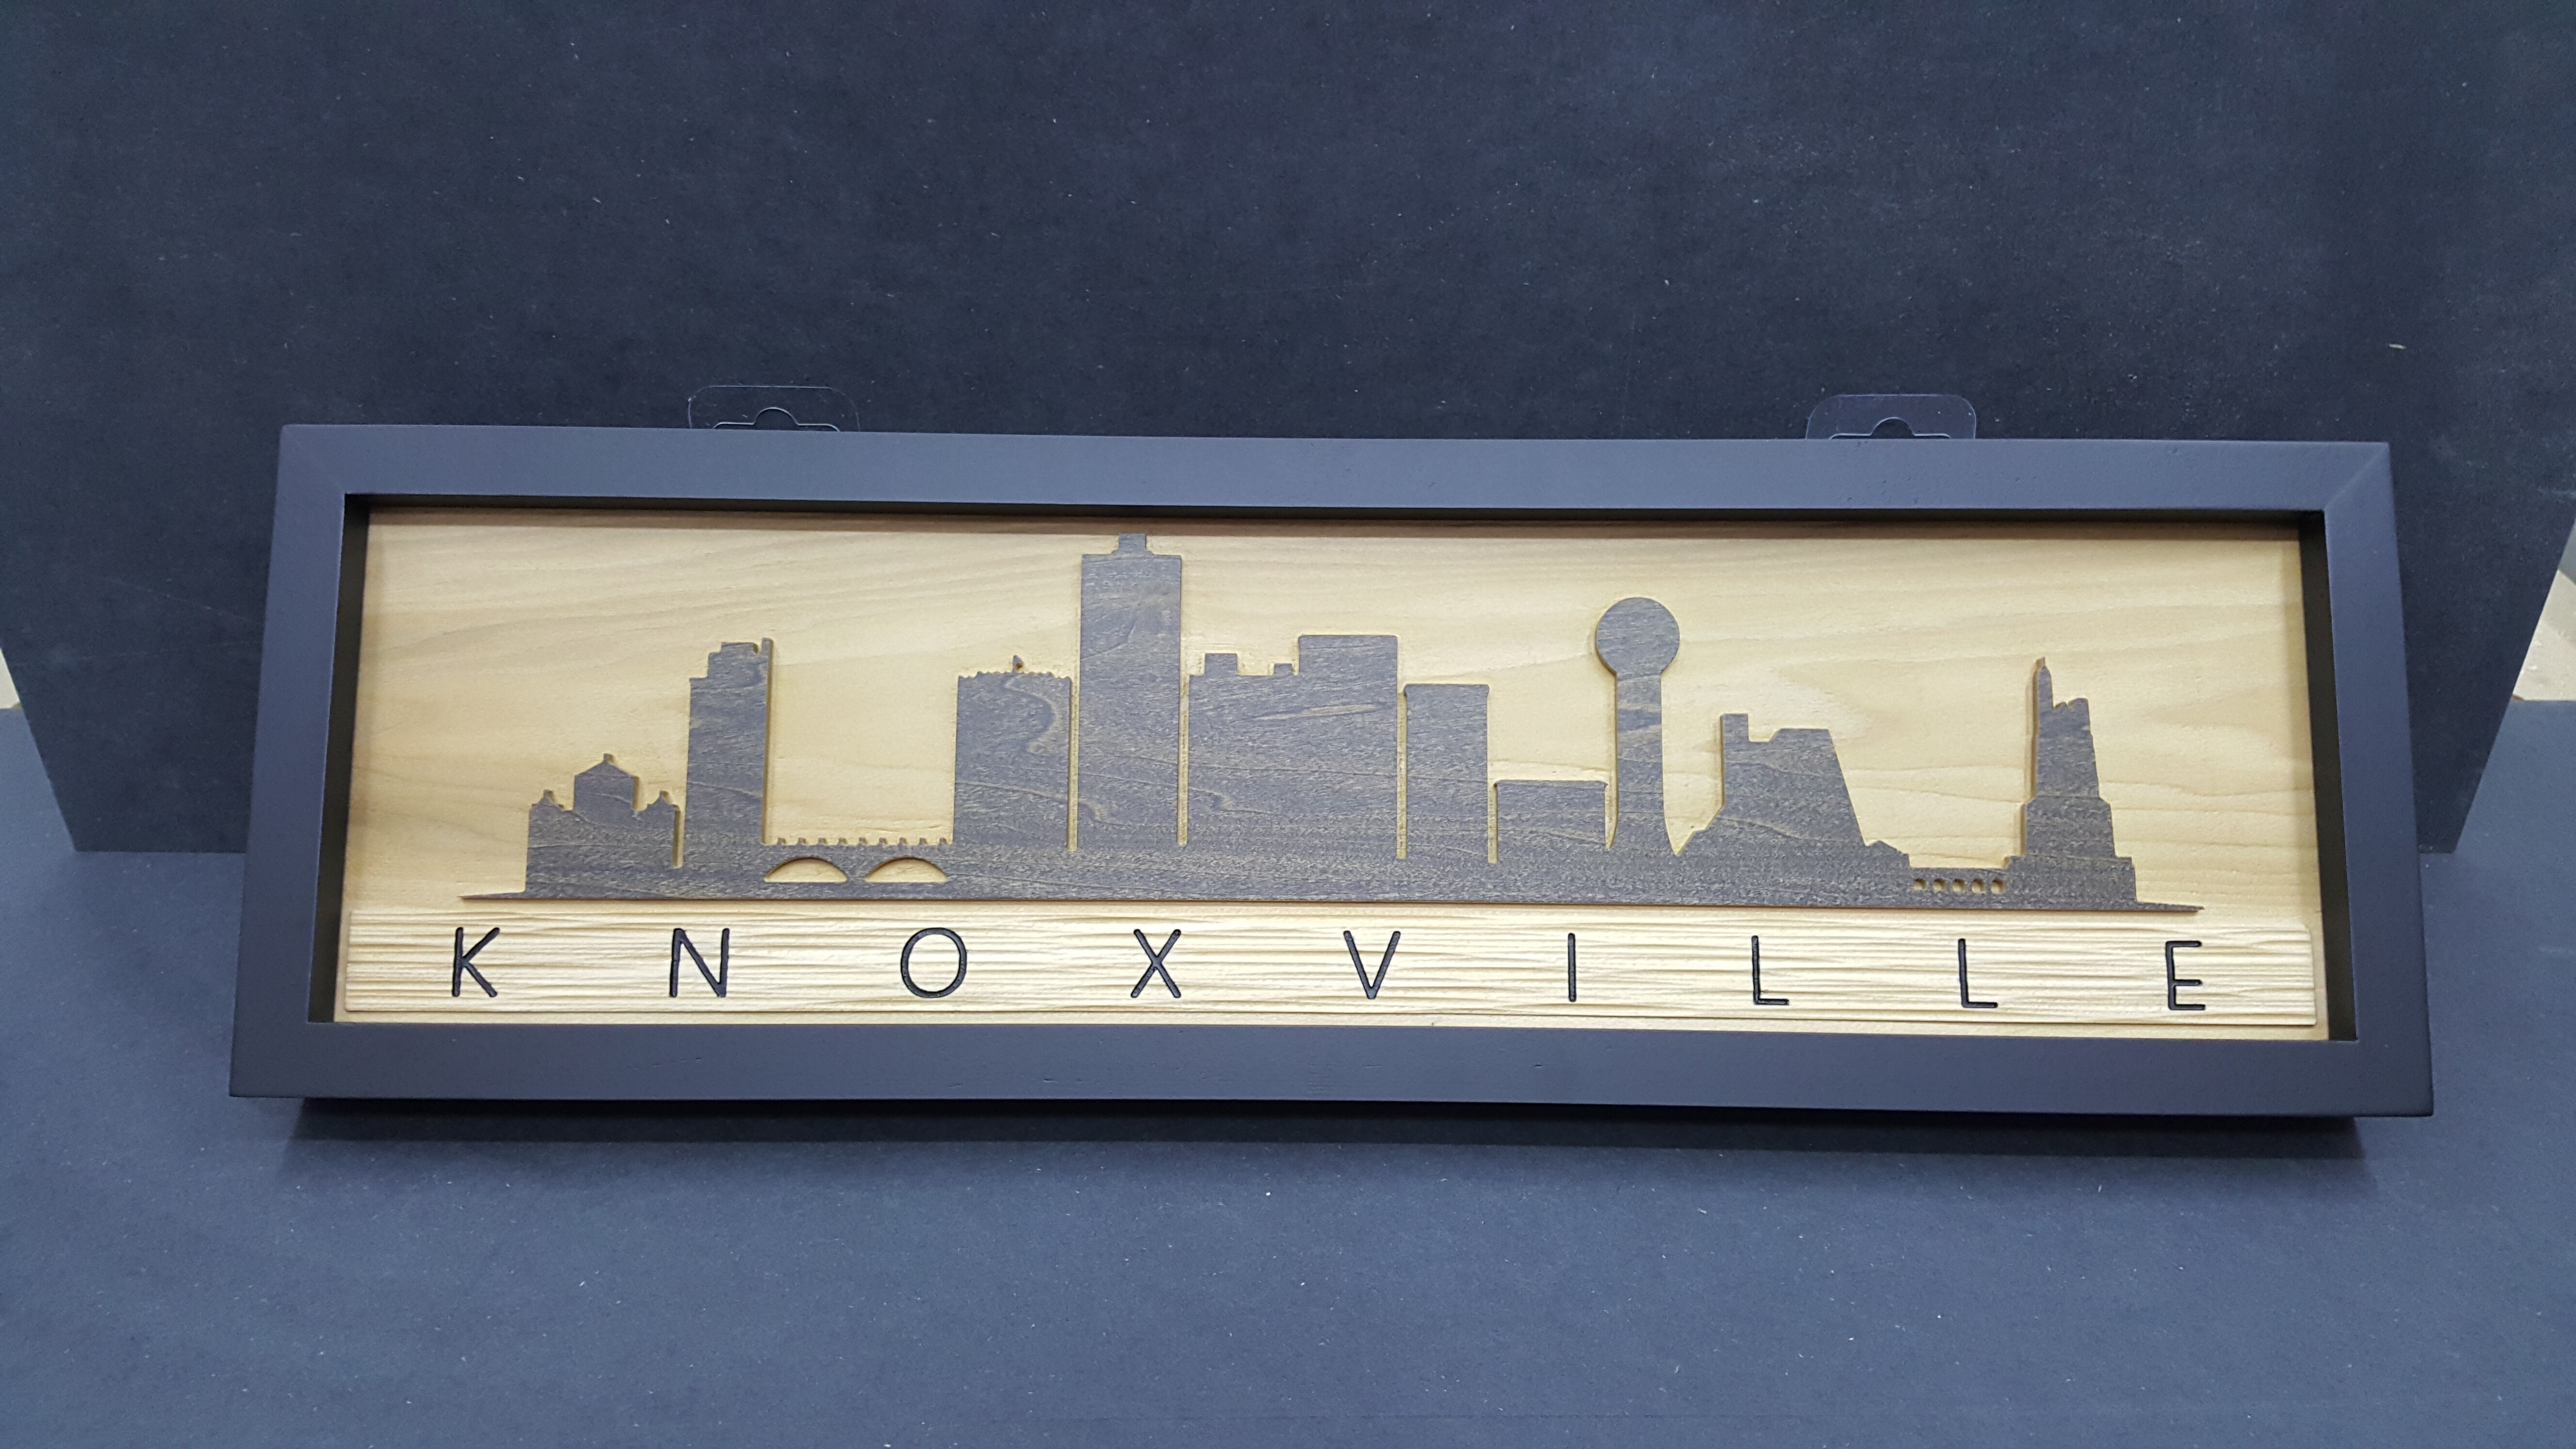
Knocked out some more stuff with the laser:


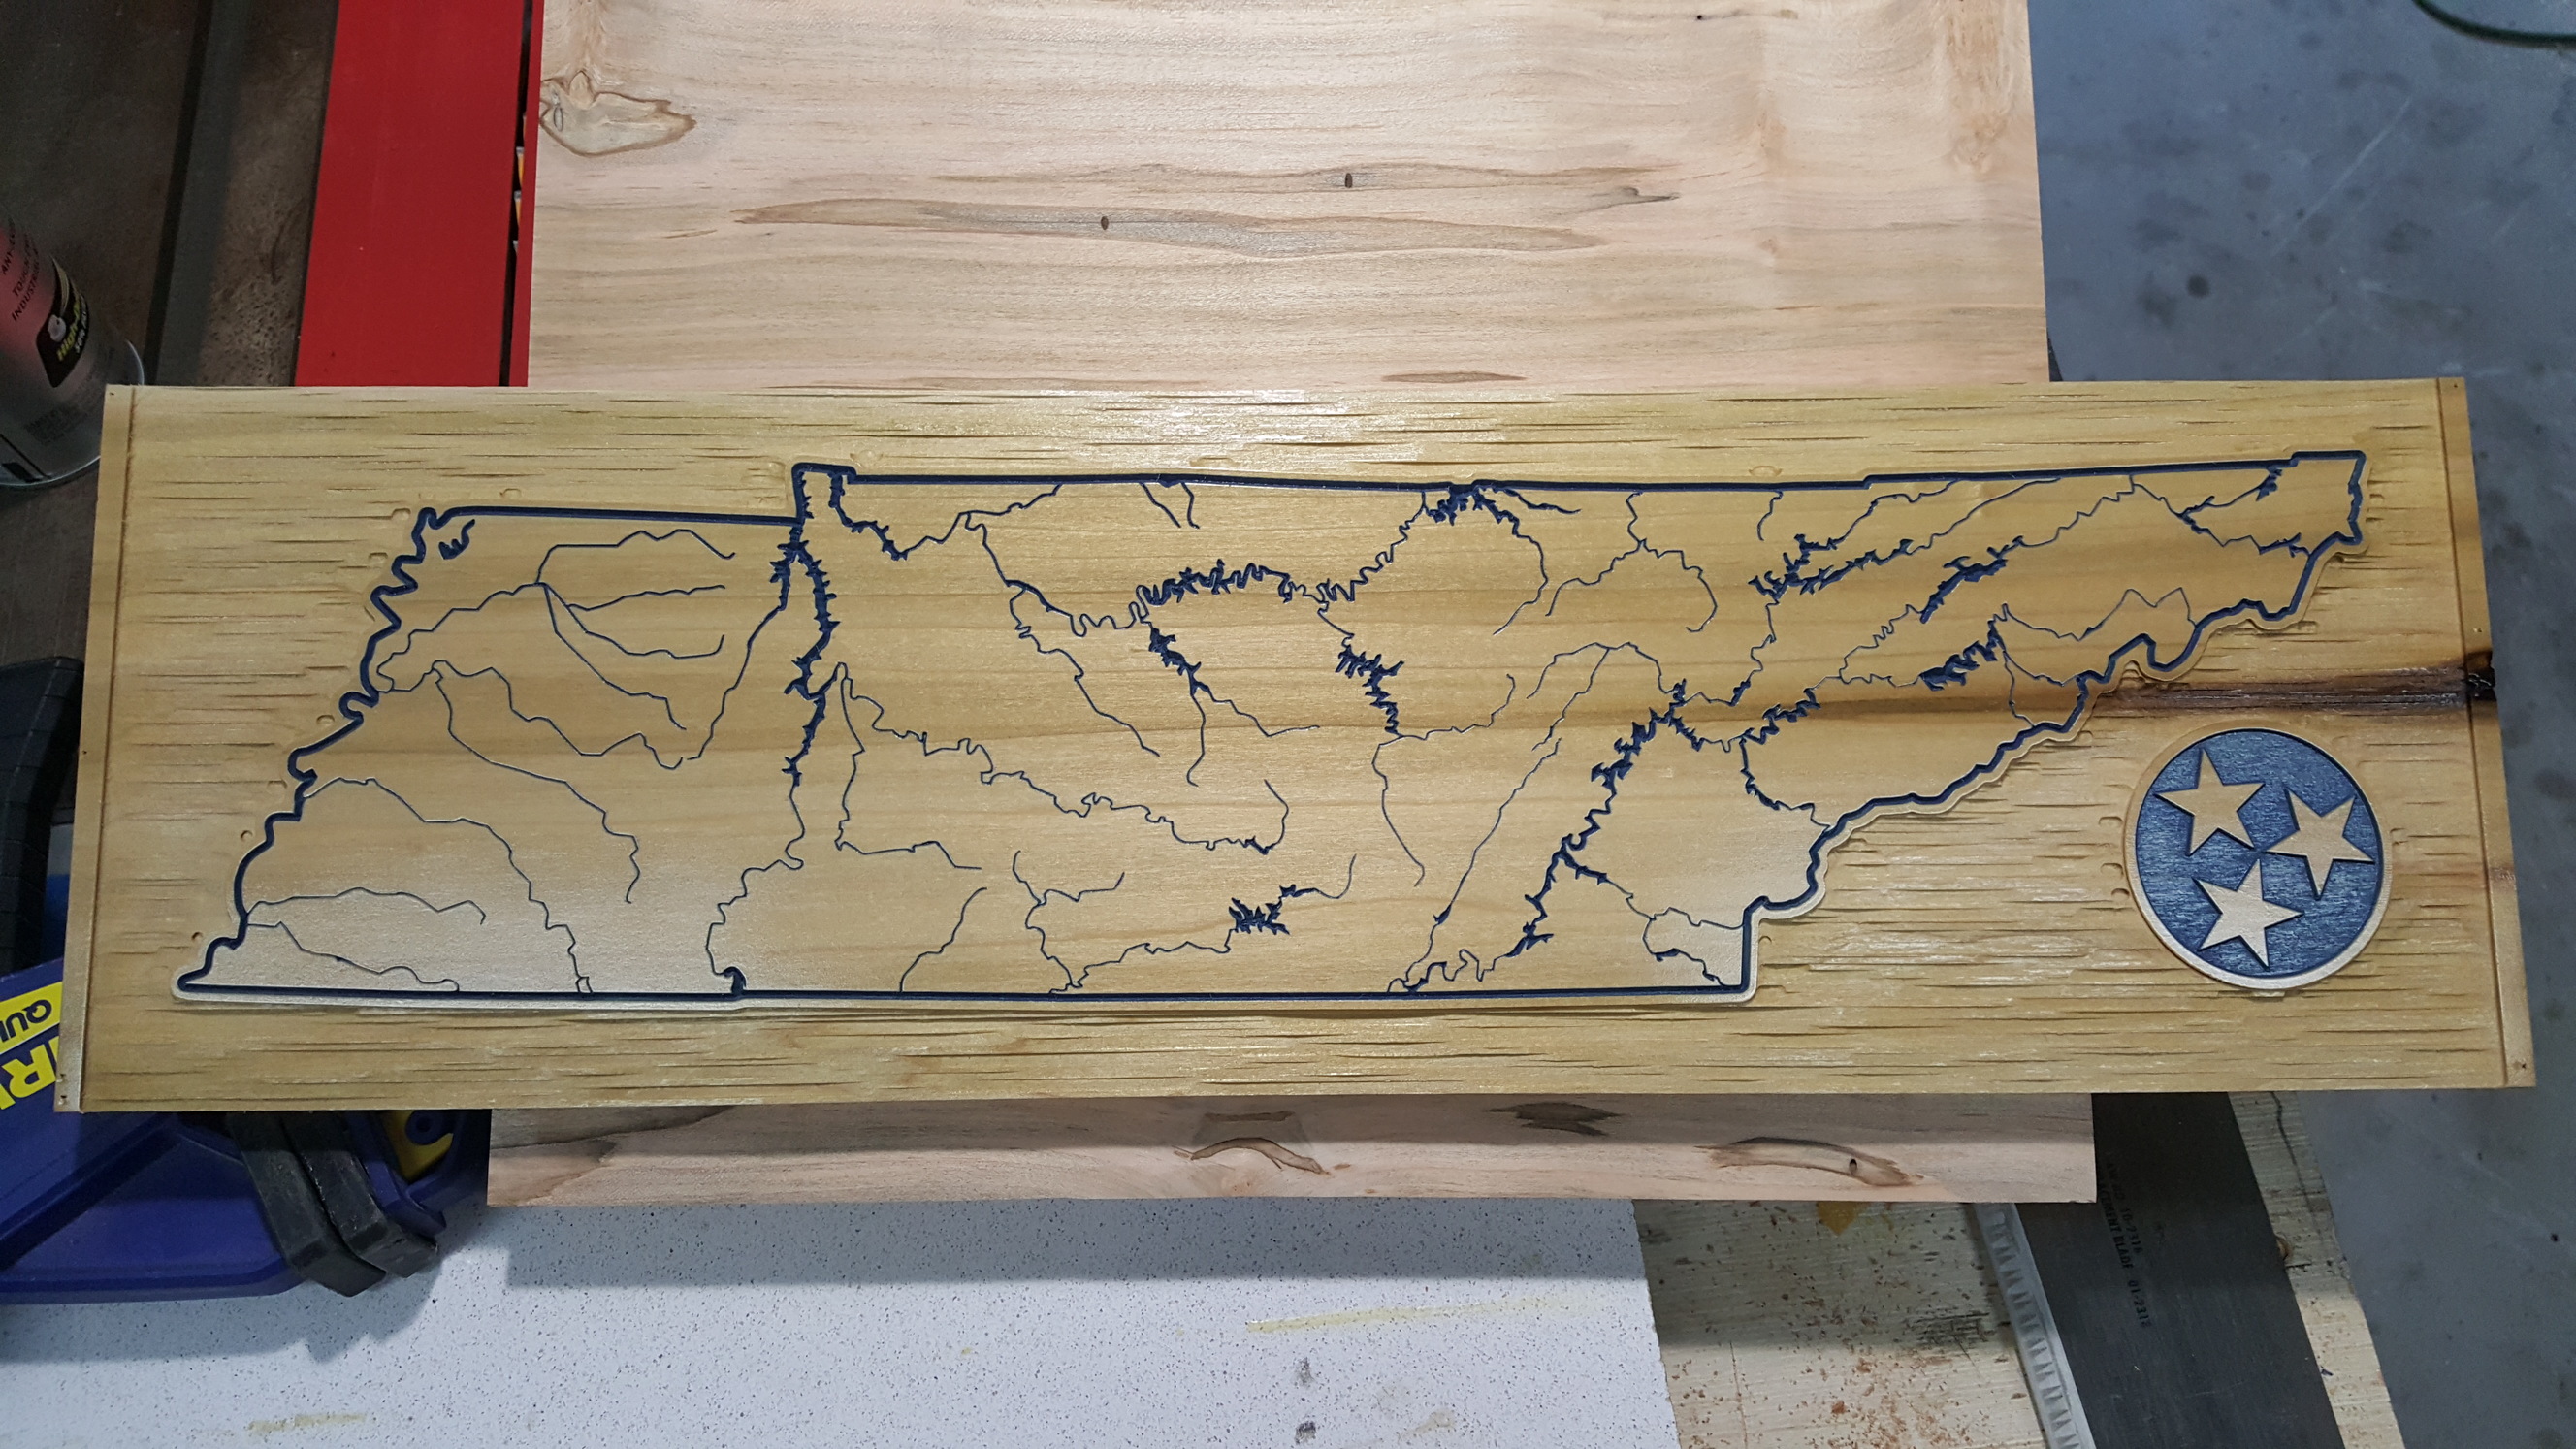
Had a customer request a map for their lake house, and I had the perfect piece of wood sitting in my shop for it. Flattened + keyhole on the back with my Shapeoko and then off to the laser:

Here is something for the “woodies” on the forum:
I had a long-time family friend and customer request a large conference table for their law firm. I didn’t use my cnc on it, but I thought why not share it with you all…
Started as 2 big slabs of maple… each was roughly 10-11ft long and 27ish inches wide…
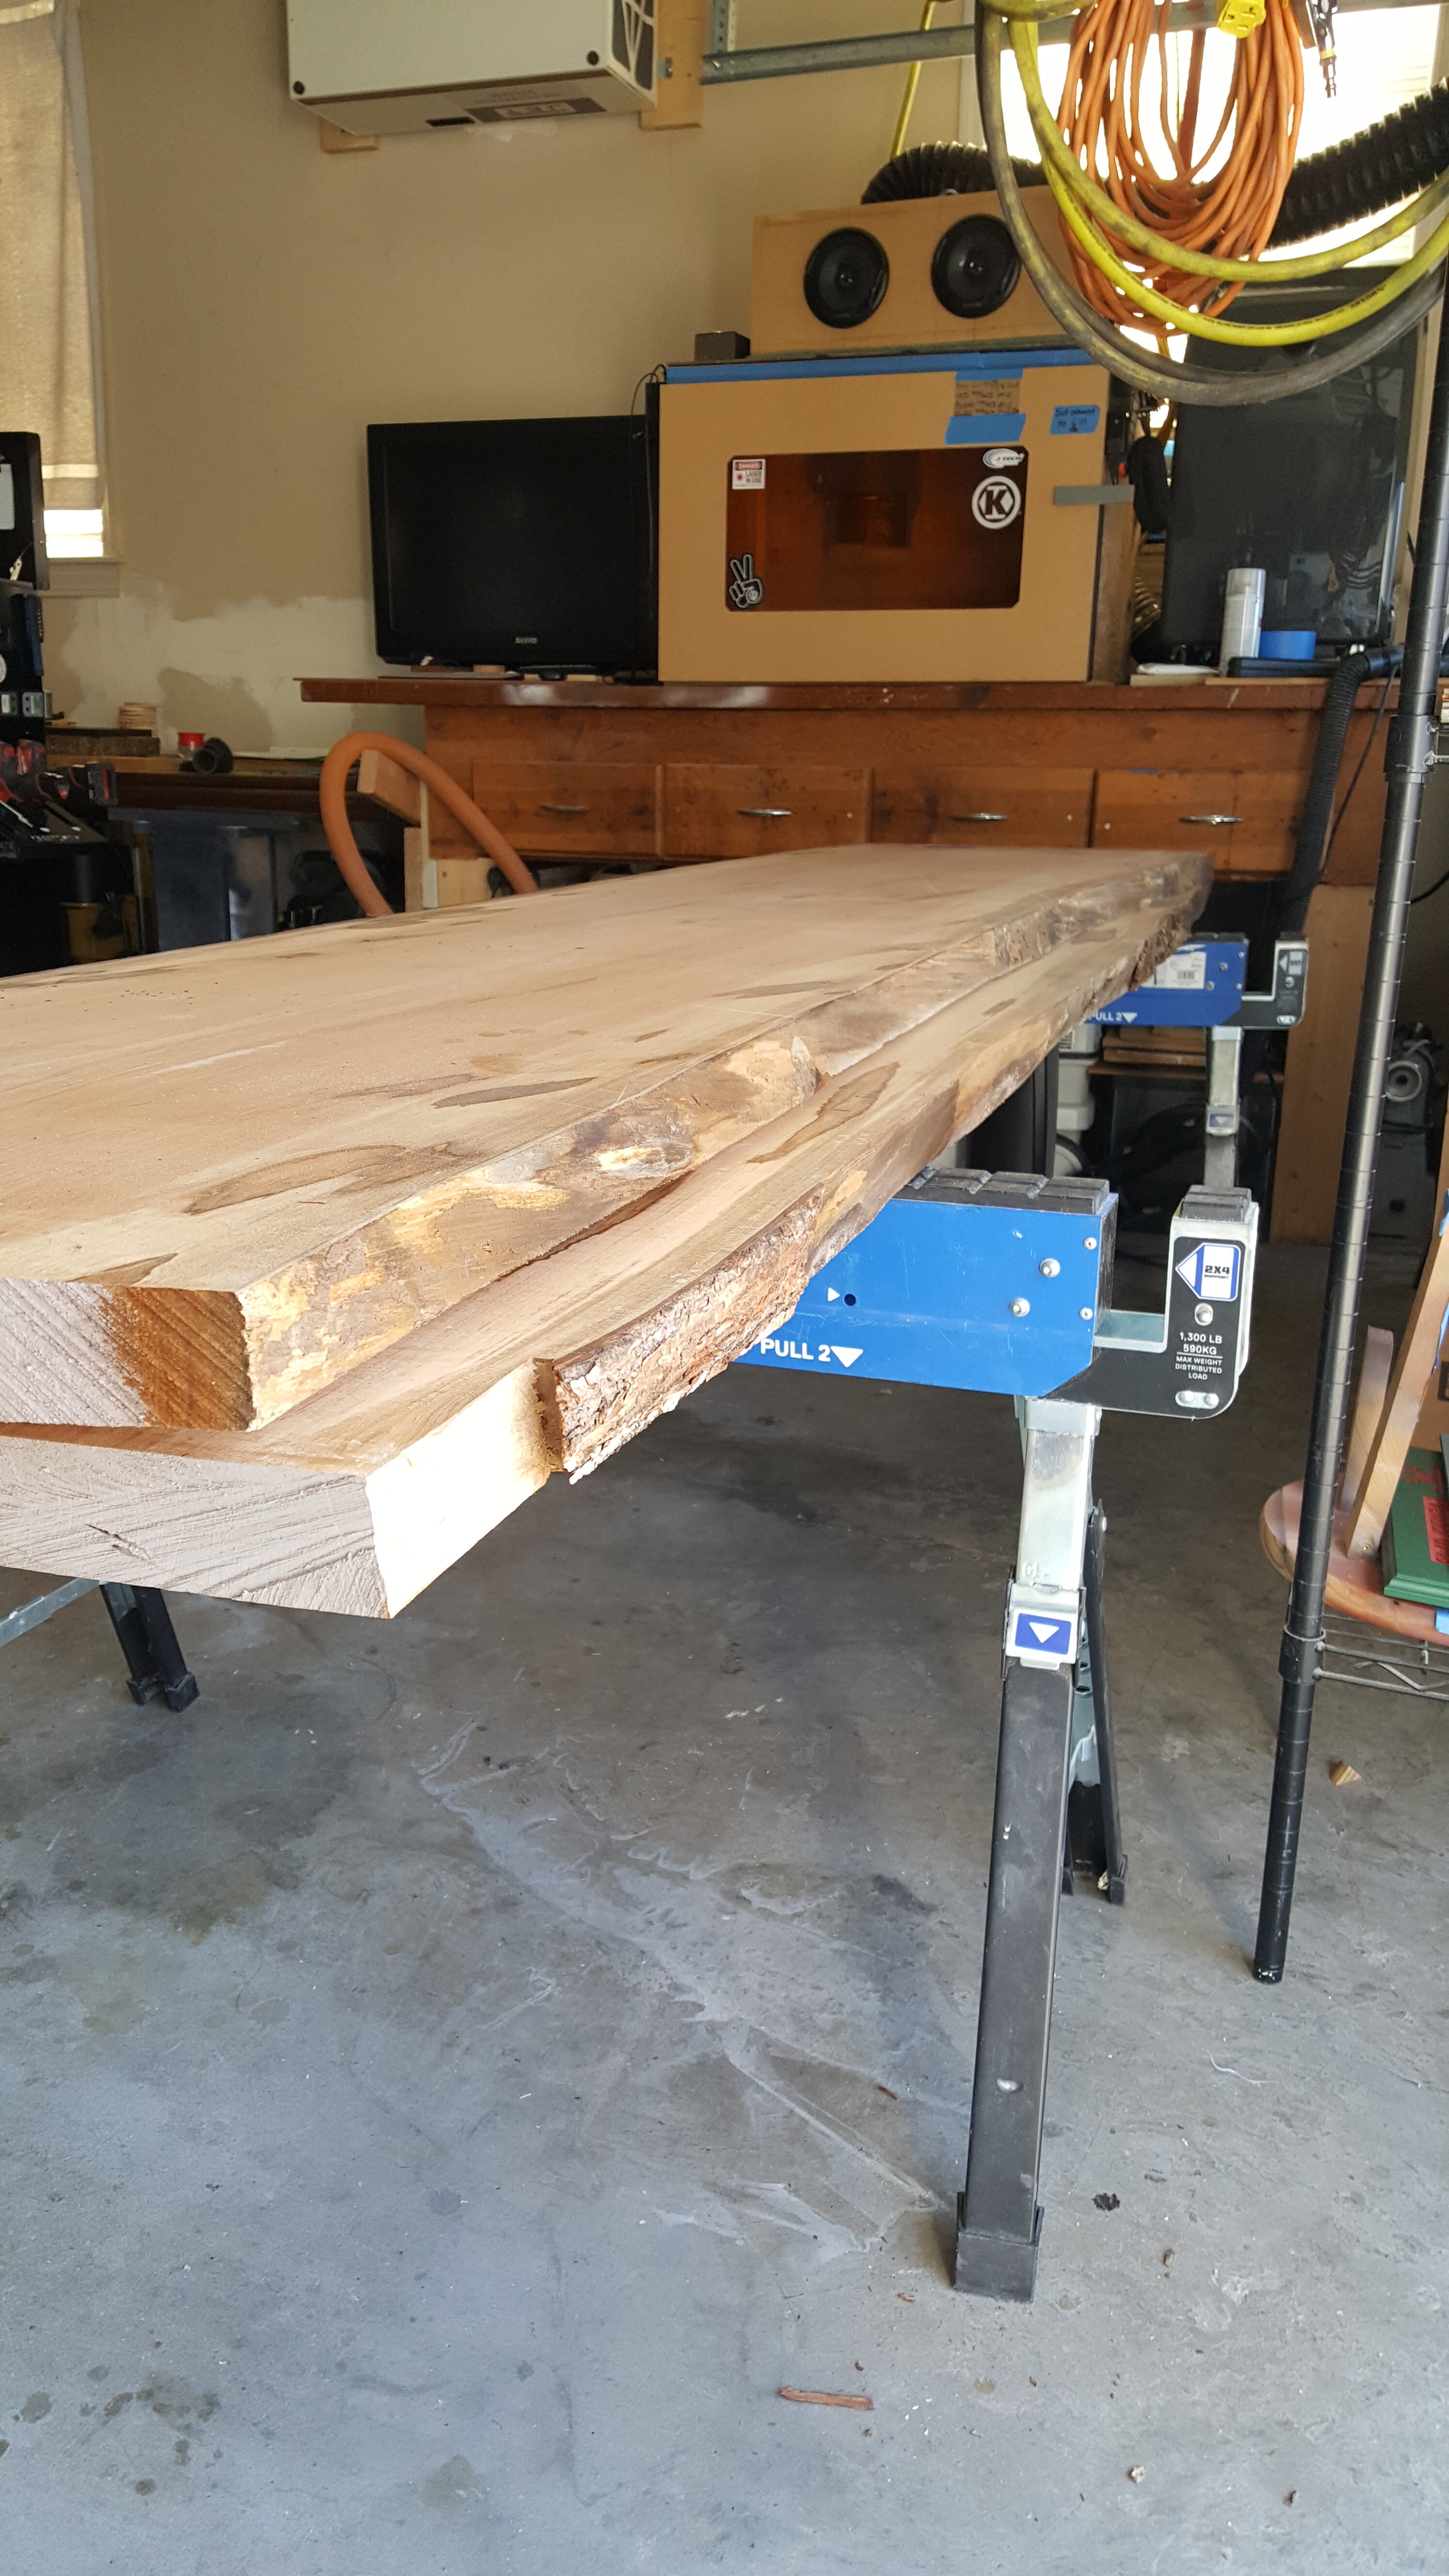
Customer wanted it as wide as possible so I ripped 2 straight edges and got to work joining the slabs with structural epoxy. I also routed reliefs on the underside so I could bolt in some steel c-channel “supports”…
Then I built a crude sled and started flattening…

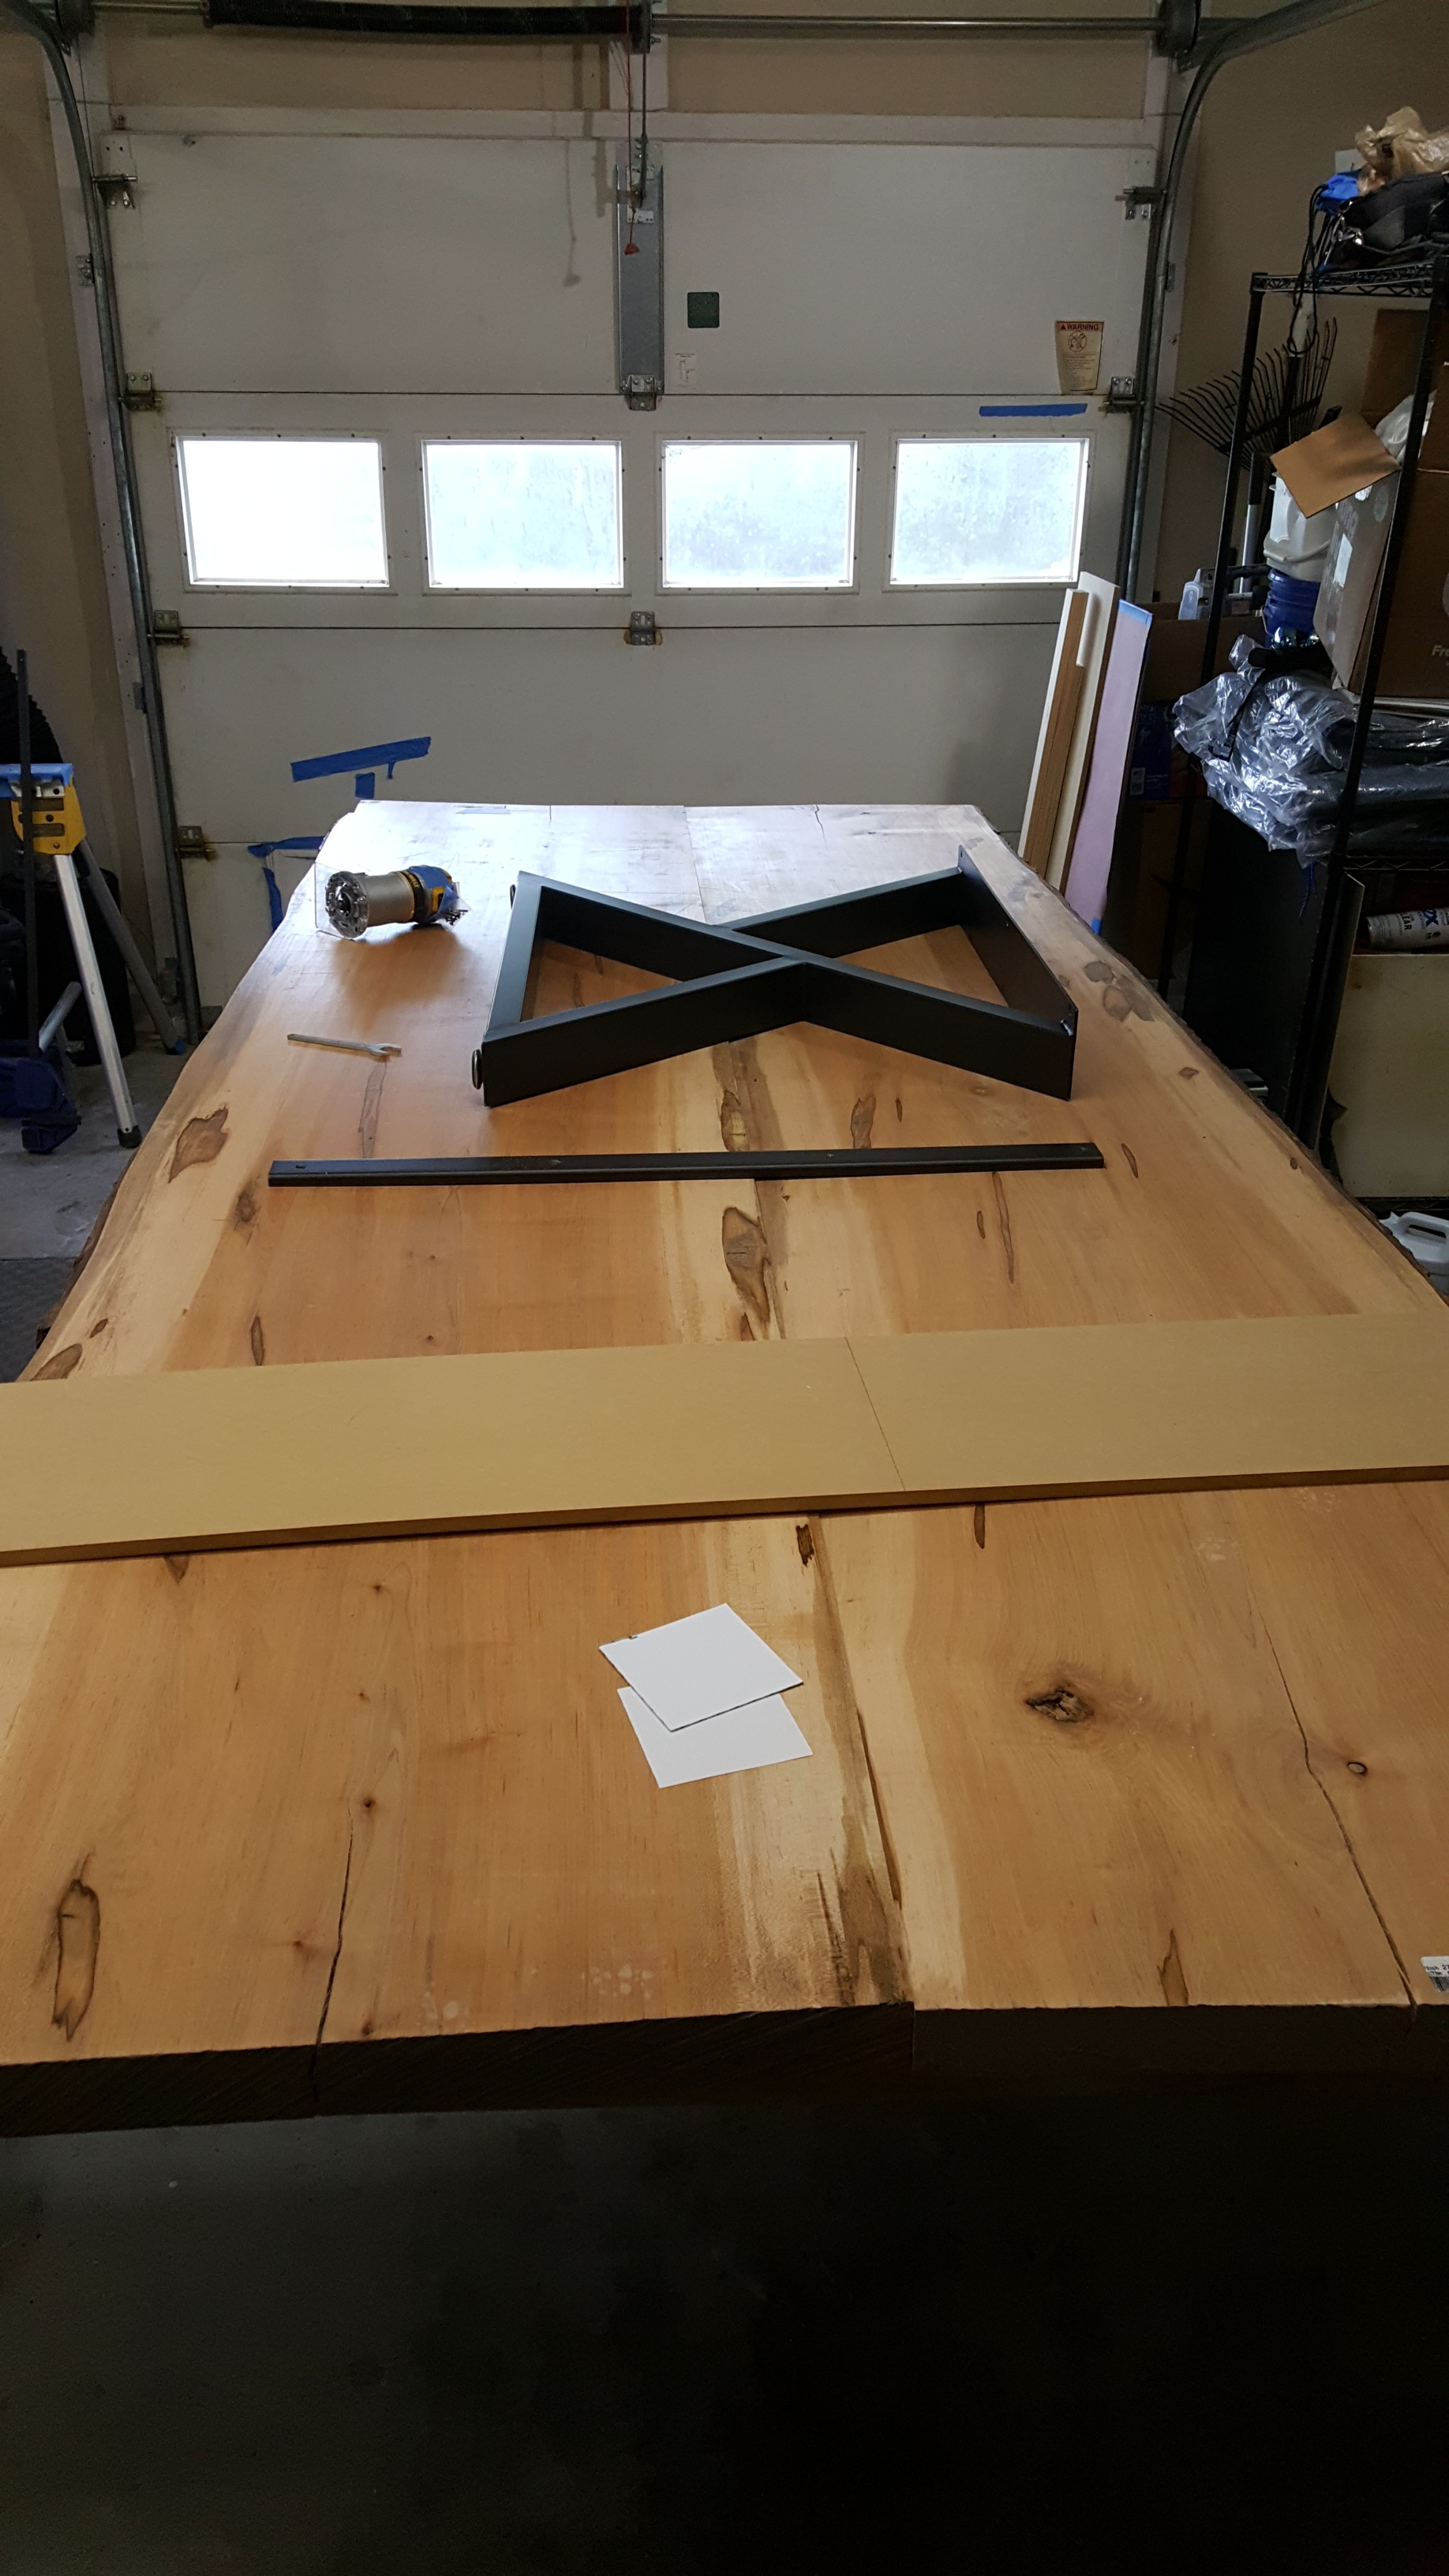
After numerous rounds of crack/knot filling with black epoxy I got the edges cleaned up and started sanding…

I topped it off with 2 coats of Rubio Monocoat. Final size of the table came out to just over 9ft long and 52ish inches wide. The legs are black steel (purchased, not made by me)…
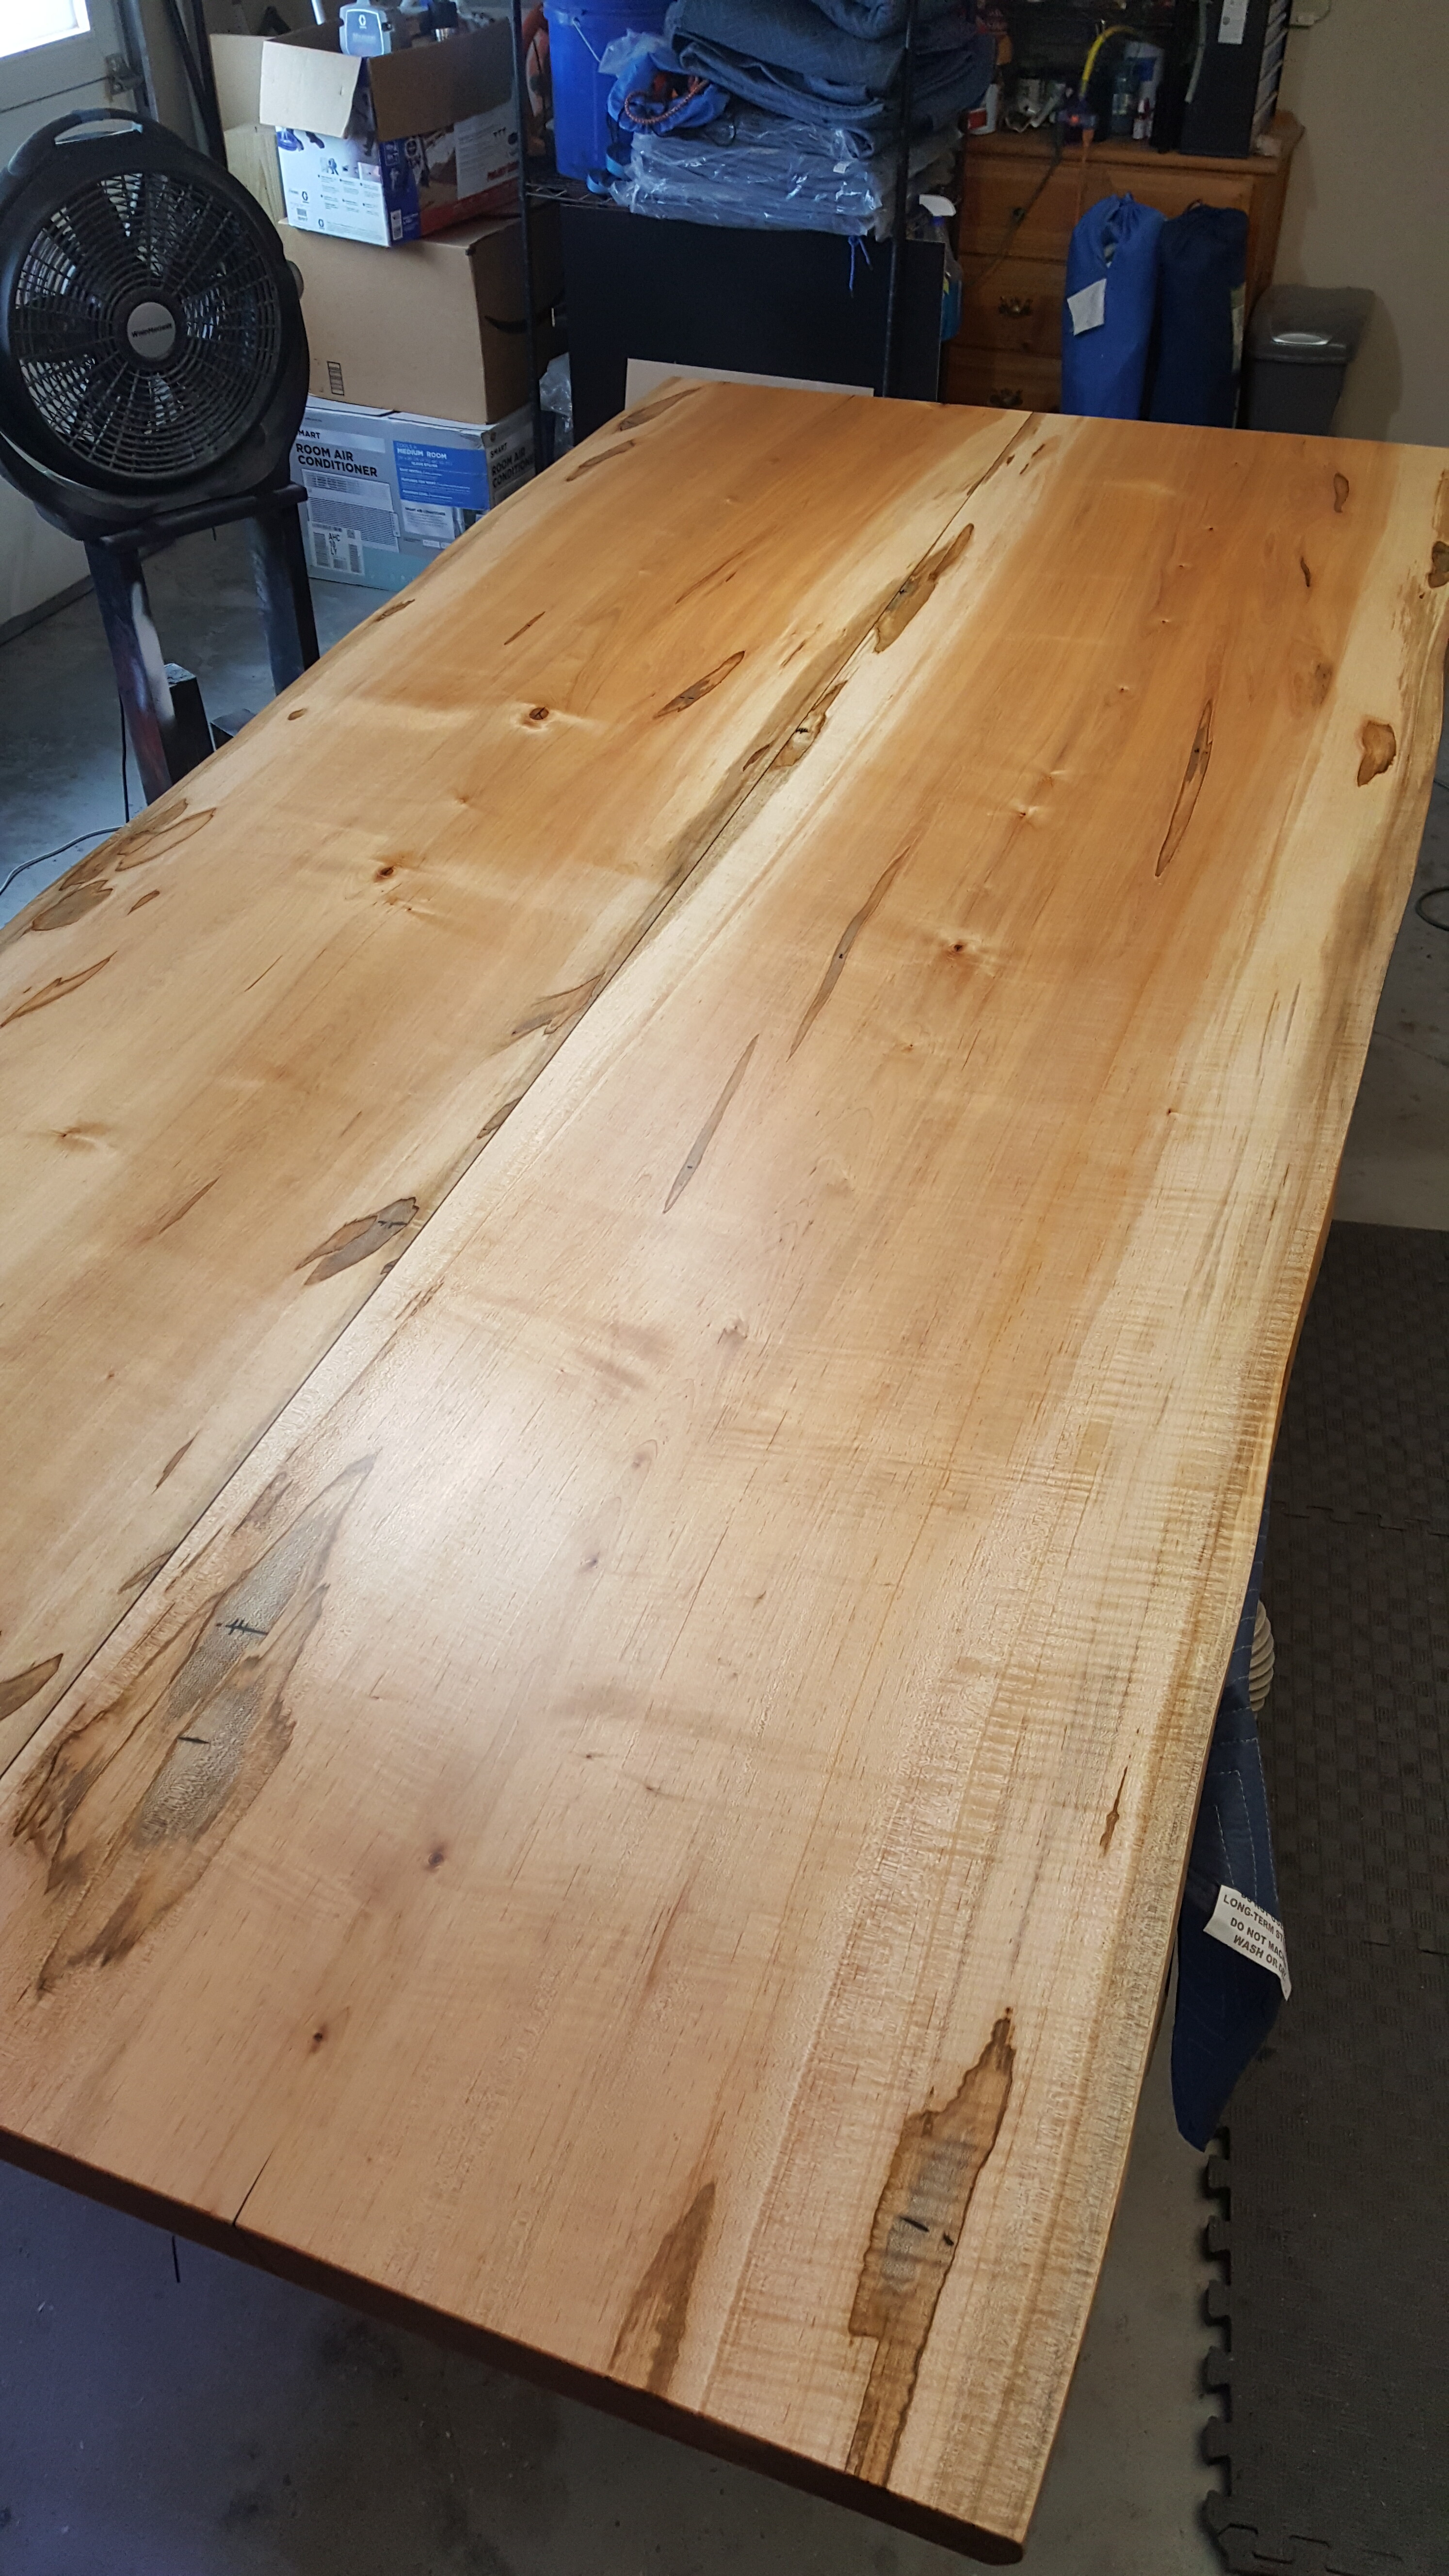
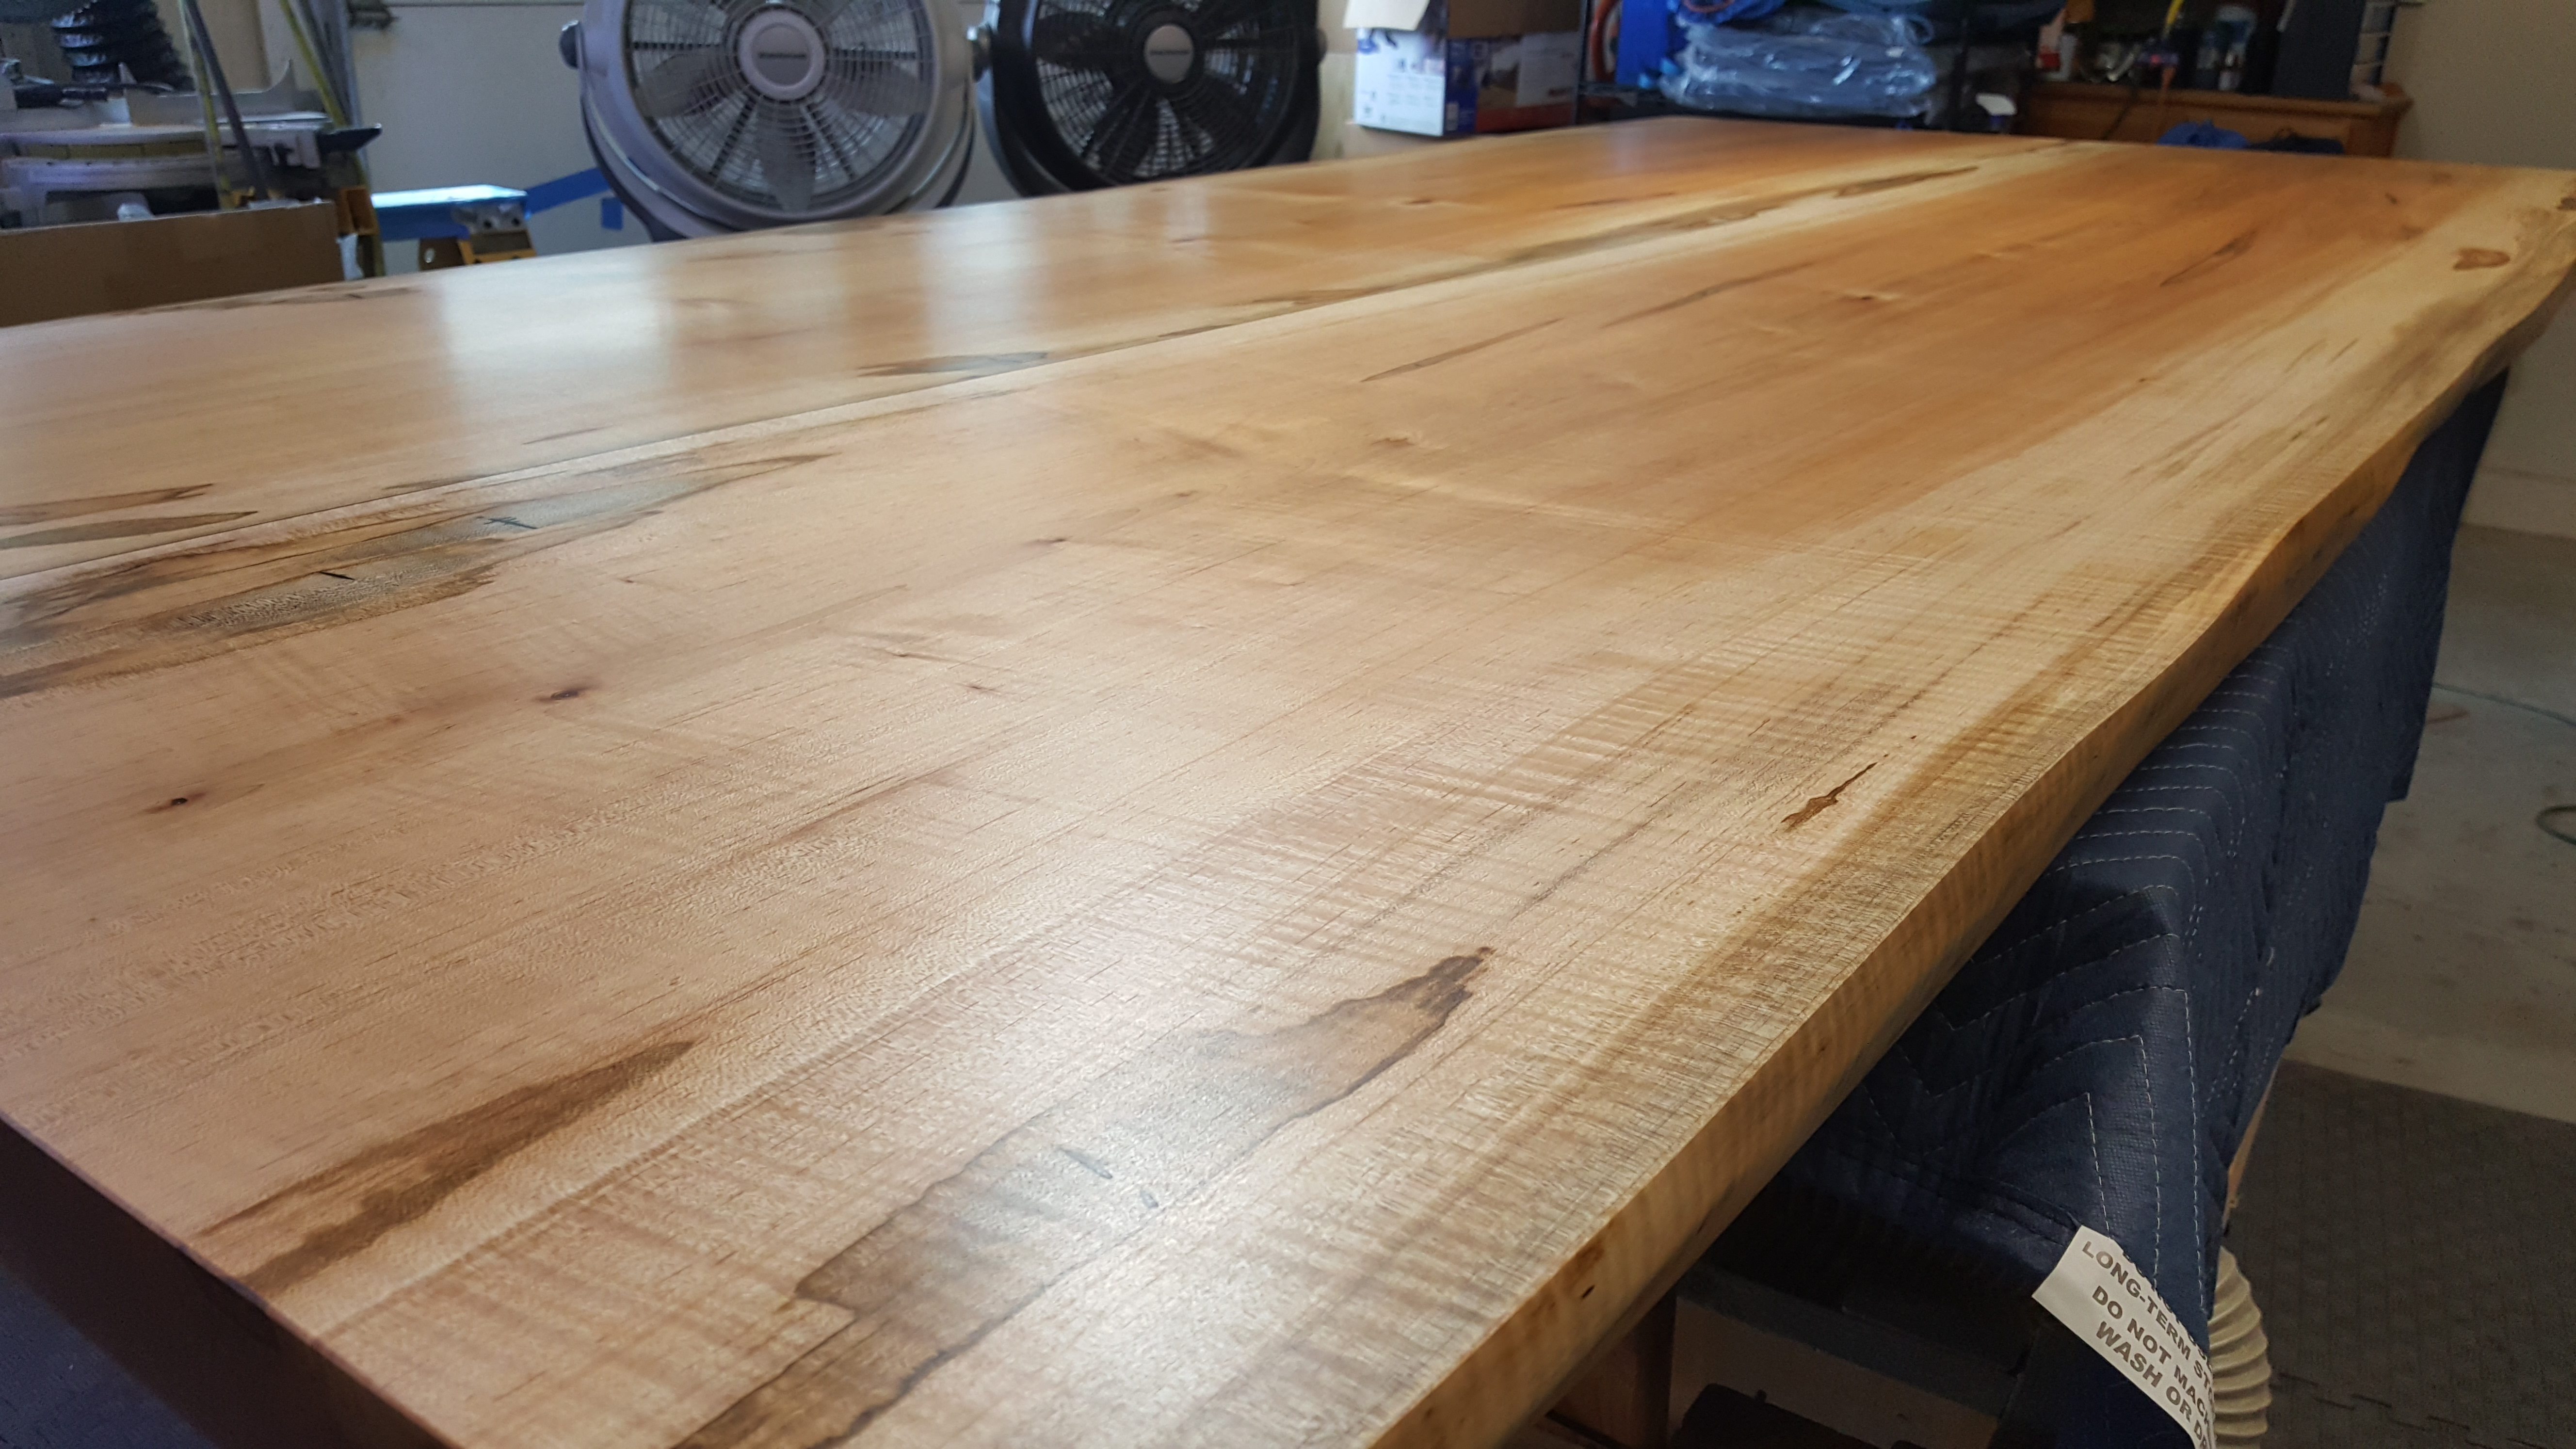
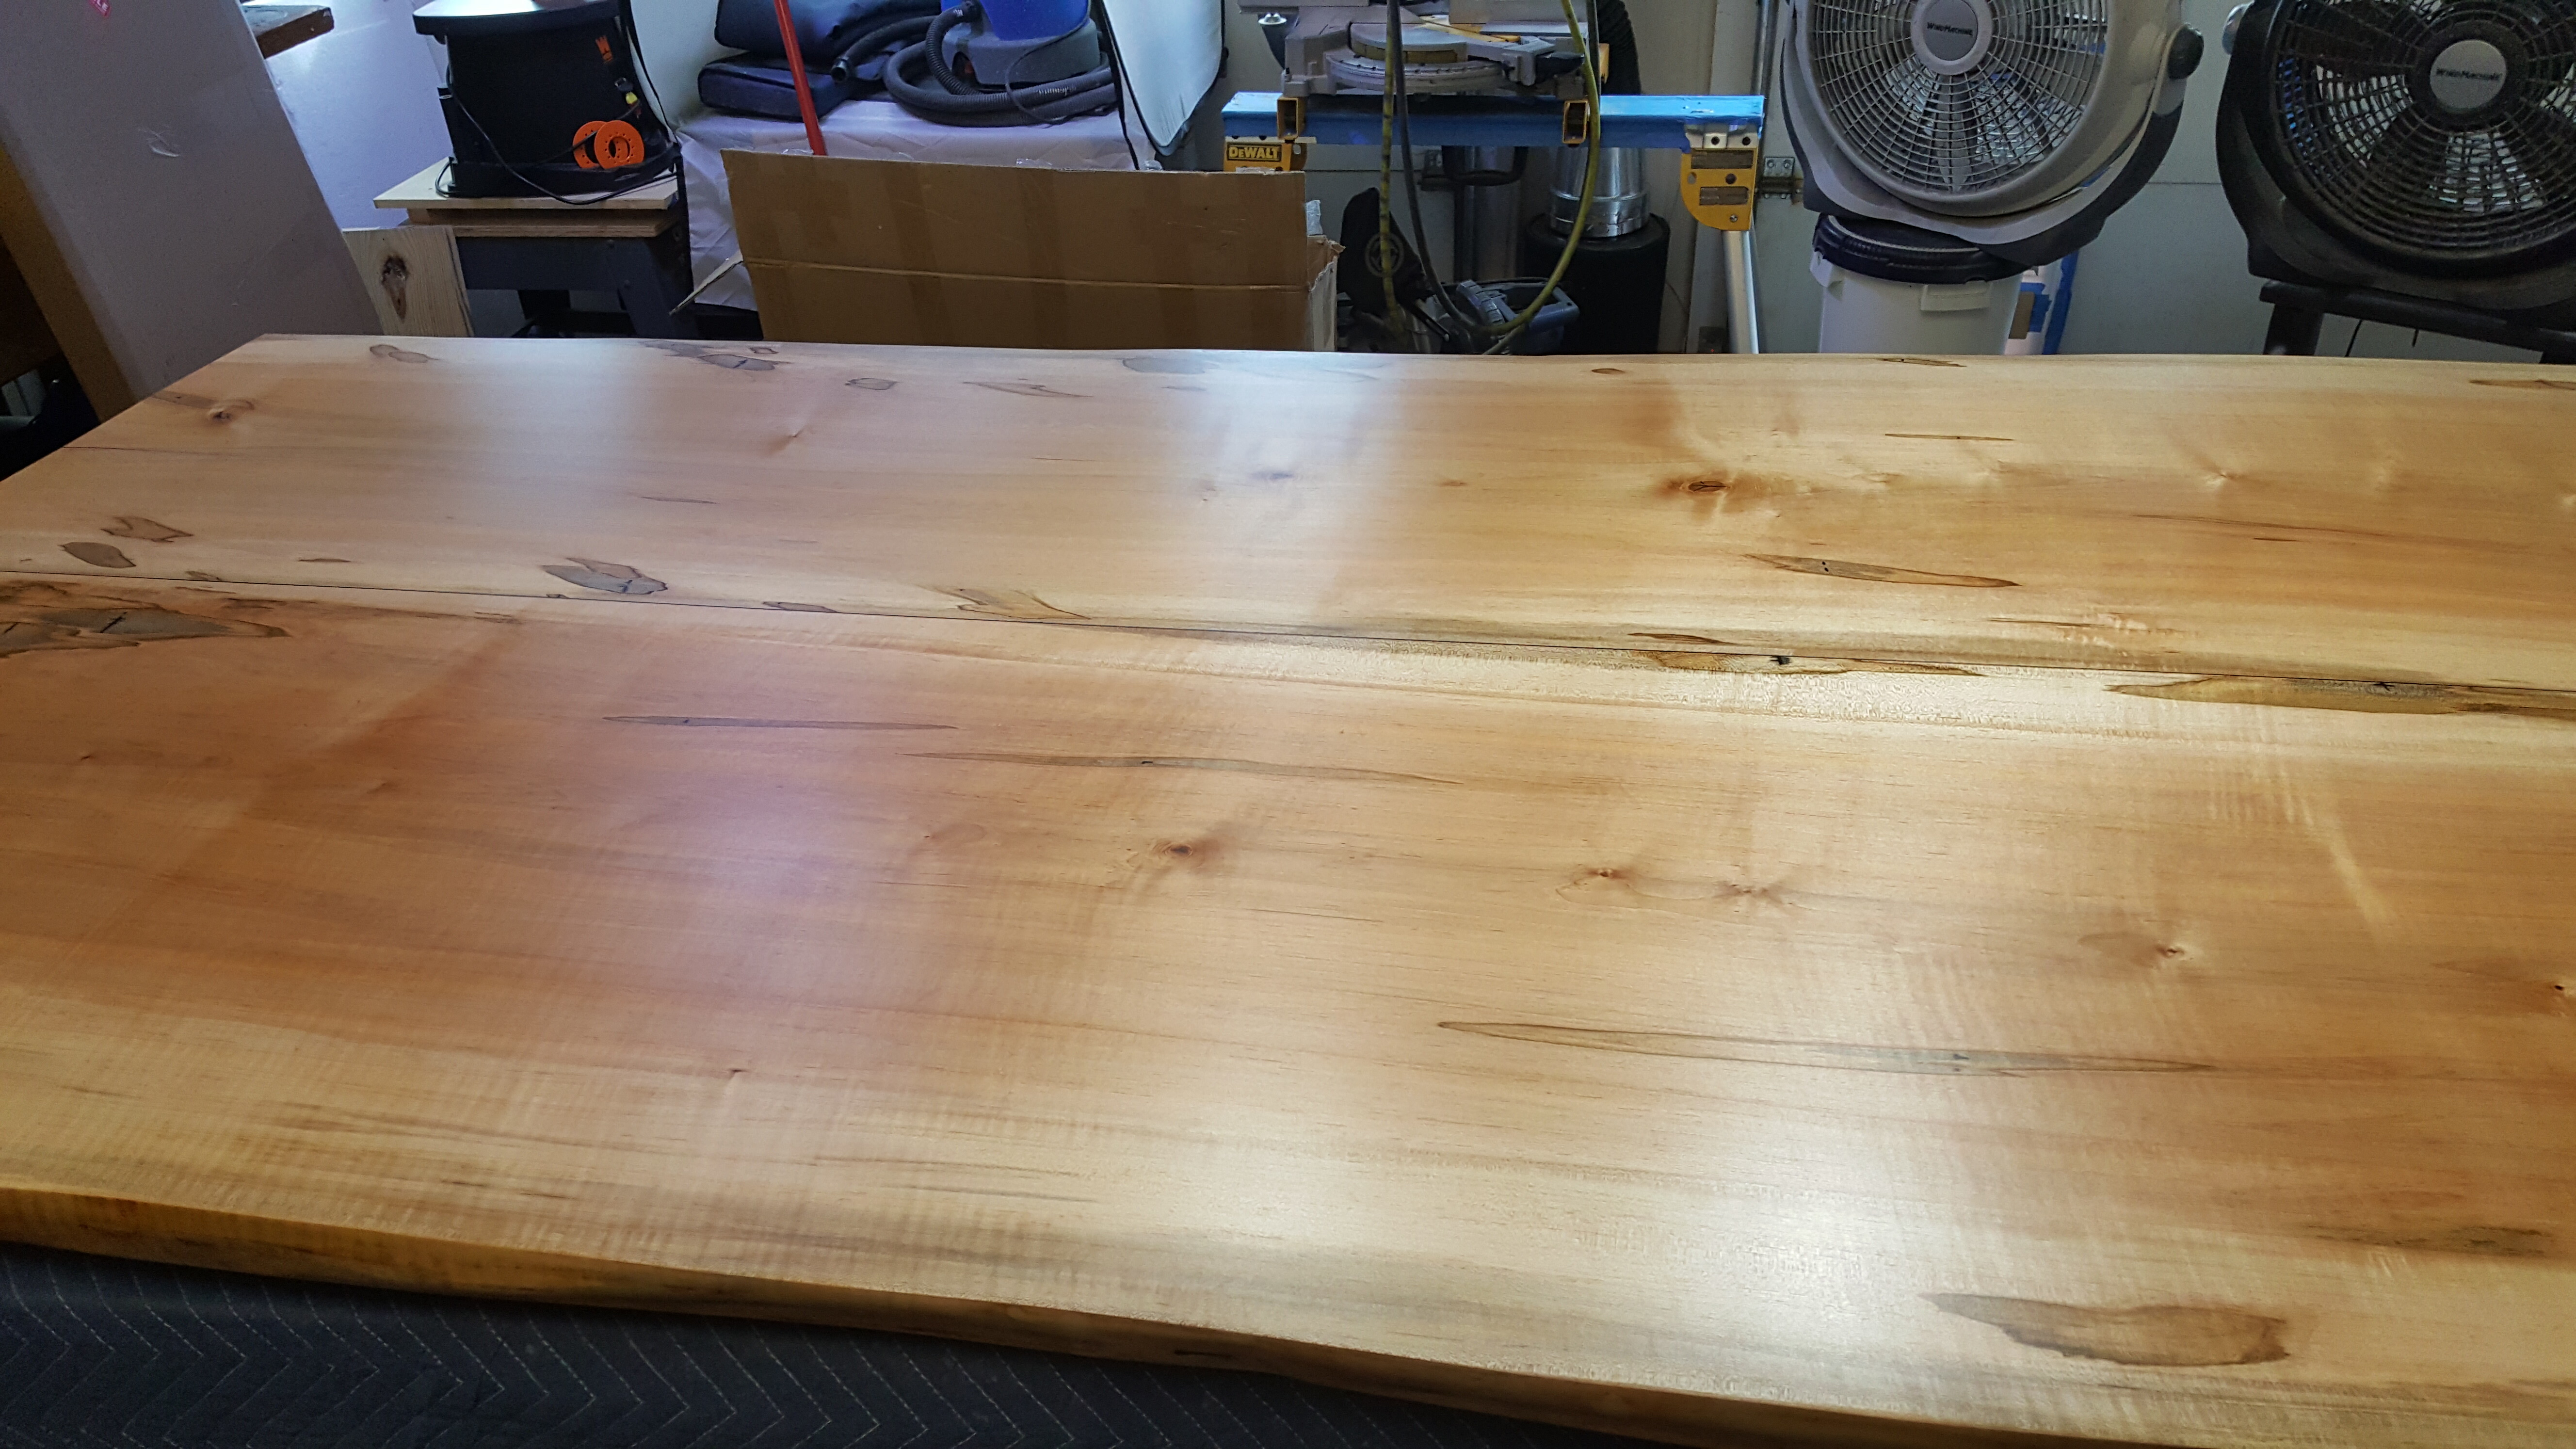

There are a million things I would have done differently, but this was the first table of this size and style I had ever made. The customer was very happy, and that is enough for me.
Couple of things I cut not too long ago:

As always, there is more to come and feel free to hit me with any questions you may have. Keep on chipping, folks!
16 Likes
Outstanding first table Mr Monkey!
2 Likes