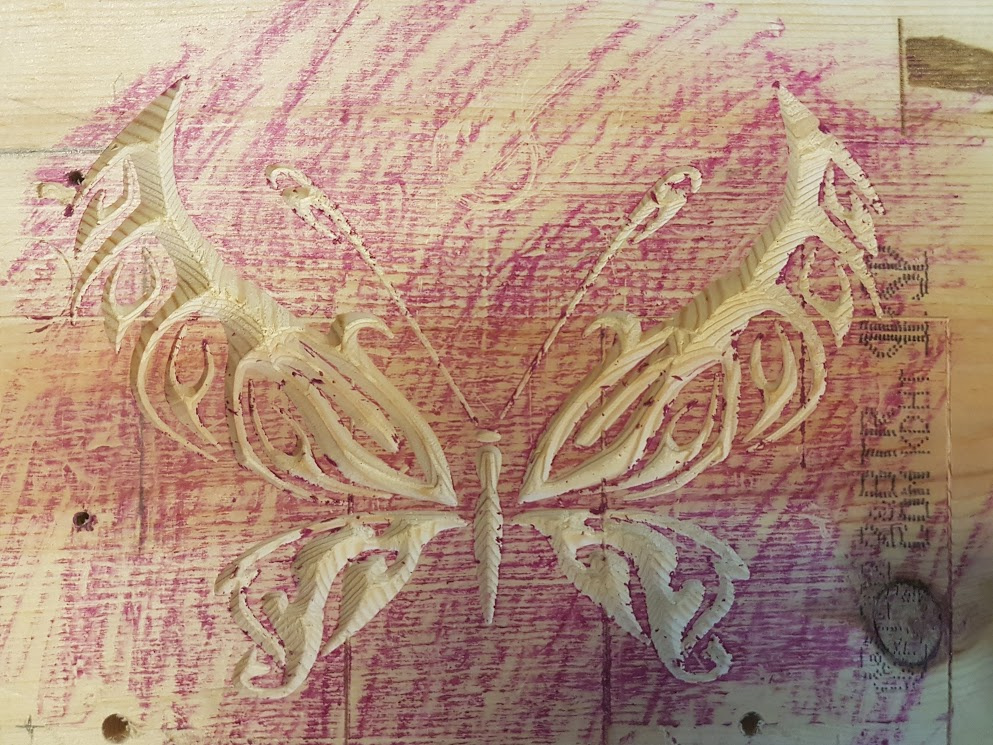
Just playing around I decided to try something that was not dialing in calibration. On account of my brain needed a break. My wife likes butterflies, so it seemed like something that would be interesting to use as a learning tool for me. So, having chosen a piece of scrap MDF off I went. My first attempt felt like it took forever and a year, and the end result was not pretty. As I said learning tool. Lol. I then took the lessons learned and moved onto attempt number two. As I have yet to make any clamps, (shame on me I know), I used double sided carpet tape on the bottom (as I planned to cut the butterfly out) as well as screwing both ends of the MDF to the waste board. I discovered the first time around that selecting the wings on both sides as a single “job” was a mistake. I went back and broke each part into its on job, right wing, left wing, and so on. This worked a lot better and faster the second time around. I also downloaded a trail version of G-wizard as my current state of knowledge and learning, figuring out feeds and speeds seems like some sort of dark magic. After plugging in the needed info to G-wizard, then using that in setting everything up, it went faster the second time around. I used the V-carving in Carbide Create and #301 V-bit cutter 90 degree. I still have a long way to go, but this was a fun little thing to do with the happy benefit of making my wife happy. Lol.

I liked the butterfly so much I had to try my software on your final project image.
This is just a really fast tiny project on a scrap board and I spent almost no time touching up your photo. I simply cropped as close as I could and ran my line trace and popped it into Simple CAD. The time It took from your picture to gcode was about 3 minutes. Then it took 9 minutes to carve.
Here is the result.
I think it turned out pretty well for not having vectors or defining tool paths at all.
Rogwabbit; I look foward to the time when I am able to do things at that pace. lmao. Right now, I dont even know what I dont know, but I’m working to change that. I gotta be honest your version came much better than mine. the upper right wing on mine went a bit wonky. The lines on yours looks alot cleaner over all, and the job was faster no doubt. lol.
Today after getting my work done in the shop I messed around with getting things dialed in a little more on the machine, then got lost. lol. Thats a post in another section. Then I thought it time to play around a bit. Several lesions were learned, which I think should show up in the photos prettry well. lol. One thing I’m still working out is work holding for the part I am cutting out. I used double sided carpet tape for this. Not the best of plans. I think I may try this again with the tape, but leaving a little at the bottom instead of cutting all the way through. I also think it’s about time I figuer out how to make tabs to hold stuff in place. On the plus side, nothing flew across my shop today that wasnt supposed to.

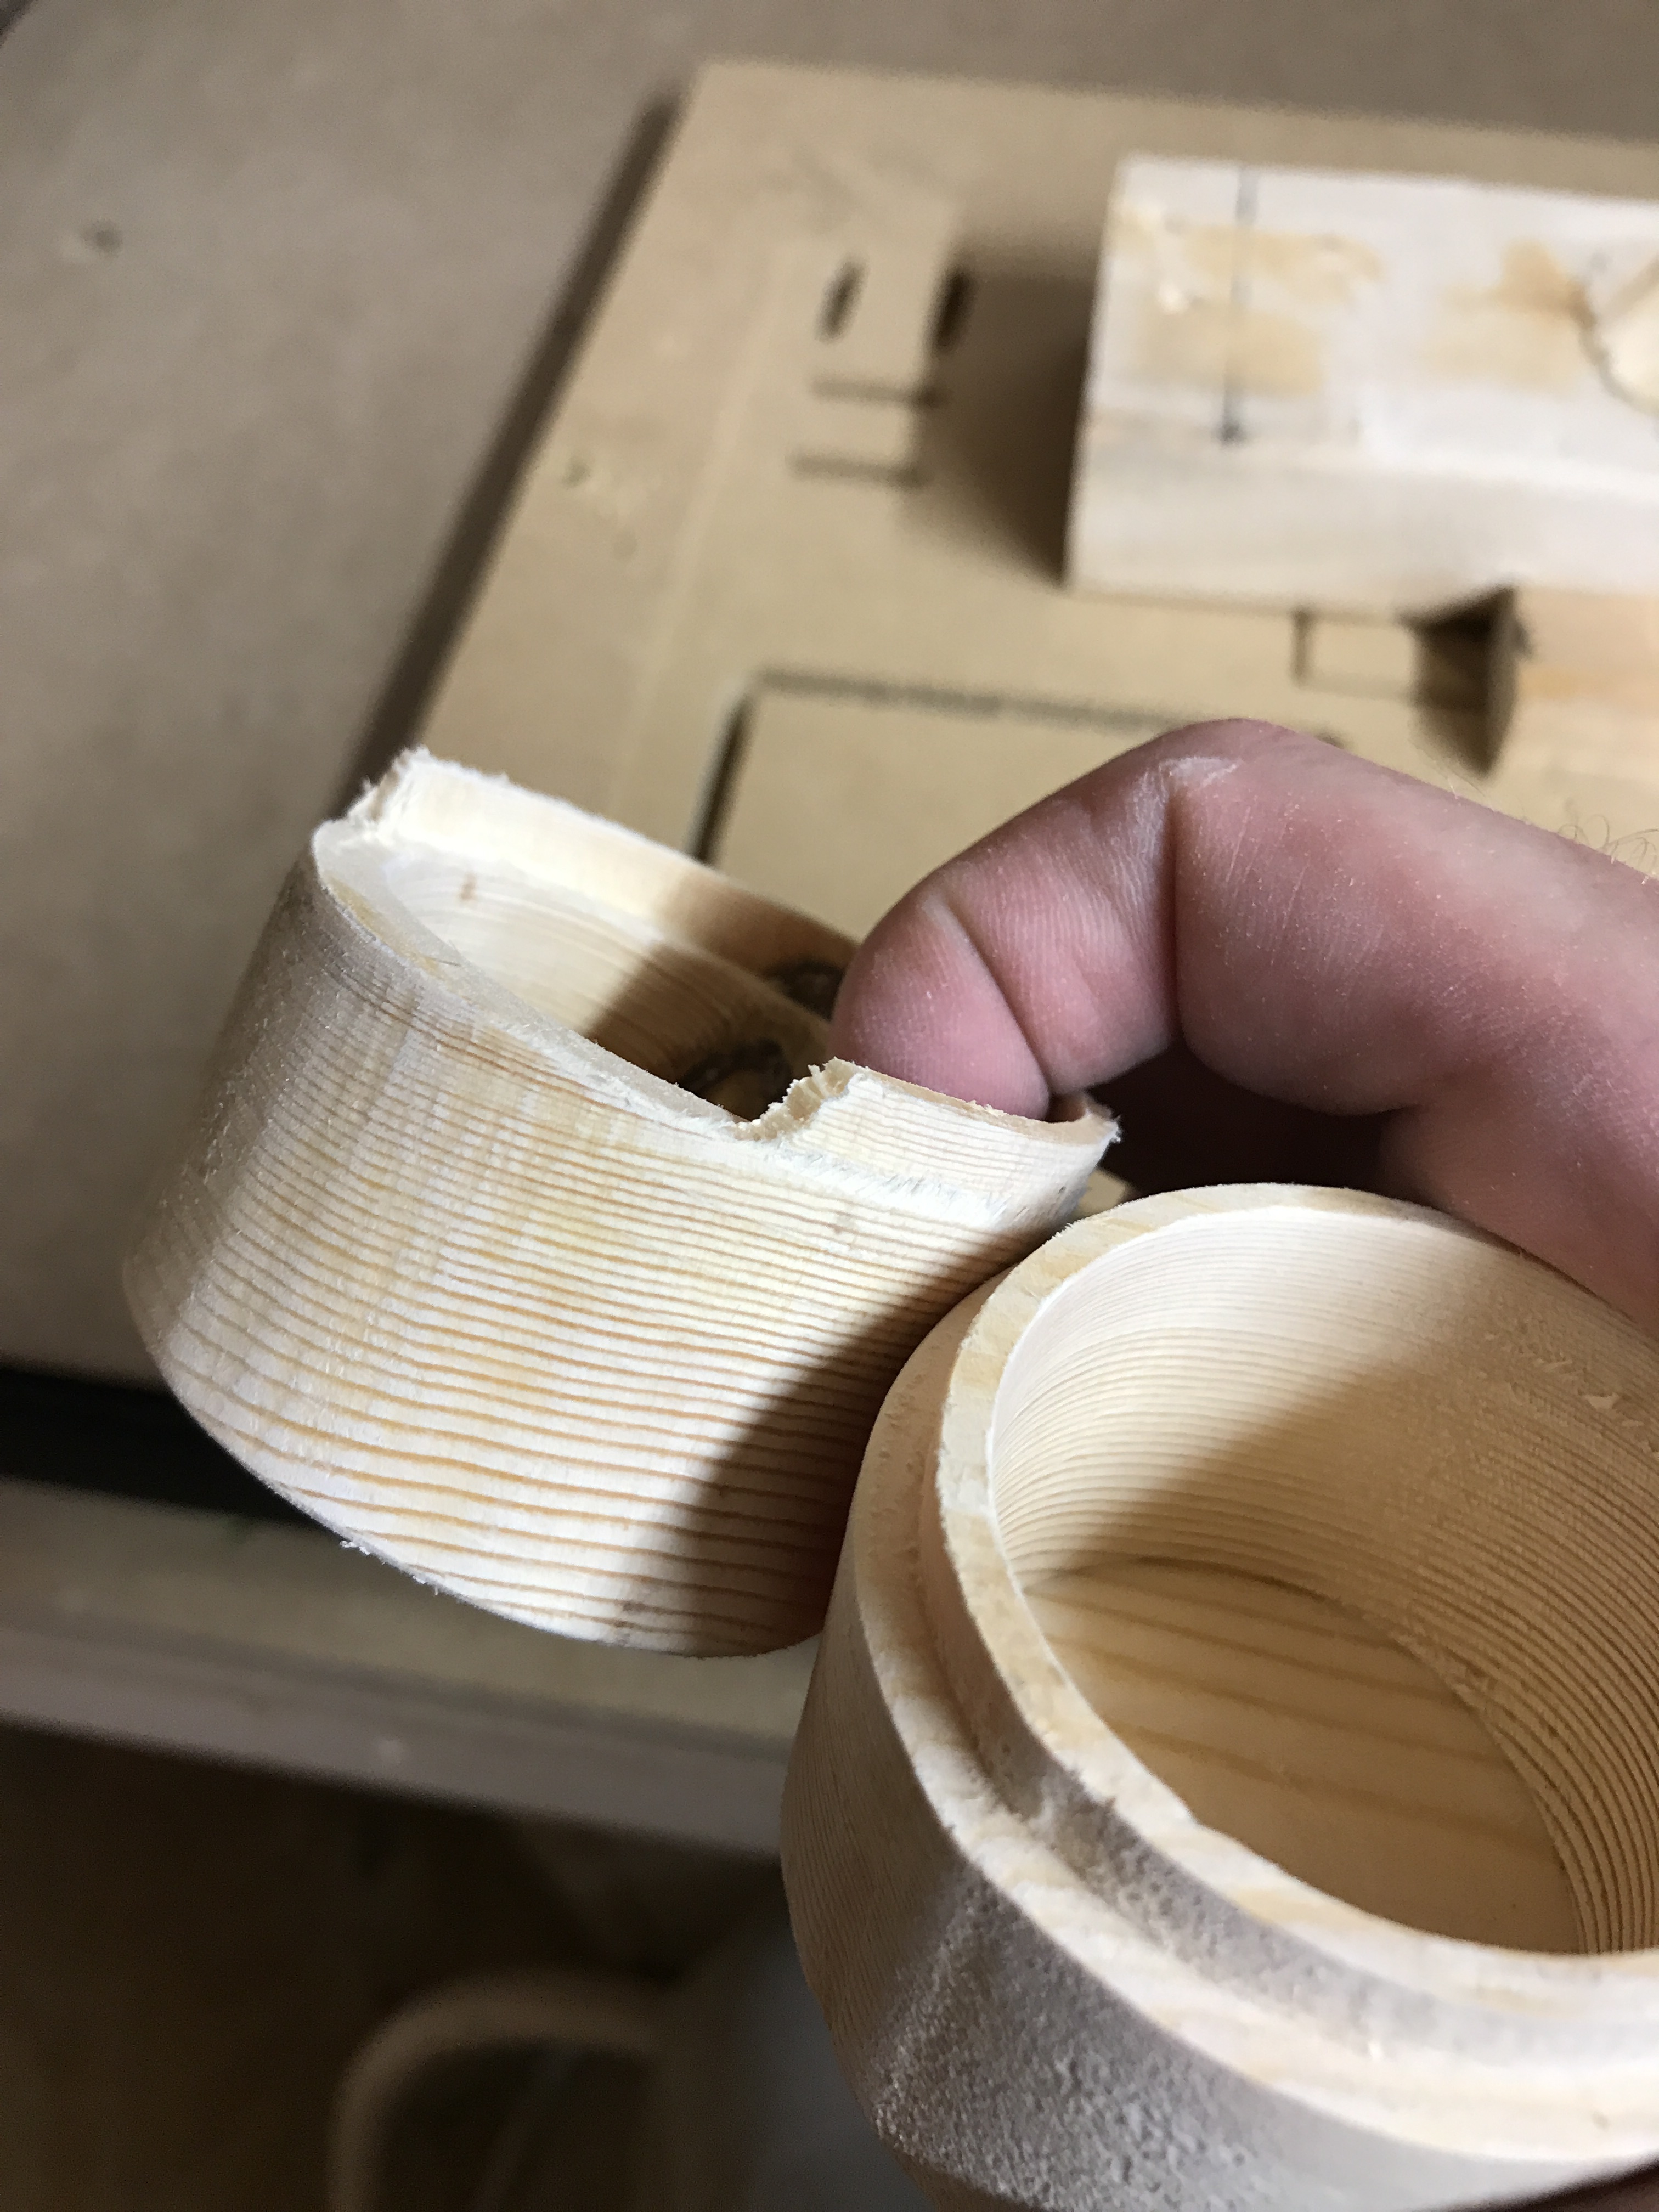
Slotting is hard — add additional geometry outside the part and cut that as a pocket so as to make it easier to clear chips and to keep the endmill from cutting on both sides of the slot as the wood moves.
For workholding, I’d suggest leaving some tabs at the bottom, or a reasonable thickness which can be cut with a utility knife or chisel.
Slotting is a bit tricky with such a small part cut out, but tabs or a thin layer at the bottom to clean with a knife should help. Along with making a better holding system if you can. If you can pause near the bottom also and vacuum out the slot it can prevent binding on those last few passes.
My way of duplicating your butterfly is super simple. I cheated quite a bit in the process but I see what you are saying about the tool paths it looks like my software did a better smoothing job then your cuts interestingly enough.
Nice work rick…ever give a hot glue gun a try? works wonders 
Thanks guys! I think I will give these ideas a try for my next go.
Rogwabbit; if you wouldnt mind, could you walk me through you’re cheat. Did you use Carbide software for cutting, or something else?
Im still getting my head back into graphics programs, its been a few years since I have seriously played with them. Mostly Photoshop and Illustrator. How many years? Well CS2, which is what I am using (read as releaning) now. lol. Thankfuly I still have a couple of my old books around to help.
I think this weekend I will be trying to get some work holding in place. Iv seen a couple of ideas that look pretty nifty. I will aslo be working on dialing in the machine a little more, and figuering out how things work. Thats the plan at least. lol.
I used my software to do it because it was just fast and easy.
If you follow this youtube video it gets you 1/2 way there. (The trace portion)
Using Simple CAD is documented here:
http://www.softwareredefined.com/blog/simple-cad/
The software is called IntelliG-Code.
http://www.softwareredefined.com/documentation/features/
Basically I took the picture you posted above, did a crop as close as I could to the butterfly and then touched up the left bottom edge, saved that as a new picture. Then I traced that picture like shown in the first video, exported it into the Simple CAD clip art section. Then I added it into Simple CAD and resized to about 8 inches I think and then I generated the gcode.
Alternatively you could export the path from the trace into a .dxf file and then import that into Carbide Create, resize it and move it then define the tool paths and save the gcode.
I hope that helps.
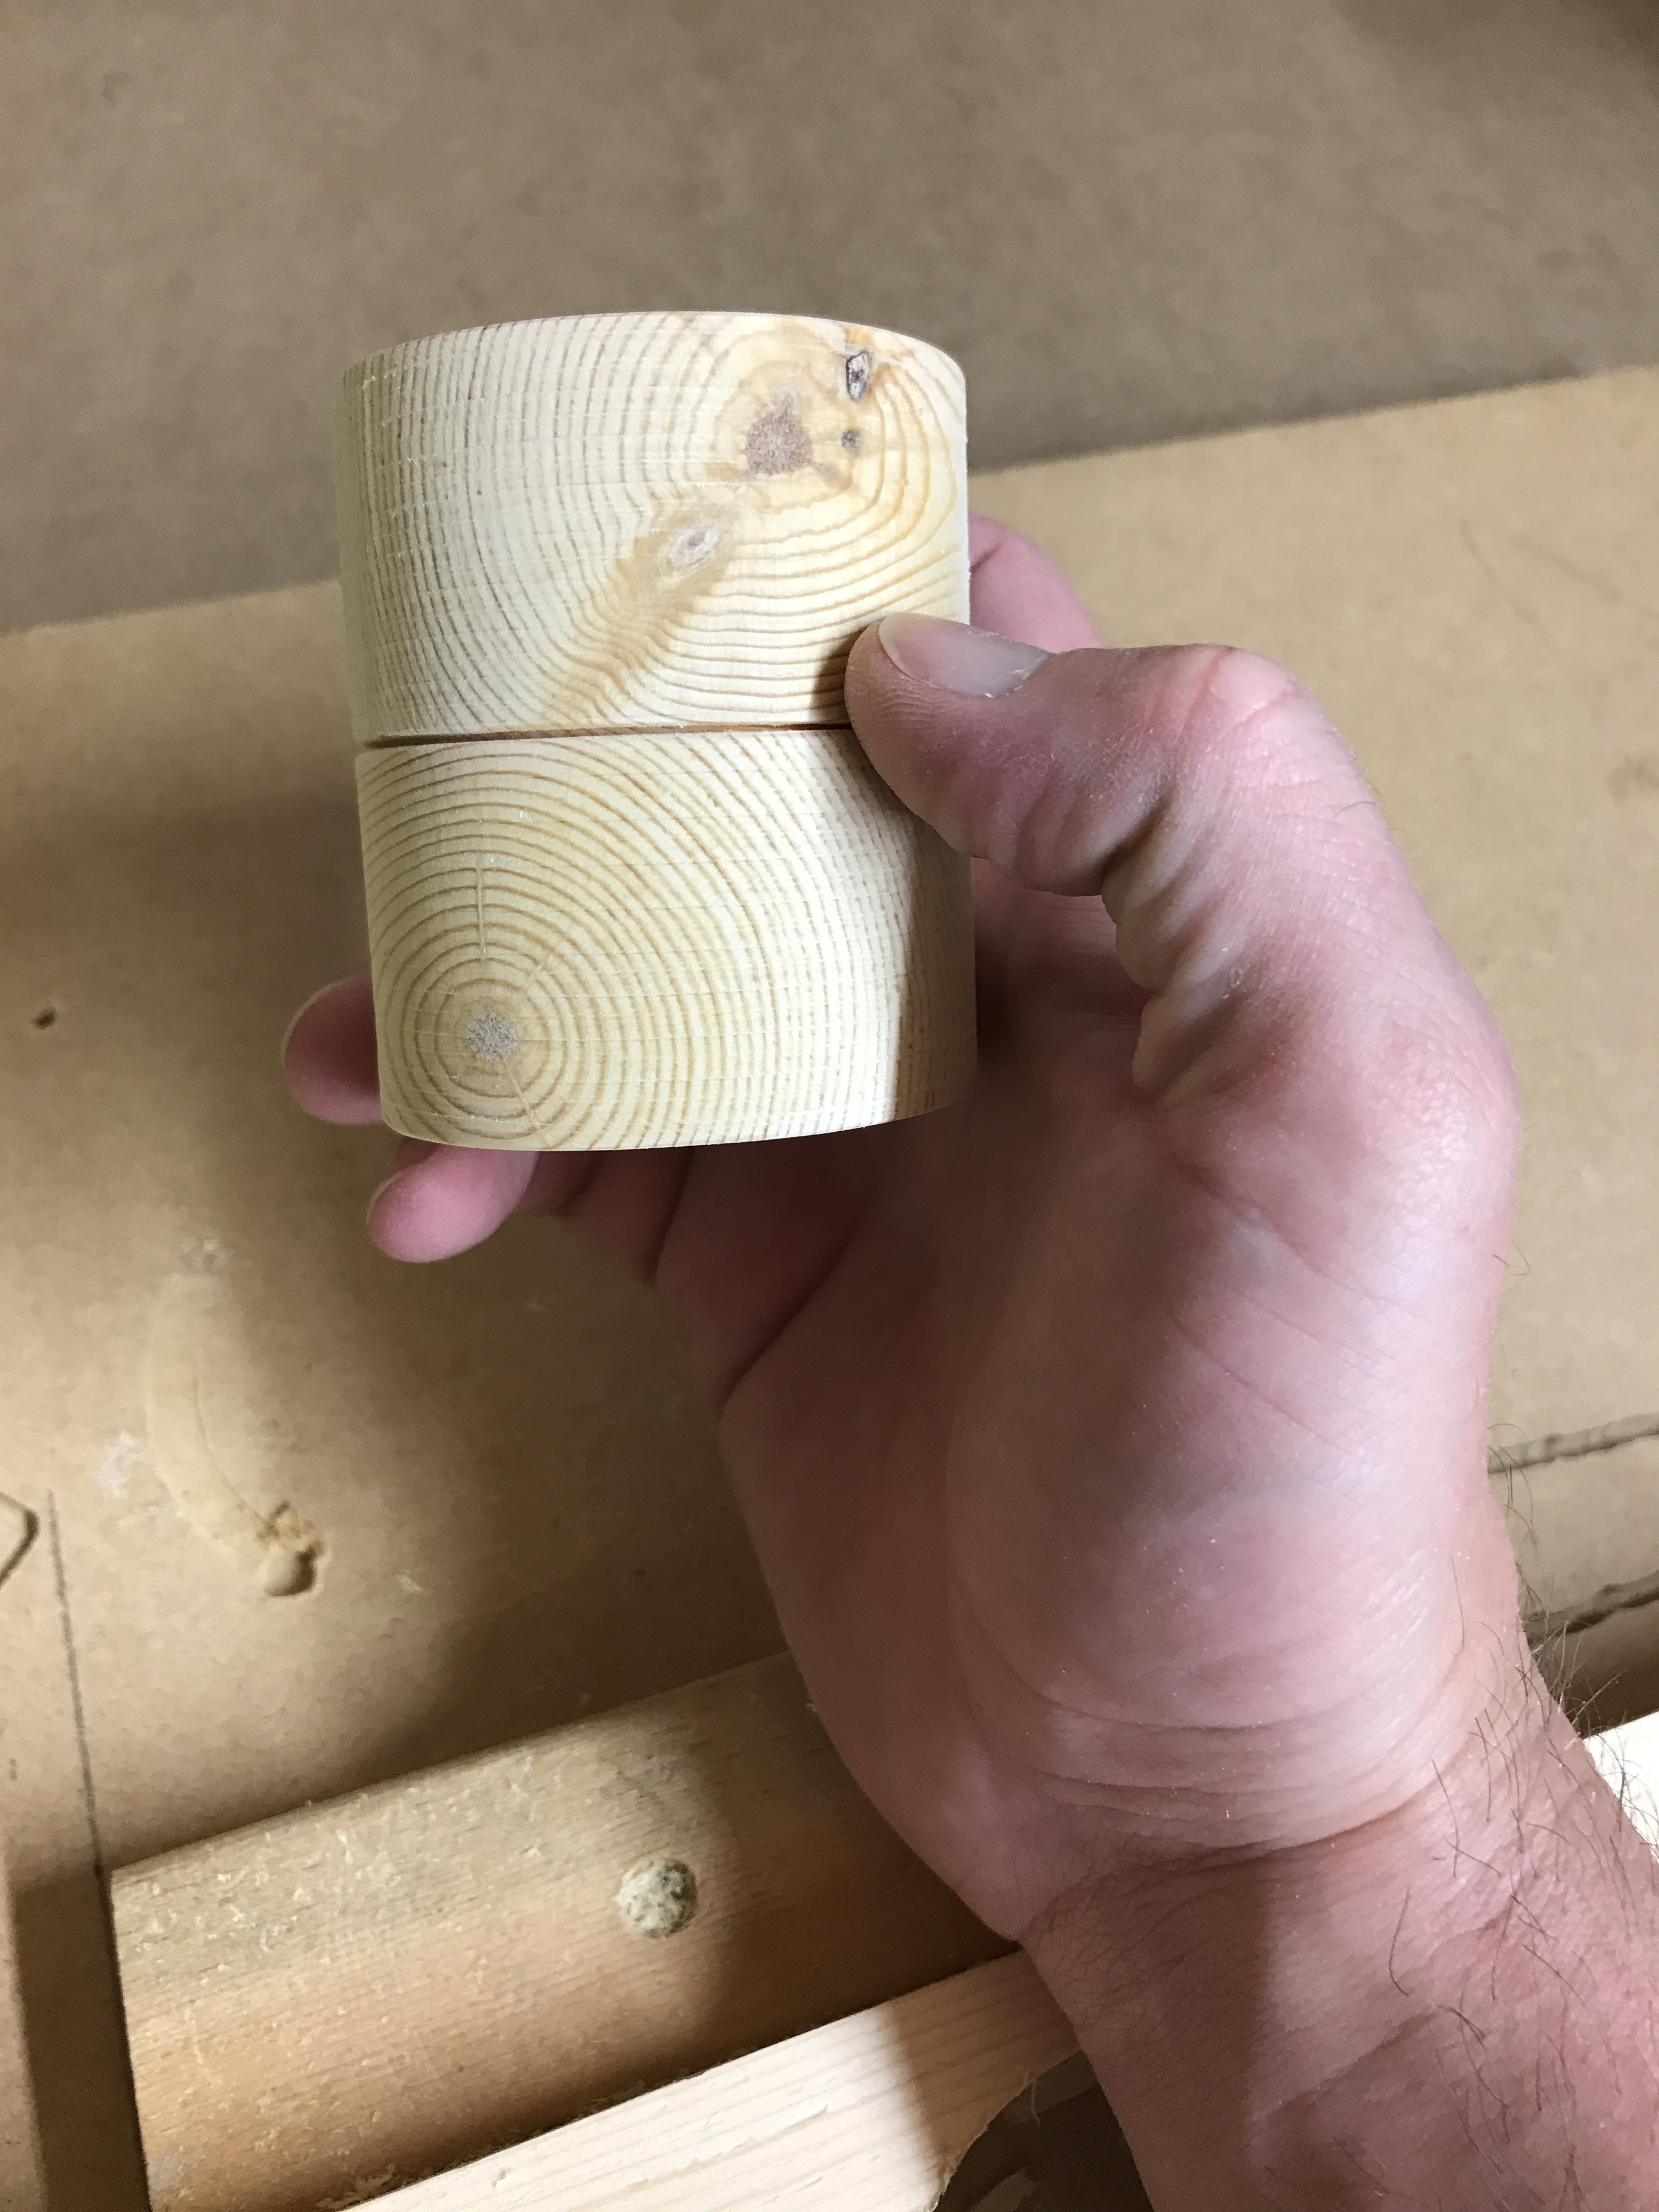
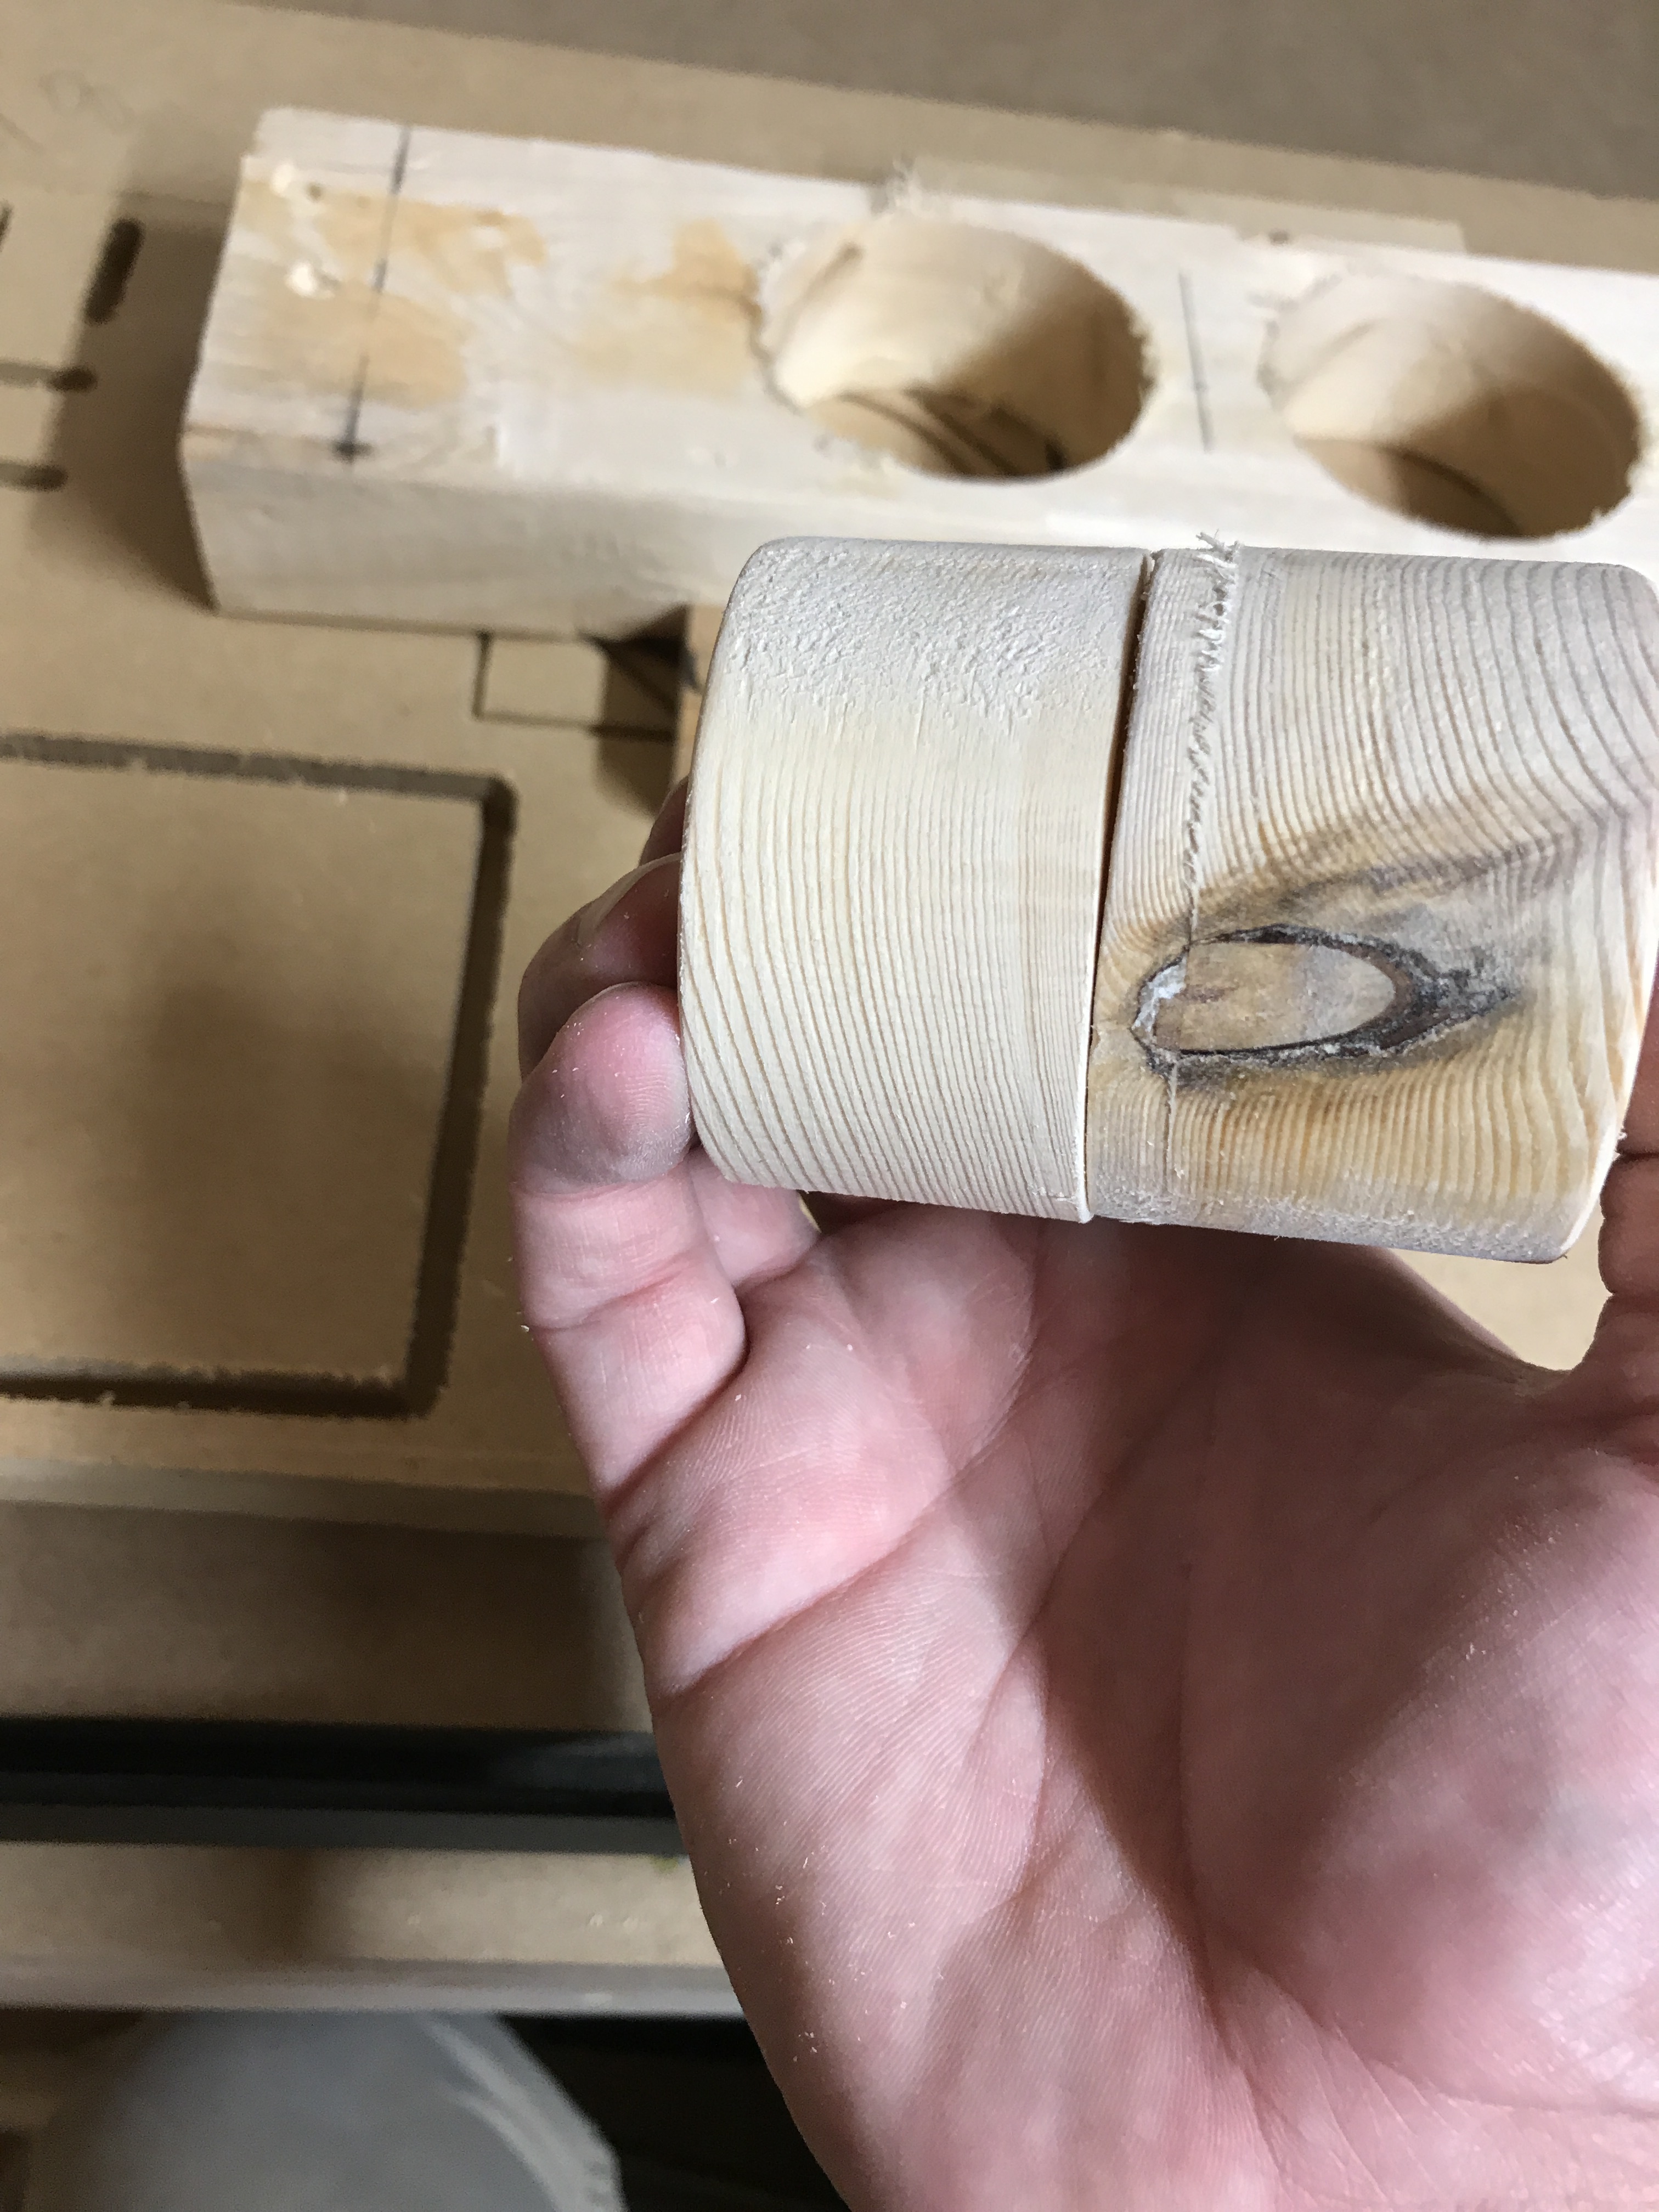
Well, have not really been in my shop for the past week. Being stuck on the couch sucks. lol. Was feeling almost human again yesterday so played around a litte bit. Decided that I would try breaking this up into three parts. First the main pocket with #201 end mil, then switched over to #101 mil for the raised portion and its counter on the other side. Then I went back to the #201 to cut it out. I had planned to try the idea of hot glue, but didnt get to. So instead I made sure every bit of the bottom had double sided tape, as well as trying to do a better job of clearing the sawdust out this time.